# Quenza Help: all articles
# First steps
> A checklist for your first days in Quenza, from your profile and your first activity to your first client. Tick off each step as you go.
Source: https://quenza.com/help/getting-started/first-steps/
These nine steps take you from a new account to your first client working through an activity. Each one links to an article that shows you how. Tick off a step when you have done it; this browser remembers your progress, so you can come back any time.
Most practitioners get through the list in one afternoon. Sarah Bennett, for example, set up Bright Path Coaching on a Friday, tried the Values reflection on her demo client, and sent it to Emma Clarke before their first session on Monday.
1. **[Set up your workspace](https://quenza.com/help/getting-started/start-your-free-trial/)**: create your account, verify your email and name your practice. Your free trial starts right away.
2. **[Complete your profile](https://quenza.com/help/getting-started/edit-your-profile/)**: add a photo and a short biography, so clients know who they are working with.
3. **[Add your logo](https://quenza.com/help/branding/logo/)**: show your practice instead of Quenza in the client portal, the app and your emails. Included in the Growth plan and higher, and in the free trial.
4. **[Find something to send](https://quenza.com/help/content/pre-made-content/)**: add a ready-made activity to your library, or [build your own](https://quenza.com/help/content/build-an-activity/).
5. **[Try it on your demo client](https://quenza.com/help/getting-started/view-as-client/)**: send the activity to yourself and fill it out, so you see exactly what your clients see.
6. **[Add your first client](https://quenza.com/help/clients/add-clients/)**: invite a client by email, or [import](https://quenza.com/help/clients/import-clients/) your whole client list at once.
7. **[Send an activity](https://quenza.com/help/working-with-clients/send-an-activity/)**: choose when it arrives and how the client is notified. You get a notification when it is done.
8. **[Get the mobile app](https://quenza.com/help/getting-started/mobile-app/)**: reply to chats and see completed activities from your phone.
9. **[Invite a colleague](https://quenza.com/help/team/add-team-members/)**: if you work with others, give them their own login and role. Skip this step if you work alone.
## What next
When your first clients are on board, these are the next things practitioners usually set up:
- Turn a series of activities into a [program](https://quenza.com/help/content/programs-overview/) that runs on its own between sessions.
- Run a course or a group with [groups](https://quenza.com/help/clients/groups/) and group chat.
- Let new clients sign up themselves with a [landing page](https://quenza.com/help/new-clients/landing-pages/).
- Look up a word you don't know in the [glossary](https://quenza.com/help/getting-started/glossary/).
---
# Start your free trial
> Create your Quenza account, verify your email and set up your workspace for a free 30-day trial.
Source: https://quenza.com/help/getting-started/start-your-free-trial/
Sign up for a free 30-day trial to try Quenza with your own clients. You don't need a credit card. It takes a few minutes: you create your account, confirm your email address, choose a password and answer a few setup questions. Then your own workspace opens, ready to use.
If a colleague has invited you to their workspace, you don't need a trial. Accept the invitation in the email you received instead. See [Accept an invitation](https://quenza.com/help/team/accept-invitation/).
## Create your account
Go to [my.quenza.com/register](https://my.quenza.com/register) and enter your **First name**, **Last name** and **Email address**. Select **I agree to the Terms of Service**; if you'd like tips and product news by email, also select **Send me setup tips, product updates, and feature news.** Then click **Join Quenza**.
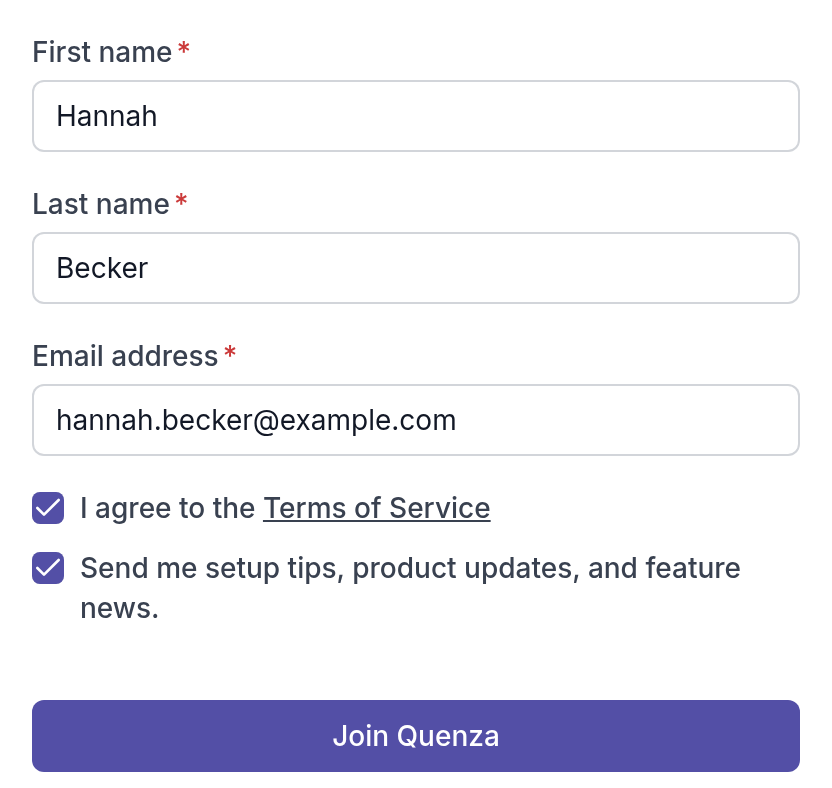
Use the email address you want to sign in with. You can change it later. See [Change email or password](https://quenza.com/help/getting-started/change-email-or-password/).
## Verify your email address
Quenza now shows **Verify Your Email** and sends you an email with the title **Email verification**. Open it and click **Verify email**.
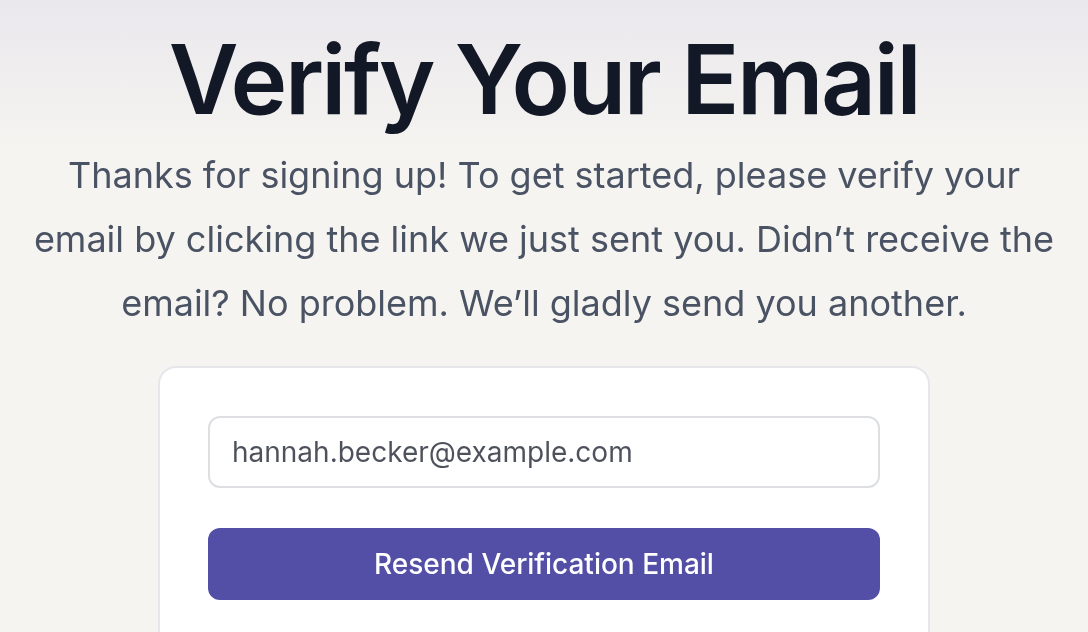
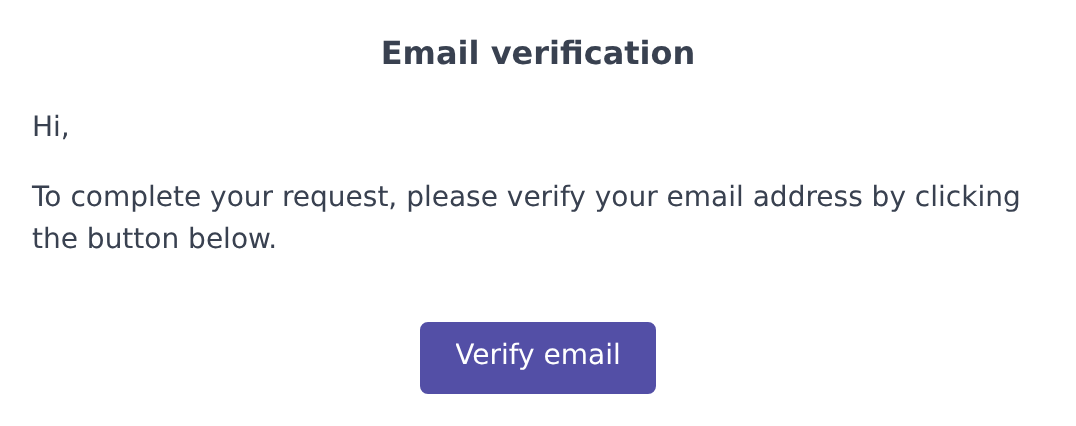
No email after a few minutes? Check your spam folder. If it isn't there, click **Resend Verification Email**. Verify within 7 days: accounts that are not verified by then are blocked.
## Set your password
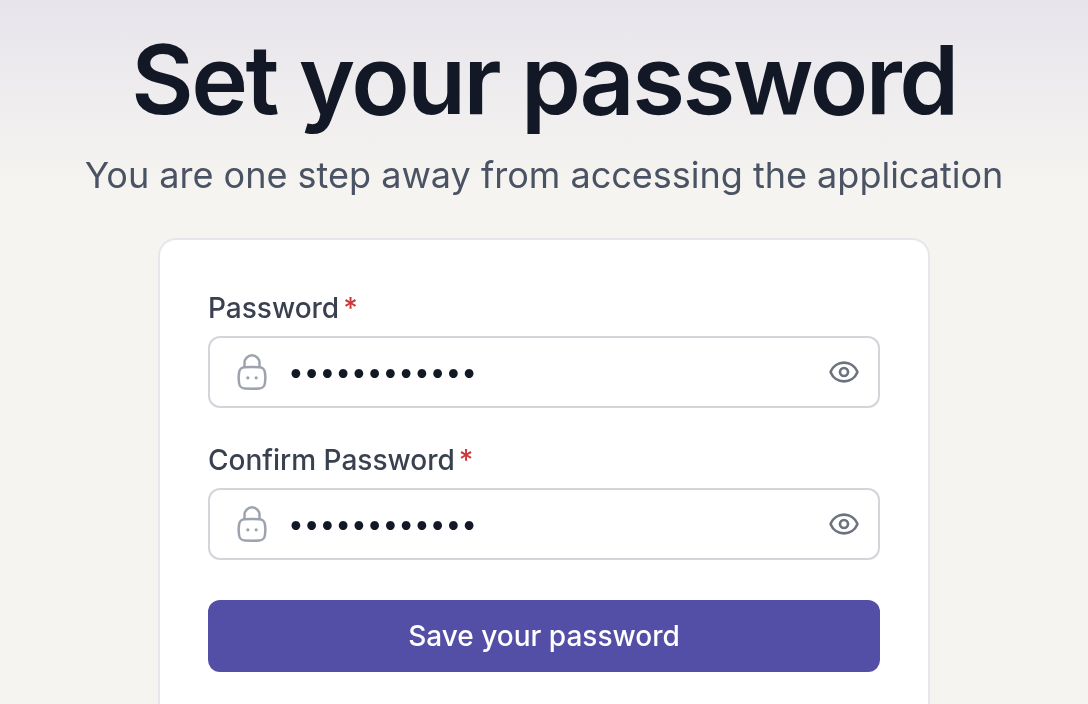
The link in the email opens **Set your password**. Enter a password under **Password** and again under **Confirm Password**, then click **Save your password**. Use at least 8 characters, with at least one letter and one number.
## Set up your workspace
Quenza asks a few short questions, one per step. Click **Continue** after each one.
- **Workspace**: Quenza suggests "[your first name]'s workspace". Replace it with the name of your practice, for example "Becker Coaching", because your clients and colleagues see this name. You can change it later. See [Workspace settings](https://quenza.com/help/team/workspace-settings/).
- **Expertise**: your professional background, for example **Coach**, **Therapist** or **Counselor**.
- **Interests**: the topics you work on, such as **Stress** or **Mindfulness**.
- **Purpose**: what you want to do with Quenza, such as **Send Exercises** or **Track Client Progress**.
- **PIN Code**: enter a 4-digit PIN twice and click **Finish**, or click **Skip and finish** to do this later. The PIN locks Quenza when you haven't used it for a while. See [Set your PIN](https://quenza.com/help/getting-started/set-your-pin/).
## What happens next
Your workspace opens on the [Home page](https://quenza.com/help/getting-started/home-page/), and your 30-day trial has started. Your workspace already has a demo client in your own name, so you can try activities and tasks before you invite real clients. See [View as client](https://quenza.com/help/getting-started/view-as-client/).
Good first steps:
- [Edit your profile](https://quenza.com/help/getting-started/edit-your-profile/) so clients see your photo and details.
- [Add your first clients](https://quenza.com/help/clients/add-clients/).
- Read [How your free trial works](https://quenza.com/help/billing/free-trial/) to learn what happens when the trial ends and how to choose a plan.
---
# Home page
> Use the Home page in Quenza to start your day with your tasks, pending clients and the latest activity and program updates from your clients.
Source: https://quenza.com/help/getting-started/home-page/
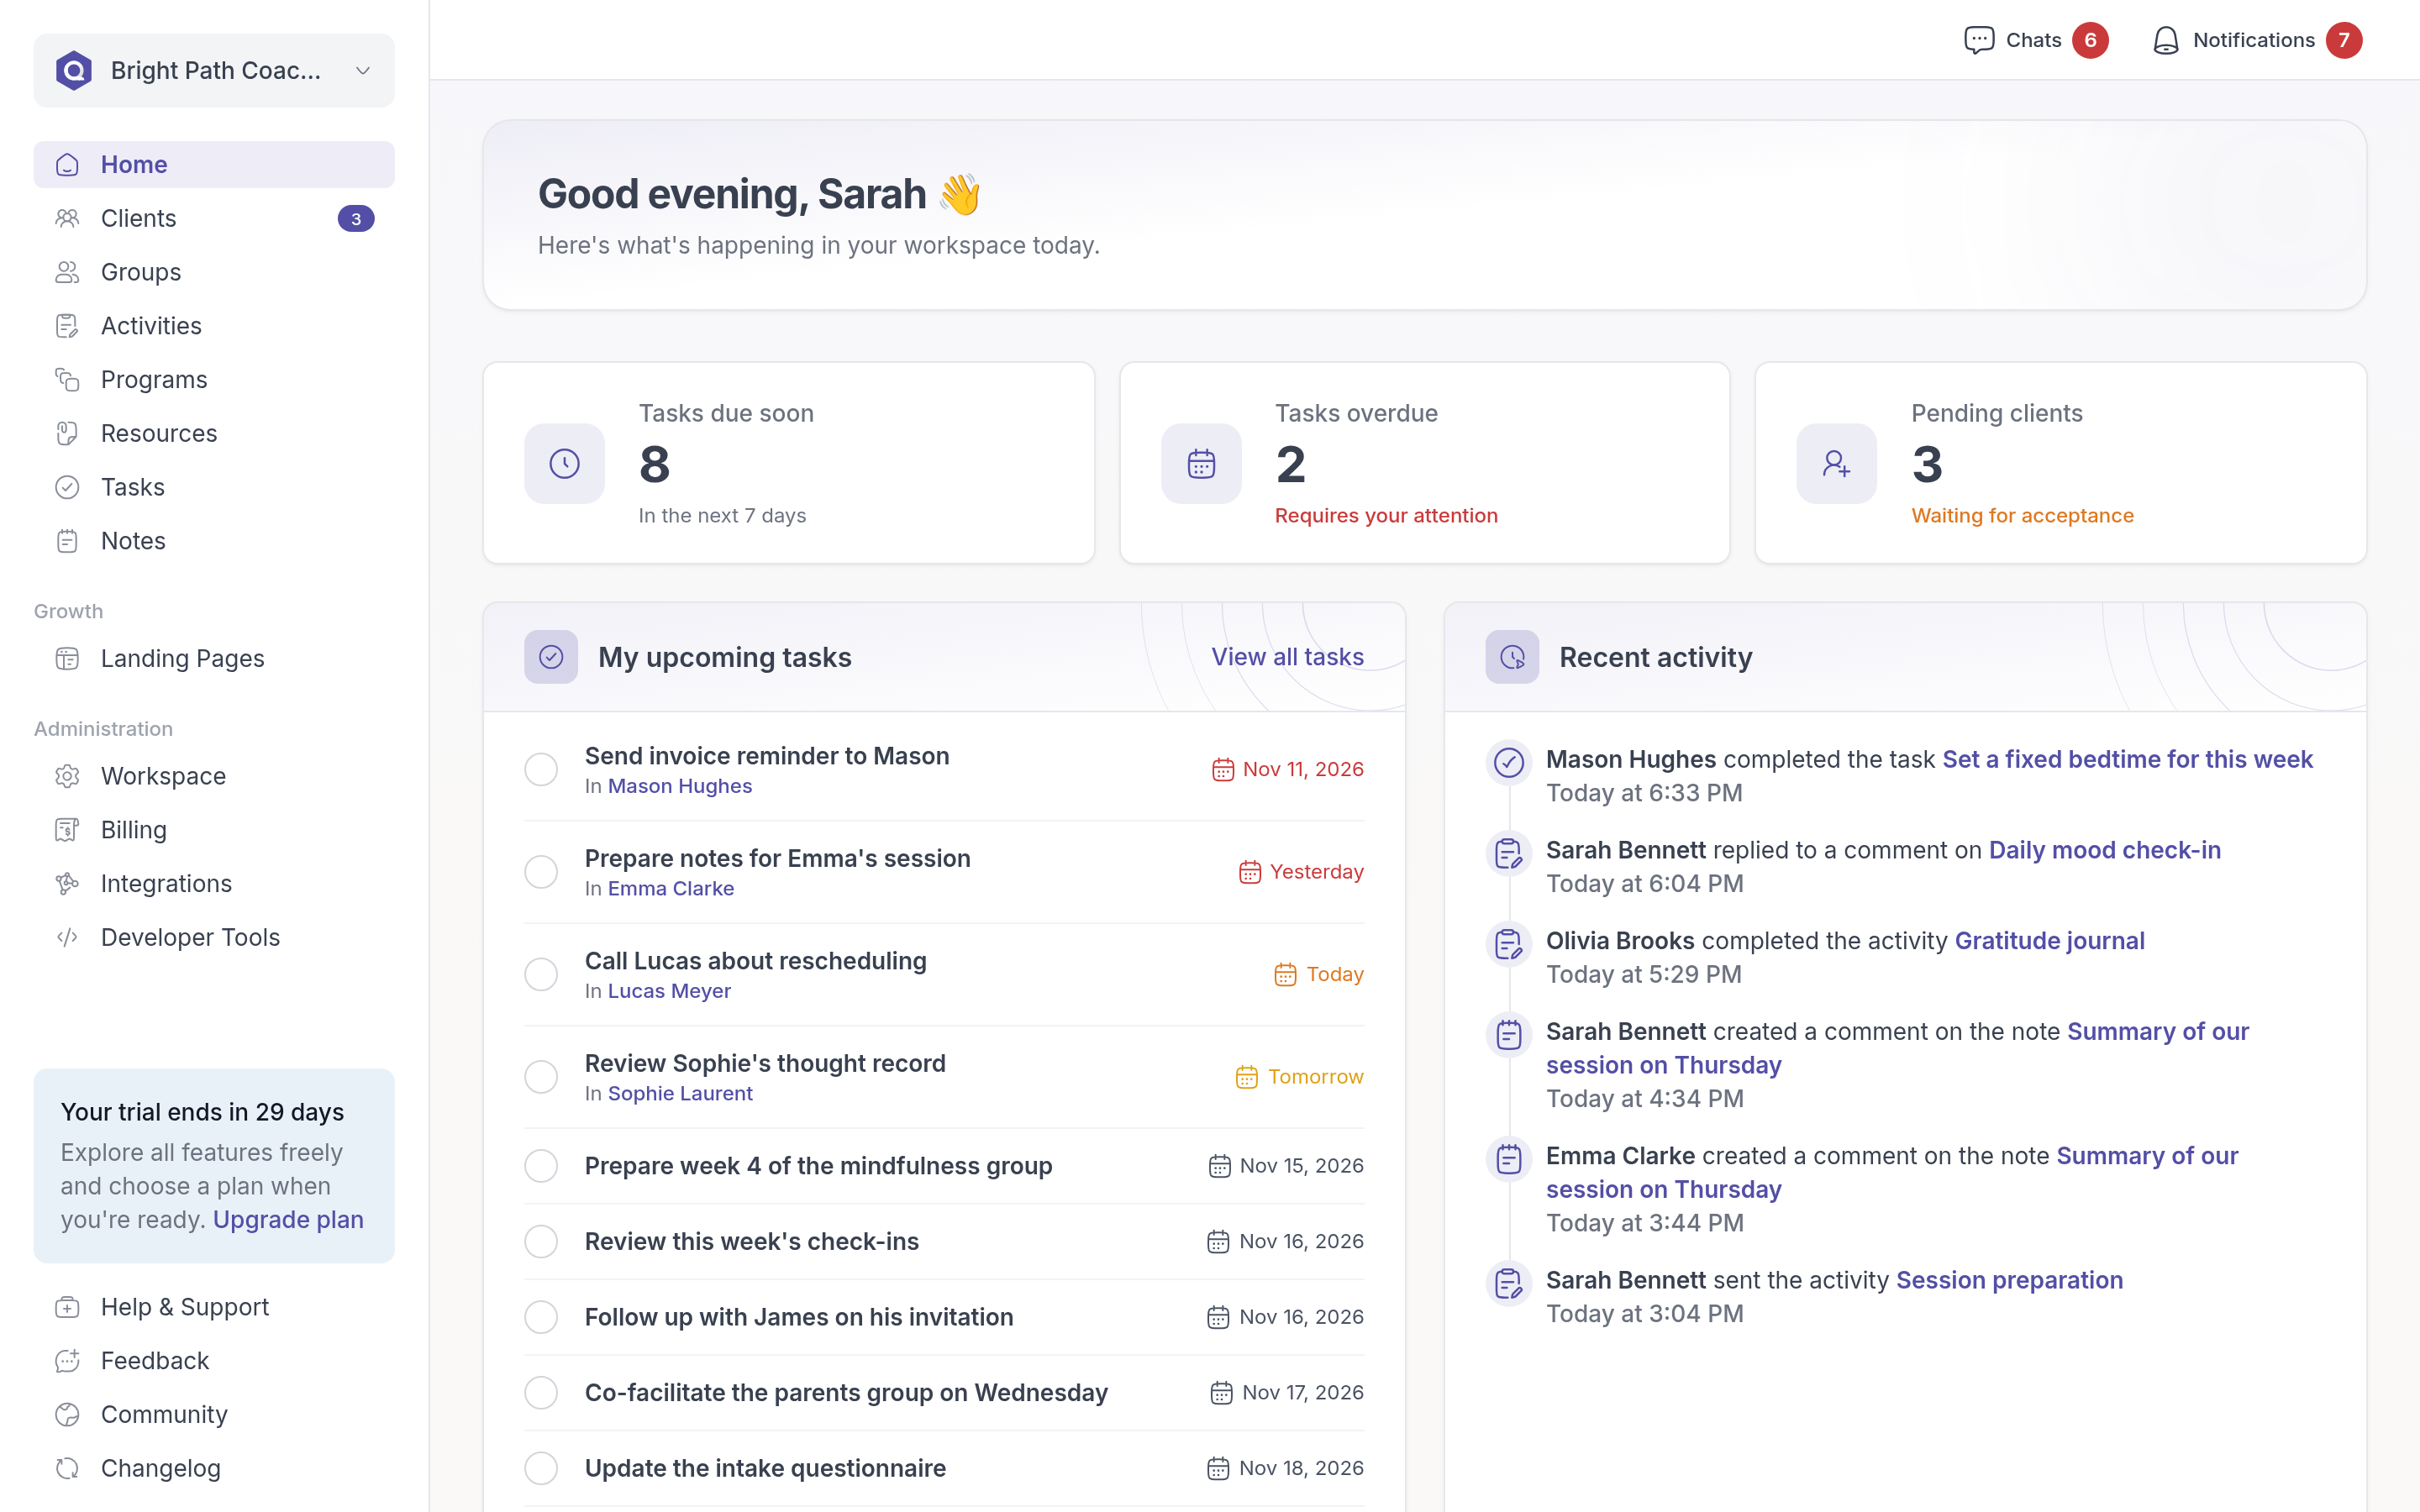
The Home page is the first thing you see when you open your workspace. It brings together what needs your attention today: your own tasks, clients who haven't joined yet, and what your clients have been doing. Every professional sees it, with their own tasks.
To open it at any time, click **Home** at the top of the sidebar.
## Start your day
A quick round on the Home page takes a minute. For example, before her first session on Monday, Sarah Bennett looks at the counters, sees two overdue tasks and ticks off the one she already did. In **Recent activity** she sees that Olivia Brooks completed her Gratitude journal, so she opens it and reads the answers before their session. Then she checks **Pending clients**: James Walker still hasn't accepted his invitation, so she resends it.
## The three counters

- **Tasks due soon**: your open tasks that are due in the next 7 days.
- **Tasks overdue**: your open tasks whose due date has passed. When there are any, the counter says **Requires your attention**; otherwise **You're all caught up**.
- **Pending clients**: clients who have been invited but haven't accepted their invitation yet. When there are any, the counter says **Waiting for acceptance**.
The task counters only count tasks assigned to you. Click a task counter to open **Tasks**, or **Pending clients** to see the client list filtered on pending clients, where you can resend an invitation. See [Tasks](https://quenza.com/help/working-with-clients/tasks/) and [Add clients](https://quenza.com/help/clients/add-clients/).
## My upcoming tasks
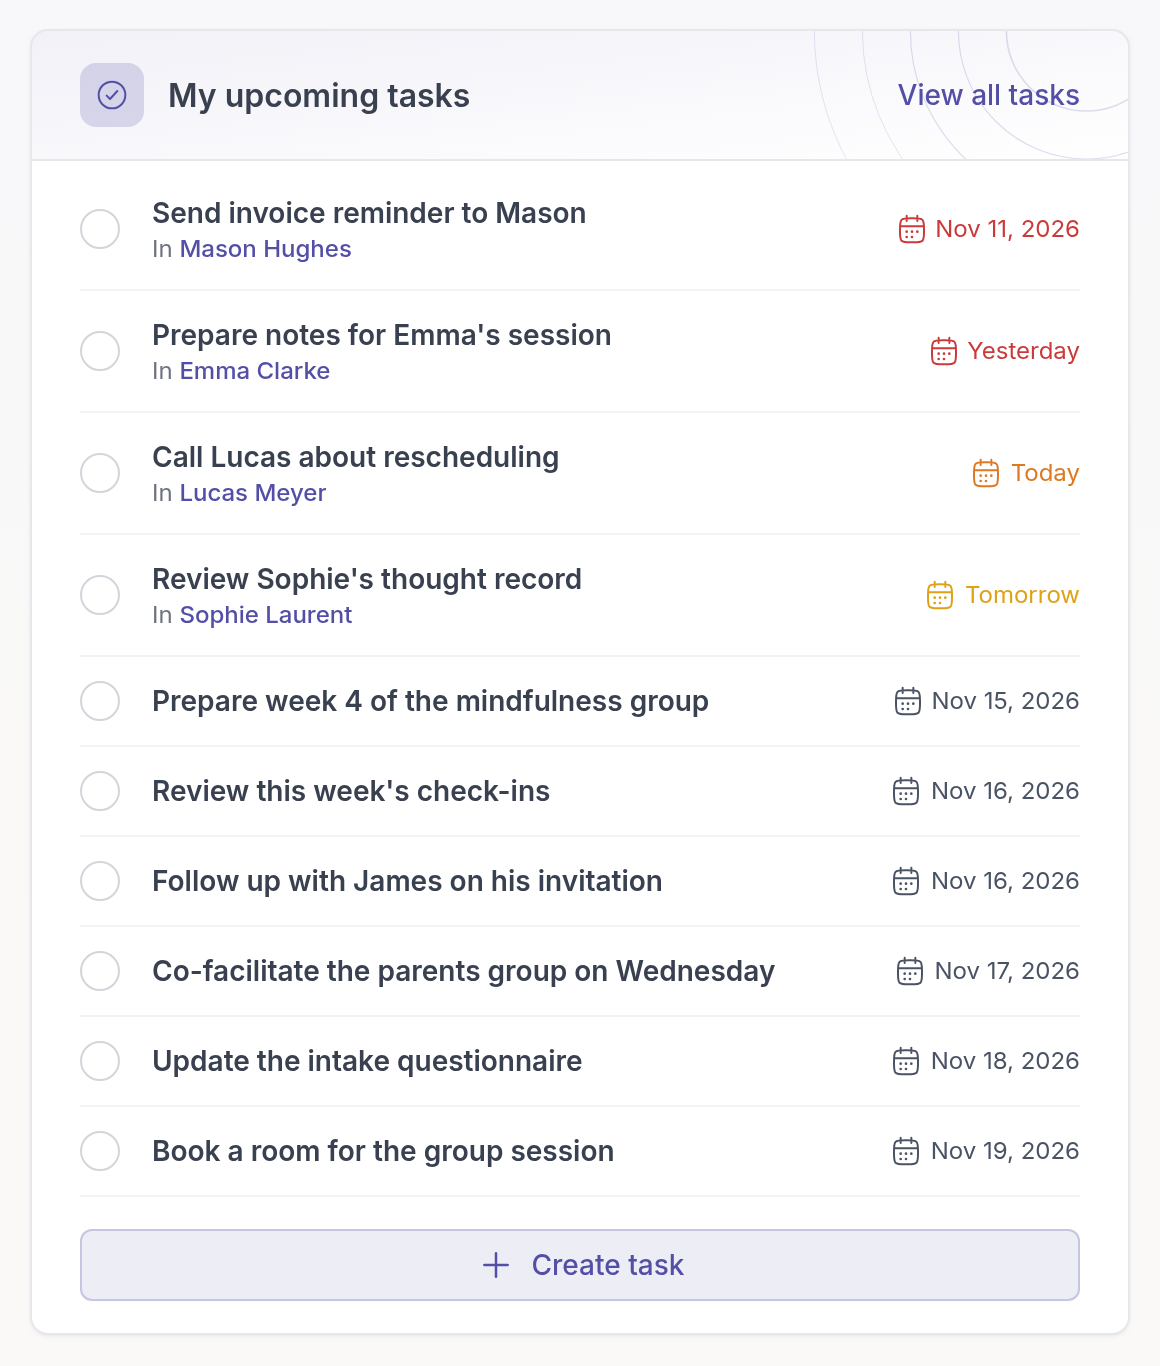
This block lists up to ten open tasks assigned to you, with the earliest due date first. Overdue dates are red. A task about a client shows the client's name below it; click the name to open the client.
- Click the circle in front of a task to mark it as done.
- Click a task to open and edit it.
- Click **Create task** to add a task, for example a reminder to call a client back.
- Click **View all tasks** to open the full **Tasks** page.
## Recent activity
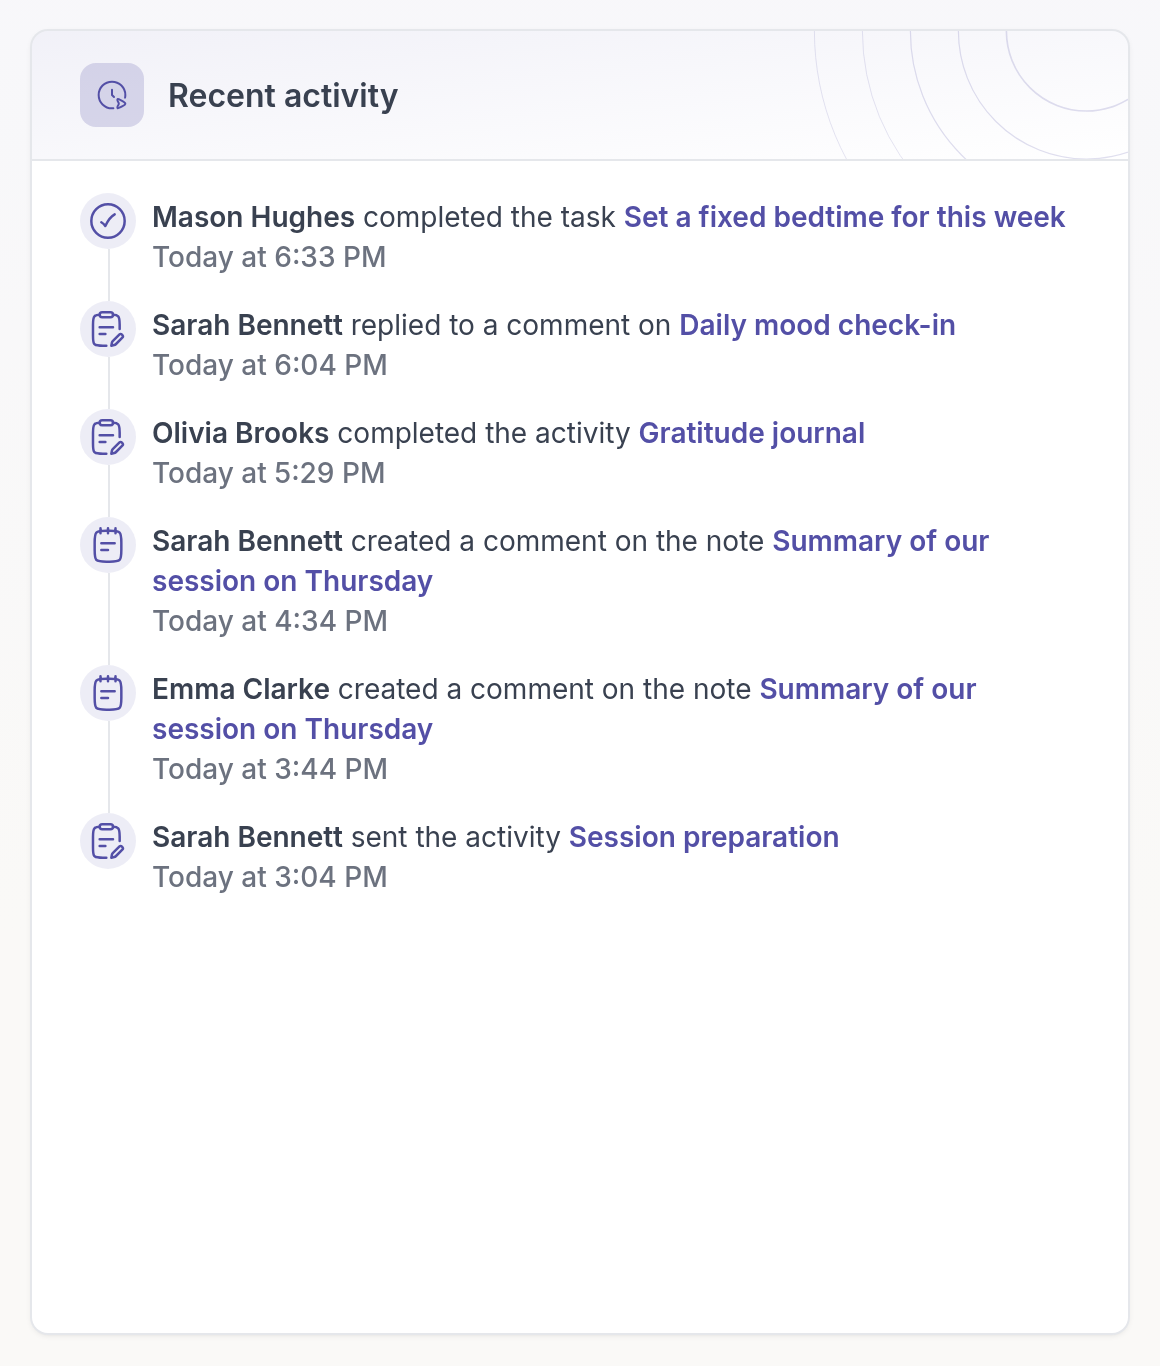
**Recent activity** shows the six latest things that happened in your workspace: a client completed an activity or a task, someone commented on a note, a colleague sent an activity. Click a linked name, such as an activity or a note, to open it.
## Activity updates and Program updates
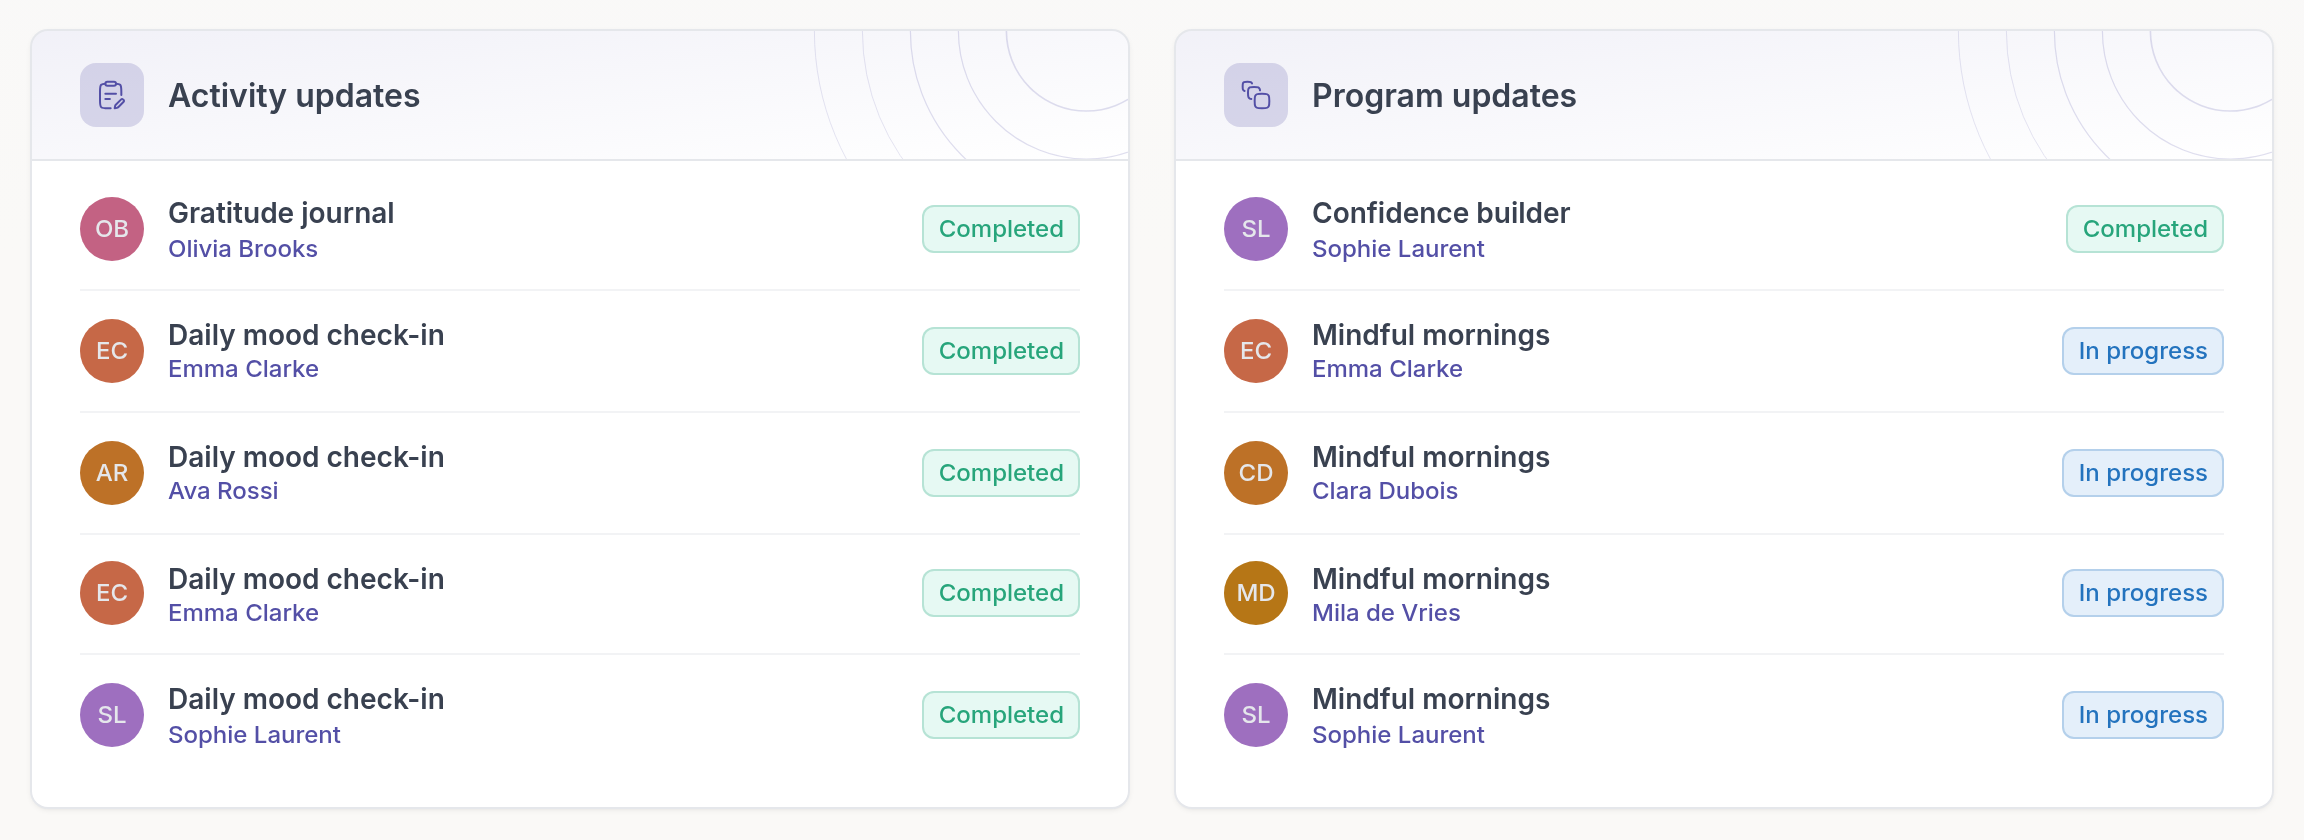
These two blocks show five activities and five programs that your clients are working on. Completed ones come first, then those in progress, then those not started yet, with the most recently changed first. The badge shows the status.
Click an activity or program to see the client's answers and progress, or click the client's name to open the client. See [Review completed activities](https://quenza.com/help/working-with-clients/review-completed-activities/).
---
# Edit your profile
> Add a profile picture and update the name, contact details and biography your clients and colleagues see.
Source: https://quenza.com/help/getting-started/edit-your-profile/
Your profile is what your clients and colleagues see of you in Quenza: your photo, name, biography and contact details. A complete profile helps clients feel they know who they are working with, especially before a first session. Every professional can edit their own profile.
Your profile belongs to the workspace you are in. If you work in more than one workspace, for example your own practice and a team, you can show different details in each one.
## Open your profile
Click your workspace name at the top left and choose **My settings**. The **Profile** tab opens.
## Update your details
The profile has four parts. Change what you want and click **Save** at the bottom of the page.
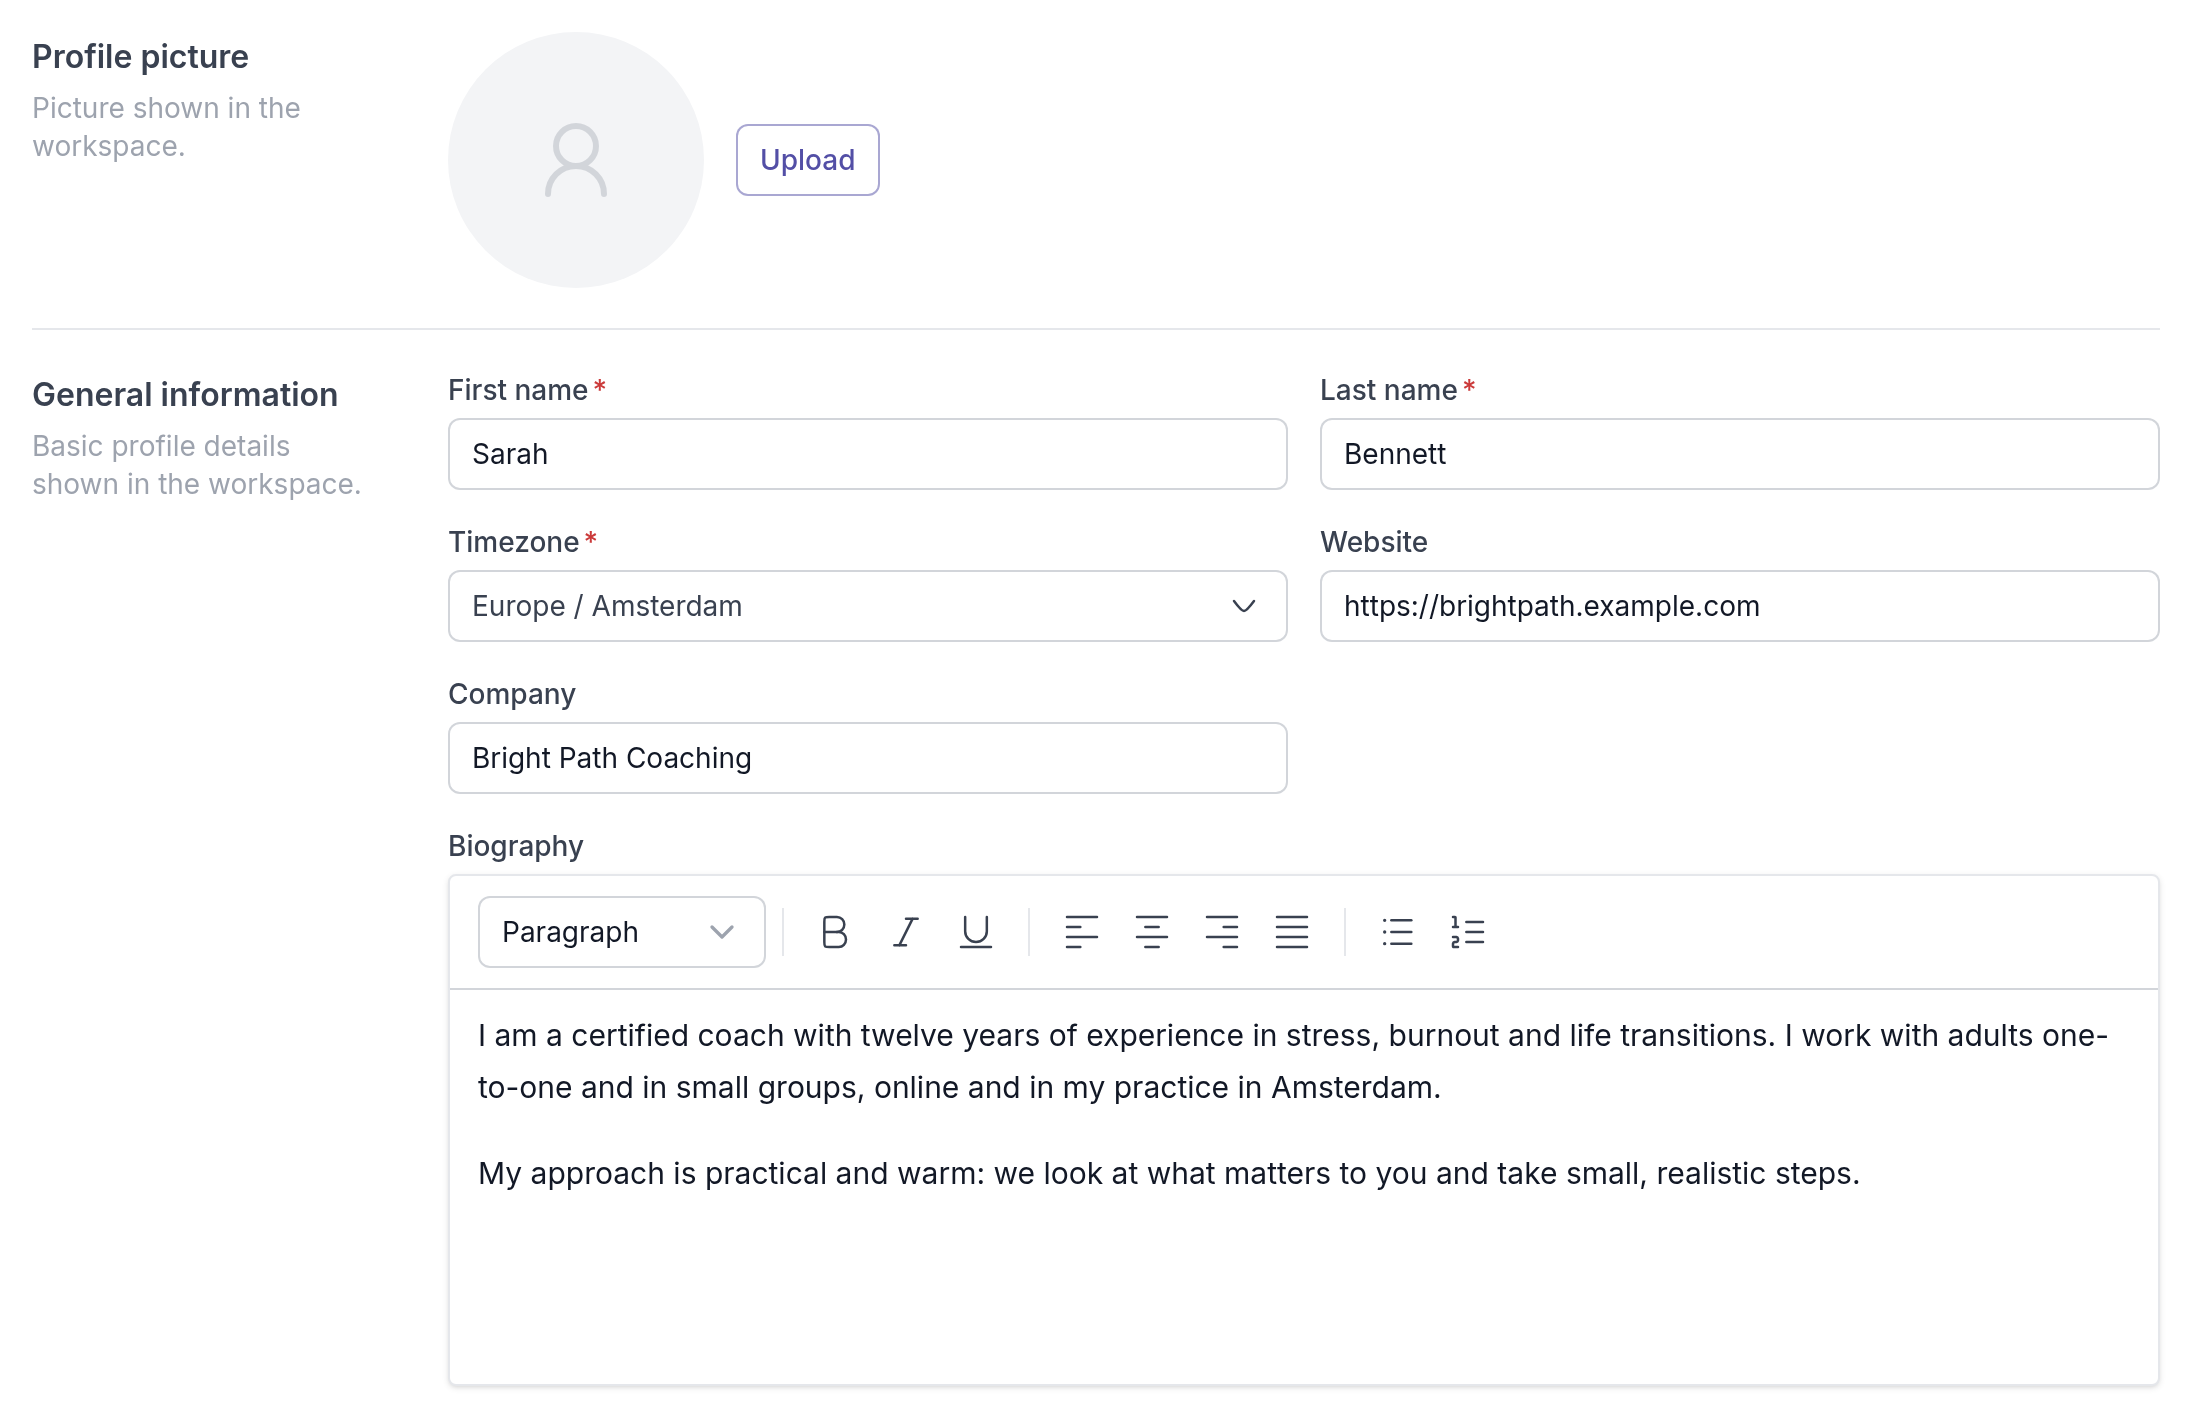
- **General information**: **First name**, **Last name**, **Timezone**, **Website**, **Company** and **Biography**. Set the right timezone, so due dates and reminders match your day.
- **Biography**: a few sentences about your background and approach. For example, Sarah Bennett writes about her twelve years in stress and burnout coaching and how she works, so new clients know what to expect.
- **Communication**: **Workspace Email address** and **Phone**. Clients can see these details.
- **Address**: your address, for your workspace's internal use. It is not shared with clients.
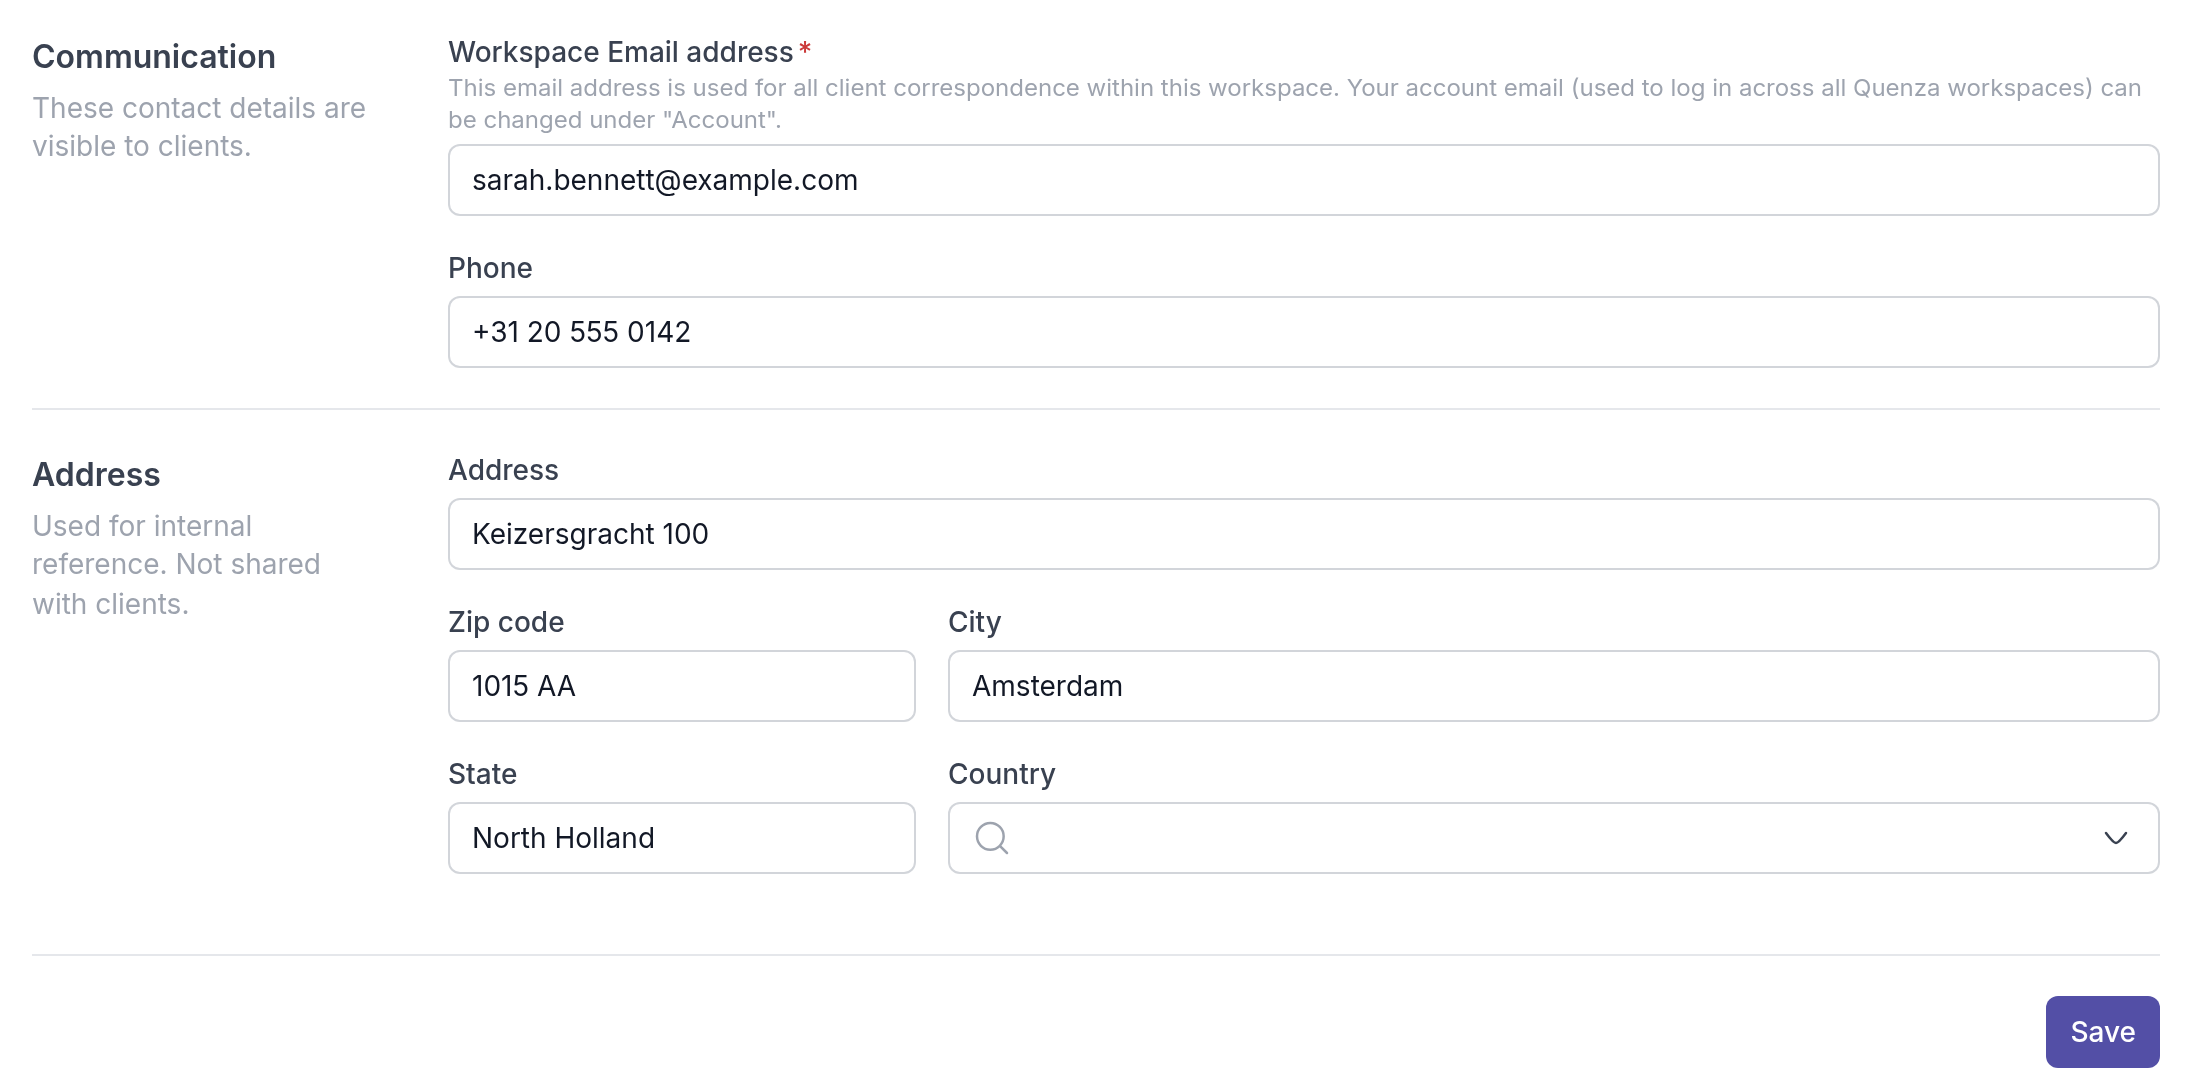
Your new details show everywhere in the workspace, including in your clients' app under **My professional**.
> **Note:** The **Workspace Email address** is used for client emails in this workspace. It is not the email address you sign in with. To change your sign-in email, see [Change email or password](https://quenza.com/help/getting-started/change-email-or-password/).
## Add or change your profile picture
A photo makes chats and shared notes feel more personal for your clients. Without one, they see your initials.
1. Under **Profile picture**, click **Upload**.
2. Choose a JPG or PNG file.
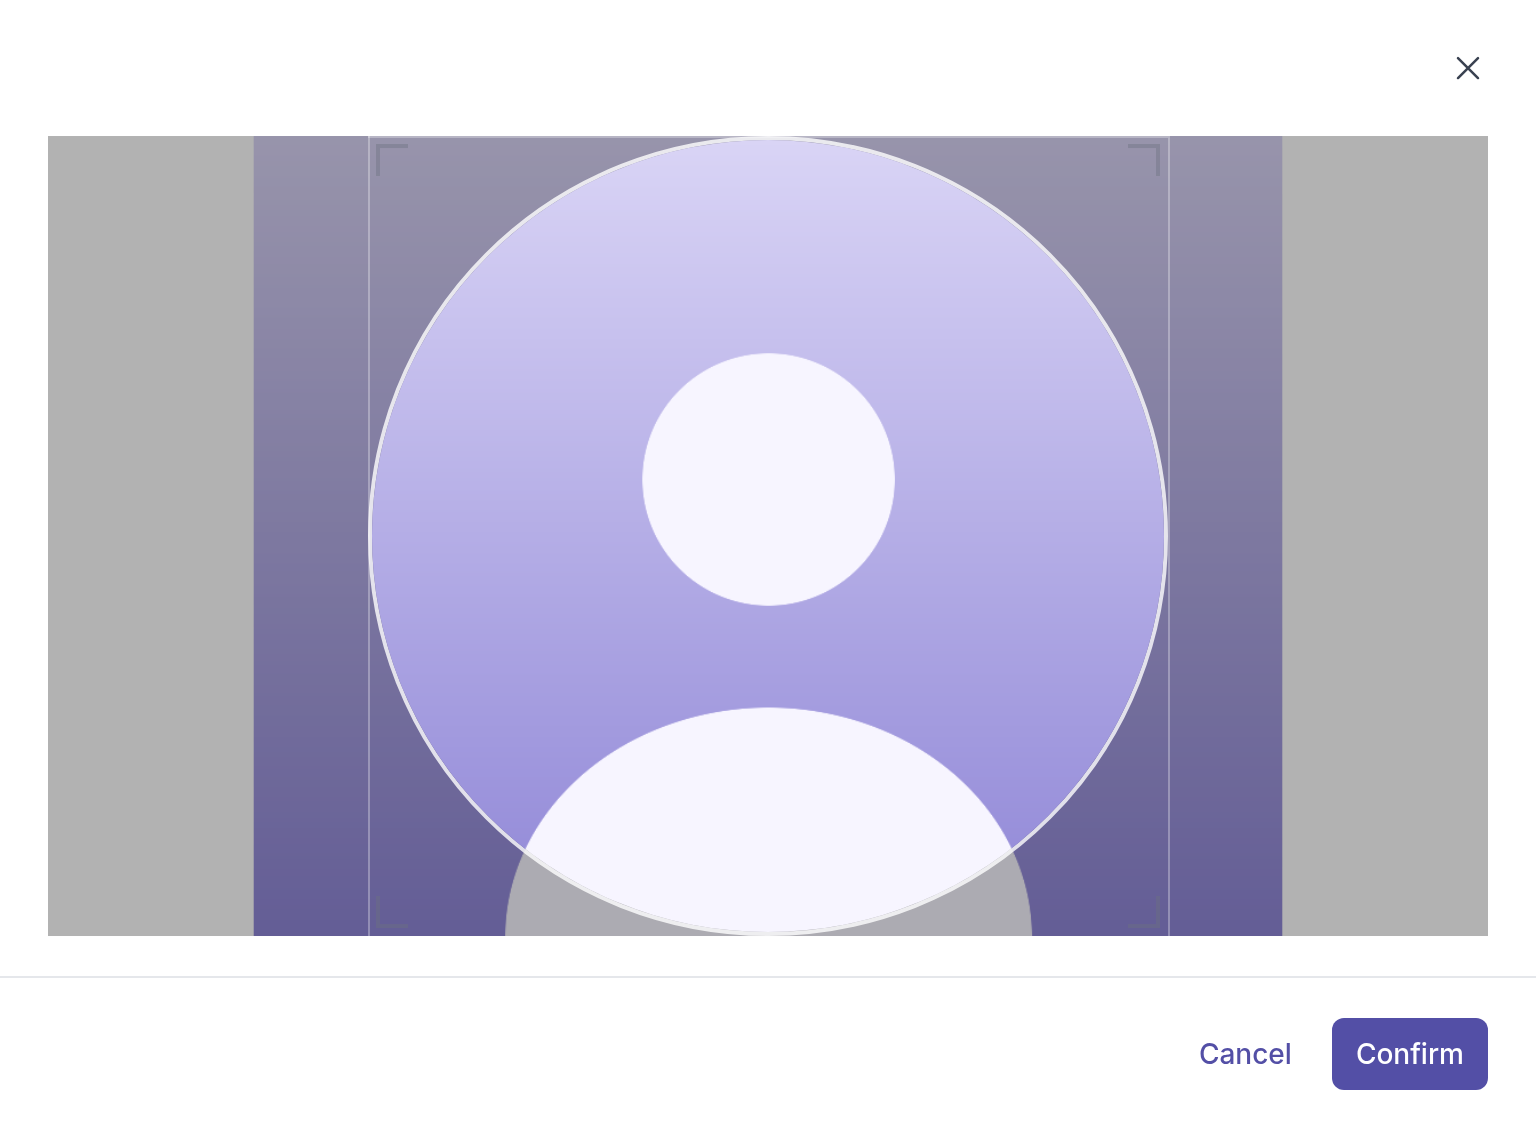
3. Drag and resize the circle to choose the part of the photo you want to show, and click **Confirm**.
4. Click **Save** at the bottom of the page.
To remove your picture, click **Remove** and then **Save**.
## Pictures for clients
You can also add a picture for a client, for example to recognise them faster in your client list. Click **Upload** under **Profile picture** when you add the client or edit their details. See [Add clients](https://quenza.com/help/clients/add-clients/).
Clients can also change or remove their own picture in the client app. See [Edit your client profile](https://quenza.com/help/for-clients/edit-your-profile/).
---
# Mobile app
> Install the Quenza app for iOS or Android, sign in with your Quenza account and get push notifications for chats and client updates on your phone.
Source: https://quenza.com/help/getting-started/mobile-app/
With the Quenza app you can run your practice from your phone: reply to a client's message between sessions, check who completed an activity, or send a task on the way to work. There is one app for professionals and clients, for iPhone, iPad and Android. Every plan includes it.
## Install the app
- iPhone and iPad: [Quenza on the App Store](https://apps.apple.com/app/quenza/id6761123782)
- Android: [Quenza on Google Play](https://play.google.com/store/apps/details?id=com.quenza.nextgen)
Open the app and sign in with the same email address and password you use on the web. If you belong to more than one workspace, you switch between them from the workspace menu, just as on the web. See [Multiple workspaces](https://quenza.com/help/team/multiple-workspaces/).
> **Note:** The app called **Quenza Classic** is for the old Quenza platform. For the new Quenza, install the app called **Quenza**. See [Quenza Classic](https://quenza.com/help/getting-started/quenza-classic/).
## The same Quenza, made for a small screen
The app shows the same pages as Quenza in your browser, laid out for a phone. Your clients, activities, programs, chats and notes are the same everywhere, so you can start something on your computer and finish it on your phone.
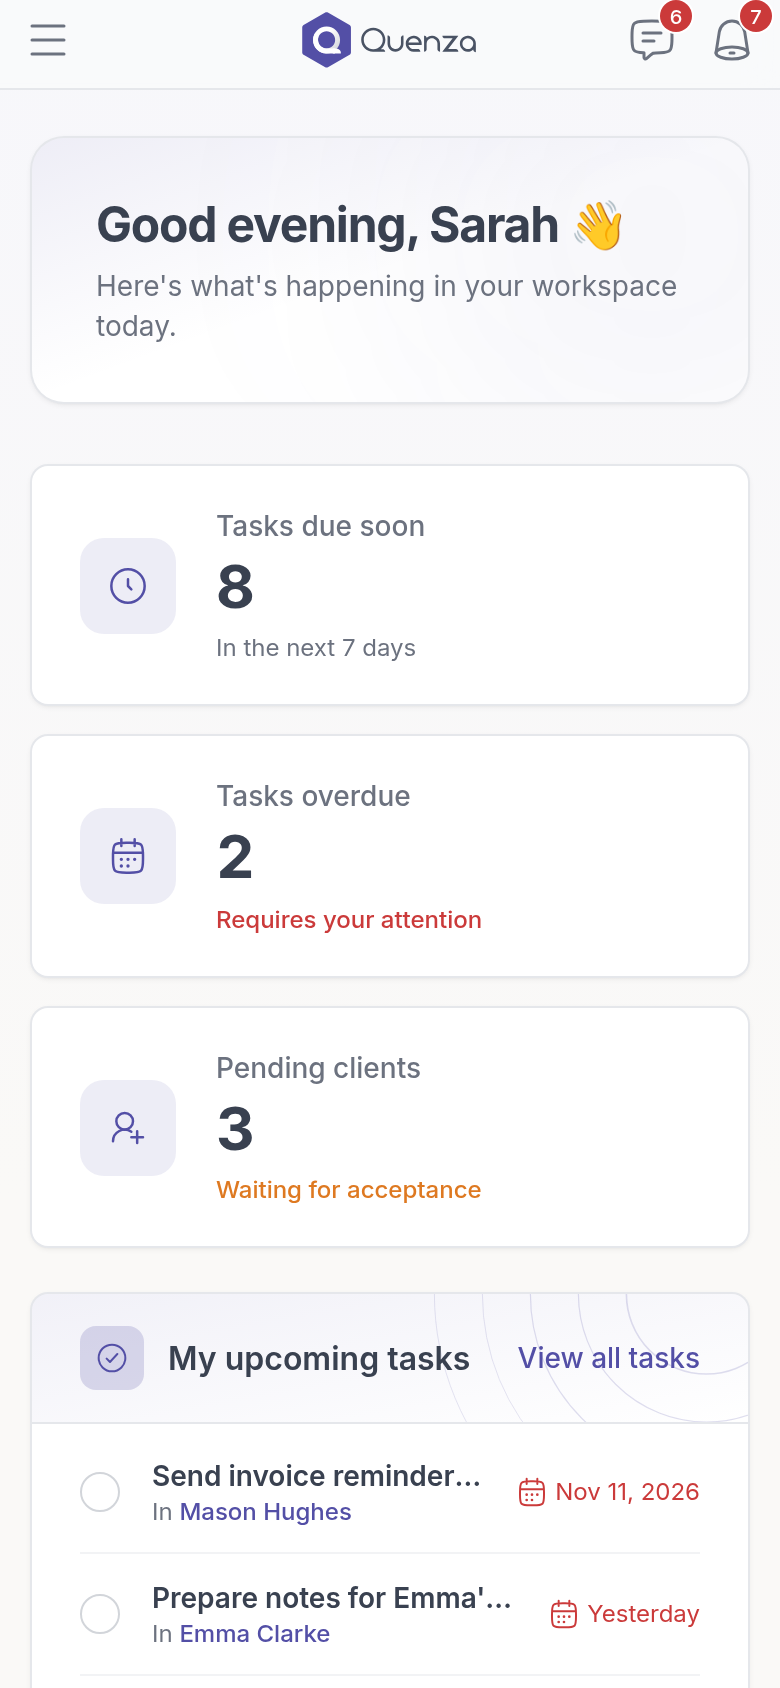
The menu sits behind the button at the top left. The chat and notification buttons are at the top right, each with the number of unread items.
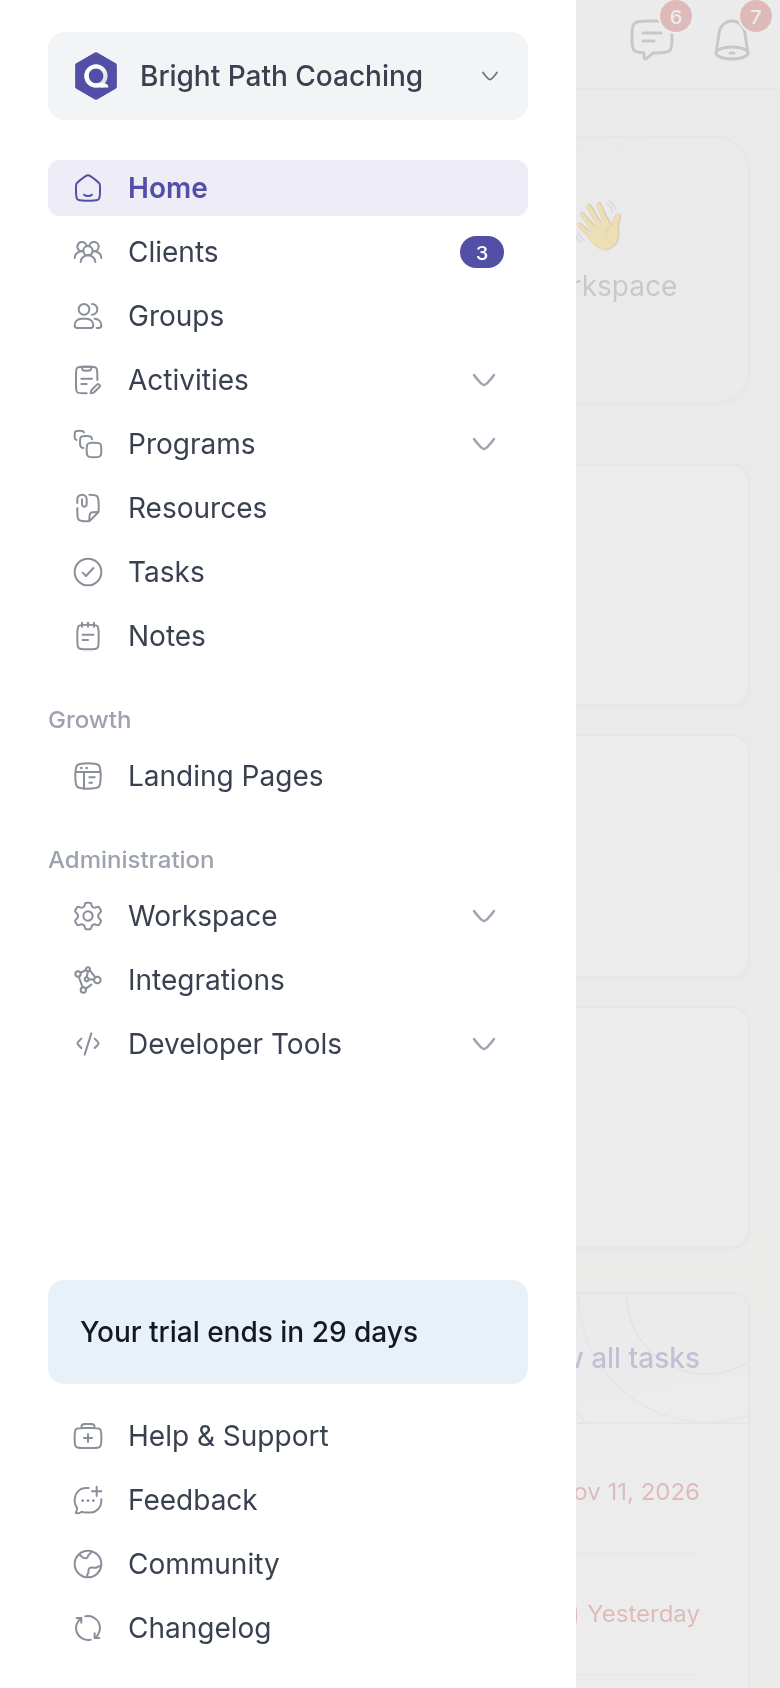
For example, Sarah Bennett gets a push notification on Tuesday evening that Emma Clarke has completed her Daily mood check-in. She opens it from the notification, reads Emma's answers and replies with a short comment, so Emma knows her check-in was seen.
## Push notifications and the app badge
The first time you open the app, your phone asks whether Quenza may send notifications. Allow it to get a push notification when, for example:
- a client or colleague sends you a chat message,
- a client completes an activity, a program or a task,
- someone comments, shares a note or a file with you, or assigns you a task.
Tap a notification to open the item it is about. The app icon shows how many unread chats and notifications you have: a number on iPhone and iPad, a dot on most Android phones.
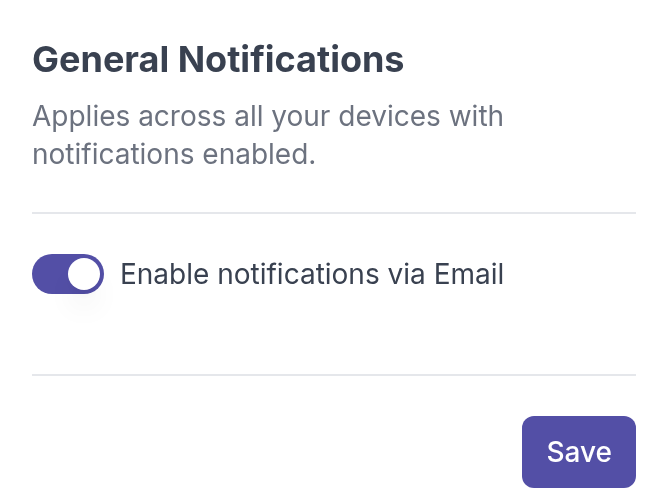
To stop push notifications, turn them off for Quenza in your phone's settings. The switch **Enable notifications via Email** under **Settings → Notifications** in Quenza only controls emails; push notifications keep coming when you turn it off. See [Notification preferences](https://quenza.com/help/chat-and-notifications/notification-preferences/).
## What you do on the web
Your subscription is managed only in the browser. In the app, **Billing** is not in the menu, and the subscription page shows **Manage your subscription on the web**. To choose a plan, upgrade, change your payment details or download invoices, sign in at [my.quenza.com](https://my.quenza.com) on a computer or in your phone's browser. See [Plans and pricing](https://quenza.com/help/billing/plans-and-pricing/).
If you use a PIN, the app locks when you leave it and asks for your PIN when you come back. See [Set your PIN](https://quenza.com/help/getting-started/set-your-pin/).
## Your clients use the same app
Your clients install the same Quenza app and sign in with their own account. They then see the client app, with My Day, their activities, tasks and chats. The invitation email you send them has links to both app stores. See [Get started as a client](https://quenza.com/help/for-clients/get-started/).
---
# Change email or password
> Change the email address you sign in with, or choose a new password, in your Quenza account while you are signed in.
Source: https://quenza.com/help/getting-started/change-email-or-password/
Your sign-in email address and password belong to your Quenza account, not to a workspace. Change them in your account while you are signed in, and the change applies to every workspace you use, in the browser and in the app.
To make sure nobody else changes them on an unattended computer, Quenza asks for your current password first.
> **Tip:** Forgot your password and can't sign in? Use **Forgot password?** on the sign-in page instead. See [Reset your password](https://quenza.com/help/troubleshooting/reset-your-password/).
## Change your sign-in email address
For example, Sarah Bennett moves from her personal address to an address of her practice. From then on she signs in with the new address, and emails about her account go there.
1. Click your workspace name at the top left and choose **My account**. Your account opens in a new browser tab.
2. Open the **Settings** tab.
3. Under **Communication**, enter the new address under **Email address**.
4. Click **Change email**.
5. In the **Confirm it's you** window, enter your **Current Password** and click **Submit**.
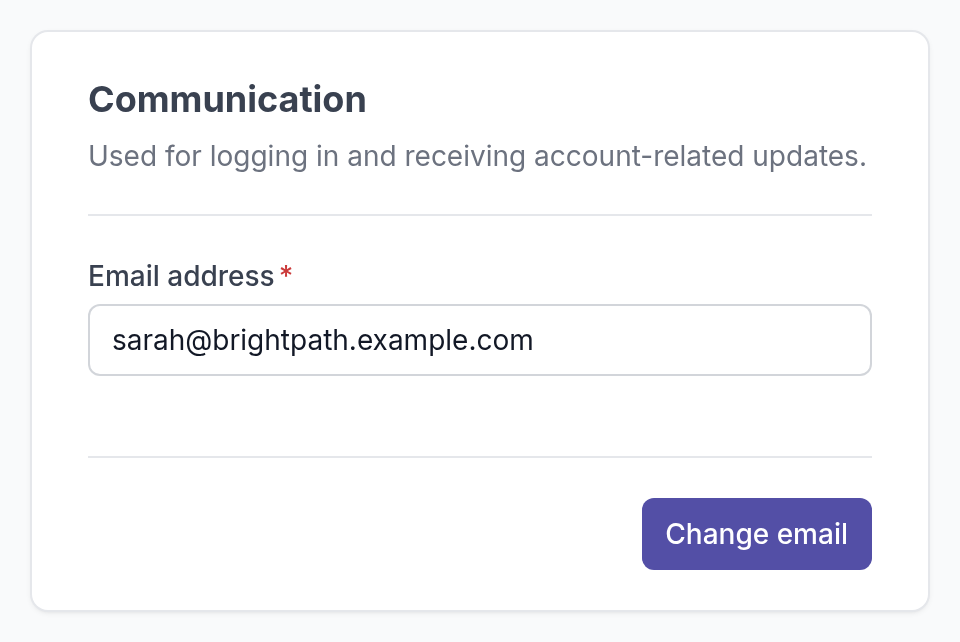
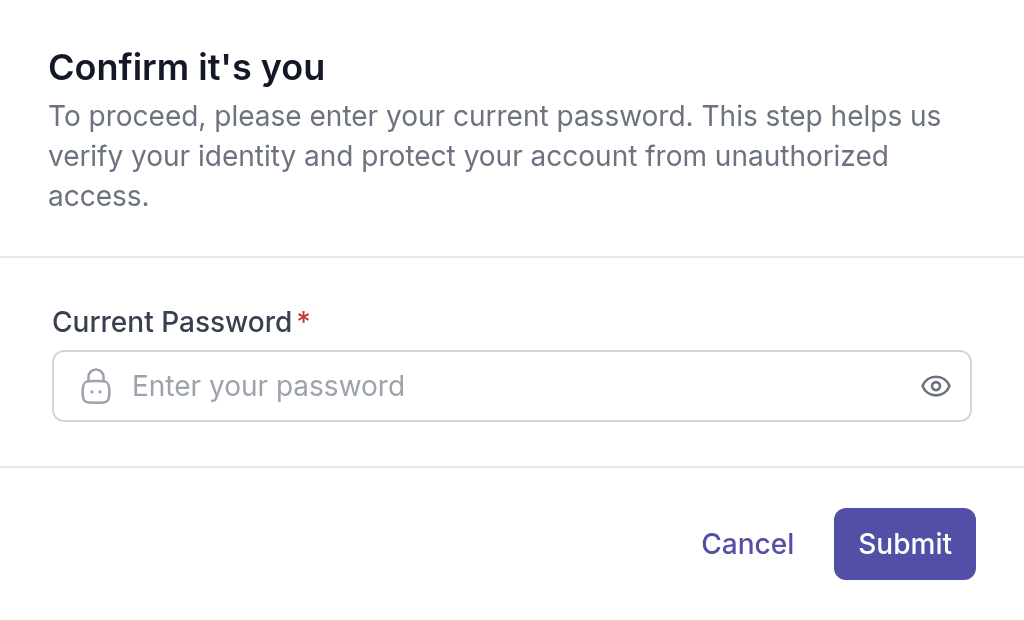
The new address works straight away; Quenza does not send a confirmation email to it first. Check the spelling before you click **Submit**. An address that another Quenza account already uses can't be chosen.
> **Note:** This is not the email address your clients see. Each workspace has its own **Workspace Email address** on your profile, used for client emails in that workspace. See [Edit your profile](https://quenza.com/help/getting-started/edit-your-profile/).
## Choose a new password
1. Click your workspace name at the top left and choose **My account**.
2. Open the **Security** tab.
3. Under **Password**, enter your new password under **New Password** and again under **Password Confirmation**.
4. Click **Update password**.
5. In the **Confirm it's you** window, enter your **Current Password** and click **Submit**.
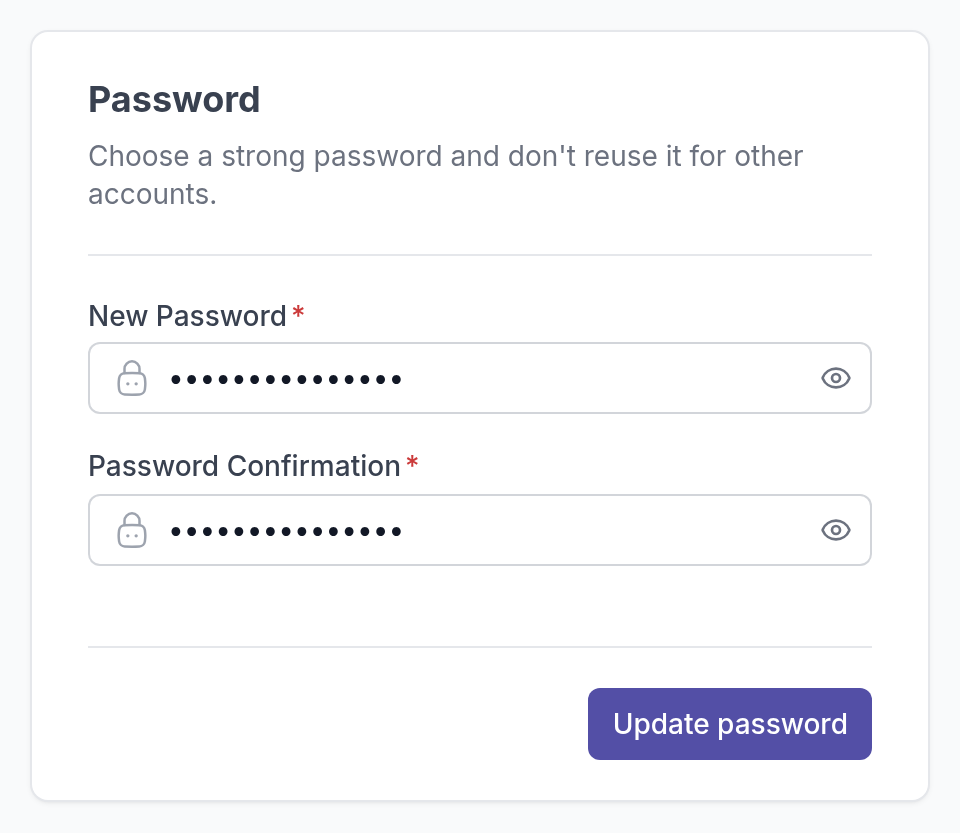
A password needs at least 8 characters, with at least one letter and one number. Choose one you don't use anywhere else. Quenza shows **The password has been changed successfully**, and you use the new password the next time you sign in, also in the app.
The **Security** tab is also where you turn your PIN on or off. See [Set your PIN](https://quenza.com/help/getting-started/set-your-pin/).
---
# Set your PIN
> Lock Quenza with a 4-digit PIN when you step away, and change or turn off the PIN in your account.
Source: https://quenza.com/help/getting-started/set-your-pin/
A PIN protects your clients' information when you step away from your screen. With a PIN turned on, Quenza locks after 30 minutes without activity, and you unlock it with your 4-digit code instead of signing in again. In the mobile app, Quenza also locks when you leave the app.
This helps in a shared practice room or on a laptop you take to sessions: if you walk away between clients, nobody who sits down at your computer can read a client's notes or chats.
Your PIN belongs to your Quenza account, so it works in every workspace you use. You may already have set one when you started your trial.
## Turn on the PIN or change it
1. Click your workspace name at the top left and choose **My account**. Your account opens in a new browser tab.
2. Open the **Security** tab.
3. In the **PIN** section, turn on **Activate PIN**.
4. Enter 4 digits under **New PIN Code** and the same 4 digits under **PIN Confirmation**. When they match, Quenza shows **All set! You are ready to go.**
5. Click **Update PIN**.
6. In the **Confirm it's you** window, enter your **Current Password** and click **Submit**.

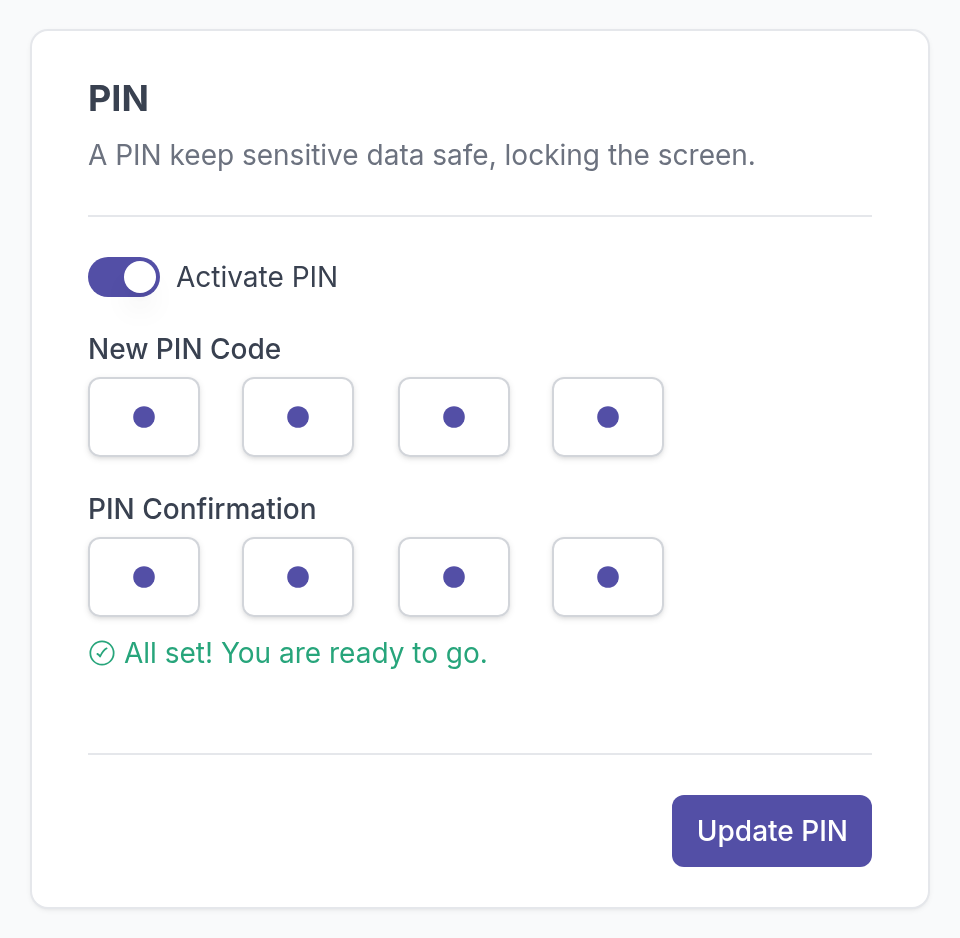
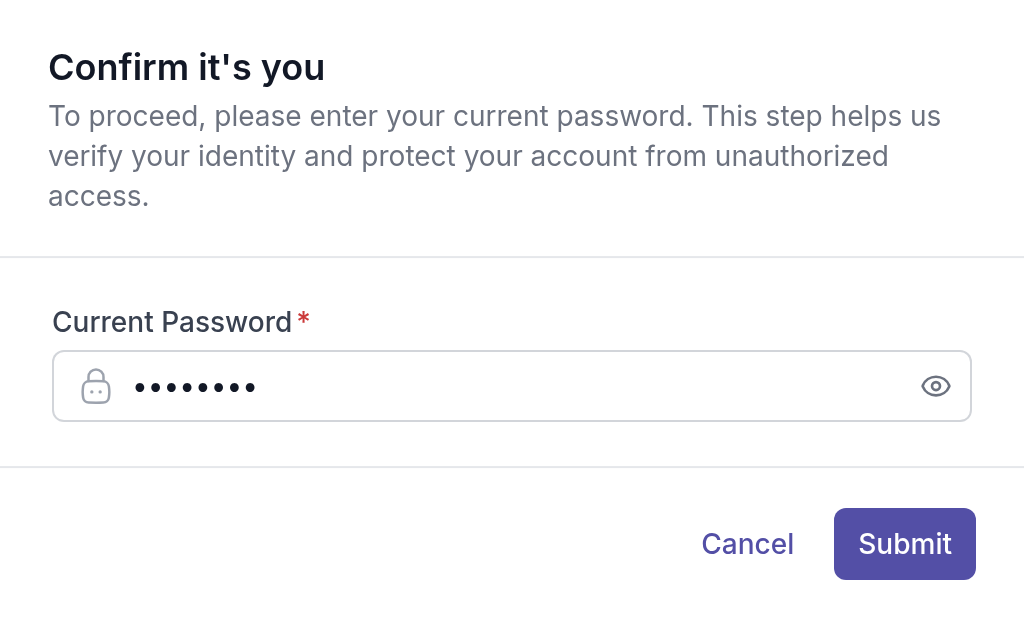
To change your PIN later, follow the same steps and enter the new code.
## Turn off the PIN
On the **Security** tab, turn off **Activate PIN**, click **Update PIN**, and confirm with your **Current Password**. Quenza then no longer locks when you are inactive.
## Unlock Quenza
When Quenza is locked, it shows **Locked** and asks for your PIN. Enter your 4-digit code to continue where you left off.
If you enter a wrong PIN three times, Quenza asks for your password instead. After three wrong passwords, you are signed out. If you forgot your password, see [Reset your password](https://quenza.com/help/troubleshooting/reset-your-password/).
Your password is on the same **Security** tab. See [Change email or password](https://quenza.com/help/getting-started/change-email-or-password/).
---
# Change language
> Choose the language Quenza uses for you, and set the language of clients and colleagues you invite.
Source: https://quenza.com/help/getting-started/change-language/
You can use Quenza in English, Spanish, Dutch, German, French, Italian, Portuguese or Finnish. Everyone chooses their own language: you can work in one language while your clients and colleagues use another.
For example, Sarah Bennett works in English, while her client Mila de Vries prefers Dutch. Sarah writes her activities as usual; Mila sees the buttons, menus and Quenza's emails in Dutch. The content you write yourself, such as an activity's questions or a chat message, is not translated.
## Change your own language
Your language belongs to your Quenza account, so it applies in every workspace you use.
1. Click your workspace name at the top left and choose **My account**. Your account opens in a new browser tab.
2. Open the **Settings** tab.
3. In the **Language** section, choose a language from the **Language** list.
4. Click **Change language**.

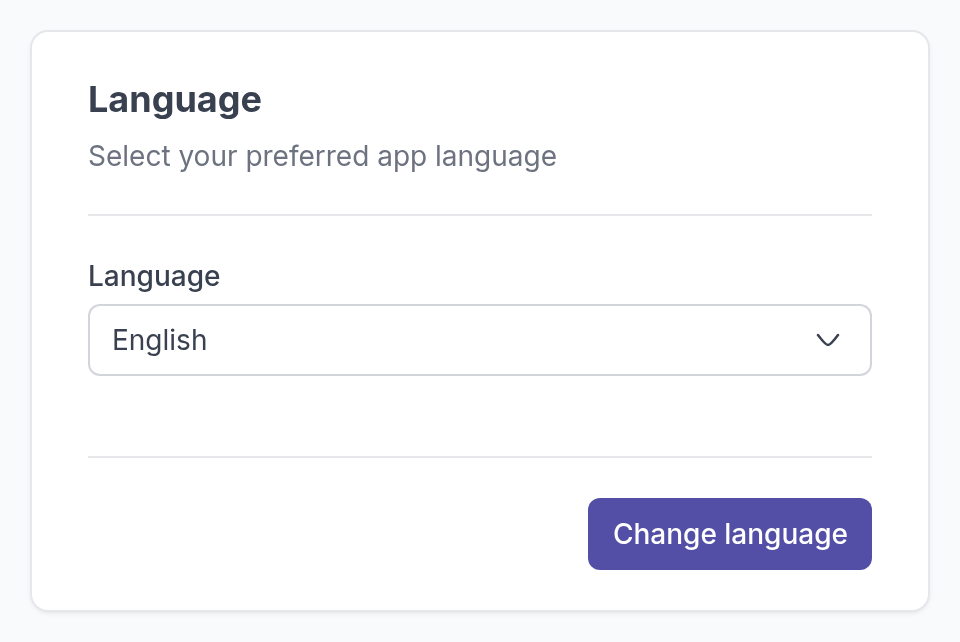
Quenza switches to the new language right away, including menus, buttons and notifications.
## Choose the language for a new client or colleague
When you add a client or invite a colleague, you choose their language under **Language Settings**. Their invitation email, account setup and app are then in that language from the start.
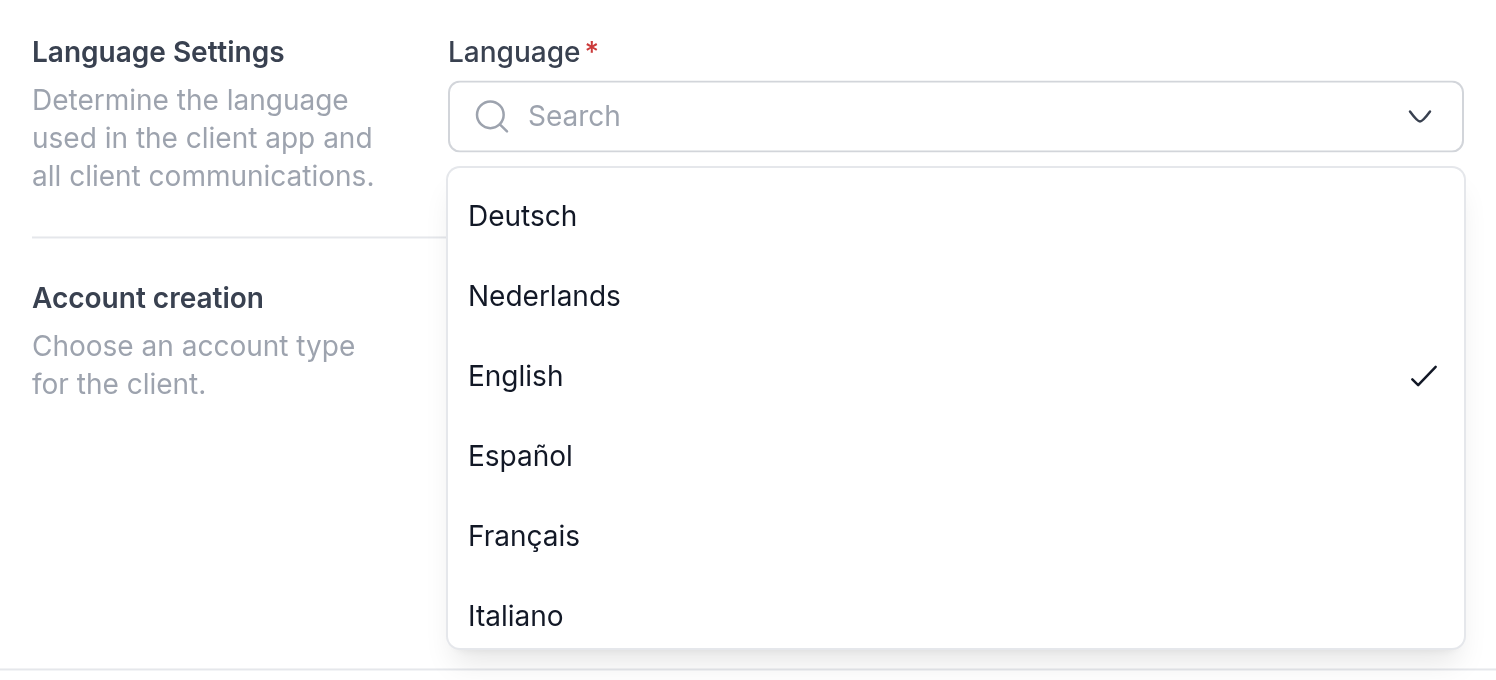
For a client, this language is also used for all emails Quenza sends them. See [Add clients](https://quenza.com/help/clients/add-clients/) and [Add team members](https://quenza.com/help/team/add-team-members/).
## How clients change their language
Clients can change their language themselves in the client app, under **My Profile**. See [Edit your client profile](https://quenza.com/help/for-clients/edit-your-profile/).
## Report a translation problem
If a text in your language is wrong or unclear, contact our support team and tell us where you saw it. Your feedback helps us improve the translations for everyone.
---
# View as client
> Use your demo client to try activities, tasks and notes and see exactly what your clients see.
Source: https://quenza.com/help/getting-started/view-as-client/
Your workspace has a demo client in your own name. Use it to try out your content and see the client app exactly as your clients will, without a second email address or a test account. Every professional in the workspace has their own demo client, which only they can see.
It is the quickest way to check your work before a client sees it. For example, before Sarah Bennett sends her new Sleep diary to the Mindfulness group, she sends it to her demo client first, fills it out herself, and fixes a question that turned out to be unclear.
## Find your demo client
Go to **Clients** in the main menu. Your demo client has your name and the label **Demo client**, at the top of the list.
## Try something out
Send something to your demo client the same way you would to a real client, for example:
- [Send an activity](https://quenza.com/help/working-with-clients/send-an-activity/) or [a program](https://quenza.com/help/working-with-clients/send-a-program/).
- [Create a task](https://quenza.com/help/working-with-clients/tasks/) for your demo client.
- [Share a note](https://quenza.com/help/working-with-clients/notes/) or start a [chat](https://quenza.com/help/chat-and-notifications/chat/).
## Open the client app as your demo client
On the **Clients** page, click **View as client** next to your demo client's name. On a smaller screen the button is called **Open**. You can also open the demo client's page and choose **View as client** in the **⋯** menu at the top right.
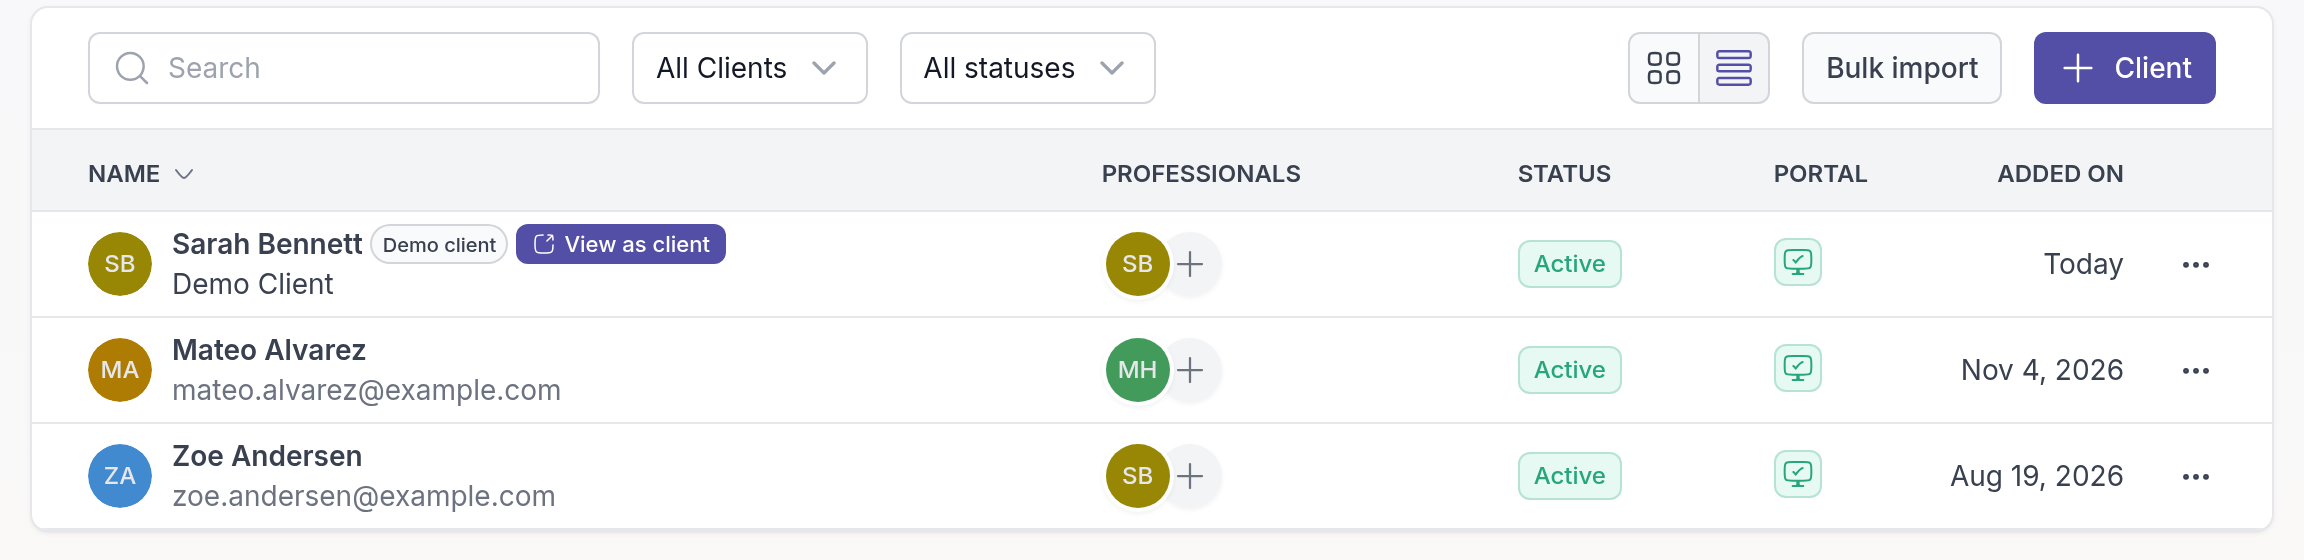
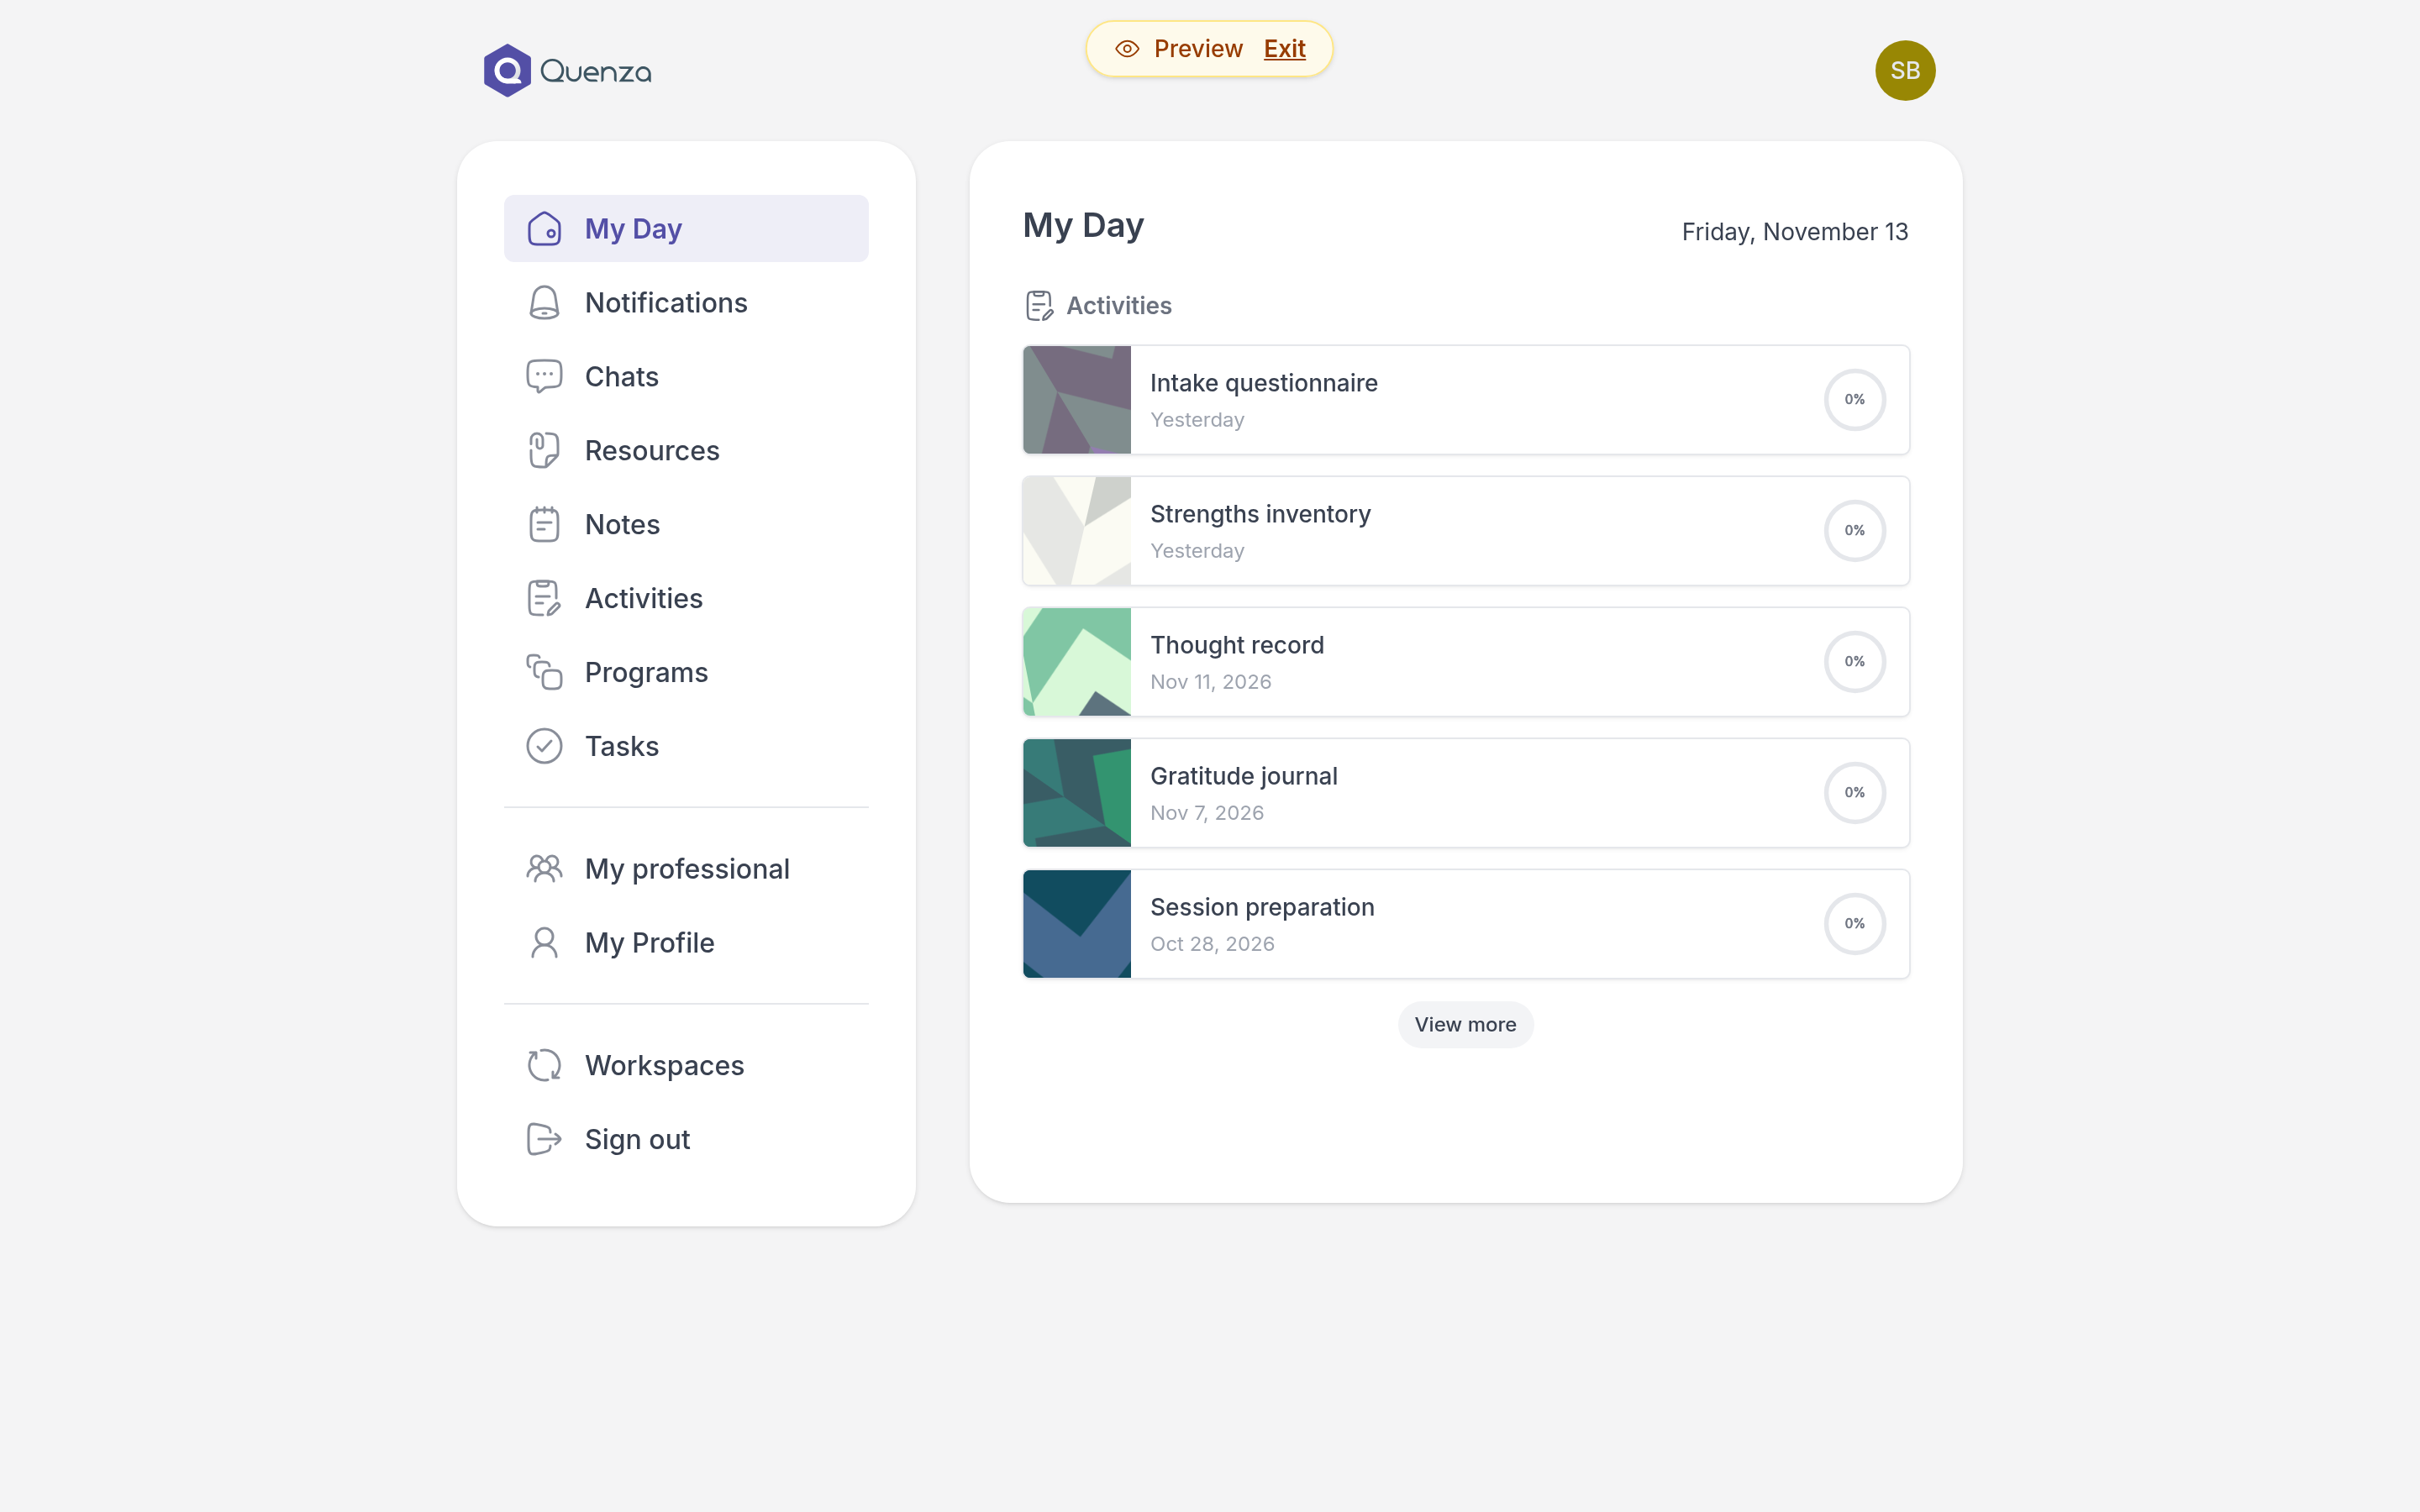
The client app opens, signed in as your demo client. A **Preview** label at the top of the screen reminds you that you are looking at the demo client. Complete the activity, tick off the task or reply in the chat, just as a client would. Your answers then show up in your workspace like a real client's, so you also see what you get back.
To go back to your own workspace, click **Exit** next to **Preview**.
## What is different about the demo client
- The demo client does not count towards your [client limit](https://quenza.com/help/billing/client-limits/), so you can keep it as long as you like.
- You cannot archive or delete the demo client, or change its portal access.
- Only you see your own demo client. Colleagues in your workspace see their own demo client instead.
---
# The new Quenza
> See what the new Quenza adds compared with Quenza Classic, from tasks and groups to chat, teams and branding, with links to each feature.
Source: https://quenza.com/help/getting-started/the-new-quenza/
The new Quenza is a completely rebuilt version of Quenza. It started as a way to send exercises to clients. Now it covers more of your work with clients: messaging, teams, branding and integrations. This page gives an overview of what it offers. If you are coming from Quenza Classic, also read [Quenza Classic and the new Quenza](https://quenza.com/help/getting-started/quenza-classic/).
## Why we rebuilt Quenza
Over the years, practitioners asked for much more than the original Quenza was built to do: chat, groups, teams, custom branding, integrations and richer content. Instead of stretching the old platform further, we built a new one from scratch. The new Quenza is faster, and new features are added to it regularly.
## Work with clients
- **Home page**: start your day with your tasks, pending clients and your clients' latest progress in one place. See [Home page](https://quenza.com/help/getting-started/home-page/).
- **Tasks**: give clients small to-dos between sessions, and make them repeat. See [Create and assign tasks](https://quenza.com/help/working-with-clients/tasks/) and [Set up recurring tasks](https://quenza.com/help/working-with-clients/recurring-tasks/).
- **Changes after completion**: clients can change their answers after they complete an activity, and you are notified. See [Review a client's completed activity](https://quenza.com/help/working-with-clients/review-completed-activities/).
- **Send to many clients at once**: send an activity or program to several clients or a whole group in one go. See [Send an activity to a client](https://quenza.com/help/working-with-clients/send-an-activity/).
- **Groups**: work with groups of clients and send content to everyone in a group. See [Work with groups](https://quenza.com/help/clients/groups/).
- **Chat**: message clients, groups and colleagues. See [Chat](https://quenza.com/help/chat-and-notifications/chat/).
- **Archiving**: archive clients you no longer work with to keep your client list tidy. See [Archive a client](https://quenza.com/help/clients/archive-clients/).
## Create content
- **Files in activities**: add files for the client to read, and ask clients to upload files of their own with the **File Upload** element. See [Build an activity](https://quenza.com/help/content/build-an-activity/).
- **Pre-made content**: start from a library of ready-to-use activities and programs. See [Pre-made content](https://quenza.com/help/content/pre-made-content/).
## Work as a team
- **Teams**: invite colleagues and give each of them a role. See [Add a team member](https://quenza.com/help/team/add-team-members/) and [Member roles and permissions](https://quenza.com/help/team/roles-and-permissions/).
- **Multiple workspaces**: belong to more than one workspace with one account, and switch between them. See [Create or switch workspaces](https://quenza.com/help/team/multiple-workspaces/).
## Grow and brand your practice
- **Landing pages and signup forms**: let new clients sign up themselves. See [Create a landing page](https://quenza.com/help/new-clients/landing-pages/).
- **Your own branding**: use your own logo, domain and sender email address. See [Brand your practice](https://quenza.com/help/branding/logo/).
- **Integrations**: connect Calendly or Google Calendar, or build your own integrations with the [API](https://quenza.com/help/integrations/api/).
## Languages and apps
- **Your language**: you and each of your clients choose their own language. See [Change your language](https://quenza.com/help/getting-started/change-language/).
- **Mobile app**: you and your clients can use the Quenza app for iOS and Android, with push notifications, or Quenza in the browser on any phone, tablet or computer. See [Mobile app](https://quenza.com/help/getting-started/mobile-app/).
Which features you can use depends on your plan. See [Compare plans and pricing](https://quenza.com/help/billing/plans-and-pricing/).
---
# Quenza Classic
> Learn how Quenza Classic and the new Quenza differ, and how to ask our team to move your account and content to the new Quenza.
Source: https://quenza.com/help/getting-started/quenza-classic/
If you have used Quenza for a while, you may be on Quenza Classic, the original version of Quenza. The new Quenza is a separate product, built from scratch. This page explains how the two relate and how to move across when you are ready.
## Two separate products
Quenza Classic and the new Quenza are not two versions of the same app. They run side by side:
- **Separate apps.** The new Quenza runs at [my.quenza.com](https://my.quenza.com) and has its own mobile app, called **Quenza**, for you and your clients. The app called **Quenza Classic** is for the old platform. See [Mobile app](https://quenza.com/help/getting-started/mobile-app/).
- **Separate logins.** You sign in to each one separately. An account on one does not give you an account on the other.
- **Separate subscriptions.** A Quenza Classic subscription does not cover the new Quenza, and the other way around.
You can use both at the same time. Most people close their Classic account once they have moved across and settled in, so they don't pay for two subscriptions.
> **Tip:** Not sure which one you use? If you joined before May 27, 2025, you are probably on Quenza Classic.
## Why there is a new Quenza
Quenza Classic was built to do one thing well: deliver exercises and programs to clients. Practitioners asked for much more, such as chat, groups, teams, branding and integrations, and the original platform was not designed for that. So we built the new Quenza on a completely new foundation. It is faster, and new features are added to the new Quenza first. See [What's new in Quenza](https://quenza.com/help/getting-started/the-new-quenza/).
Quenza Classic is still supported. There is no deadline to move: you move when you are ready.
## Move to the new Quenza
You don't move anything yourself. You tell us you are ready, and our team moves your account across for you.
1. [Start a free trial](https://quenza.com/help/getting-started/start-your-free-trial/) of the new Quenza, if you don't have an account there yet.
2. In Quenza Classic, go to **Settings** and open **Migration** in the submenu.
3. Fill out the form and submit it.
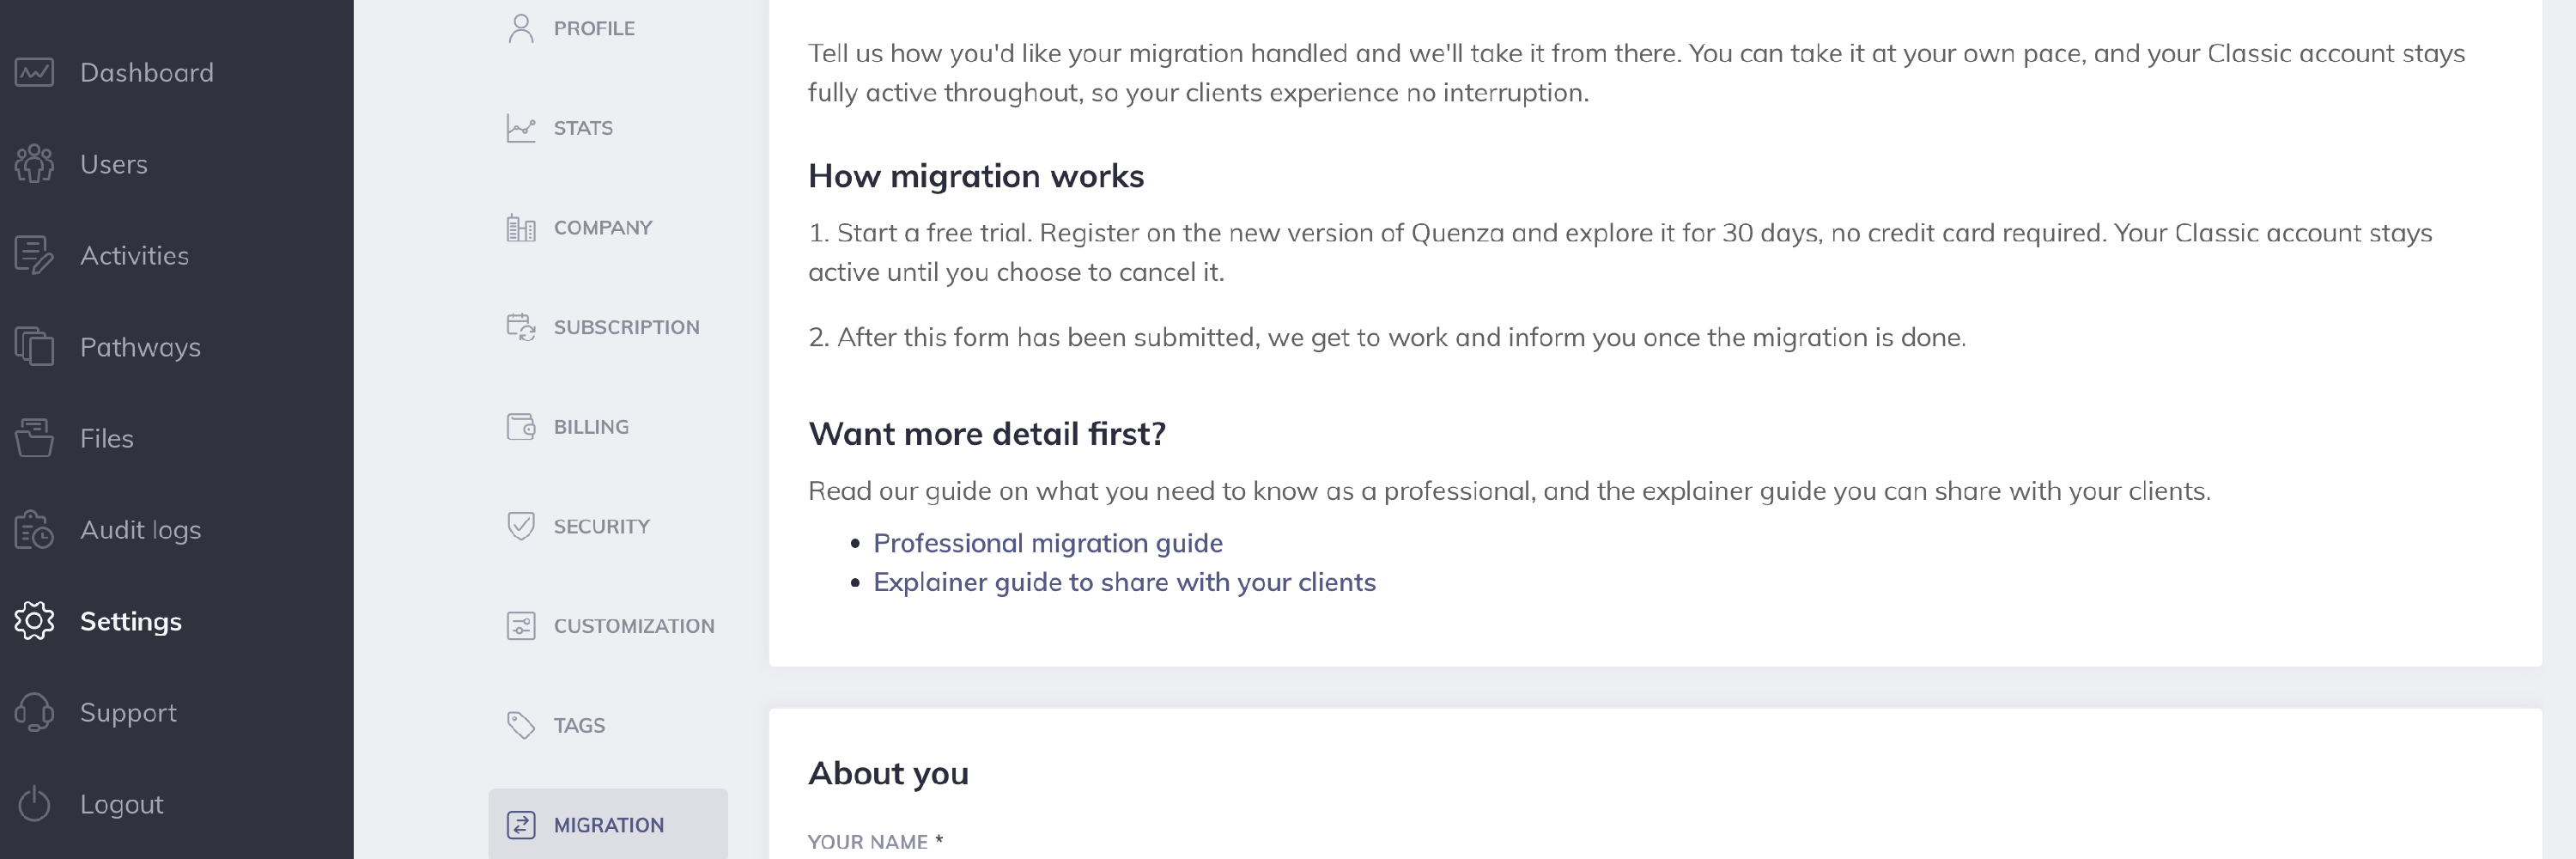
We let you know when the migration is done. You can keep using Quenza Classic the whole time.
## What to expect
- **Your content comes across.** Your clients, activities, programs and other account content move to the new Quenza. You don't rebuild anything.
- **No downtime.** You and your clients can carry on as normal while the migration runs.
- **You choose your plan.** After migrating, you choose one of the current plans. You are not tied to your Classic plan. See [Compare plans and pricing](https://quenza.com/help/billing/plans-and-pricing/).
- **Your Classic account is yours to keep or close.** Leave it active, or close it once you are settled in.
- **Your clients take a few small steps.** They download the new app or sign in at [my.quenza.com](https://my.quenza.com). You can share the [client migration guide](https://quenza.com/quenza-classic-migration-for-clients) with them.
- **Something looks wrong?** Contact our support team. Your Classic data is not deleted straight away, so we can make adjustments.
For all details, read the [Quenza Classic migration guide](https://quenza.com/quenza-classic-migration-guide).
---
# Glossary
> The words Quenza uses, from activities and programs to guests, landing pages and webhooks, each explained in a sentence with a link to more.
Source: https://quenza.com/help/getting-started/glossary/
New to Quenza, or not sure what a word in the app means? Here is each term in a sentence or two, with a link to the article that explains it in full. In the articles, terms with a dotted underline show the same explanation when you point at them or tap them.
---
# Plan your switch
> Move your practice to Quenza from another tool or a spreadsheet in five steps, from rebuilding your exercises to inviting your clients.
Source: https://quenza.com/help/switch-to-quenza/plan-your-switch/
Moving to new practice software sounds like a big job, but most of it is done in an afternoon. Your clients only need an email address to join, and what you send them between sessions can be rebuilt from your old worksheets or taken from Quenza's ready-made library.
For example, Sarah Bennett moved Bright Path Coaching from spreadsheets and emailed PDFs to Quenza. On a Friday she set up her workspace and rebuilt her three favourite worksheets as activities. Over the weekend she imported her client list, and on Monday her clients got their invitations.
Coming from another tool? See the guides for [SimplePractice](https://quenza.com/help/switch-to-quenza/from-simplepractice/), [Practice Better](https://quenza.com/help/switch-to-quenza/from-practice-better/) and [a spreadsheet](https://quenza.com/help/switch-to-quenza/from-a-spreadsheet/). If you used Quenza Classic, see [Quenza Classic](https://quenza.com/help/getting-started/quenza-classic/) instead: our team moves your account for you.
## What moves, and how
| What you have | How it gets into Quenza |
| --- | --- |
| Client names and email addresses | [Import](https://quenza.com/help/clients/import-clients/) them all at once from an Excel or CSV file. |
| Worksheets, questionnaires and exercises | Rebuild them as [activities](https://quenza.com/help/content/build-an-activity/), or start from [pre-made content](https://quenza.com/help/content/pre-made-content/). |
| Courses and multi-week plans | Turn them into [programs](https://quenza.com/help/content/build-a-program/) that deliver each step on time. |
| Groups and courses with several clients | Create [groups](https://quenza.com/help/clients/groups/) and add the imported clients to them. |
| Handouts, audio files and links | Upload them as [resources](https://quenza.com/help/working-with-clients/resources/). |
| Session notes and records from your old tool | Keep the export from your old tool, or upload a client's file to their profile and keep it hidden from them ([Share files and links](https://quenza.com/help/working-with-clients/share-files-and-links/)). |
Quenza has no import for notes, messages, completed forms or invoices from other tools. Keep the full export from your old tool as your archive, for as long as your professional rules require.
## Step 1: Set up your workspace
[Start your free trial](https://quenza.com/help/getting-started/start-your-free-trial/), [complete your profile](https://quenza.com/help/getting-started/edit-your-profile/) and [add your logo](https://quenza.com/help/branding/logo/), so your clients recognise you from their first email. The [First steps](https://quenza.com/help/getting-started/first-steps/) checklist walks you through it.
## Step 2: Rebuild what you send between sessions
Start with the few exercises you use most, not your whole library. Look in [pre-made content](https://quenza.com/help/content/pre-made-content/) first: you may find a ready-made version you only need to adjust. Try each one on your [demo client](https://quenza.com/help/getting-started/view-as-client/) before a client sees it.
## Step 3: Bring over your clients
Export your client list from your old tool and [import it](https://quenza.com/help/clients/import-clients/). You choose for the whole file whether clients get an invitation right away or are added as guests without one. To invite everyone at once on a day you choose, wait with the import until that day.
The import checks your plan's client limit before it adds anyone; see [Client limits](https://quenza.com/help/billing/client-limits/). Each client's email address can only be used once in your workspace, so remove duplicates first.
## Step 4: Tell your clients
Let clients know before their invitation arrives, so they don't mistake it for spam. A short message is enough, for example:
> From next week I'm using Quenza for our exercises and messages between sessions. You'll get an invitation from Quenza by email; follow the link to set up your account. The app is free for you.
Clients can follow [Accept your invitation](https://quenza.com/help/for-clients/accept-your-invitation/) and [Get the Quenza app](https://quenza.com/help/for-clients/get-the-quenza-app/).
## Step 5: Run both side by side for a while
Keep your old tool for a few weeks, until every active client has accepted their invitation and your records are exported. Then cancel it. In Quenza, filter the **Clients** page by **Pending** to see who has not accepted their invitation yet, and send it again with **Resend Invitation** in the client's **⋯** menu.
> **Moving a team or a large practice?:** On the Beyond plan, our team does the setup with you and builds content for your practice. See [Plans and pricing](https://quenza.com/help/billing/plans-and-pricing/).
---
# From a spreadsheet
> Move a client list from Excel, Google Sheets or Numbers into Quenza by preparing three columns and importing the file in one go.
Source: https://quenza.com/help/switch-to-quenza/from-a-spreadsheet/
Many practices start with a spreadsheet: one row per client, with their name, email address and a few notes. Quenza's import reads that list directly, so every client is in your workspace in minutes. This page shows how to prepare the file; the [import itself](https://quenza.com/help/clients/import-clients/) takes three clicks.
For example, Sarah Bennett kept her clients in a Google Sheet with columns for name, email, phone, start date and package. She copies the names and email addresses into Quenza's template, imports it, and keeps the sheet as her archive.
## What Quenza needs
Quenza imports three things per client, all required:
| Column | Example |
| --- | --- |
| `email` | `emma.clarke@example.com` |
| `first_name` | `Emma` |
| `last_name` | `Clarke` |
Other columns, such as phone numbers, dates or notes, are not imported. After the import you can add a client's other details on their profile.
## Prepare the file
1. In Quenza, go to **Clients**, click **Bulk import** and download the template as **Excel (.xlsx)** or **CSV (.csv)**.
2. Copy the email addresses, first names and last names from your spreadsheet into the template's three columns, one client per row.
3. Check the list before you import:
- **One name per column.** If your sheet has the full name in one column, split it into first and last name. In Excel use **Data → Text to Columns**; in Google Sheets **Data → Split text to columns**.
- **Every row has an email address.** Clients without one can't be imported; add them by hand later as guests, see [Add clients](https://quenza.com/help/clients/add-clients/).
- **No duplicates.** An email address can be used once in your workspace. Rows with an address that is already there are skipped.
- **Only current clients.** Leave out people you no longer work with, emergency contacts and colleagues; every imported client counts toward your [client limit](https://quenza.com/help/billing/client-limits/).
4. Save the file as Excel (.xlsx), or as CSV in UTF-8, so names with accents such as "Zoë" come through correctly. In Excel, choose **CSV UTF-8** when you save.
You can also keep your own file: Quenza reads the columns by their names, so a sheet with the headers `email`, `first_name` and `last_name` works too, and other columns are ignored.
## Import the file
Go to **Clients → Bulk import**, upload the file and choose whether your clients get an invitation now or are added as guests. See [Import clients](https://quenza.com/help/clients/import-clients/) for the details and what to do when rows fail.
## Next steps
- Put clients who work together in [groups](https://quenza.com/help/clients/groups/).
- Rebuild the worksheets you send as [activities](https://quenza.com/help/content/build-an-activity/).
- Follow the rest of [Plan your switch](https://quenza.com/help/switch-to-quenza/plan-your-switch/).
---
# From SimplePractice
> Move from SimplePractice to Quenza by exporting your client details as CSV, importing them, and keeping a full data export as your archive.
Source: https://quenza.com/help/switch-to-quenza/from-simplepractice/
You can bring your SimplePractice clients to Quenza with two exports: a list of client details to import into Quenza, and a full data export to keep as your archive. This page describes SimplePractice as its help center explains it; SimplePractice changes its screens from time to time, so follow its own articles when something looks different.
In SimplePractice, only the Account Owner, and practice managers with permission to export data, can make these exports.
## Export your client list
SimplePractice exports contact details with email addresses as a report:
1. In SimplePractice, go to **Analytics → Reports**.
2. Under **Clients & Appointments**, select **Client details**.
3. Set the client status filter to include every client you want to move, for example **Active** only, or every status.
4. Click **Export** and choose **CSV** or **Excel**.
SimplePractice's own guide: [Exporting client information through data exports](https://support.simplepractice.com/hc/en-us/articles/207625506) (see "How can I download my clients' contact information in CSV or Excel format?").
## Prepare and import it
Open the file in Excel or Google Sheets and copy each client's email address, first name and last name into Quenza's import template; [From a spreadsheet](https://quenza.com/help/switch-to-quenza/from-a-spreadsheet/) explains how, including how to split full names and remove duplicates. Leave out contacts who are not clients, such as emergency contacts.
Then go to **Clients → Bulk import** in Quenza and upload the file. See [Import clients](https://quenza.com/help/clients/import-clients/).
## Keep a full export as your archive
The client list doesn't include notes, documents or messages. Before you close your SimplePractice account, make a full data export and store it safely:
1. In SimplePractice, go to **Settings → Practice → Data export** and click **Start export**.
2. Choose **All clients in the practice** and the export type **Complete**.
3. Keep **Require a password to open file** on, and click **Export**.
4. When SimplePractice emails you, download the file from the same page. SimplePractice keeps the download and its password for 48 hours.
A complete export contains progress notes, documents, intake questionnaires, secure messages, invoices and more. Quenza does not import these. To have a client's earlier records at hand in Quenza, upload the file to the client's profile and keep it hidden from them; see [Share files and links](https://quenza.com/help/working-with-clients/share-files-and-links/).
## What works differently in Quenza
- **Exercises between sessions:** rebuild your worksheets and questionnaires as [activities](https://quenza.com/help/content/build-an-activity/), or start from [pre-made content](https://quenza.com/help/content/pre-made-content/), and send them as one-off activities or as a [program](https://quenza.com/help/content/programs-overview/).
- **Scheduling:** Quenza has no calendar of its own. Clients book with you through [Calendly](https://quenza.com/help/integrations/calendly/) or [Google Calendar](https://quenza.com/help/integrations/google-calendar/).
- **Messages:** clients chat with you in the Quenza app; see [Chat](https://quenza.com/help/chat-and-notifications/chat/).
Then follow [Plan your switch](https://quenza.com/help/switch-to-quenza/plan-your-switch/) to tell your clients and run both tools side by side for a few weeks.
---
# From Practice Better
> Move from Practice Better to Quenza by exporting your clients' contact information, importing it, and keeping each client's records as an archive.
Source: https://quenza.com/help/switch-to-quenza/from-practice-better/
Practice Better exports your clients' names and email addresses as a spreadsheet, which Quenza imports in one go. Client records such as session notes and completed forms are exported per client. This page describes Practice Better as its help center explains it; when its screens look different, follow its own articles.
## Export your client list
1. In Practice Better, go to **My Clients**.
2. To export only some clients, filter the list first.
3. Click the **Fast Action Button** (the **+** in the bottom-right corner) and select **Export contact information**.
4. Click **Download**.
The spreadsheet contains each client's first name, last name and email address. Practice Better's own guide: [Exporting Client Records From Practice Better](https://help.practicebetter.io/hc/en-us/articles/234807887).
## Prepare and import it
Open the file and copy the email addresses, first names and last names into Quenza's import template, or rename the columns to `email`, `first_name` and `last_name`. [From a spreadsheet](https://quenza.com/help/switch-to-quenza/from-a-spreadsheet/) explains what to check.
Then go to **Clients → Bulk import** in Quenza and upload the file. See [Import clients](https://quenza.com/help/clients/import-clients/).
## Keep each client's records
Practice Better exports a client's full record, such as session notes, completed forms, journal entries and message history, per client:
1. In **My Clients**, open the **⋯** menu next to the client and click **Export data**.
2. Select what to include and click **Create Archive**.
3. Download the archive from the email Practice Better sends you. Practice Better keeps it for 48 hours.
For a bulk export of all clients, Practice Better asks you to contact its support team. Quenza does not import these records. To have a client's earlier records at hand in Quenza, upload the file to the client's profile and keep it hidden from them; see [Share files and links](https://quenza.com/help/working-with-clients/share-files-and-links/).
## What works differently in Quenza
- **Forms and protocols:** rebuild them as [activities](https://quenza.com/help/content/build-an-activity/) and [programs](https://quenza.com/help/content/programs-overview/), or start from [pre-made content](https://quenza.com/help/content/pre-made-content/).
- **Scheduling:** Quenza has no calendar of its own. Clients book with you through [Calendly](https://quenza.com/help/integrations/calendly/) or [Google Calendar](https://quenza.com/help/integrations/google-calendar/).
- **Courses and groups:** run them with [groups](https://quenza.com/help/clients/groups/), group chat and programs.
Then follow [Plan your switch](https://quenza.com/help/switch-to-quenza/plan-your-switch/) to tell your clients and run both tools side by side for a few weeks.
---
# Add clients
> Add a client to your workspace, choose how they use Quenza, and find your way around their client page.
Source: https://quenza.com/help/clients/add-clients/
Add each person you work with as a client. Then you can send them activities and programs and keep their notes, tasks and files in one place. You manage all of this under **Clients** in the left menu.
For example, after a first call with Priya Shah, Sarah Bennett adds her as a client and invites her to Quenza. Priya sets up her account from the email, and Sarah sends her the intake questionnaire to fill in before their first session.
Video: [How to manage your clients in Quenza](https://vimeo.com/1096540283)
## Try Quenza with your demo client
Every workspace starts with a demo client in your own name, labelled **Demo client**. Use it to see what your clients see: send it an activity, then click **View as client** in the demo client's **⋯** menu in your client list. The client app opens, already signed in as your demo client, and you can complete the activity there.
The demo client does not count towards your client limit, and you can keep it as long as you like. See [View as client](https://quenza.com/help/getting-started/view-as-client/).
## Add a client
Go to **Clients** and click **+ Client**. In the **Add client** dialog, fill in:
- **Profile picture**: optional.
- **First name**, **Last name** and **Email address**.
- **Language Settings**: the language of the client app and of the emails the client receives. If your plan does not include multiple languages, this is English.
- **Account creation**: how the client will use Quenza (see below).
Click **Add client**.
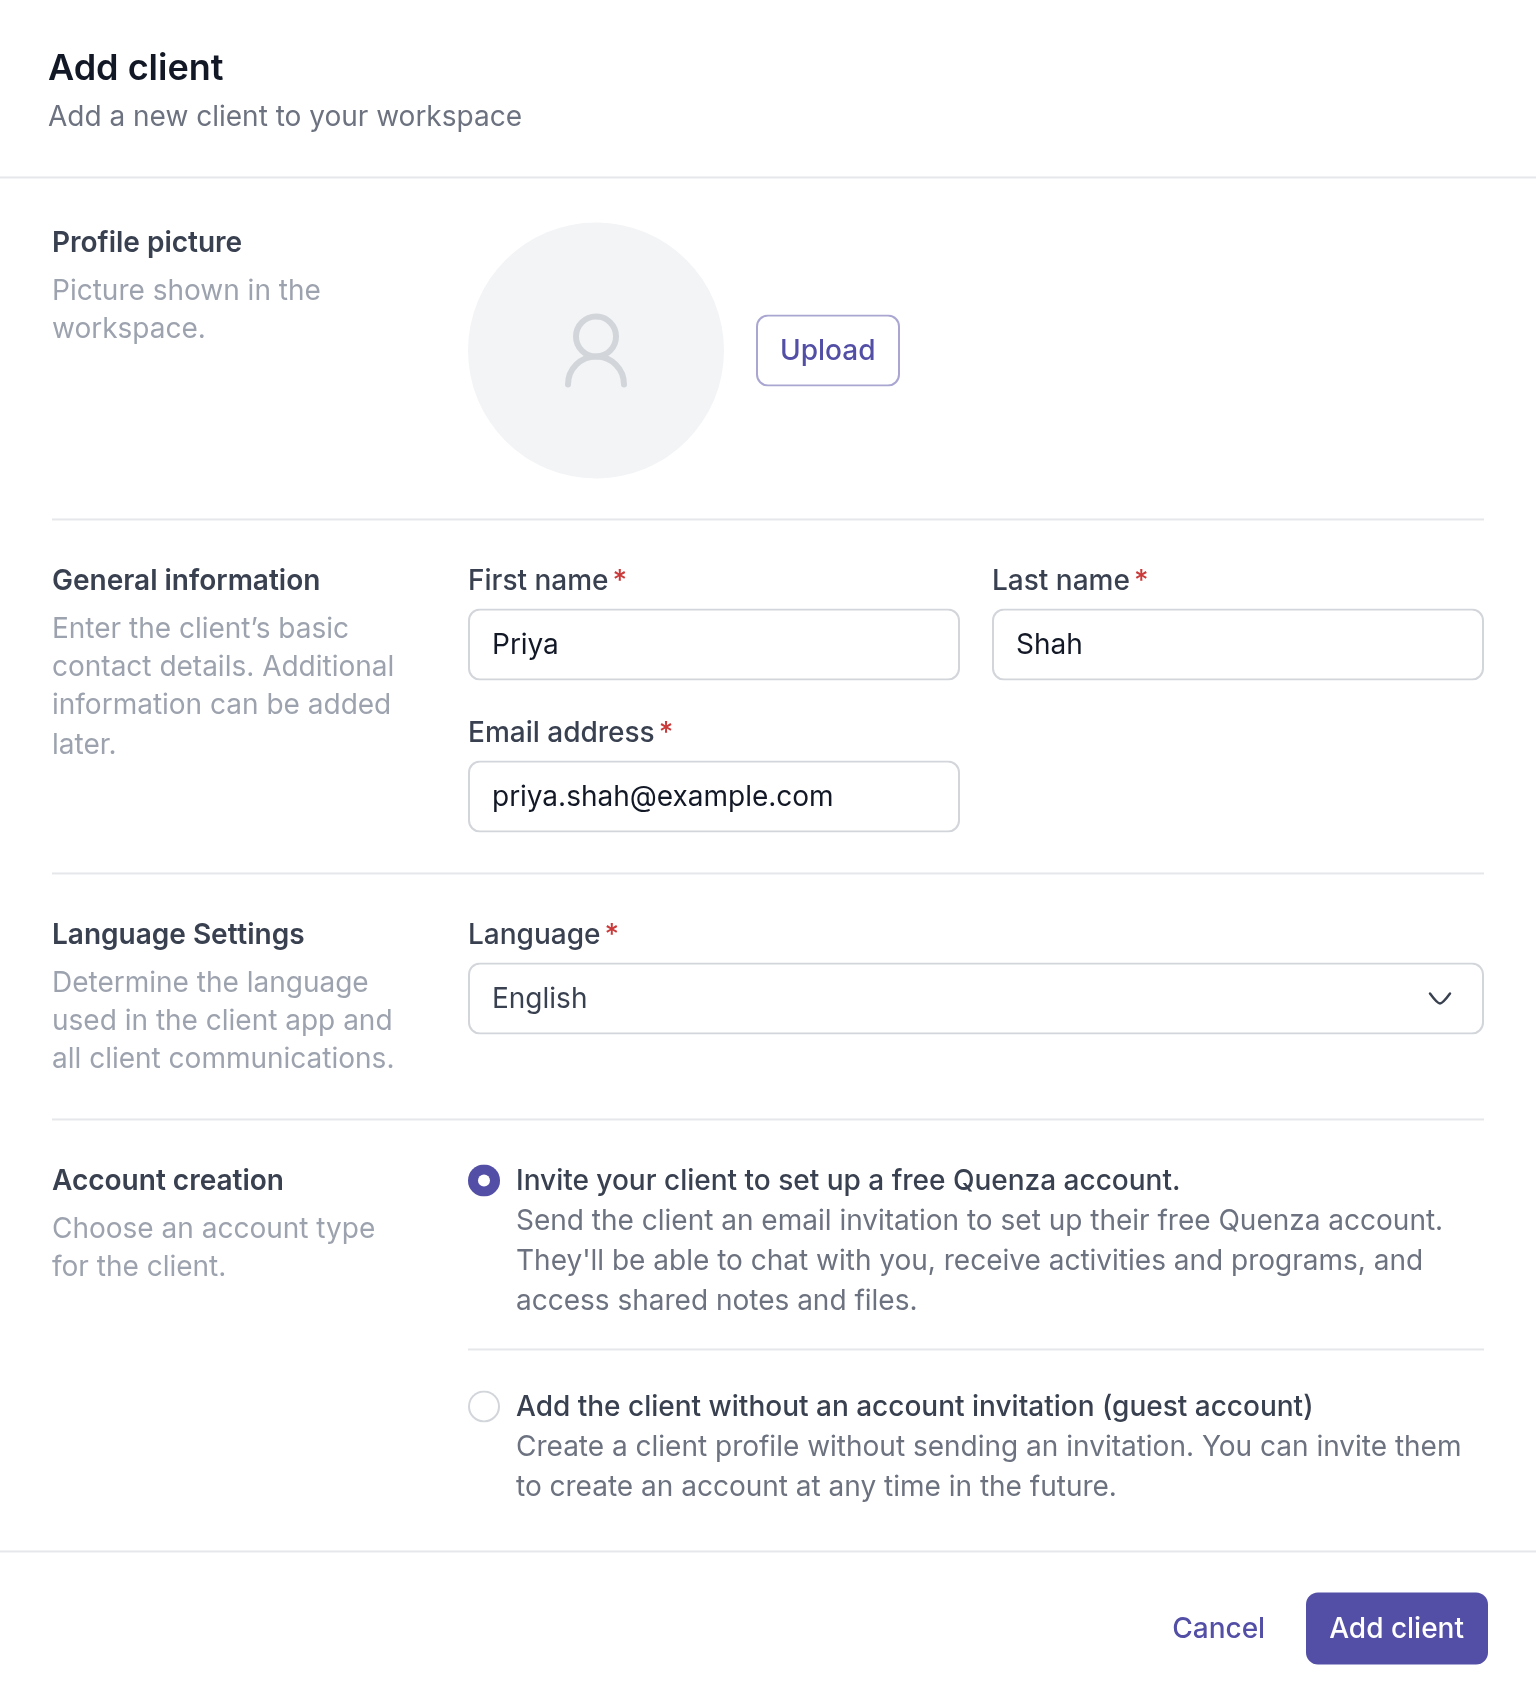
If you have reached your plan's client limit, Quenza asks you to upgrade before you can add the client. See [Client limits](https://quenza.com/help/billing/client-limits/). To add many clients at once, see [Import clients](https://quenza.com/help/clients/import-clients/).
### Choose an account type
- **Invite your client to set up a free Quenza account.** The client gets an email invitation to create their login. Once they have an account, they can chat with you, receive and complete activities and programs, and see the notes and files you share. Choose this for most clients.
- **Add the client without an account invitation (guest account).** The client gets no invitation and no login. Quenza still emails them at their own address when you send an activity or share a note, with a link that opens it without a password. This suits clients who don't want an account or an app. Invite them later with **Convert Guest to Account** in the client's **⋯** menu. See [Guest clients](https://quenza.com/help/clients/guest-clients/).
If a client has not accepted their invitation yet, send it again with **Resend Invitation** in the same menu.
## Give new clients a welcome kit
The [welcome kit](https://quenza.com/help/for-clients/welcome-kit/share/) puts three client guides on one page: accept the invitation, get the Quenza app, and find your way around the client portal. It shows only the guides, without the Quenza help center around them. Send the link with your invitation, or click **Print or save as PDF** at the top and hand it out at the first session. The printout ends with a QR code that opens the guides online, with their videos.
To send a single guide instead, open it under [Client app](https://quenza.com/help/for-clients/get-started/) and use **Share with a client** at the top.
## Find your way around a client's page
Click a client in the list to open their page. The tabs at the top are **Details**, **Activities**, **Programs**, **Tasks**, **Notes**, **Resources** and **Chat**.
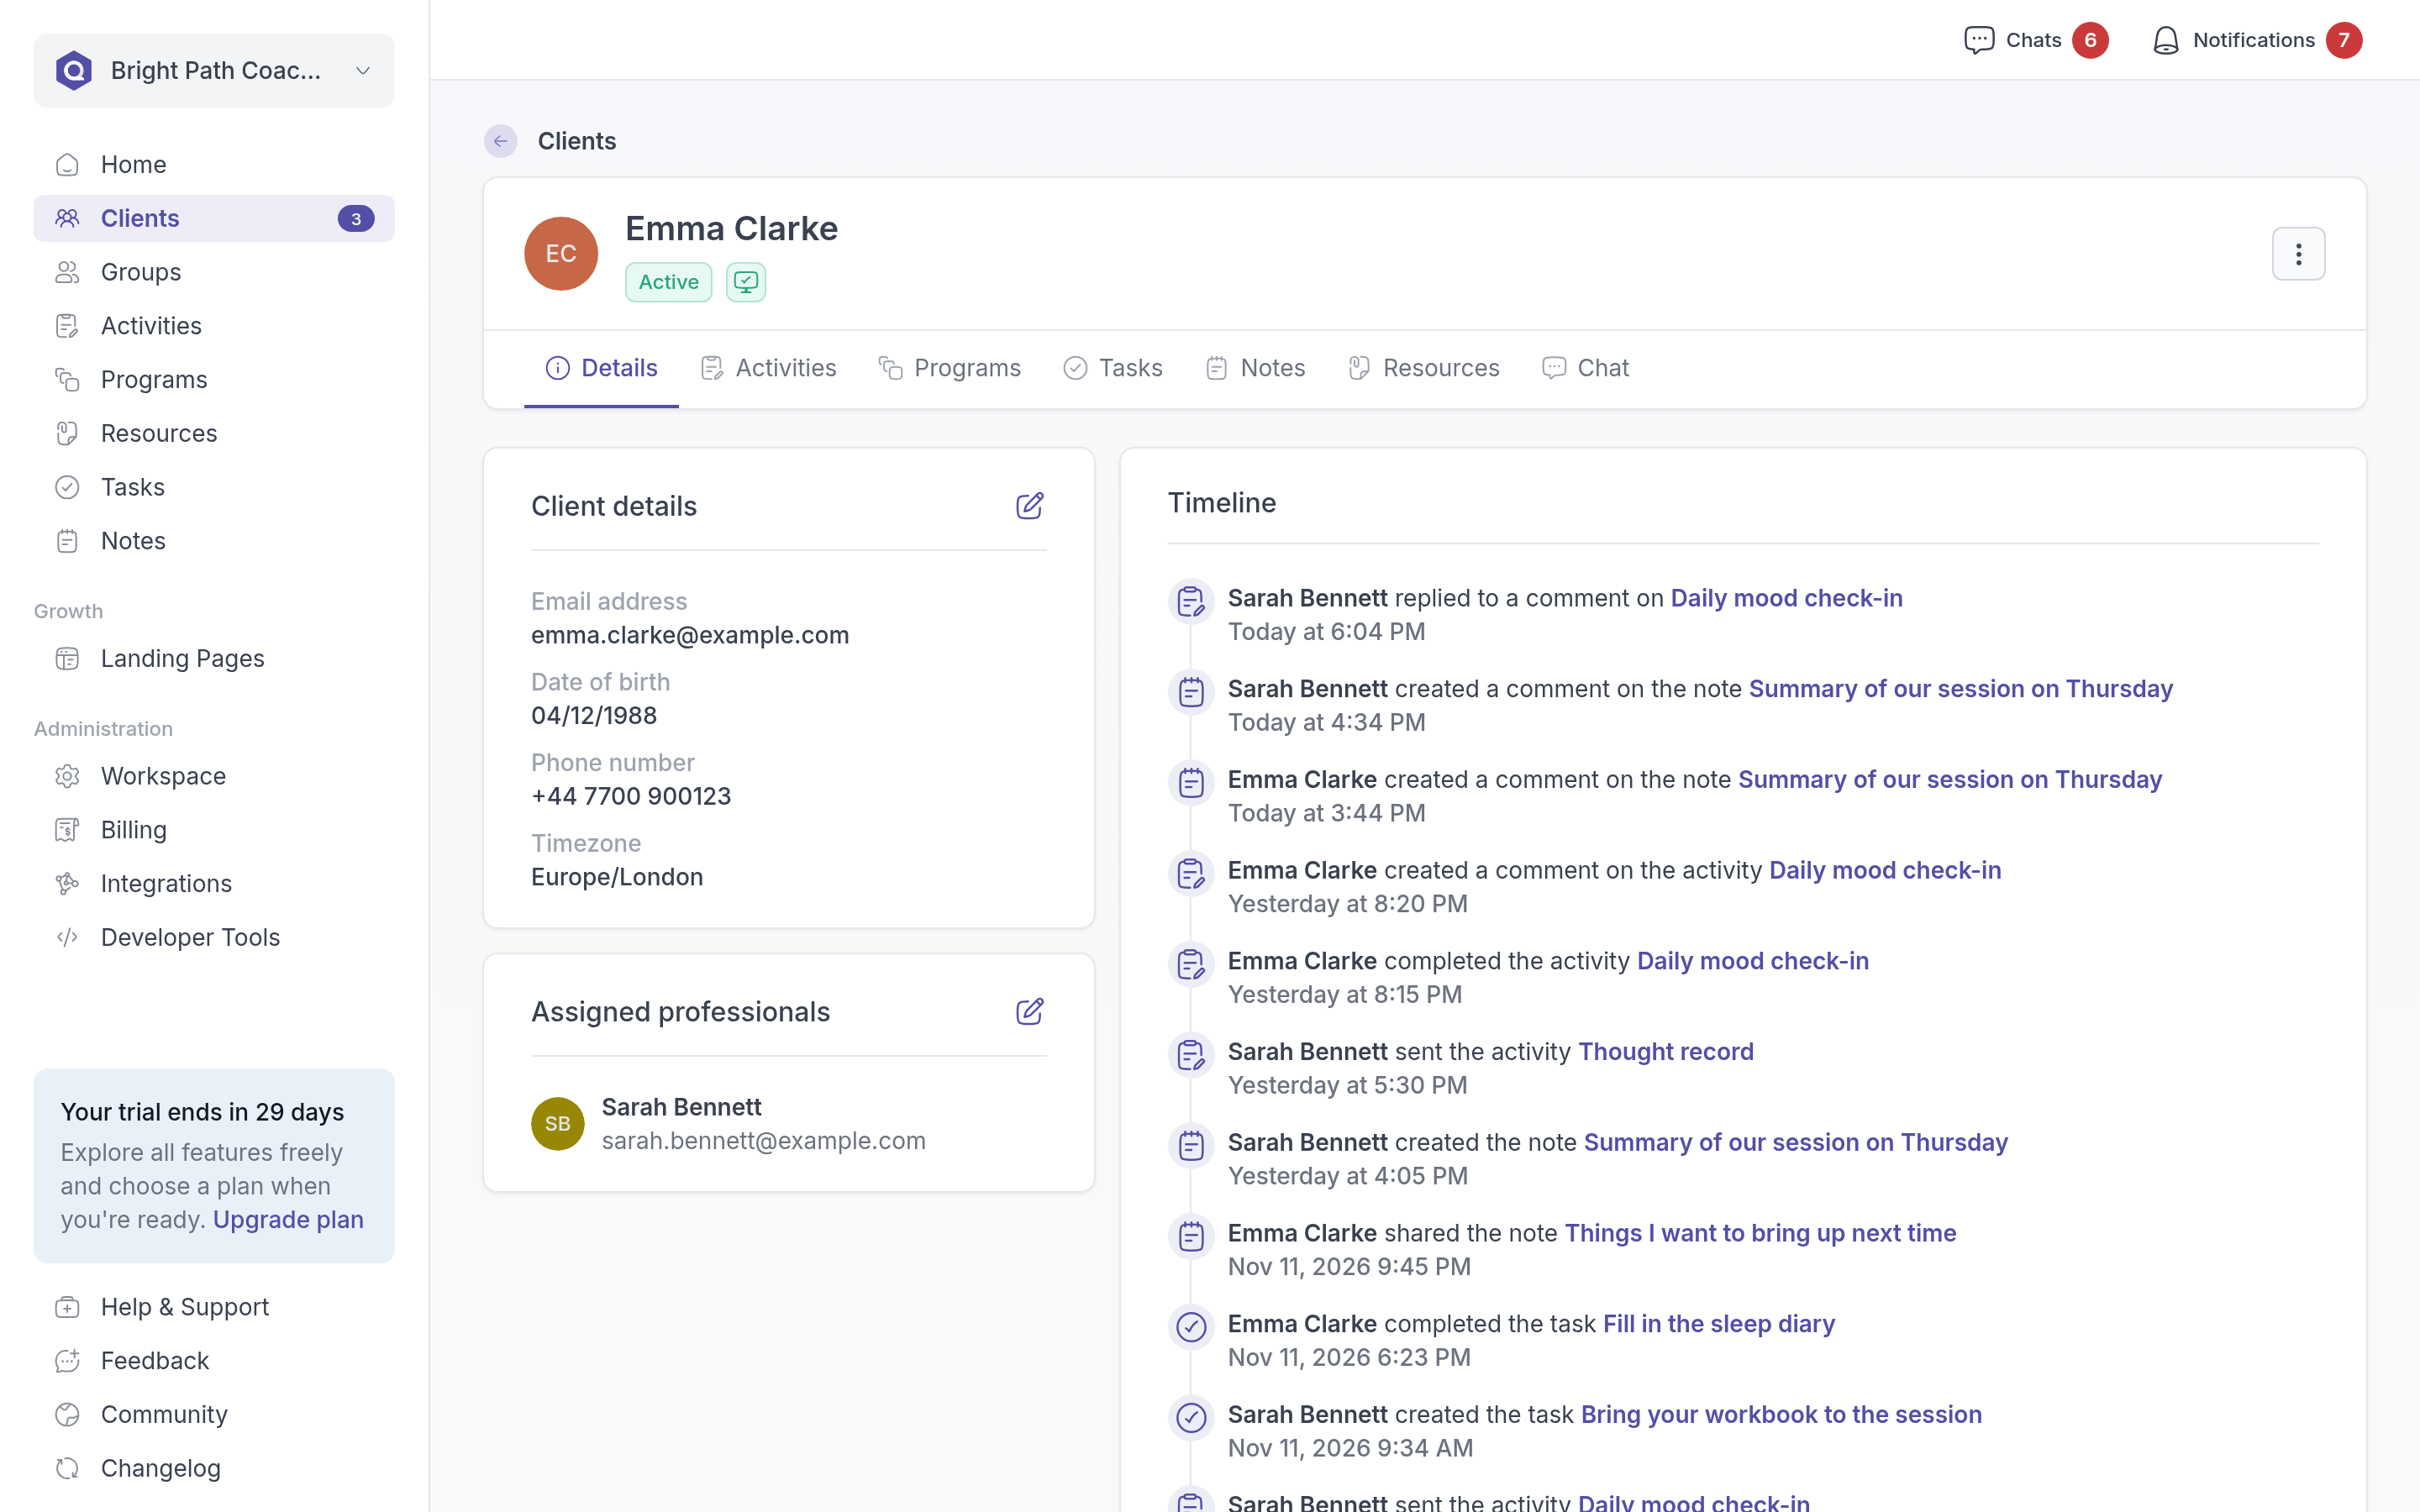
On the **Details** tab you see:
- **Client details**: contact details such as email address, date of birth, phone number and timezone. Click the edit icon to update them.
- **Timeline**: what has happened with this client, such as activities sent and completed, and when.
- **Assigned professionals**: the colleagues who work with this client. See [Assign professionals](https://quenza.com/help/clients/assign-professionals/).
The **⋯** menu at the top right of the page has the actions for this client, such as [pausing their portal access](https://quenza.com/help/clients/portal-access/), [exporting their data](https://quenza.com/help/clients/export-client-data/), [archiving](https://quenza.com/help/clients/archive-clients/) and [deleting](https://quenza.com/help/clients/delete-clients/) them.
## Find clients in your list
Use the search field to find a client by name. Two filters narrow the list:
- **All Clients**: show everyone, only the clients assigned to you (**Assigned to me**), or the clients of one colleague.
- **All statuses**: show only **Active**, **Pending** or **Archived** clients. Pending clients have not accepted their invitation yet.
---
# Guest clients
> What a guest client is in Quenza, which emails guests get, what they can open without a password, and how to turn a guest into a client account.
Source: https://quenza.com/help/clients/guest-clients/
A guest is a client without a login. Guests never set a password and don't use the full client portal or the Quenza app. They still get emails from Quenza at their own email address, for example when you send them an activity, and a link in the email opens that activity directly. Use guests for clients who don't want an account but are happy to fill in an exercise or read a note now and then.
For example, Sarah Bennett coaches a retired teacher who doesn't want another app. She adds him as a guest and sends him the Values reflection after their intake session. He gets an email, opens the link, fills in the reflection and is done. If he later wants to see all his exercises in one place, she converts him to an account.
## What a guest is
A guest is a full client record in your workspace, with a name and an email address like any other client. The difference is the account:
- **No login.** A guest has no password and can't sign in to the client portal or the Quenza app. There is no invitation to accept.
- **Emails with a direct link.** Quenza emails a guest like any client when you send an activity or a program, when a reminder is due, when you share a note or a resource and when you comment. Each email has a personal link that opens that item without a password.
- **Active right away.** A guest has the status **Active** from the start, with a **Guest** badge in your client list and in groups.
- **Counts toward your plan.** Every guest counts toward your [client limit](https://quenza.com/help/billing/client-limits/), like a client with an account.
Because Quenza writes to it, the email address must be the client's own address. It is required and must be unique in your workspace, the same as for other clients.
> **Caution:** Don't enter your own or your practice's email address for a guest. Quenza sends the guest's emails to that address, so you would receive their activities and links, and so would anyone else who reads that inbox.
## What a guest gets
From the link in an email, a guest can open and fill in the activity, go through the program, read the shared note or resource and read and write comments on them. They see only that item, with your logo, not the rest of the client portal.
Some emails are never sent to guests: the invitation, emails about [tasks](https://quenza.com/help/working-with-clients/tasks/) you assign, and the message that a professional was added to or removed from their profile.
To send a guest an activity without an email, for example because you fill it in together in a session, turn off **Send an email** when you send it. See [Send an activity](https://quenza.com/help/working-with-clients/send-an-activity/).
What needs the client's own account is not available to guests: the **Chat** tab, the overview of all their activities and programs, their profile and the notification settings.
## What you can do with a guest
Everything you do yourself works as with any client:
- Write [notes](https://quenza.com/help/working-with-clients/notes/) and add [files and links](https://quenza.com/help/working-with-clients/share-files-and-links/) on their profile.
- Add them to [groups](https://quenza.com/help/clients/groups/) and [assign professionals](https://quenza.com/help/clients/assign-professionals/).
- Send activities and programs, or fill them in together during a session with [Fill out now](https://quenza.com/help/working-with-clients/fill-out-now/).
- Keep track of what was agreed with [tasks](https://quenza.com/help/working-with-clients/tasks/).
## Add a guest
You choose the account type when you add a client:
- One at a time: in the **Add client** dialog, choose **Add the client without an account invitation (guest account)**. See [Add clients](https://quenza.com/help/clients/add-clients/).
- Many at once: [import clients](https://quenza.com/help/clients/import-clients/) and choose the guest option for the whole file.
- Through a [landing page](https://quenza.com/help/new-clients/landing-pages/): set the signup form's **Signup type** to **Guest**. See [Signup form](https://quenza.com/help/new-clients/signup-form/).
## Convert a guest to an account
When a guest wants to use the whole client portal or the app, open the client's **⋯** menu and choose **Convert Guest to Account**, then confirm.
Quenza sends the invitation to the email address on their profile. Until they accept, the client has the status **Pending**. Everything you added while they were a guest stays: notes, files, tasks, groups and activities, with their answers.
If you use [webhooks](https://quenza.com/help/integrations/webhooks/), converting a guest sends the `client.created` event again, now for a client with an account.
---
# Import clients
> Add many clients to Quenza at once by filling in the Excel or CSV template and uploading it on the Bulk import page.
Source: https://quenza.com/help/clients/import-clients/
Moving an existing caseload into Quenza? Instead of adding clients one by one, fill in a template and upload it to add them all at once.
For example, Sarah Bennett moves her practice to Quenza. She exports her client list from her old system, copies the names and email addresses into the Quenza template and uploads it. All her clients get an invitation the same day.
## Prepare your file
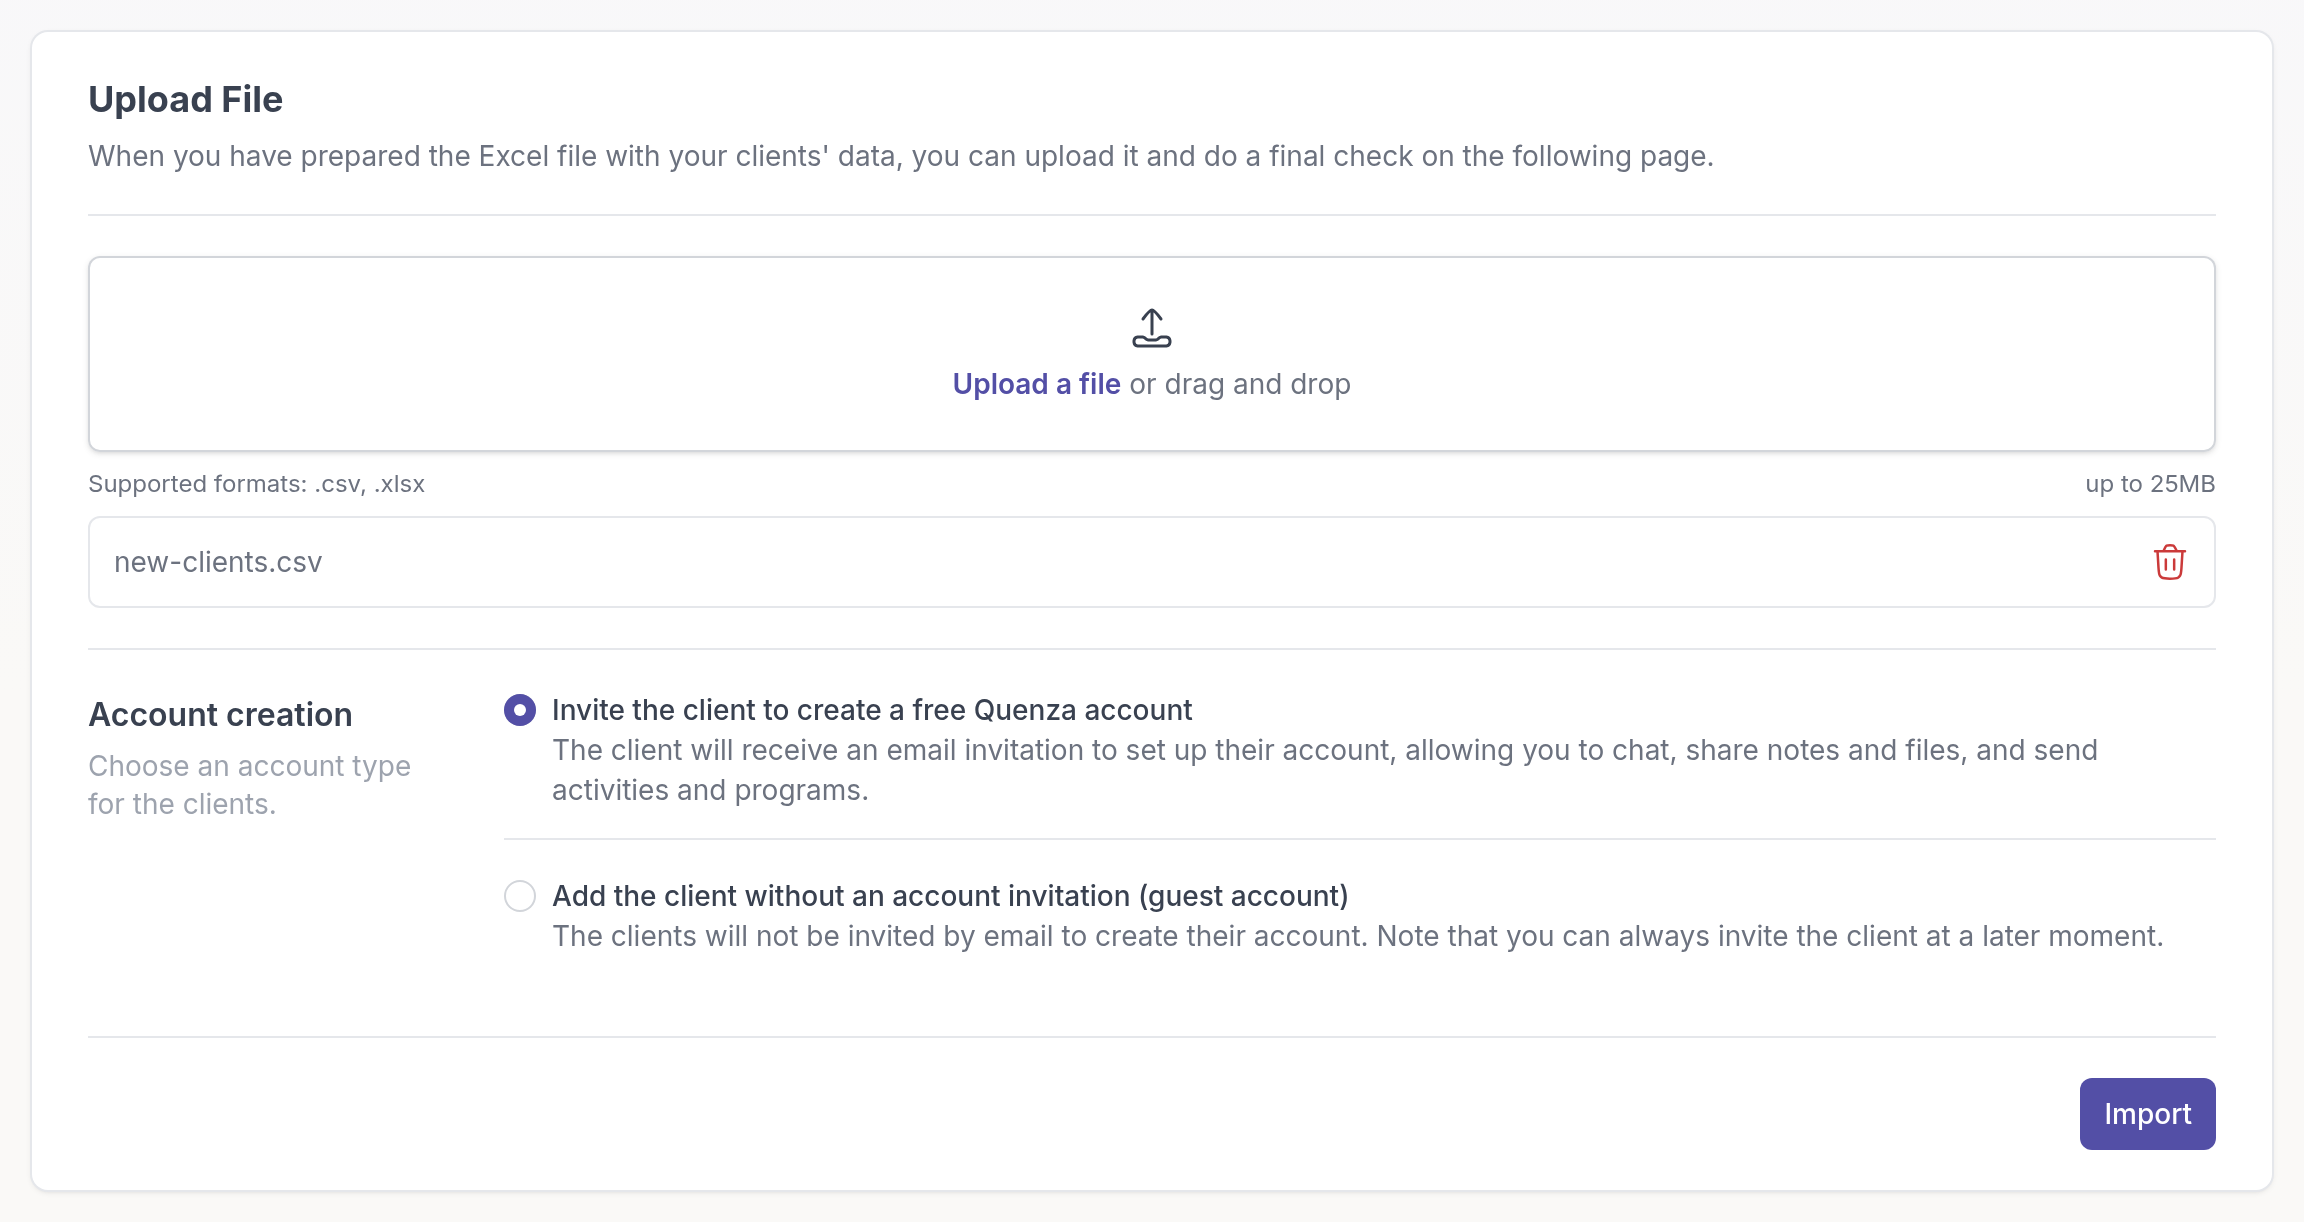
Go to **Clients** and click **Bulk import**. Download the template as **Excel (.xlsx)** or **CSV (.csv)** and fill in one row per client. First name, last name and email address are required for every client.
## Upload and import
Under **Upload File**, add your filled-in file (.csv or .xlsx). Under **Account creation**, choose one account type for all clients in the file:
- **Invite the client to create a free Quenza account**: each client gets an email invitation to set up their account, so you can chat, share notes and files, and send activities and programs.
- **Add the client without an account invitation (guest account)**: clients are added without an invitation and without a login. Quenza still emails them when you send them an activity or share something, with a link that opens it directly. You can invite them later. See [Guest clients](https://quenza.com/help/clients/guest-clients/).
Click **Import**.
Quenza adds the clients and shows an **Import summary** with the number of rows in your file, the rows imported and the rows that failed.
> **Tip:** Want to send some clients an invitation and add others as guests? Make two files and import them one after the other.
## If something goes wrong
- **Some rows could not be imported.** The **Import summary** lists the rows that failed. Correct those rows and upload a file with only the corrected rows.
- **Your file has more clients than your plan allows.** The **Import limit reached** dialog shows how many clients are in your file and how many slots are available. Click **Upgrade Plan** to get more, or remove clients from the file or from your workspace and try again. See [Client limits](https://quenza.com/help/billing/client-limits/).
To add a single client, see [Add clients](https://quenza.com/help/clients/add-clients/).
---
# Assign professionals
> Give colleagues in your workspace access to a client or a group by assigning them, so you can share the work and the records.
Source: https://quenza.com/help/clients/assign-professionals/
When several professionals work with the same client or group, assign them all. Assigned professionals can see and work with that client or group: send activities, read results, write notes and chat.
For example, Emma Clarke works with Sarah Bennett on her goals and sees Daniel Weber for a few sessions on sleep. Sarah assigns Daniel to Emma, so he can send her the sleep diary and read her earlier check-ins before his first session.
Owners, Managers and Members can assign professionals. Billing Managers cannot, because they only have access to billing. See [Roles and permissions](https://quenza.com/help/team/roles-and-permissions/). To add a colleague to your workspace first, see [Add team members](https://quenza.com/help/team/add-team-members/).
## Assign professionals to a client
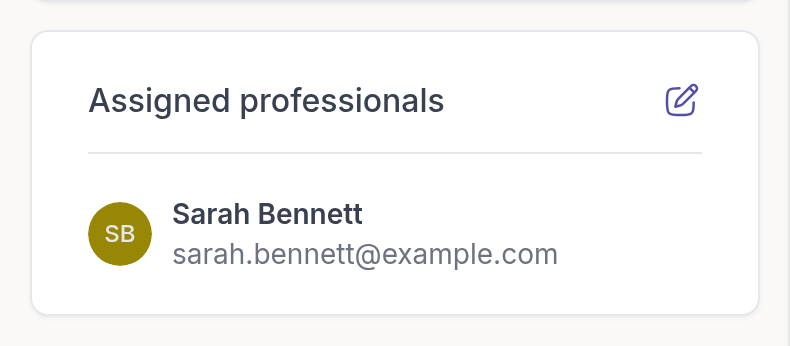
Open the client. On the **Details** tab, click the edit icon in the **Assigned professionals** card.
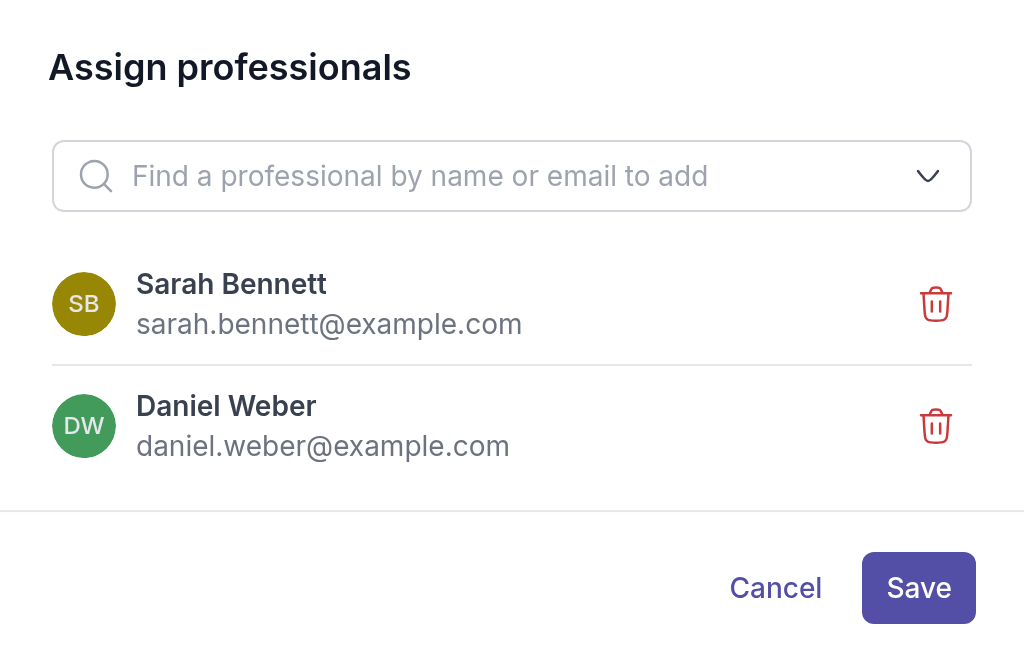
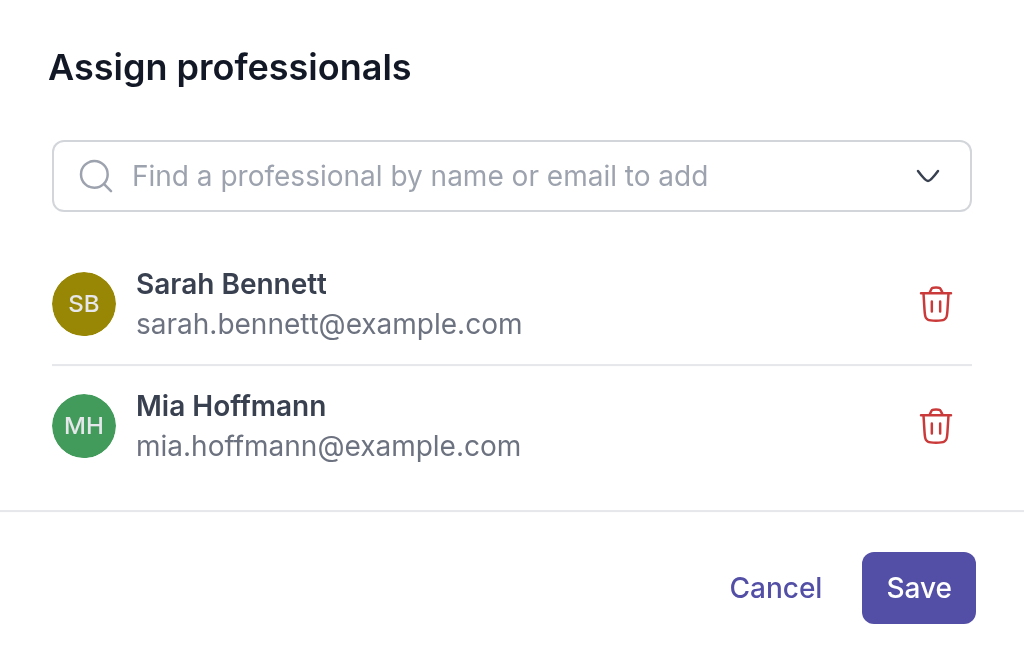
In **Find a professional by name or email to add**, search for your colleague and select them. To unassign someone, click the trash icon next to their name. Click **Save**.
The assigned professionals appear in the **Assigned professionals** card and in the **Professionals** column of your client list. You can open the same dialog from the client list: click the **+** next to the avatars in the **Professionals** column.
## Assign professionals to a group
Groups work the same way. Assign a co-facilitator to a group, and they can send content to the group, follow the members' progress and join the [group chat](https://quenza.com/help/chat-and-notifications/group-chat/).
Go to **Groups** and click the **+** next to the avatars in the group's **Professionals** column. You can also open the group and click the edit icon in the **Assigned professionals** card on its **Details** tab.
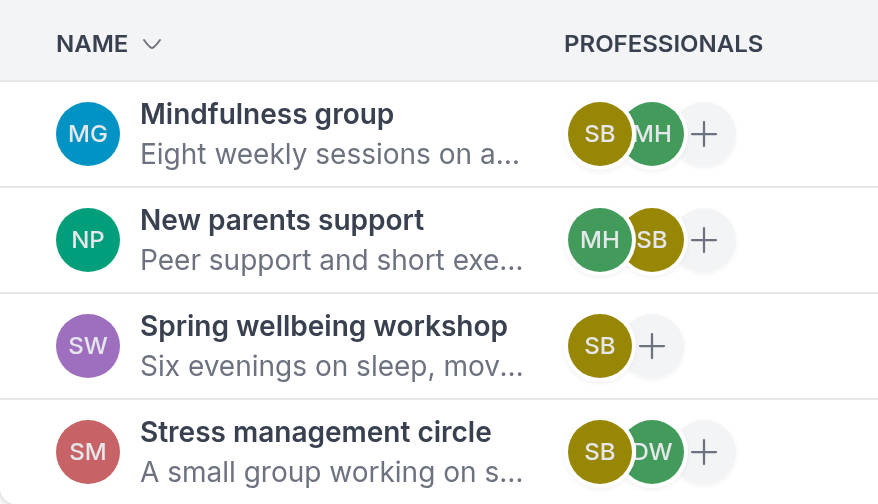
Search for your colleague, select them and click **Save**.
You cannot change the professionals of an archived group. [Unarchive it](https://quenza.com/help/clients/archive-or-delete-groups/) first.
---
# Portal access
> Pause a client's access to the client portal, permanently or until a set date, without archiving them or losing any of their data.
Source: https://quenza.com/help/clients/portal-access/
Turn off a client's access to the client portal for a while, without archiving them. The client stays in your active client list with all of their data, and you keep working with their notes and records. Owners, Managers and Members can do this; see [Roles and permissions](https://quenza.com/help/team/roles-and-permissions/).
## When to pause access
Pausing access is for a break in the work, not for the end of it:
- A client takes a planned break, for example over the summer, and you want the portal to stay quiet until you start again.
- You agreed to work only in sessions for a few weeks and do not want new activities or messages in between.
- Payment is overdue and you want to hold access until it is settled.
For example, Amara Nwosu goes on parental leave until the end of the month. Sarah Bennett sets her access to **Disabled until a date** and picks the date she returns. Amara's access comes back on that day by itself.
When your work with a client has ended, [archive them](https://quenza.com/help/clients/archive-clients/) instead.
## Change a client's portal access
1. Go to **Clients**.
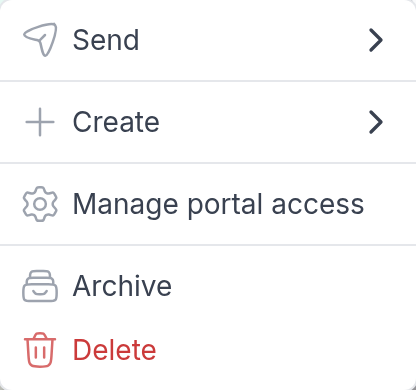
2. Click **⋯** at the end of the client's row and choose **Manage portal access**. The same option is in the **⋯** menu at the top right of the client's page.
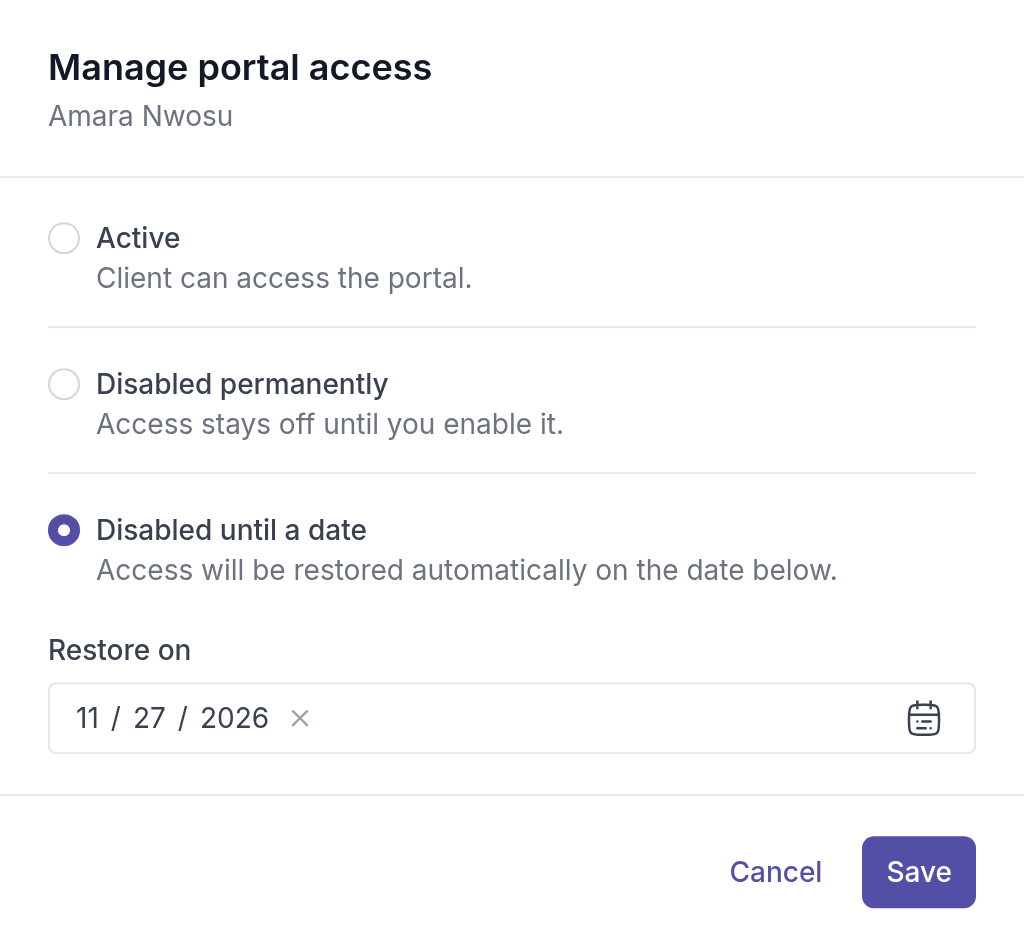
3. Choose one of the options:
- **Active**: the client can use the portal.
- **Disabled permanently**: access stays off until you set it back to **Active**.
- **Disabled until a date**: pick the day under **Restore on**. Access comes back automatically on that day. The earliest date you can pick is tomorrow.
4. Click **Save**.
You cannot pause access for your demo client or for an archived client.
## See who has access
The **Portal** column of your client list shows each client's access at a glance: a green screen icon when access is active, a red icon when it is off, and a red clock when it is off until a date. Hover over the icon to see the date. In the grid view, each card shows **Portal access** with **Enabled** or **Disabled**.

## What the client sees
When the client signs in, they only see **My Day**, **My professional** and **My Profile**. **My Day** shows **Portal access is not active** and asks them to contact the workspace owner. If you chose a date, it also tells them when their access will be restored.
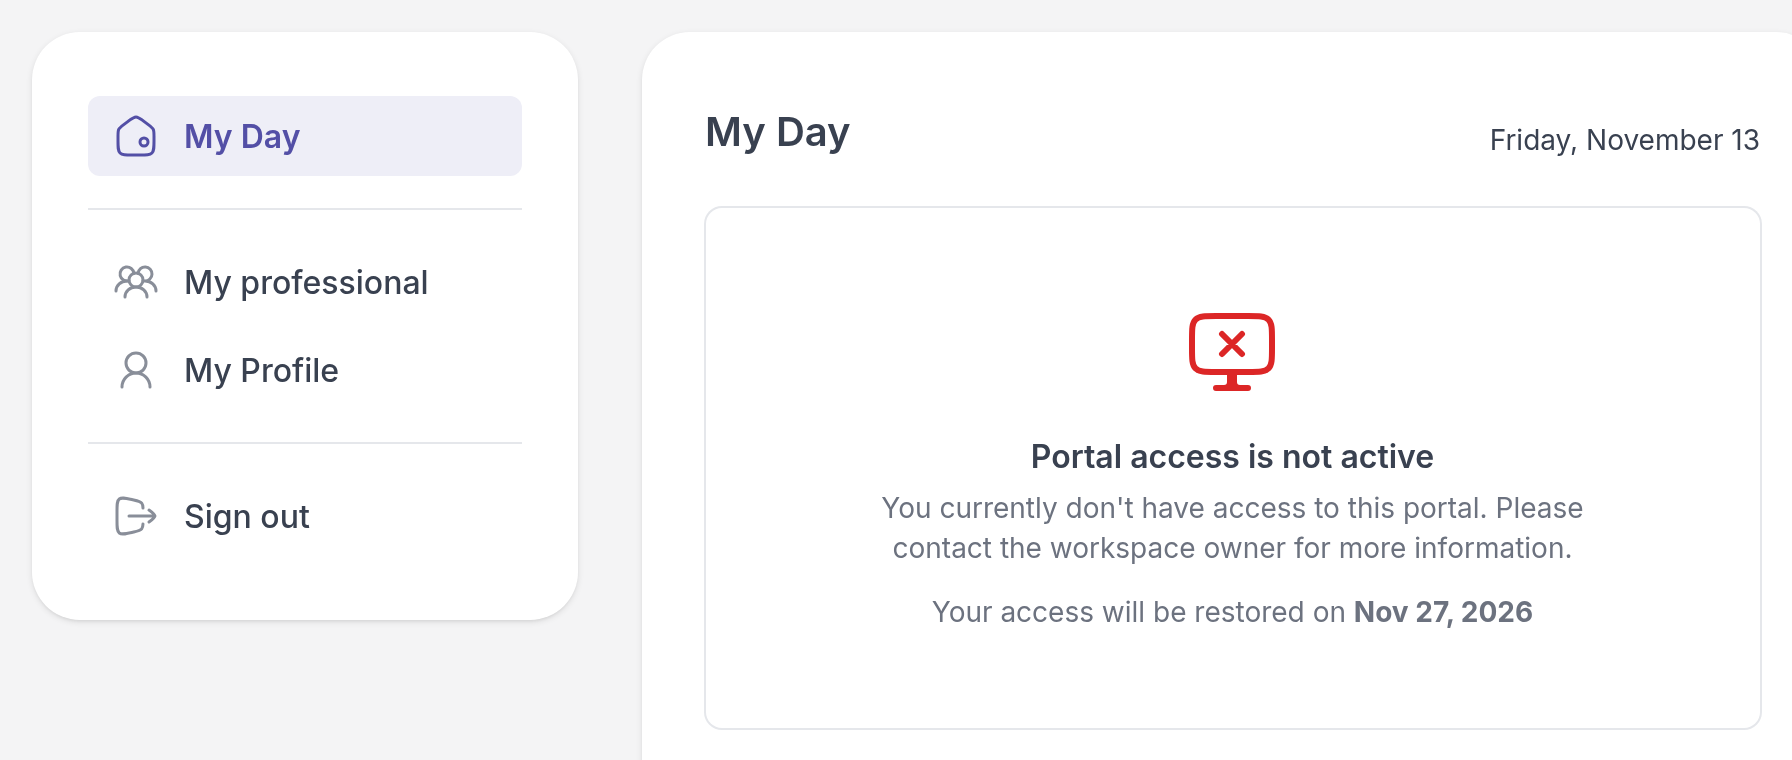
While access is off:
- The client cannot open their activities, programs, tasks, notes, resources or chat.
- Quenza sends the client no notifications, so they do not get emails about new content.
- Nothing is deleted or canceled. When access returns, everything is there again.
> **Note:** Activities and programs keep running while access is paused. If a program delivers a step in that time, the client finds it once their access is back. To stop content as well, cancel it on the client's **Activities** or **Programs** tab, or [archive the client](https://quenza.com/help/clients/archive-clients/).
## Turn access back on
Open **Manage portal access** again, choose **Active** and click **Save**. The client can sign in and use the portal straight away.
---
# Groups
> Create a group, add clients to it, and send activities and programs to all members at once.
Available on the Growth plan and higher.
Source: https://quenza.com/help/clients/groups/
Use a group for group therapy, a workshop, a course or any other work with several clients at once. You send content to the whole group in one go and follow each member's progress in one place. Groups are part of the Growth, Impact, Collective and Beyond plans and the free trial.
For example, Sarah Bennett runs an eight-week Mindfulness group. Every Monday she sends the group that week's exercise, and before the session she checks who has done it. Members can talk to each other in the group chat between sessions.
## Create a group
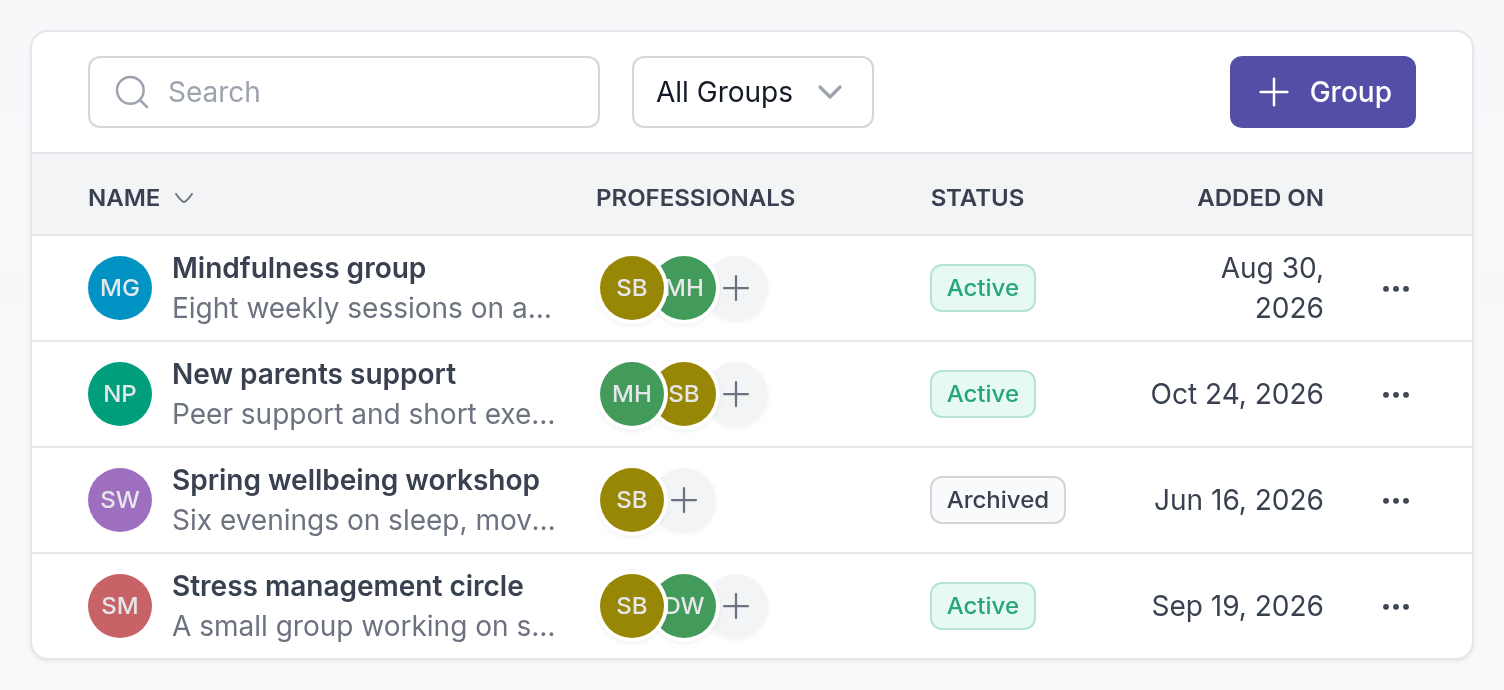
Go to **Groups** and click **+ Group**. The list shows your groups with their assigned professionals and status.
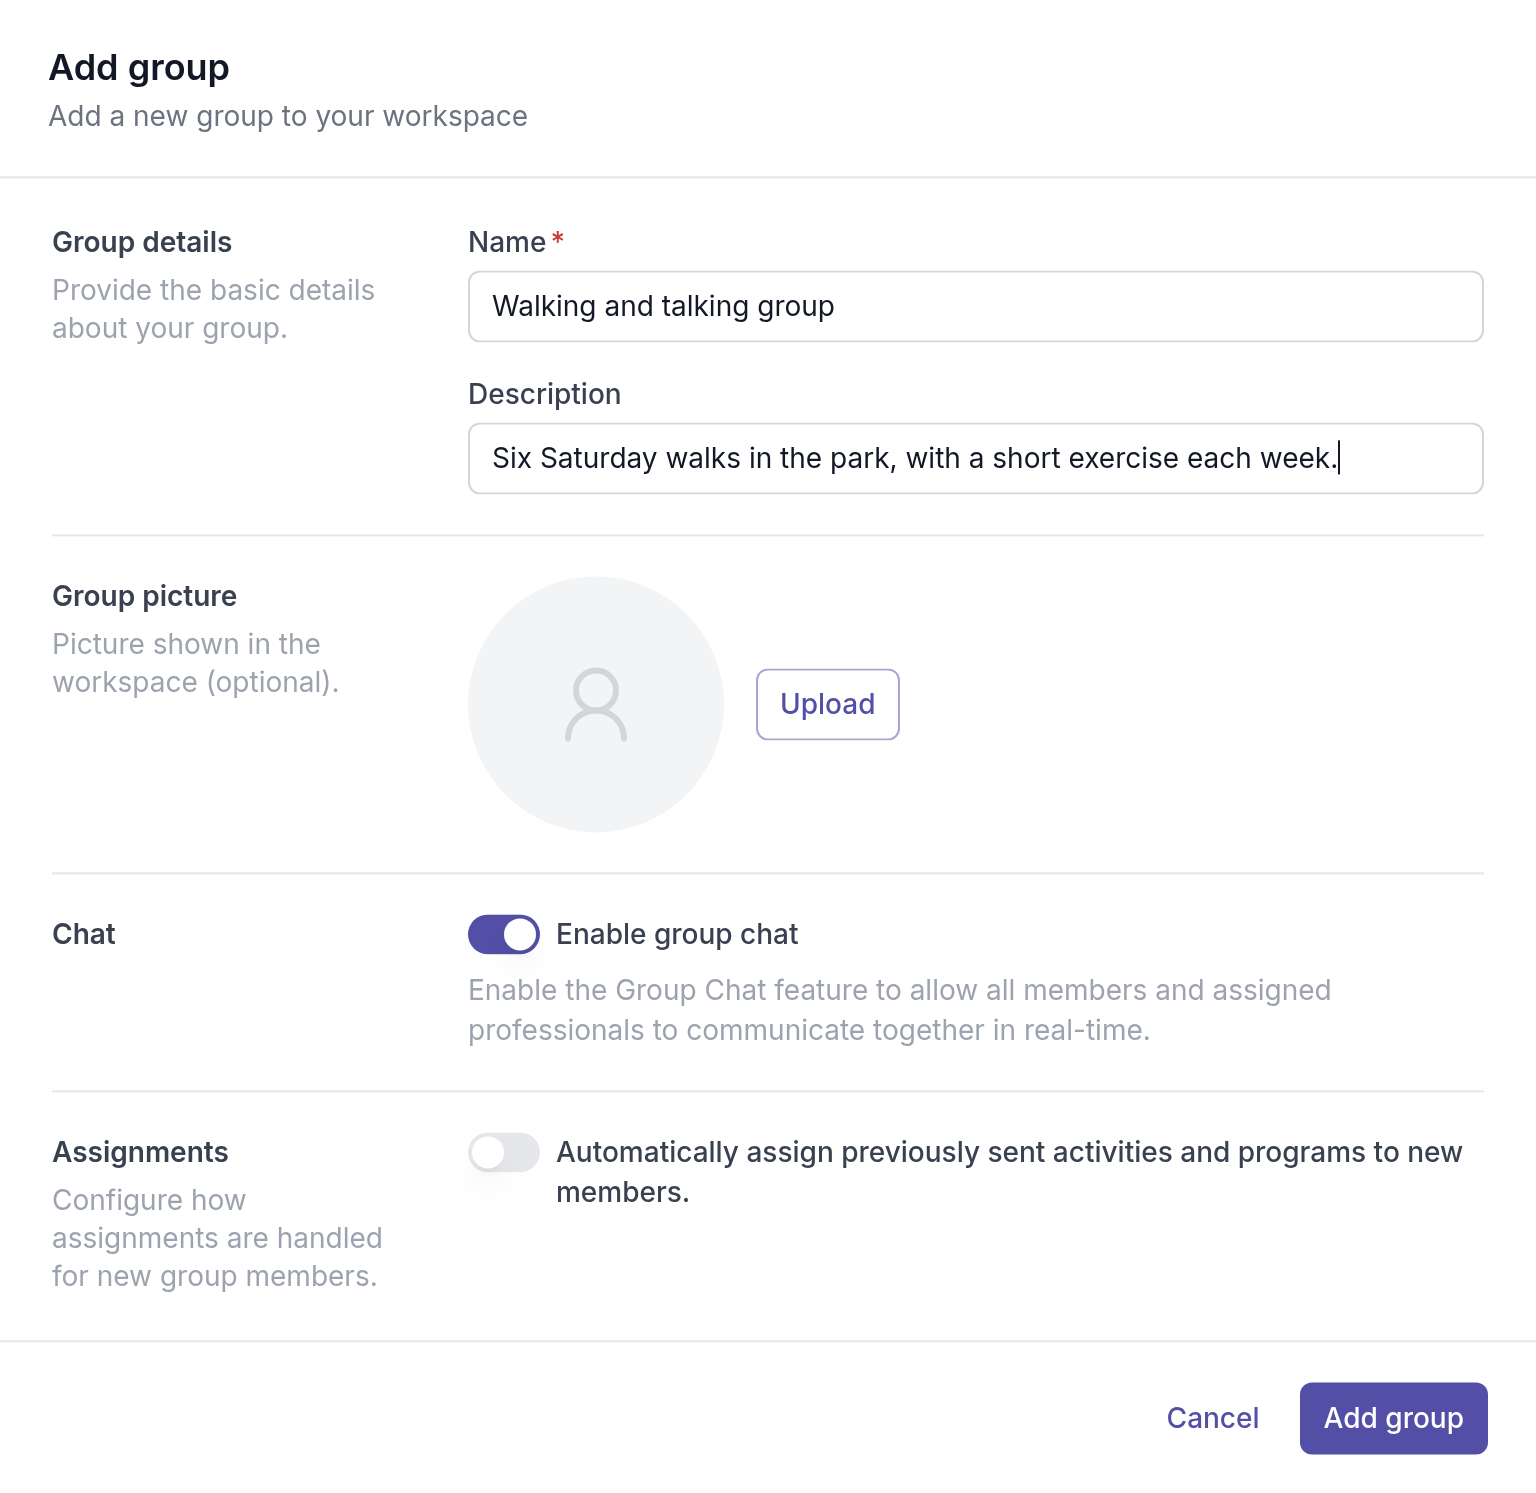
In the **Add group** dialog:
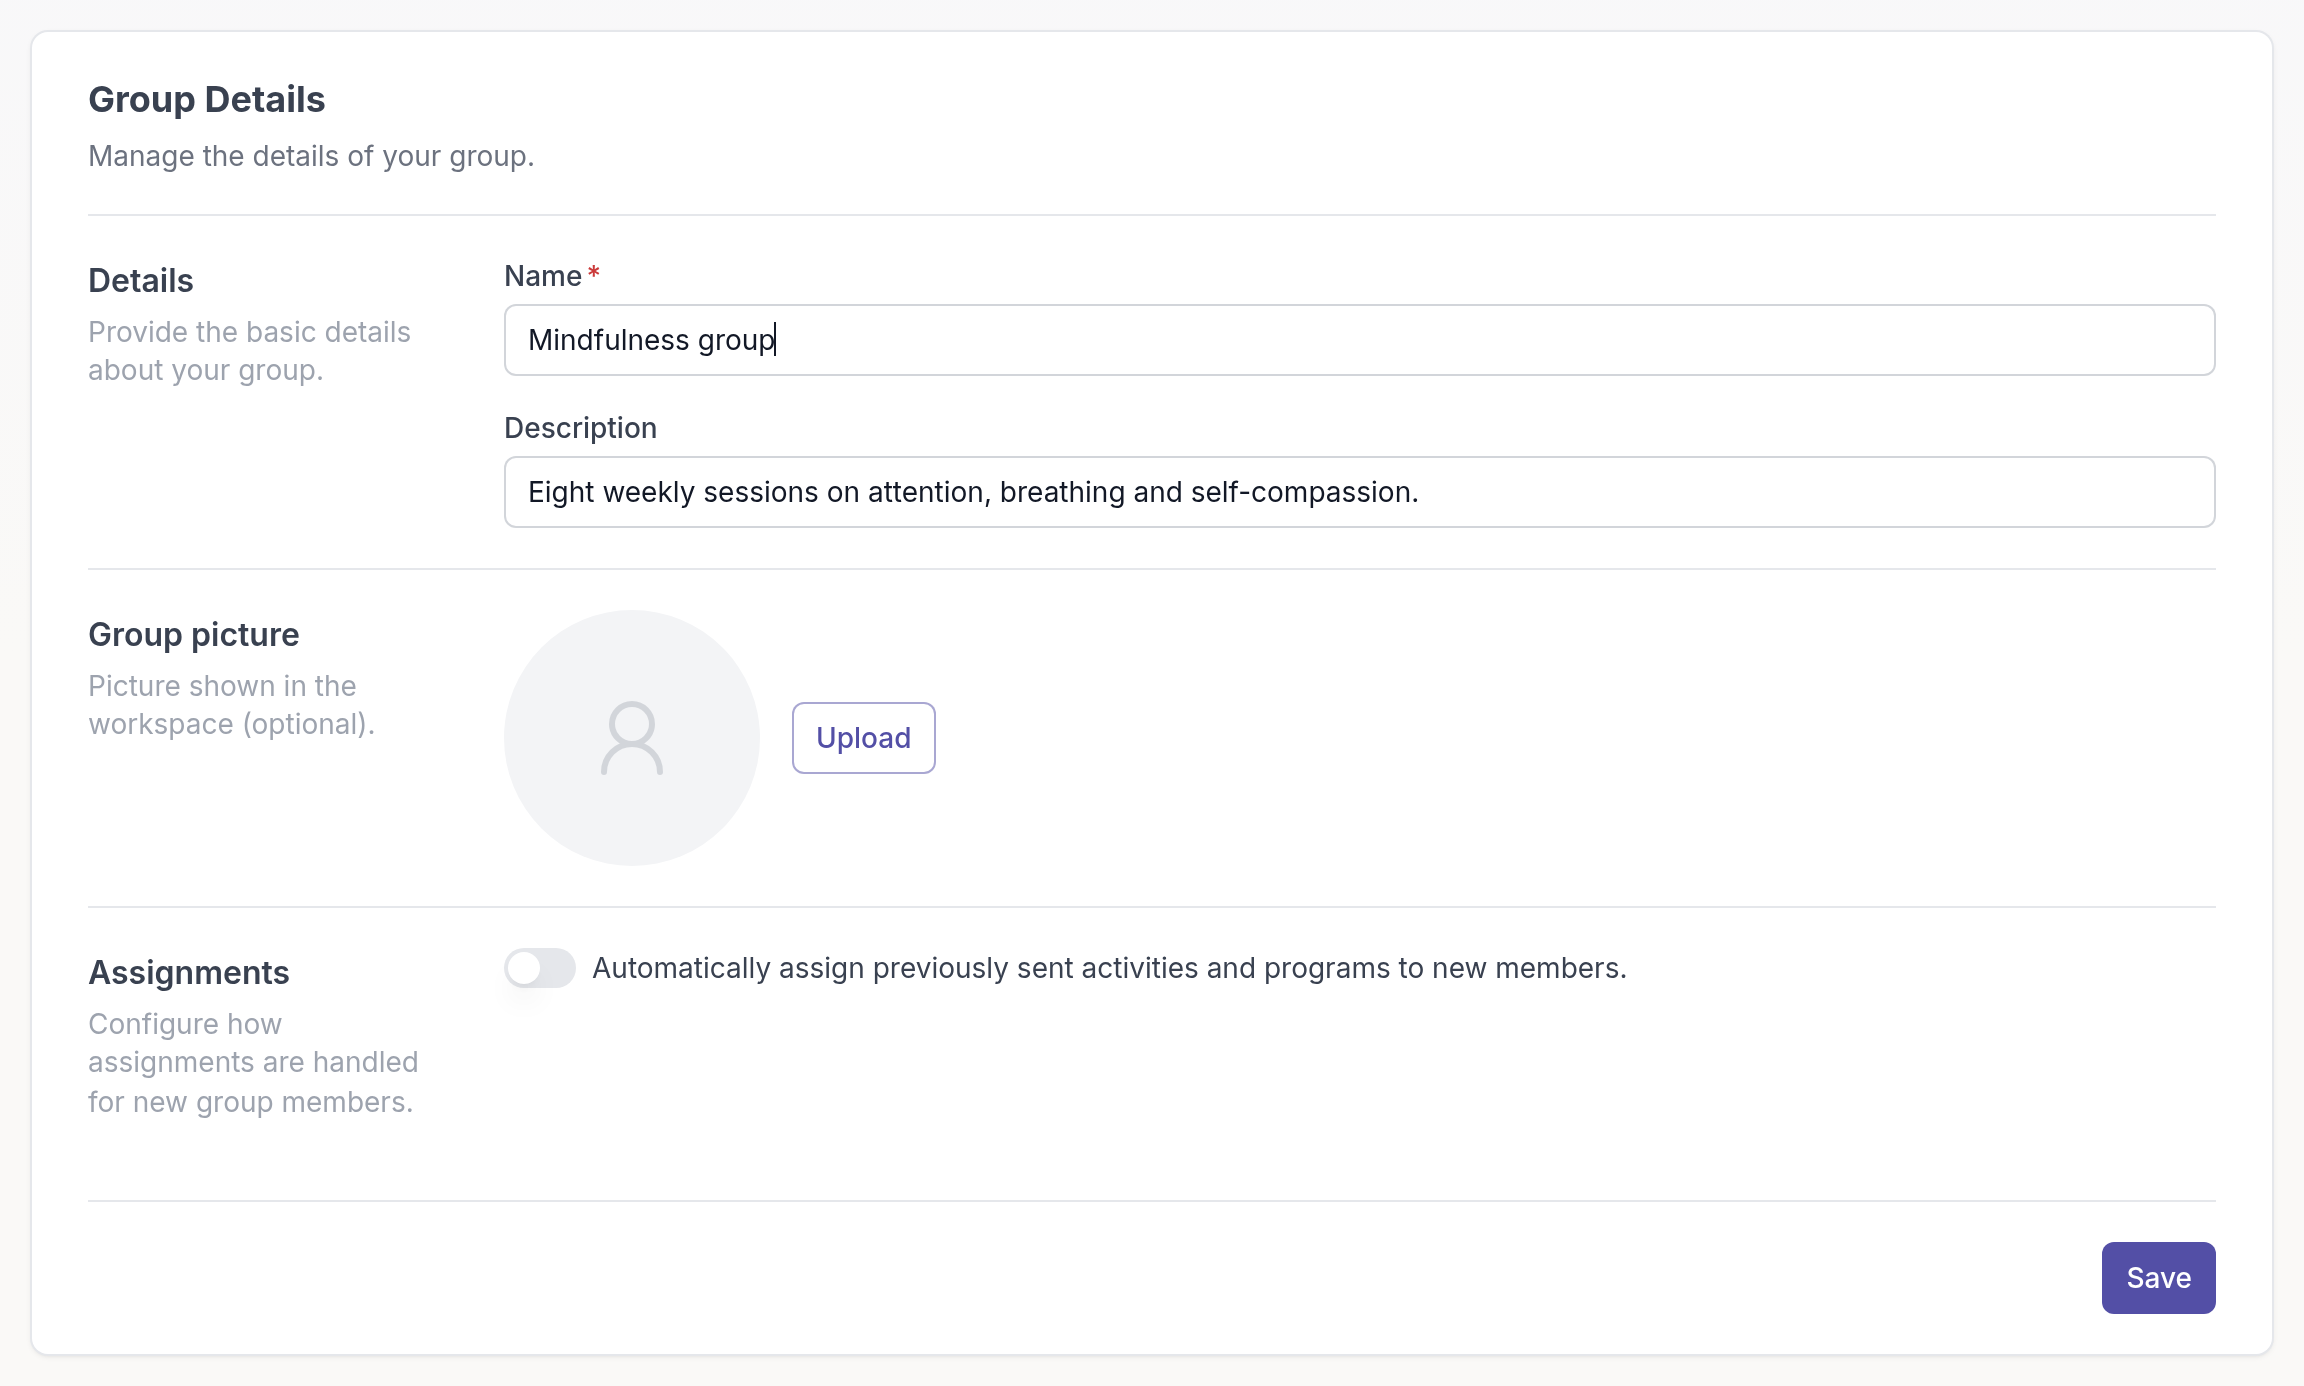
- **Name** and **Description**: what the group is called and what it is for. Members see the name.
- **Group picture**: optional; a picture or logo that makes the group easy to spot.
- **Enable group chat**: lets members and assigned professionals talk together. See [Group chat](https://quenza.com/help/chat-and-notifications/group-chat/).
- **Assignments**: whether people who join later automatically get what the group already received. See [New group members](https://quenza.com/help/clients/new-group-members/).
Click **Add group**. The group opens on its **Details** tab, with the assigned professionals and a timeline of what happened in the group.
## Add members
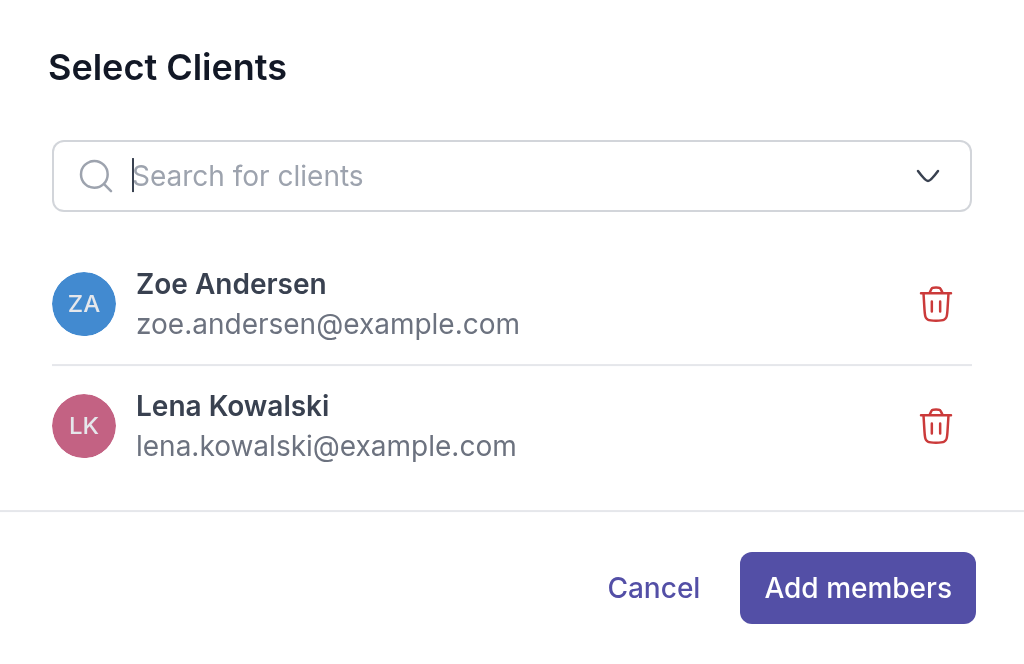
Open the group's **Members** tab and click **+ Members**. Search for clients, select them and click **Add members**. Only clients already in your workspace can join; to add new people, first [add them as clients](https://quenza.com/help/clients/add-clients/).
There is no limit to the number of members in a group. To remove someone, click **⋯** in their row and choose **Remove member**. They stay a client in your workspace.
## Send activities and programs
Send from the group, or from your library:
- **From the group**: open its **Activities** or **Programs** tab and click **Send activity** or **Send program**. Or, in the group list, click **⋯** in the group's row and choose **Send**.
- **From your library**: click **⋯** next to an activity or program and choose **Send activity** or **Send program**. Under **Recipients**, switch to **Groups** and select the group.
All current members receive the activity or program. For the other send options, see [Send an activity](https://quenza.com/help/working-with-clients/send-an-activity/) and [Send a program](https://quenza.com/help/working-with-clients/send-a-program/).
## Follow the group's progress
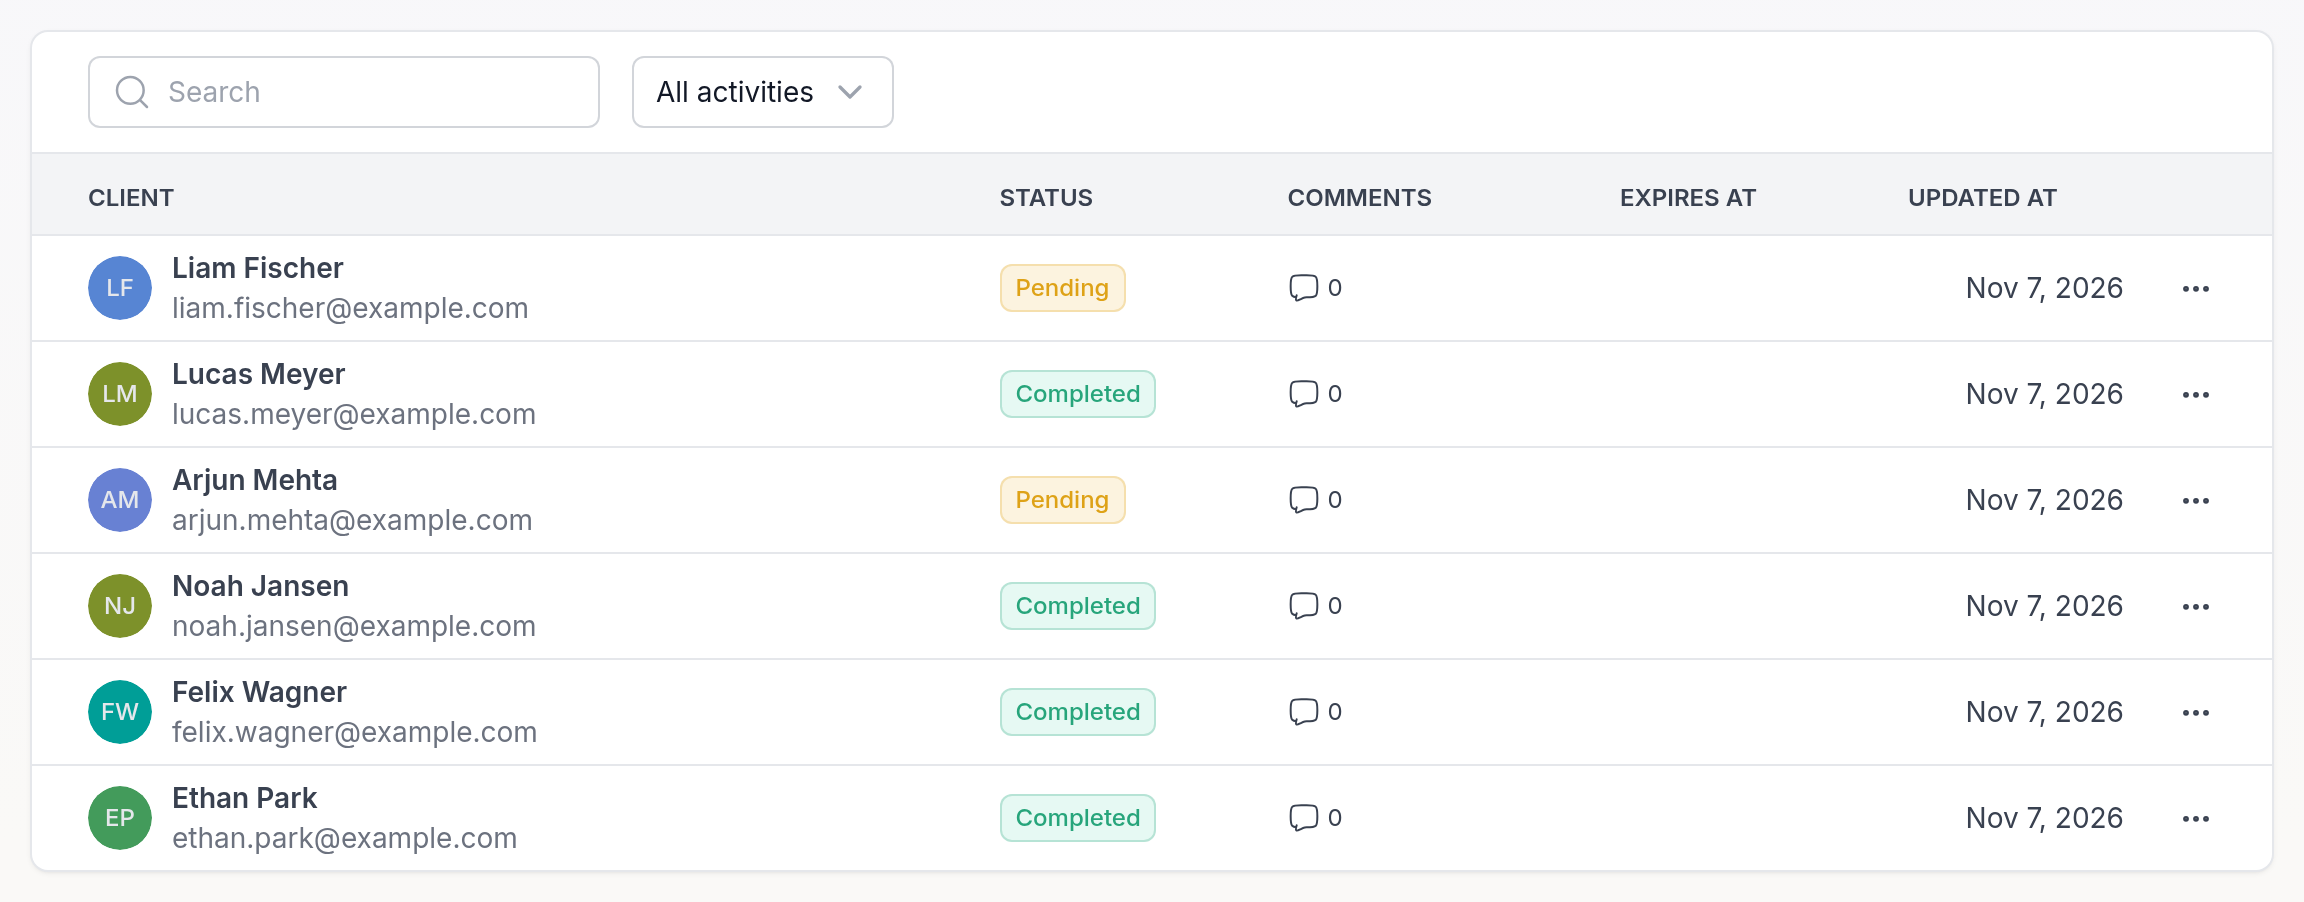
The group's **Activities** and **Programs** tabs list everything sent to the group, with its status. Click an item to see each member's status, so you can see at a glance who has completed it and who might need a reminder.
## Edit a group
Open the group's **Settings** tab to change its **Name**, **Description** or **Group picture**, or the **Assignments** setting. Click **Save**.
The group chat is turned on or off on the group's **Chat** tab; see [Group chat](https://quenza.com/help/chat-and-notifications/group-chat/). To give a colleague access to the group, see [Assign professionals](https://quenza.com/help/clients/assign-professionals/).
## When the group ends
When a workshop or course is over, archive the group to keep its history read-only, or delete it if you need none of its records. See [Archive or delete groups](https://quenza.com/help/clients/archive-or-delete-groups/).
---
# New group members
> Let a group automatically send its earlier activities and programs to clients who join later, or send them to new members by hand.
Available on the Growth plan and higher.
Source: https://quenza.com/help/clients/new-group-members/
By default, a client you add to a group does not receive the activities and programs the group already got. That suits a group where everyone starts together. For a group people join along the way, one setting catches new members up for you.
For example, Sarah Bennett's Mindfulness group takes new members every few weeks. With automatic sending on, Zoe Andersen gets the breathing exercise and the earlier weeks' activities as soon as Sarah adds her, so she can catch up before her first session.
## Turn on automatic sending
Open the group's **Settings** tab. Under **Assignments**, turn on **Automatically assign previously sent activities and programs to new members.** and click **Save**.
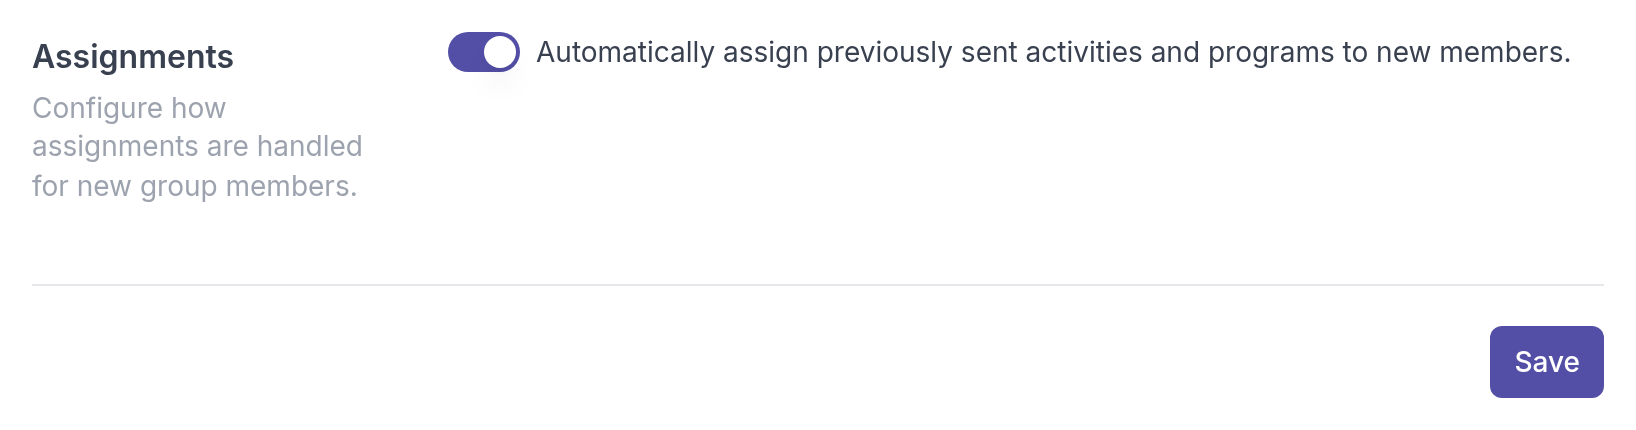
From now on, everyone you add to the group receives the activities and programs already sent to the group. Members who were in the group before you turned it on are not affected. You can also turn this on when you create a group, in the **Assignments** section of the **Add group** dialog.
## Send items to a new member by hand
If you prefer to choose what each new member receives, leave the setting off and send items one by one. Open the group's **Activities** or **Programs** tab, click **⋯** next to the item and choose **Manage members**.
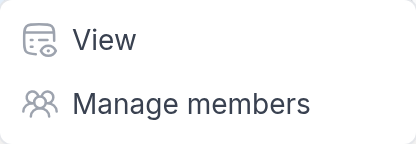
The dialog lists the group's members with their status for this item. Click **Send** next to a member who has not received it yet.
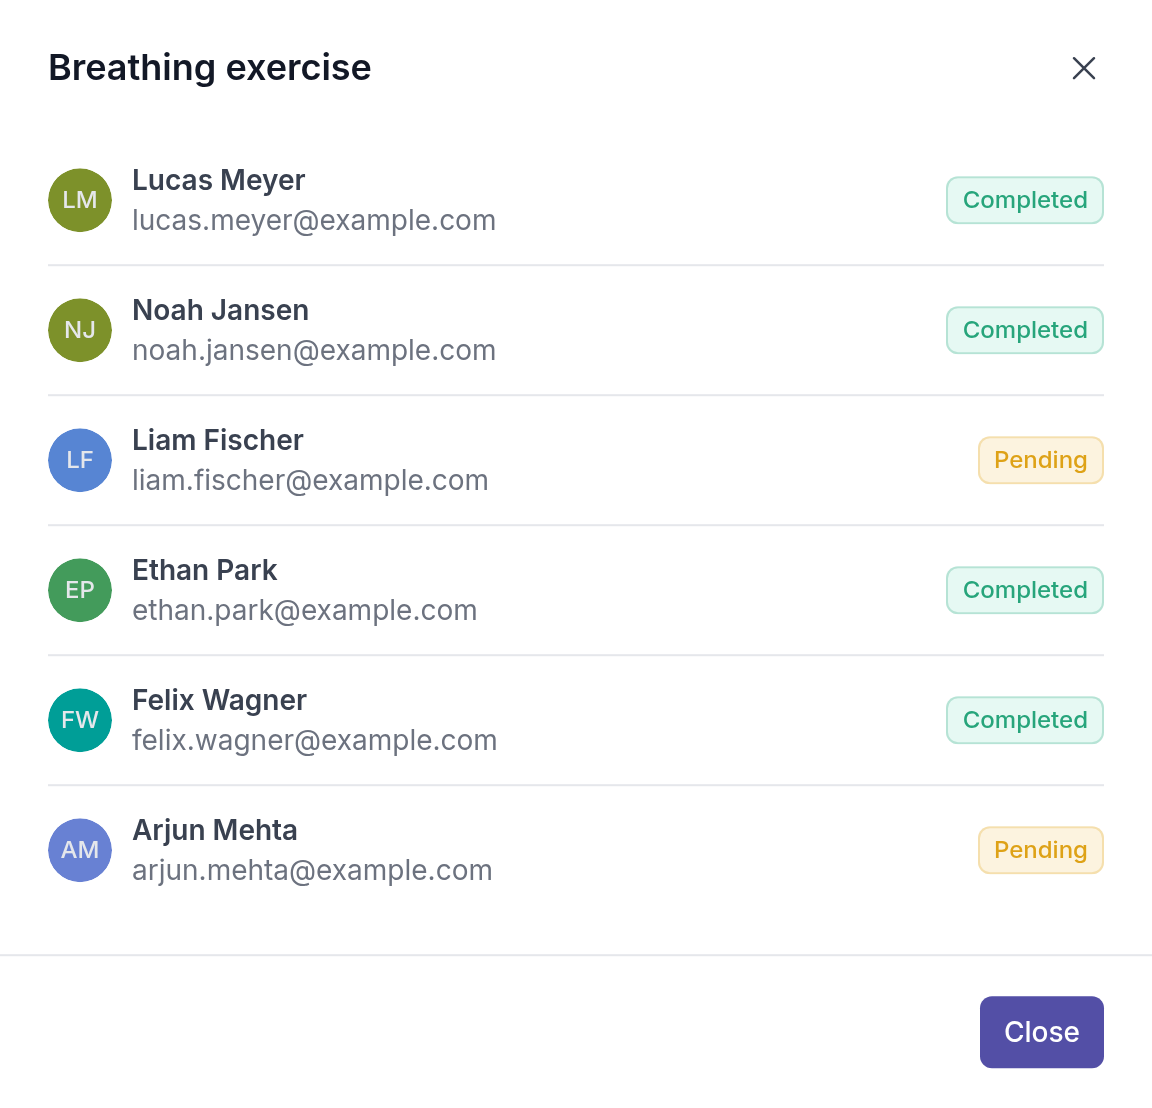
The same dialog shows you at a glance who has completed the item, which helps when you follow up before a session. To create a group and add members, see [Groups](https://quenza.com/help/clients/groups/).
---
# Archive or delete groups
> Archive a group that has finished to keep its history read-only, unarchive it later, or delete a group and its notes and chat for good.
Available on the Growth plan and higher.
Source: https://quenza.com/help/clients/archive-or-delete-groups/
When a group has run its course, archive it to take it out of your active groups while keeping its history. Delete a group only when you do not need any of its records. Owners, Managers and Members can archive, unarchive and delete groups. Groups are part of the Growth, Impact, Collective and Beyond plans and the free trial.
## Archive or delete?
| | Archive | Delete |
| --- | --- | --- |
| The group | Stays, with the status **Archived** | Is removed for good |
| Members | Stay clients in your workspace | Stay clients in your workspace |
| Planned and running activities and programs sent through the group | Canceled | Canceled |
| Group chat | Read-only | Deleted |
| Notes for the group | Kept | Deleted |
| Resources shared with the group | Kept | No longer shared with the group (the files stay in your resources) |
| Can be undone | Yes, with **Unarchive** | No |
For example, Sarah Bennett's Spring wellbeing workshop ended in June. She archives the group: the members keep their completed activities, the chat stays readable, and her notes on the sessions stay available for when she plans the next round.
## Archive a group
1. Go to **Groups**.
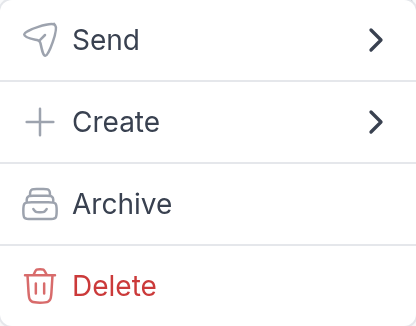
2. Click **⋯** at the end of the group's row and choose **Archive**. You can also use the **⋮** menu at the top right of the group's page.
3. Type the group's name to confirm. You can click the name in the dialog to copy it.
4. Click **Archive group**.
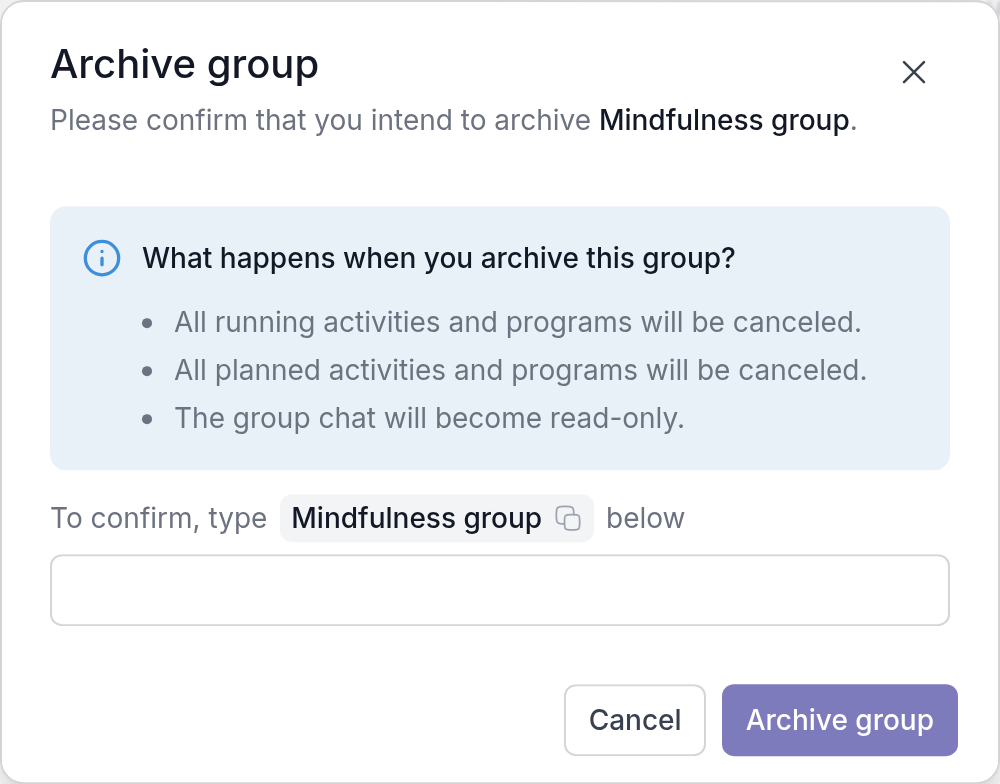
Once a group is archived, you can still open it and read its activities, programs, notes and chat, but you cannot change it: you cannot add members, send content, edit its settings or assign professionals.
## Find and unarchive a group
Open the **All Groups** filter in the group list and choose **Archived**. Archived groups have the status **Archived**.
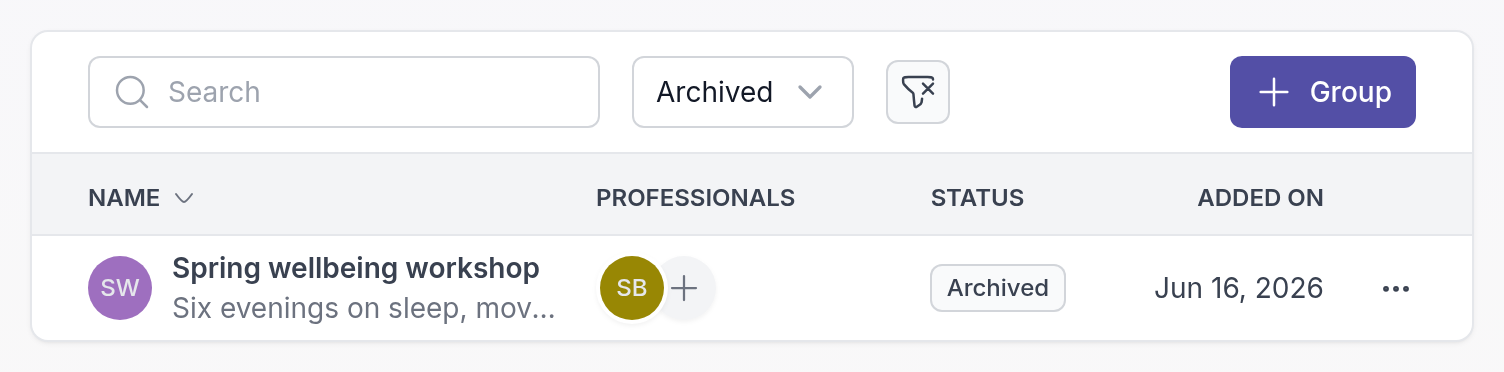
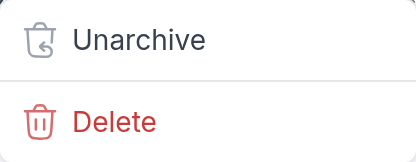
To use the group again, click **⋯** in its row, choose **Unarchive** and confirm with **Unarchive group**. The group chat opens again for messages.
Activities and programs that were canceled when you archived the group are not restarted. [Send them again](https://quenza.com/help/clients/groups/) if the group still needs them.
## Delete a group
> **Danger:** Deleting a group cannot be undone. The group, its chat and its notes are removed and cannot be recovered.
1. Go to **Groups**, or **Archived** in the **All Groups** filter.
2. Click **⋯** at the end of the group's row and choose **Delete**.
3. Read what will happen, then type the group's name to confirm.
4. Click **Delete group**.
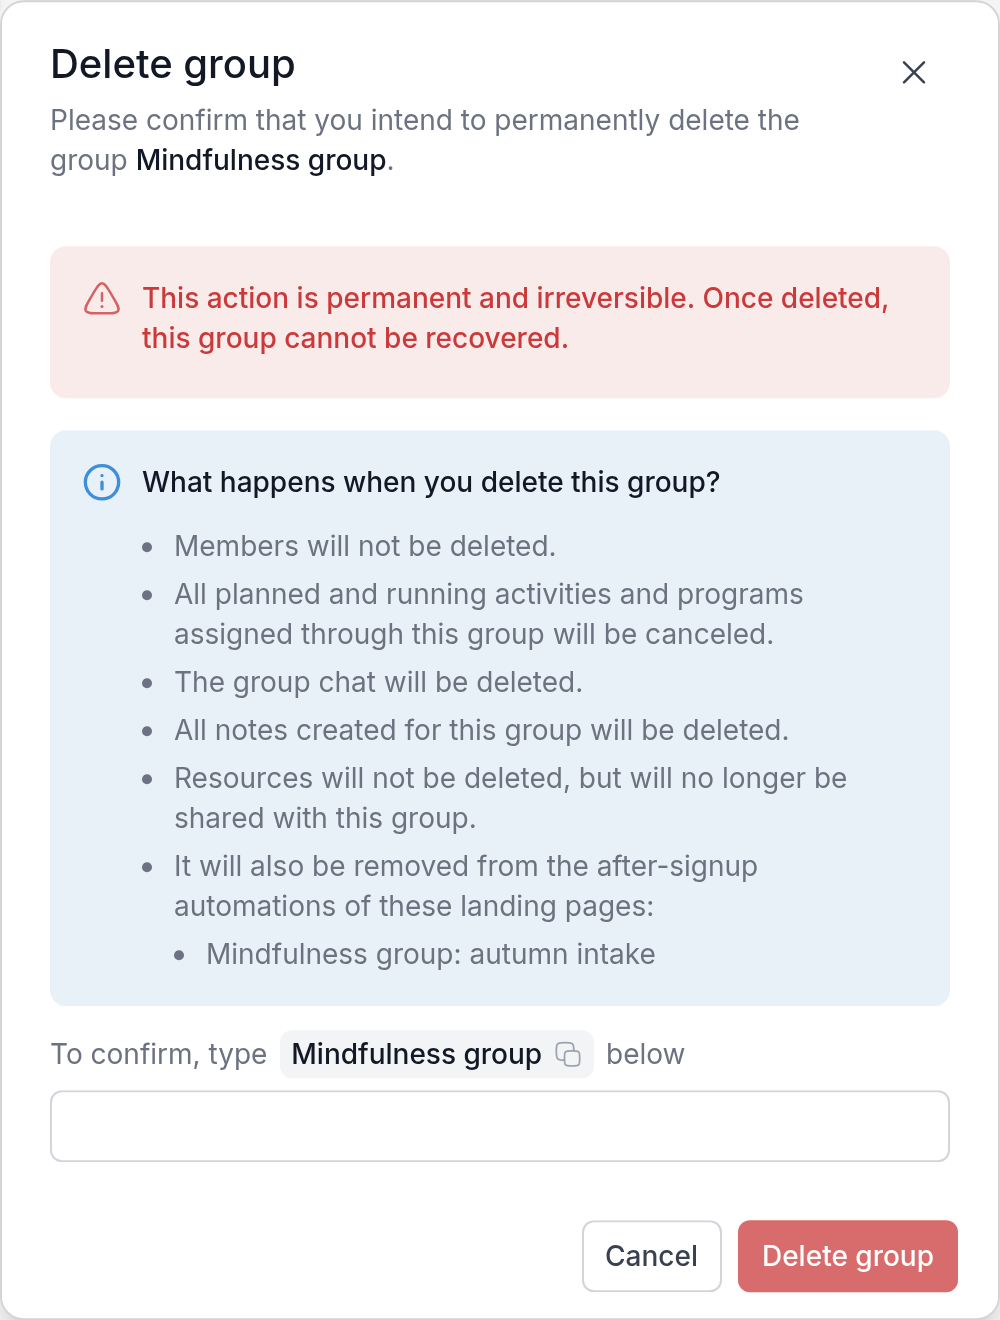
If a landing page adds new sign-ups to this group, the dialog names that page. Deleting the group removes it from the page's after-signup automation, so new sign-ups are no longer added to any group. Check the page afterwards; see [Landing pages](https://quenza.com/help/new-clients/landing-pages/).
To remove a single client from a group instead, open the group's **Members** tab, click **⋯** in their row and choose **Remove member**.
---
# Export client data
> Combine a client's notes and completed activities into one PDF for your records or a data request.
Source: https://quenza.com/help/clients/export-client-data/
Export a client's notes and completed activities, including all of their answers, into a single PDF. Use it for your records, to give a client a copy of their data when they ask for it, or before you archive or delete a client.
For example, Emma Clarke finishes her coaching trajectory and asks for everything she filled in. Sarah Bennett exports Emma's completed activities, checks the PDF and shares it with her.
## What the export includes
- **Notes**: all notes about the client that you are allowed to read.
- **Completed activities**: every completed activity, with the client's answers.
The export only contains data from your current workspace that is visible to you, so it never includes anything you could not already see in Quenza. Files uploaded as attachments are not included; download those separately if you need them.
## Export a client's data
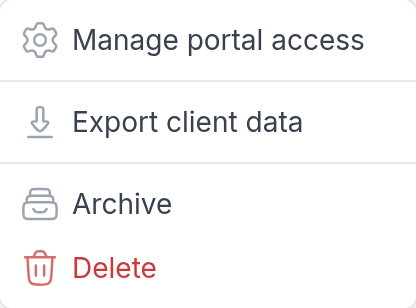
Open the client, click **⋯** at the top right of their page and choose **Export client data**.
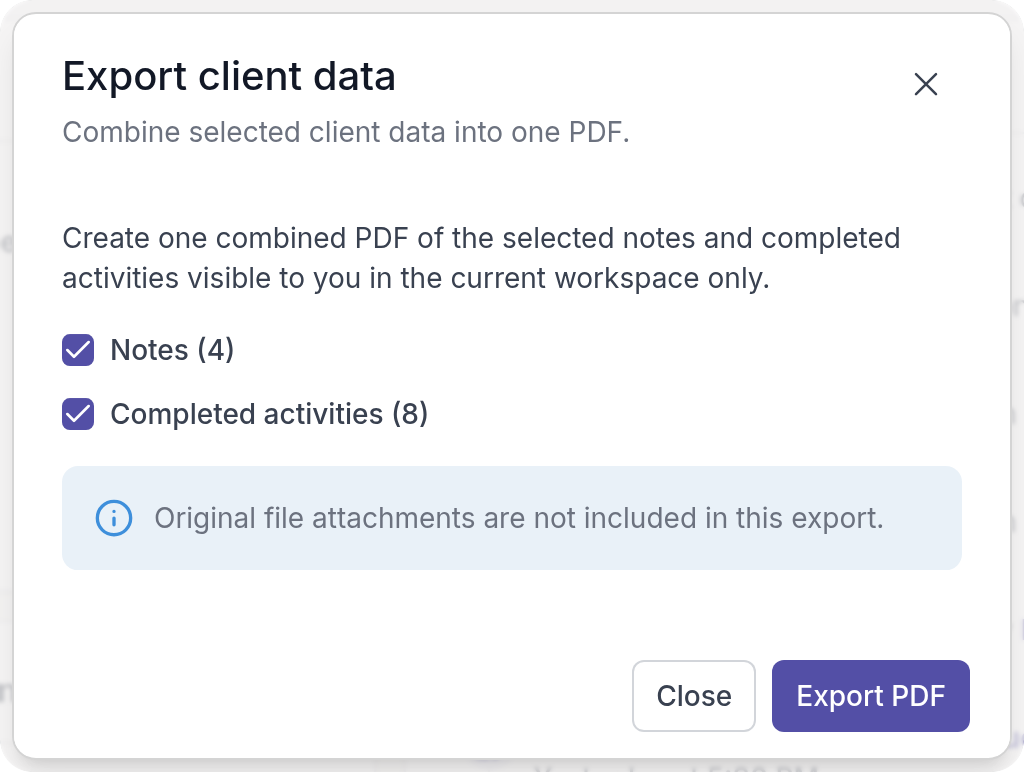
Select what to include, **Notes**, **Completed activities** or both, and click **Export PDF**. The numbers tell you how many items each part has.
## Download the PDF
Quenza prepares the PDF in the background, which can take a while for clients with a lot of content. You can close the dialog and keep working; when you open **Export client data** again, you see the current status.
When the PDF is ready, **Download PDF** appears in the dialog, and you get an email with a link back to Quenza. The PDF is not attached to the email. If you are signed out, sign in first and then open the link again.
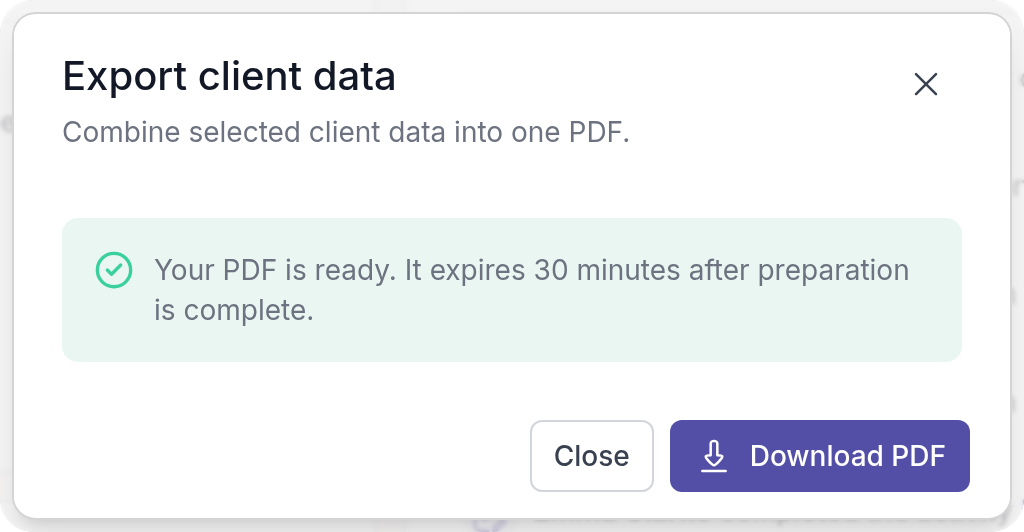
> **Caution:** The PDF can be downloaded for 30 minutes after it is ready. After that it is removed. If it has expired, start a new export.
If the PDF could not be prepared, the dialog shows an error and you can click **Try again**.
## Clients can export their own data
Clients can export their own notes and completed activities in the client app. They open **My Profile**, scroll to **Export my data** and click **Export data**. The rest works the same way: they choose what to include, get an email when the PDF is ready, and have 30 minutes to download it.
## Good to know
- The PDF contains sensitive client information. Store and share it with the same care as any other client record.
- To export just one completed activity, see [Export as PDF](https://quenza.com/help/working-with-clients/export-as-pdf/).
- Stopping your work with this client? Export their data first, then [archive](https://quenza.com/help/clients/archive-clients/) or [delete](https://quenza.com/help/clients/delete-clients/) them.
---
# Archive clients
> Archive a client you no longer work with to remove them from your active client list while keeping all of their data.
Source: https://quenza.com/help/clients/archive-clients/
Archive a client when your work with them has ended but you want to keep their records. The client leaves your list of active clients, and all of their data stays in Quenza. You can [restore an archived client](https://quenza.com/help/clients/restore-clients/) at any time.
For example, Henrik Larsen completes his last session with Sarah Bennett. Sarah archives him: no new content reaches him, her client list stays focused on current clients, and if Henrik comes back next year, his history is still there.
Only taking a break with a client? [Pause their portal access](https://quenza.com/help/clients/portal-access/) instead; they stay an active client.
## Archive a client
Go to **Clients**, click **⋯** at the end of the client's row and choose **Archive**. The same option is in the **⋯** menu at the top right of the client's page.

The dialog lists what happens. Type the client's full name to confirm (click the name in the dialog to copy it) and click **Archive client**.
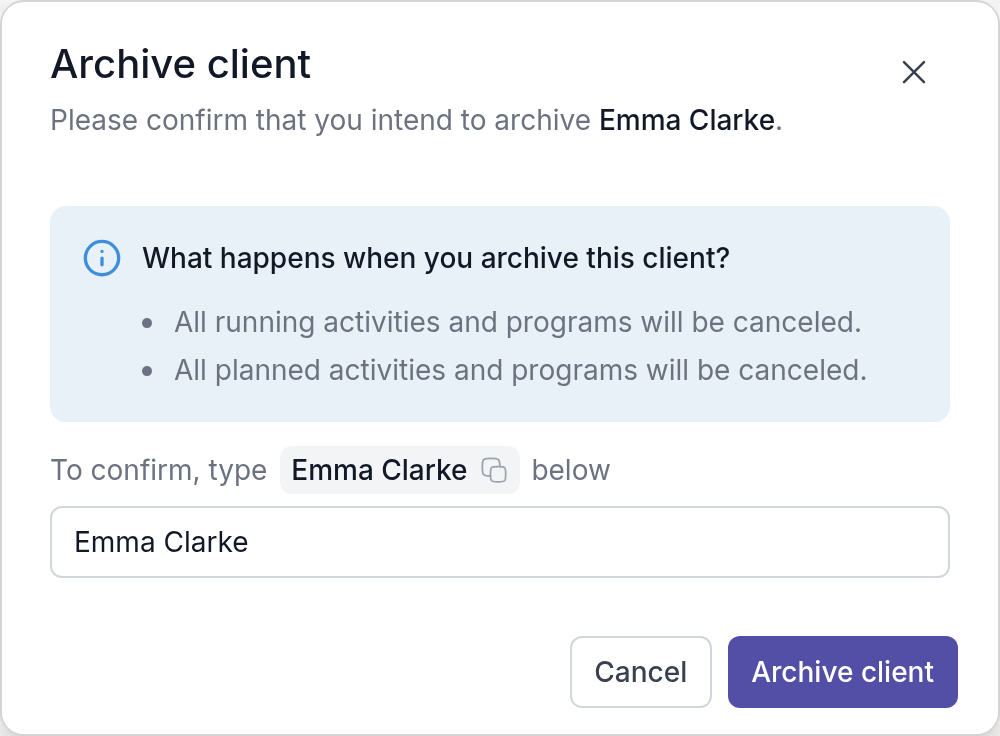
You cannot archive your demo client.
## What happens when you archive a client
- **All running and planned activities and programs are canceled**, so the client receives no new content.
- **You can no longer work with the client.** You cannot send activities or programs, share notes, assign tasks, or pick the client as the context of a note or task.
- **The client's access becomes read-only.** They can still view past activities, completed programs, messages, comments and notes. They cannot complete activities, receive new content, share notes or send messages.
- **Nothing is deleted.** All past data stays available in read-only form.
> **Tip:** Need a copy of the client's records? [Export client data](https://quenza.com/help/clients/export-client-data/) before or after you archive them.
To remove a client and all of their data permanently, see [Delete clients](https://quenza.com/help/clients/delete-clients/).
---
# Restore clients
> Unarchive a client so you can work with them again, with their history, notes and messages back in your active client list.
Source: https://quenza.com/help/clients/restore-clients/
When an archived client comes back, unarchive them. They return to your active clients with all of their history, notes and messages, so you can pick up where you left off.
For example, Henrik Larsen finished coaching with Sarah Bennett last spring and books a new trajectory in the autumn. Sarah unarchives him, rereads her notes and his completed activities, and sends him a fresh intake questionnaire.
## Find your archived clients
Go to **Clients**, open the **All statuses** filter and choose **Archived**. Archived clients have the status **Archived**.
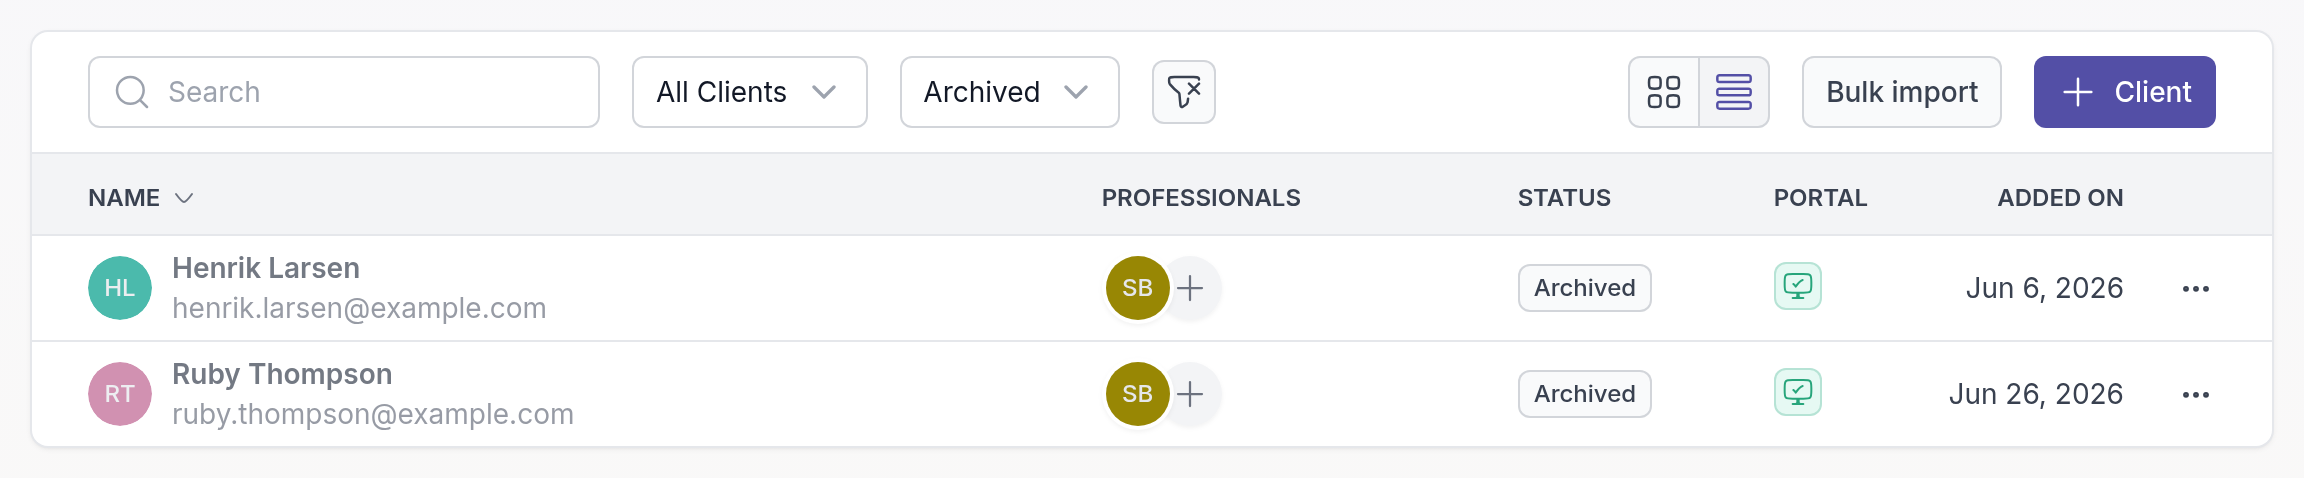
## Unarchive a client
Click **⋯** at the end of the archived client's row and choose **Unarchive**. The same option is in the **⋯** menu at the top right of the client's page.
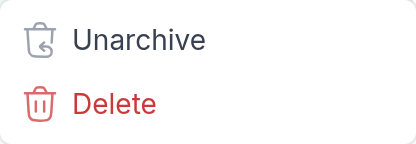
Confirm with **Unarchive client**.
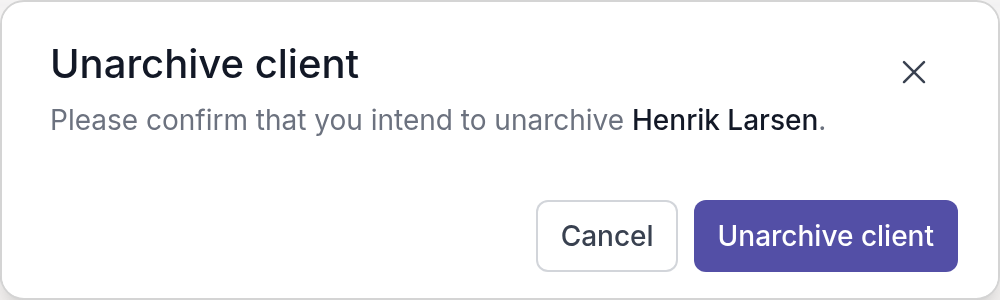
If you have reached your plan's client limit, Quenza asks you to upgrade before it restores the client. See [Client limits](https://quenza.com/help/billing/client-limits/).
## After you restore a client
- The client is active again and can use the client app as before.
- You can send activities and programs, share notes, assign tasks, and pick the client as the context of a note or task.
Activities and programs that were canceled when you archived the client are not restarted. Send them again if the client still needs them.
Restored a client by mistake? [Archive them again](https://quenza.com/help/clients/archive-clients/).
---
# Delete clients
> Permanently delete a client from your workspace, together with all of their notes, tasks, files, comments and chat history.
Source: https://quenza.com/help/clients/delete-clients/
Delete a client when you no longer need to keep any of their data, for example when a client asks you to erase their records, or when you added someone by mistake. Deleting is permanent. If you might want the records later, [archive the client](https://quenza.com/help/clients/archive-clients/) instead.
> **Danger:** Deleting a client cannot be undone. The client and all of their data are removed from Quenza and cannot be recovered.
## Before you delete
Check whether you have to keep records of your work with this client, for example for your professional body or for tax purposes. If so, [export the client's data](https://quenza.com/help/clients/export-client-data/) first, or archive the client instead.
## Delete a client
Open the client, click **⋯** at the top right of their page and choose **Delete**. The same option is in the **⋯** menu at the end of the client's row in your client list.

The dialog lists what will happen. Type the client's full name to confirm (click the name in the dialog to copy it) and click **Delete client**.
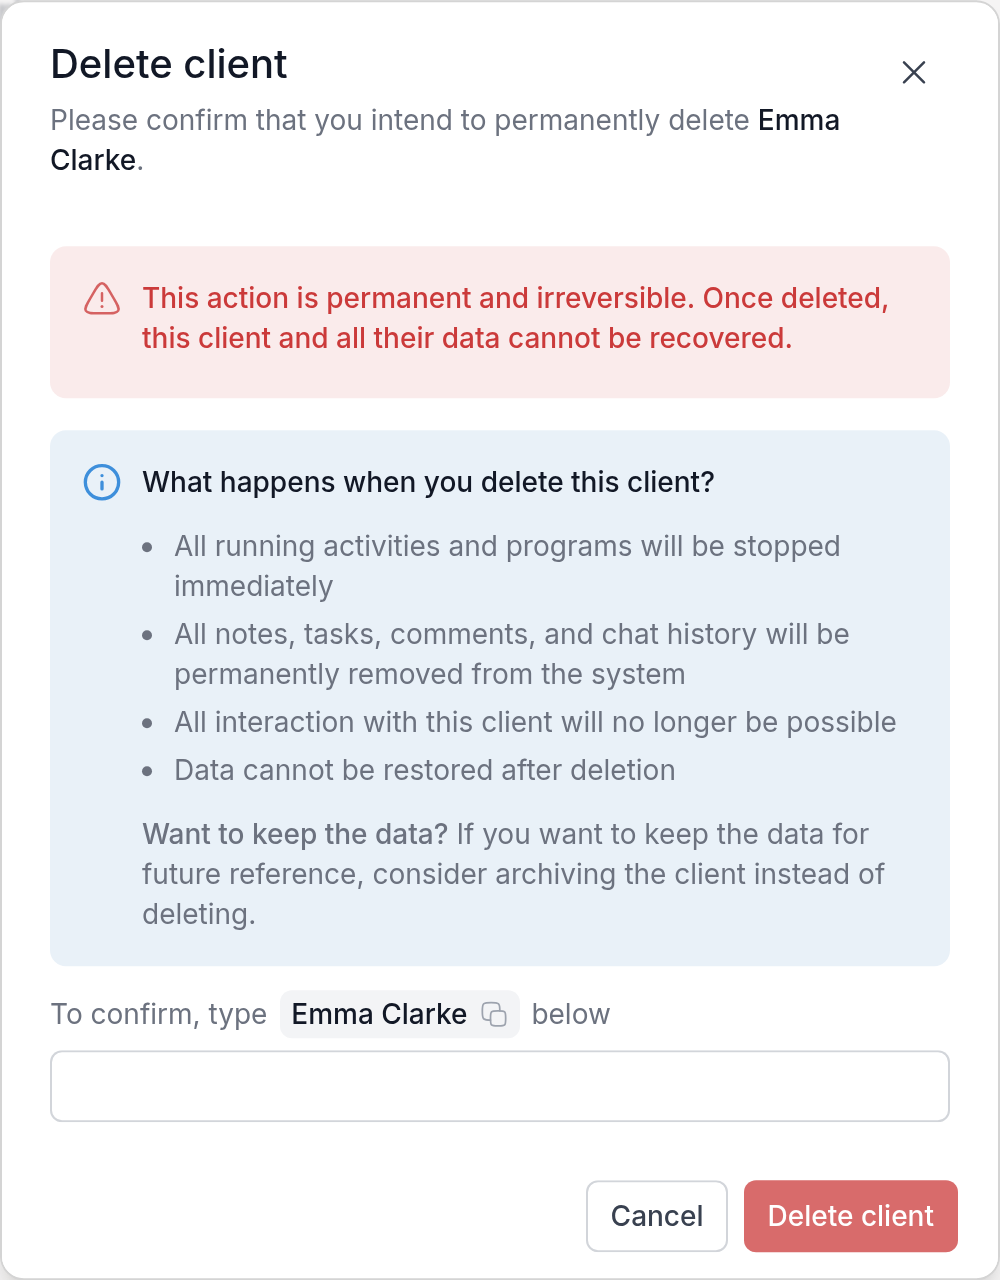
You cannot delete your demo client.
## What happens when you delete a client
- All running activities and programs for the client stop immediately.
- All notes, tasks, files, comments and chat history are permanently removed.
- All interaction with the client is no longer possible. They can no longer sign in to your workspace or receive messages from you.
- The data cannot be restored.
---
# Activities overview
> See what activities are, where to find your activity library, and how to create your own exercises and worksheets for clients.
Source: https://quenza.com/help/content/activities-overview/
Activities are the exercises, worksheets, assessments, journaling prompts and lessons your clients complete between sessions. You build an activity once, keep it in your library and send it to as many clients as you like.
For example, after an intake session Sarah Bennett sends Emma Clarke the Values reflection, so Emma can prepare for the next session. Every evening that week Emma also fills in a short gratitude journal. Sarah reads the answers before they meet.
Video: [How to create and customize activities in Quenza](https://vimeo.com/1096541654)
## Your activity library
**Activities → Library** holds every activity in your workspace: the ones you and your colleagues built, and the pre-made activities you added from Quenza's collection. Switch between the list and the grid with the buttons next to **+ Activity**.
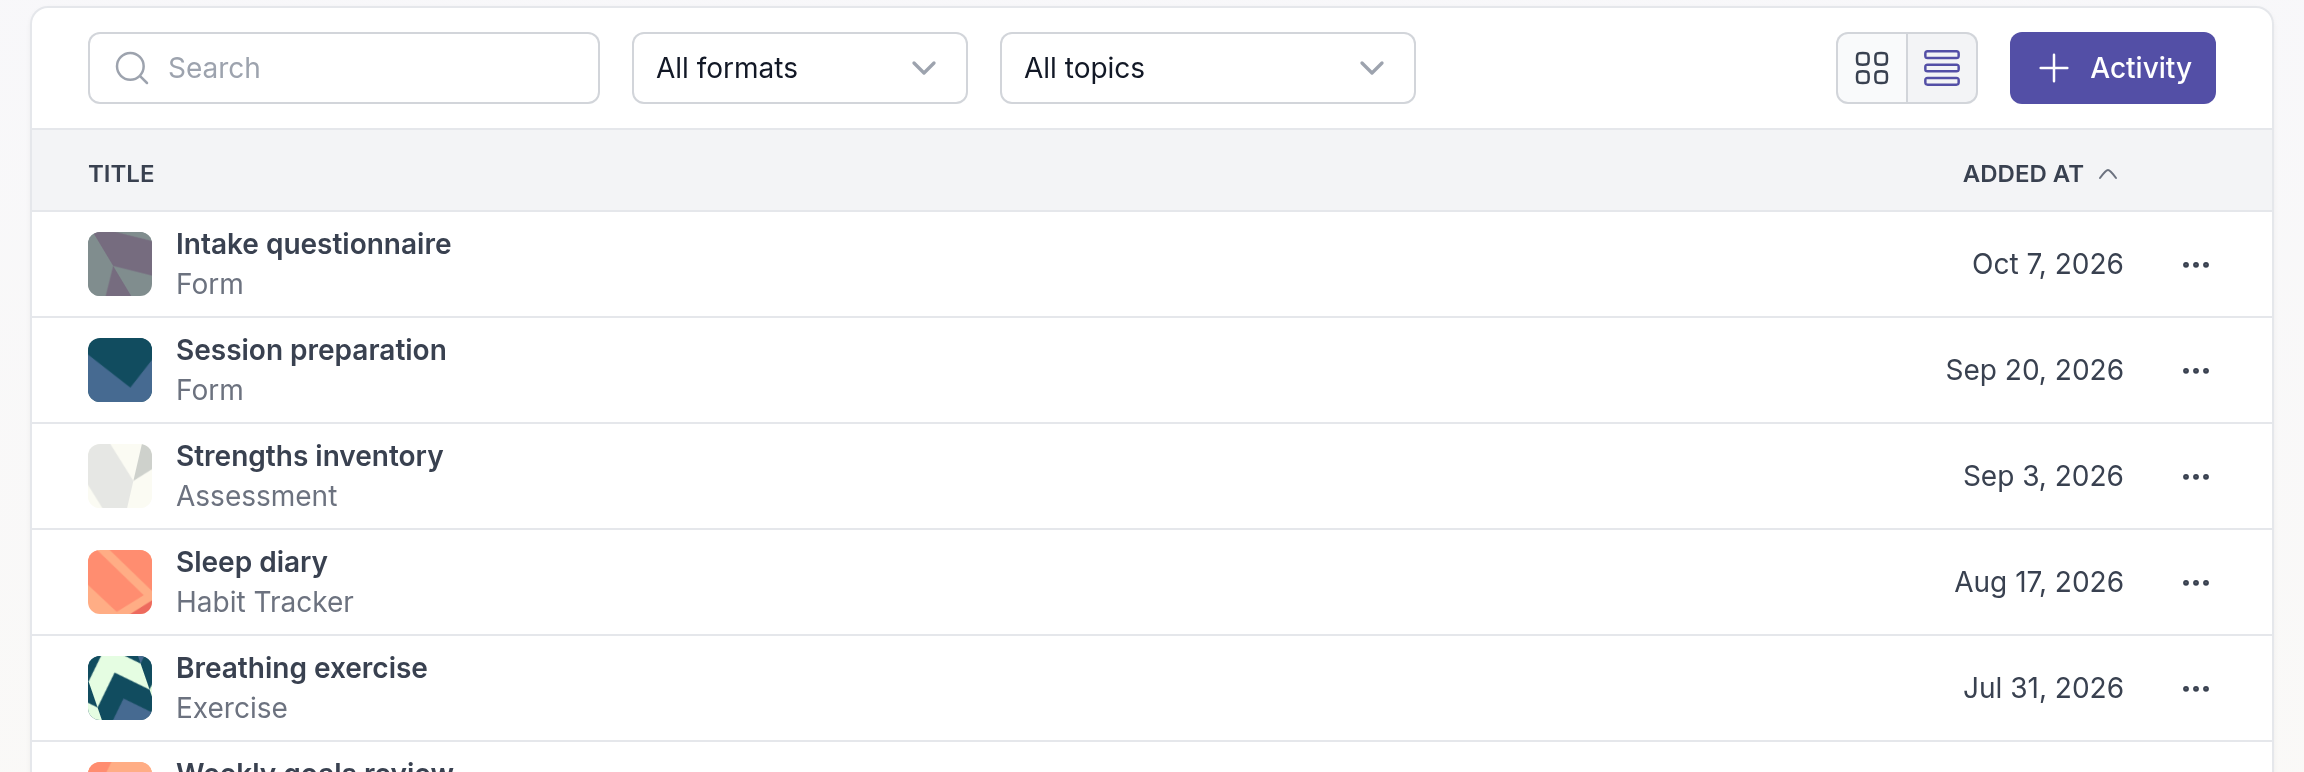
### Find an activity
Type part of the title in the search field, or narrow the list with the filters:
- **All formats**: show one format, such as Worksheet, Assessment or Journaling. You choose the format of an activity on its **Settings** tab.
- **All topics**: show activities about one topic, such as Assertiveness or Career Planning. The number after each topic tells you how many activities have it. Type in the filter to find a topic quickly.
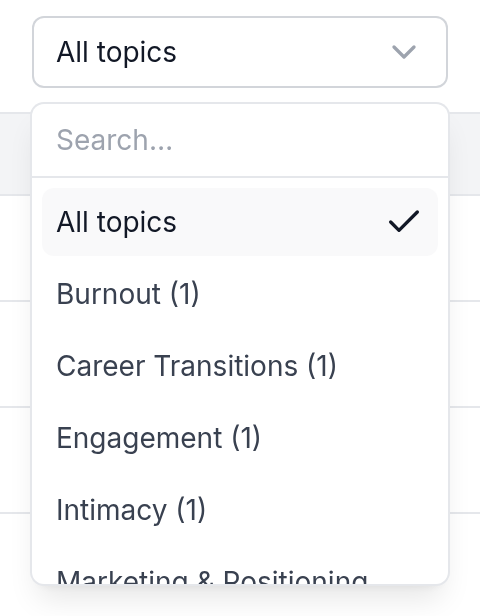
The same filters are on the **Pre-made** page, which helps when you browse Quenza's collection for something to start from.
## Start from a pre-made activity
You do not have to start from scratch. Go to **Activities → Pre-made**, open an activity to preview it and click **Add to library**. Send it as it is, or adapt the wording to your approach first. See [Pre-made content](https://quenza.com/help/content/pre-made-content/).
## Create your own
Click **+ Activity** to open the activity builder. You build the activity from elements, such as text, questions, scales, tables and video, and preview it as your client will see it.
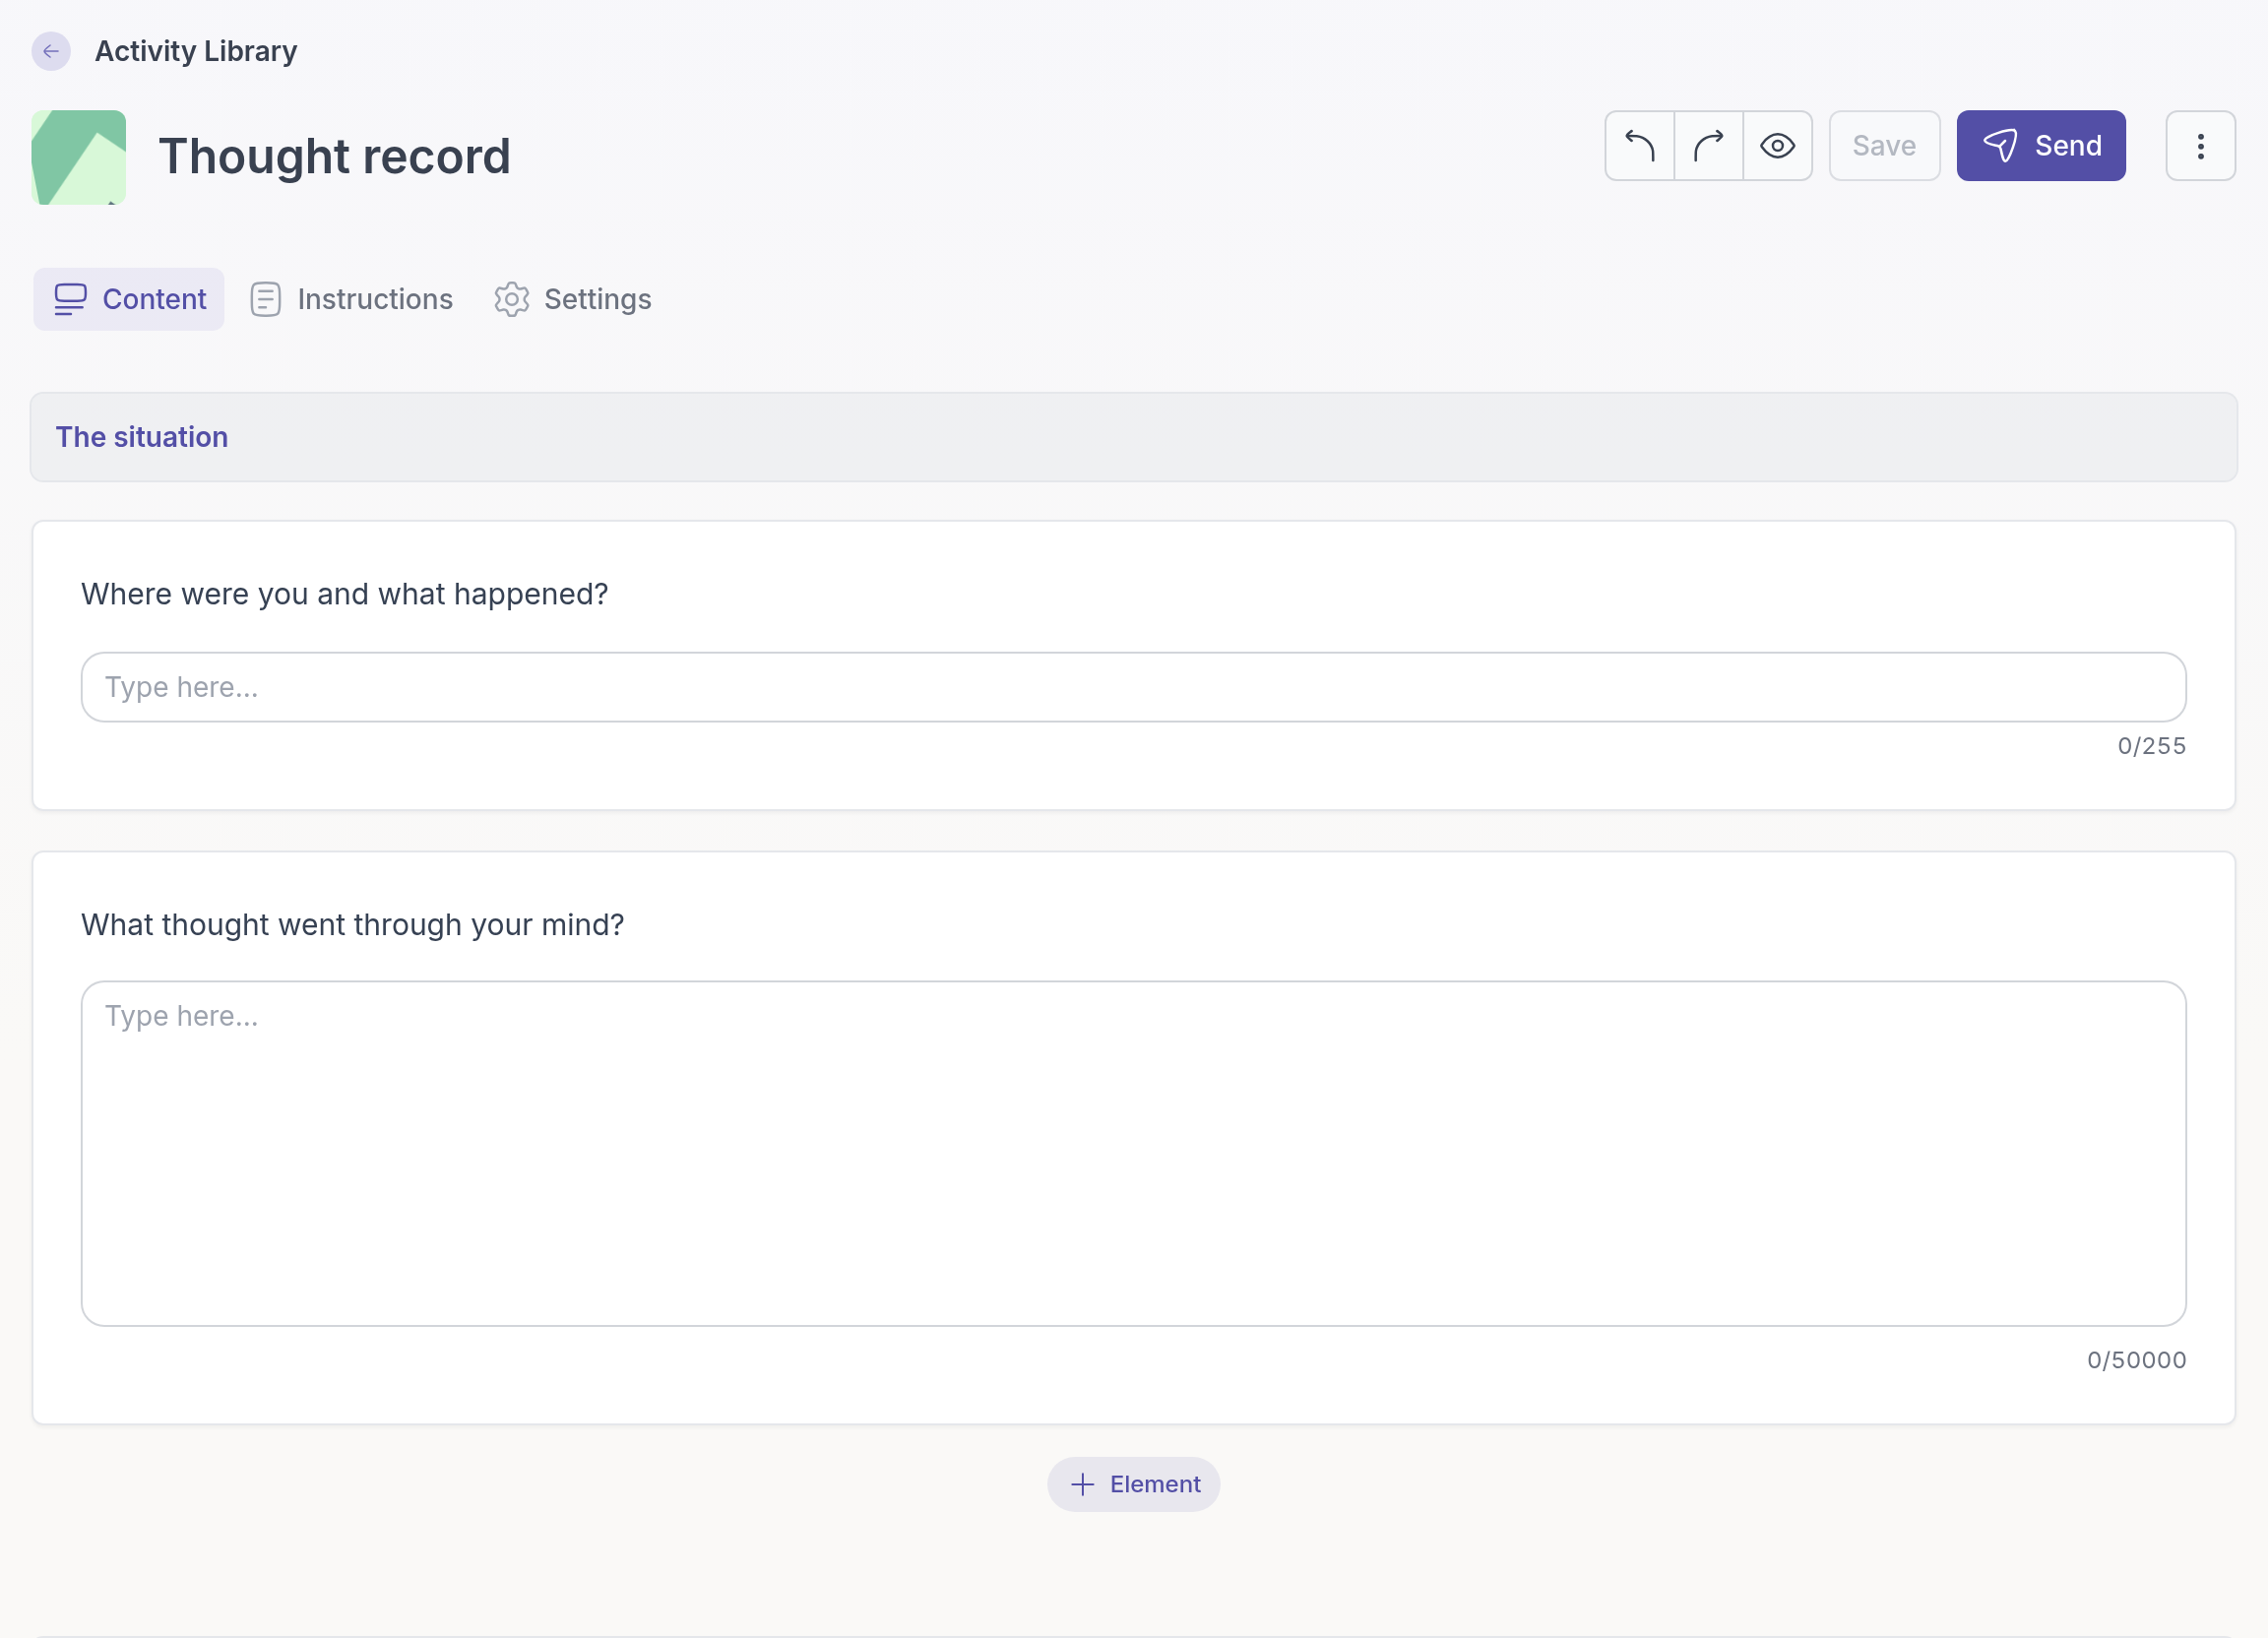
The builder has three tabs:
- **Content**: what your client works through.
- **Instructions**: private notes on how and when to use the activity. Clients never see them.
- **Settings**: a cover image, a short description for your own reference, a format, a default email template and layout options.
See [Build an activity](https://quenza.com/help/content/build-an-activity/) and [Question and element types](https://quenza.com/help/content/question-and-element-types/).
## Work with an activity
Click **⋯** in an activity's row for what you can do with it:
- **Fill out now**: complete the activity together with a client during a session. See [Fill out now](https://quenza.com/help/working-with-clients/fill-out-now/).
- **Send activity**: send it to clients or groups. See [Send an activity](https://quenza.com/help/working-with-clients/send-an-activity/).
- **Edit**: open it in the builder.
- **Duplicate**: make a copy to adapt for a different need, such as a shorter version for teenagers.
- **Delete**: remove it from your library.
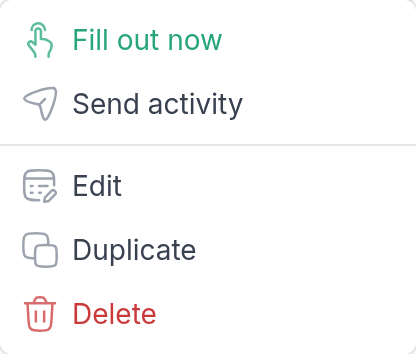
## Delete an activity
Delete an activity you no longer use to keep your library tidy. Choose **Delete** in its **⋯** menu and confirm with **Delete activity**.
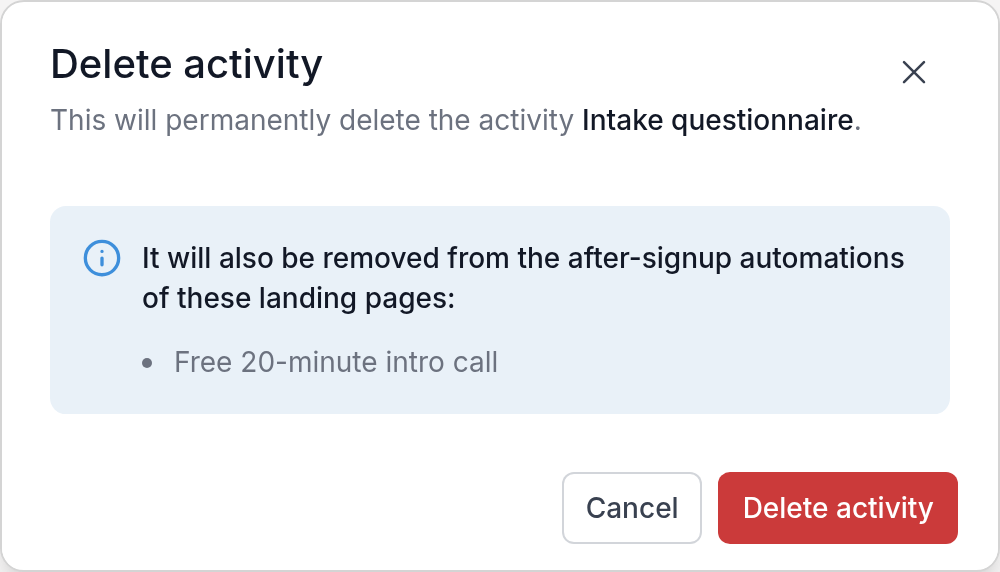
Activities you already sent stay with your clients, with their answers. If a [landing page](https://quenza.com/help/new-clients/landing-pages/) sends this activity to new sign-ups, the dialog names the page; after deleting, the page no longer sends it. Programs that contain a copy of the activity are not changed.
> **Caution:** You cannot undo deleting an activity. If you might need it again, keep it and give it a clear title instead, or duplicate it before you change it.
---
# Build an activity
> Create an activity step by step in the activity builder, from adding elements to previewing and saving.
Source: https://quenza.com/help/content/build-an-activity/
The activity builder is where you turn an exercise, worksheet, assessment or lesson into something your clients complete in Quenza. You put the activity together from elements, such as a short explanation, a few questions and a video, and you can change them at any time.
For example, Sarah Bennett asks her clients to end each day with a short gratitude journal. She builds it once: a sentence on why noticing good moments helps, one open question, and an extra question on what the client wants to remember. Then she sends it to every new coaching client.
## Open the builder
Go to **Activities → Library** and click **+ Activity** to start a new activity, or click an existing activity to edit it. Click the title at the top to name the activity. Your clients see this name.
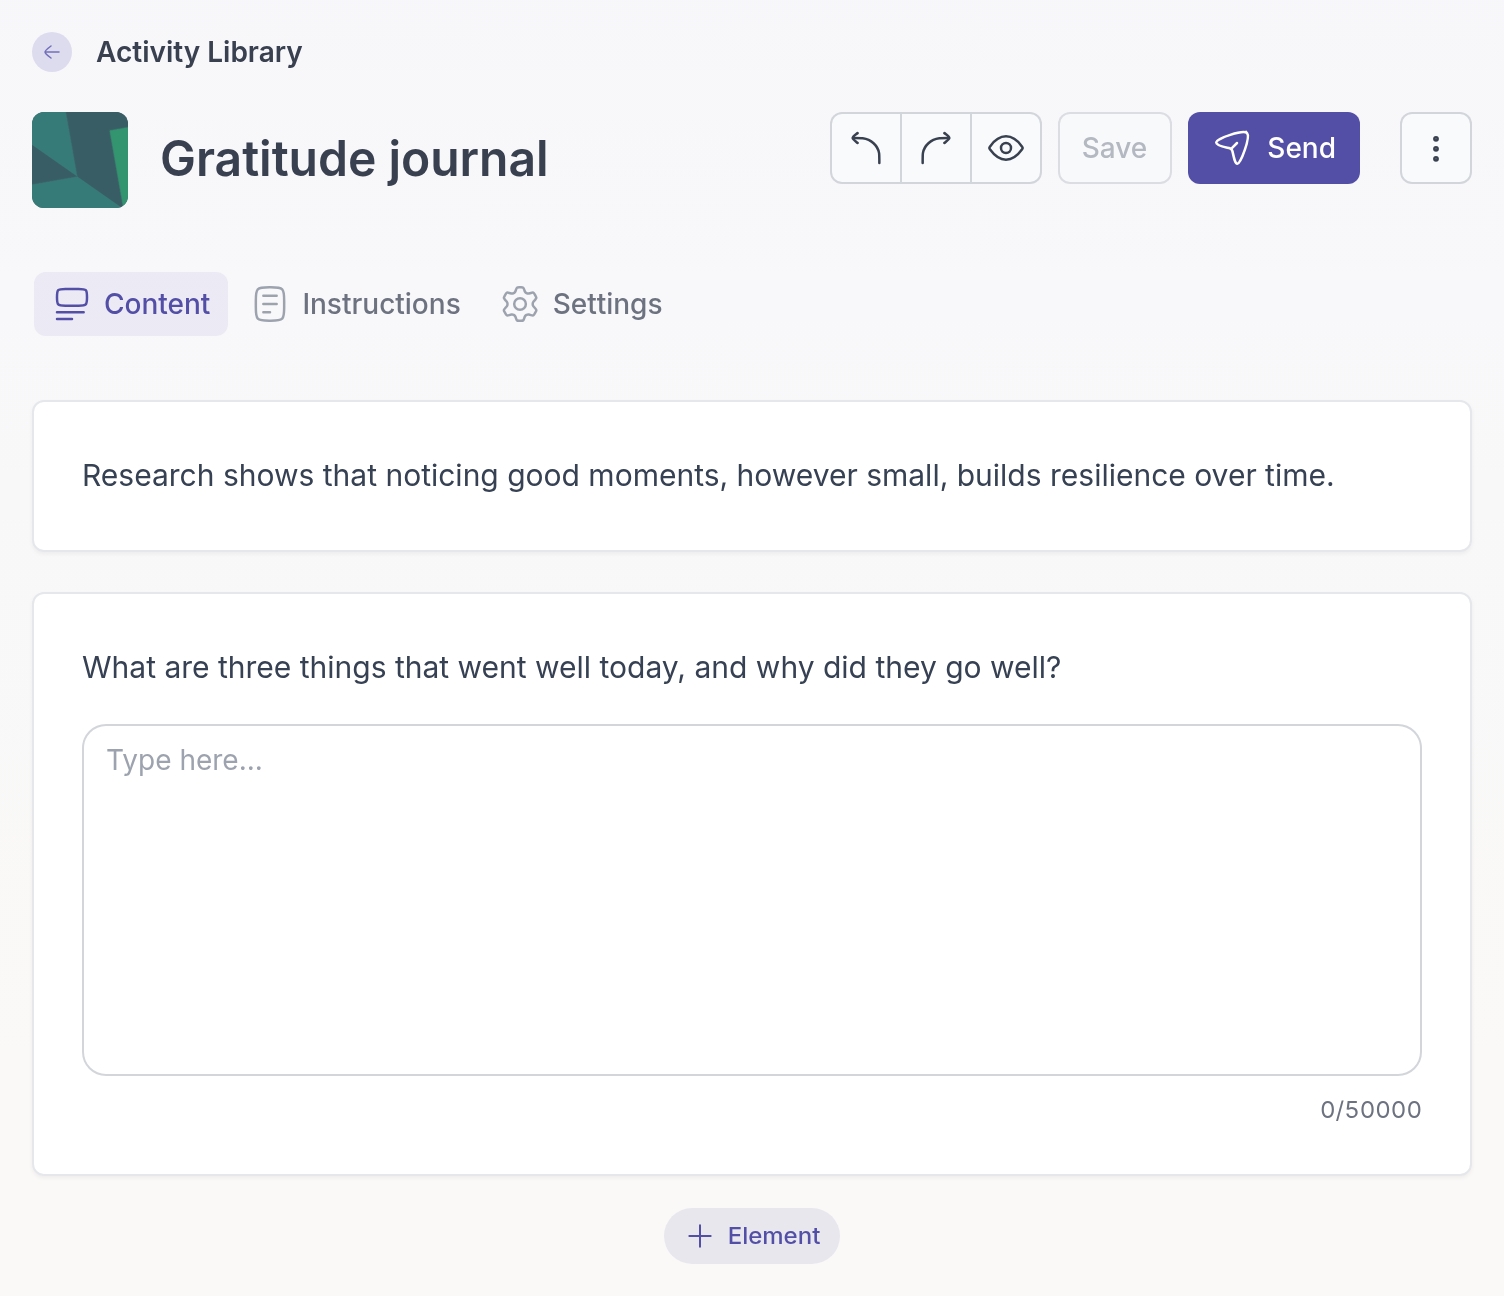
The builder has three tabs: **Content** for what the client works through, **Instructions** for your own notes, and **Settings**.
## Add elements
Every part of an activity is an element. Click **+ Element**, choose a type in the **Add Element** panel, and fill it in: the question, the answer options or the text. Use the search field in the panel if you know the name of the type.
You can add text, open questions, choice questions, scales, numbers, dates, tables, signatures, file uploads, images, audio and video. There is no limit to the number of elements. [Question and element types](https://quenza.com/help/content/question-and-element-types/) explains each type and how to set up the more complex ones, such as the wheel and the table.
Click an element to edit it. Its toolbar lets you add an element below it, duplicate it or delete it.
### Make an answer required
Questions have a **Mandatory** switch. Turn it on when the client must answer before moving on, for example the main reflection question. Leave it off for optional questions, so clients do not get stuck.
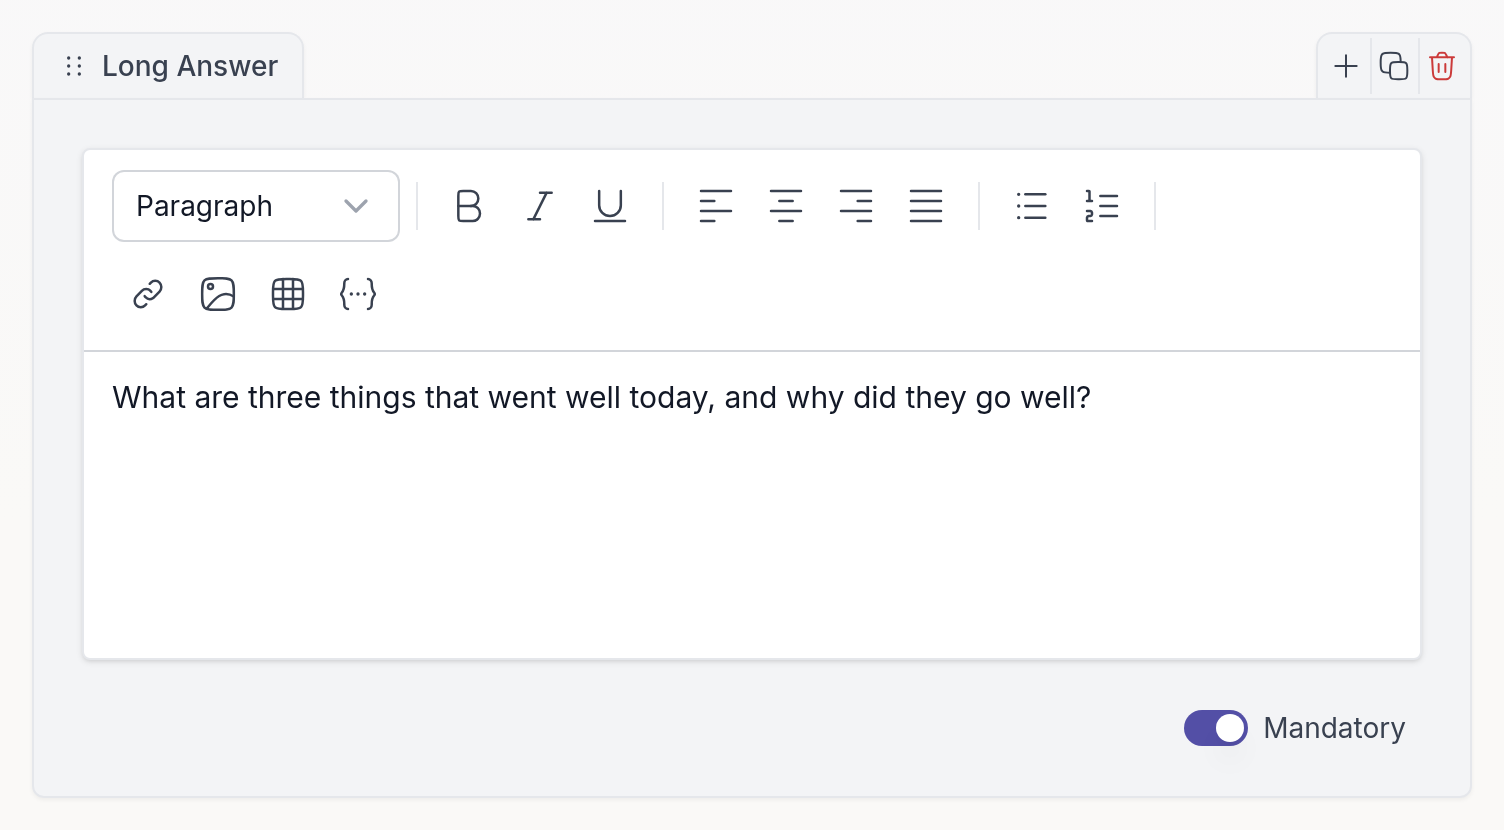
### Group elements into sections
Add a **Section** element to split a longer activity into named parts, such as "Introduction" and "Reflection". Clients see the section title above the elements that belong to it. To show each section on its own page, see [Activity layout](https://quenza.com/help/content/activity-layout/).
## Change the order
Drag an element by the handle on its left to move it. Changed your mind? Use the undo and redo buttons at the top right.
## Add private instructions
The **Instructions** tab is for you and your team: what the activity is for, when to use it, background or references, and ideas to adapt it for different clients. Clients never see this tab. It helps colleagues who use the activity, and you when you come back to it months later.
## Choose the settings
The **Settings** tab has four parts:
- **Presentation**: a **Cover image**, shown on the activity's card. It works best at 1600 × 800 pixels.
- **Details**: a short **Description** (up to 70 characters) and a **Format**, such as Assessment, Exercise, Journaling or Worksheet. Both help you find the activity in your library; clients do not see them.
- **Email**: the **Default email template** used when you send this activity. See [Email templates](https://quenza.com/help/branding/email-templates/).
- **Layout**: how the activity is split into pages. See [Activity layout](https://quenza.com/help/content/activity-layout/).
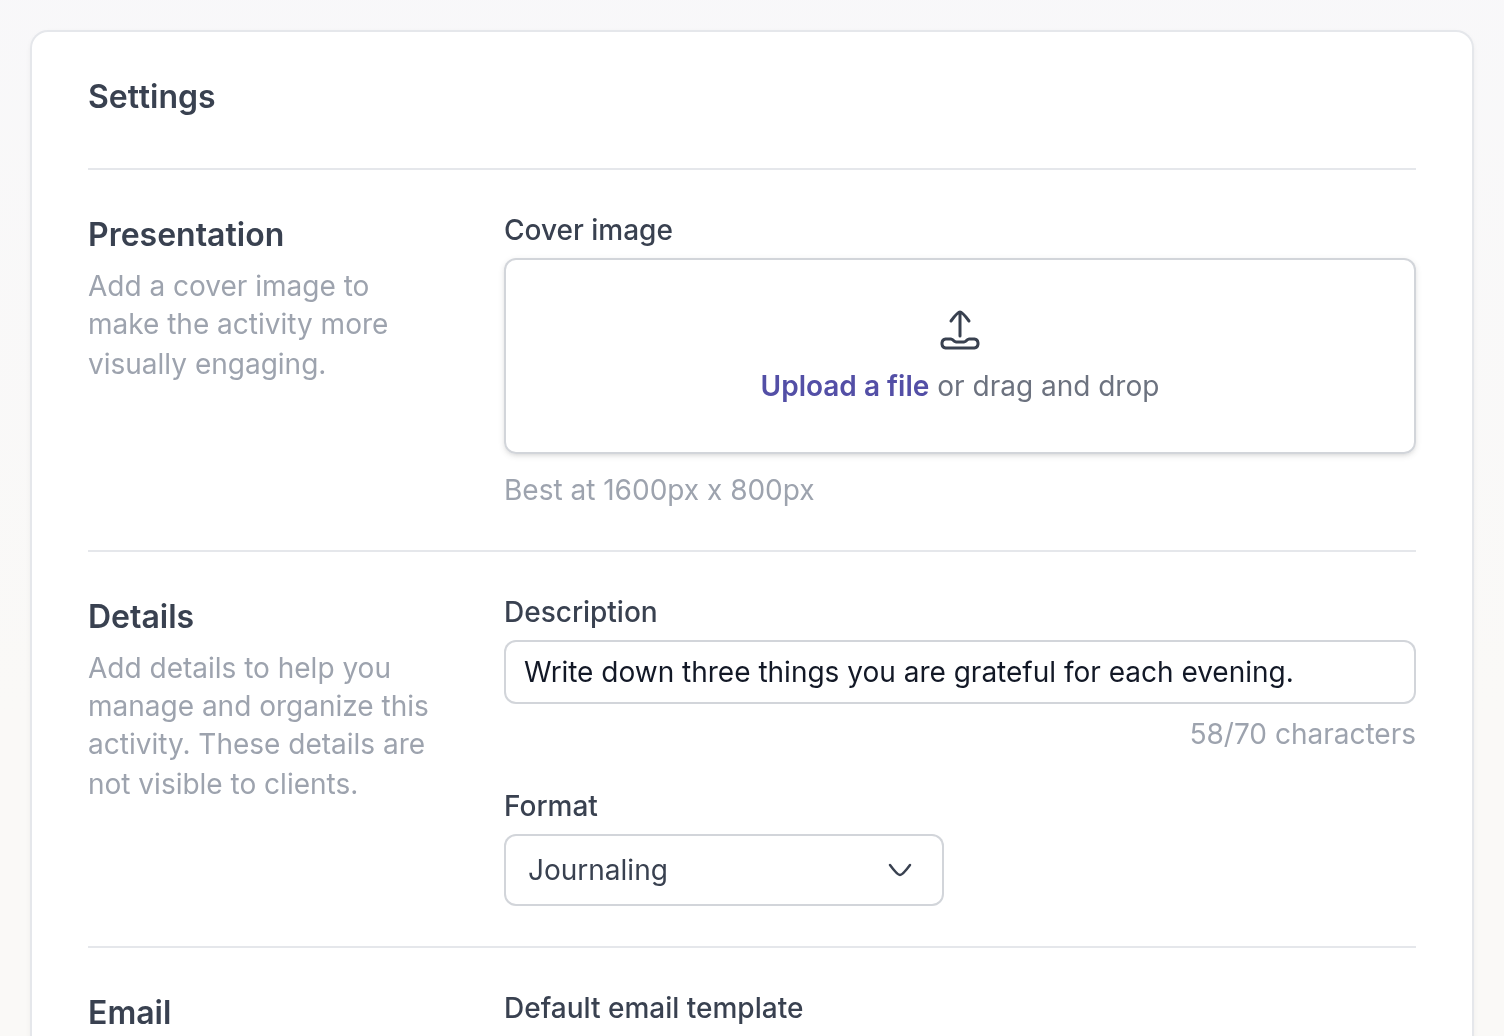
## Preview and save
Click the eye icon next to **Save** to go through the activity as your client will. Check that the questions read well and that required questions make sense, then close the preview and click **Save**.
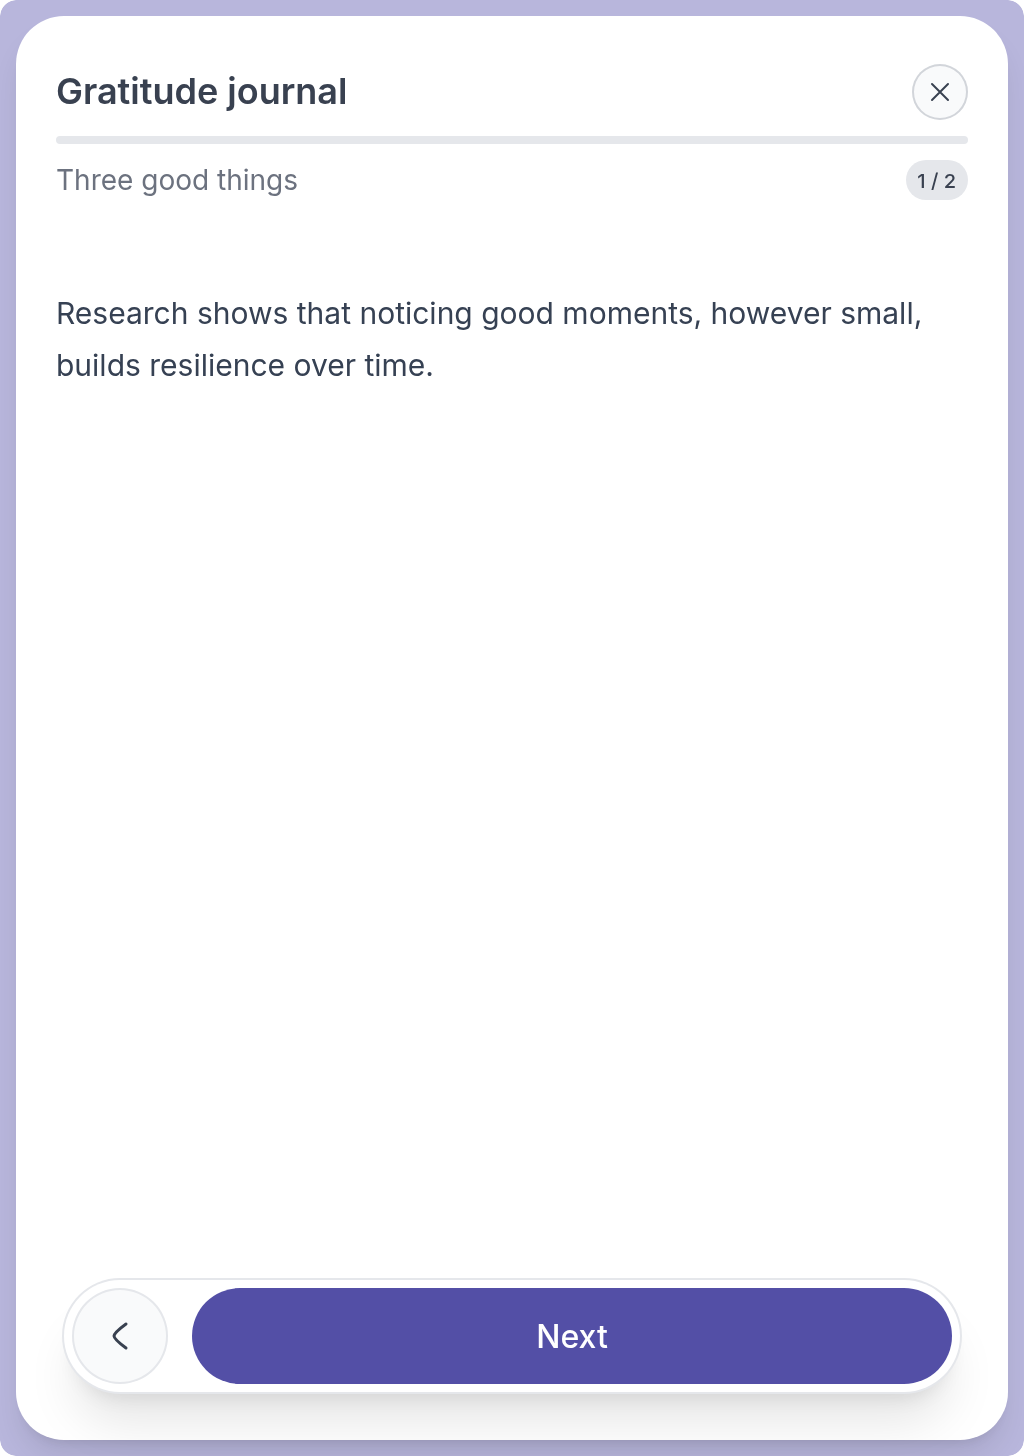
The activity is now in your library. To send it, click **Send** at the top of the builder, or see [Send an activity](https://quenza.com/help/working-with-clients/send-an-activity/).
---
# Question and element types
> See every question and element type you can add to an activity, what clients see, and how to set up tables, wheels, scales and number fields.
Source: https://quenza.com/help/content/question-and-element-types/
Every part of an activity is an element: a piece of text, a question, an image or a video. This page explains each type you can add in the activity builder, so you can pick the one that fits your exercise. For how to add, move and preview elements, see [Build an activity](https://quenza.com/help/content/build-an-activity/).
Click **+ Element** in the builder to open the **Add Element** panel. The types are grouped into static elements, input elements (questions the client answers) and media elements.
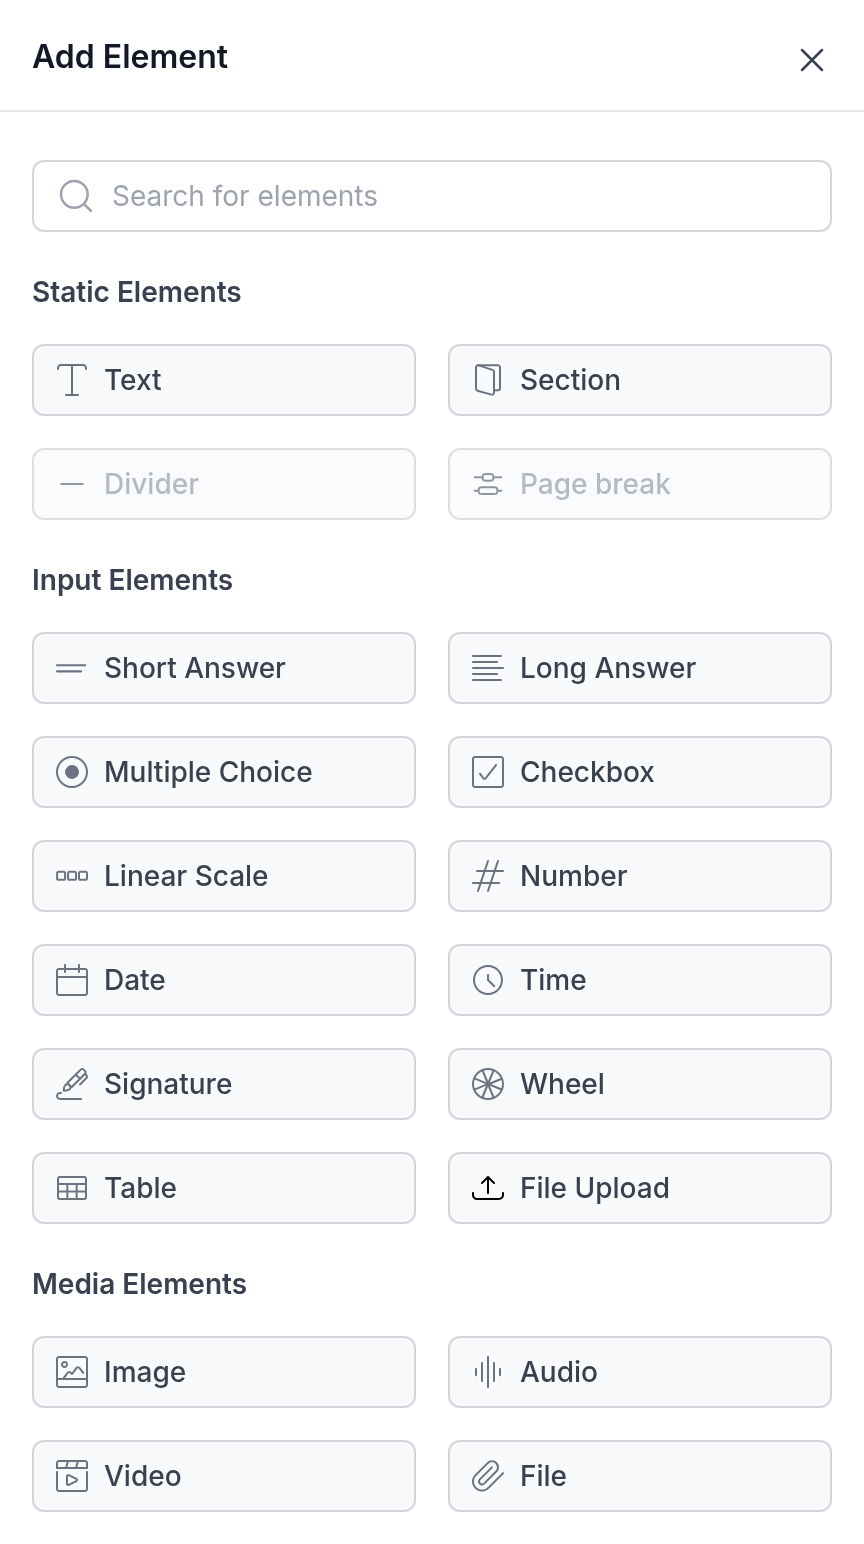
## Static elements
- **Text**: instructions, explanations or psychoeducation. Use the toolbar for headings, lists, links, images and tables.
- **Section**: a heading that splits a longer activity into named parts, such as "Your week" and "Your plan".
- **Divider** and **Page break**: a line between elements, and the start of a new page. Both are greyed out until you turn on manual page breaks; see [Activity layout](https://quenza.com/help/content/activity-layout/).
## Questions with a written answer
- **Short Answer**: one line, for a name, a word or a short phrase.
- **Long Answer**: a text box for reflections, journaling and anything longer.
## Choice questions
- **Multiple Choice**: the client picks one option. Add at least two and up to 50 options.
- **Checkbox**: the client ticks as many options as apply, for example "Which of these values are most important to you?". Up to 50 options.
- **Linear Scale**: the client picks one point on a scale. See [Linear Scale](#linear-scale) below.
- **Wheel**: the client scores several areas of life. See [Wheel](#wheel) below.
## Numbers, dates and signatures
- **Number**: a number within limits you set. See [Number](#number) below.
- **Date** and **Time**: the client picks a date or a time, for example when they want to start a new routine.
- **Signature**: the client signs with their finger or mouse. Useful for consent forms, agreements and commitments.
- **Table**: rows and columns the client fills in, such as a weekly log. See [Table](#table) below.
- **File Upload**: the client uploads a file, such as a photo of their planner or a completed form.
## Media elements
These share something with the client; they do not ask for an answer.
- **Image**: a JPEG or PNG picture, such as a diagram or a model you explain in the text.
- **Audio**: an audio file with a title, for a guided meditation or a recorded explanation. Turn on **Allow download?** if clients may save the file.
- **Video**: a video from Vimeo, YouTube or Loom. See [Video](#video) below.
- **File**: a document the client can open and download, such as a PDF handout.
## Make an answer required
Every question has a **Mandatory** switch. With it on, the client cannot move on until they answer. Text, Section, Divider, Page break and the media elements have no switch, because there is nothing to answer.
## Wheel
A wheel asks the client to score several areas, or dimensions, on a scale from 1 to 10, and shows the result as a chart. It is the classic "wheel of life" exercise, but works for any set of areas: strengths, values or parts of a job.
For example, Sarah Bennett starts every coaching trajectory with a life balance check-in. Emma Clarke scores eight areas of her life, and they use the chart to pick one area to work on first.
To set up a wheel:
- **Score labels**: the words under 1 and 10, such as "Not satisfied" and "Fully satisfied".
- **Dimensions**: the areas to score. Click **Add option** for each one. A wheel needs at least two.
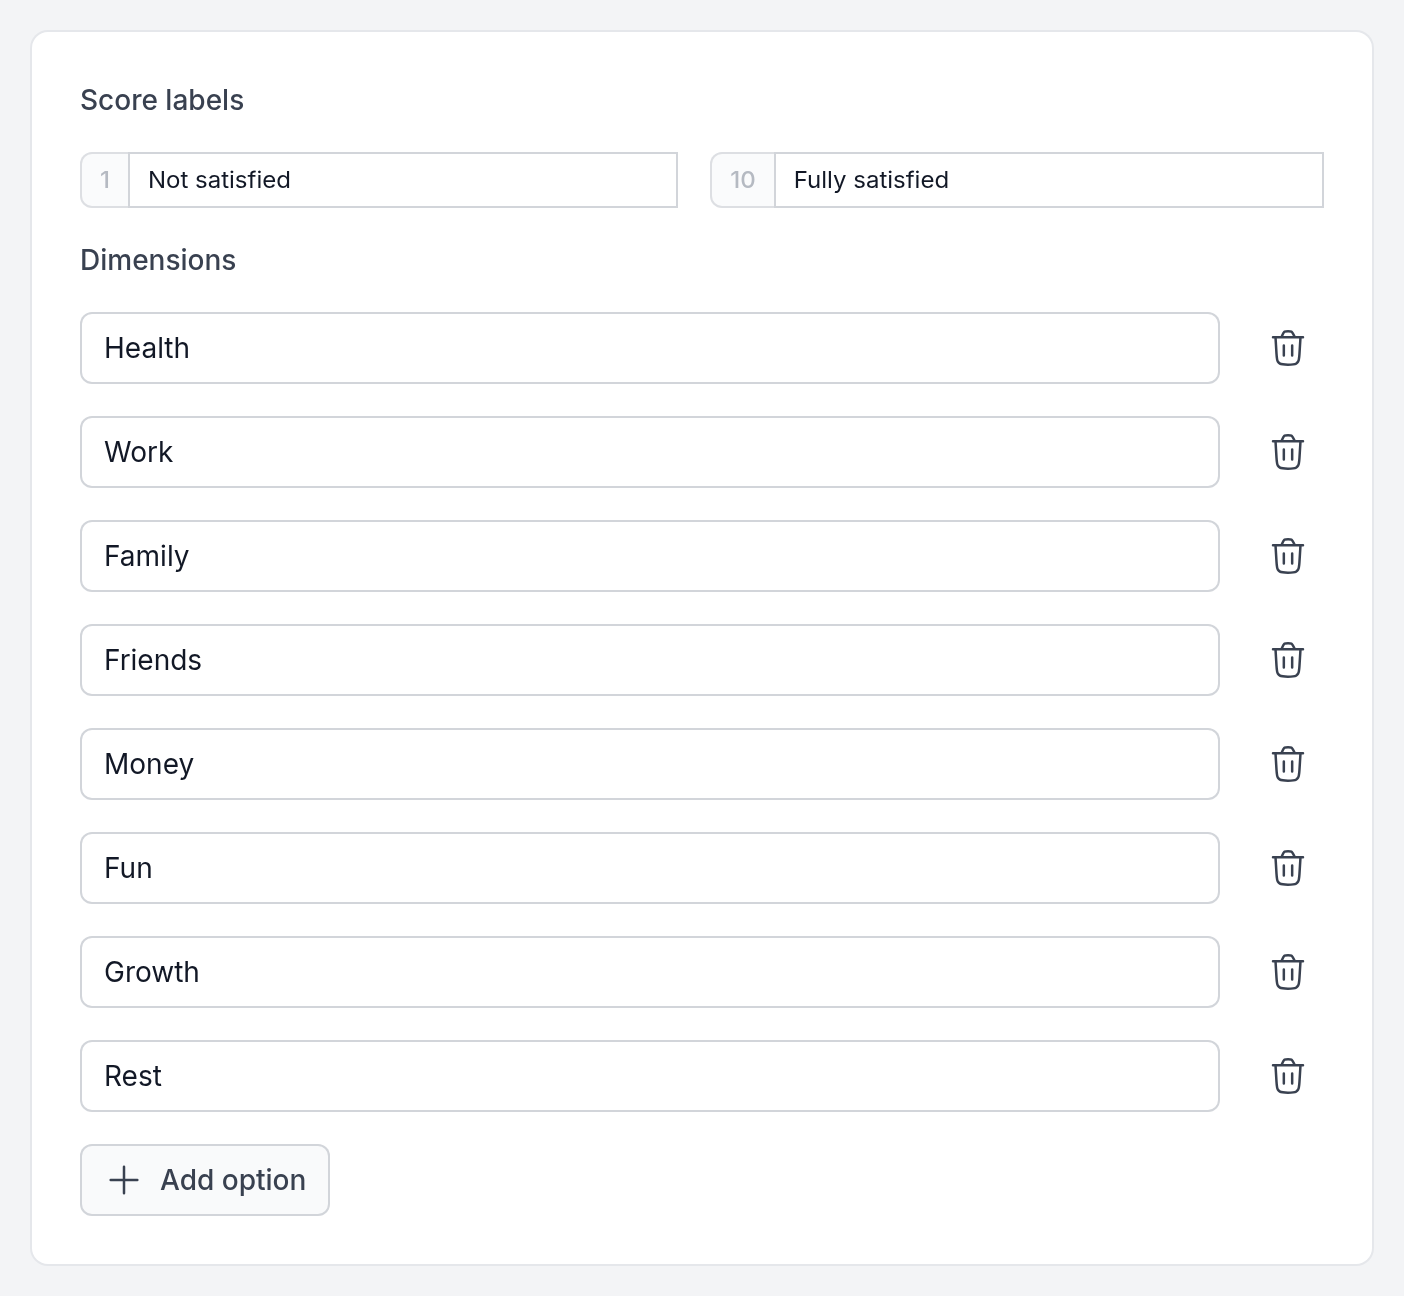
The client scores one area at a time and sees the chart fill in as they go.
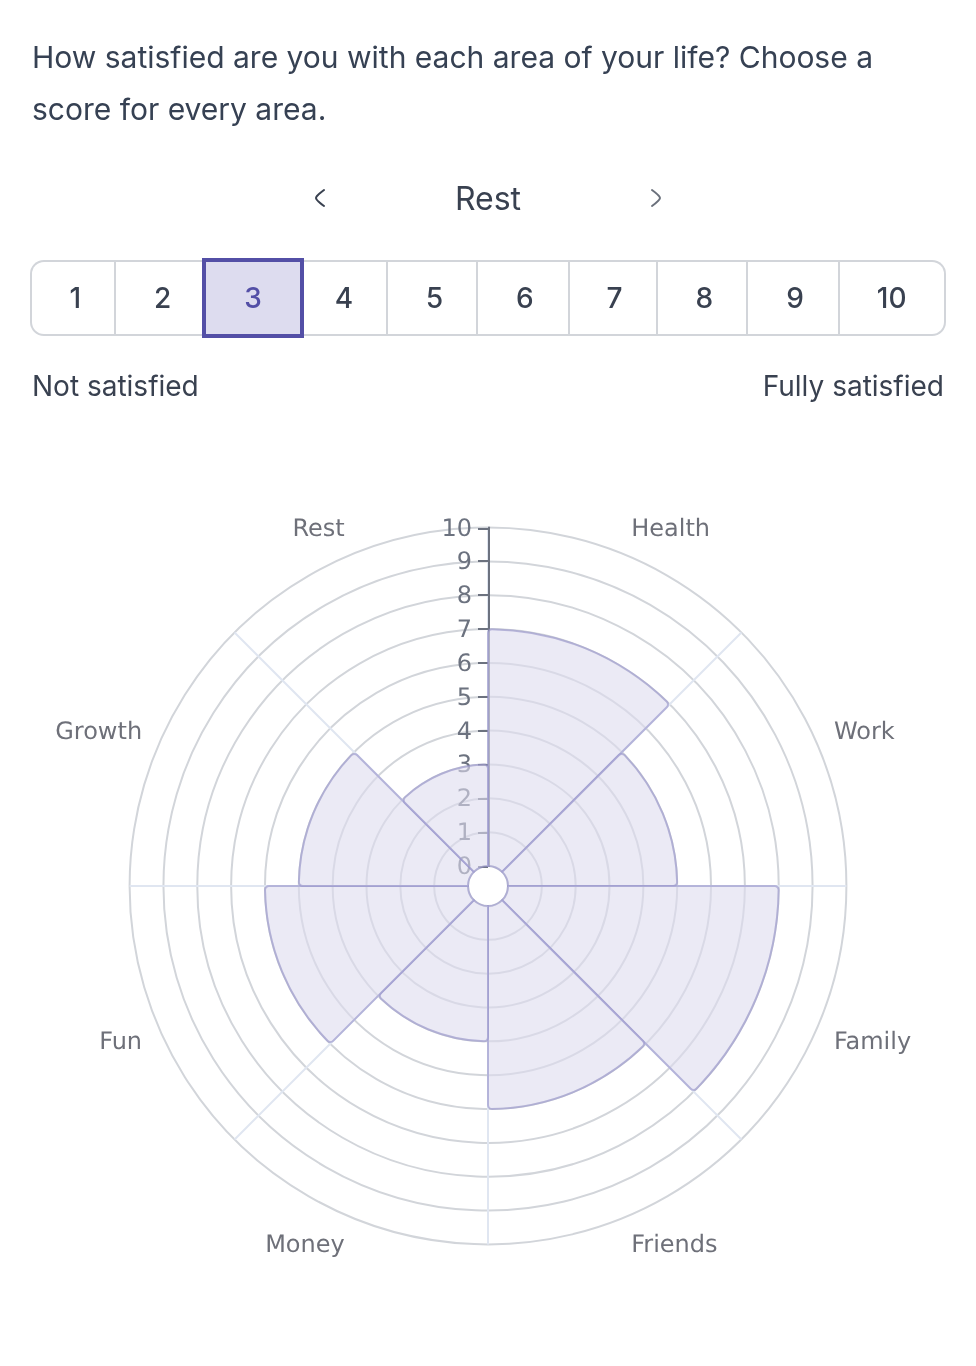
> **Tip:** Keep dimension names short. Long names are cut off around the chart.
## Linear Scale
A linear scale asks for one rating, such as how satisfied, how much they agree or how strong a feeling is. Choose a preset at the top of the element and change the labels if you like:
- **5 point scale**: Strongly disagree, Disagree, Undecided, Agree, Strongly agree.
- **7 point scale**: from Very dissatisfied through Neutral to Very satisfied.
- **10 point scale**: ten points with Strongly disagree and Strongly agree at the ends.
- **custom**: your own number of points and labels. A scale needs at least two.
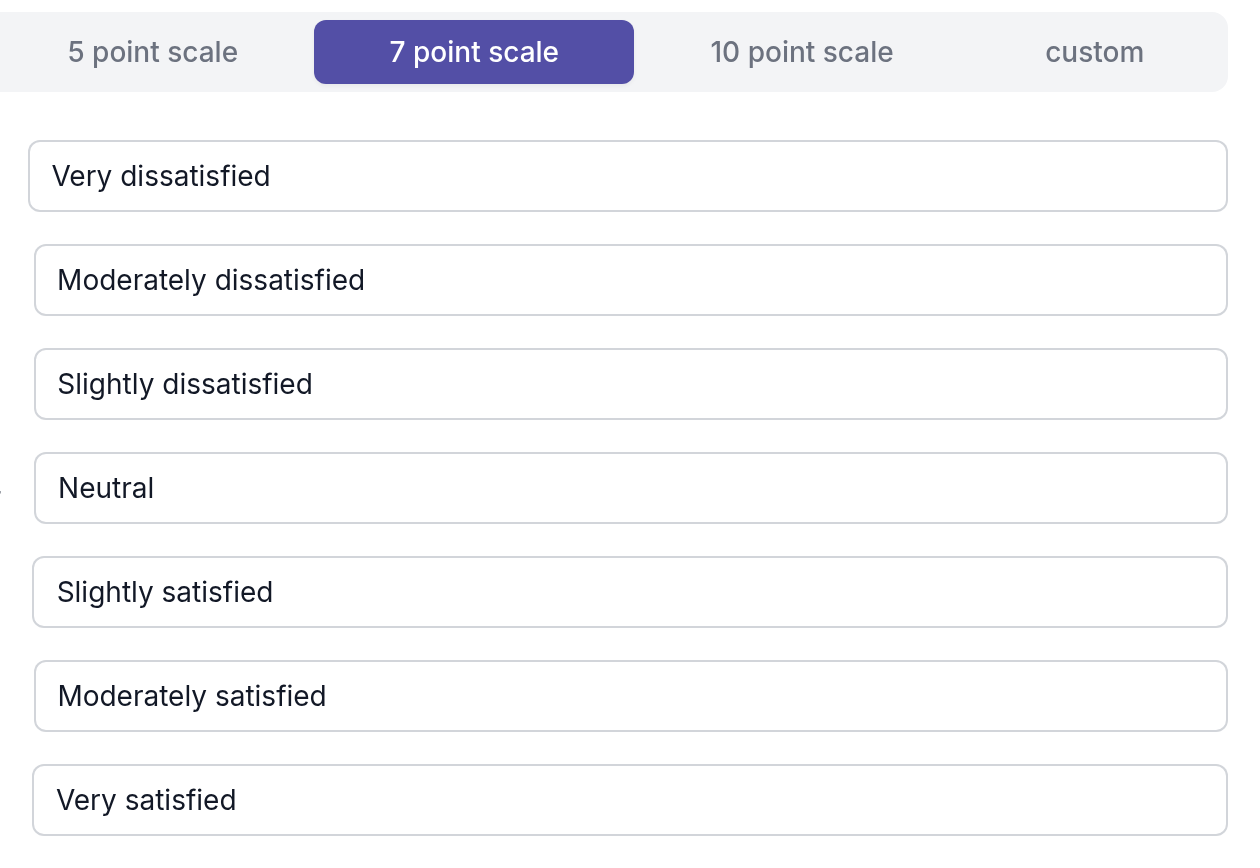
The client sees numbered buttons with the first and last label below them. The label of the point they choose appears above the scale.
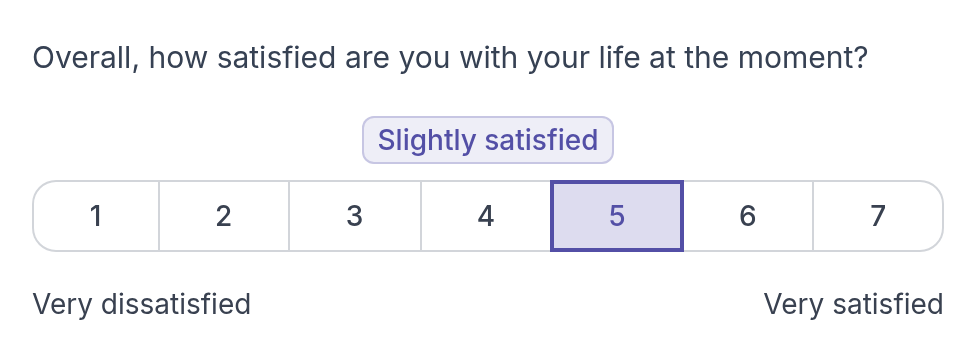
## Number
Use a number field when you want a figure you can compare over time, such as hours of sleep, cups of coffee or minutes of exercise.
- **Min value** and **Max value**: the lowest and highest number the client can enter. New number fields start at 0 and 10.
- **Step size**: how much the value goes up or down with the plus and minus buttons.
- **Quantifier**: the unit shown in the field, such as "hours" or "days".
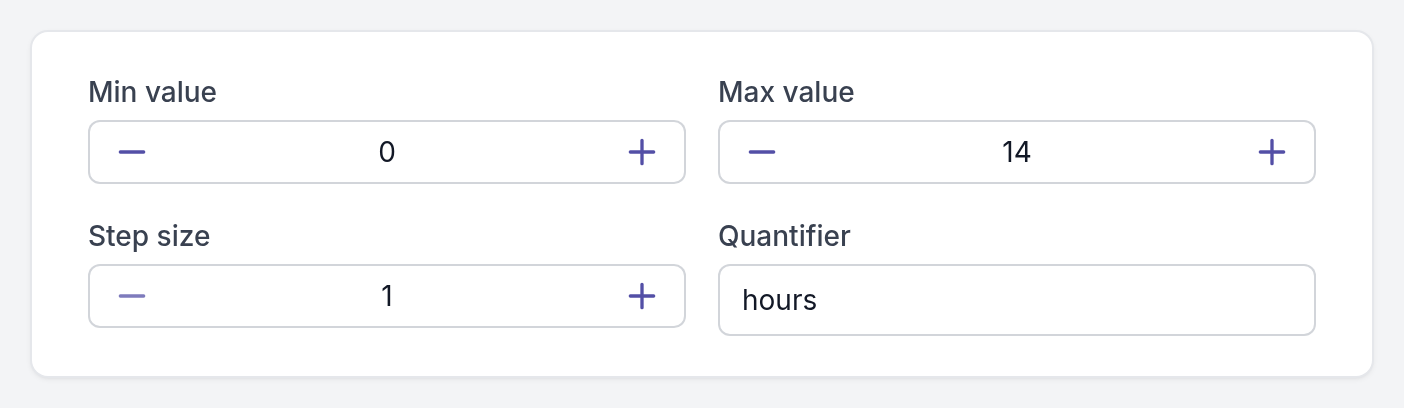
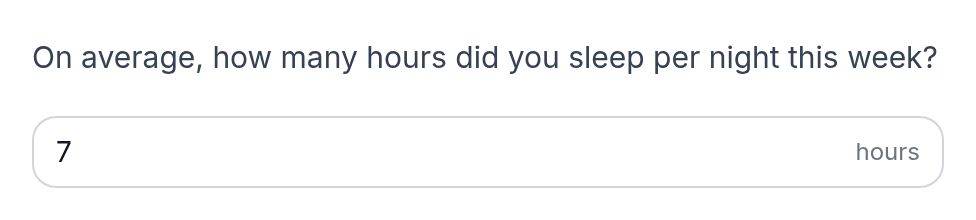
## Table
A table gives the client rows and columns to fill in. It suits logs and records that repeat, such as a weekly activity log, a thought record or a sleep diary.
- **Columns**: name each column and choose its **Cell type**: **Text** for words, or **Number** with an optional **Min** and **Max**. Click **Add column** for more. A table can have up to 20 columns.
- **Rows**: turn on **Row labels** to give every row a fixed label, such as the days of the week. Leave it off for blank rows, and set the number of **Starting rows**. Up to 20 rows.
- **All cells required**: the client must fill in every cell before they can submit.
- **Allow clients to add rows**: your rows become starting rows, and the client can add more below them. Useful when you do not know how many entries a client will have.
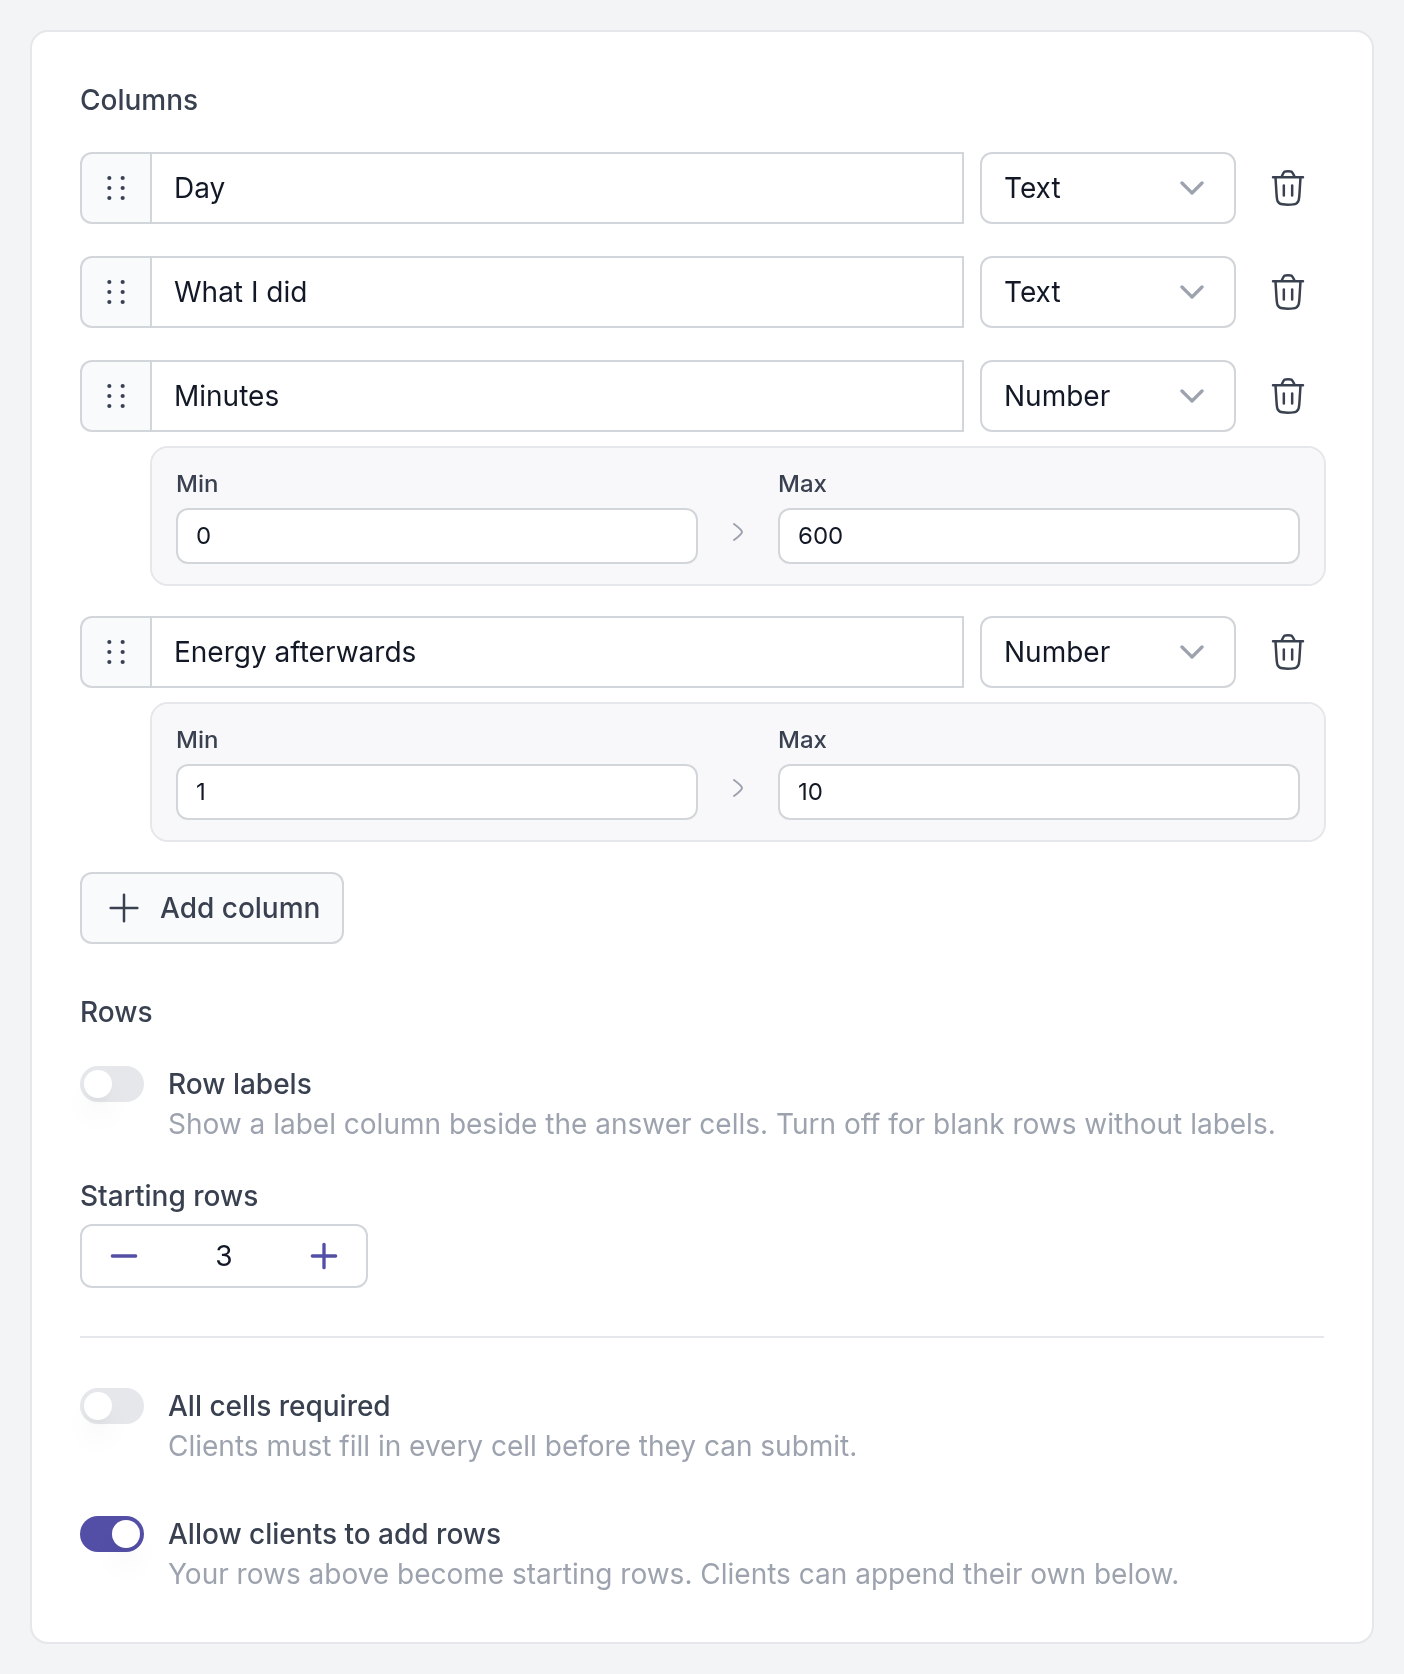
The client fills in the cells. Number cells have plus and minus buttons, and **Add row** appears when clients may add rows.
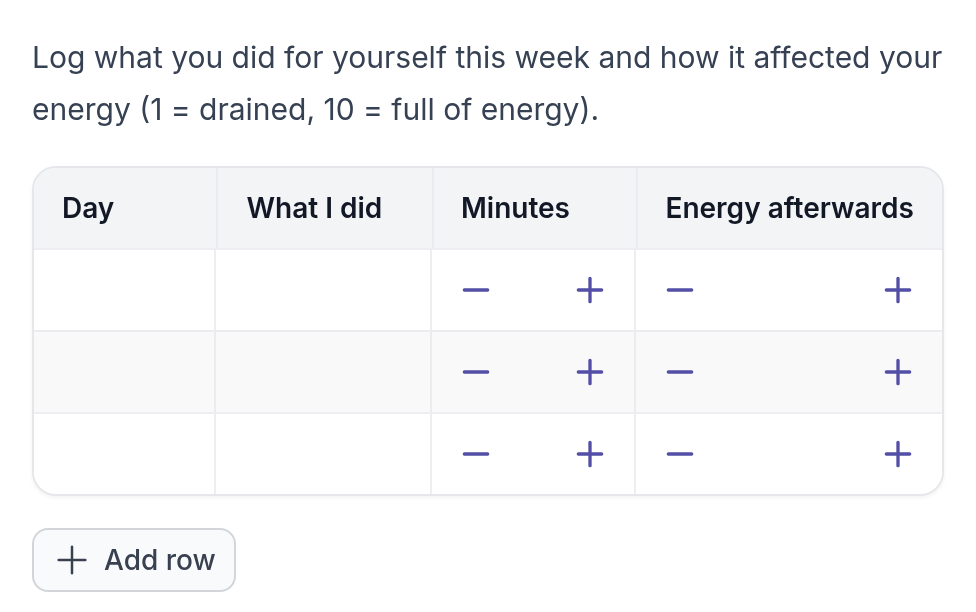
## Video
Paste the link of a video from Vimeo, YouTube or Loom into **Video URL**. Other video sites are not supported. The client watches the video inside the activity.
To share a recording that is not online, upload it to one of these services first, for example as an unlisted video.
---
# Activity layout
> Use manual page breaks and section pages to decide what your client sees on each page of an activity.
Source: https://quenza.com/help/content/activity-layout/
By default, your client sees one element per page: one question, one piece of text, then **Next**. That keeps longer activities calm and focused. Sometimes you want something else, such as a short explanation and its question on the same page, or a clear start for each part of a longer worksheet. Two layout settings handle that, and you can use them separately or together.
Both are on the activity's **Settings** tab, under **Layout**. Changes apply once you click **Save**.
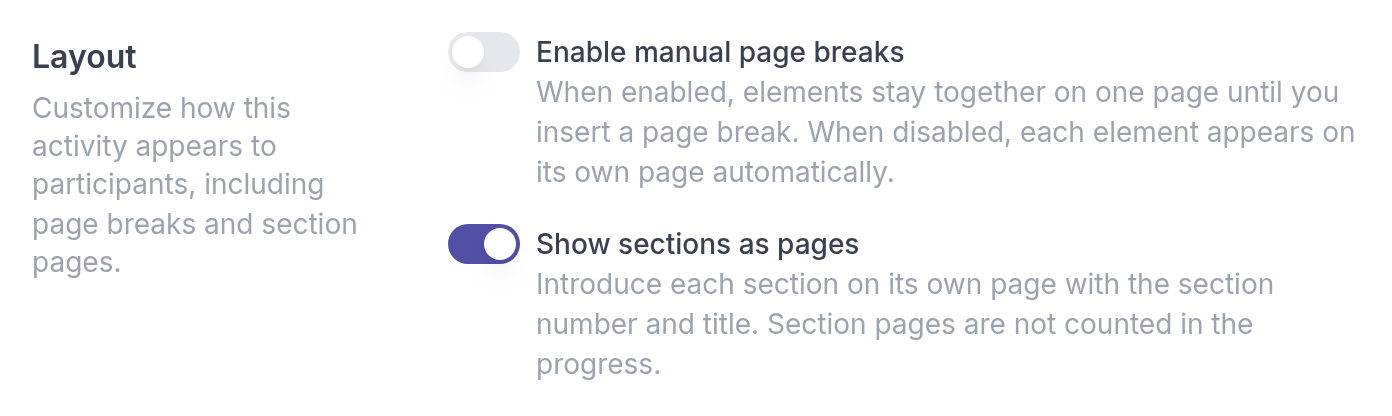
## Put several elements on one page
Turn on **Enable manual page breaks** when elements belong together. For example, in a thought record Sarah Bennett puts the short explanation of thinking traps on the same page as the question "Which thinking trap do you recognise?". The client can read and answer without paging back and forth.
With the setting on, elements stay together on one page until the next page break. On the **Content** tab, add a **Page break** element where a new page should start. A new section always starts a new page as well.
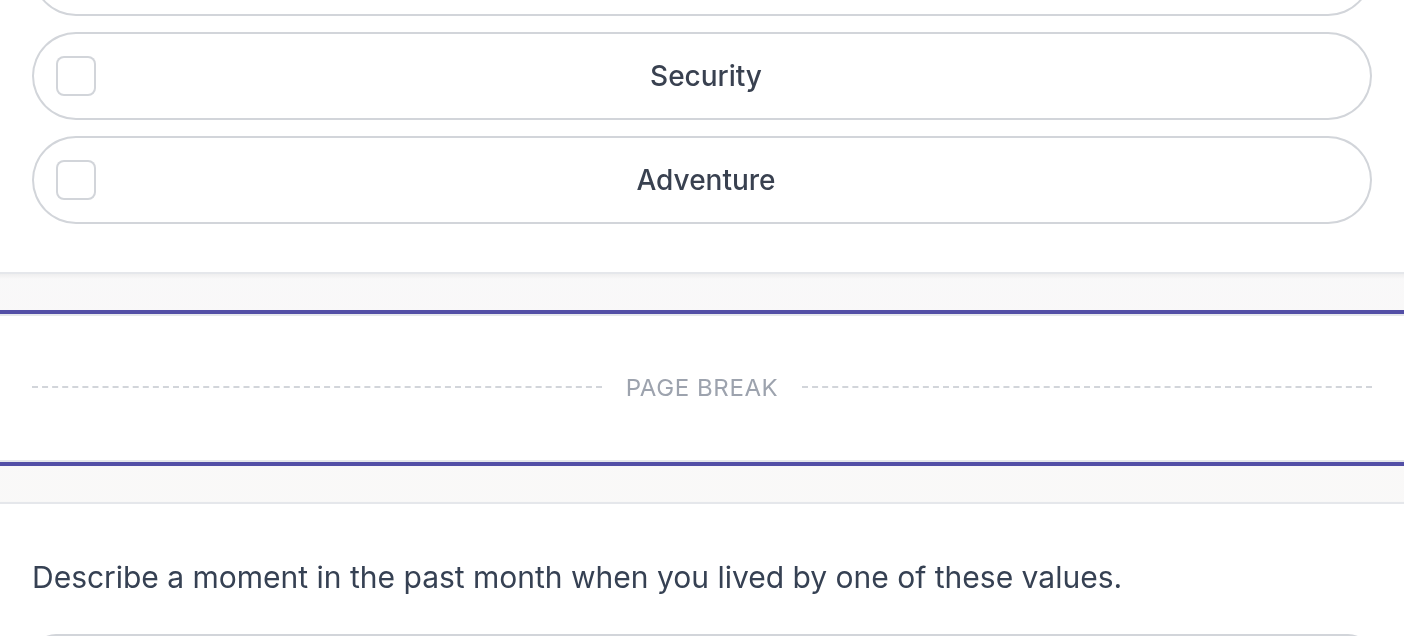
The **Page break** and **Divider** elements can only be added while manual page breaks are on. A divider draws a line between elements on the same page. If you turn the setting off again, every element goes back to its own page, and page breaks and dividers are ignored.
> **Tip:** To keep the builder tidy, open the menu (⋮) at the top right of the builder and choose **Hide page breaks**. **Show page breaks** brings them back. This only changes your view, not what the client sees.
### How progress is counted
Progress is based on elements, not pages. Say an activity has 5 elements on 3 pages: 3 on the first page and 1 on each of the others. When the client finishes the first page, the progress bar shows 60 percent.
## Open each section with its own page
Turn on **Show sections as pages** to give each section an intro page with its number and title, such as "Section 1" and "Your values". Numbered circles at the top show which sections are done and which comes next. This helps clients find their way through a longer activity, such as an intake with several parts.
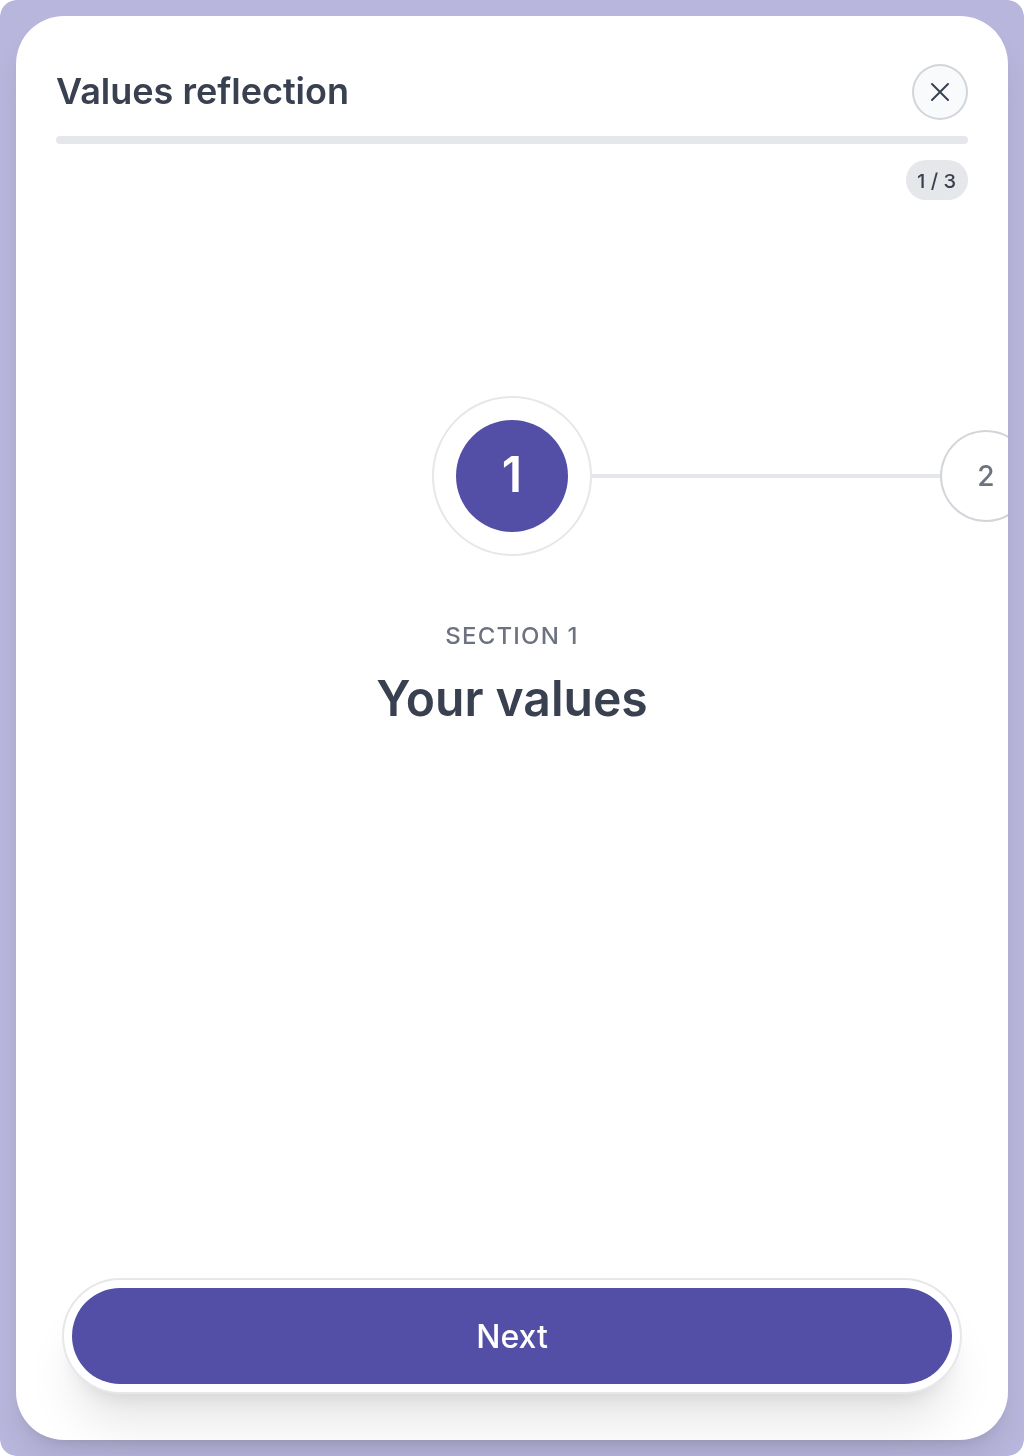
Section pages are only shown for sections that have a title. They do not count towards the progress, so adding them does not change the client's completion percentage.
To add sections to an activity, see [Build an activity](https://quenza.com/help/content/build-an-activity/).
---
# Pre-made content
> Find ready-made activities and programs, add them to your library, and see which content tiers your plan includes.
Source: https://quenza.com/help/content/pre-made-content/
Quenza comes with a collection of ready-made activities and programs created by professionals and based on psychological research. They cover topics such as mindfulness, stress, values and motivation, and include exercises, assessments, forms and multi-step programs. Use them as they are or adapt them to your clients and your approach.
For example, Sarah Bennett wants a quick way to start conversations about stress. Instead of writing a worksheet herself, she adds the pre-made Stress triggers map to her library, changes two questions to fit her coaching style and sends it to Emma Clarke.
## Add pre-made content to your library
Go to **Activities → Pre-made** or **Programs → Pre-made**. Search by title, or narrow the list with **All formats** and **All topics**. Click an item to open a preview and read through it, then click **Add to library**.
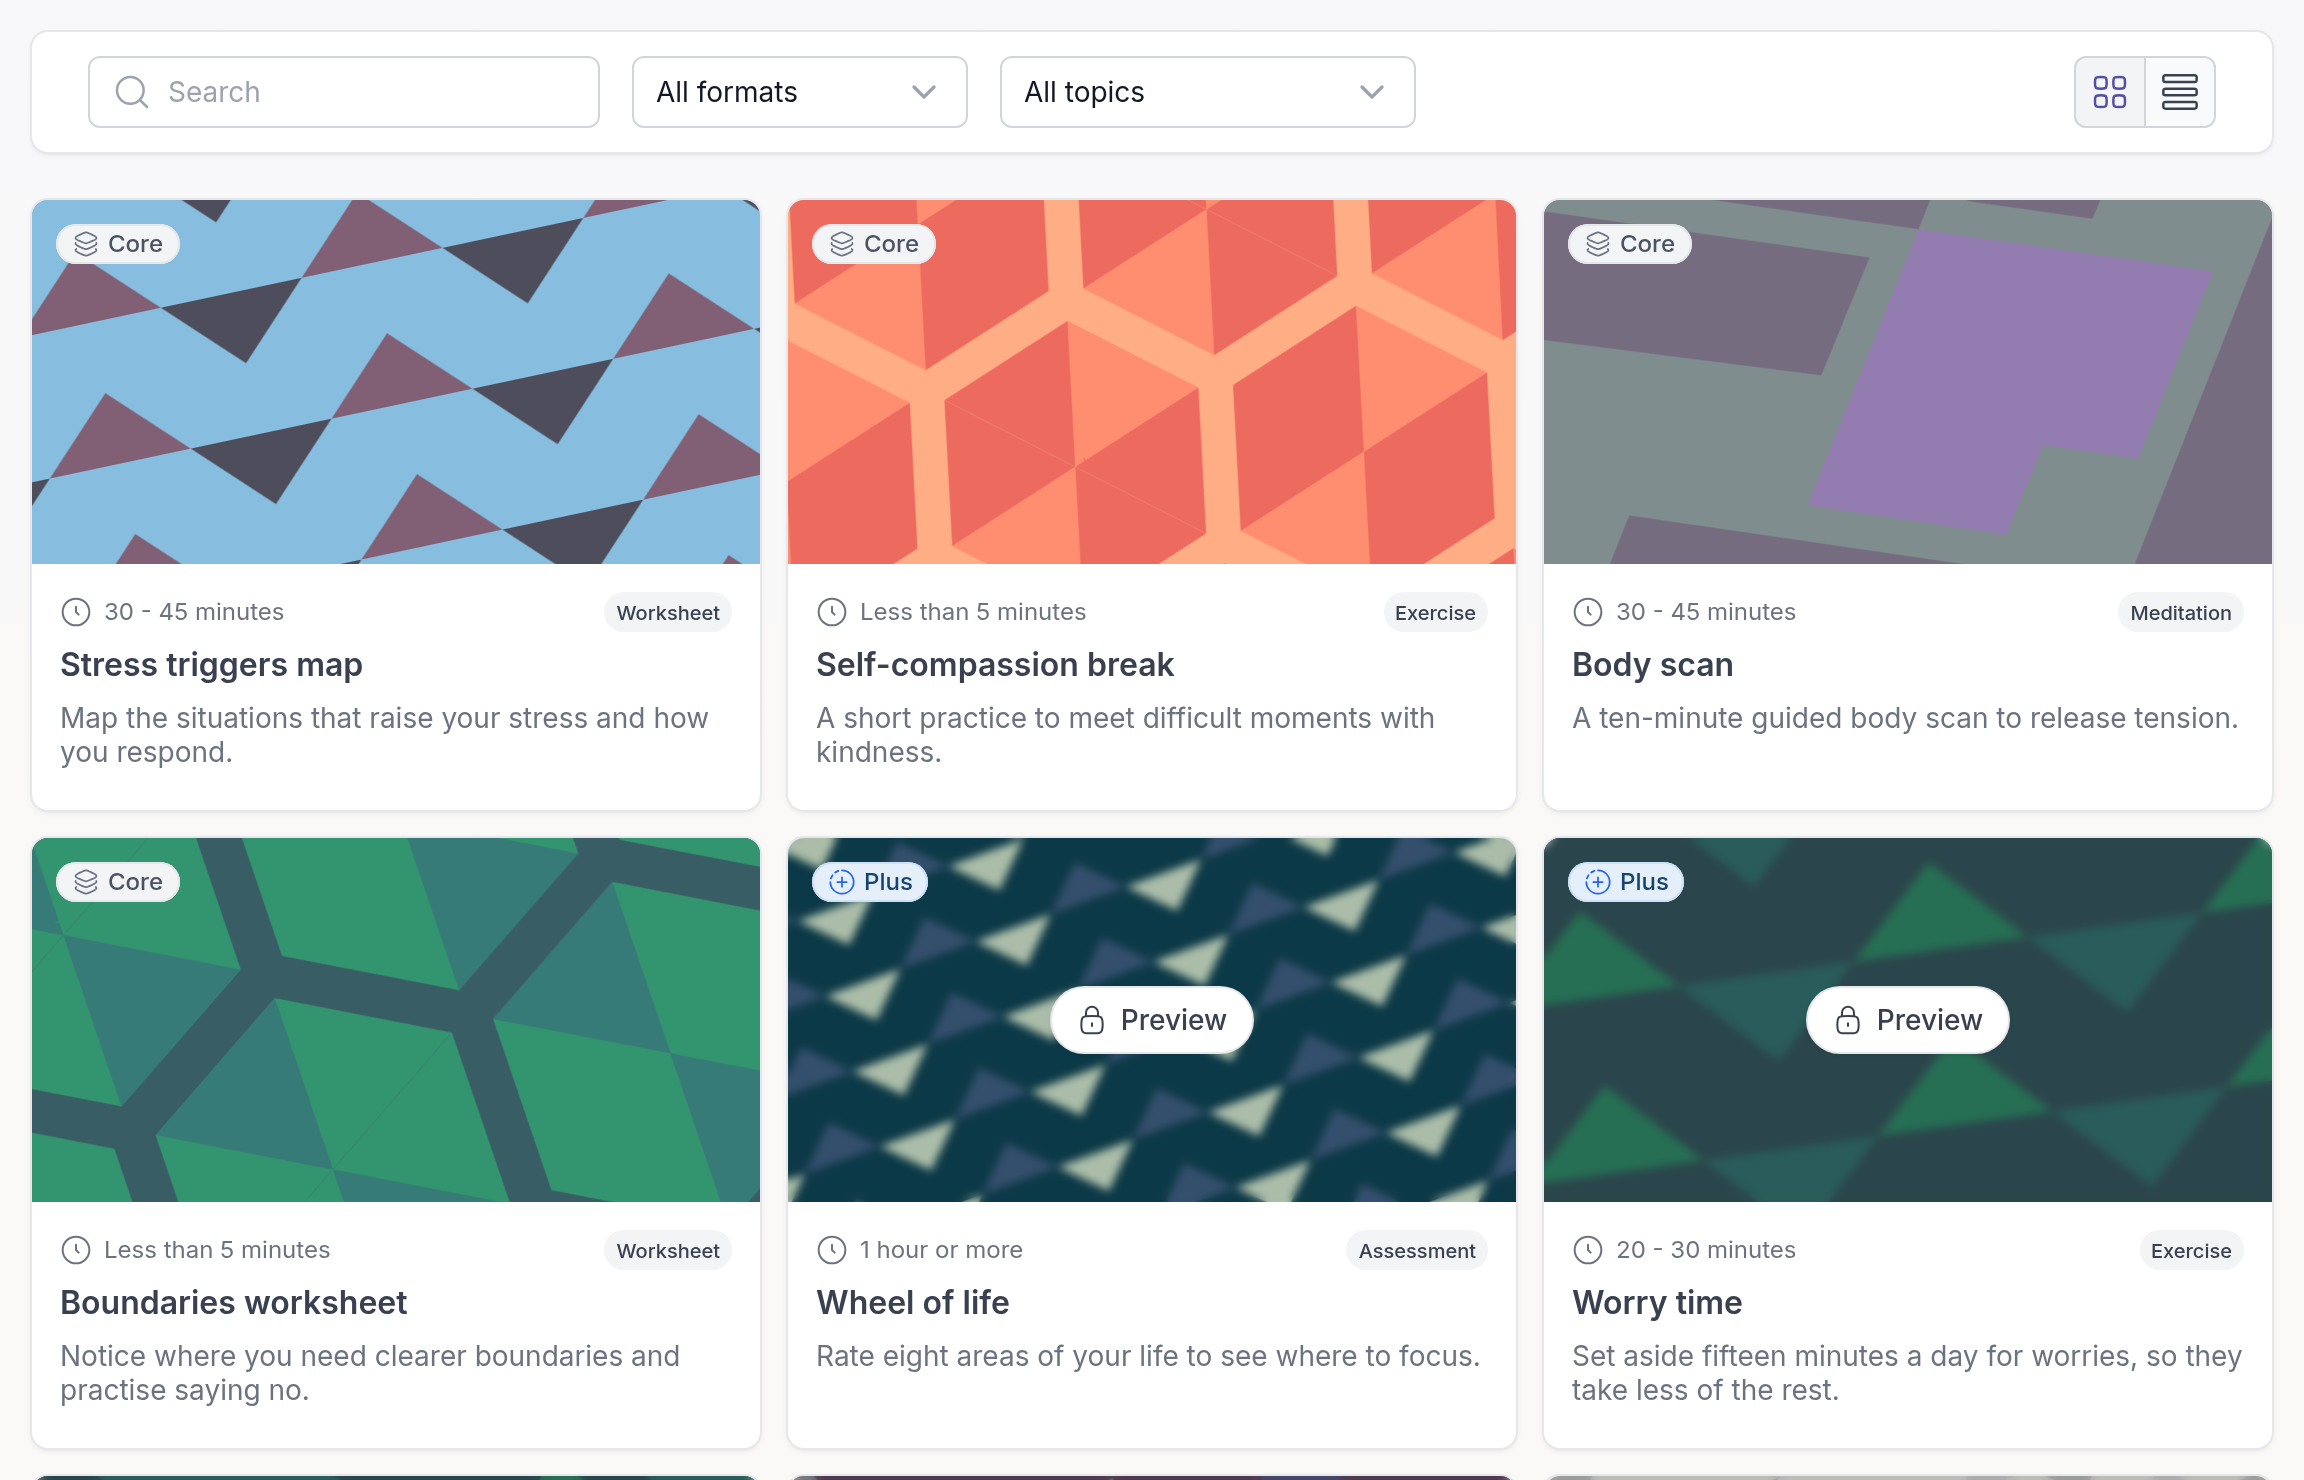
The activity or program now appears in your library as your own copy. Edit the text, change the order of the steps, add media and send it to clients, just like content you built yourself. See [Build an activity](https://quenza.com/help/content/build-an-activity/) and [Build a program](https://quenza.com/help/content/build-a-program/).
## Content tiers: Core, Plus and Premium
Every pre-made activity and program has a badge that shows its tier.
- **Core**: broadly useful activities and programs that almost any practitioner uses, whatever their discipline. Core is meant to cover everyday needs on its own.
- **Plus**: more structured material tied to specific frameworks and methods.
- **Premium**: the most specialized and in-depth material, such as clinically focused activities and multi-week programs for specific conditions, populations or approaches, often with built-in measurement.
Which tiers you can use depends on your plan:
| Tier | Included in |
| --- | --- |
| Core | Every plan |
| Plus | Growth and higher plans |
| Premium | Impact and higher plans |
During the free trial you can add Core content; Plus and Premium items can be previewed. Access is cumulative: a plan that includes Premium also includes Plus and Core. See [Quenza plans and pricing](https://quenza.com/help/billing/plans-and-pricing/) for what each plan includes, and [Upgrade or downgrade your plan](https://quenza.com/help/billing/change-plan/) to change plans. Content from lower tiers stays available when you upgrade.
### Content outside your plan
Items from a tier your plan does not include are shown with a lock. You can still open a preview. It shows part of the content, so you can judge whether it fits, but you cannot add the item to your library. Click **Upgrade** in the preview to see the plans that unlock it.
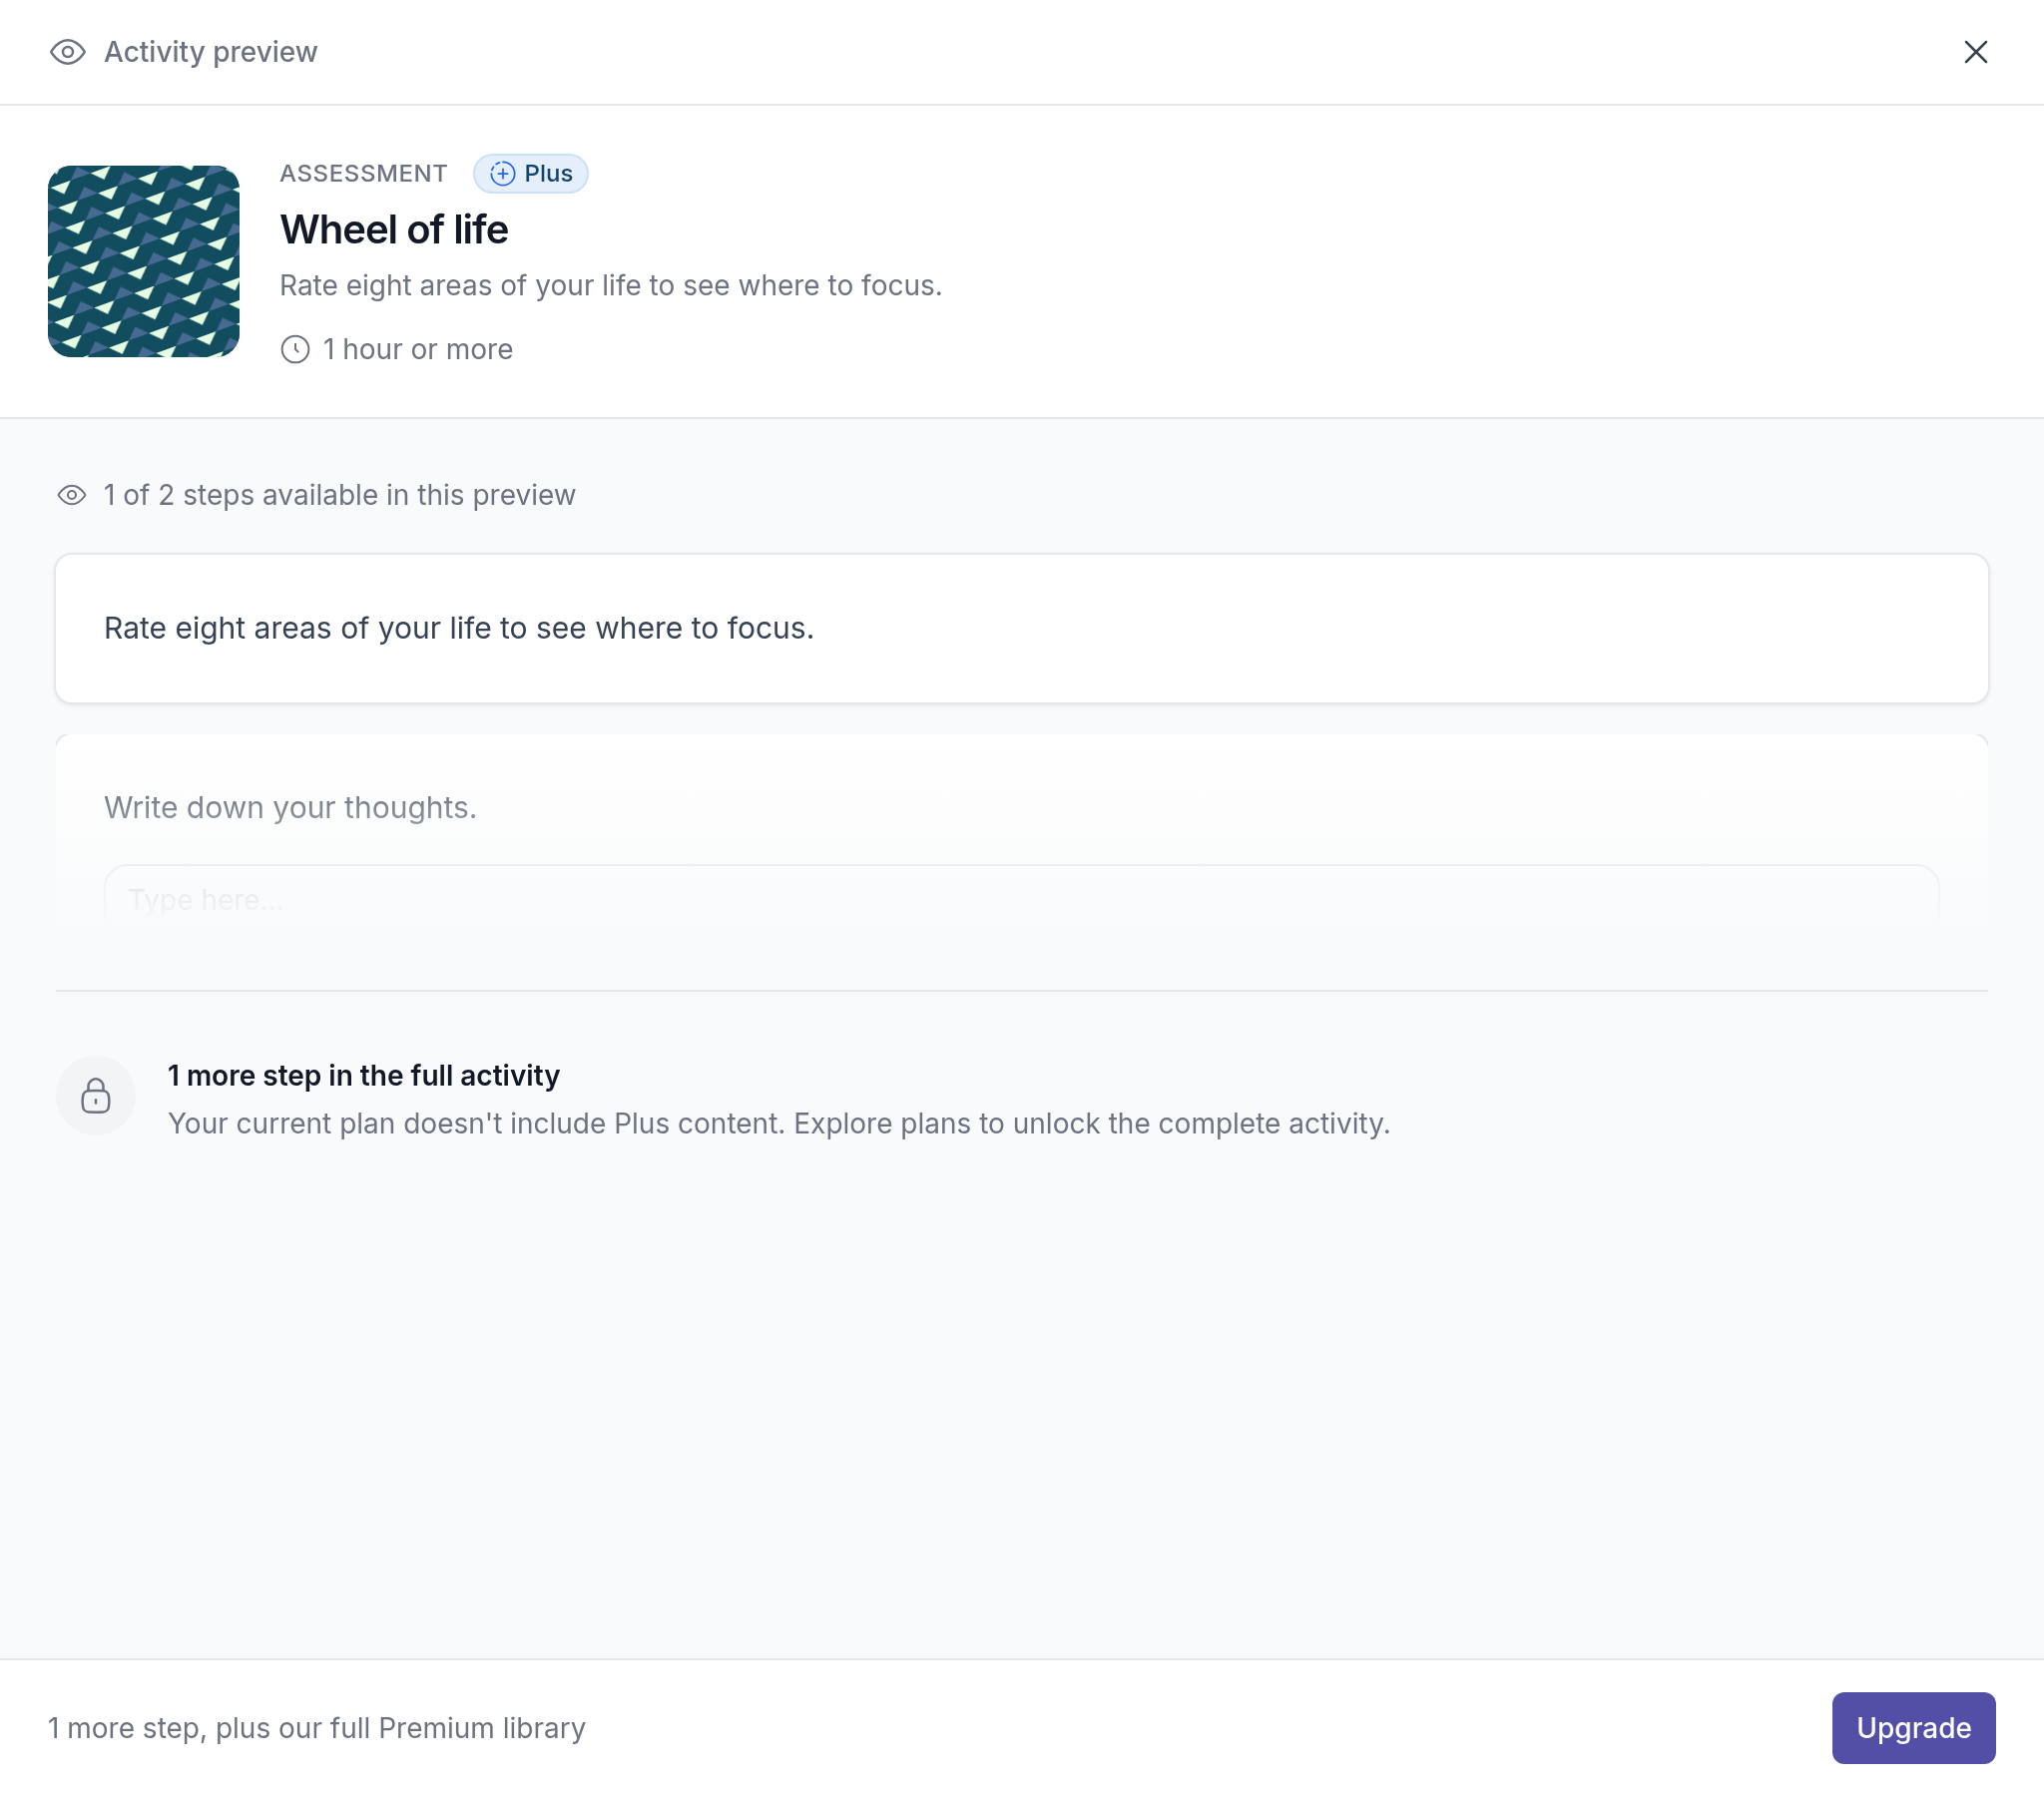
### How content is assigned to a tier
The Quenza team assigns tiers by looking at what an activity or program actually contains, not just its title or topic:
- **Depth**: how much material it has, how many reflective exercises, and whether it includes assessments or progress measures.
- **Specialization**: broadly applicable content leans towards Core, content tied to a specific framework towards Plus, and content that needs clinical framing or targets a particular condition or population towards Premium.
That is why two activities on the same theme, or two programs of similar length, can be in different tiers.
---
# Programs overview
> See what a program is, where to find your program library, and how sections and activities make up a program for your clients.
Source: https://quenza.com/help/content/programs-overview/
A program is a series of activities that guides a client through a longer journey, such as a coaching trajectory, a treatment module or a course. You decide when each activity is delivered, so the program keeps running between sessions without you sending every step by hand.
For example, Sarah Bennett uses her program Better sleep in 4 weeks with clients who sleep badly. Week 1 starts with a sleep diary; a week later the breathing exercise arrives, then the next week's activities. She sends the program once, and the client gets each step at the right moment.
Video: [How to create programs in Quenza](https://vimeo.com/1096544040)
## Your program library
**Programs → Library** holds every program in your workspace. Search by title, or narrow the list with **All formats** (such as Course, Training or Treatment) and **All topics**.
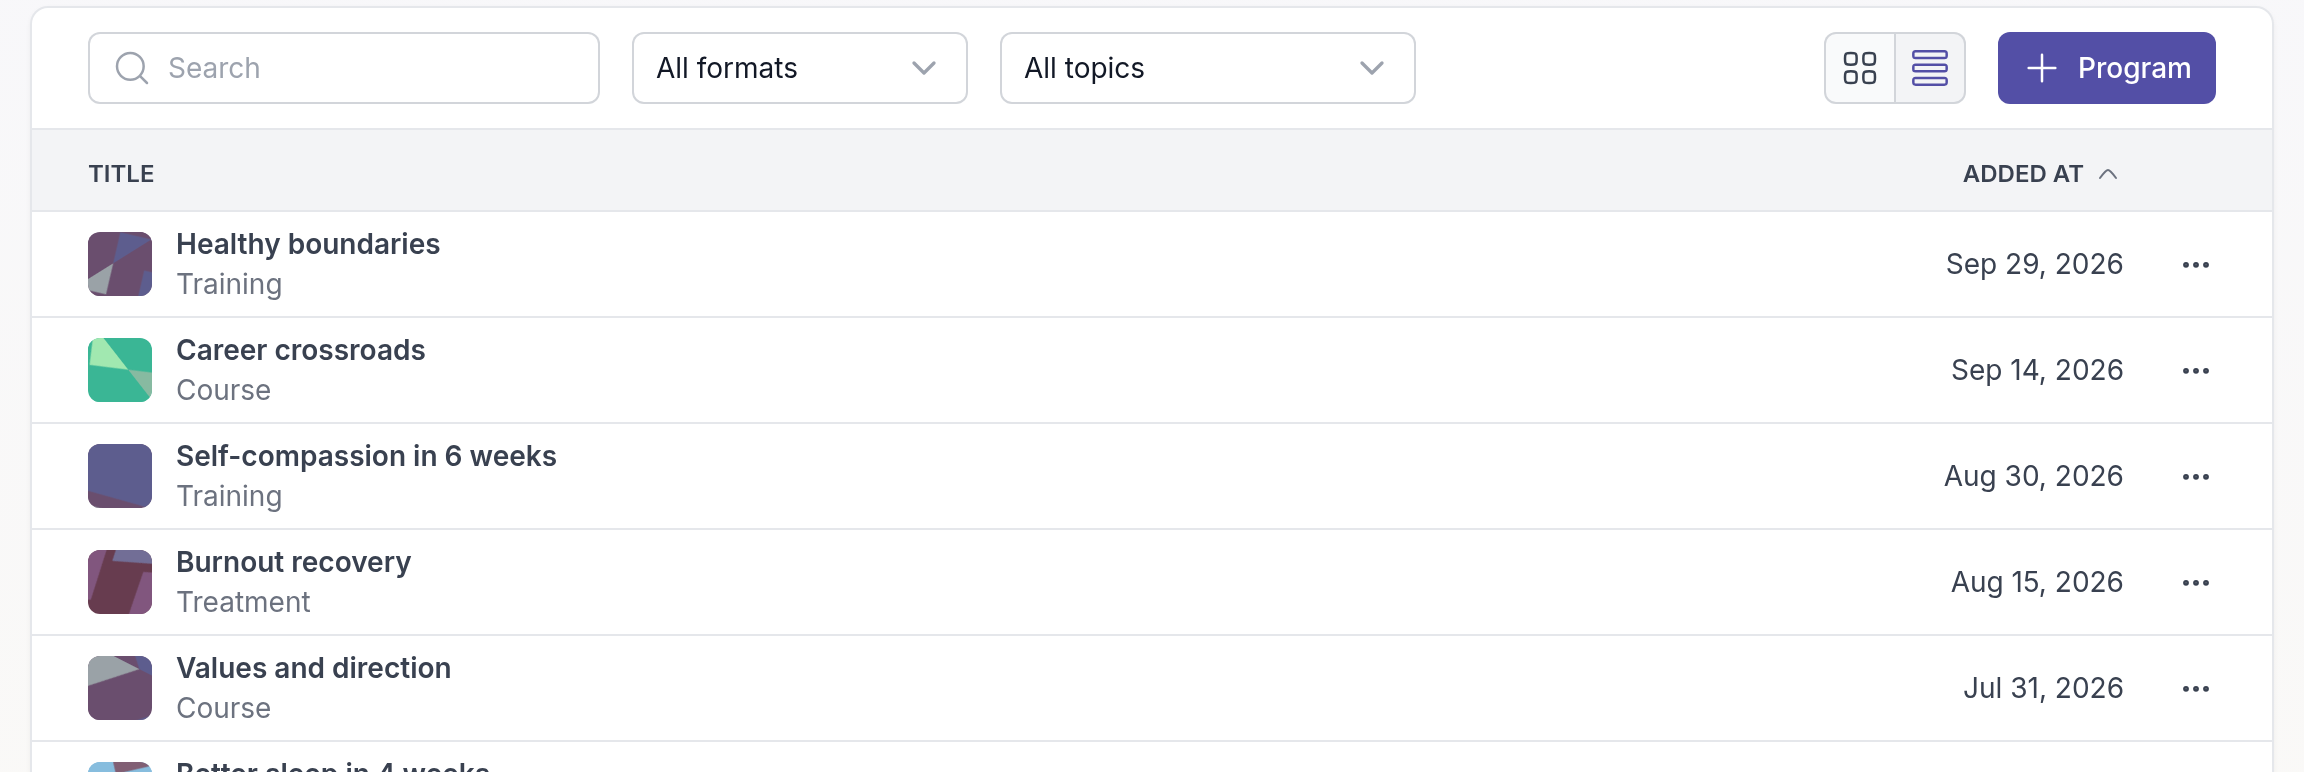
Click **⋯** in a program's row to **View** it, **Send program** to clients or groups, **Duplicate** it or **Delete** it. Duplicate a program to make a variation, for example a six-week version of a four-week course.
To start from a ready-made program, go to **Programs → Pre-made**, open a program to preview it and click **Add to library**. See [Pre-made content](https://quenza.com/help/content/pre-made-content/).
## How a program is built
Click **+ Program** to open the program builder. Like the activity builder, it has a **Content**, an **Instructions** and a **Settings** tab. On the **Content** tab, **+ Activity or Section** adds:
- **Section**: a heading that groups activities, such as "Week 1" or "Module 2".
- **Activity**: a new, empty activity that you build inside the program.
- **Load Activity**: a copy of an activity from your library.
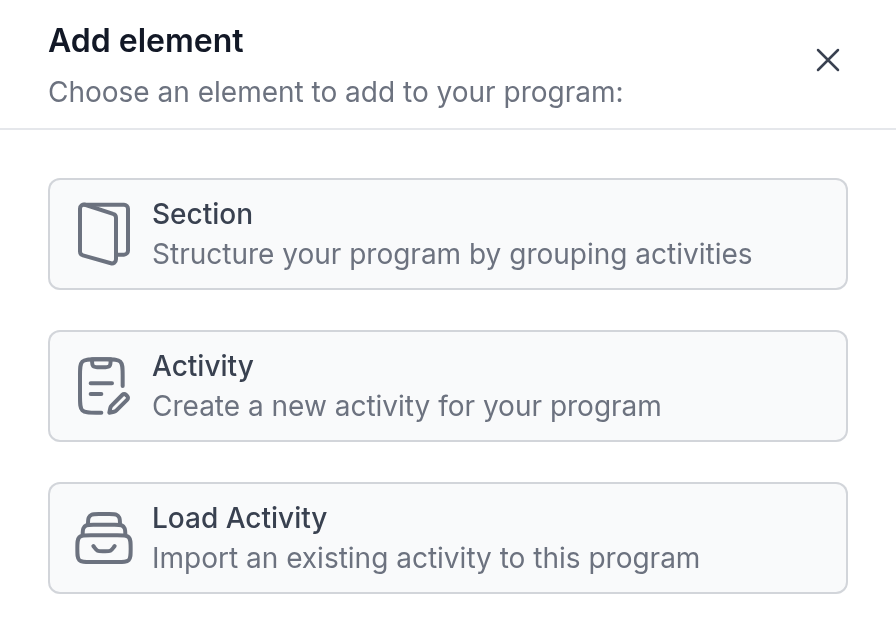
Each activity has its own delivery setting: right away, after the client completes the previous step, after a fixed interval, or when you trigger it yourself. See [Build a program](https://quenza.com/help/content/build-a-program/) and [Program delivery](https://quenza.com/help/content/program-delivery/).
## Delete a program
Choose **Delete** in the program's **⋯** menu and confirm with **Delete program**.
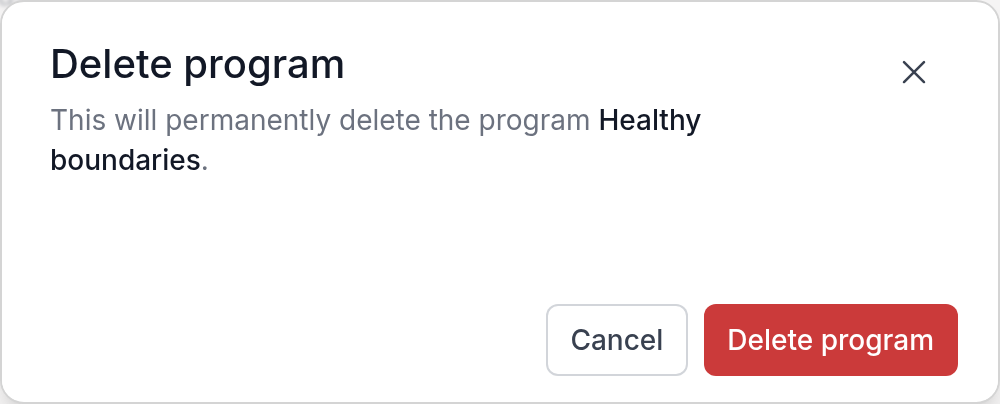
Deleting removes the program from your library. Programs you already sent are not removed from your clients. If a [landing page](https://quenza.com/help/new-clients/landing-pages/) sends this program to new sign-ups, the dialog names the page, and the page stops sending it.
> **Caution:** You cannot undo deleting a program. If you might need it again, keep it in your library instead.
## Next steps
- [Build a program](https://quenza.com/help/content/build-a-program/)
- [Program delivery](https://quenza.com/help/content/program-delivery/)
- [Send a program](https://quenza.com/help/working-with-clients/send-a-program/)
---
# Build a program
> Create a program from sections and activities, set the order, and save it to send to clients.
Source: https://quenza.com/help/content/build-a-program/
Build a program when a client should work through several activities over weeks instead of one at a time. You arrange the activities in sections, decide when each one is delivered, and reuse the program with as many clients and groups as you like.
For example, Sarah Bennett's Better sleep in 4 weeks has a section for each week. Week 1 holds a sleep diary, Week 2 a breathing exercise, and each new week starts a week after the previous one. She built it once and sends it to every client who struggles with sleep.
## Create the program
Go to **Programs → Library** and click **+ Program**. Click the title at the top to name the program; your clients see this name.
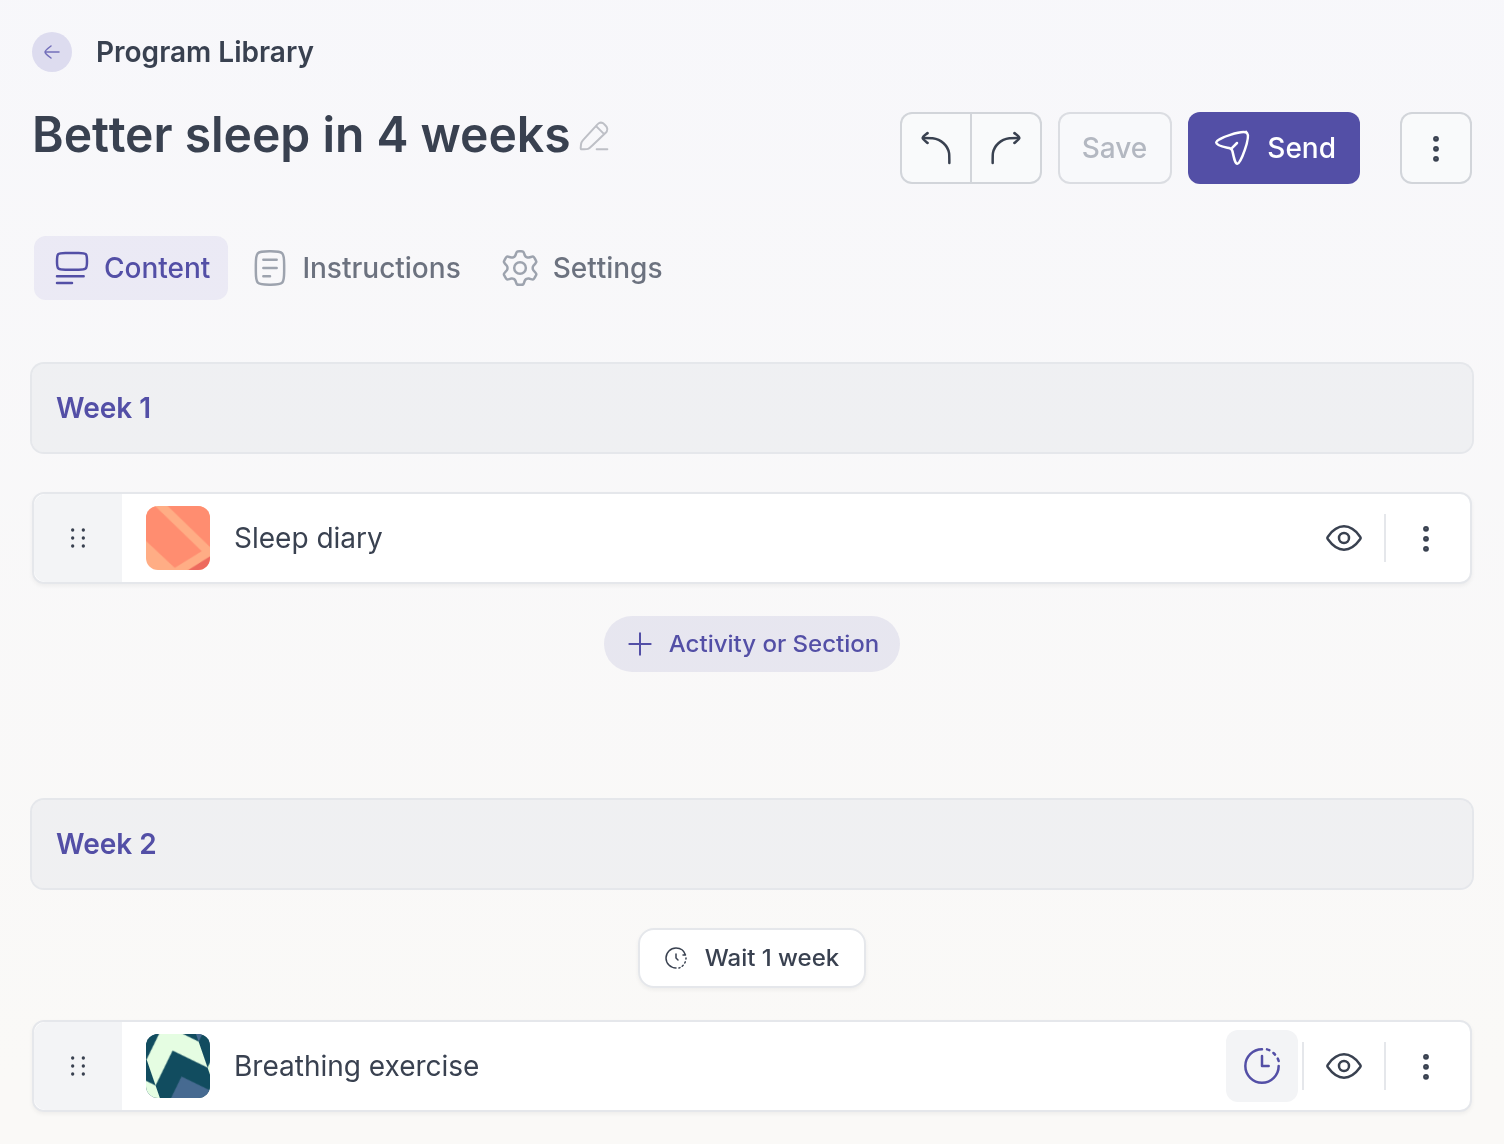
## Add sections and activities
On the **Content** tab, click **+ Activity or Section** where you want to add something, and choose:
- **Section** to group activities, for example "Week 1" or "Reflection phase". Type the section title.
- **Activity** to build a new activity inside the program. Click it to open the activity builder, build it, click **Save**, and go back with **Edit program** at the top left.
- **Load Activity** to add one from your library. Search for it and click it.
Mix different kinds of activities, such as a short lesson, a reflection and an assessment at the end to see what changed.
> **Note:** **Load Activity** adds a copy. Changes you make to the activity inside the program do not change the original in your library, and the other way round.
## Arrange the order
The **Content** tab shows the program in the order your client follows it. Drag an activity by the handle on its left to move it, and use the arrows on a section to move the section up or down.
## Set when each activity is delivered
New activities in a program are set to **No delay**: they are delivered together with the activity before them. To release them one by one, for example a week apart or after the client completes the previous step, click the clock icon on the activity. See [Program delivery](https://quenza.com/help/content/program-delivery/).
## Reuse or remove an activity
Click **⋮** on an activity in the program for more options. **Save to library** puts a copy of an activity you built inside the program into your library, so you can also send it on its own. **Duplicate** and **Delete** work within the program.
## Add instructions and settings
- **Instructions** tab: notes for you and your team about the program's purpose, background, or how to adapt it for different clients. Clients never see them.
- **Settings** tab: a **Cover image**, a short **Description** (up to 70 characters), a **Format** such as Course, Training or Treatment, and a **Default email template**. The description and format help you find the program in your library and are not shown to clients.
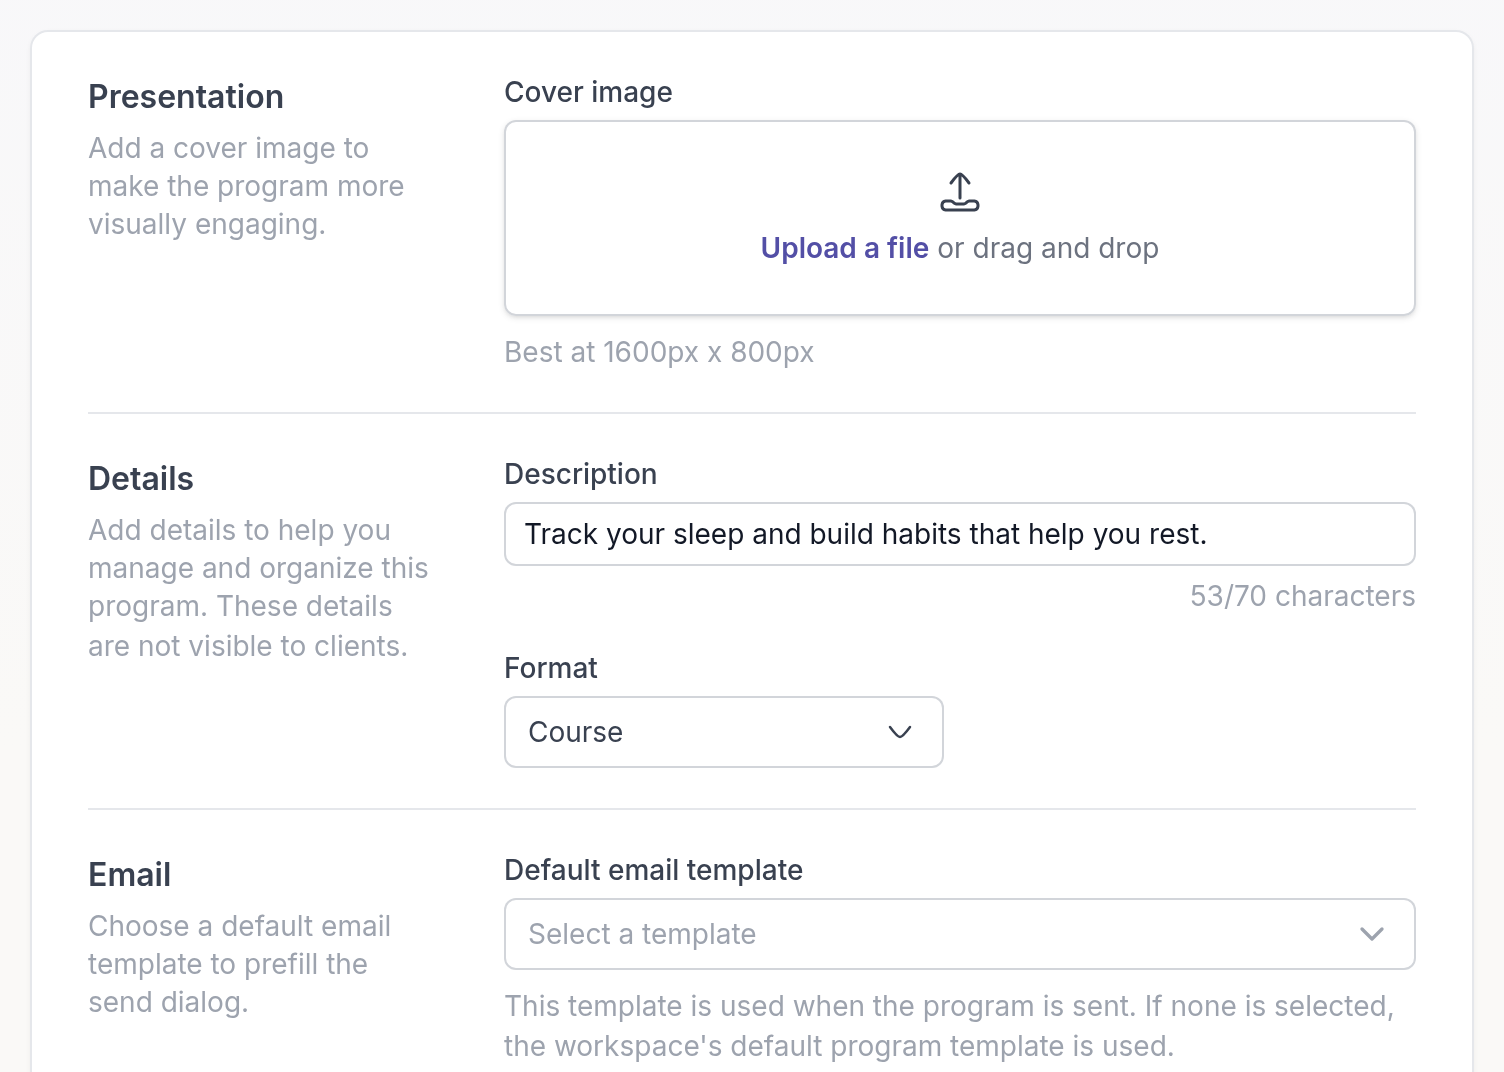
## Save and send
Click **Save**. To send the program, click **Send** at the top of the builder. See [Send a program](https://quenza.com/help/working-with-clients/send-a-program/).
For an overview of your program library, see [Programs overview](https://quenza.com/help/content/programs-overview/).
---
# Program delivery
> Set the delivery option for each activity in a program, trigger activities manually, and decide whether clients see upcoming steps.
Source: https://quenza.com/help/content/program-delivery/
Each activity in a program has its own delivery setting. It decides when the client receives that activity: together with the previous one, after the client completes the previous one, on a fixed schedule, or only when you send it yourself. Combining them lets one program run as a self-paced course, a step-by-step journey or a timed series.
For example, in Better sleep in 4 weeks, Sarah Bennett sets each week's first activity to **Fixed interval** of 1 week. Emma Clarke gets the breathing exercise exactly a week after the sleep diary, whether or not she finished the diary, so the program keeps pace with their weekly sessions.
## The delivery options
- **No delay**: the activity arrives together with the previous one. Activities set to **No delay** at the start of a program all arrive when you send the program. Use it for a self-paced course, where clients choose their own order.
- **After completing previous step**: the activity arrives as soon as the client completes the previous one. Turn on **Delay** to wait a while first, for example 1 day so the client can let the last exercise sink in. Use it for a journey where each step builds on the one before.
- **Fixed interval**: the activity arrives a set time after the previous one was sent, whether or not the client completed it. Use it when timing matters more than completion, such as a weekly check-in or experience sampling in research.
- **Manual trigger**: the activity waits until you send it from the client's profile. Use it when you want to choose the moment, for example after you have discussed the previous step in a session.
Delays and intervals take a number and a unit: **Minutes**, **Hours**, **Days**, **Working Days**, **Weeks** or **Months**.
## Change an activity's delivery
Open the program from **Programs → Library**. On the **Content** tab, click the clock icon on the activity, or click **⋮** on the activity and choose **Delivery settings**. Pick an option under **Delivery**, set the delay or interval, click **Save** in the dialog, and then save the program.
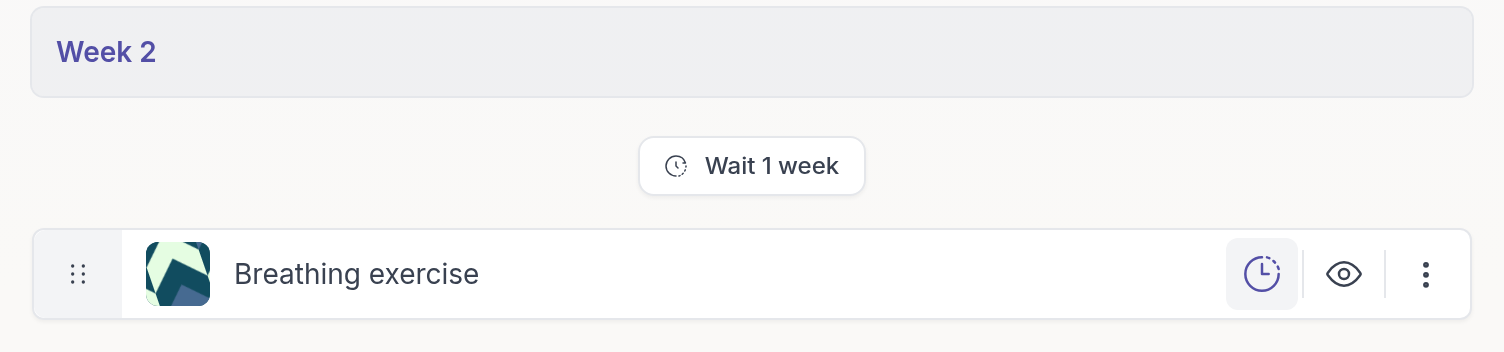
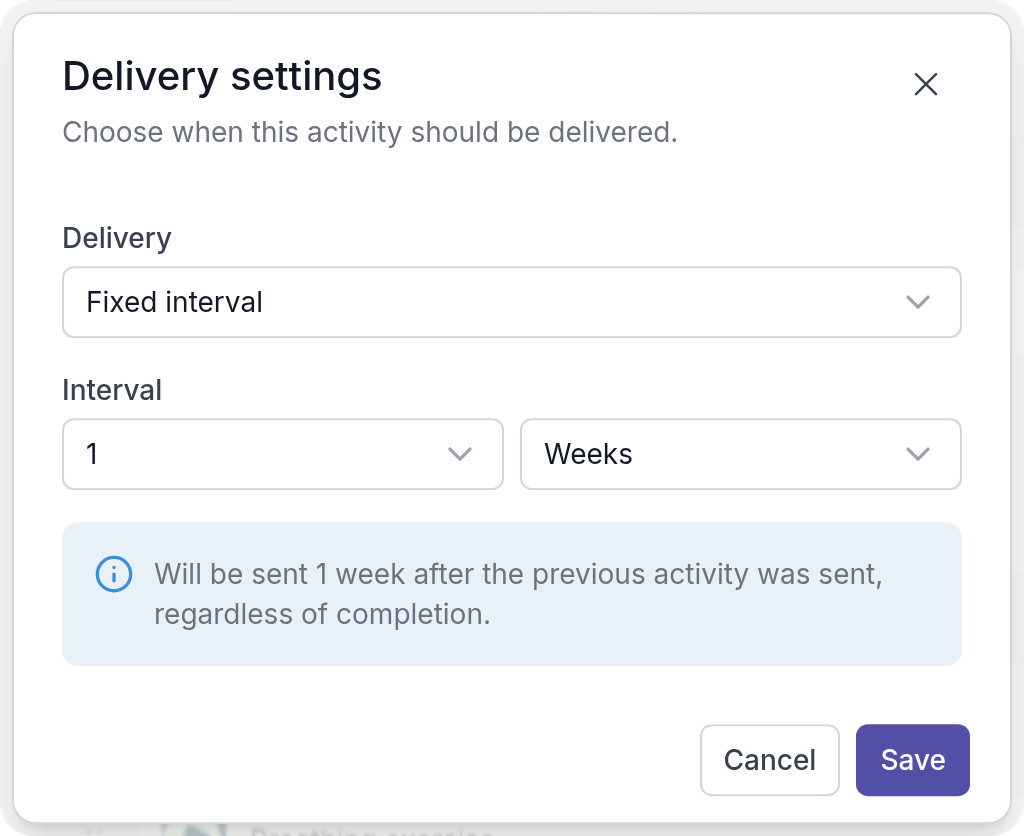
The dialog explains in one sentence what your choice means, so you can check it before you save. New activities start with **No delay**. The first activity of a program has no clock icon, because it arrives when you send the program.
To see the delays between the activities in the builder, as in the picture above, open the menu (⋮) at the top right of the builder and choose **Show interval**. **Hide interval** gives a more compact list. This only changes your view, not the delivery.
## Send a manually triggered activity
Go to **Clients**, open the client, open the **Programs** tab and click the program. An activity that waits for you has the status **Planned** with a hand icon. Click **⋯** next to it and choose **Send activity**. The client receives the activity right away.
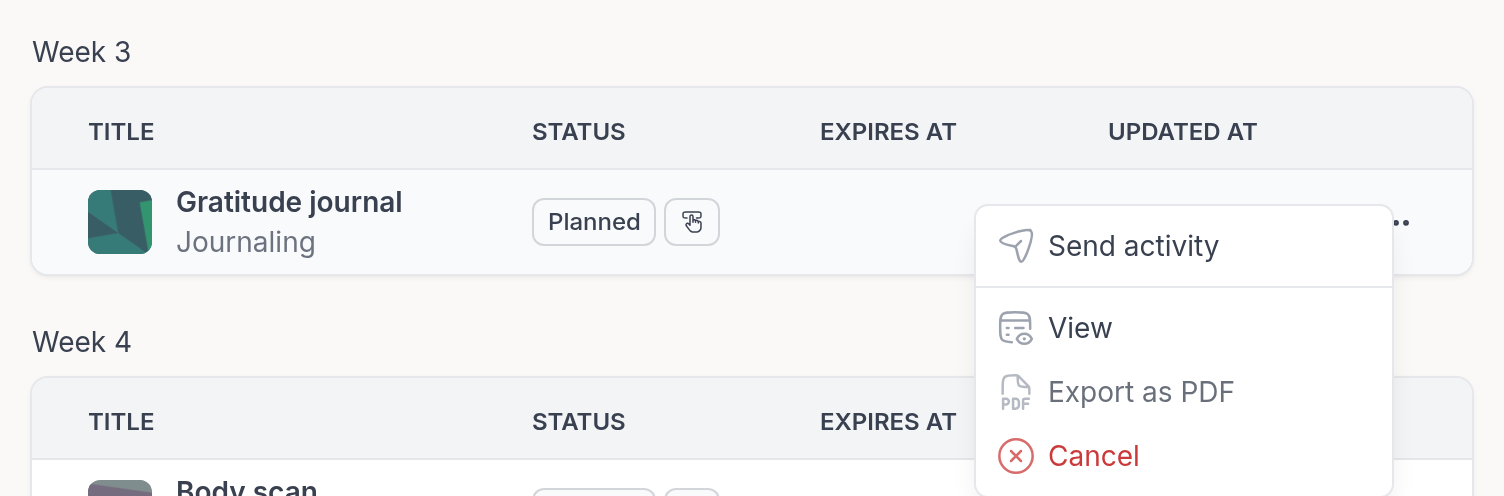
## Let clients see what is coming
When you send a program, the **Settings** step has a **Client Activity View** setting:
- **Show all upcoming activities** on: the client sees the whole program. Activities that are not delivered yet are greyed out until they become available. Useful when clients like to know what is ahead, as in a course.
- **Show all upcoming activities** off: the client only sees activities once they arrive. Useful when you want the client to focus on the current step, or reveal the program bit by bit.
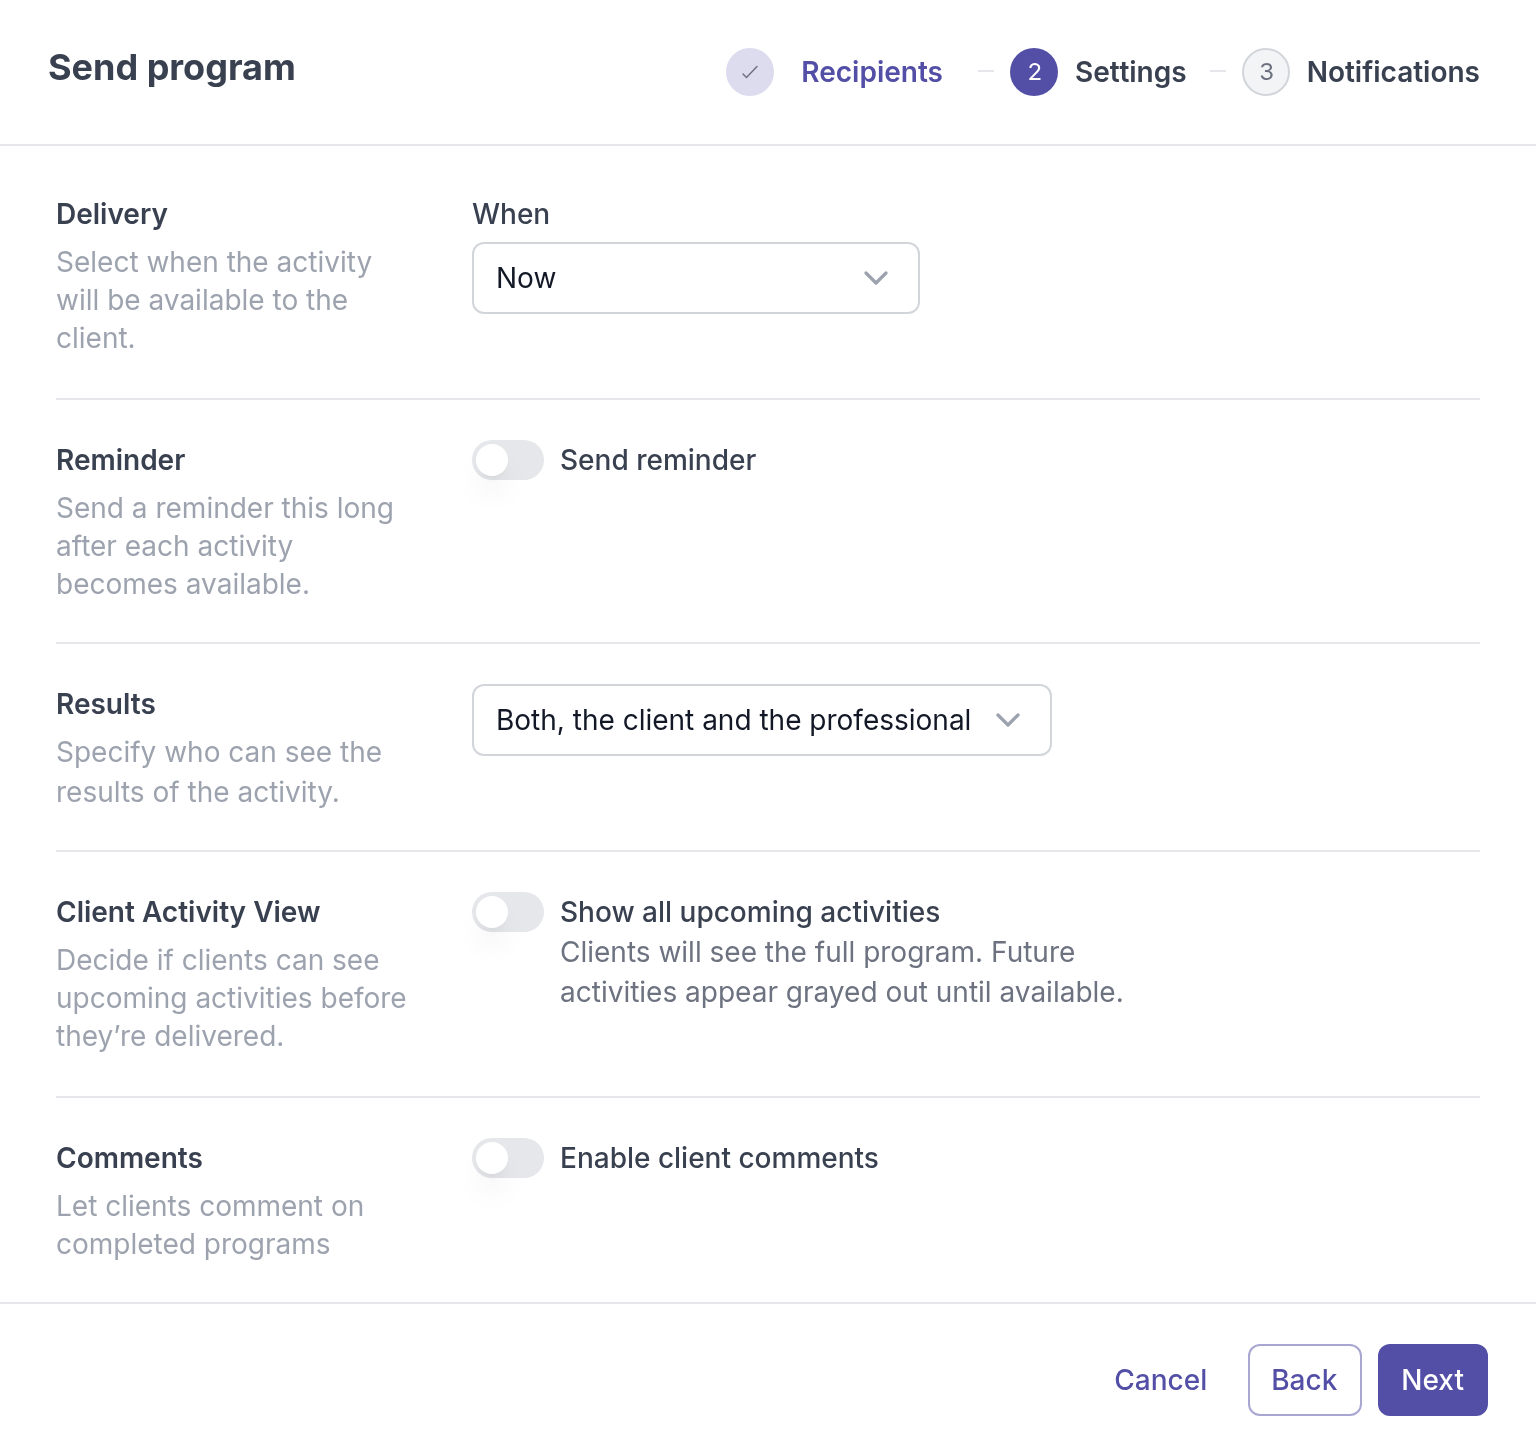
See [Send a program](https://quenza.com/help/working-with-clients/send-a-program/) for the other settings in this dialog.
---
# Send an activity
> Send an activity from your library to a client or group and choose when it arrives, who sees the results and how the client is notified.
Source: https://quenza.com/help/working-with-clients/send-an-activity/
Send an activity from your library to a client, so they can work on it in their own time. You decide when it becomes available, whether the client gets a reminder and who can see the answers.
## When to send an activity
Activities are the homework between sessions: a worksheet, a questionnaire, a journal or an exercise. Some examples from Sarah Bennett's practice:
- After an intake session, she sends the **Values reflection** so Emma Clarke can prepare for the next session.
- On Friday she sends the **Weekly goals review**, set to arrive on Sunday evening.
- Before a first session, a new client gets the **Intake questionnaire**, with a reminder after two days.
When the client has finished, you get a notification and can [review the answers](https://quenza.com/help/working-with-clients/review-completed-activities/). To fill in an activity together with a client during a session instead, use [Fill out now](https://quenza.com/help/working-with-clients/fill-out-now/).
You can only send activities to clients with the status **Active**. The button is unavailable for clients who are archived or who have not accepted their invitation yet. To work with an archived client again, first [restore the client](https://quenza.com/help/clients/restore-clients/).
## Send an activity to a client
1. Go to **Clients**, open the client and select the **Activities** tab.
2. Click **Send activity**.
3. Search for the activity in **Search or select an activity**, select it and click **Next**.
4. Choose the settings (see below) and click **Next**.
5. Choose whether the client gets an email, and click **Send**.
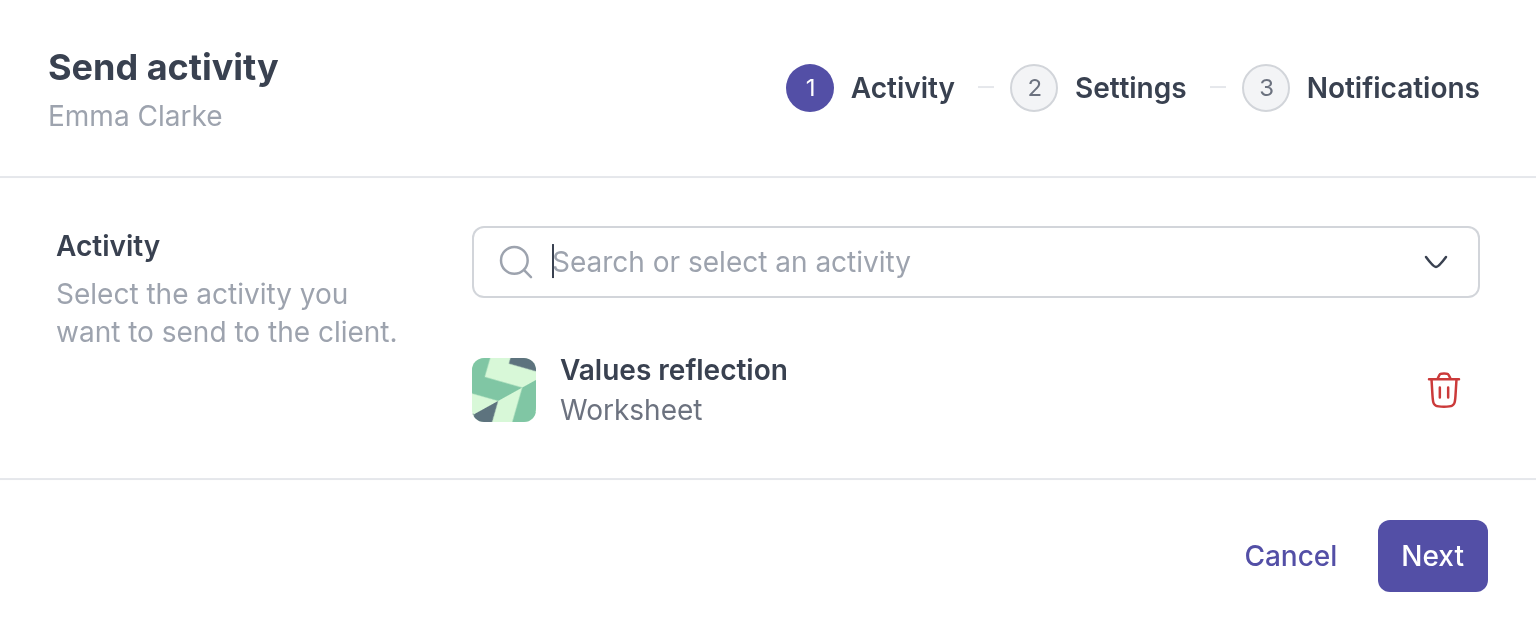
The activity appears in the client's **Activities** list. Its status is **Planned** until the activity becomes available, then **Pending** until the client starts it, **In progress** while they work on it and **Completed** when they finish.
## Send to several clients or a group
To send the same activity to several people at once, start from the library:
1. Go to **Activities → Library**.
2. Click the **⋯** menu next to the activity and choose **Send activity**.
3. Under **Recipients**, choose **Clients** or **Groups**, add one or more recipients and click **Next**.
4. Complete the **Settings** and **Notifications** steps, then click **Send**.
Each client gets their own copy and their answers stay separate. You can also open a group, select its **Activities** tab and click **Send activity**. See [Work with groups](https://quenza.com/help/clients/groups/).
## Settings
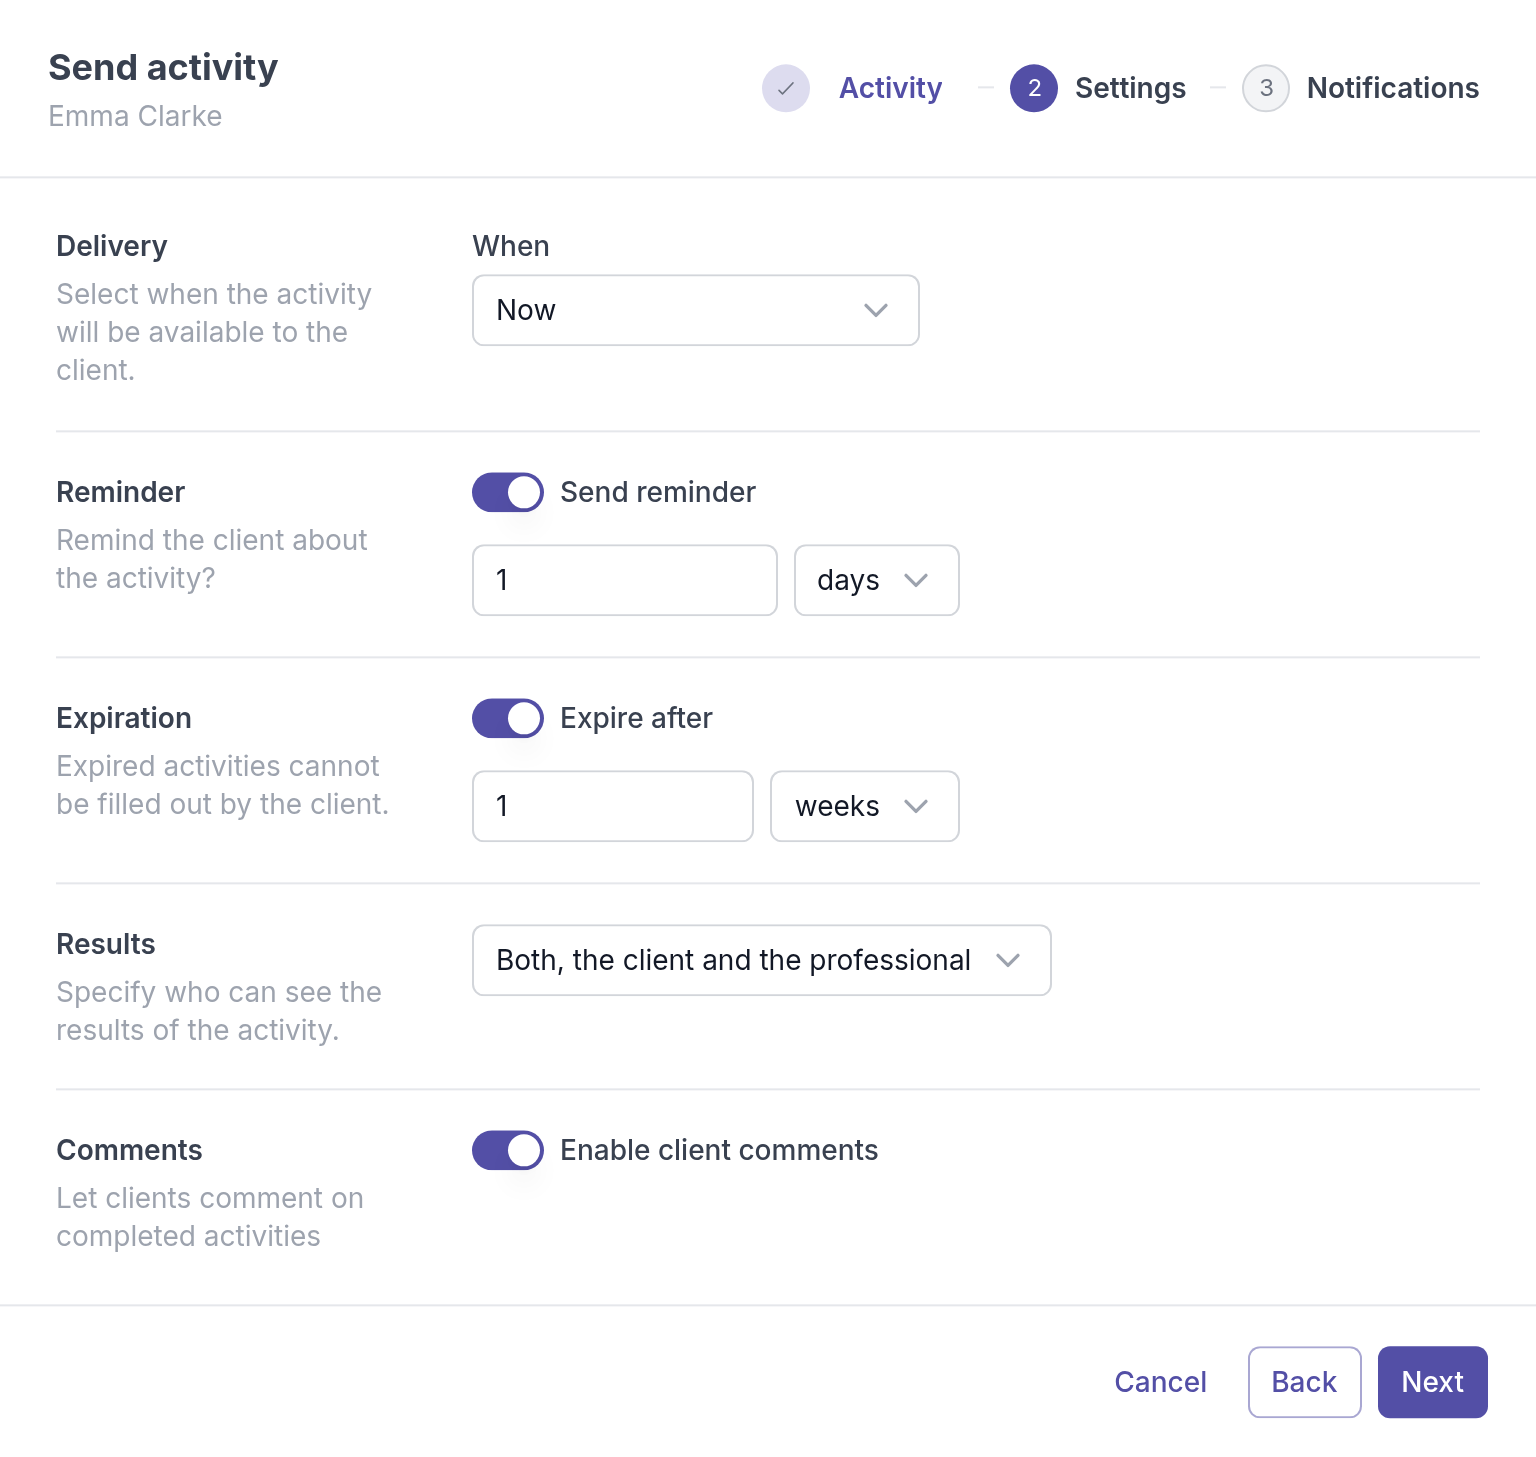
- **When**: when the activity becomes available. **Now**, **Tomorrow morning (9am)**, **Tomorrow evening (8pm)** or **Custom**, where you pick a **Date** and **Time**. Use a later time to prepare homework after a session and let it arrive when the client has time for it.
- **Send reminder**: turn it on to remind the client if they have not finished the activity after the time you set. The suggested time is one day.
- **Expire after**: turn it on to close the activity after the time you set, for example one week before the next session. Expired activities cannot be filled out by the client. The reminder must come before the expiry.
- **Results**: who can see the answers: **Both, the client and the professional**, **Only the client**, **Only the professional** or **The client decides**. With **The client decides**, the client makes this choice before starting.
- **Enable client comments**: lets the client comment on the completed activity. You can change this later on the activity's **Comments** tab.
> **Note:** If you choose **Only the client**, you cannot see the client's answers or export them as a PDF.
## Notifications
The activity always appears in the client's app. In the **Notifications** step you decide whether the client also gets an email.
- Leave **Send an email** on to email the client. If the client has turned off email notifications, the email is not sent.
- Under **Customize Email**, pick a template in **Use a template** or edit the **Subject** and **Message**. The message appears above the link to the activity, and your name and contact details are added at the end. See [Create and use email templates](https://quenza.com/help/branding/email-templates/).
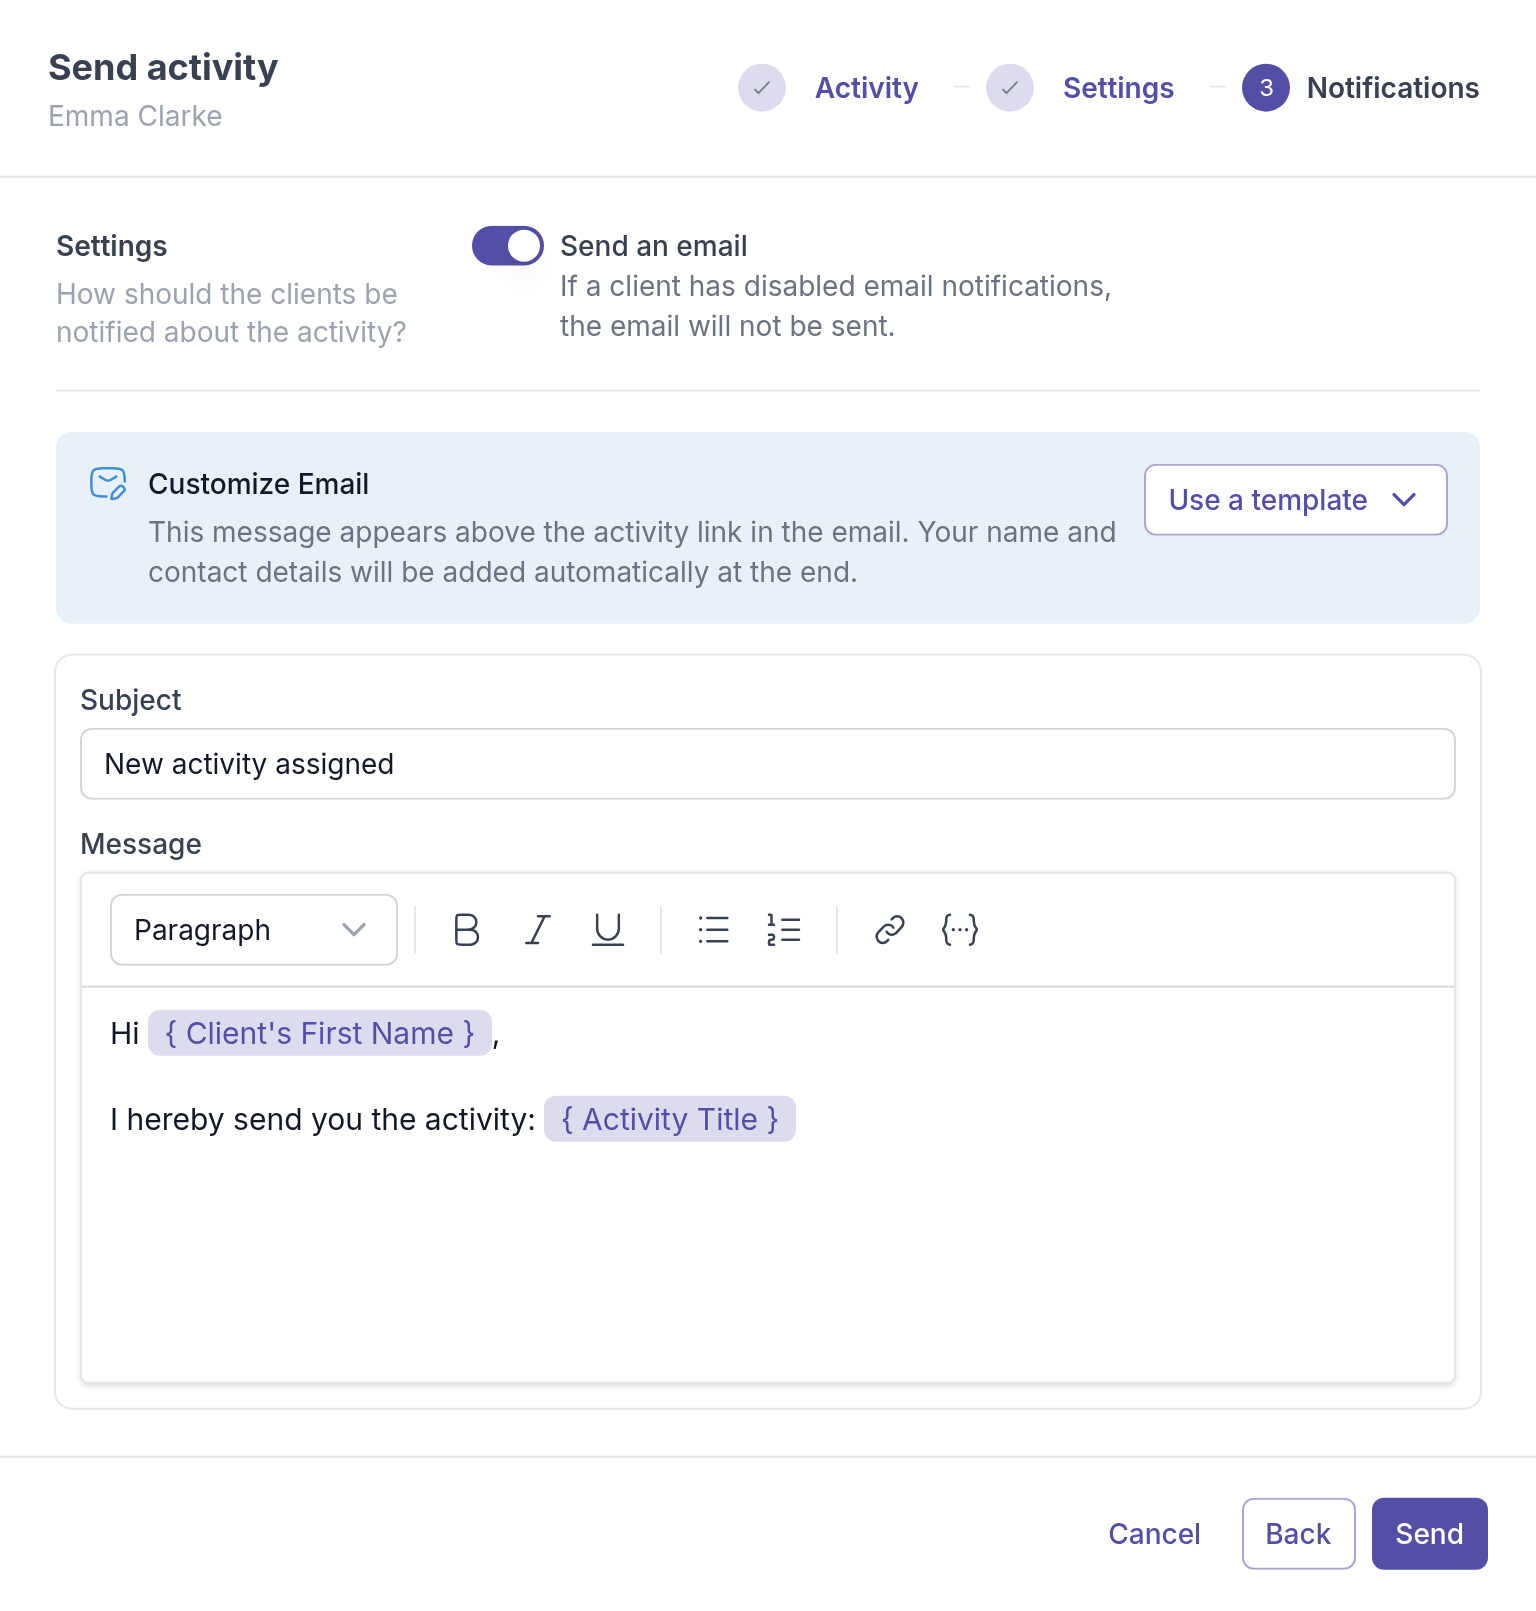
## After sending
Open the **⋯** menu next to the activity in the client's **Activities** list. Which actions you see depends on the activity's status:
| Action | When it shows | What it does |
| --- | --- | --- |
| **Fill out now**, **Continue** or **Make changes** | Once the activity is available, and not canceled | Opens the activity so you can fill it in with the client. See [Fill out now](https://quenza.com/help/working-with-clients/fill-out-now/). |
| **Remind** | **Pending** or **In progress** | Sends the client a reminder now, after you confirm with **Send Reminder**. |
| **View** | Always | Opens the activity and, once the client has worked on it, their answers. See [Review completed activities](https://quenza.com/help/working-with-clients/review-completed-activities/). |
| **Export as PDF** | **Completed**, if you can see the results | Downloads the answers. See [Export as PDF](https://quenza.com/help/working-with-clients/export-as-pdf/). |
| **Cancel** | **Planned**, **Pending** or **In progress** | Withdraws the activity after you confirm with **Cancel activity**. |
| **Delete** | **Canceled** | Removes the canceled activity from the list for good, after you confirm with **Delete activity**. |
**Continue** and **Make changes** only show when the results are visible to you.
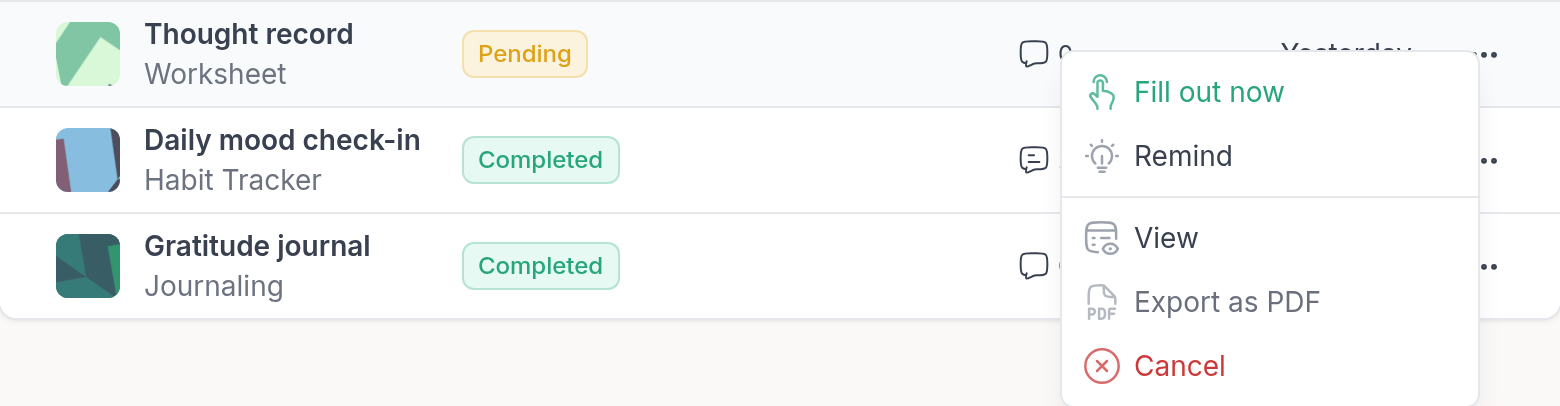
When you cancel an activity that the client can already see, it disappears from their app and they get a notification. A canceled activity stays in your list with the status **Canceled**, until you delete it.
> **Danger:** **Delete** permanently deletes the activity and any answers in it. It is only available for canceled activities.
---
# Fill out now
> Fill out an activity together with a client during a session, without sending an email, and choose who sees the results afterwards.
Source: https://quenza.com/help/working-with-clients/fill-out-now/
With **Fill out now** you open an activity for one client and fill it in yourself, right away. Use it when you work through an activity together, for example during a session or a phone call. You need permission to send activities.
## When to use it
Sending an activity is for work the client does on their own, between sessions. Fill out now is for the moments you do it together:
- In the first session, Sarah Bennett goes through the Intake questionnaire with Noah Jansen and types his answers as they talk.
- During a session, you work through the Values reflection with a client who prefers to talk rather than write.
- A client calls you because they cannot fill in the Sleep diary on their own this week.
The answers are stored with the client, exactly as if the client had filled in the activity. You can review them, comment on them and export them later.
## Start an activity with a client
1. Go to **Activities → Library**.
2. Click the **⋯** menu next to the activity and choose **Fill out now**.
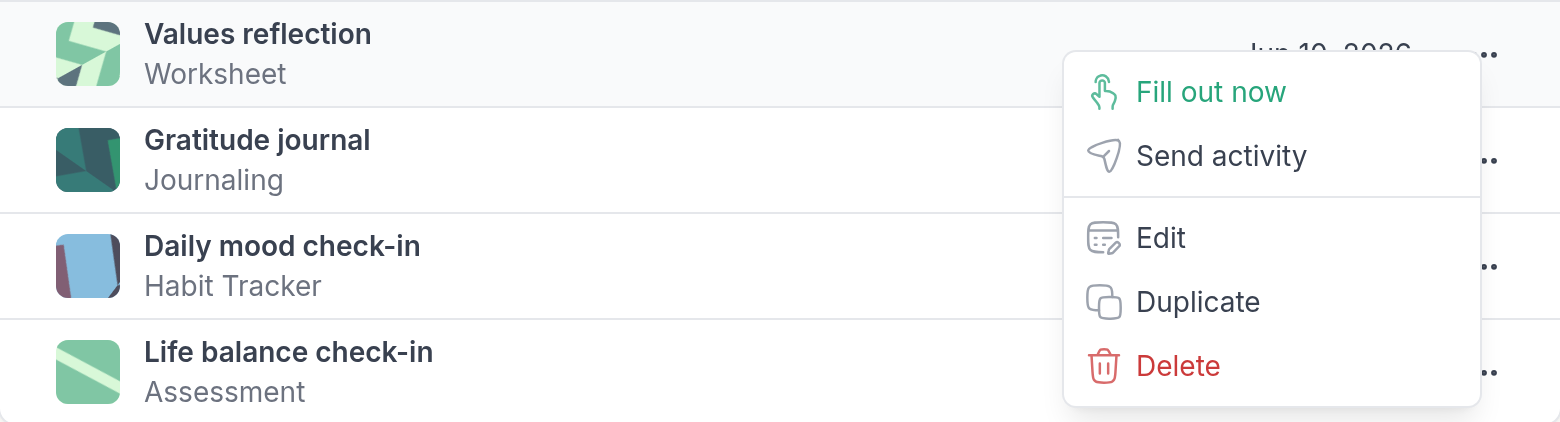
3. Under **Recipient**, search for the client and select them.
4. Under **Results viewing**, choose who can see the answers once the activity is complete.
5. Click **Create**.
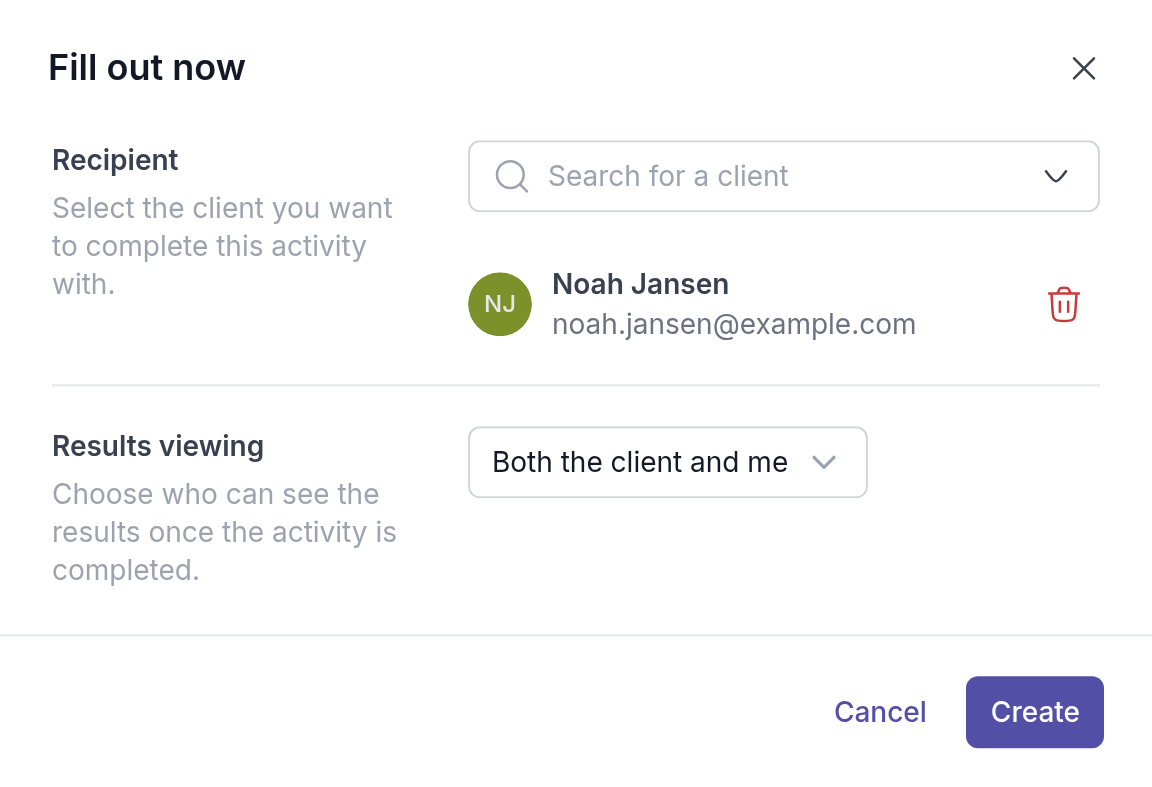
You can also start from an activity you have open in the activity builder: the **⋮** menu at the top has **Fill out now** too. Quenza saves your changes to the activity first.
## Fill in the activity
The activity opens full screen, the way the client would see it. Fill in the answers together, click **Next** to go to the next page and **Finish** on the last page.
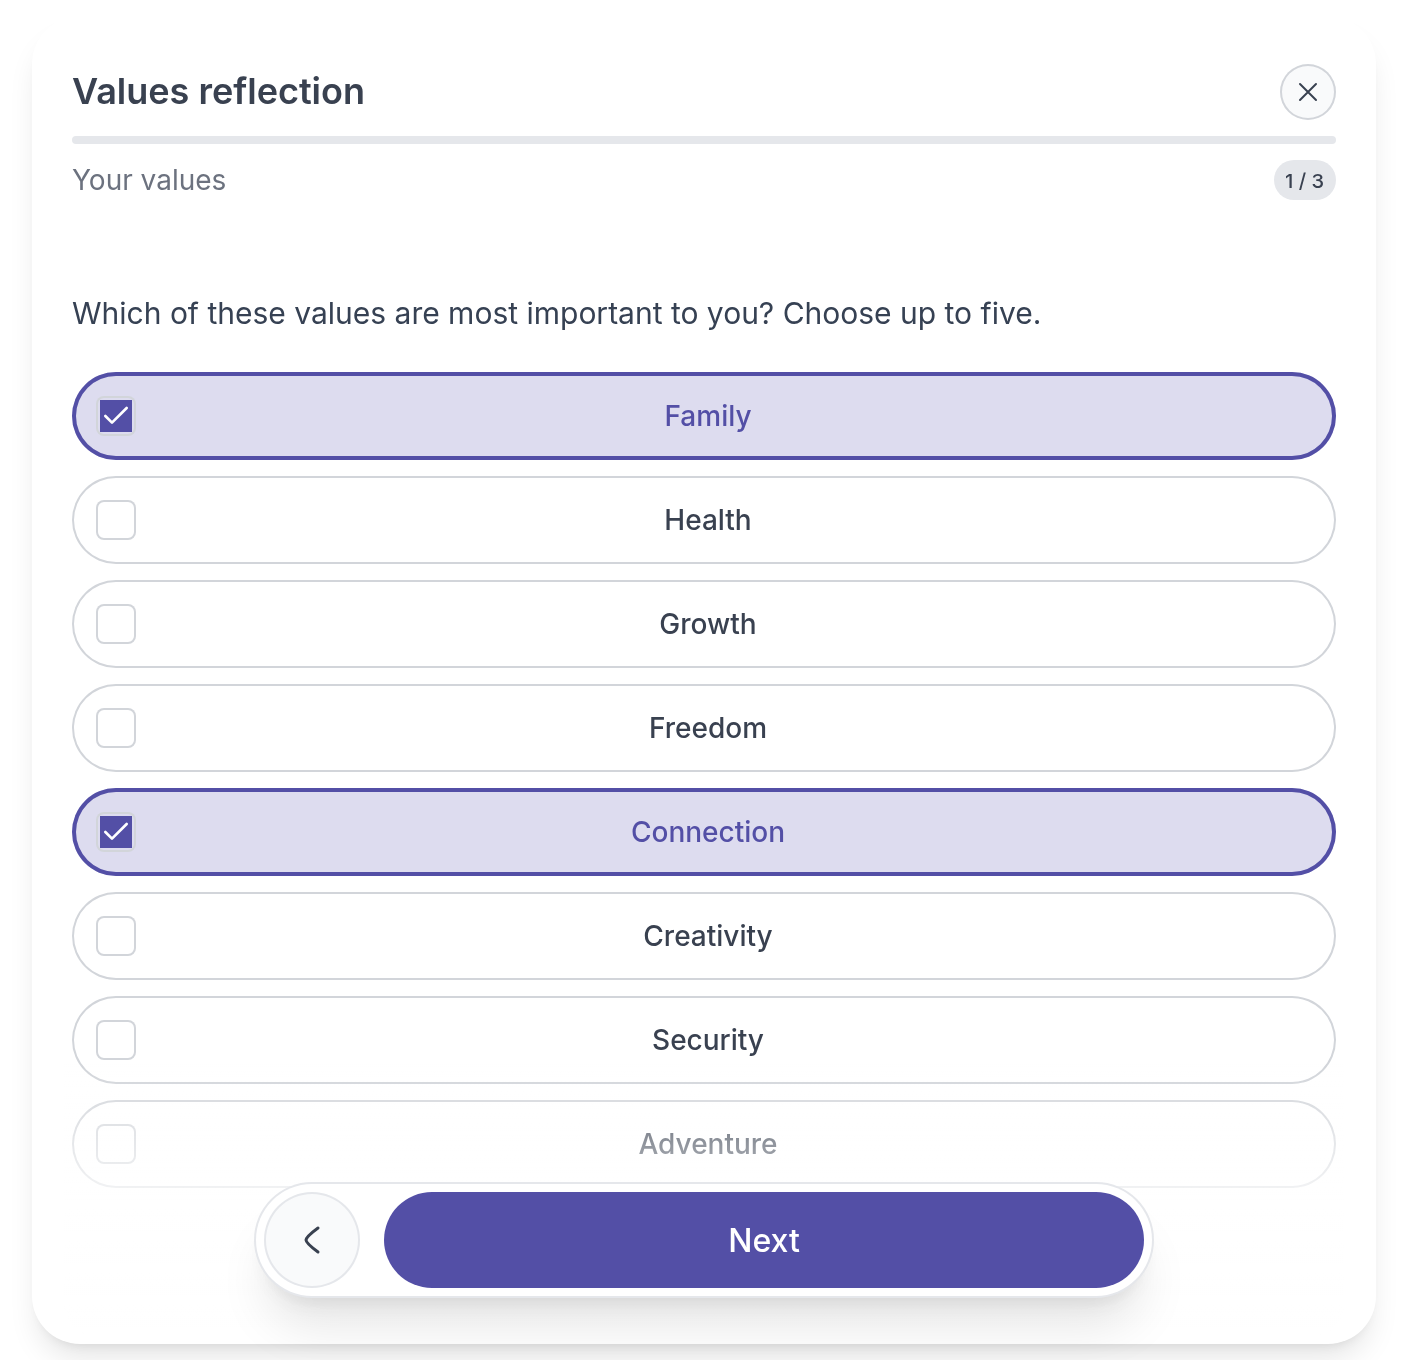
Your answers are saved each time you click **Next**. If the session ends before you are done, close the activity with the cross at the top right. You can carry on later.
## What the client gets
- **No email.** Quenza does not email the client about an activity you fill out now.
- **The activity is in the client's app.** It appears in their list of activities like any other activity. The client can open it there, and once it is complete they can read the answers if the results are visible to them.
- **Comments are off.** To let the client react to the answers, turn on **Allow client comments** on the activity's **Comments** tab. See [Comments](https://quenza.com/help/working-with-clients/comments/).
## Who sees the results
**Results viewing** works like the **Results** setting when you send an activity:
- **Both the client and me**: you and the client can read the answers. Choose this in most cases.
- **Only the client**: only the client can read the answers once the activity is complete.
- **Only me**: you can read the answers, the client cannot.
- **The client decides**: the client chooses who can see the answers.
> **Caution:** You can only continue an activity or change its answers later if the results are visible to you. With **Only the client** or **The client decides**, finish the activity in one go.
## Continue later or make changes
The activity is listed in the client's **Activities** tab. Open the **⋯** menu next to it. The first action depends on the status:
- **Fill out now** while nobody has started it yet.
- **Continue** when it is in progress. The activity opens on the page where you stopped.
- **Make changes** when it is completed. See [Review completed activities](https://quenza.com/help/working-with-clients/review-completed-activities/#change-answers-after-completion).
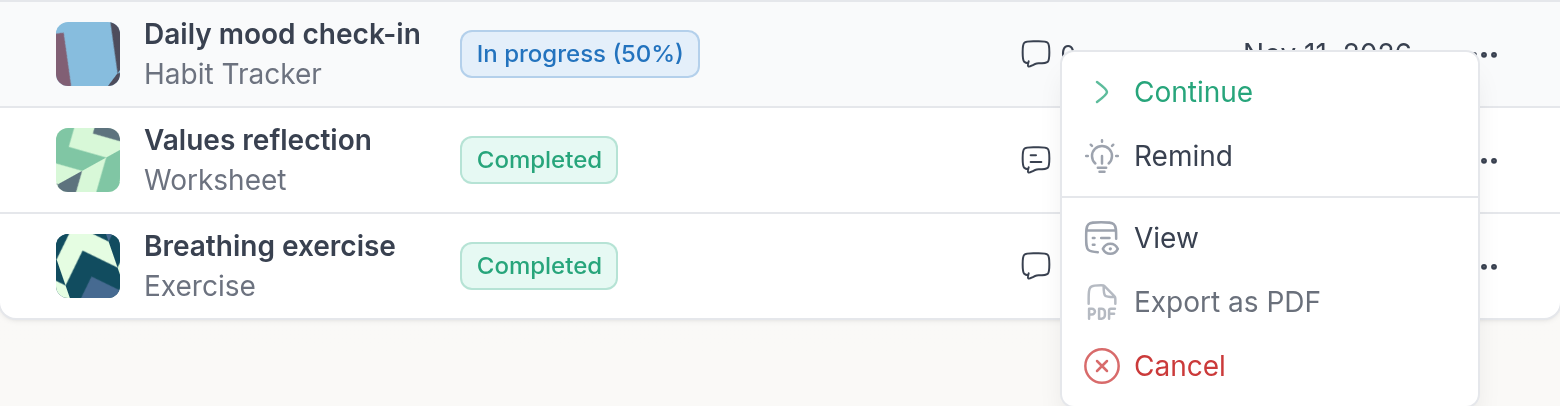
These actions are also there for activities you sent to the client. Use them, for example, when a client got stuck on a worksheet and you finish it together in the next session.
To send an activity for the client to do on their own, see [Send an activity](https://quenza.com/help/working-with-clients/send-an-activity/).
---
# Send a program
> Send a multi-step program to a client or a group and choose when it starts, who sees the results and how clients are notified.
Source: https://quenza.com/help/working-with-clients/send-a-program/
Send a program from your library to one client or to a whole group. The client then works through its activities step by step, at the pace you set when you built the program.
## When to send a program
A program is a series of activities that belong together, such as a course of several weeks. Instead of sending each worksheet by hand, you send the program once and Quenza makes each activity available at the right moment. For example:
- After the intake, Sarah Bennett sends Lucas Meyer **Better sleep in 4 weeks**. Each week a new activity arrives, and she reviews his sleep diary before every session.
- The **Mindfulness group** gets **Mindful mornings**, so every member follows the same weekly exercises.
How the activities follow each other (a set time after the previous one, on fixed days, or when you start them by hand) is part of the program itself. See [How program delivery works](https://quenza.com/help/content/program-delivery/).
Sending a program works like [sending a single activity](https://quenza.com/help/working-with-clients/send-an-activity/), with a few program settings. You can only send programs to clients with the status **Active**.
## Send a program to a client
1. Go to **Clients**, open the client and select the **Programs** tab.
2. Click **Send program**.
3. Search for the program in **Search or select a program**, select it and click **Next**.
4. Choose the settings (see below) and click **Next**.
5. Leave **Send an email** on to email the client, and edit the message under **Customize Email** if you like.
6. Click **Send**.
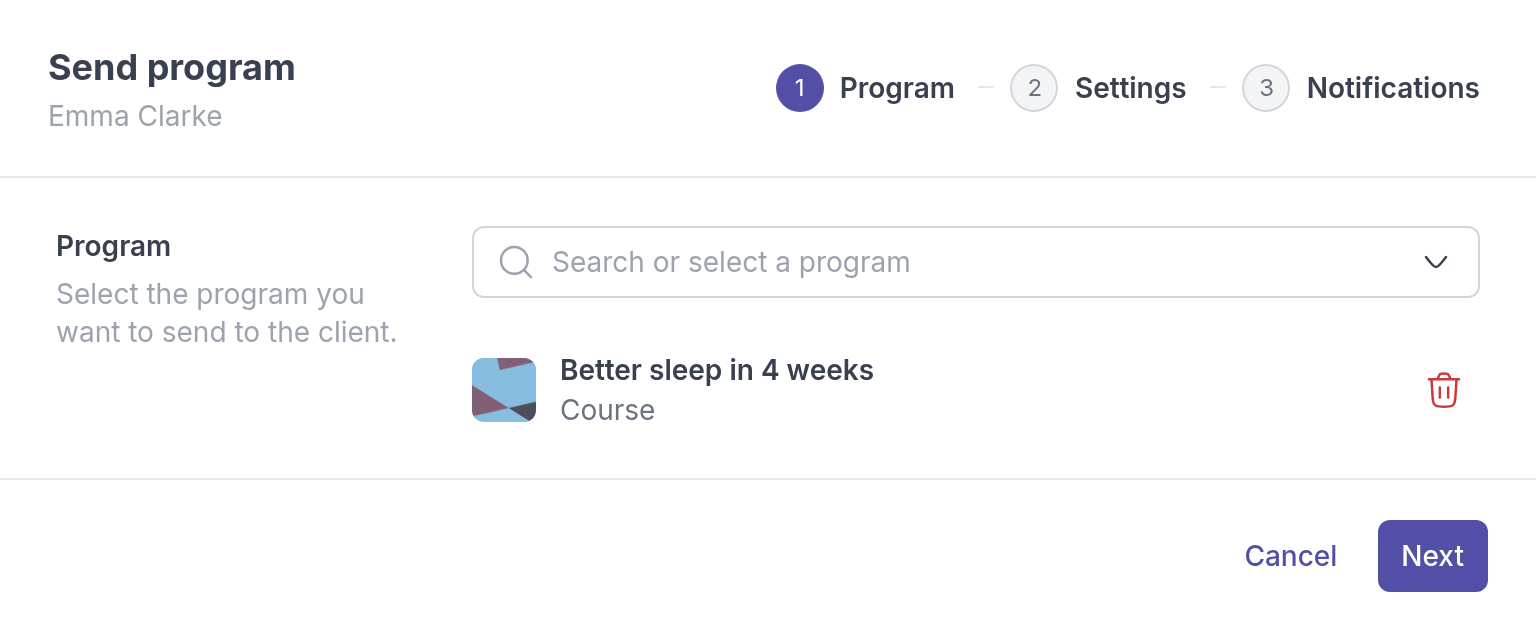
The program appears in the client's **Programs** list. If the client has turned off email notifications, the email is not sent, but the program is still in their app.
To send a program to several clients or groups at once, go to **Programs**, click the **⋯** menu next to the program and choose **Send program**. Under **Recipients**, choose **Clients** or **Groups** and add the recipients.
## Settings
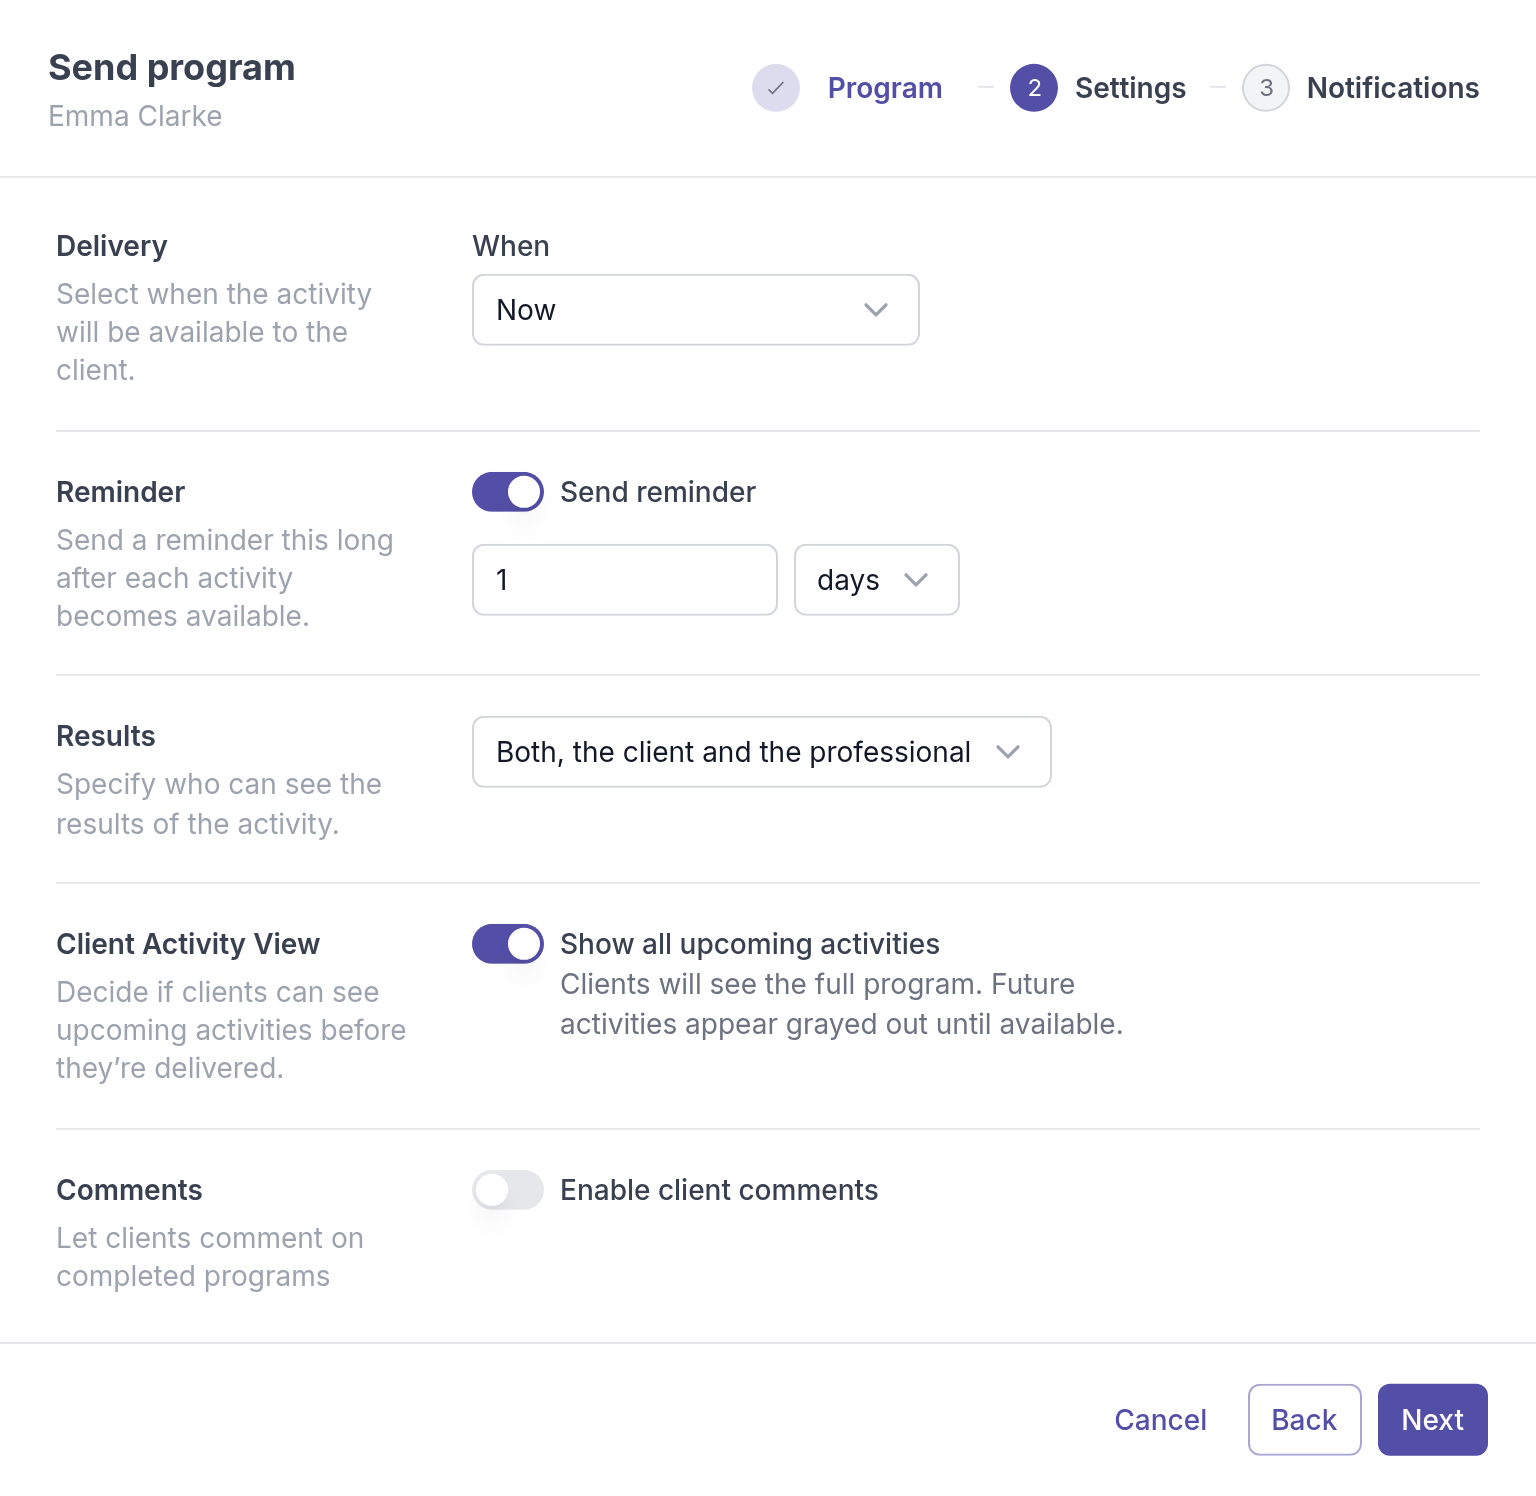
- **When**: when the first activity becomes available: **Now**, **Tomorrow morning (9am)**, **Tomorrow evening (8pm)** or **Custom**, where you pick a **Date** and **Time**. The other activities follow the program's delivery settings.
- **Send reminder**: turn it on to remind the client the time you set after each activity becomes available. The suggested time is one day.
- **Results**: who can see the answers: **Both, the client and the professional**, **Only the client**, **Only the professional** or **The client decides**.
- **Client Activity View**: turn on **Show all upcoming activities** to let clients see the whole program from the start. Future activities appear grayed out until they are available. Leave it off if you want each step to be a surprise.
- **Enable client comments**: lets the client comment on the completed activities in the program.
With **Show all upcoming activities** on, the client sees something like this:
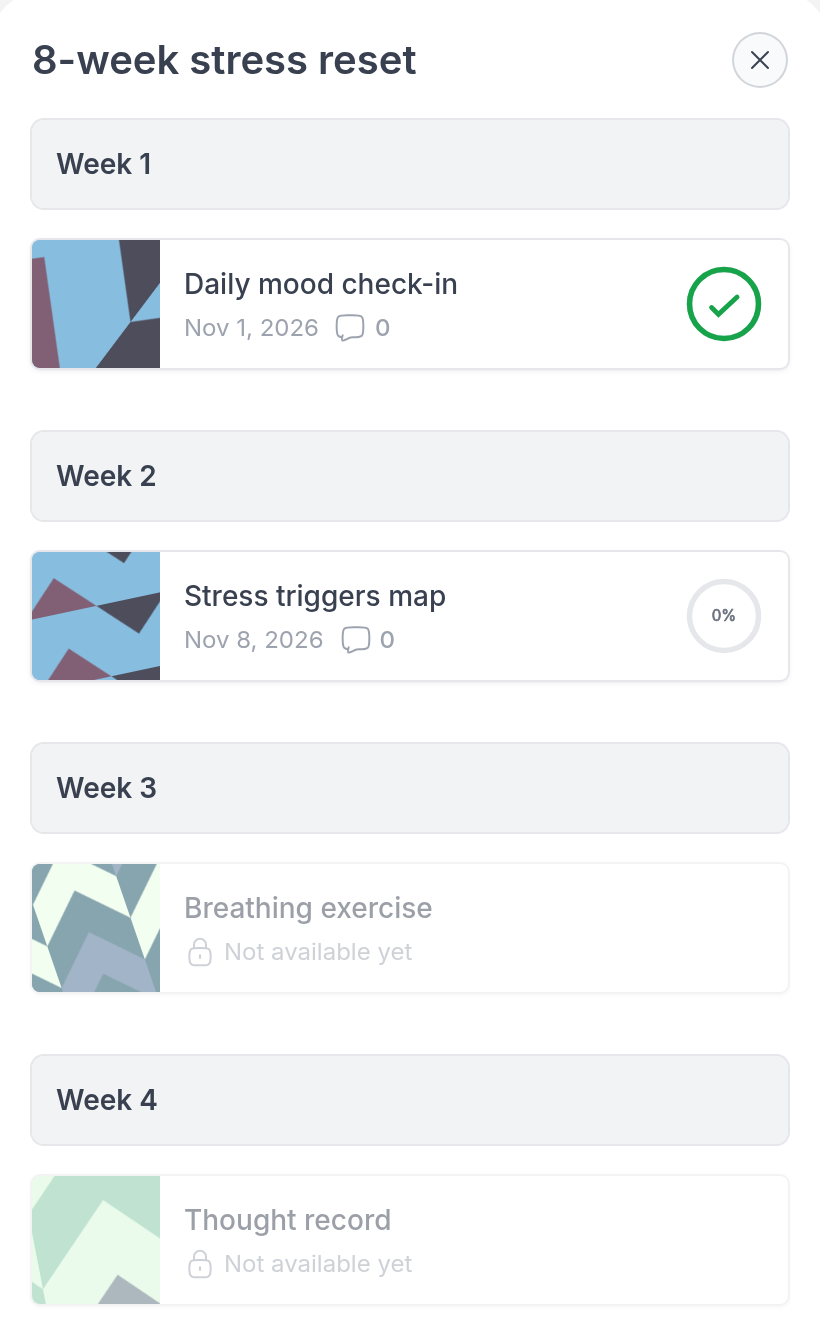
## Send a program to a group
Open the group, select its **Programs** tab and click **Send program**, then follow the same steps. Every member of the group gets their own copy and works through it at their own pace.
To send the program automatically to people who join the group later, see [Automatically send activities and programs to new group members](https://quenza.com/help/clients/new-group-members/).
## Cancel or delete a program
To stop a program for one client, open the **⋯** menu next to it in the client's **Programs** list, choose **Cancel** and confirm with **Cancel program**. The activities that are still open are canceled too, the program disappears from the client's app, and the client gets a notification. You can cancel a program until it is completed.
A canceled program stays in the list with the status **Canceled**. To remove it, open its **⋯** menu, choose **Delete** and confirm with **Delete program**.

> **Danger:** **Delete** permanently deletes the program and all its activities, including any answers. It is only available for canceled programs.
### Cancel a program sent to a group
Open the group, select its **Programs** tab, click the **⋯** menu next to the program and choose **Cancel**. Confirm with **Cancel program**.
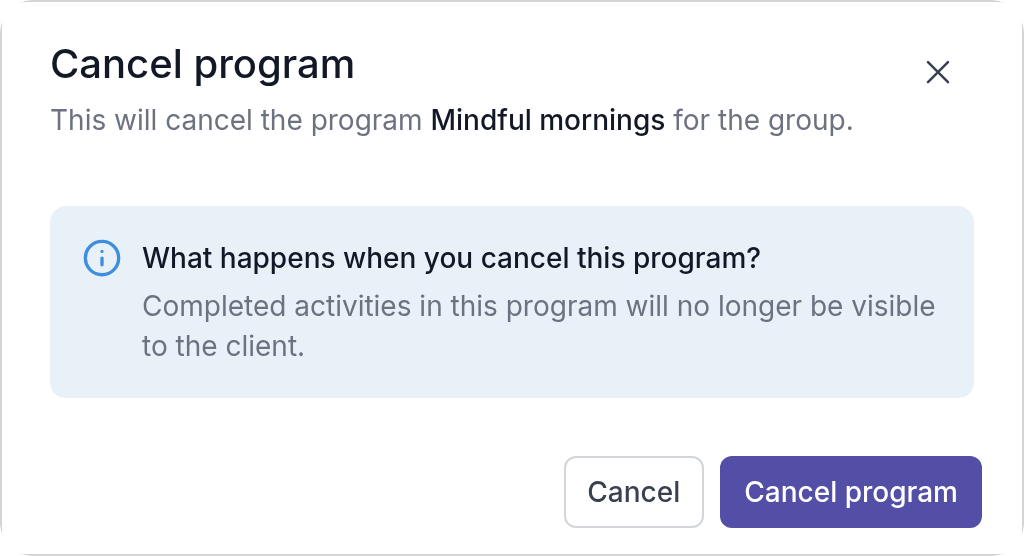
The program is then canceled for every member who has not completed it yet. This does not happen in one moment: Quenza confirms that the program "has been scheduled to be canceled", and works through the members in the background, so the status in the list can take a little while to change. Completed activities in the program are no longer visible to the members.
The same menu has **Manage members**: it lists the group's members with the status of their program, and a **Send** button for members who did not get it yet, for example because they joined later.
---
# Review completed activities
> Open a client's answers to a completed activity, leave feedback in the comments, and see how answers can be changed afterwards.
Source: https://quenza.com/help/working-with-clients/review-completed-activities/
When a client finishes an activity, you get a notification and can read their answers. Use them to prepare the next session, and reply in the comments so the client knows you have read them.
## Read the answers
For example, Emma Clarke filled in the Daily mood check-in last night. The morning before her session, Sarah Bennett opens it to see how Emma's week went:
1. Go to **Clients**, open the client and select the **Activities** tab.
2. Click the activity with the status **Completed**. To find it quickly, choose **Completed** in the **All statuses** filter.
The **Activity** tab shows the client's answers. Above the tabs you see when the client completed the activity, when it was sent, and who can see the results.
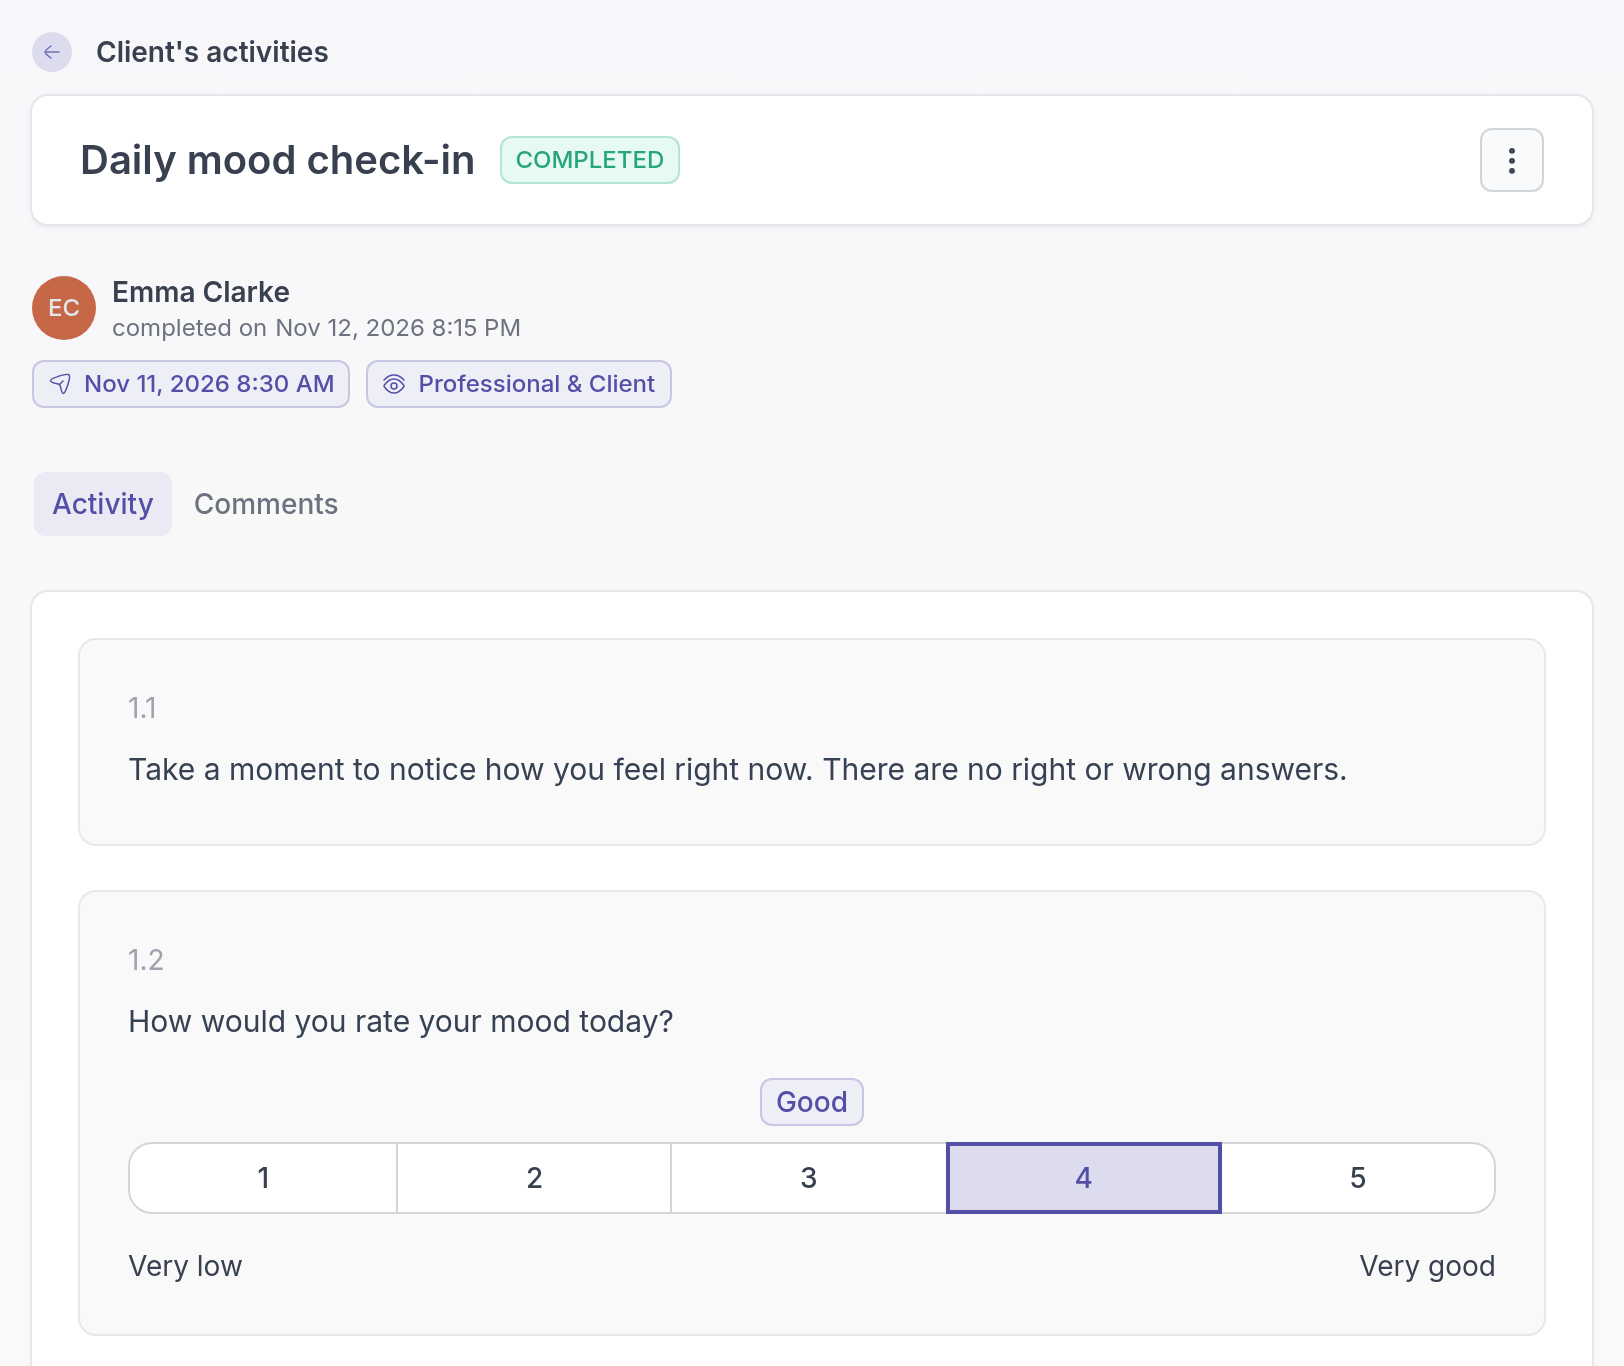
> **Note:** You only see the answers if the activity's **Results** setting includes the professional. If it was sent with **Only the client**, or the client chose to keep the answers to themselves, the answers stay hidden from you.
## Give feedback in the comments
A short reply shows the client that their homework matters, for example: "Thanks Emma, I can see your energy is better on the days you walk after lunch. Let's talk about that on Thursday."
1. Select the **Comments** tab of the completed activity.
2. Type your feedback and click **Add comment**.
The client can always read your comments. Turn on **Allow client comments** if the client should be able to reply. For replies and threads, see [Comments](https://quenza.com/help/working-with-clients/comments/).
To keep a copy of the answers, [export the activity as a PDF](https://quenza.com/help/working-with-clients/export-as-pdf/).
## Change answers after completion
A completed activity can still be changed, by the client or by you. This is useful when the client remembers something later, or when you go through the answers together in a session.
### The client makes changes
The client opens the completed activity in their app, clicks the **⋮** menu at the top and chooses **Make changes**. When they finish again, the professional who sent the activity gets a notification, so you can see what changed.
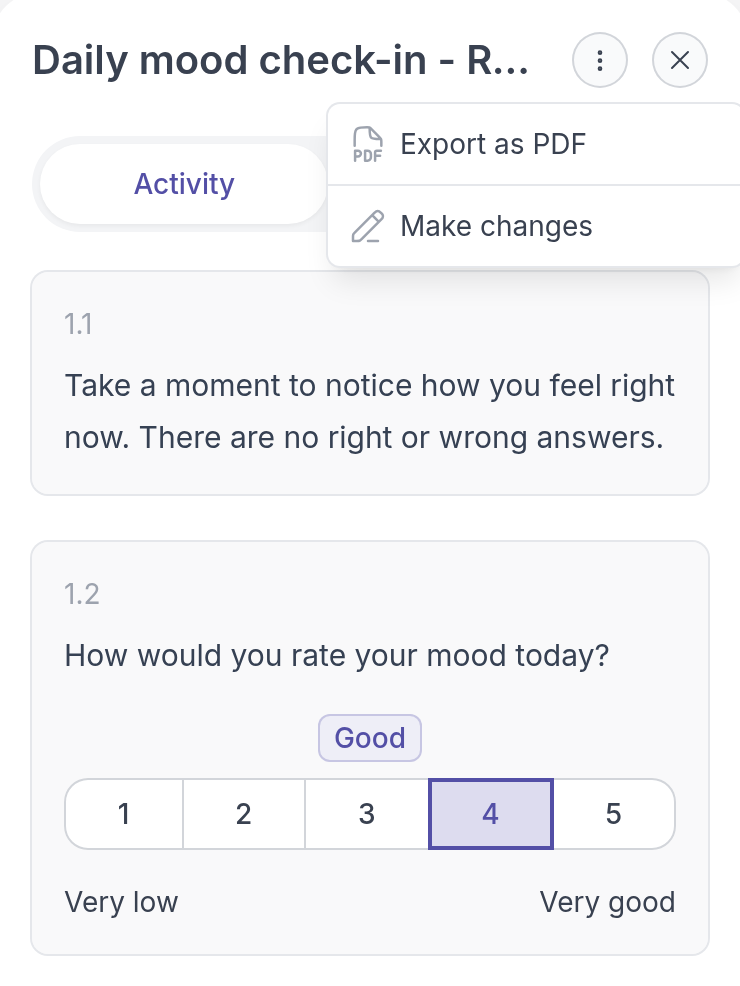
### You make changes
You can change the answers on the client's behalf, for example after you went through them together during a session:
1. Open the completed activity.
2. Click the **⋮** menu at the top and choose **Make changes**.
3. Edit the answers, click **Next** to move through the activity, and click **Finish** on the last page.
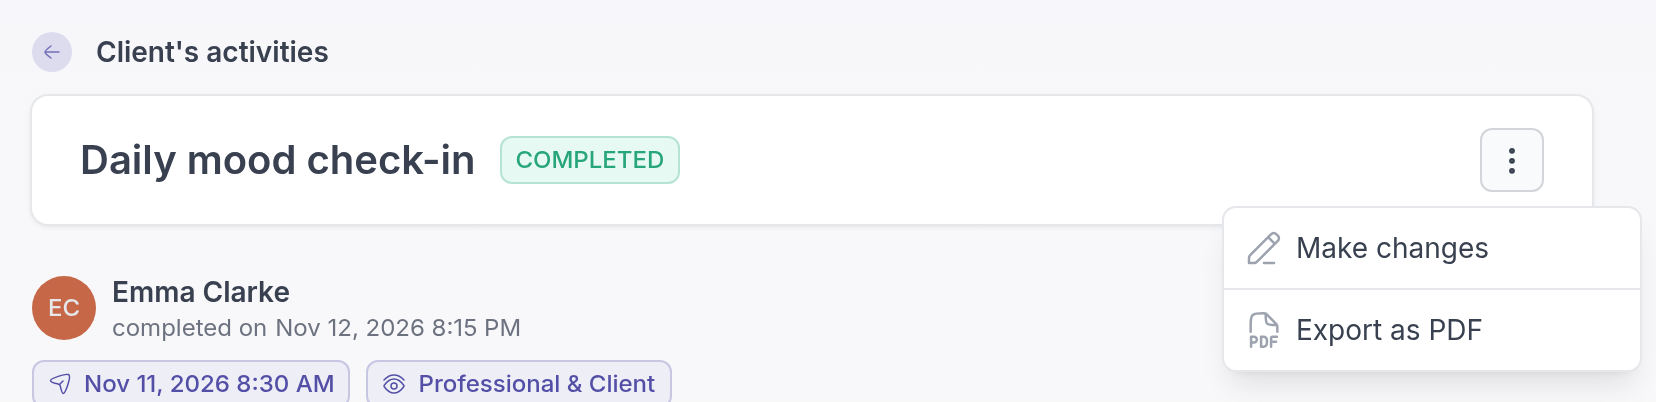
**Make changes** is also in the **⋯** menu next to the activity in the client's **Activities** list. It is only available if you can see the results and your role allows you to send activities. Your changes are recorded in the client's timeline.
To fill in an activity with a client from the start, see [Fill out now](https://quenza.com/help/working-with-clients/fill-out-now/).
---
# Export as PDF
> Download a client's completed activity, with their answers, as a PDF for your records or to share.
Source: https://quenza.com/help/working-with-clients/export-as-pdf/
Download a completed activity as a PDF, with the activity content and the client's answers. Use it to keep an offline copy for your records, to print the answers for a session, or to share them with a supervisor or a colleague outside Quenza.
For example, before her supervision meeting, Sarah Bennett exports Emma Clarke's Daily mood check-in to discuss the pattern in her energy levels.
## Export from the activities list
1. Go to **Clients**, open the client and select the **Activities** tab.
2. Click the **⋯** menu next to the completed activity and choose **Export as PDF**.

## Export from the activity itself
If you have the activity open already, click the **⋮** menu at the top right and choose **Export as PDF**.

The PDF is created and downloads to your computer. This can take a few seconds. Clients can export their own completed activities the same way in their app.
> **Caution:** The PDF contains your client's personal answers. Store and share it as carefully as your other client records.
## When Export as PDF is unavailable
**Export as PDF** is grayed out when:
- The client has not completed the activity yet.
- You cannot see the results, because the activity was sent with **Only the client** or the client chose to keep the answers to themselves.
To export everything for one client in a single PDF, see [Export all client data as PDF](https://quenza.com/help/clients/export-client-data/).
---
# Tasks
> Create to-dos for yourself, a colleague or a client, add instructions and a due date, and track them in one list.
Source: https://quenza.com/help/working-with-clients/tasks/
Tasks are short to-dos with an optional description and due date. Use them for your own follow-ups, to hand work to a colleague, or to give a client a small action step between sessions.
A task suits something simple that only needs to be done and ticked off. When you want answers back from the client, such as a reflection or a questionnaire, [send an activity](https://quenza.com/help/working-with-clients/send-an-activity/) instead.
For example, after a session about stress at work, Sarah Bennett gives Emma Clarke the task "Breathing exercise before work", with a short instruction in the description. Emma sees it in her app and ticks it off when she has done it. For herself, Sarah adds "Prepare notes for Emma's session" with a due date the day before their next appointment.
## Create a task
Go to **Tasks** and click **+ Task**. In the **Add task** dialog:
- **Title**: what needs to be done, for example "Send updated coaching agreement".
- **Description** (optional): instructions for the person who does the task. You can format the text, add bullet or numbered lists and add links, for example to a worksheet or a video.
- **Due date** (optional): the day the task should be done. Overdue tasks stand out in the list.
- **Assignee**: search for the professional or client who should do the task, or click **Assign to me**.
- **Does the task belong to a client?**: this appears when the assignee is a professional. Select a client if the task is about them, such as "Prepare notes for Emma's session". The task then also shows on that client's profile.
Click **Add task**. The assignee gets a notification, unless you assigned the task to yourself.
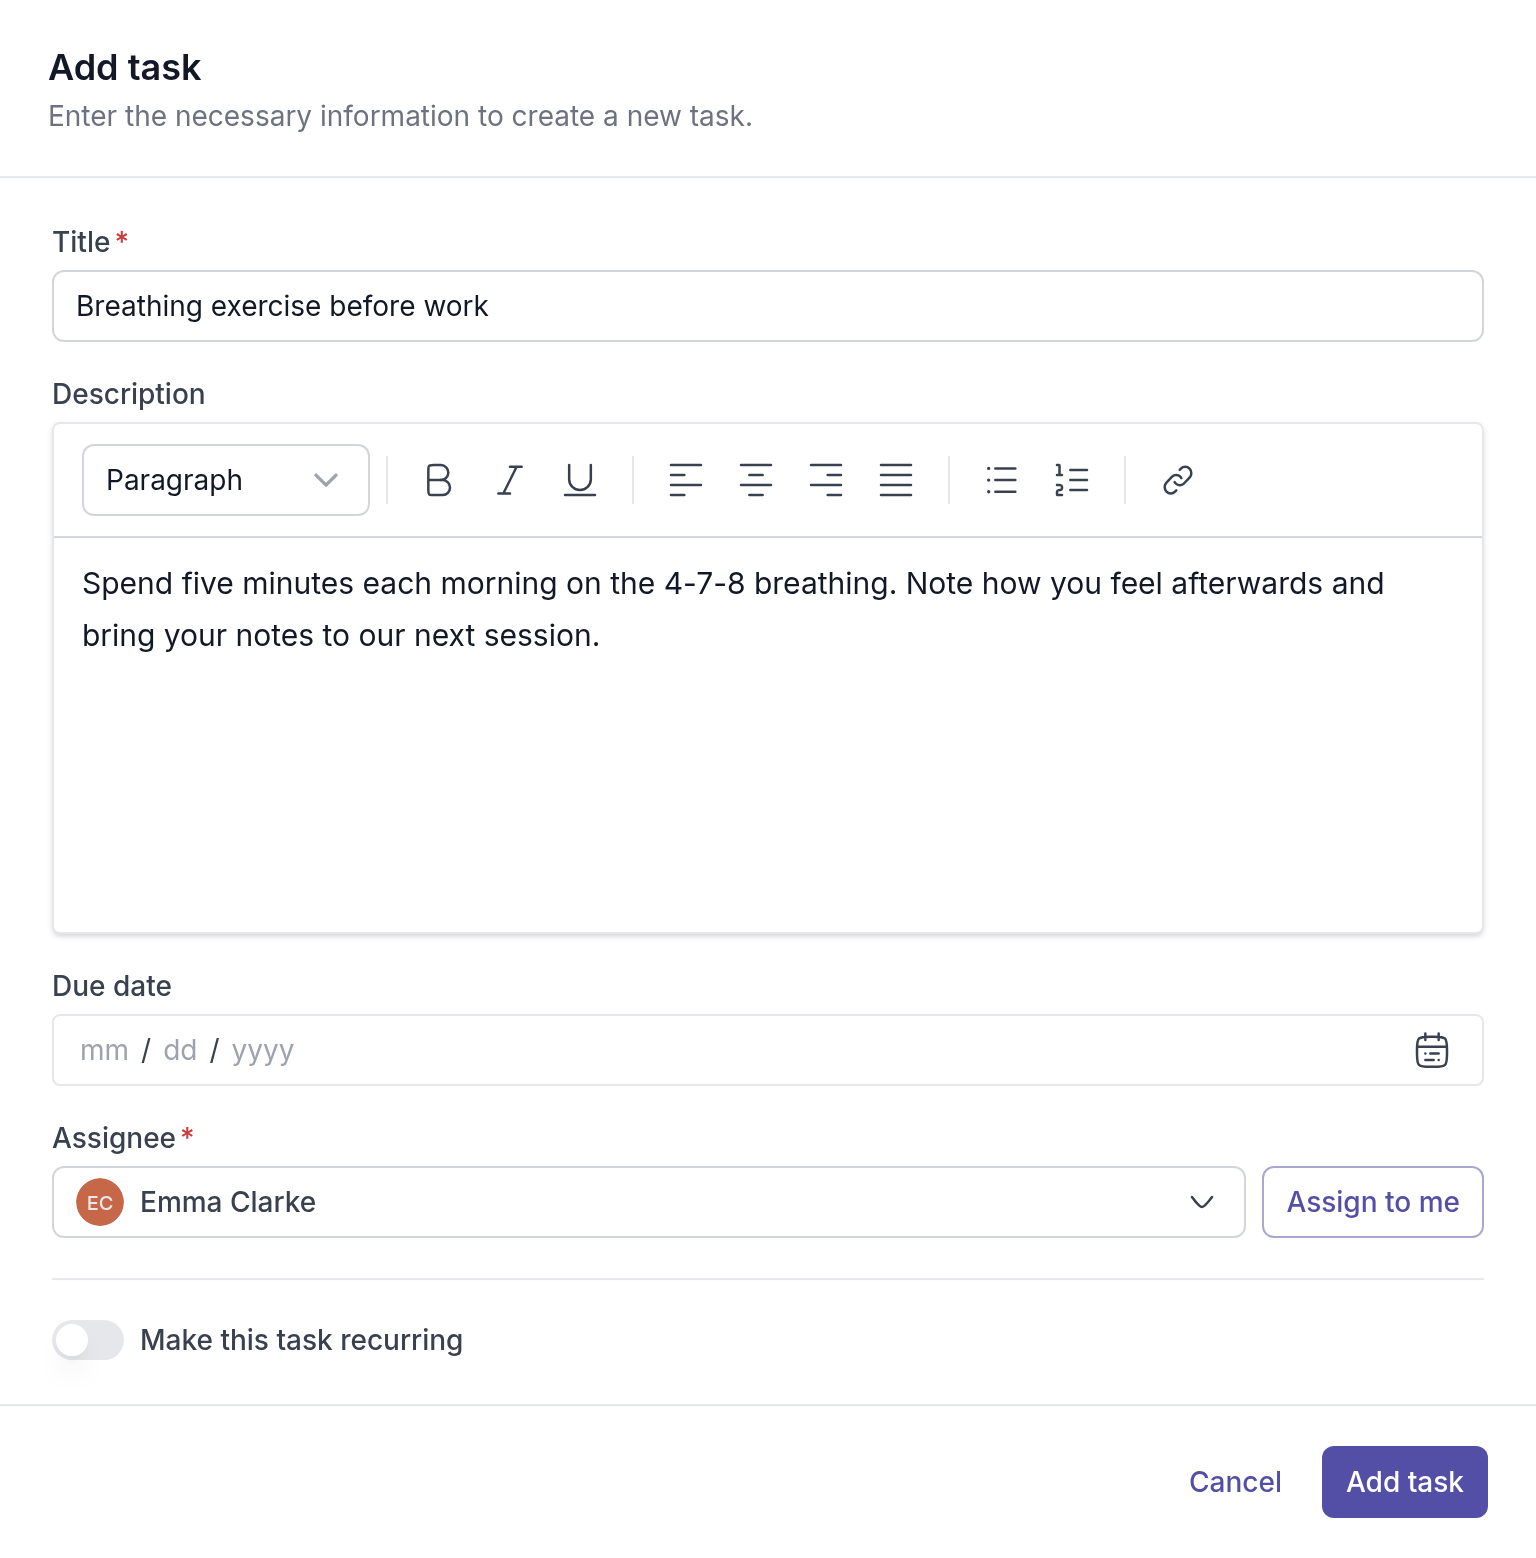
To have the task come back every day, week or month, turn on **Make this task recurring** before you click **Add task**. See [Recurring tasks](https://quenza.com/help/working-with-clients/recurring-tasks/).
## Give a client a task
Choose the client as the **Assignee**. The client gets a notification and finds the task in the client portal, where they can mark it as done. When they do, the professional who created the task gets a notification. See [Complete a task](https://quenza.com/help/for-clients/complete-a-task/) for what the client sees.
You can also start from the client: open the client's profile, select the **Tasks** tab and click **+ Task**. The client is then already filled in. The tab lists every task for this client, both the tasks assigned to them and the tasks you and your colleagues keep about them. Turn off **Show completed** to see only open tasks.
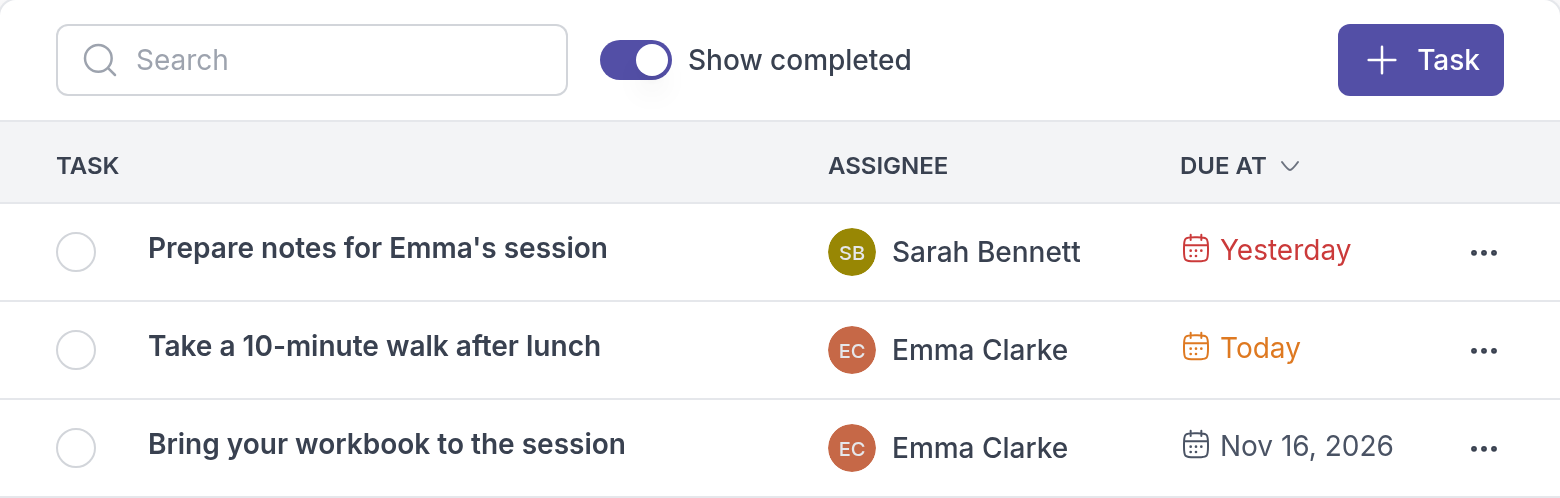
**+ Task** is unavailable for archived clients and for clients who have not accepted their invitation yet.
> **Tip:** Write the description as you would say it in the session, with what to do and what to bring back: "Spend five minutes each morning on the breathing exercise and note how you feel afterwards. Bring your notes to our next session."
## Keep track of your tasks
The **Tasks** page lists the tasks in your workspace on two tabs, **Open** and **Completed**, sorted by due date. Use the filters to narrow the list: **All tasks** or **My tasks**, and **All types** or **Recurring tasks**. Under each task you see the client it belongs to.
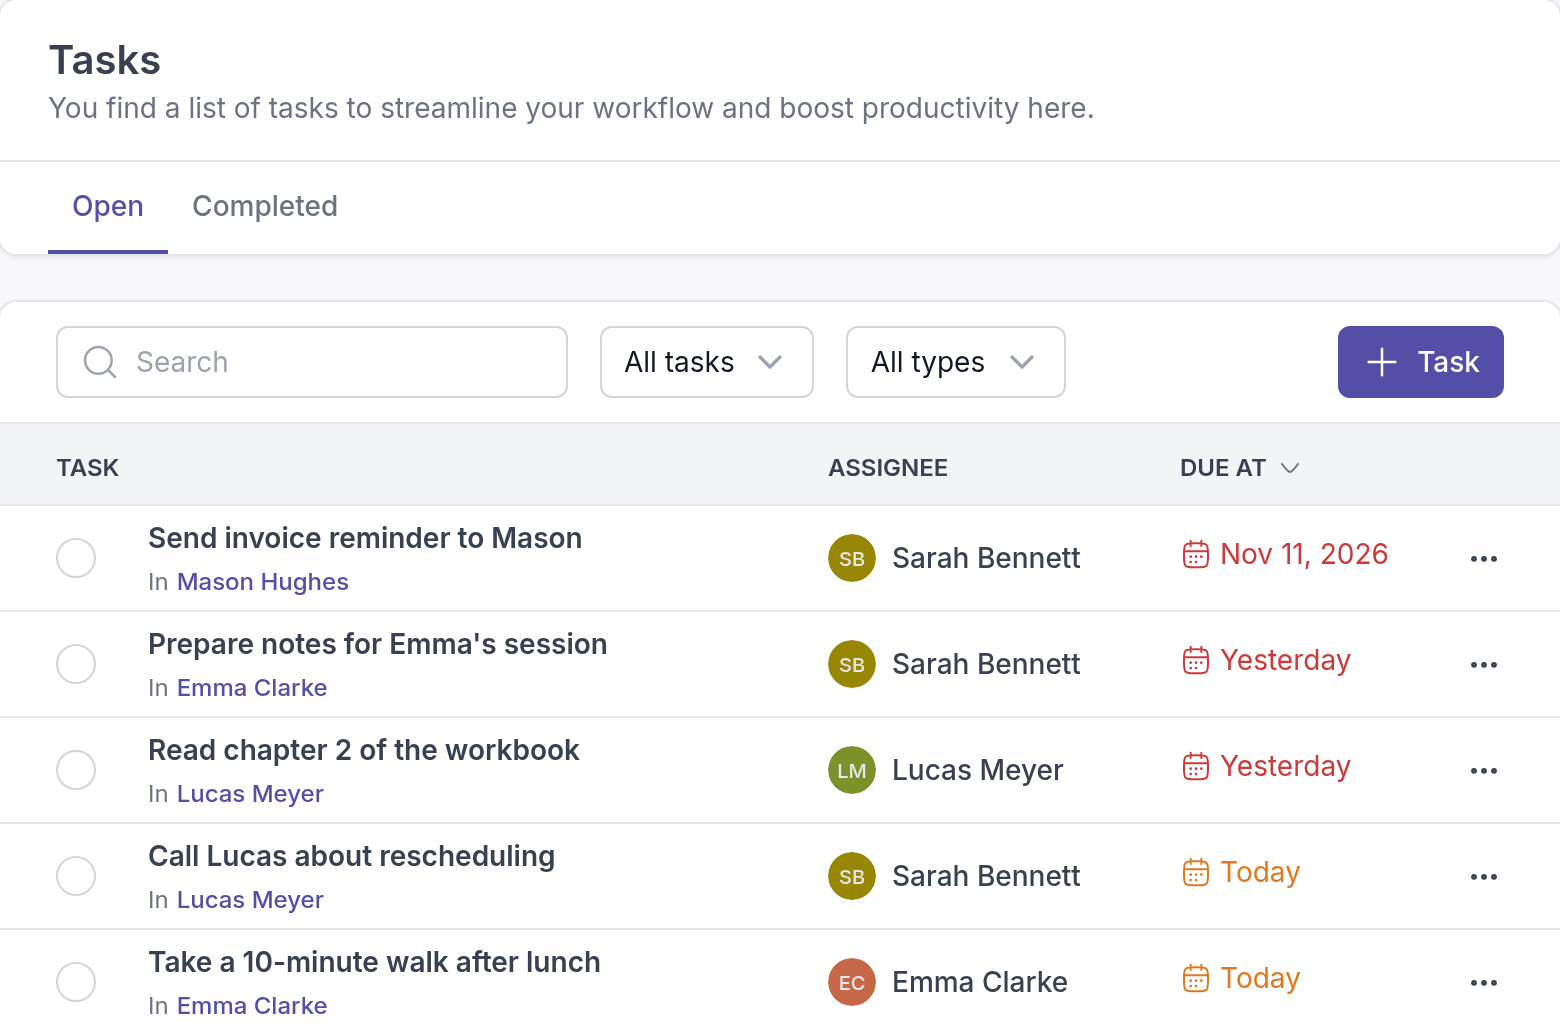
- To mark a task as done, click the circle in front of it. On the **Completed** tab, click it again to mark the task as open.
- To change a task, click it, or click **⋯** next to it and choose **Edit**. Make your changes and click **Update task**.
- To give the task to someone else, click the assignee's name, choose a new person in **Change assignee** and save.
- To remove a task, click **⋯** and choose **Delete**.
---
# Recurring tasks
> Create a task once and let Quenza repeat it daily, weekly or monthly for yourself, a colleague or a client.
Available on the Growth plan and higher.
Source: https://quenza.com/help/working-with-clients/recurring-tasks/
A recurring task repeats on a schedule you set, so you do not have to create the same to-do every day, week or month. Quenza creates a new task at each scheduled time, and the person it is assigned to sees it in their task list like any other [task](https://quenza.com/help/working-with-clients/tasks/).
It works well for small habits between sessions. Sarah Bennett, for example, gives Emma Clarke a breathing exercise every morning and evening for the six weeks of her coaching program, and keeps a weekly task for herself to review her clients' check-ins on Monday mornings.
Recurring tasks are not included in every plan. If the **Make this task recurring** switch is grayed out and shows an **Upgrade** button, your plan does not include them; see [Quenza plans and pricing](https://quenza.com/help/billing/plans-and-pricing/).
## Create a recurring task
Go to **Tasks** and click **+ Task**, or add the task from the client's **Tasks** tab. Fill in the **Title**, an optional **Description** and the **Assignee**: yourself, a colleague or a client. Then turn on **Make this task recurring**, set the schedule as described below and click **Add task**.
The schedule follows the assignee's time zone, so choose the assignee before you check the dates in the preview.
## Choose how often it repeats
Under **Repeat**, choose **Daily**, **Weekly** or **Monthly**, then set the interval and the time after **at**:
- **Daily**: every day, or every few days if you change the number. "Every 2 day(s)" repeats every other day.
- **Weekly**: every week or every few weeks, on the days you click (**Mo**, **Tu**, **We** and so on). You can select several days.
- **Monthly**: every month or every few months, on the day of the month you pick.

### Several times a day
Click **+** next to the time to add another time, and click the trash icon to remove one. Each time creates its own task. For Emma's breathing exercise, Sarah chooses **Daily** with 09:00 and 20:00, so Emma gets one task in the morning and one in the evening.
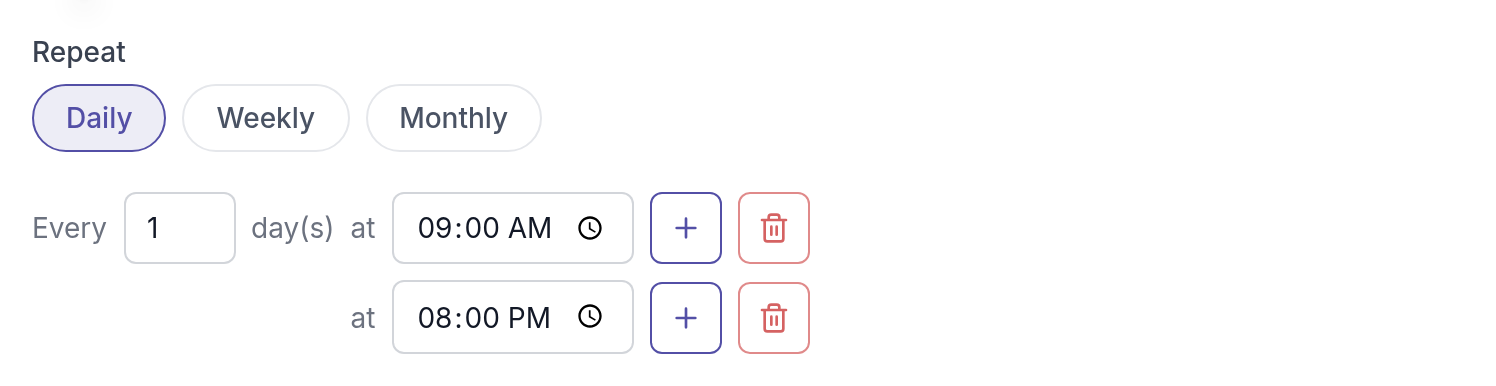
## Choose when it starts
The **Next** field sets the date of the first occurrence. It is today by default; pick a later date if the schedule should start later, for example on the coming Monday.
Below the field, Quenza shows the next occurrences and the time zone it uses: "Using assignee timezone:" followed by the assignee's time zone. If your client lives in another time zone, the times in the preview are their local times, which can be a different hour or day than yours. Check the preview before you save.

## Choose when it stops
Under **Ends**, choose:
- **Never**: the task keeps repeating until you change or delete it.
- **On date**: the task stops after the date you pick, for example on the day of the follow-up appointment.
- **After**: the task stops after the number of occurrences you enter, for example a weekly reflection that ends after 6 occurrences.

## Use scheduled dates as due dates
By default, the tasks a schedule creates have no due date, so they are never shown as overdue. Turn on **Use scheduled dates as due dates** if each task should be due on its scheduled date: a task scheduled for July 22 is then due on July 22.
With the switch on, **Create the task … day(s) before the due date** sets how early the task appears in the list. For a weekly task due on Mondays and 3 days, the task due on Monday July 22 appears on Friday July 19, so the client has the weekend to finish it.

## Follow and change a recurring task
In the task list, the original task shows a **Running** badge while the schedule is active and **Completed** when it has ended. The **Recurring tasks** filter shows only these tasks. Each occurrence appears as its own task; when you open one, click **Open original task** to see the schedule.
To change the schedule, click **⋯** next to the original task and choose **Edit**. Change the repeat pattern, times, start date or end, check the preview and click **Update task**. To end a schedule early, edit it and set **Ends** to **On date**.

> **Note:** Once the schedule has created its first task, you can no longer change the number of occurrences under **After**.
When a schedule has ended, open the original task and click **Create another one** to start a new schedule with the same settings, starting today.
---
# Notes
> Capture session notes and observations, link them to a client or group, and share them when you want the client to read them.
Source: https://quenza.com/help/working-with-clients/notes/
Notes give you one place for session summaries, observations and ideas about your clients. A note stays private to you and your workspace until you share it with a client or group.
Video: [Getting started with notes](https://vimeo.com/1096544365)
## How you can use notes
- **Your own session notes.** Write down what you discussed and what you noticed, and link the note to the client. Leave it unshared: only you and your colleagues in the workspace can read it.
- **A summary for the client.** After a session, Sarah Bennett writes Emma Clarke a short summary with the homework for the coming week and shares it. Emma reads it in her app and can reply in the comments.
- **Group notes.** After each meeting of the Mindfulness group, Sarah shares a recap with the whole group, so members who missed the evening can catch up.
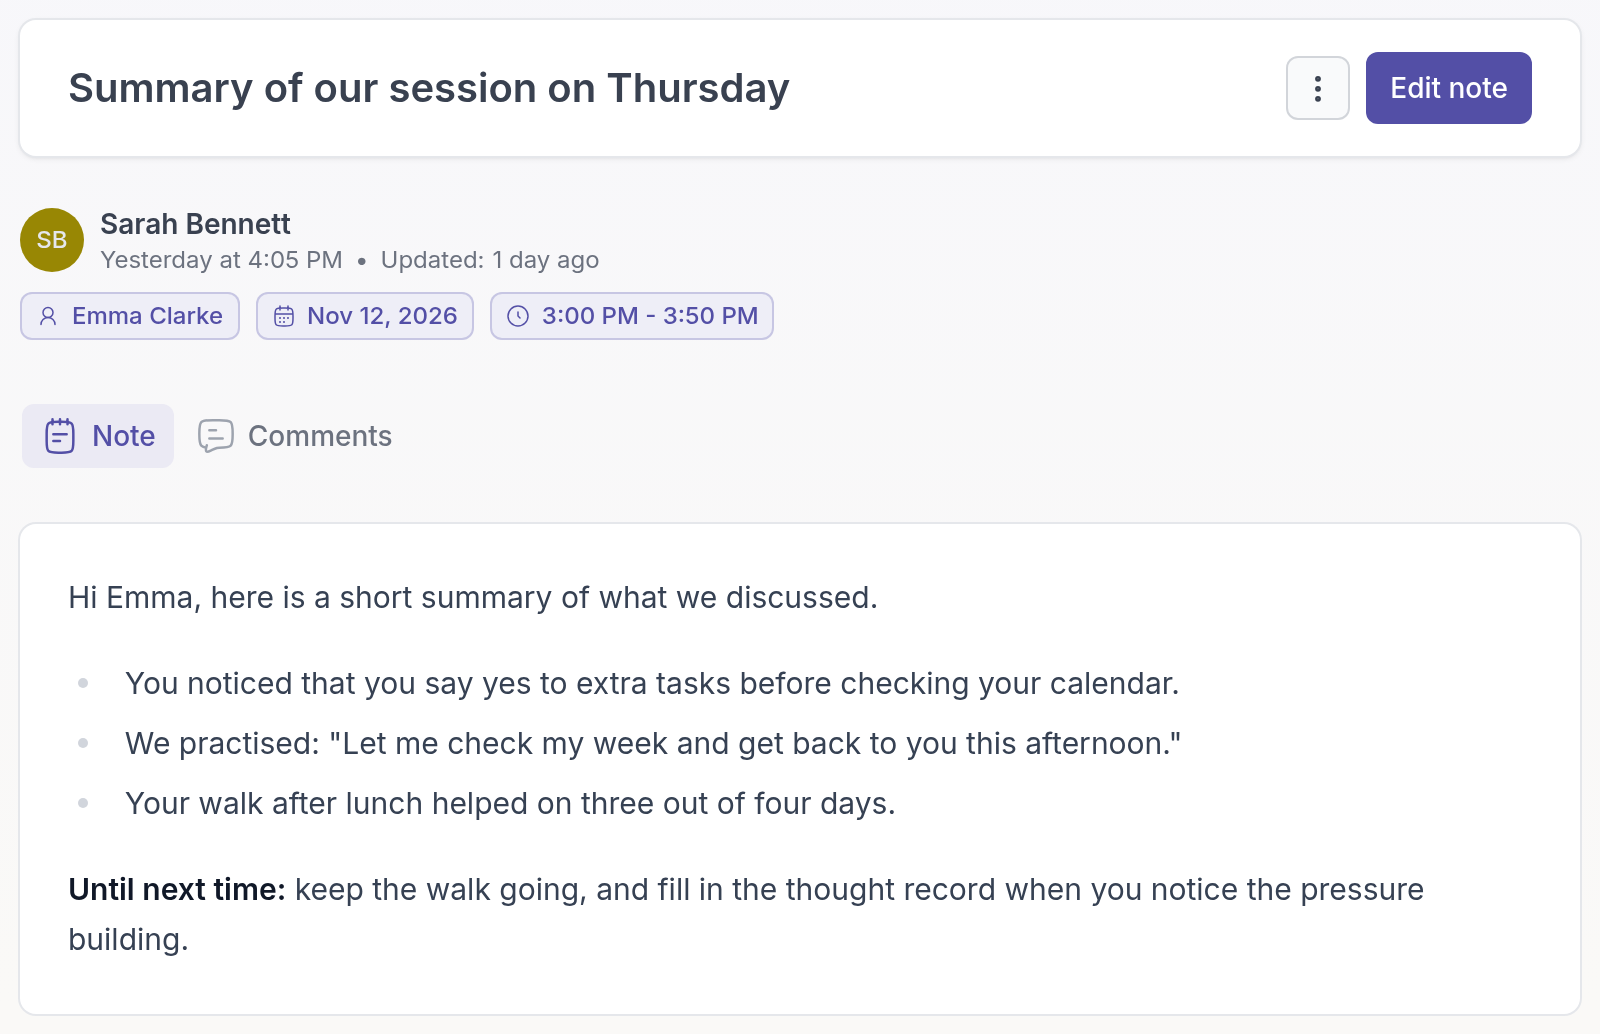
## Write a note
1. Go to **Notes** and click **+ Note**. A new, empty note opens.
2. On the **Note** tab, enter a **Title**, such as "Summary of our session on Thursday".
3. Write the note below the title, or paste in notes you made elsewhere. You can format the text and add links, images and tables.
4. Select the **Settings** tab and choose the client or group (see below).
5. Click **Save**.
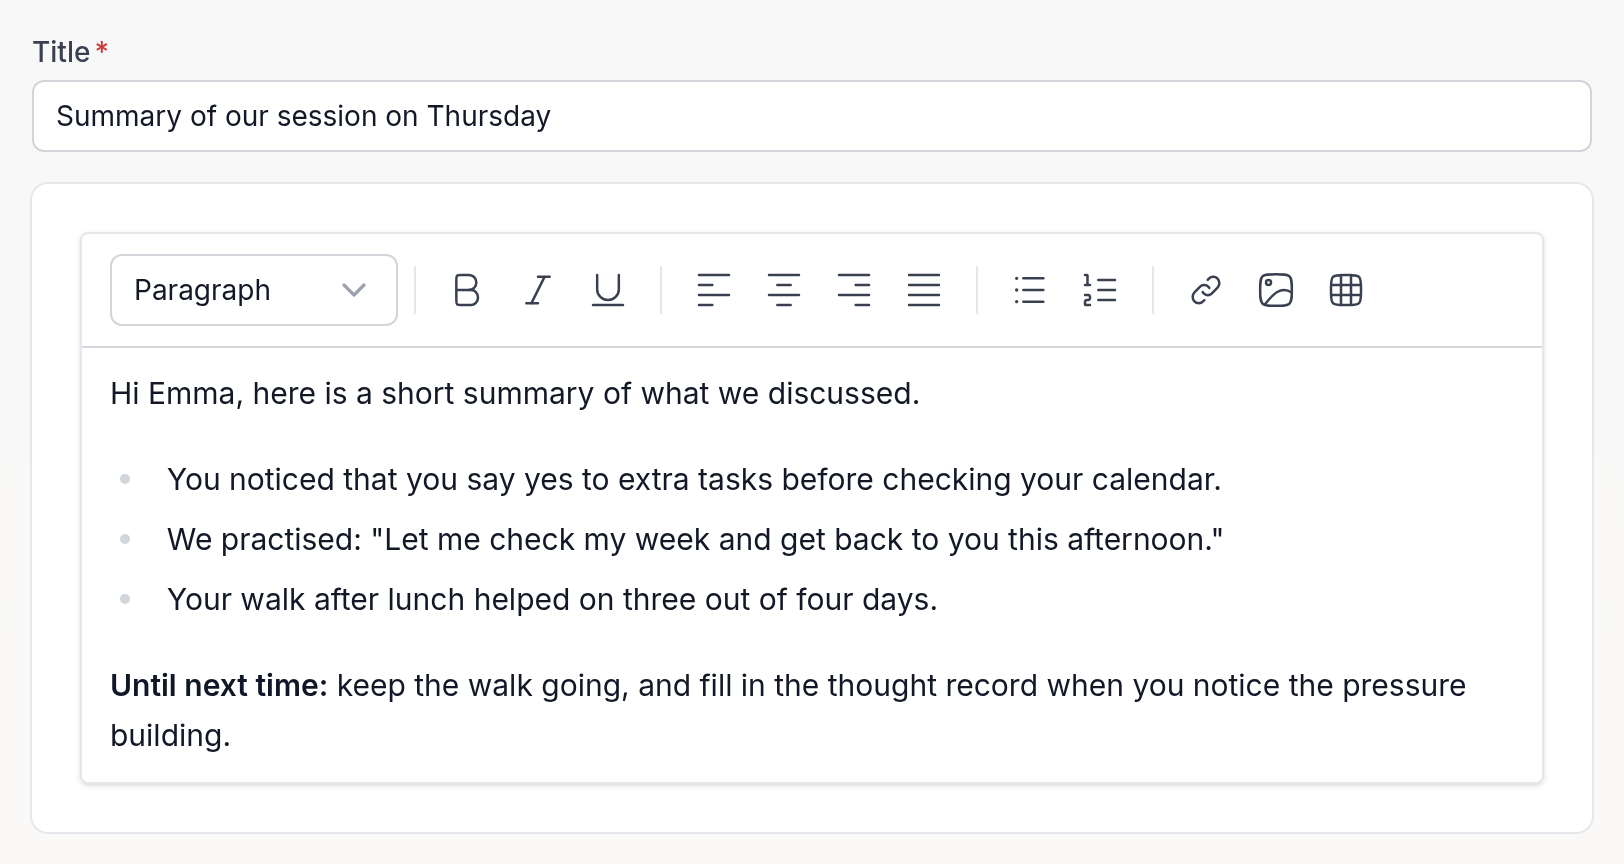
To write a note straight from a client's profile, select the client's **Notes** tab and click **+ Note**. For a group, open the group and use its **Notes** tab.
## Note settings
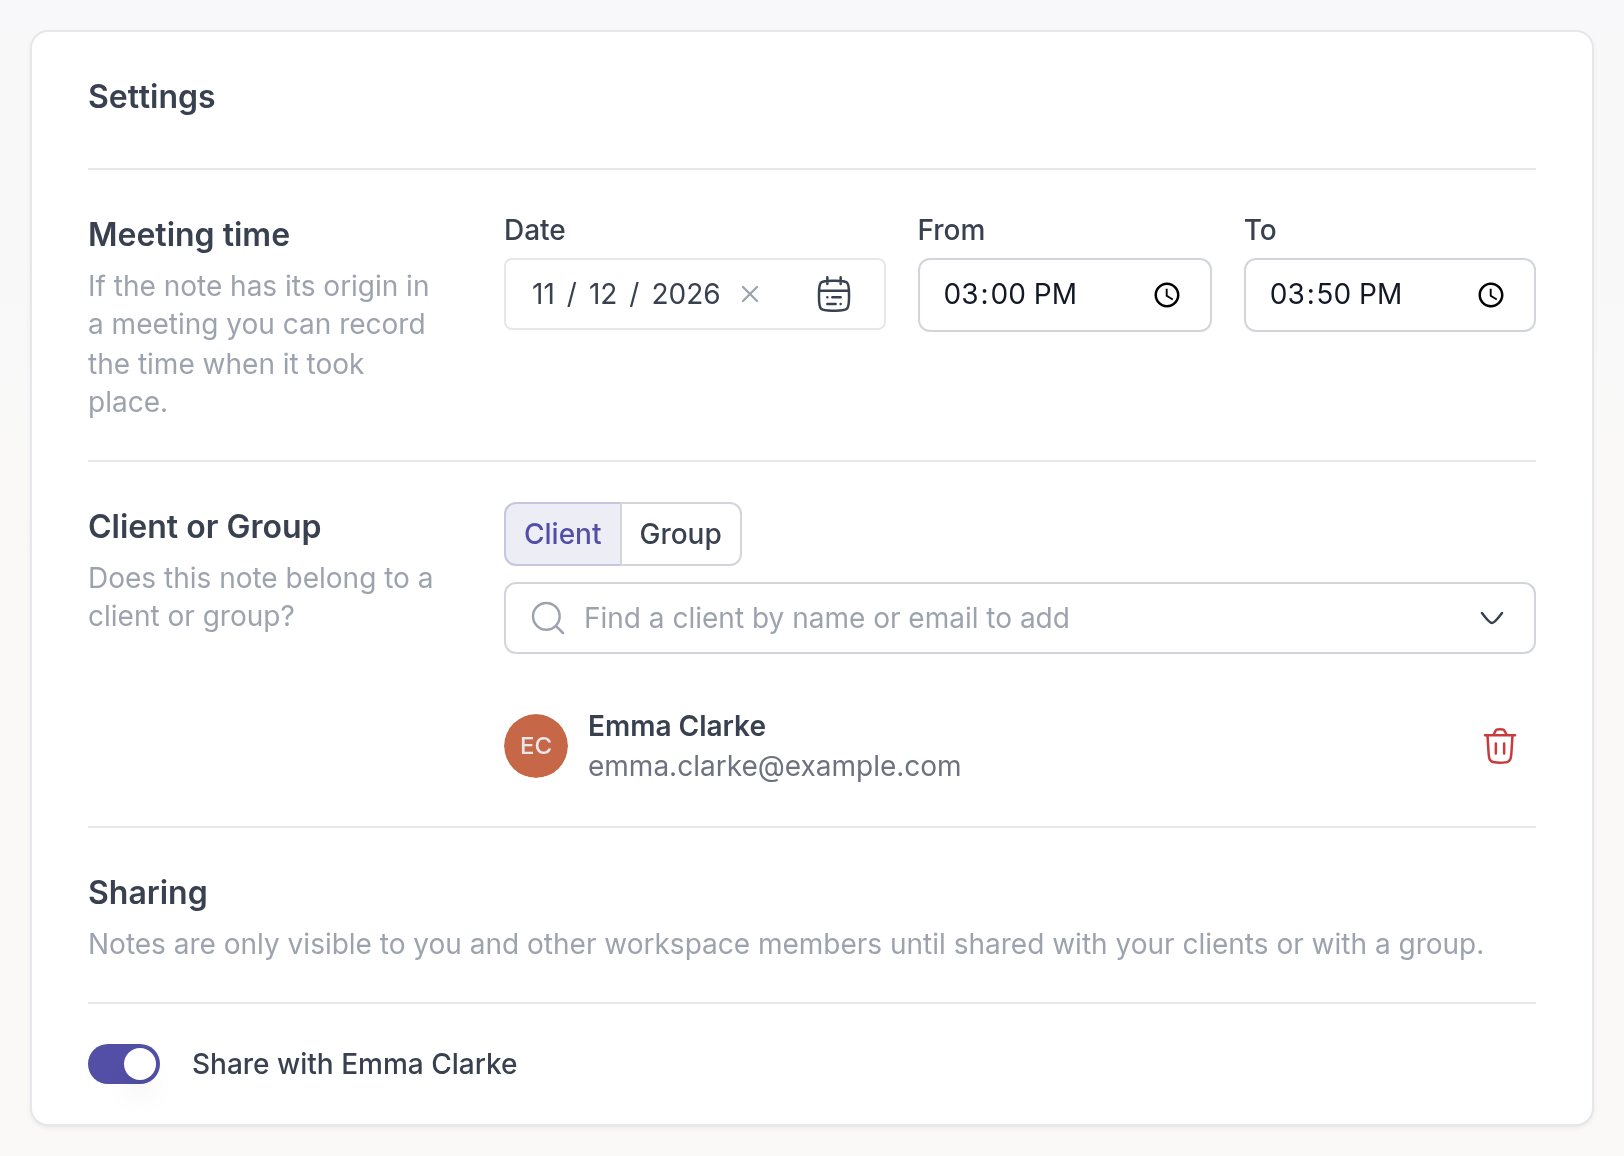
- **Meeting time**: if the note is about a session, enter the **Date**, **From** and **To**. Use this when you write the note later, so it still shows when the session took place.
- **Client or Group**: choose **Client** or **Group** and search for the person or group the note belongs to. The note then also appears on their **Notes** tab.
- **Sharing**: turn on **Share with** followed by the client's or group's name to let them read the note.
## Share a note
Until you share it, a note is only visible to you and the other members of your workspace.
When you share a note with a client, it appears in their app and they get a notification. See [Read and comment on notes shared with you](https://quenza.com/help/for-clients/notes-and-comments/) for what the client sees.
When you share a note with a group, all group members can read it, including members who join the group later. When you turn sharing off or archive the group, the note is no longer visible in the client's app.
> **Tip:** Write a shared note to the client, not about them: "You noticed that you say yes to extra tasks before checking your calendar." Keep your own observations in a separate note that you do not share.
## Find and manage notes
The **Notes** page lists all notes you can see in your workspace, with who they are shared with, the client or group they belong to (**Context**) and the number of comments.
Clients can also write their own notes and share them with you. These show the client's name with a **Client** badge.
Click a note to read it. It has two tabs:
- **Note** shows the content. Click **Edit note** to change it.
- **Comments** lets you and your client discuss the note. See [Comments](https://quenza.com/help/working-with-clients/comments/).
To download or remove a note, click the **⋯** menu next to it in the list and choose **Export as PDF** or **Delete**. You cannot delete notes that a client shared with you.
---
# Comments
> Continue the conversation with your client in the comments of a note or completed activity, reply in threads and choose whether clients can comment.
Source: https://quenza.com/help/working-with-clients/comments/
Comments let you and your client keep talking about a note or a completed activity between sessions. Give feedback on homework, answer a question about a session summary, or suggest a small next step. Replies keep each conversation together in a thread, right next to what it is about.
For example, Emma Clarke writes under her Daily mood check-in that her energy drops after lunch. Sarah Bennett replies in the thread and asks her to note what she eats and does after lunch for three days, so they can look at it in the next session.
## Who can comment
- **You and your team** can comment on any note in your workspace, shared or not, and on completed activities. Comments on a note that is not shared are a way to coordinate with colleagues.
- **Clients** can comment on a note only when it is shared with them and **Allow client comments** is on. On activities, the same switch controls whether the client can comment.
- **Clients can always read your comments** on notes shared with them and on their activities, even when they cannot reply.
If a note is shared with a group and client comments are allowed, all group members can comment.
When someone adds a comment, the other side gets a notification in the app, and by email if they have email notifications on. Commenting is not possible for archived clients and groups, or for clients who have not accepted their invitation yet.
## Allow or stop client comments
Open the note or completed activity, select the **Comments** tab and turn **Allow client comments** on or off.
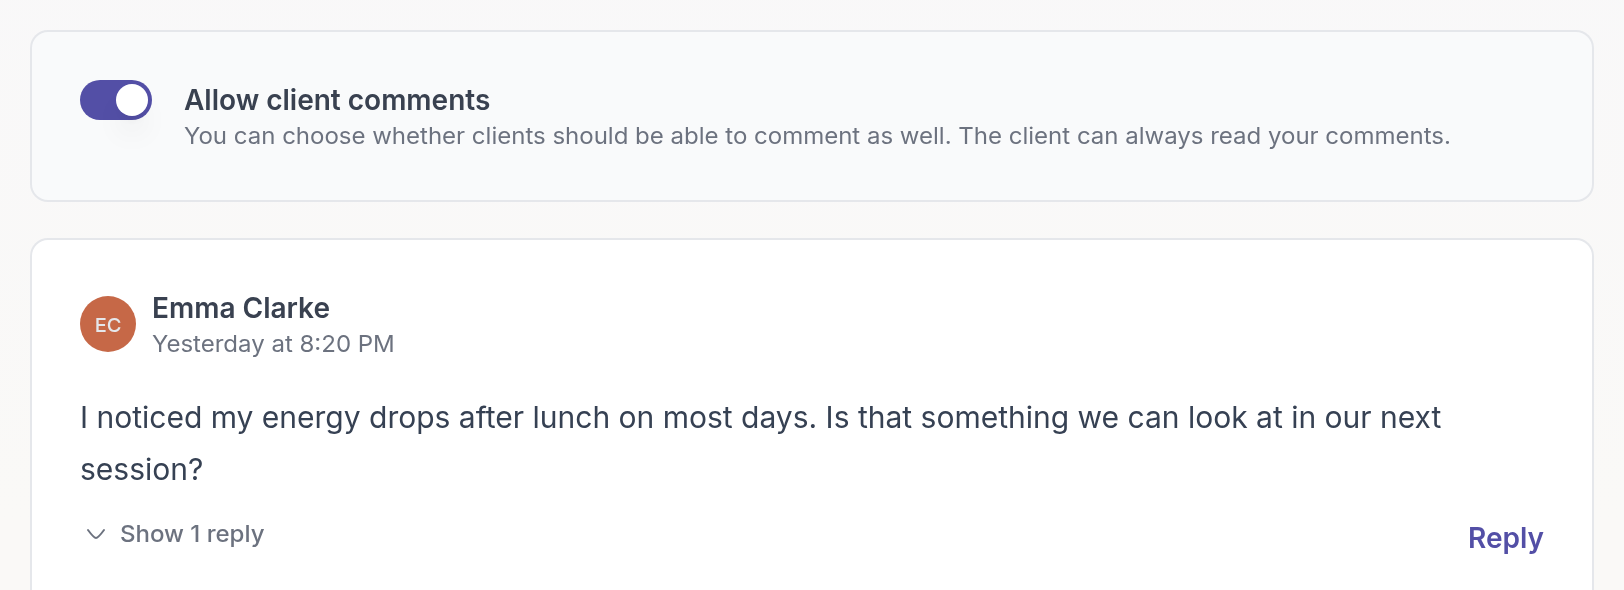
When you send an activity or program, you can already turn this on with **Enable client comments**.
## Add a comment
On the **Comments** tab, type your message in the field below the existing comments and click **Add comment**.
## Reply to a comment
Click **Reply** on the comment you want to answer, type your message in **Write a reply...** and click **Reply** below the field.
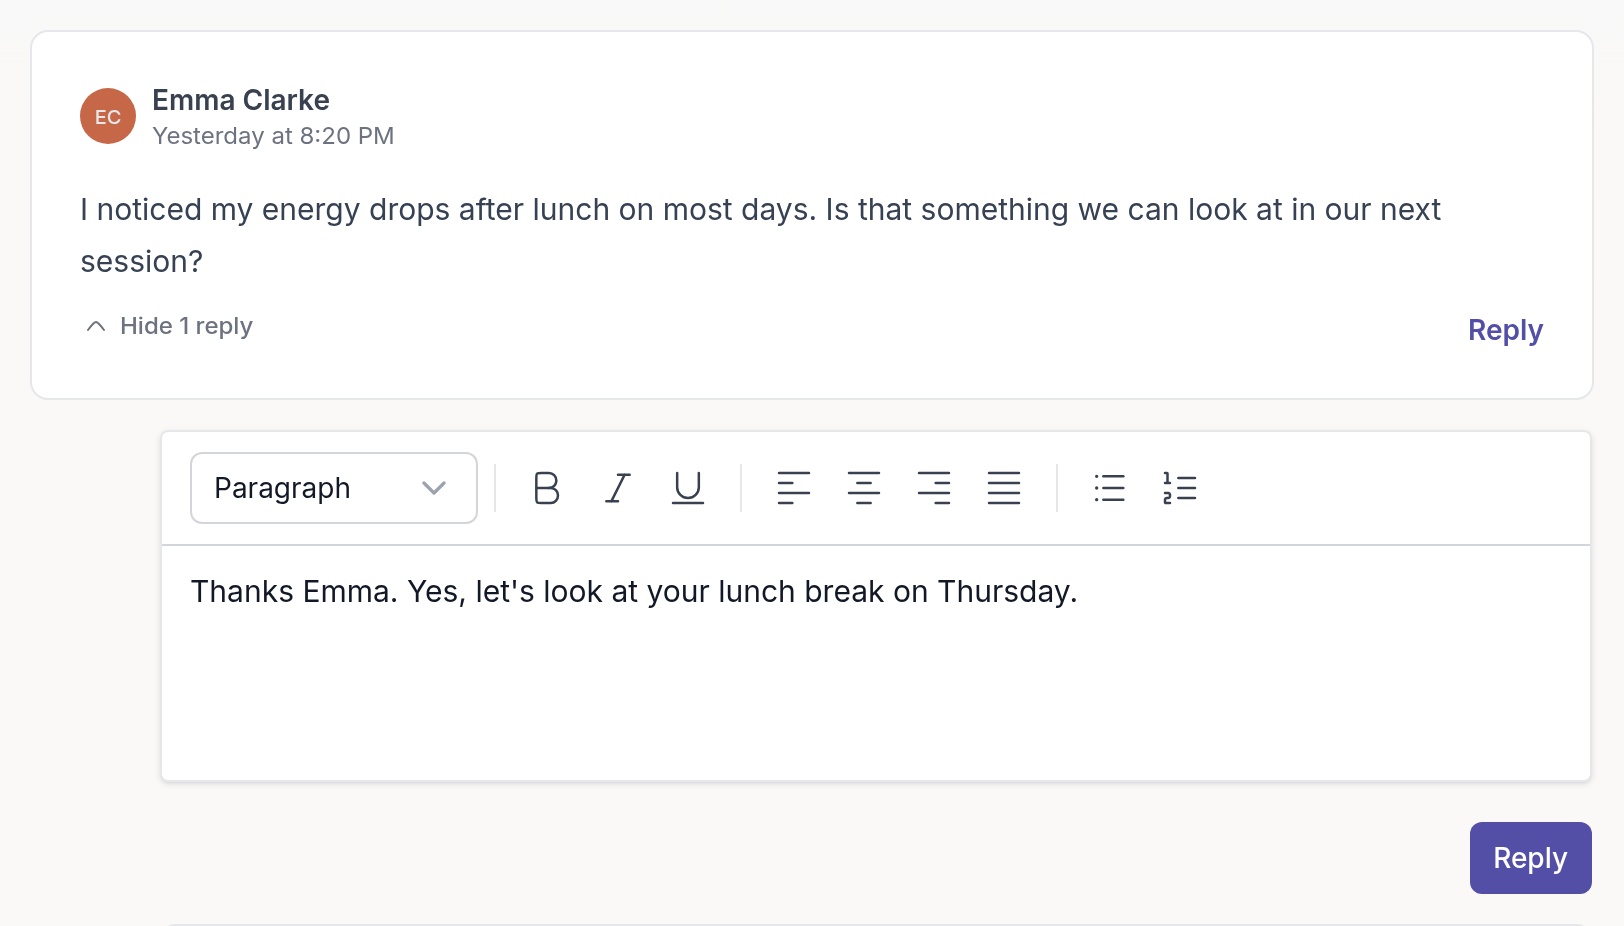
Your reply appears indented below the original comment. To add more to the same conversation, click **Reply** on the original comment again.
## Show or hide replies
Below a comment with replies, click **Show 1 reply** or **Show 2 replies** (the number changes) to open the thread, and **Hide 1 reply** to collapse it again.
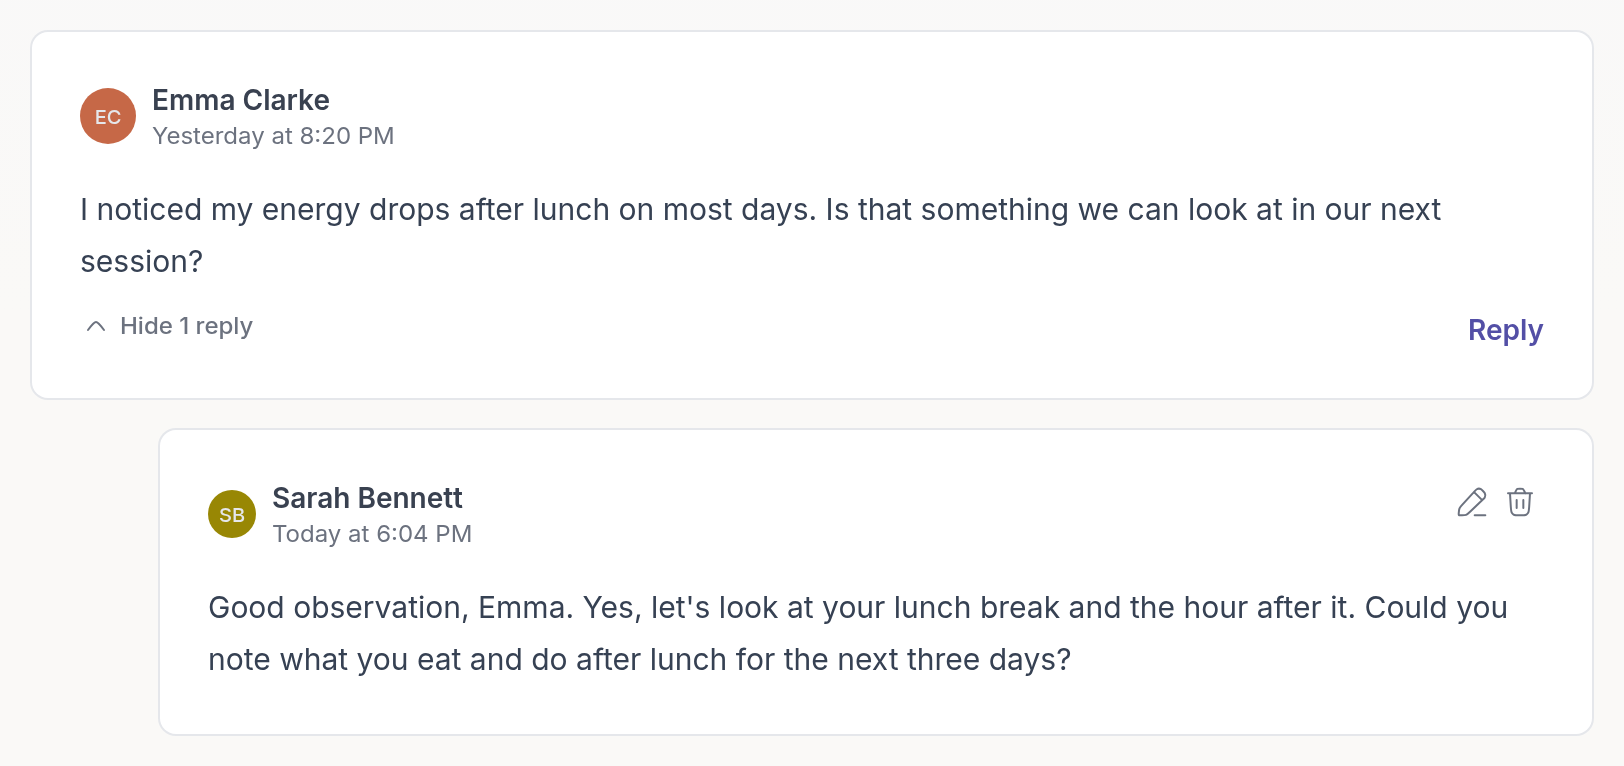
## Edit or delete your comment
Use the pencil icon on your own comment to edit it, then click **Save**. Use the trash icon to delete it. A deleted comment shows "This comment has been deleted" so the thread stays readable.
You can only edit and delete comments you wrote yourself.
---
# Share files and links
> Upload a file or add a link on a client's profile, and choose whether the client can see it.
Source: https://quenza.com/help/working-with-clients/share-files-and-links/
Each client's profile has a **Resources** tab for files and links that belong to that client: worksheets, handouts, audio exercises, useful videos. You decide per resource whether the client can open it. What you share appears in the client's app under **Resources**.
For example, after a session on unhelpful thoughts, Sarah Bennett adds the PDF "Workbook chapter 2: noticing your thoughts" for Emma Clarke and shares it straight away. She also adds the link "Video: winding down in the evening" for a later session on sleep, but keeps it to herself until they get there.
To manage all resources in your workspace in one place, or share one resource with several clients or groups, see [Resources](https://quenza.com/help/working-with-clients/resources/).
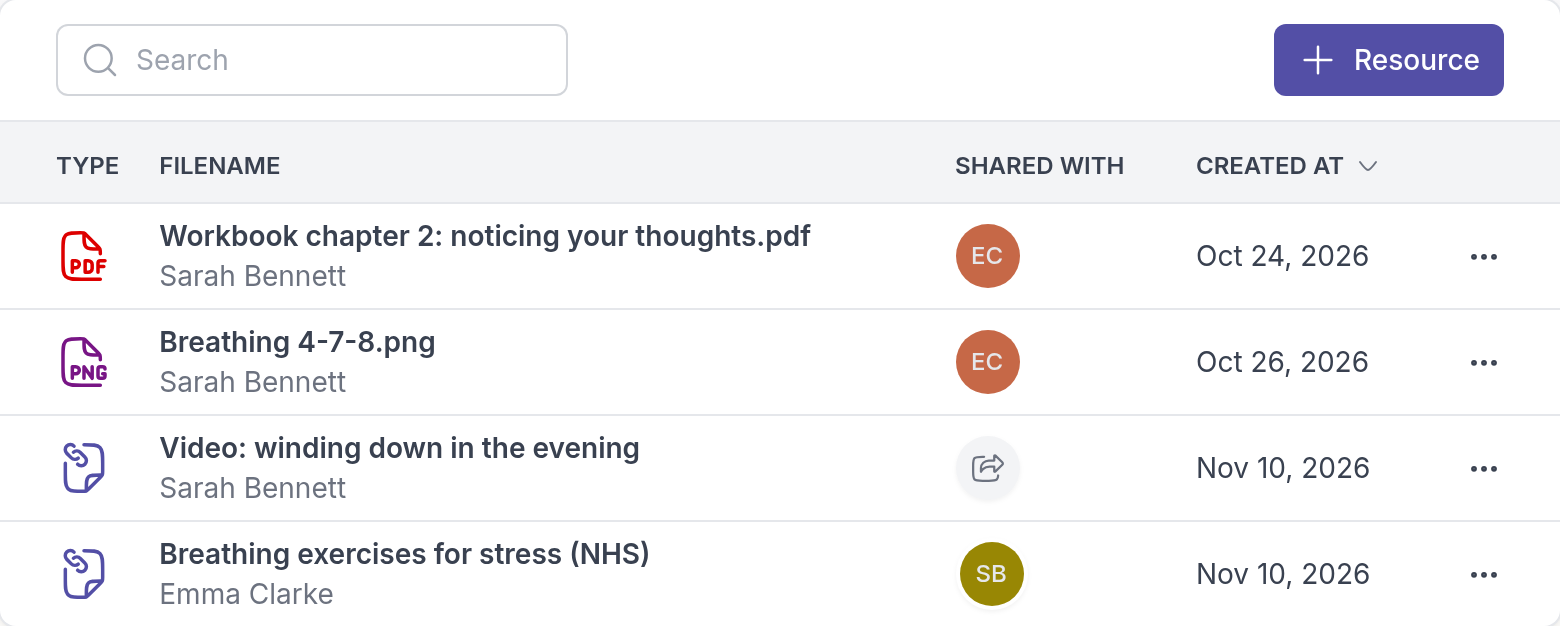
## Add a file or a link
Go to **Clients**, open the client, select the **Resources** tab and click **+ Resource**. Then choose:
- **File**: click **Upload a file**, or drag a file onto the upload area. A file can be up to 25 MB. You can upload documents (PDF, Word, RTF, text), spreadsheets (Excel, CSV), presentations (PowerPoint), images (JPG, PNG, GIF), audio (MP3, WAV, M4A), video (MP4, MOV, MPEG) and archives (ZIP, RAR, 7Z).
- **Link**: enter a **Label**, such as "Body scan meditation (10 minutes)", and paste the web address into **URL**. You can link to any web page, such as a YouTube video or a file in Google Drive or Dropbox.
To let the client open it now, turn on **Share with your client** followed by their name. Leave it off to keep the resource for yourself and the other professionals in your workspace. Click **Save**.
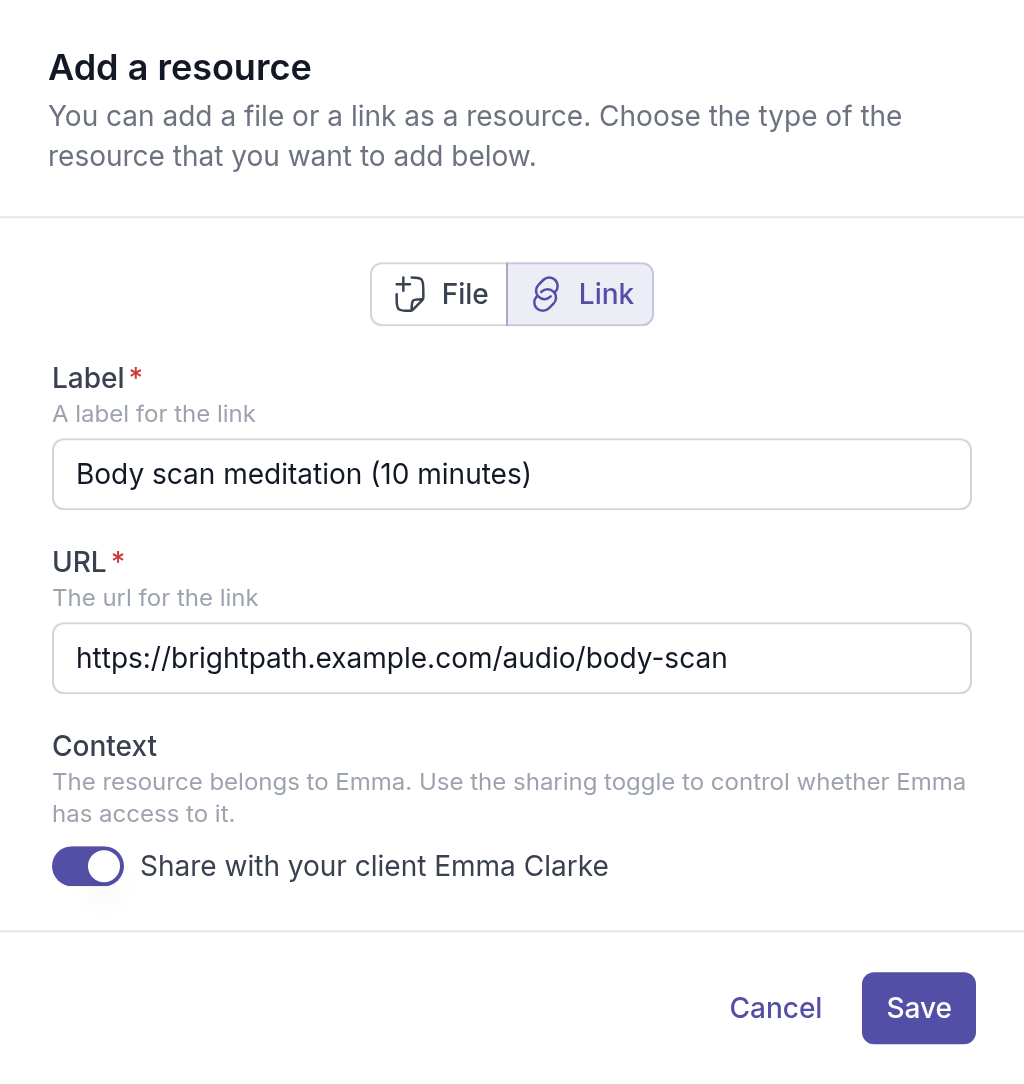
When you share, the client gets a notification. **+ Resource** is unavailable for archived clients and for clients who have not accepted their invitation yet.
## Share or stop sharing
A resource that is not shared shows a share icon in the **Shared with** column. Click it and confirm with **Share resource**. The client gets a notification, and their picture appears in the column.
To hide a resource from the client again, click their picture in the **Shared with** column, or click **⋯** and choose **Unshare**. The resource stays on the client's profile.
## Edit, open or download
Click **⋯** next to a resource:
- **Edit** changes a link's label or URL. Files cannot be edited; upload a new version instead.
- **Open** opens a link in a new tab. **Download** downloads a file.
## Delete a resource
Click **⋯** next to the resource and choose **Delete**. Then choose what to delete and click **Delete resource**:
- **Remove from this client**: the resource disappears from this client's profile, but stays in your workspace and with other clients and groups.
- **Delete from workspace**: the resource is deleted everywhere.
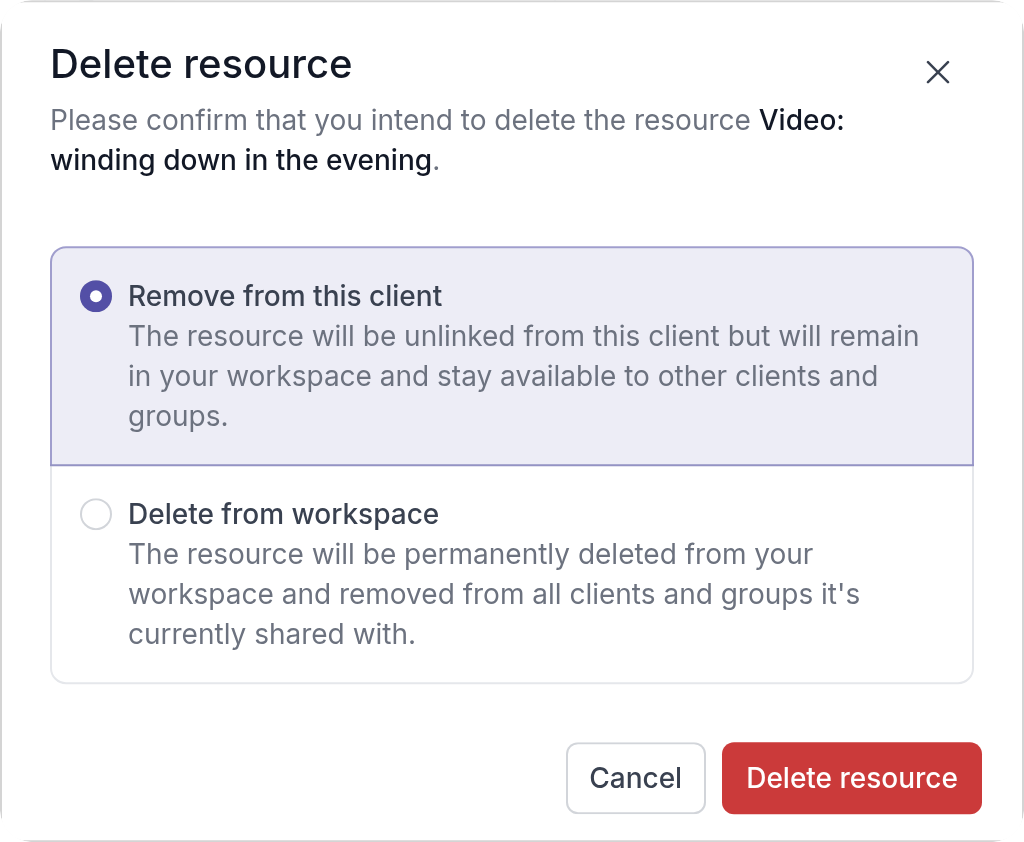
> **Danger:** **Delete from workspace** deletes the resource permanently and removes it from every client and group it belongs to. You are asked to type the resource's name to confirm.
## Files and links from your client
Clients can add their own files and links in their app and share them with you, for example a photo of a journal page or an article they found helpful. These also appear on the client's **Resources** tab, with the client's name under the title and the professionals they shared it with in the **Shared with** column. You can open or download them, but only the client can change or delete them.
## Share with a group
Groups have a **Resources** tab too, and it works the same way. When you share a resource there, every member of the group can open it. This suits material for a whole group, such as the body scan audio that Sarah's Mindfulness group practices with between meetings.
## What your client sees
Your client finds shared files and links under **Resources**, on the **Shared with you** tab. Audio files play right on the page. See [Open files and links shared with you](https://quenza.com/help/for-clients/files-and-links/).
---
# Resources
> Keep all files and links in your workspace in one list, link them to clients and groups, and choose who can open them.
Source: https://quenza.com/help/working-with-clients/resources/
The **Resources** page is your workspace's library of files and links: every worksheet, handout, audio exercise and link that you and your colleagues have added. Use it when one resource is meant for several people, for example a sleep hygiene handout you give to every client who struggles with sleep, or the schedule of a group.
To add a file or link for one client from their profile, see [Share files and links](https://quenza.com/help/working-with-clients/share-files-and-links/).
Video: [Manage resources from the Resources page](https://vimeo.com/1168484456)
## Context and sharing
Each resource can belong to clients and groups. This is its **Context**. A resource that belongs to a client also shows on that client's **Resources** tab, so it is part of their records.
Belonging to a client does not mean the client can open it. That is **Sharing**, and you decide it per client or group. This way you can keep a resource with a client's records and share it later, when it fits the sessions. Sharing with a group gives every member of the group access.
## The Resources page
Click **Resources** in the left menu. For each resource the list shows its **Type** (an icon such as PDF, MP3 or a link), the **Filename** with the professional who added it, who it is **Shared with**, its **Context**, and when it was created. Use **Search** to find a resource by name.
## Add a resource
Click **+ Resource** and choose **File** or **Link**:
- For a file, click **Upload a file** or drag a file onto the upload area. A file can be up to 25 MB.
- For a link, enter a **Label**, such as "Video: introduction to mindfulness", and paste the web address into **URL**.
Under **Context**, search for the clients and groups the resource belongs to; you can select several. Turn on **Shared** for each one who should be able to open it, and click **Save**.
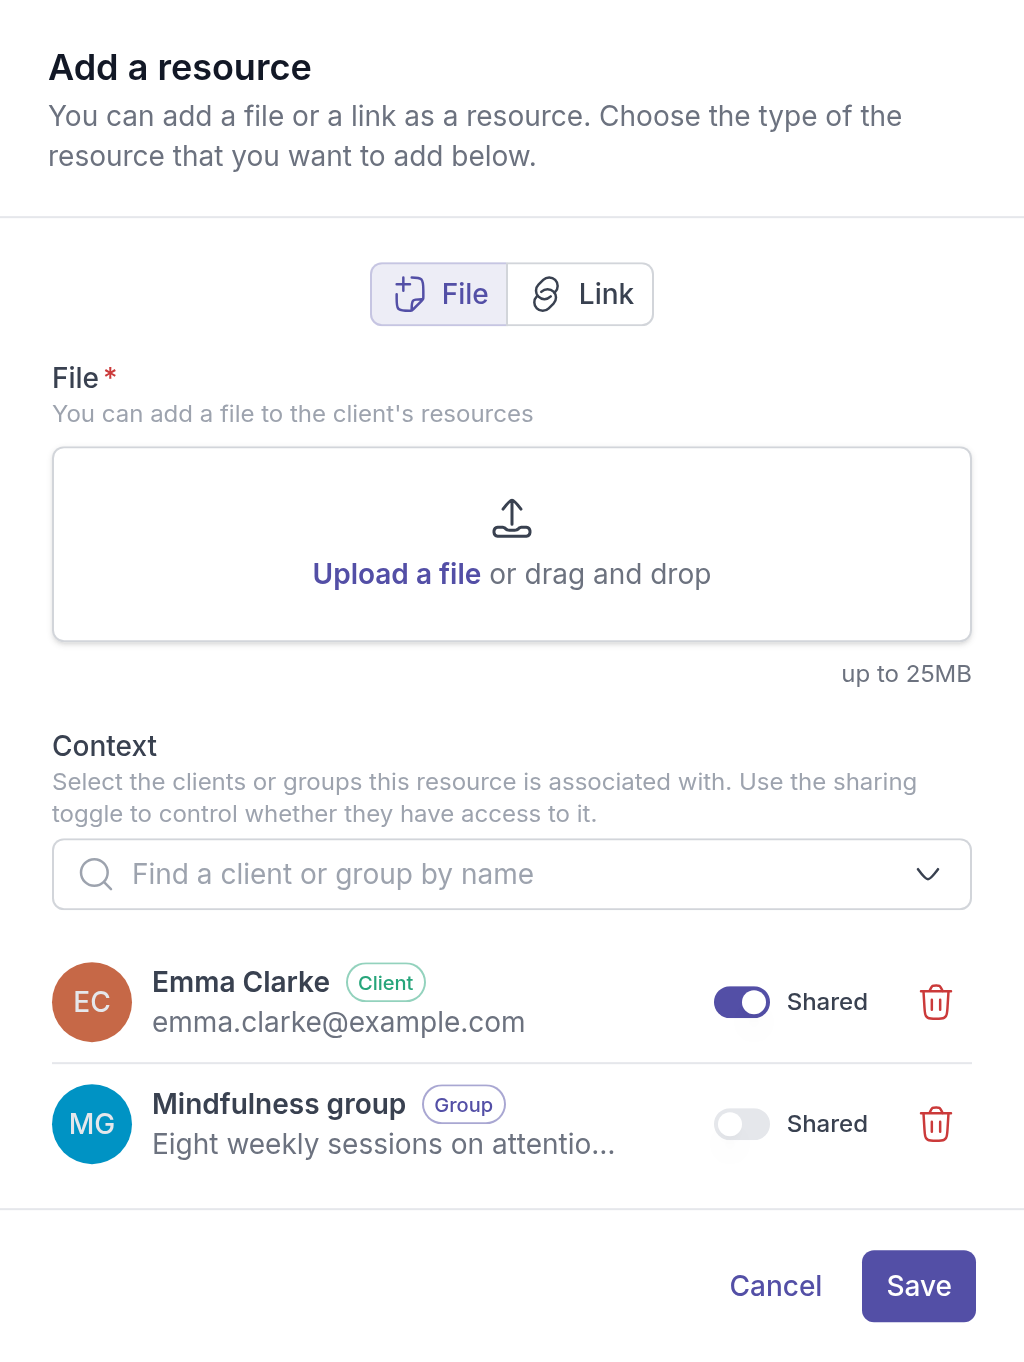
You can upload documents, spreadsheets, presentations, images, audio, video and archives. Links can point to any web page, such as a YouTube video or a file in Google Drive or Dropbox.
## Change who can open a resource
Click the avatars or the **+** in the **Shared with** column, or click **⋯** and choose **Shared with...**. Add or remove clients and groups and click **Save**.
Clients you share a resource with get a notification. Anyone you add here is also added to the context. If you remove someone, they can no longer open the resource, but it stays in their context.
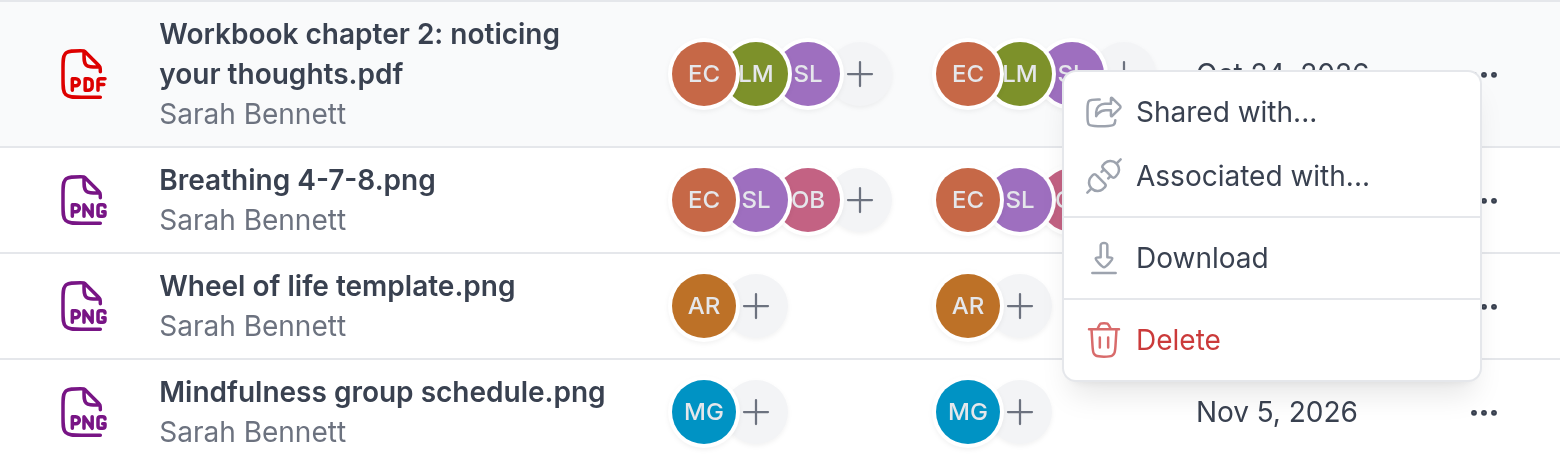
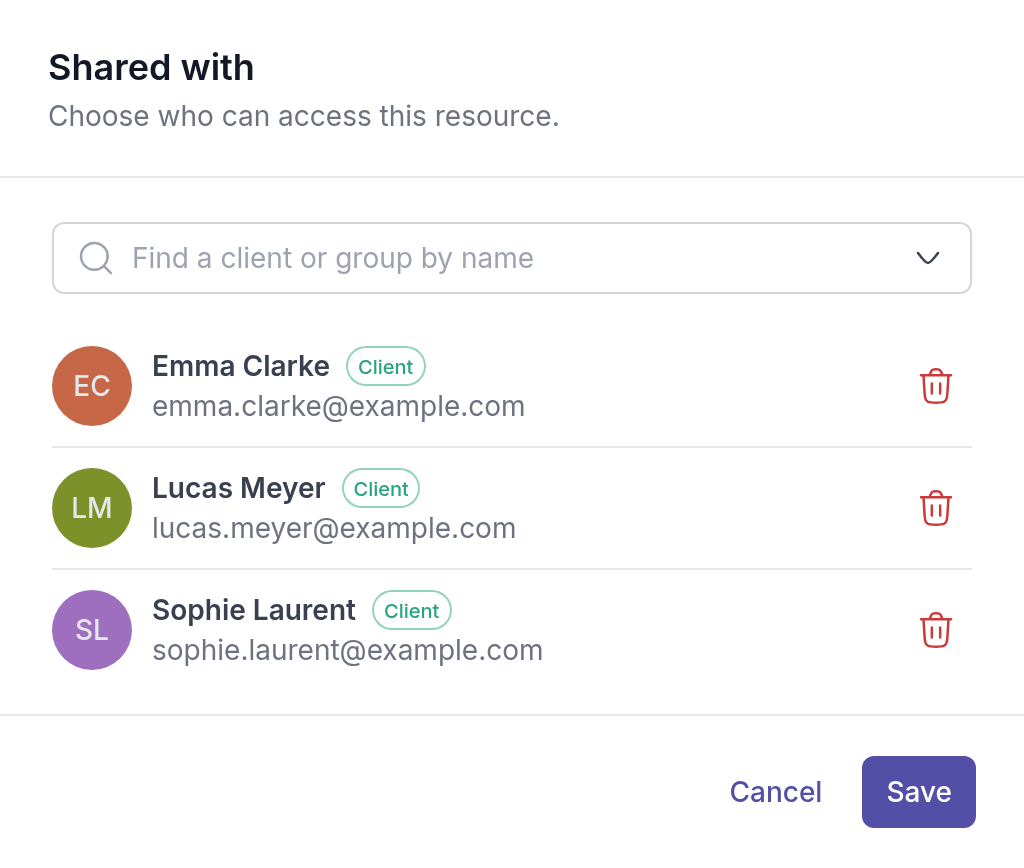
## Change the context
Click the avatars or the **+** in the **Context** column, or click **⋯** and choose **Associated with...**. Add or remove clients and groups and click **Save**. Clients and groups you remove here also lose access to the resource.
## Edit, download or delete a resource
Click **⋯** next to a resource:
- **Edit** changes a link's label or URL. This is only available for links; you can also click the link in the list.
- **Open** opens a link. **Download** downloads a file.
- **Delete** deletes the resource. Confirm with **Delete resource**.
> **Danger:** Deleting a resource from the **Resources** page deletes it permanently from your workspace and removes it from every client and group. If it belongs to clients or groups, you are asked to type the resource's name to confirm. If the resource is used in a landing page's after-signup automation, it is removed from there too.
## Files and links from your clients
Clients can add their own files and links in their app, under **Resources**, and choose whether to keep each one to themselves or share it with their professionals. When a client shares something, all professionals assigned to them can open it and get a notification.
These resources appear on that client's **Resources** tab, not on the **Resources** page. You can open or download them, but only the client can edit, share or delete them. Resources a client keeps to themselves are not visible to you.
For what clients see and do, see [Open files and links shared with you](https://quenza.com/help/for-clients/files-and-links/).
---
# Chat
> Message your clients and the other professionals in your workspace, see when clients have read your messages, and delete messages you sent.
Source: https://quenza.com/help/chat-and-notifications/chat/
Chat lets you message your clients and the other professionals in your workspace without leaving Quenza. It opens in a window on top of the page you are on, so you can keep working while you write.
Chat is useful for the small things between sessions: a reminder that Monday's session is online, a quick check-in after a hard week, or a question from a client about an exercise. For example, after a session Sarah Bennett sends Sophie Laurent a short note: "I left a comment on your thought record. See you on Monday." Sophie reads it in the client app or gets an email if she doesn't.
1:1 chat with clients is included in every plan. Chat with other professionals (team chat) is available from the Collective plan. See [Plans and pricing](https://quenza.com/help/billing/plans-and-pricing/).
## Open your chats
Click **Chats** at the top of the screen. The red badge on **Chats** shows how many unread messages you have.
The chat window lists all your conversations. Click a name to open a conversation, or use **Search** to find one. You can switch between conversations without closing the window. To close it, click the **X** or click outside the window. Your conversations are kept.
To start a conversation with someone new, click **New Chat** and choose a person under **Clients** or, with team chat, under **Professionals**. Type your message and press Enter or click the send button.
## Chat from a client's page
When you are looking at a client's work, you can open the chat with them from their page: open the client under **Clients**, go to the **Chat** tab and click **Open chat**.
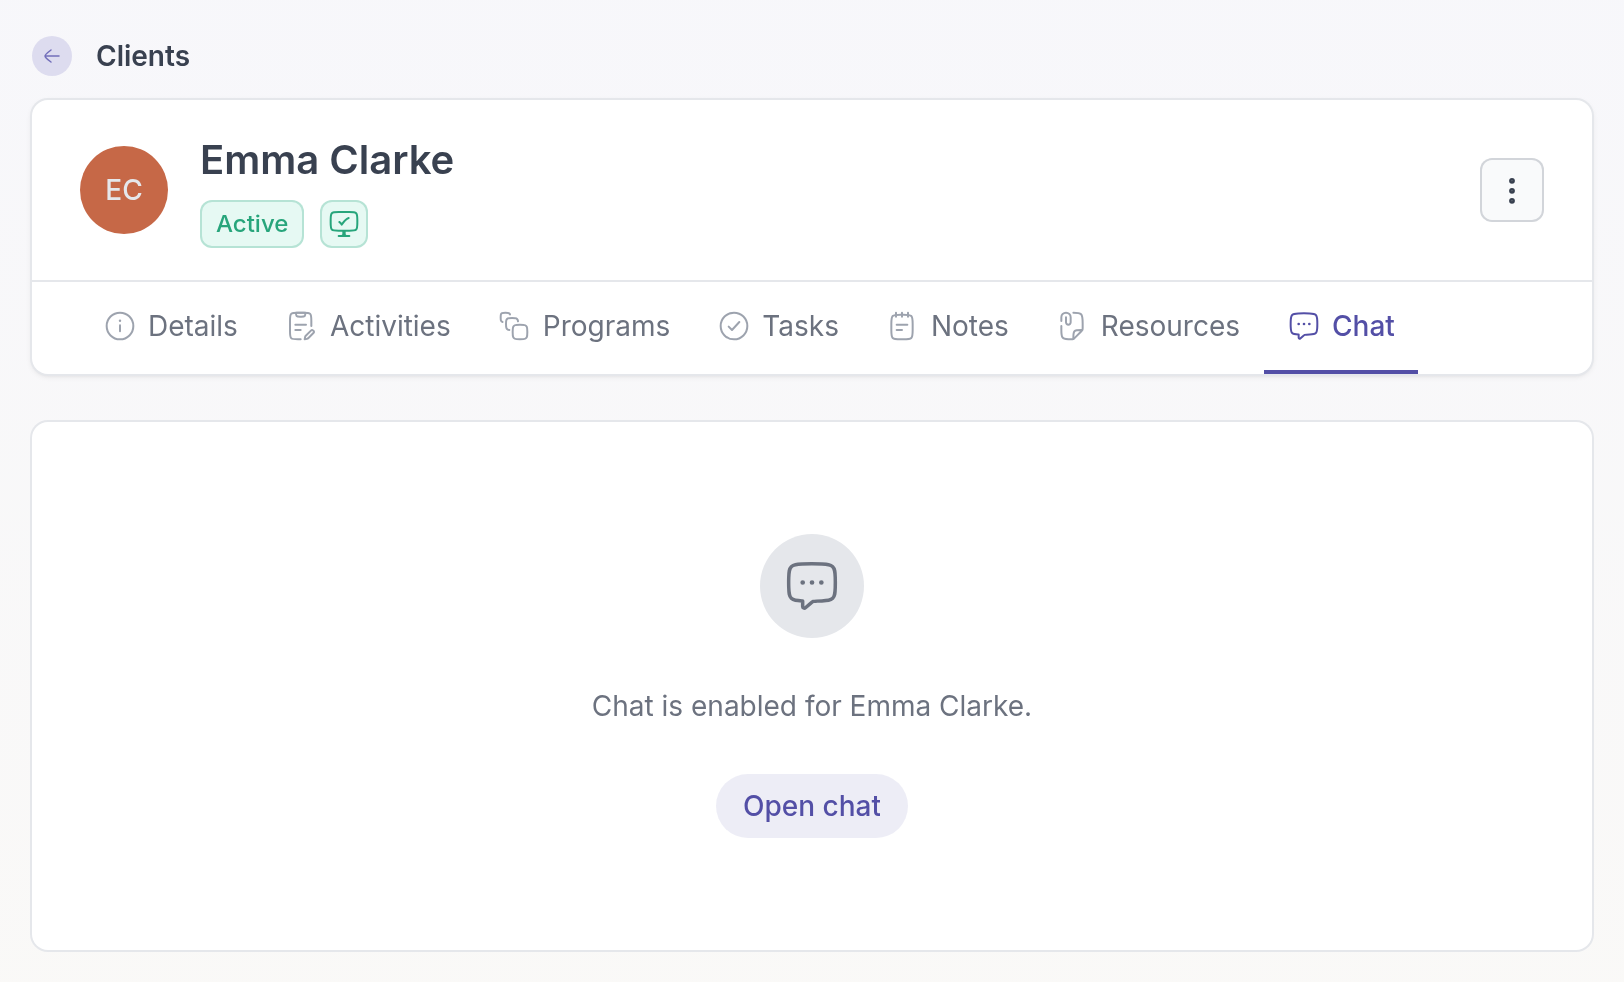
The **Chat** tab is not available for guest clients or for clients who have not accepted their invitation yet.
## See whether a client has read your message
In a 1:1 chat with a client, a small circle with a check mark next to the time of your message shows its status:
- **Outlined circle (Sent):** your message has been sent. This doesn't confirm that it has reached your client's device.
- **Filled circle (Seen):** your message has appeared in your client's open chat window.
Hover over the icon for a reminder of what the two states mean.


Your client can also see when you have seen their messages. Read receipts are only shown in 1:1 chats between a professional and a client, not in group chats or chats between professionals. **Seen** doesn't confirm that an attachment has been opened.
## Delete a message
You can delete messages you sent yourself, for example when you sent a message to the wrong client or with a mistake in it. You can't delete other people's messages.
On a computer, hover over your message, click the **⋯** button on it and choose **Delete**. On a phone, swipe the message to the left and tap the trash button. Quenza asks you to confirm; click **Delete message**.
The message is removed for everyone. Everyone in the chat, you included, sees "This message was deleted" in its place. Its text and any files attached to it are no longer shown.
> **Caution:** You can't undo deleting a message. If the other person has already read it, deleting it doesn't take that back.
You can't delete messages in a chat that is read-only, such as the chat of an archived group, or in a chat that is turned off. Your clients can delete their own messages in the same way.
## Get notified about new messages
- **In the app:** the badge on **Chats** shows your unread messages. Chat messages are not listed in the [Notifications](https://quenza.com/help/chat-and-notifications/notifications/) panel.
- **By email:** if a message stays unread for a while, Quenza sends you an email, as long as **Enable notifications via Email** is on. See [Notification preferences](https://quenza.com/help/chat-and-notifications/notification-preferences/).
- **On your phone:** the [Quenza mobile app](https://quenza.com/help/getting-started/mobile-app/) can send you push notifications for new messages.
## Try chat as your client
To see chat the way your clients do, chat with your demo client and open the client app as them. See [See Quenza as your clients do](https://quenza.com/help/getting-started/view-as-client/).
## Related
- [Group chat](https://quenza.com/help/chat-and-notifications/group-chat/)
- [Attachments](https://quenza.com/help/chat-and-notifications/attachments/)
- [Message your professional in chat](https://quenza.com/help/for-clients/message-your-professional/) (for clients)
---
# Group chat
> Turn on group chat for a group so its members and assigned professionals can message each other in one shared conversation.
Available on the Growth plan and higher.
Source: https://quenza.com/help/chat-and-notifications/group-chat/
Group chat gives a group one shared conversation for all its members and the professionals assigned to it.
It works well for groups that meet over several weeks. In the Mindfulness group, for example, Sarah Bennett posts the theme of next week's session, members share how their daily practice went, and someone asks whether the Thursday session is still on. Members support each other between sessions, and Sarah stays in the loop without sending the same message to each member separately.
Group chat is available from the Growth plan. See [Plans and pricing](https://quenza.com/help/billing/plans-and-pricing/). For 1:1 chats, see [Chat](https://quenza.com/help/chat-and-notifications/chat/).
## Turn on group chat
Group chat is off by default, because you may want members to talk only to you, or use a group only to send content. You turn it on for each group separately: open the group under **Groups**, go to the **Chat** tab and click **Enable chat**.
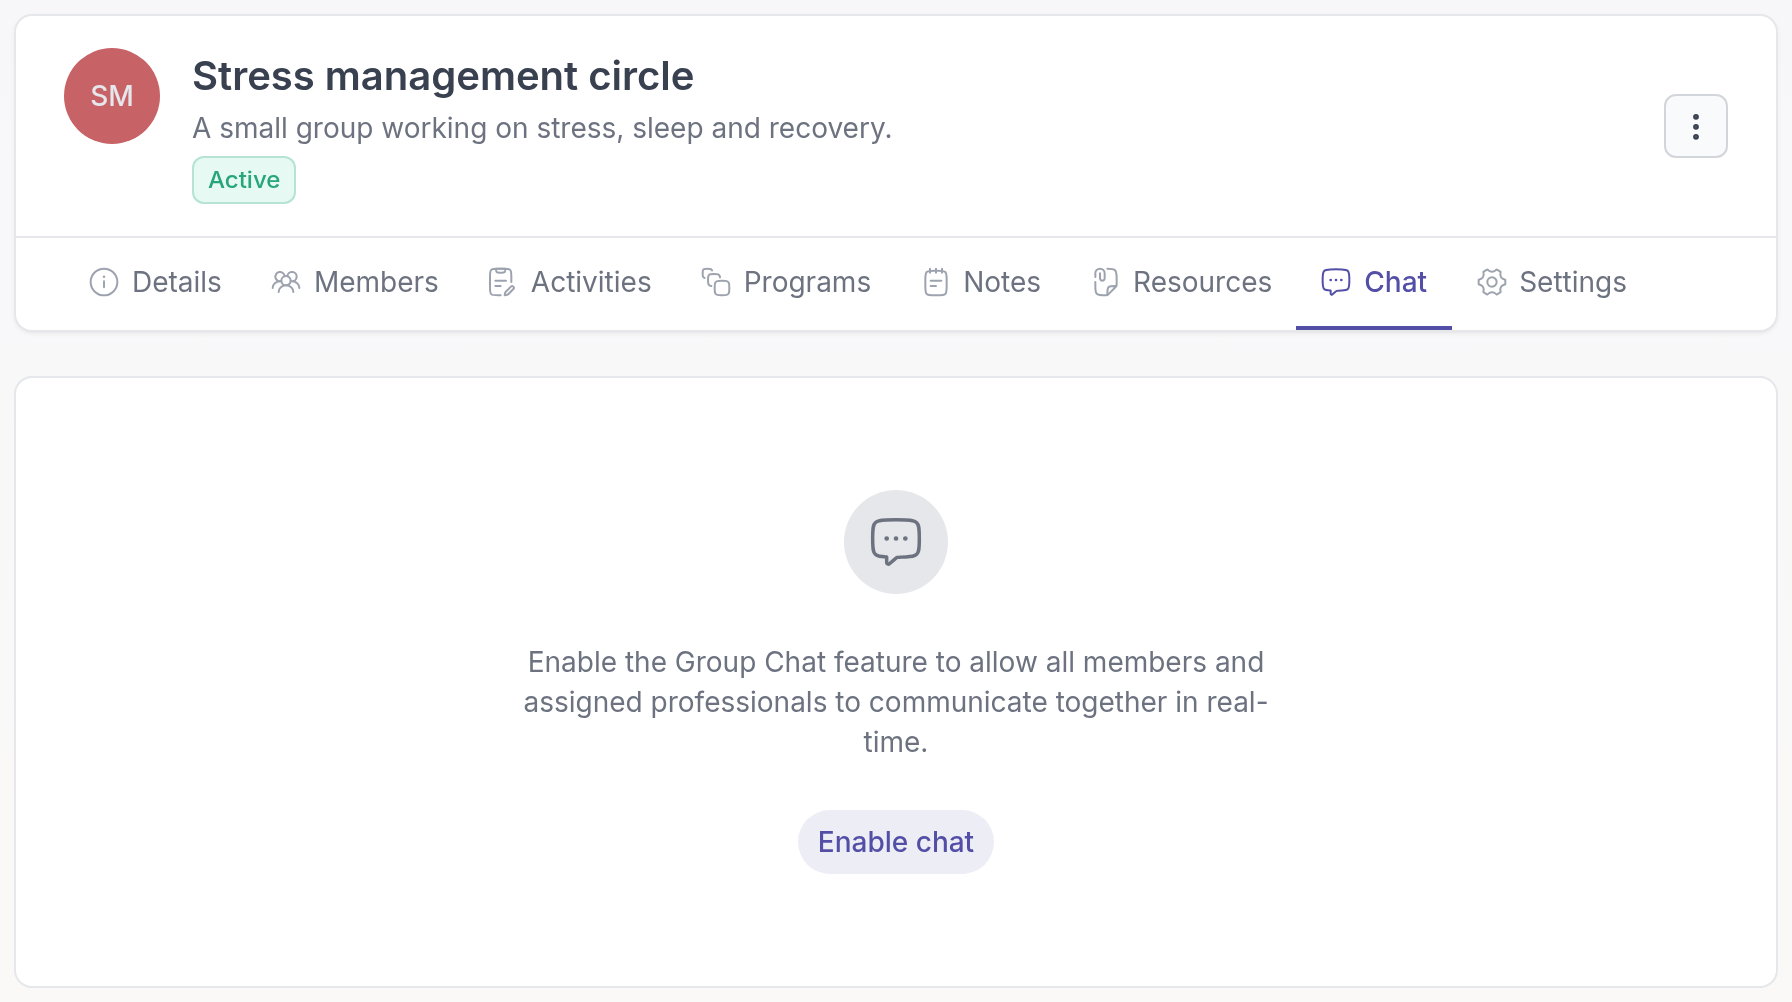
The chat is active straight away. You can also turn it on when you create the group, with **Enable group chat**. See [Groups](https://quenza.com/help/clients/groups/).
## Open the group chat
The group is listed with your other conversations under **Chats** at the top of the screen. You can also open the group, go to the **Chat** tab and click **Open chat**.
Your clients find the group chat in the client app under **Chats**, in the **Other chats** list. Clients only see the chats of groups they are a member of. See [Message your professional in chat](https://quenza.com/help/for-clients/message-your-professional/) for what clients see.
## Who can take part
All members of the group can read and send messages. Of the professionals, only those assigned to the group can take part.
If you are not assigned to the group, the **Chat** tab shows "To join the conversation, please make sure you are assigned to this group." To join, change the professionals under **Assigned professionals** on the group's **Details** tab.
Read receipts (**Sent** and **Seen**) are not shown in group chats.
## What new members can see
When you add a client to a group, they only see messages sent after they joined. Earlier messages stay hidden from them. The same applies to professionals you assign to the group later.
This protects the members who were already in the group: they shared their messages with the people who were there at the time. If someone joins the Mindfulness group in week four, they don't read what the others wrote in the first three weeks.
## Turn off group chat
To close the conversation, for example when a group has finished, open the group's **Chat** tab and click **Disable chat**.
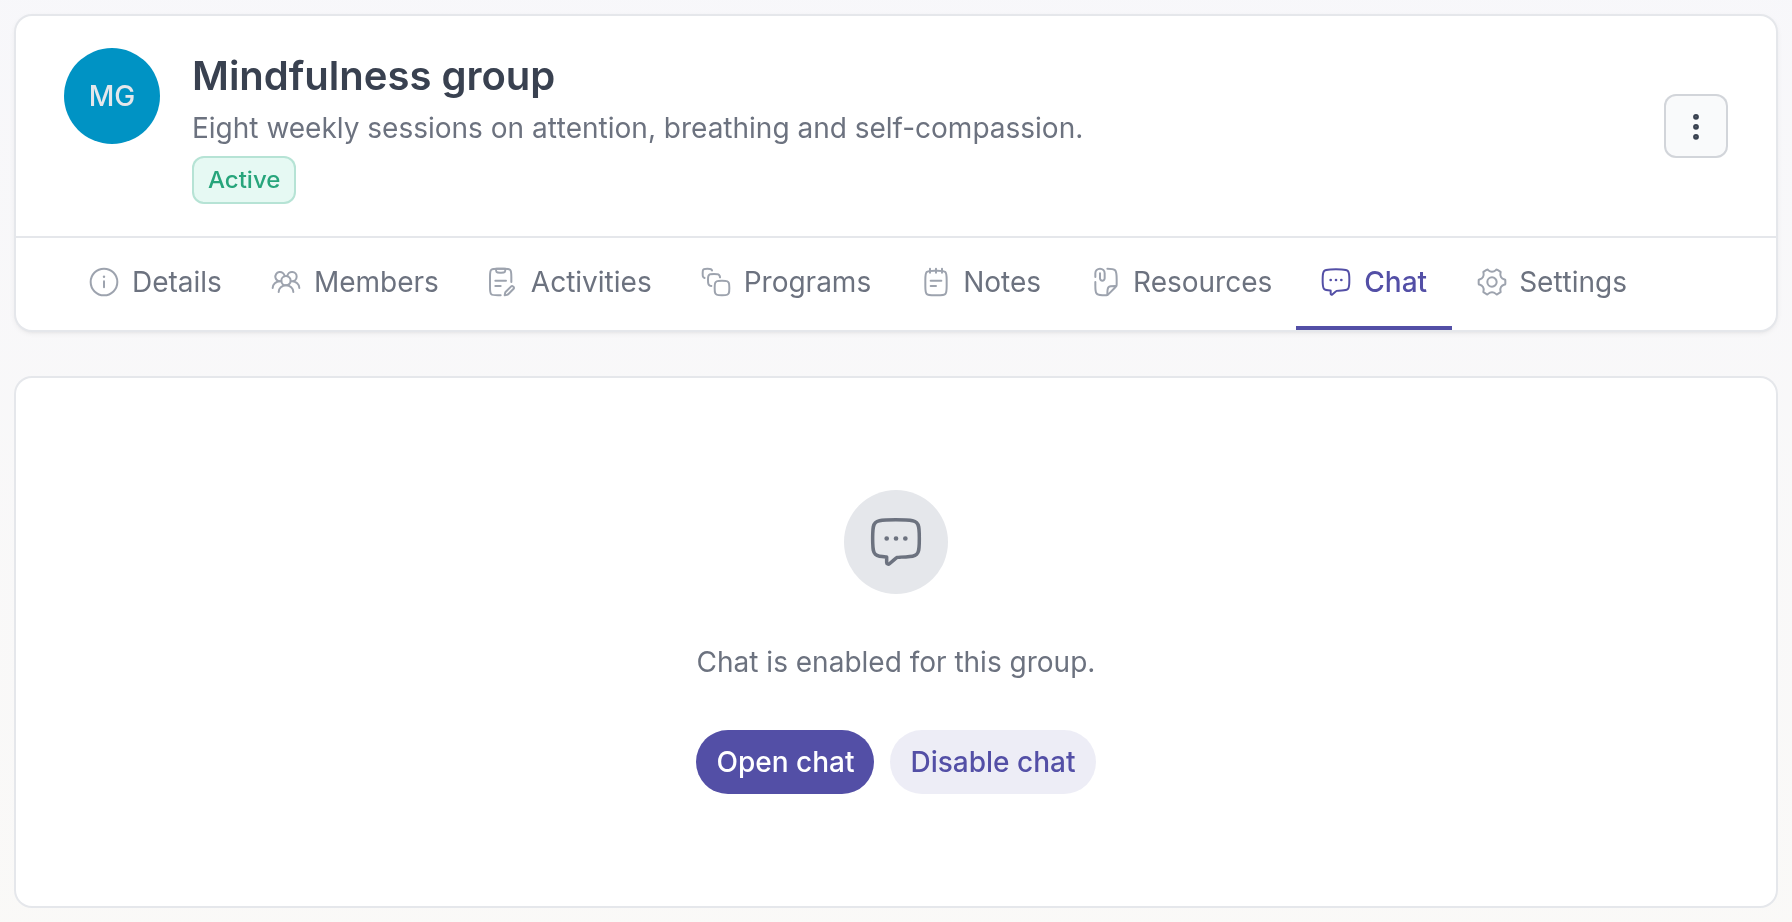
The chat closes straight away for everyone. Clients no longer see it, and professionals see "This chat is disabled for this group." Earlier messages are kept, and **Enable chat** opens the chat again.
## When you archive or delete the group
- If you archive the group, the group chat becomes read-only. You can still read past messages, but no one can send new ones.
- If you delete the group, the group chat is deleted too.
## Related
- [Attachments](https://quenza.com/help/chat-and-notifications/attachments/)
- [Groups](https://quenza.com/help/clients/groups/)
---
# Attachments
> Attach documents, images, audio and video to a chat message, or record a voice message, and see which file types and sizes you can send.
Source: https://quenza.com/help/chat-and-notifications/attachments/
You can send files in any chat, such as a worksheet, a PDF or a photo, and record short voice messages. Your clients can send files to you the same way.
Attachments keep the conversation and the material together. After a session about sleep, Sarah Bennett sends Sophie Laurent the sleep diary for the week and the breathing exercise they practised, with one line of text. Sophie can open both from the chat on her phone that evening. A client can just as easily send you a photo of a filled-in worksheet or a voice message about how their week went.
## Attach files to a message
In an open chat, click the paperclip icon next to the message field and select one or more files on your computer or phone. On a computer, you can also drag files from your desktop or a folder into the chat window.
The files appear as small previews above the message field. To remove one before you send, click the red trash icon on its preview. Add a message if you like, then click the send button.
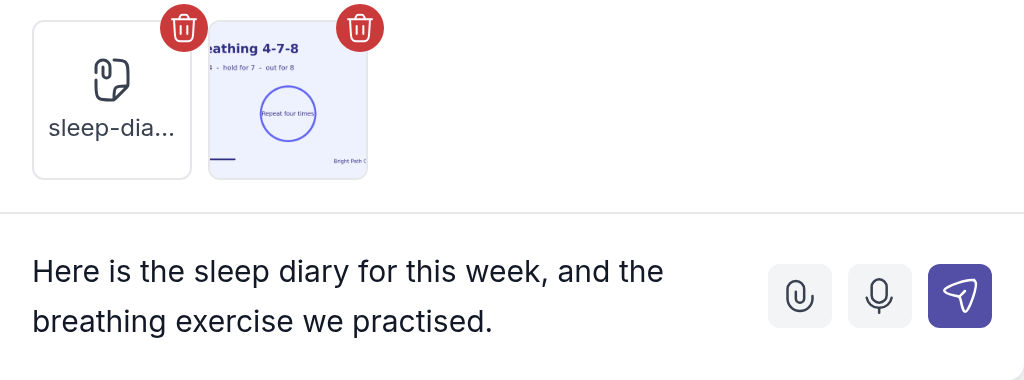
Files you send in chat stay in the conversation. To give a client a file they can find again later in their resources, share it as a resource instead. See [Share files and links](https://quenza.com/help/working-with-clients/share-files-and-links/).
## Supported files
Each file can be up to 25 MB. You can attach these file types:
- **Documents:** PDF, Word (.doc and .docx), Excel (.xlsx), PowerPoint (.pptx), RTF and plain text (.txt)
- **Images:** JPG and PNG
- **Audio:** MP3 and M4A
- **Video:** MP4 and MKV
- **Other:** ZIP and RAR archives, and calendar files (.ics)
If a file is too large or of another type, Quenza shows a message and does not add it. Older Excel (.xls) and PowerPoint (.ppt) files, GIF and HEIC images, and MOV videos can't be sent in chat. Save them in a supported format first, or add them as a resource.
## Record a voice message
A voice message is a quick way to answer a question or send a short encouragement when typing would take longer.
1. Click the microphone icon next to the message field. If your browser or phone asks for access to your microphone, allow it.
2. Speak your message. A timer shows how long you have been recording.
3. Click the check mark to finish, or the trash icon to throw the recording away.
4. Click the send button.
A recording can be up to 5 minutes long. It stops by itself when it reaches 5 minutes.
## Open files you receive
- **Images** sent together appear as one gallery in the chat. Click an image to see it larger.
- **Audio and video** play right in the chat.
- **Other files** show their name and size. Click the file name to download it.
## Related
- [Chat](https://quenza.com/help/chat-and-notifications/chat/)
- [Group chat](https://quenza.com/help/chat-and-notifications/group-chat/)
---
# Notifications
> See what happened in your workspace in the Notifications panel, open each update in one click, and mark notifications as read or clear them.
Source: https://quenza.com/help/chat-and-notifications/notifications/
Quenza keeps you up to date inside the app. When a client completes an activity, comments on a note or signs up through your landing page, a notification appears in the **Notifications** panel at the top of the screen. Every professional has their own notifications.
Most professionals open the panel at the start of the day or between sessions. Say Sarah Bennett has a session with Emma Clarke at 10:00. A quick look at her notifications shows that Emma completed the Daily mood check-in last night and left a comment on the session summary, so Sarah can read both before the session starts.
## Open your notifications
Click **Notifications** at the top of the screen. A red badge shows how many notifications you have not read yet.

The panel lists your notifications, newest first: under **Today** what happened in the last 24 hours, under **Older** everything before that. A red dot marks each notification you have not read.
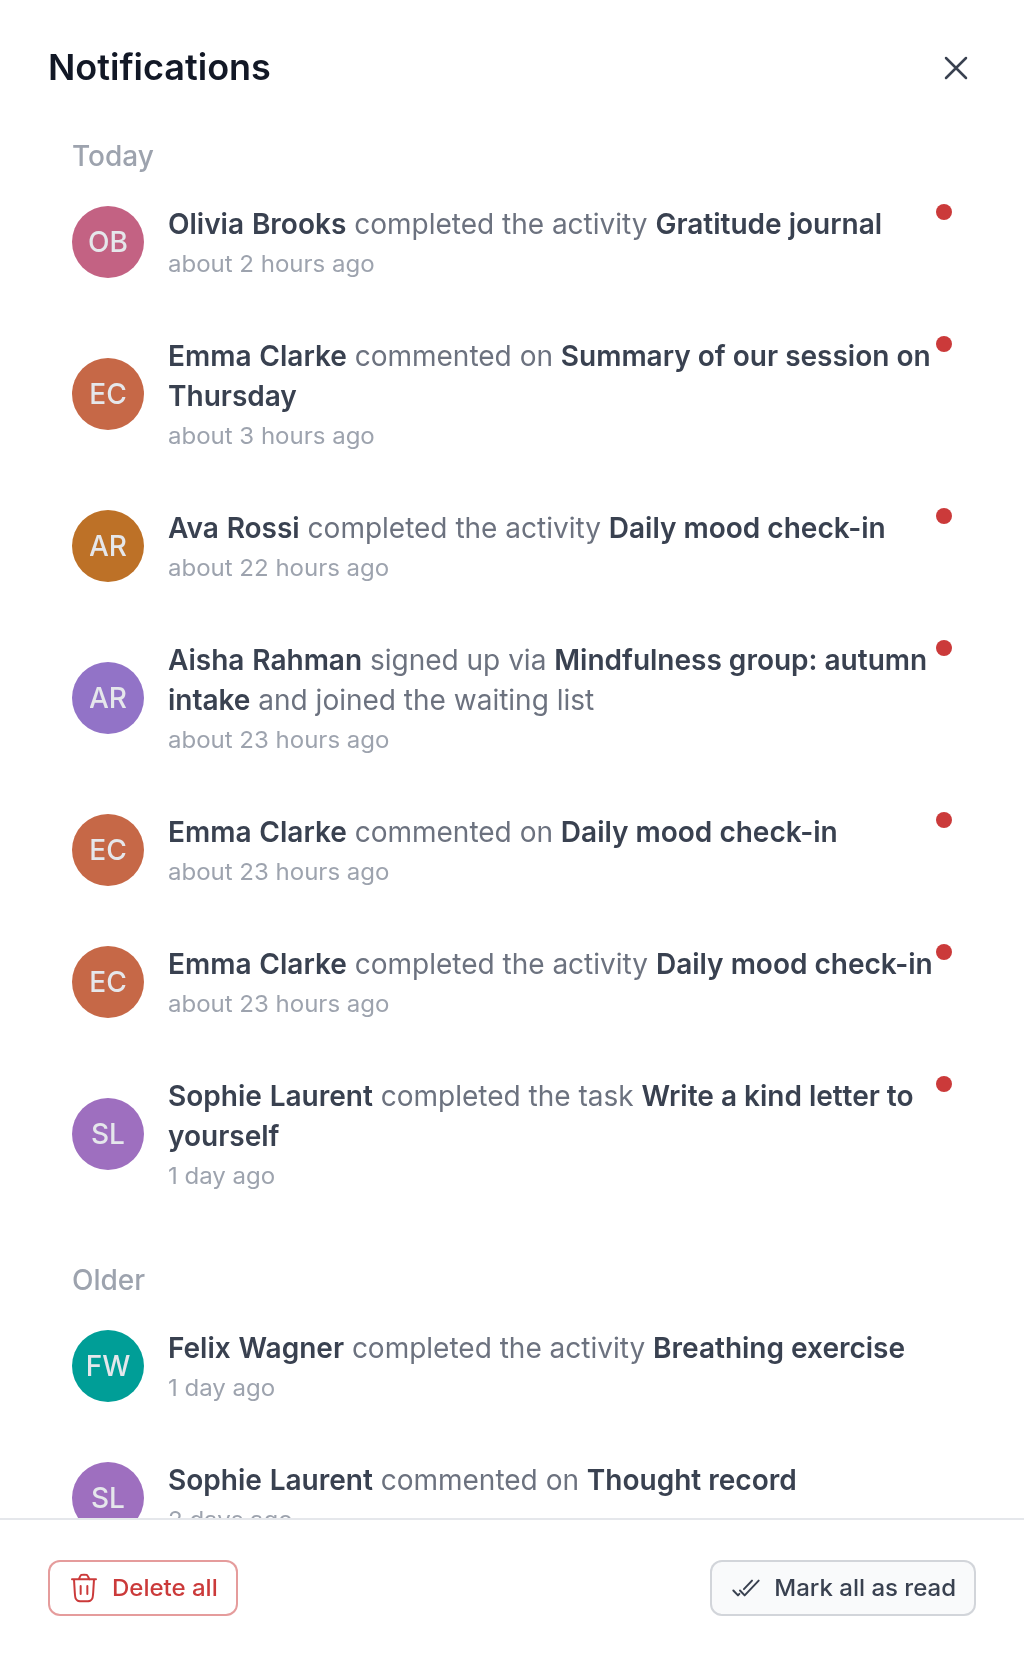
Click a notification to go straight to what it is about, such as the client's activity results, the note with the new comment, the task or your waiting list. The notification is then marked as read.
When you have read everything, the panel says "You are up to date."
## What you are notified about
You get a notification when:
- **Clients complete their work:** a client completes an activity, a program activity or a whole program you sent, or changes their answers in an activity they already completed.
- **Clients write to you:** a client comments on their activity results or a note, replies to a comment, or shares a note or a resource with you.
- **Tasks change:** a colleague assigns a task to you, or someone completes a task you created.
- **New clients arrive:** a client accepts your invitation, or someone signs up through a [landing page](https://quenza.com/help/new-clients/landing-pages/) and becomes your client or joins your waiting list. Signups go to the professional the signup form assigns new clients to.
- **A client leaves:** a client deletes their account.
- **The workspace changes:** the Calendly integration is turned on for the workspace.
- **Quenza has news:** announcements from the Quenza team.
New chat messages are not listed here. They have their own badge on **Chats**. See [Chat](https://quenza.com/help/chat-and-notifications/chat/).
## Mark notifications as read
To mark one notification as read without opening it, right-click it and choose **Mark as read**.
To mark everything as read at once, click **Mark all as read** at the bottom of the panel. The badge on **Notifications** disappears.
## Clear your notifications
Click **Delete all** at the bottom of the panel to empty it.
> **Caution:** **Delete all** removes all your notifications straight away, without asking you to confirm. You can't get them back. The activities, comments and other items they were about are not deleted.
## Email and push notifications
Notifications always appear in the panel. Whether you also get an email about them depends on **Enable notifications via Email** in your settings. See [Notification preferences](https://quenza.com/help/chat-and-notifications/notification-preferences/).
The [Quenza mobile app](https://quenza.com/help/getting-started/mobile-app/) can show the same notifications as push notifications on your phone.
## Related
- [Notification preferences](https://quenza.com/help/chat-and-notifications/notification-preferences/)
- [Review completed activities](https://quenza.com/help/working-with-clients/review-completed-activities/)
- [Check your notifications](https://quenza.com/help/for-clients/notifications/) (for clients)
---
# Notification preferences
> Choose whether Quenza emails you about activity in your workspace, such as completed activities and comments, and which updates you receive.
Source: https://quenza.com/help/chat-and-notifications/notification-preferences/
Quenza can email you when something happens in your workspace, such as a client completing an activity, so you don't miss it when you are not logged in. You decide whether you want these emails. Every professional sets their own preferences.
Some professionals like an email for every completed activity, so they can react the same day. Others check the [Notifications](https://quenza.com/help/chat-and-notifications/notifications/) panel in Quenza once or twice a day and prefer a quiet inbox. Both work: turning emails off doesn't change what you see in Quenza.
## Change your email preferences
Your preferences are in **My settings**: click your workspace name at the top left and choose **My settings**.
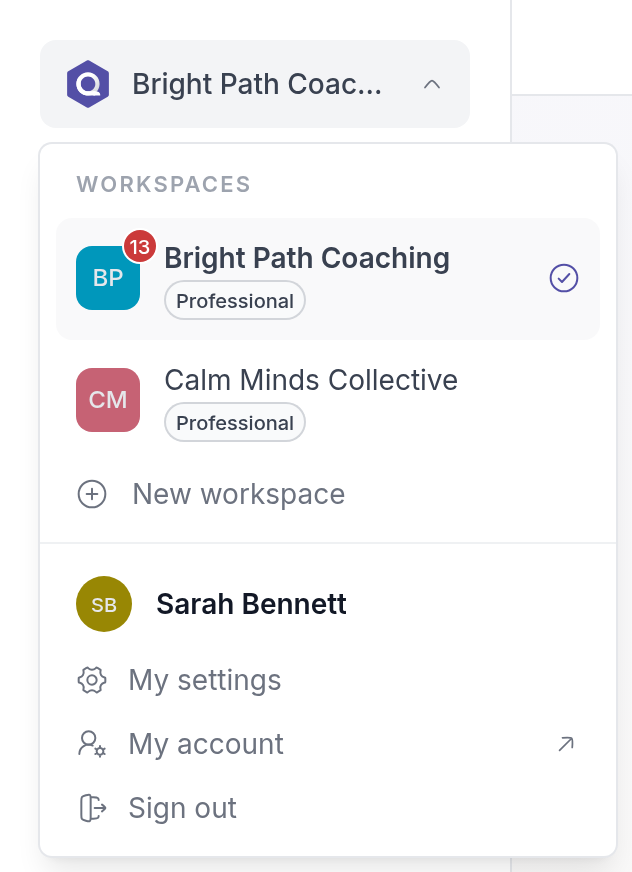
On the **Notifications** tab, under **General Notifications**, turn **Enable notifications via Email** on or off and click **Save** in that section.
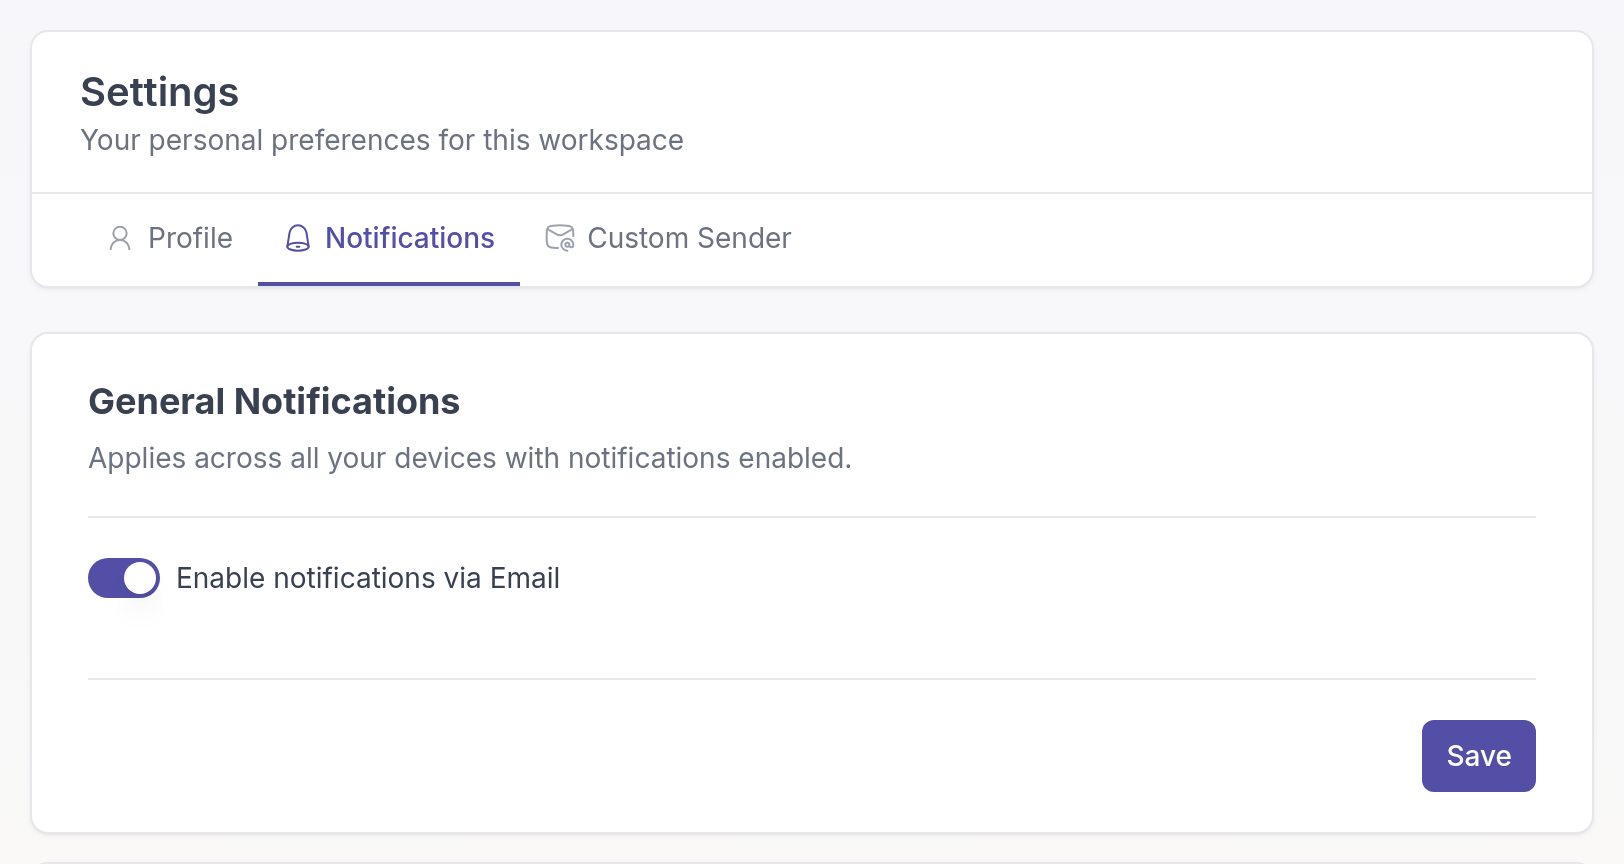
These preferences apply to the workspace you are in. If you work in more than one workspace, set them in each one.
## What the email setting covers
**Enable notifications via Email** controls the emails about your work in Quenza. For example, when a client completes an activity, finishes a task, comments or shares a file with you, when someone signs up through your landing page, and when you have unread chat messages.
When you turn it off:
- You no longer get these emails.
- You still see everything in the [Notifications](https://quenza.com/help/chat-and-notifications/notifications/) panel and on the **Chats** badge.
- The Quenza mobile app still sends you push notifications.
## Updates from Quenza
Below the email switch, **Updates from Quenza** is for emails from the Quenza team, such as product announcements. Types of update you can opt out of are listed there with their own switch. Emails about your account, such as sign-in links, password resets and reminders about your free trial, are always sent.
## Your clients' notifications
Your clients choose their own email notifications in the client app. See [Check your notifications](https://quenza.com/help/for-clients/notifications/).
## Related
- [Notifications](https://quenza.com/help/chat-and-notifications/notifications/)
- [Emails from Quenza](https://quenza.com/help/chat-and-notifications/emails-from-quenza/)
---
# Emails from Quenza
> Find out which emails Quenza sends, why you received an invitation or notification, and how to choose which emails you get.
Source: https://quenza.com/help/chat-and-notifications/emails-from-quenza/
Quenza is an app that coaches, therapists and other professionals use to work with their clients. Quenza sends emails on behalf of the professional or workspace you work with, and about your own account. This page explains the most common ones.
## You were invited to a workspace
The most common reason is an invitation. The email has the subject "You have been invited to join a workspace" and an **Accept Invitation** button.
- **If you are a client:** a professional, such as your coach or therapist, added you to their Quenza workspace. After you accept, you can complete activities and programs, keep notes, see tasks and chat with your professional. A client account is free. See [Accept your invitation and sign in](https://quenza.com/help/for-clients/accept-your-invitation/).
- **If you are a professional:** a colleague invited you to join their workspace, so you can work with clients and content together.
A client invitation can come from Quenza's address or from your professional's own email address, if they have set one up. If they have added their practice logo, the email shows that logo too.
## You already use Quenza
If you have a Quenza account, you get emails about what happens there. For example:
- **Clients:** a new activity, program or task from your professional, a reminder for an activity, a new comment, a shared file, or unread chat messages.
- **Professionals:** a client completed an activity or program, accepted an invitation or signed up through a landing page, a task was assigned to you or completed, a new comment, or unread chat messages. Professionals see the same updates in the [Notifications](https://quenza.com/help/chat-and-notifications/notifications/) panel in Quenza.
- **Everyone:** emails you asked for, such as a sign-in link, a password reset or an email address check. If you didn't ask for one of these, you can ignore it.
## Choose which emails you get
- **Clients:** see [Check your notifications](https://quenza.com/help/for-clients/notifications/).
- **Professionals:** see [Manage your notification preferences](https://quenza.com/help/chat-and-notifications/notification-preferences/).
## Still not sure?
If you don't recognise the sender or don't expect an email from Quenza, don't click any links in it. Contact us at help@quenza.com and we will help you.
---
# Landing pages
> Build a public page that introduces your practice and lets new clients sign up, without a website of your own.
Available on the Growth plan and higher.
Source: https://quenza.com/help/new-clients/landing-pages/
A landing page is a public web page you can share anywhere: on your website, in a newsletter, in a social post or in a message. Visitors read about you, fill in a short form and arrive in your workspace as clients. You don't need a website, and you don't have to invite anyone by hand.
Think of one page per offer. Sarah Bennett has a page "Free 20-minute intro call" for people who want to try coaching, and a page "Mindfulness group: autumn intake" where people sign up for the next group. Everyone who signs up on the group page lands on her waiting list, and she accepts them once she has talked to them. See [Signup form](https://quenza.com/help/new-clients/signup-form/).
Owners, Managers and Members can create landing pages. How many pages you can have depends on your plan:
- **Spark:** not included
- **Growth:** 1 page
- **Impact:** 3 pages
- **Collective:** 5 pages
- **Beyond:** unlimited
The [free trial](https://quenza.com/help/billing/free-trial/) includes one landing page. When you reach your limit, **New page** asks you to upgrade instead of opening the editor. See [Plans and pricing](https://quenza.com/help/billing/plans-and-pricing/).
Video: [How to bring in new clients with a landing page](https://vimeo.com/1221126633)
## Start a new page
Your pages are under **Growth → Landing Pages** in the left menu, with their status: **Draft** or **Published**. Click **New page** to start one, then click **Untitled landing page** at the top and type a name.
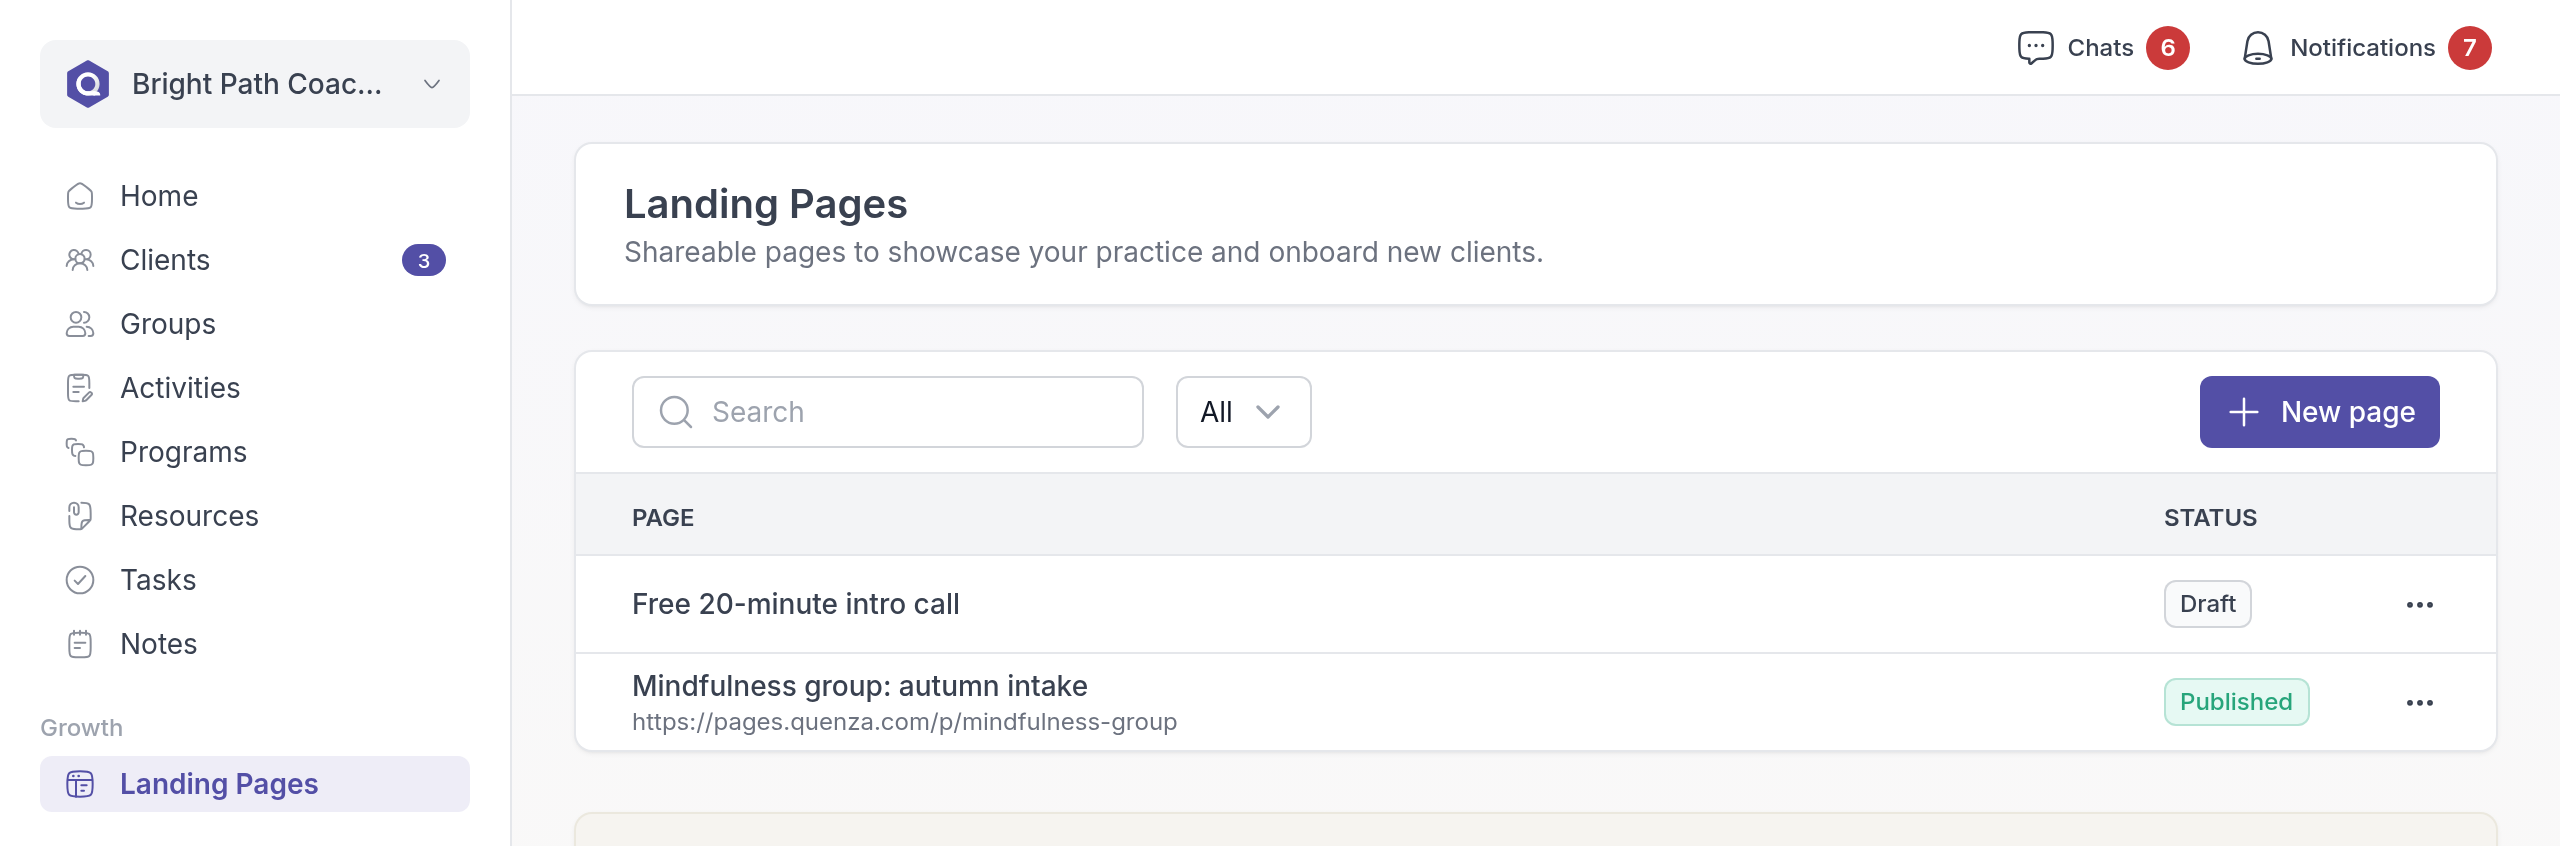
Visitors see the name in their browser tab and in link previews, and it appears in the emails they receive after they sign up. Pick a name they will recognise, such as "Free 20-minute intro call".
## Add content
You build the page on the **Content** tab from blocks, called elements. Click **Add element**, pick an element and fill in its settings. Repeat until the page says what you want.
There are five elements:
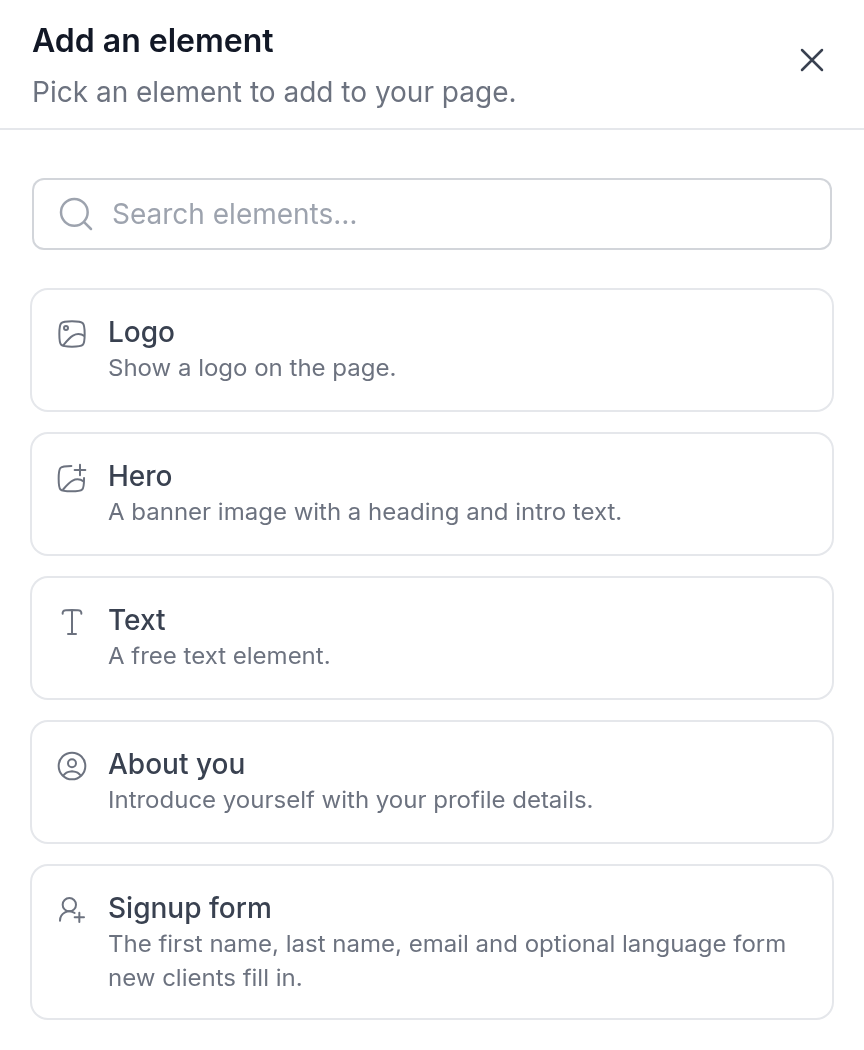
- **Logo** shows a logo at the top of the page. It uses your workspace logo, or you can upload a different one.
- **Hero** is a banner image with a heading and a short intro text.
- **Text** is free text for anything else you want to say, such as what a first session looks like or where you work.
- **About you** shows the profile of a professional in your workspace, with their bio, company and website if you want.
- **Signup form** is the form visitors fill in to become your client. See [Signup form](https://quenza.com/help/new-clients/signup-form/).
A simple page often has a hero with a clear heading, a few lines of text, **About you** and the signup form. To change an element later, click it. Hover over an element to duplicate or delete it, or to add a new element above or below it. Drag an element by its handle to move it.
> **Note:** A page without a **Signup form** element can't collect signups. Every signup form needs a signup mode before you can publish the page.
## Choose the page address
On the **Settings** tab, under **Page URL**, type the last part of the address, for example `free-intro-call-with-sarah`. When you click outside the field, Quenza checks the address and shows **Available** or **Not available**. Use the copy button next to the field to copy the full address.
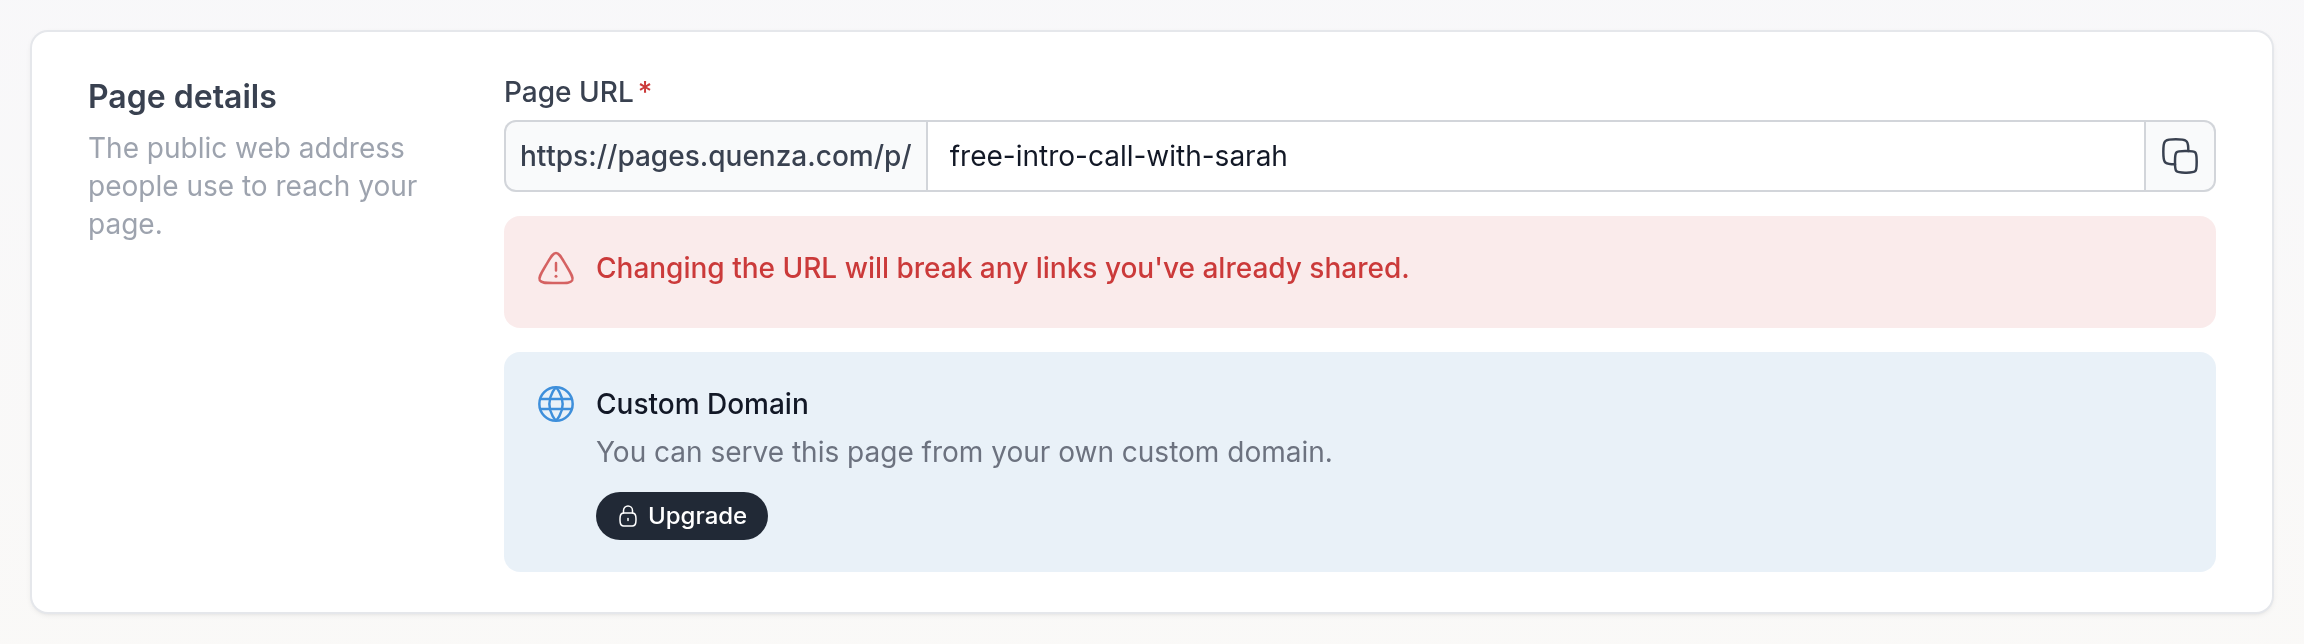
If your workspace has an active [custom domain](https://quenza.com/help/branding/custom-domain/), the page is also available on your own domain. The **Settings** tab shows that address too. Custom domains are available on the Impact plan and higher.
> **Caution:** Changing the address of a page you already shared breaks the old links.
## Preview, save and publish
A new page is a draft. Visitors can't see it until you publish it. The buttons are at the top right:
- **Preview** shows the page as visitors see it. In the preview, **View live preview** opens it in a new browser tab. The form in a preview doesn't accept signups.
- **Save** saves your work without publishing.
- **Publish** saves the page and puts it live at its address.
You need a page name and a page address before you can save.
## Change a published page
Changes to a published page stay private until you publish them, so visitors never see half-finished work. Make your changes and click **Save changes**. A dot on **Publish changes** shows you have saved changes that are not live yet. Click **Publish changes** and confirm to put them live.
## Unpublish or delete a page
Open the page and click the **⋮** menu at the top right, or click the **⋯** menu next to the page on the **Landing Pages** list.
- **Unpublish** takes the page offline. The address stops working right away, but your content, signups and clients stay. You can publish the page again later, for example when the next group starts.
- **Delete** removes the page.
> **Danger:** Deleting a page can't be undone. The address stops working and all signups collected through the page are removed, including everyone on your waiting list. Clients who already joined through the page keep their client record and data. To keep your signups, unpublish the page instead.
If your plan no longer includes landing pages, for example after you move to Spark, your pages are no longer available to visitors.
## Related
- [Signup form](https://quenza.com/help/new-clients/signup-form/)
- [Automations](https://quenza.com/help/new-clients/automations/)
- [Webhooks](https://quenza.com/help/integrations/webhooks/)
---
# Signup form
> Choose what the signup form on your landing page asks, how new signups are accepted, and review your waiting list.
Available on the Growth plan and higher.
Source: https://quenza.com/help/new-clients/signup-form/
The signup form is the part of a landing page that turns a visitor into a client. You choose which details it asks for, what it says, who the new client is assigned to, and whether people join straight away or wait for your approval.
How you set it up depends on the offer. For a free intro call, Sarah Bennett lets people become clients straight away, so they can book a time with her the same day. For the Mindfulness group, places are limited, so everyone who signs up joins her waiting list, and she accepts the people who fit the group.
You need a landing page to put the form on. See [Landing pages](https://quenza.com/help/new-clients/landing-pages/).
## Open the form settings
Open your page under **Landing Pages** and, on the **Content** tab, click the **Signup form** element. If the page has no form yet, click **Add element** and choose **Signup form**. The settings open in the element. Work through the sections below, then save and publish the page.
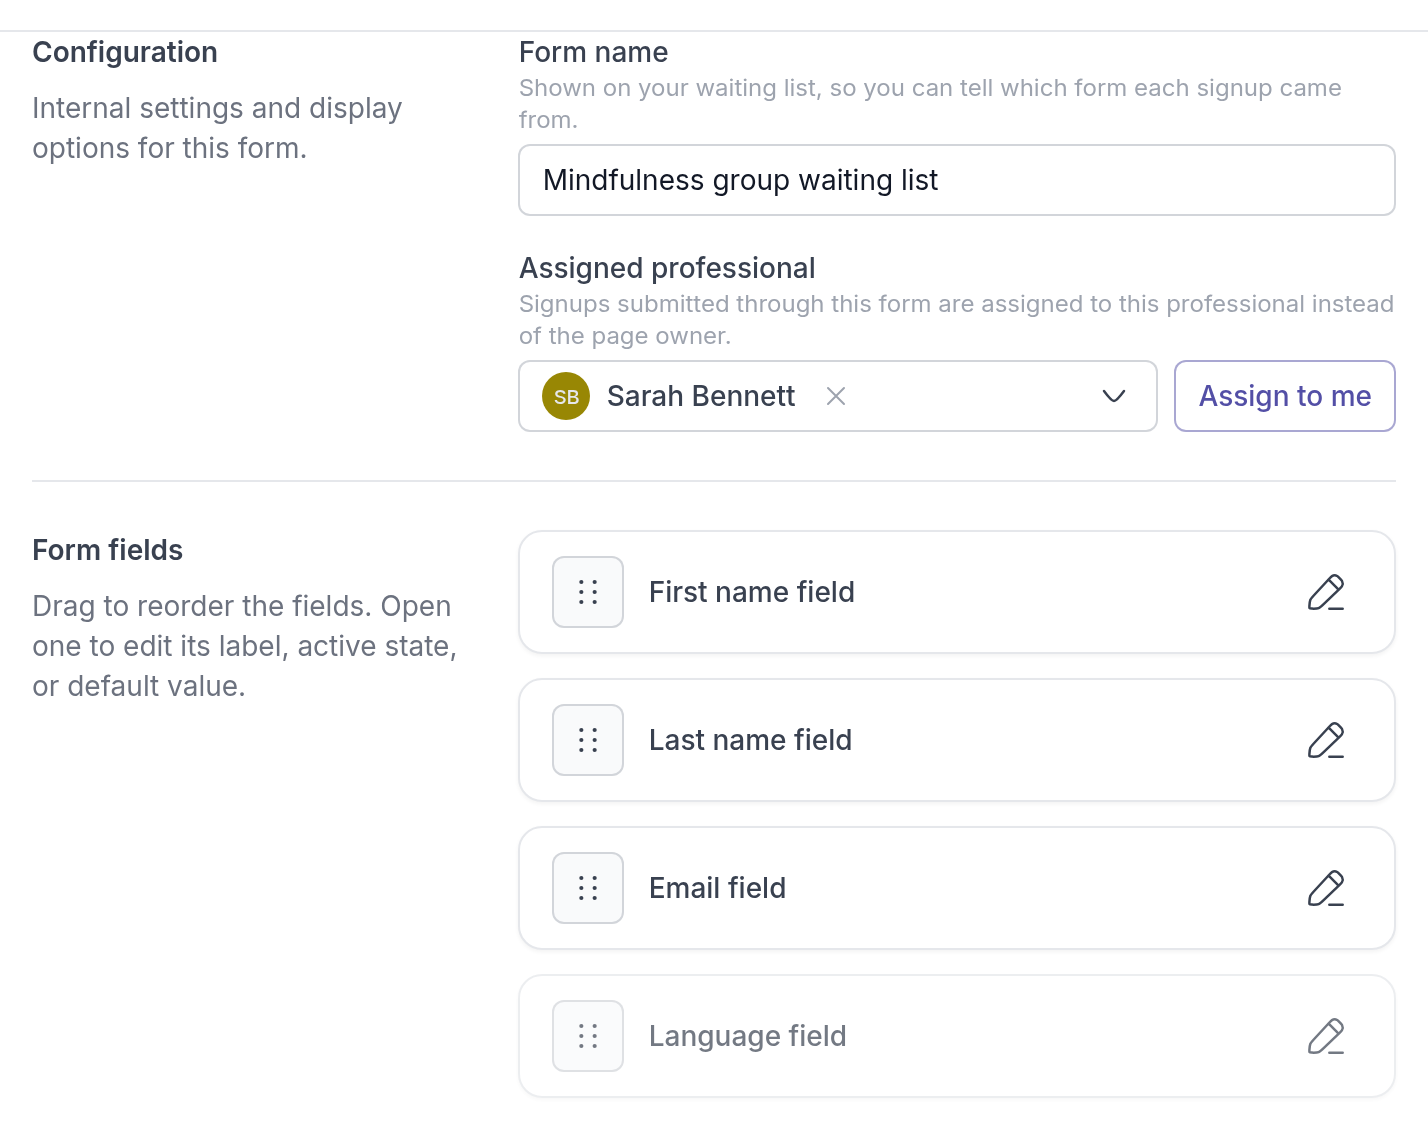
## Configuration
- **Form name** is for you only. It is shown on your waiting list, so you can tell which form each signup came from. Visitors don't see it.
- **Assigned professional** is the professional new clients from this form are assigned to. Search for a professional or click **Assign to me**. If you leave it empty, new clients go to the professional who created the landing page.
The assigned professional also receives the notifications about new signups from this form.
## Form fields
The form has four fields: **First name field**, **Last name field**, **Email field** and **Language field**.
- To change the order, drag a field by its handle.
- To change a field, click it. You can change its **Label** and its **Placeholder**, the example text shown in the empty field.
- The language field is off by default. While it is off, new clients get the language you choose under **Default language**. To let visitors choose their own language, click the field and turn on the switch.
First name, last name and email are always part of the form.
Turn off **Show field labels** if you want the form to show only the placeholders, without labels above the fields.
## Translations
Change the wording on the form. Leave a field empty to use the standard text.
- **Button** is the text on the button visitors click to send the form. The standard text is "Send request".
- **Privacy note** is the short text shown below the button.
## Confirmation message
This is what people see after they click the confirmation link in their email. Fill in a **Heading** and a **Message**, or leave both empty to use the standard wording.
> **Tip:** Your message is shown both to people who become a client straight away and to people who join your waiting list. Word it so it fits both, or leave it empty: the standard wording is different for each.
## Signup mode
Choose how new signups are accepted. A new form uses **Auto accept**.
- **Auto accept**: new signups become clients automatically. When your plan has no room for more clients, they join your waiting list instead.
- **Waitlist**: every signup joins your waiting list, and you accept each one yourself.
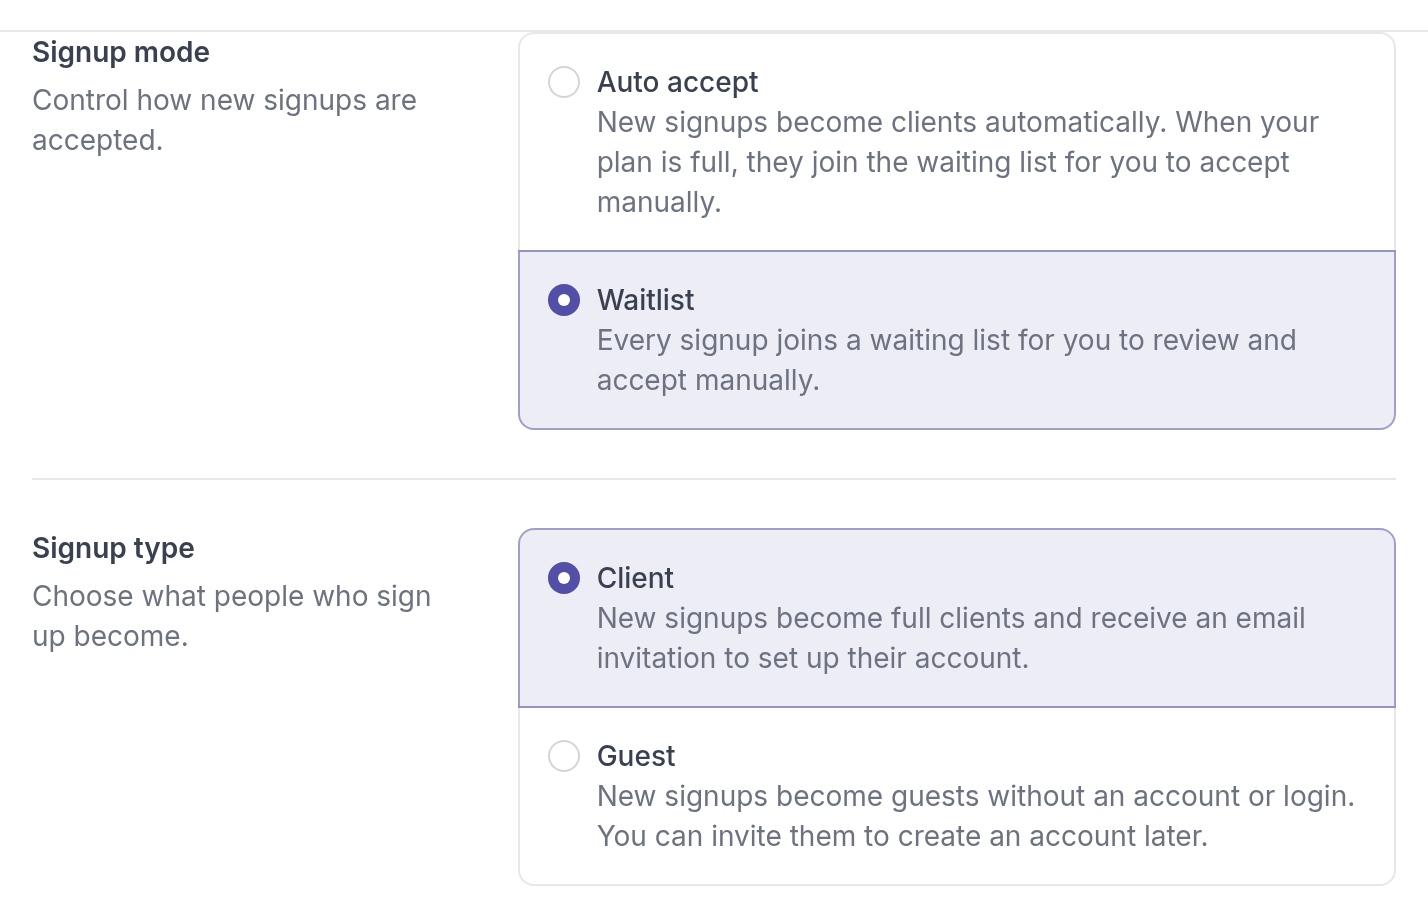
## Signup type
Choose what people become when they are accepted.
- **Client**: a full client who receives an email invitation to set up their account.
- **Guest**: a client without an account or login. You can invite them to create an account later.
## Automation
Choose the activities, programs, groups and resources new clients receive automatically. See [Automations](https://quenza.com/help/new-clients/automations/).
## Save and publish
Click **Save** (or **Save changes** if the page is already published), then **Publish** (or **Publish changes**) so visitors see the new form.
## What happens when someone signs up
When a visitor fills in the form and clicks the button, Quenza sends them an email with a **Confirm request** button. Nothing appears in your workspace until they click it. This keeps out typos and people who sign up someone else's address.
When they confirm, they become a client or join your waiting list, depending on your signup mode and on whether your plan has room.
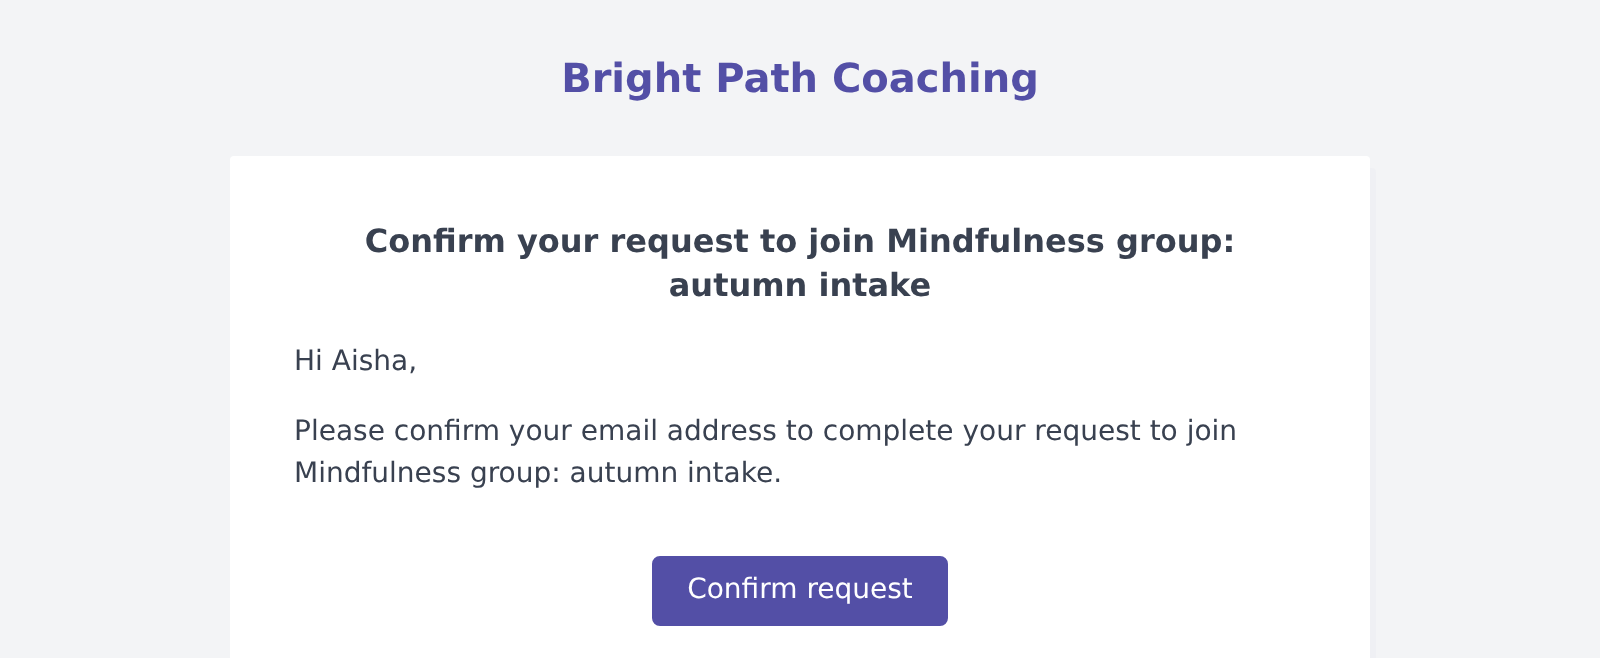
The confirmation link works for 24 hours. If it has expired, the visitor can fill in the form again to get a new one.
When someone becomes a client or joins your waiting list, the assigned professional gets a [notification](https://quenza.com/help/chat-and-notifications/notifications/) in Quenza, and an email if they receive email notifications. If you use [webhooks](https://quenza.com/help/integrations/webhooks/), a new client also triggers the `client.created` event.
If the email address already belongs to a client in your workspace, or already has a request on that page, the visitor sees **Request already received** and nothing new is added.
## Review your waiting list
Your waiting list is on the **Waiting List** tab of the **Clients** page. The number on the tab shows how many people are waiting. For each person you see their name and email, the **Landing Page** and **Form** they used, the **Type** (Client or Guest) and when they signed up, with **Accept** and **Decline** buttons.
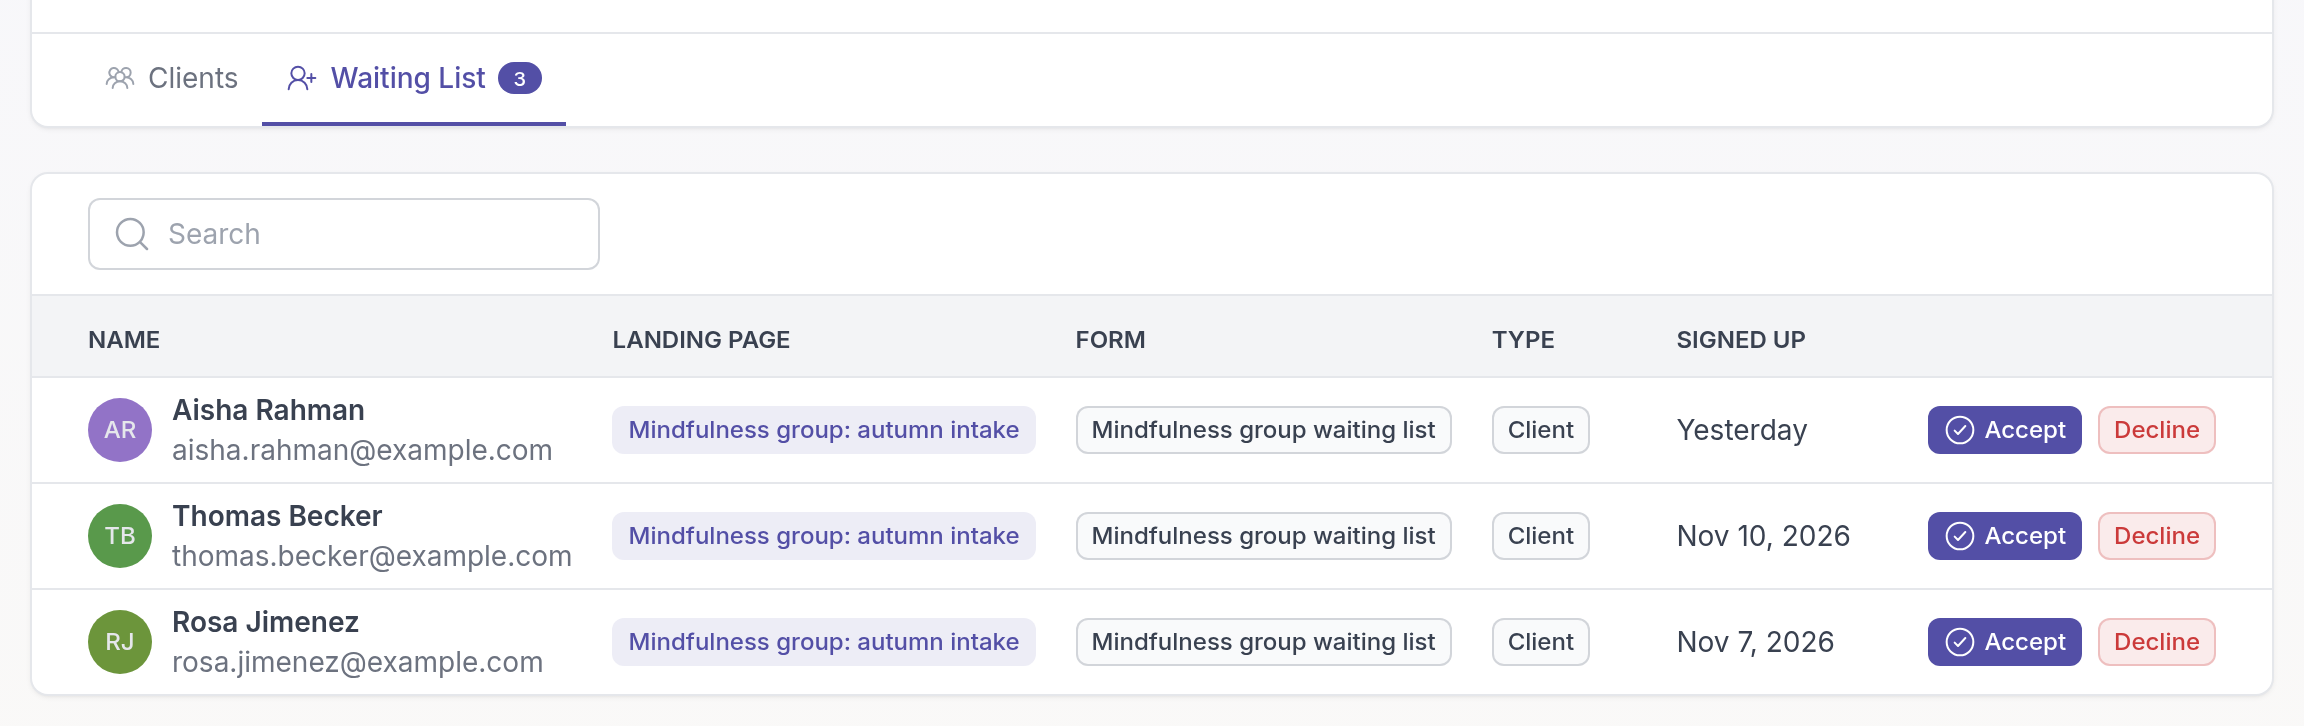
**Accept** asks you to confirm, then adds the person as a client or guest. A client receives an email invitation to set up their account. If your plan has no room for another client, Quenza tells you that you have reached your client limit, and the person stays on the list.
**Decline** removes the person from your waiting list without adding them, for example when the group is full. **Email them to let them know** is on, so Quenza sends them a short message; turn it off if you don't want that. Then click **Decline request**.
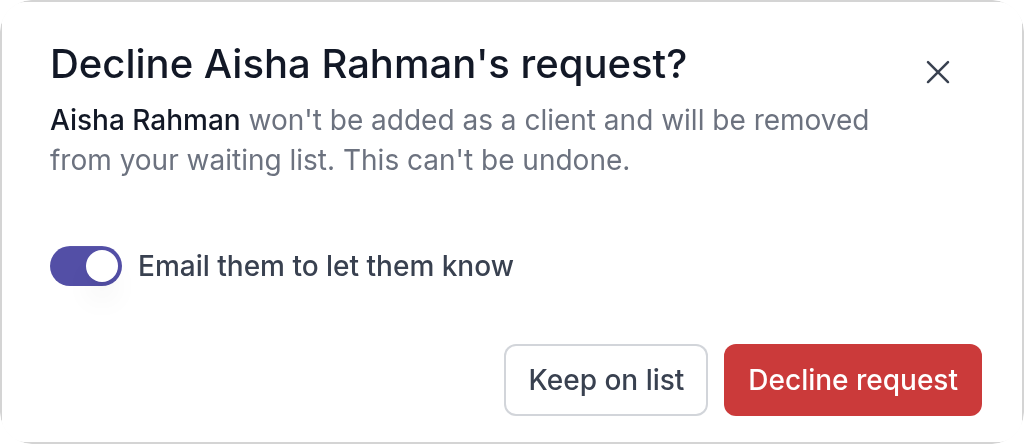
> **Caution:** You can't undo a decline.
---
# Automations
> Give everyone who signs up through a landing page the same activities, programs, groups and resources, without assigning them by hand.
Available on the Growth plan and higher.
Source: https://quenza.com/help/new-clients/automations/
Every signup form on a landing page has an **Automation** section. There you choose what new clients receive when they join through that form, so you don't have to assign anything by hand.
You set automations per signup form, not for the whole workspace. A page for one service can give new clients a different starter program than a page for another service.
For example, everyone Sarah Bennett accepts from her "Mindfulness group: autumn intake" page is added to the Mindfulness group straight away. They see the group's content and, if group chat is on, the group conversation from their first login, and Sarah doesn't have to add each person by hand.
## What you can automate
You can combine as many of these as you like on one form:
- **Activities**: the new client is sent these activities.
- **Programs**: the new client is enrolled in these programs.
- **Groups**: the new client is added to these groups.
- **Resources**: these resources are shared with the new client.
Leave a field empty if you don't want to deliver anything of that kind. For example, a form can enrol new clients in an onboarding program and add them to a group, and send no activities or resources.
Activities and programs start right away, and the client gets the usual email about them. They are sent on behalf of the form's assigned professional.
## Set up an automation
Open your page under **Landing Pages**, click the **Signup form** element on the **Content** tab and scroll down to **Automation**. Under **Activities**, **Programs**, **Groups** and **Resources**, search for and select what new clients should receive. Then save and publish the page: **Save** and **Publish**, or **Save changes** and **Publish changes** if the page is already published.
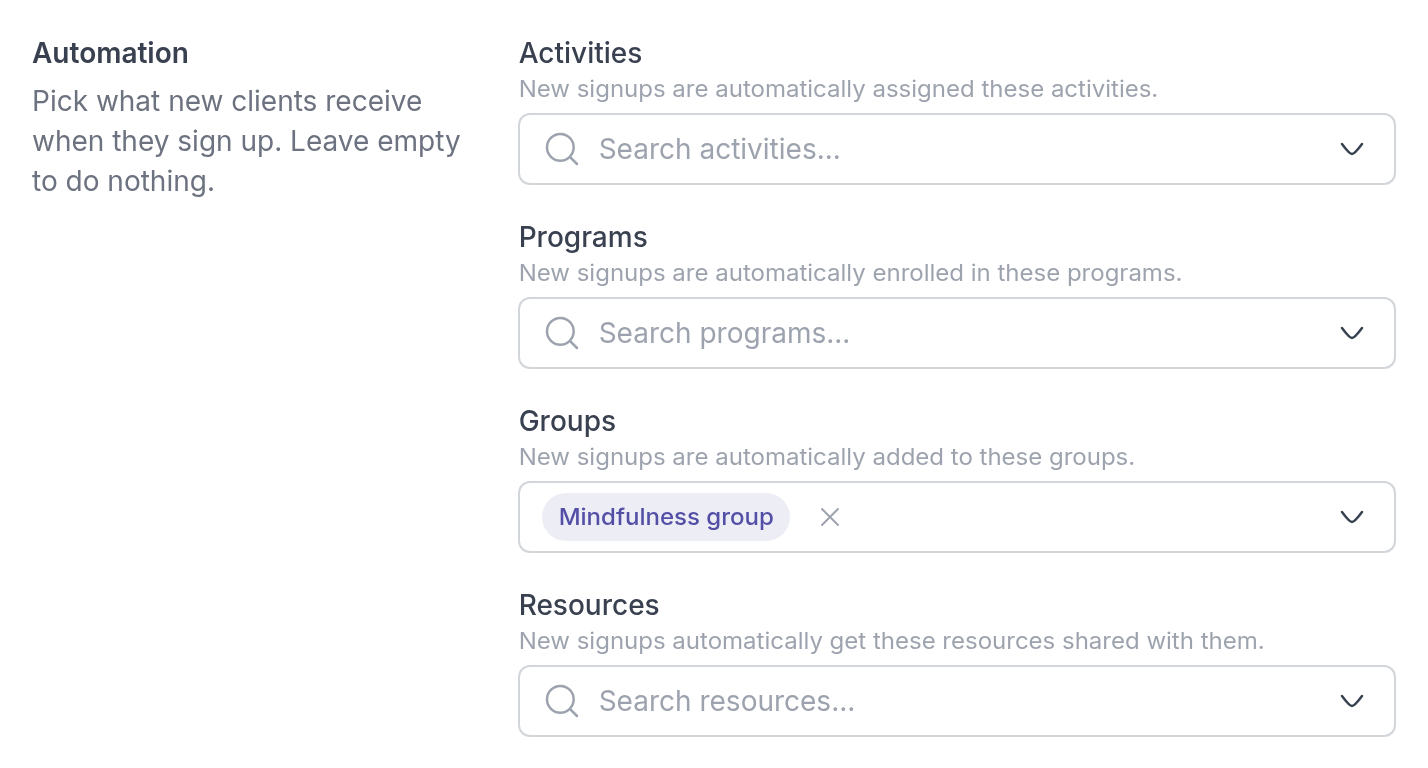
Your automation only applies to signups after you publish. Each person gets the content that was set on the form when they signed up, so later changes don't affect people already on your waiting list.
## When the automation runs
The automation does not run when someone fills in the form. It runs when the new client is active in your workspace:
- **Clients** receive the content once they accept their invitation and set up their account.
- **Guests** receive the content as soon as they are added, because they don't get an invitation.
With the **Waitlist** signup mode, or when your plan is full, people first wait on your waiting list. Nothing is delivered until you accept them, and for clients, until they accept their invitation. See [Signup form](https://quenza.com/help/new-clients/signup-form/).
The automation never runs for people who don't confirm their email address, for requests you decline, or for clients who never accept their invitation.
## If you delete content used in an automation
When you delete an activity, program, group or resource that a landing page uses in an automation, Quenza lists the affected landing pages before you confirm. After you delete it, it is removed from those automations.
## Related
- [Landing pages](https://quenza.com/help/new-clients/landing-pages/)
- [Signup form](https://quenza.com/help/new-clients/signup-form/)
- [Groups](https://quenza.com/help/clients/groups/)
---
# Your logo
> Replace the Quenza logo with your own practice logo in the client portal, the mobile app and the emails your clients receive.
Available on the Growth plan and higher.
Source: https://quenza.com/help/branding/logo/
Upload your practice's logo so clients see your brand instead of Quenza's. You need permission to edit workspace settings, and the custom logo is available on the Growth plan and higher.
Your logo is often the first thing a new client sees. When Emma Clarke opens her invitation from Bright Path Coaching, she sees the Bright Path logo she knows from Sarah's website, not the name of a software company. That makes it clear who the email is from and that the client portal belongs to her coach.
## Upload your logo
The logo is under **Administration → Workspace → White Label**, on the **Custom Logo** tab. Until you upload your own, it shows the Quenza logo.
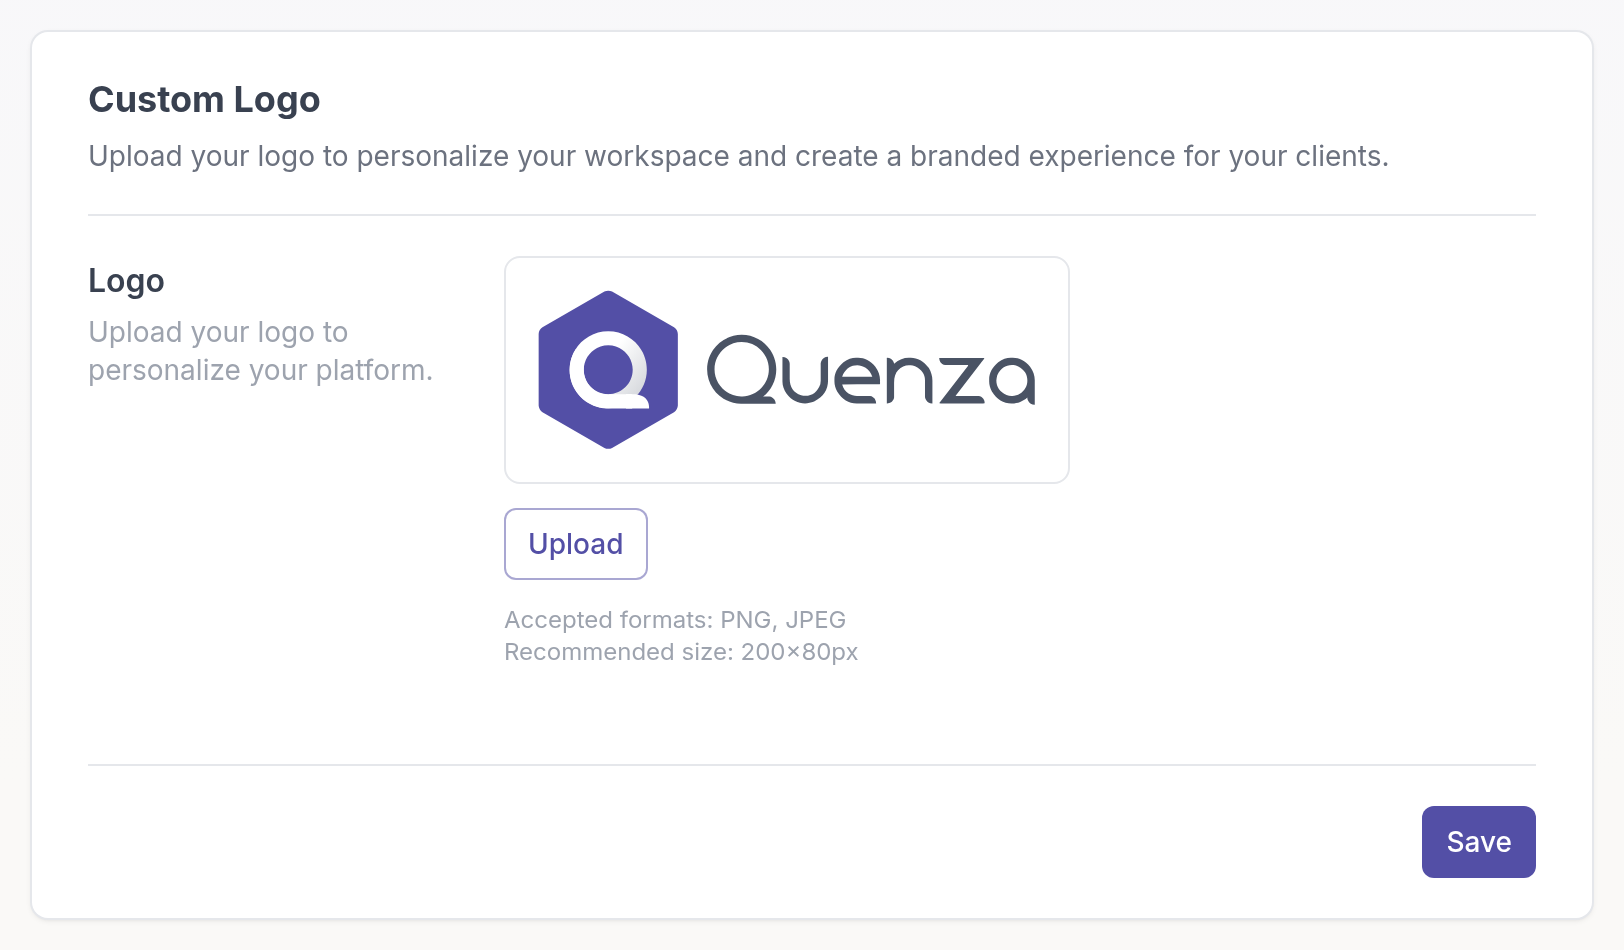
1. Click **Upload** and choose a PNG or JPEG file. A wide logo of about 200 × 80 pixels works best.
2. Move or resize the frame to choose the part of the image to use, and click **Confirm**.
3. Click **Save**.
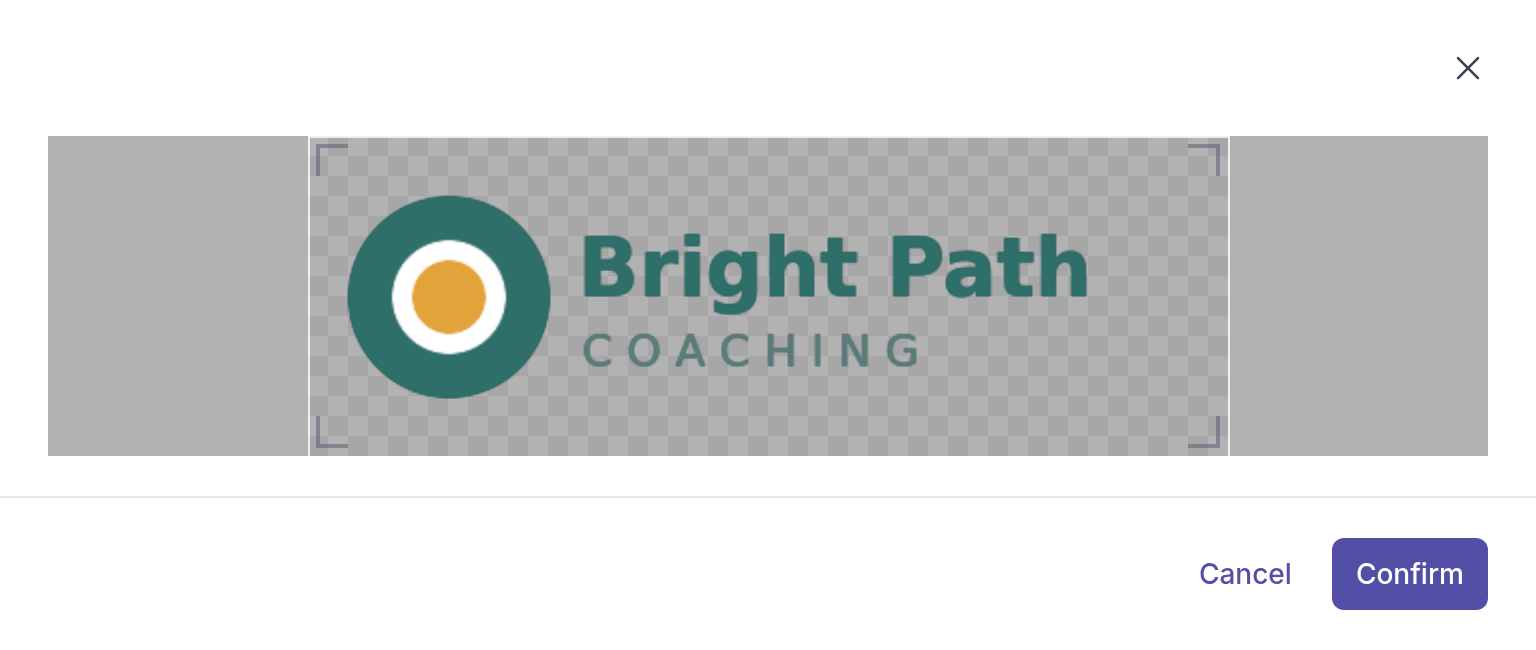
Until you click **Save**, the new logo is only a preview. If you leave the page before you save, nothing changes.
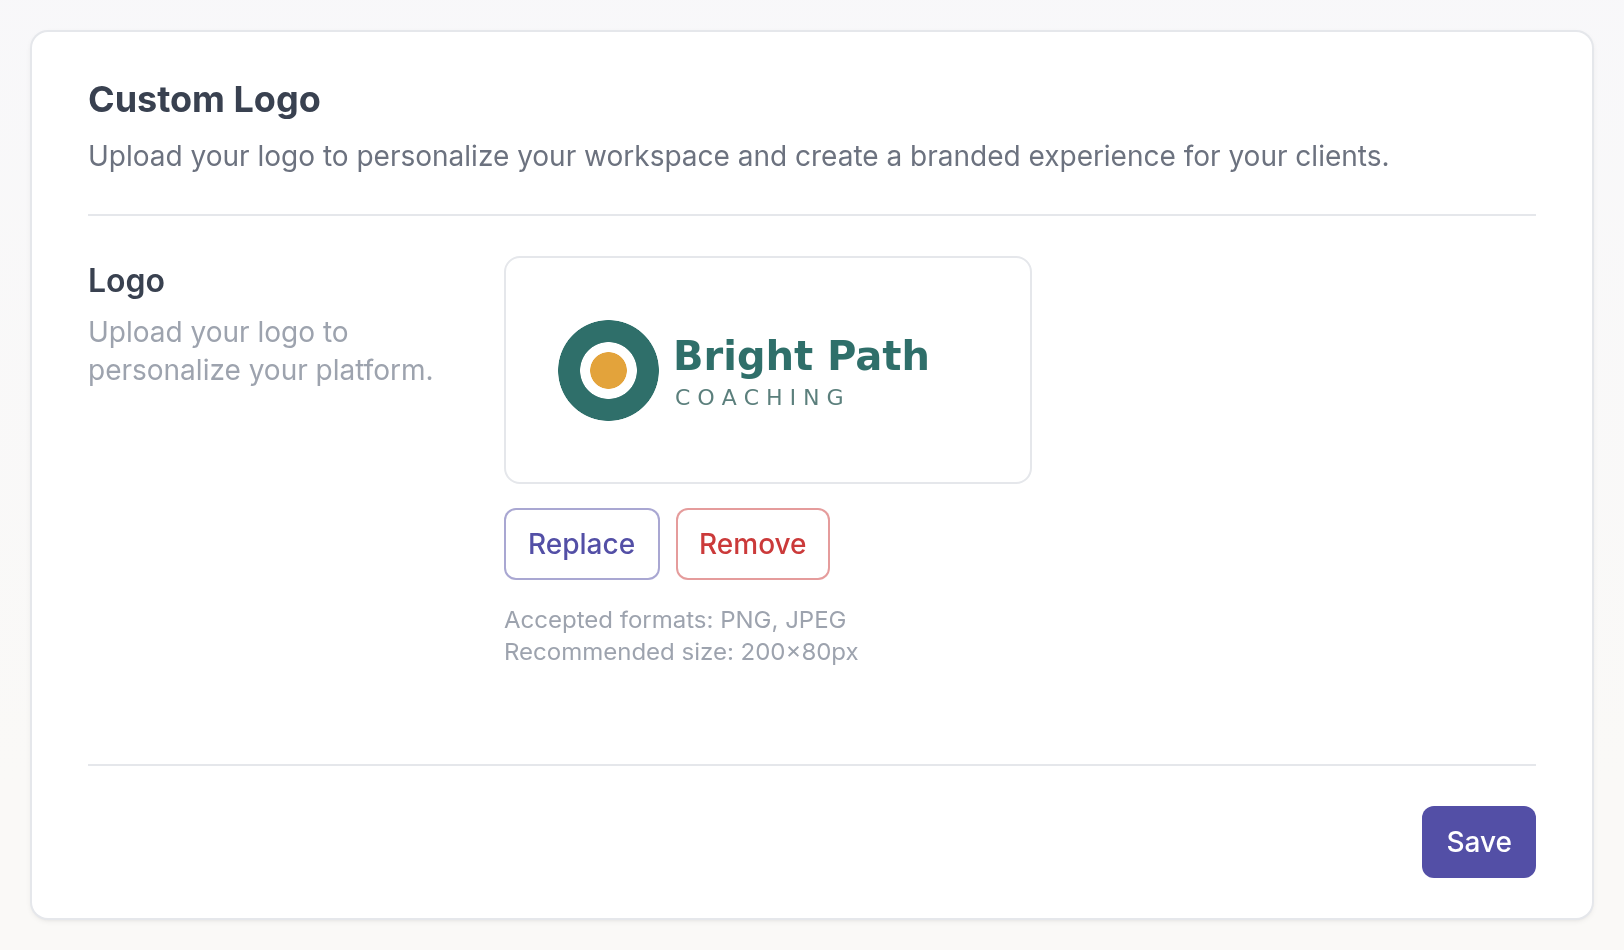
## Where your logo appears
- in the client portal and the mobile app, while clients view and complete their content
- in emails to clients, such as invitations and activity notifications
- in your own workspace
You can also reuse the workspace logo on a [landing page](https://quenza.com/help/new-clients/landing-pages/).
## Replace or remove the logo
On the **Custom Logo** tab, click **Replace** to upload a different file, or **Remove** to go back to the Quenza logo. Then click **Save**.
## More ways to brand Quenza
- [Custom sender email](https://quenza.com/help/branding/custom-sender-email/): send emails from your own address
- [Custom domain](https://quenza.com/help/branding/custom-domain/): use your own domain for the client portal
- [Rename "My professional"](https://quenza.com/help/branding/my-professional-label/) in the client app
- [Email templates](https://quenza.com/help/branding/email-templates/) for the emails you send with activities and programs
---
# Custom sender email
> Set up a custom sender so emails to your clients come from your own domain instead of Quenza's default address.
Available on the Impact plan and higher.
Source: https://quenza.com/help/branding/custom-sender-email/
With a custom sender, emails Quenza sends to your clients, such as invitations, activity and program notifications and chat notifications, come from your own address, for example hello@yourpractice.com. Clients see your name and address instead of a generic sender.
That matters most for the first email. When Sarah Bennett invites a new client, the invitation comes from hello@brightpath.example.com, the same address the client already knows from booking their first session. They recognise it, open it, and it is less likely to end up in spam.
Custom senders are available on the Impact plan and higher. To set one up for the workspace, you need permission to edit workspace settings.
## Before you start
Use an address on your own domain, and make sure you can receive email on it: Quenza sends a verification link there. Addresses from common email providers, such as Gmail, Outlook.com, Hotmail, Yahoo, iCloud or GMX, are not accepted.
- Accepted: `hello@yourpractice.com`
- Not accepted: `yourname@gmail.com`
Setting up a sender takes three short stages: add the address, verify it, and activate it. Adding DNS records afterwards helps your emails reach the inbox.
## Add your sender address
Go to **Administration → Workspace → White Label** and open the **Custom Sender** tab. Under **Email address**, enter the address you want to send from and click **Create**.
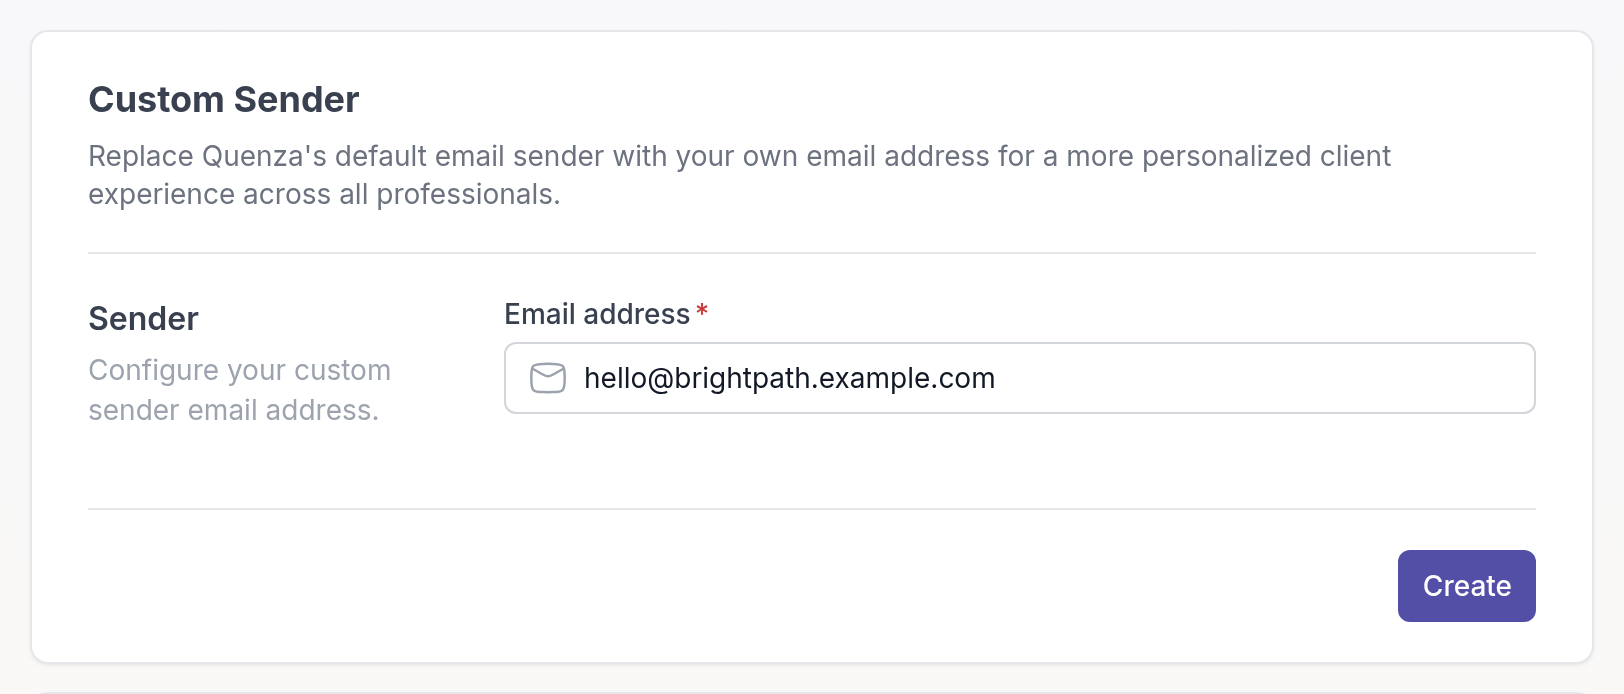
The status changes to **Pending** and Quenza sends a verification email to the address.
## Verify the address
Open the verification email and click the link in it. Check your spam folder if you can't find it. Then go back to the **Custom Sender** tab and click **Verify**. The status changes to **Verified**. If the email did not arrive, click **Resend**.
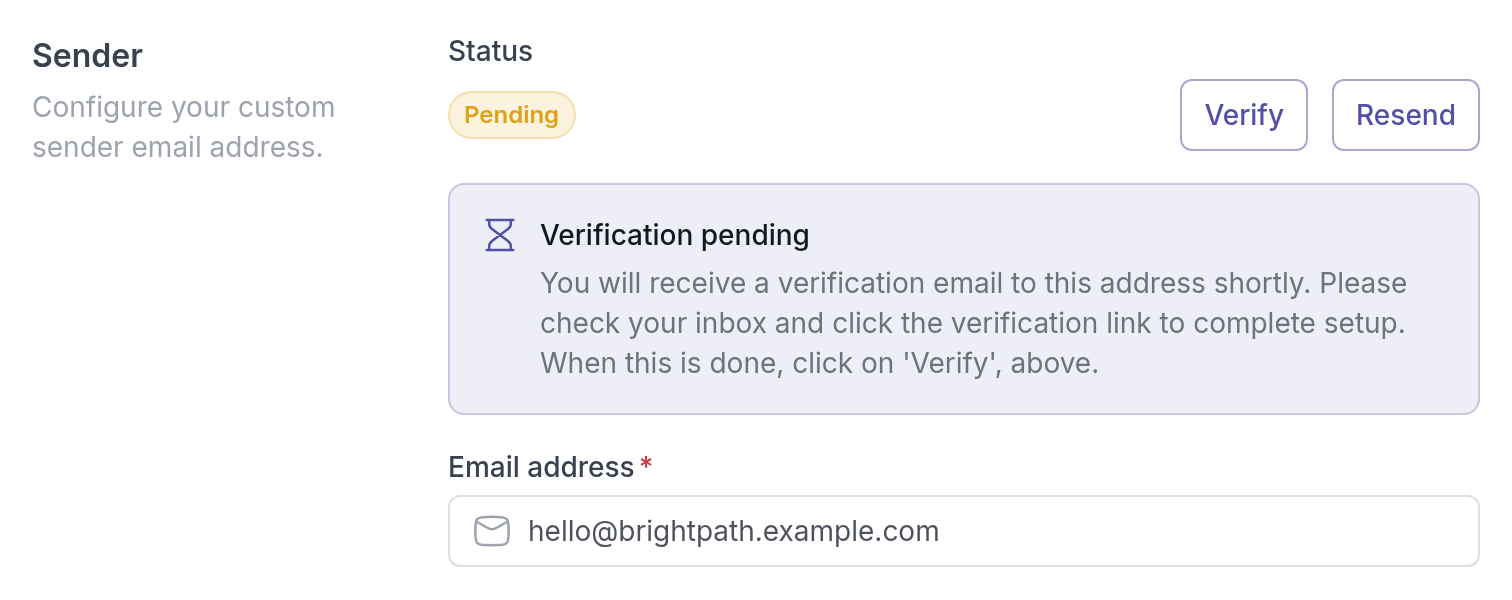
## Activate the sender
Click **Activate**. The status changes to **Active**, and emails from your workspace are now sent from your address.
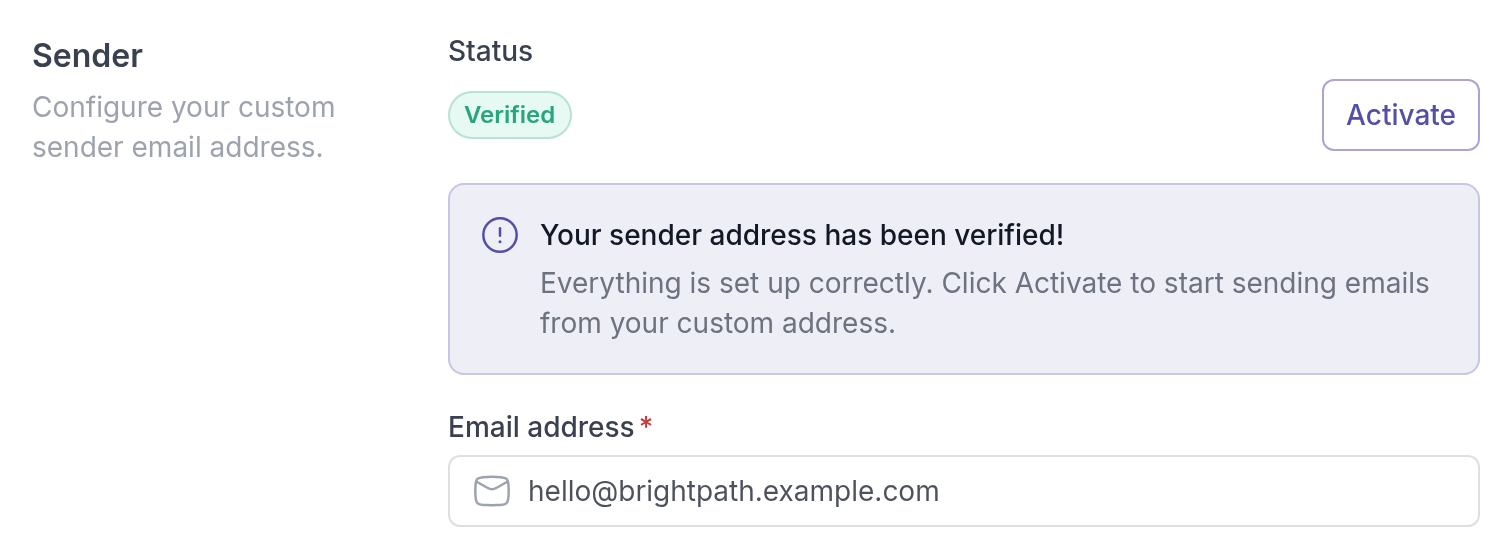
## Add the DNS records for your domain
To make sure your emails reach clients' inboxes and do not land in spam, add the DNS records Quenza shows under **DNS Records** on the **Custom Sender** tab. Use the copy buttons to copy each value. If someone else manages your domain, send them the values.
1. Sign in to your domain provider, such as GoDaddy, Namecheap or Cloudflare, and open the DNS settings.
2. Add the **DKIM** record as a **TXT** record, with the **Name** and **Value** shown in Quenza. DKIM lets receiving servers confirm that the email really came from your domain.
3. Add the **Return-Path** record as a **CNAME** record, with the **Name** and **Value** shown in Quenza. It aligns the bounce address with your domain.
4. Save the records.
DNS changes can take up to 24 to 48 hours to take effect.
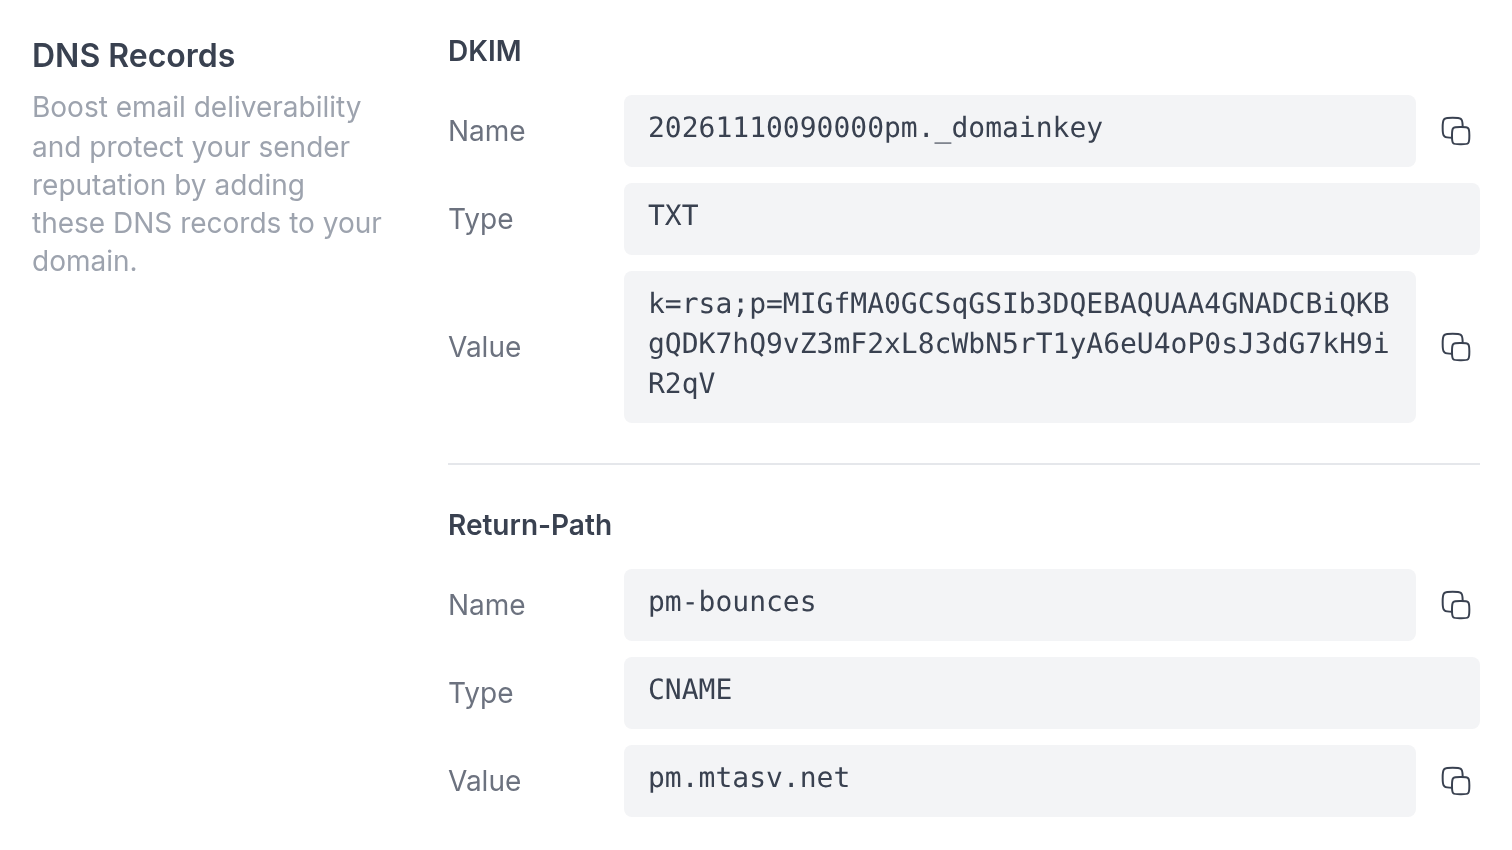
## Let team members use their own sender
By default, one sender address is used for the whole workspace. In a practice with several professionals, each can send from their own address instead, such as sarah@brightpath.example.com.
To allow this, turn on **Allow professionals to use custom sender addresses** under **Custom Sender for professionals** on the **Custom Sender** tab, and click **Save**.
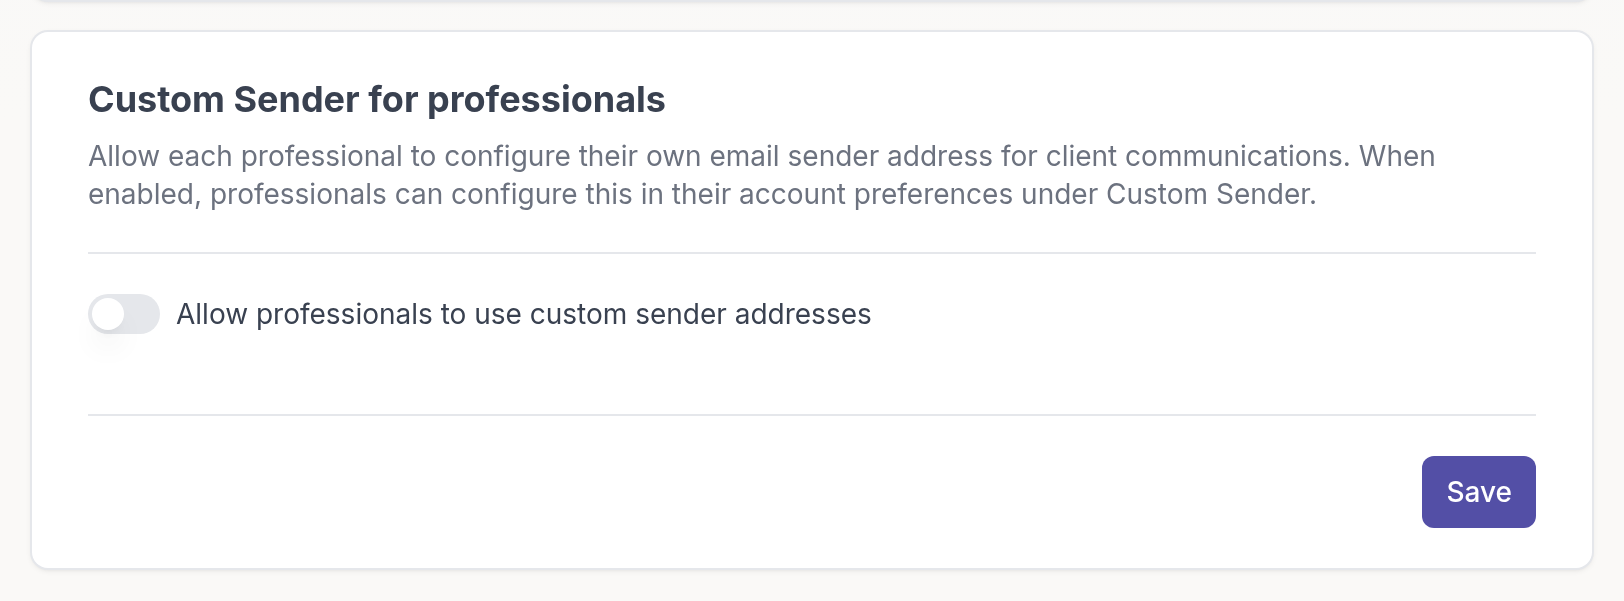
Each professional then clicks the workspace name at the top of the left menu, chooses **My settings**, opens the **Custom Sender** tab and adds, verifies and activates their own address in the same way.
A professional's own active sender is used for their emails. Otherwise the workspace sender is used.
## Deactivate or delete a sender
- Click **Deactivate** to go back to the default Quenza sender for now. Your setup is kept, and you can click **Activate** again at any time.
- Click **Delete** to remove the sender, and confirm with **Delete custom sender**. Emails are sent from the default Quenza sender again.
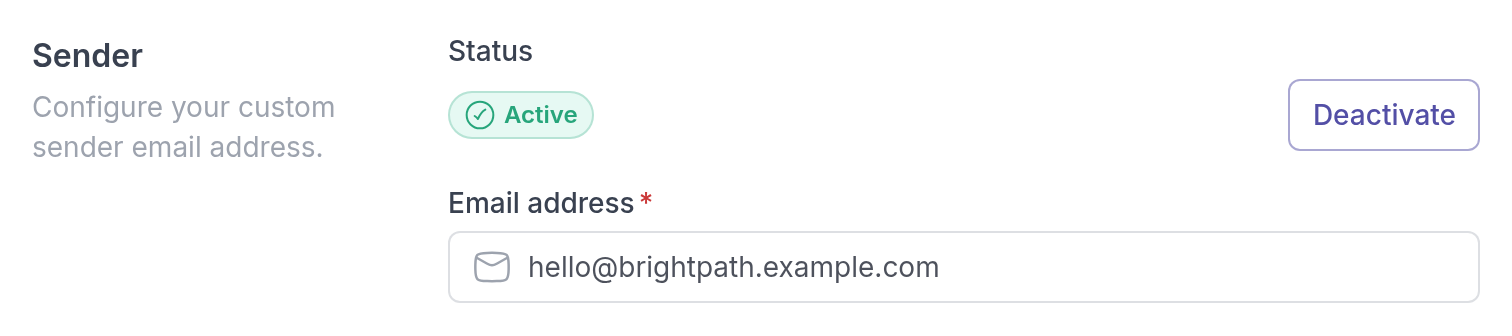
> **Danger:** Deleting a sender cannot be undone. Your DKIM records stop working, and if you set up a new sender address later you need to add new DNS records for it.
## Related
- [Email templates](https://quenza.com/help/branding/email-templates/)
- [Your logo](https://quenza.com/help/branding/logo/)
- [Emails from Quenza](https://quenza.com/help/chat-and-notifications/emails-from-quenza/)
---
# Custom domain
> Let clients reach the client portal on a subdomain of your own website, such as client.yourdomain.com, by adding a CNAME record.
Available on the Impact plan and higher.
Source: https://quenza.com/help/branding/custom-domain/
With a custom domain, your clients open the client portal on an address that matches your brand, such as client.yourdomain.com, instead of the default Quenza address. You add the subdomain in Quenza, point it to Quenza with a DNS record at your domain provider, and activate it once it is verified.
For example, Bright Path Coaching's website is brightpath.example.com. With the custom domain client.brightpath.example.com, Emma Clarke signs in on an address that clearly belongs to her coach's practice. Together with [your logo](https://quenza.com/help/branding/logo/) and a [custom sender email](https://quenza.com/help/branding/custom-sender-email/), clients see your practice everywhere instead of Quenza.
Custom domains are available on the Impact plan and higher. You need permission to edit workspace settings, and access to the DNS settings of your domain. If someone else manages your website, ask them to add the DNS record for you.
## Connect your domain
Go to **Administration → Workspace → White Label** and open the **Custom Domain** tab. Under **Domain**, enter the subdomain you want to use, for example `client.yourdomain.com`, and click **Connect Domain**.
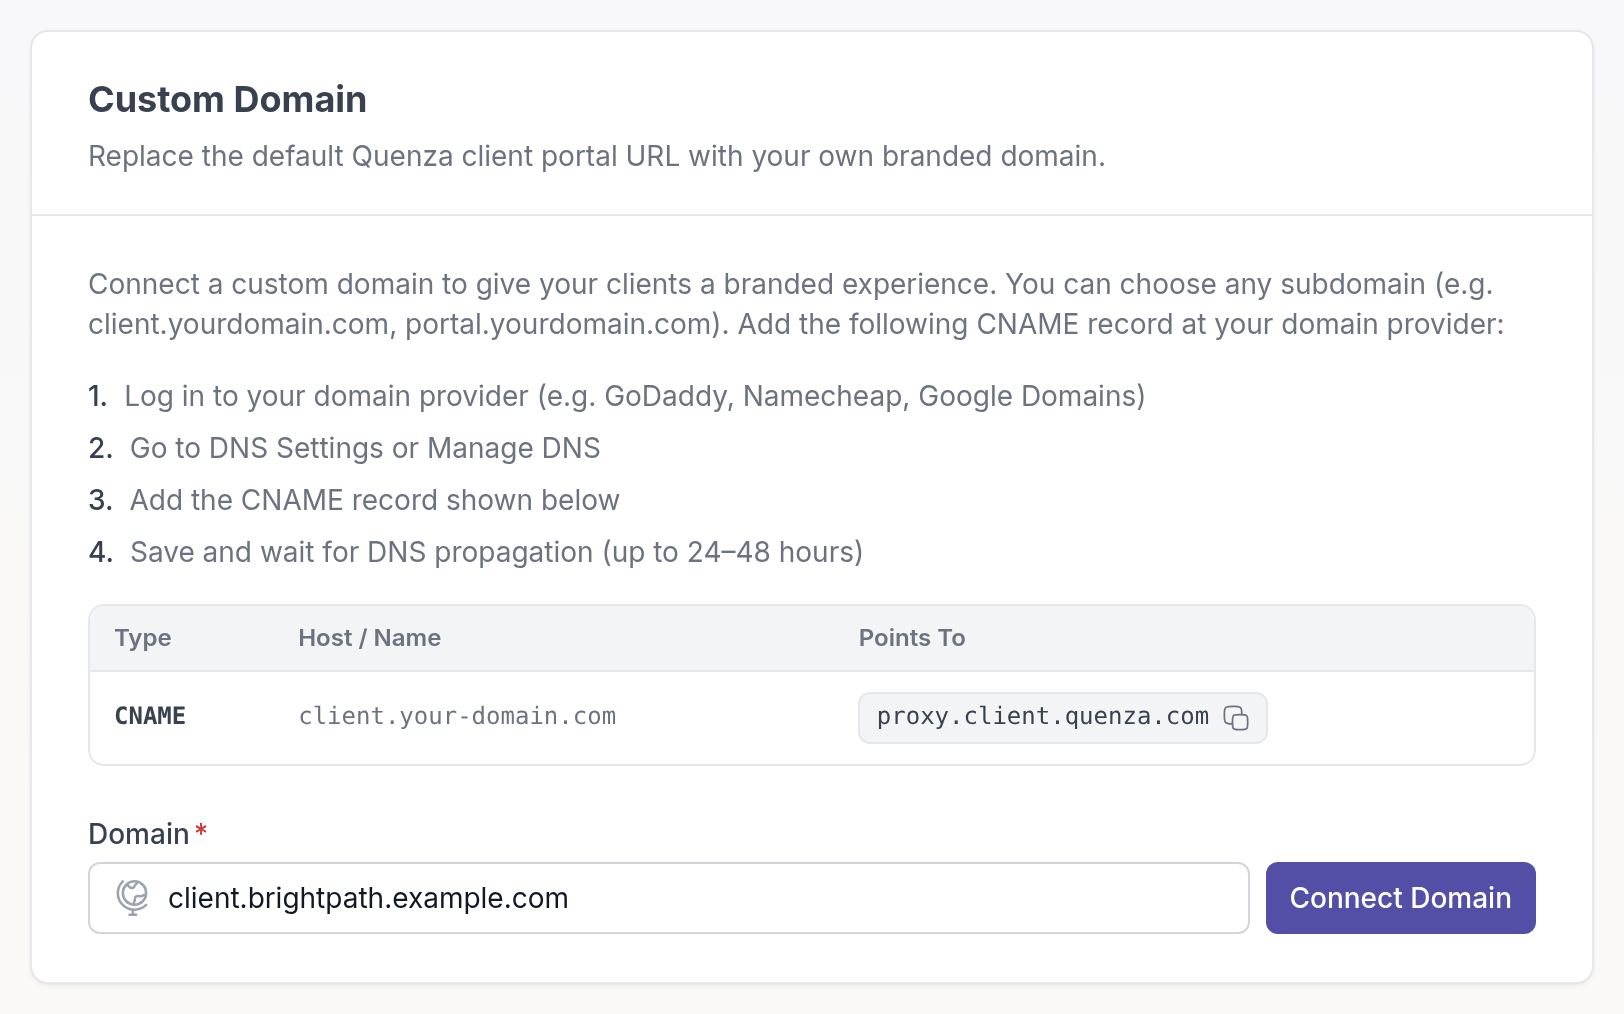
Use a subdomain, such as `client.` or `portal.` in front of your domain, not your main website address. Your website keeps working as before.
## Add the CNAME record
The **Custom Domain** tab shows the CNAME record to add at your domain provider, such as GoDaddy, Namecheap or Cloudflare:
1. Sign in to your domain provider and open the DNS settings for your domain.
2. Add a **CNAME** record with the host shown in Quenza, pointing to `proxy.client.quenza.com`.
3. Save the record.
DNS changes can take up to 24 to 48 hours to take effect.
## Verify and activate
Quenza checks the record regularly and emails the workspace owner when the domain is verified. To check yourself, open the **Custom Domain** tab and click **Refresh**.
When the page shows **Domain verified — activation required**, click **Activate**. Your client portal is now available on your own subdomain, with SSL included.
> **Note:** Activation is always a manual step, so the domain never goes live before you decide. Let your clients know about the new address when you activate it.
## Deactivate or disconnect the domain
- Click **Deactivate** to stop using the domain for now. You can **Activate** it again at any time without verifying it again.
- Click **Disconnect** to remove the domain from Quenza. Quenza asks you to confirm.
> **Caution:** When you disconnect the domain, clients immediately lose access through it and the client portal goes back to Quenza's default address. If you connect the domain again later, it has to be verified again.
## Related
- [Landing pages](https://quenza.com/help/new-clients/landing-pages/): a published page is also available on your custom domain
- [Custom sender email](https://quenza.com/help/branding/custom-sender-email/)
- [Your logo](https://quenza.com/help/branding/logo/)
---
# Email templates
> Save the subject and message of the emails you send with activities and programs, and reuse them in a couple of clicks.
Available on the Growth plan and higher.
Source: https://quenza.com/help/branding/email-templates/
When you send an activity or program, Quenza emails your client to let them know. Email templates let you save that subject and message once and reuse it, so you don't write the same note every time.
Most practitioners have a few messages they send again and again. Sarah Bennett, for example, has a "Friendly welcome" template for the first exercise after an intake: "Thank you for our conversation. I have added the Values reflection for you. Take your time with it, there are no right or wrong answers." When she sends the Values reflection to Emma Clarke, she picks the template, and the email greets Emma by her first name.
Email templates are available on the Growth plan and higher, and during the free trial. Templates are shared across the workspace. Creating and managing them requires permission to edit workspace settings.
Each email type starts with the built-in **Quenza default** template, which is used until you choose another.
## Use a template when you send
When you send an activity or program, the **Notifications** step has a **Customize Email** section, as long as **Send an email** is on. Click **Use a template** and choose a template. The subject and message are filled in, and you can still change them for this send.
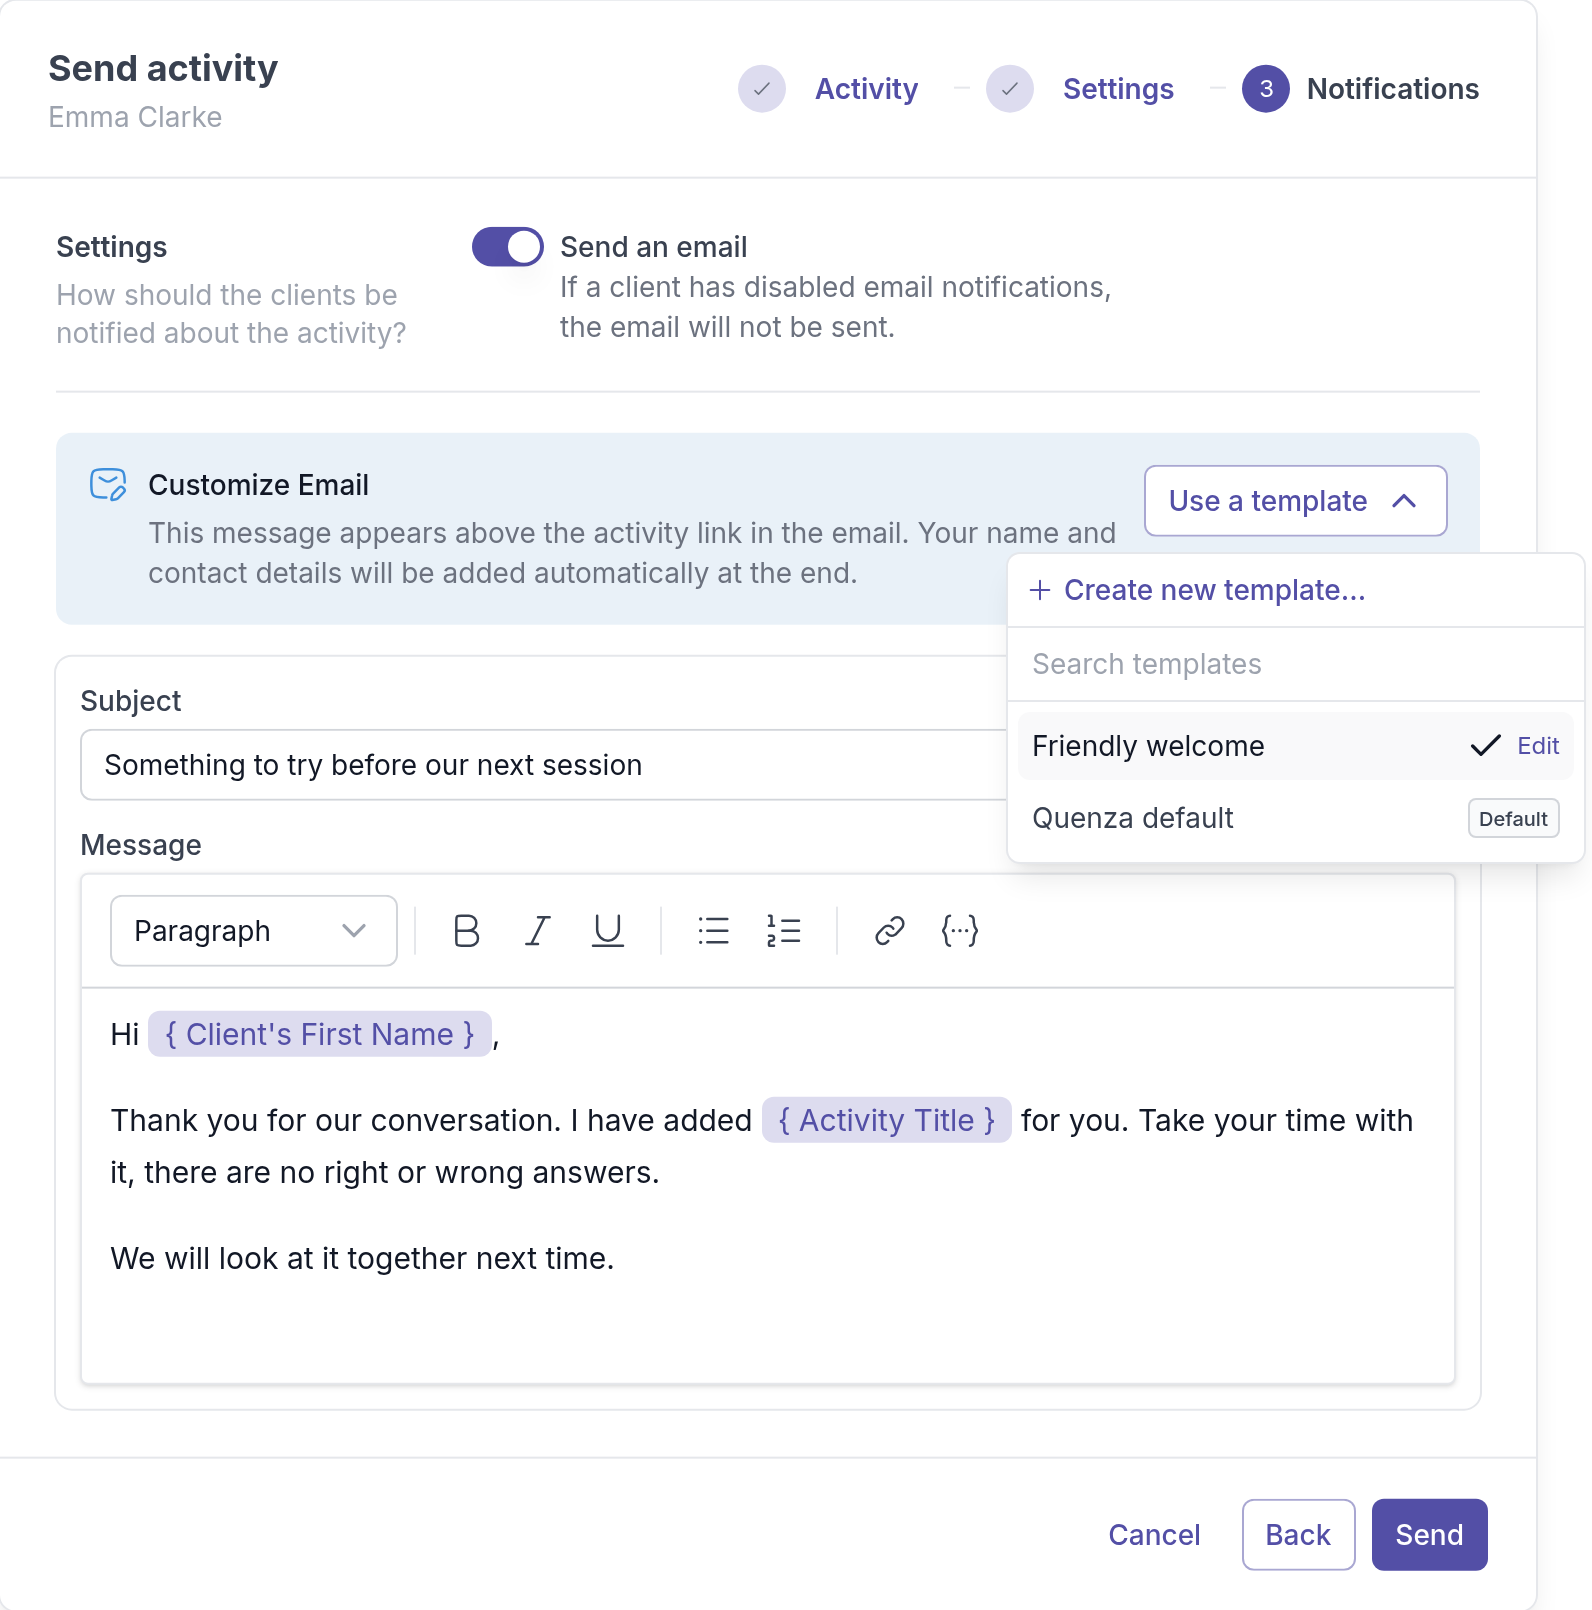
Quenza puts the link to the activity or program above your message, and adds your name and contact details at the end.
## Create a template
You can create a template while you send, without leaving the dialog: in the **Use a template** menu, click **Create new template…**. You can also create one under **Workspace → Customization**, see below.
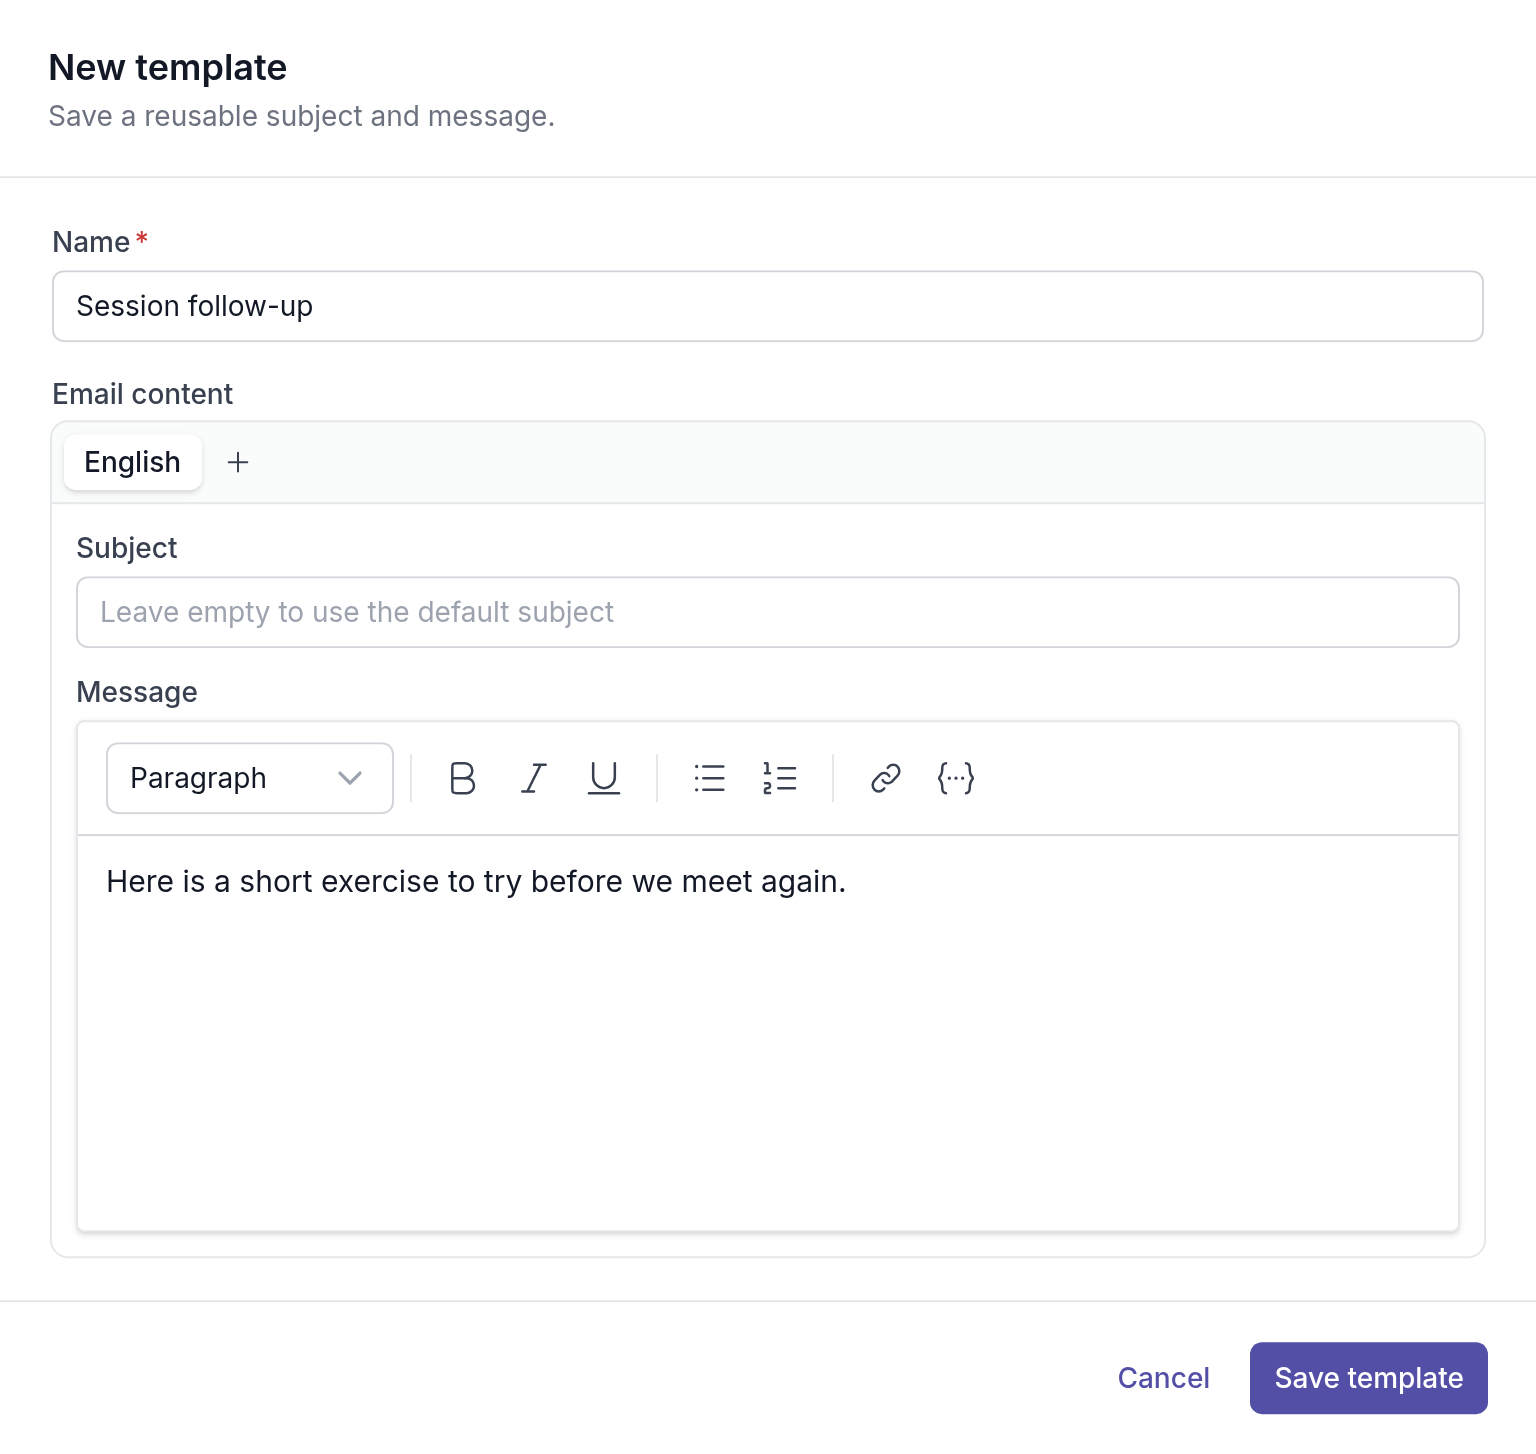
Give the template a **Name** you will recognise in the list, such as "Session follow-up". Write the **Subject**, or leave it empty to use the default subject, and the **Message**. Click **Save template**. The template is selected right away and is available for future sends.
### Personalize with variables
Click the variable button (**{…}**) in the message toolbar to insert details such as the client's first name or the activity title. Quenza fills them in for each client, so one template stays personal.
### Add other languages
Click **+** next to **English** to add a version of the template in another language. Quenza uses the version that matches the client's language. If a template has no version in a client's language, the client receives the wording shown in the language you send from.
## Set a default template for an activity or program
If you always send an activity with the same message, give it its own default template. The send dialog is then filled in automatically.
Open the activity or program, go to the **Settings** tab, choose a **Default email template** under **Email** and click **Save**.

If you don't choose one, the workspace's default template for that type is used. You can still choose another template or edit the message each time you send.
## Manage the workspace's templates
All templates are under **Administration → Workspace → Customization**, on the **Email templates** tab. They are grouped by the email they are used for: **Send activity** and **Send program**.
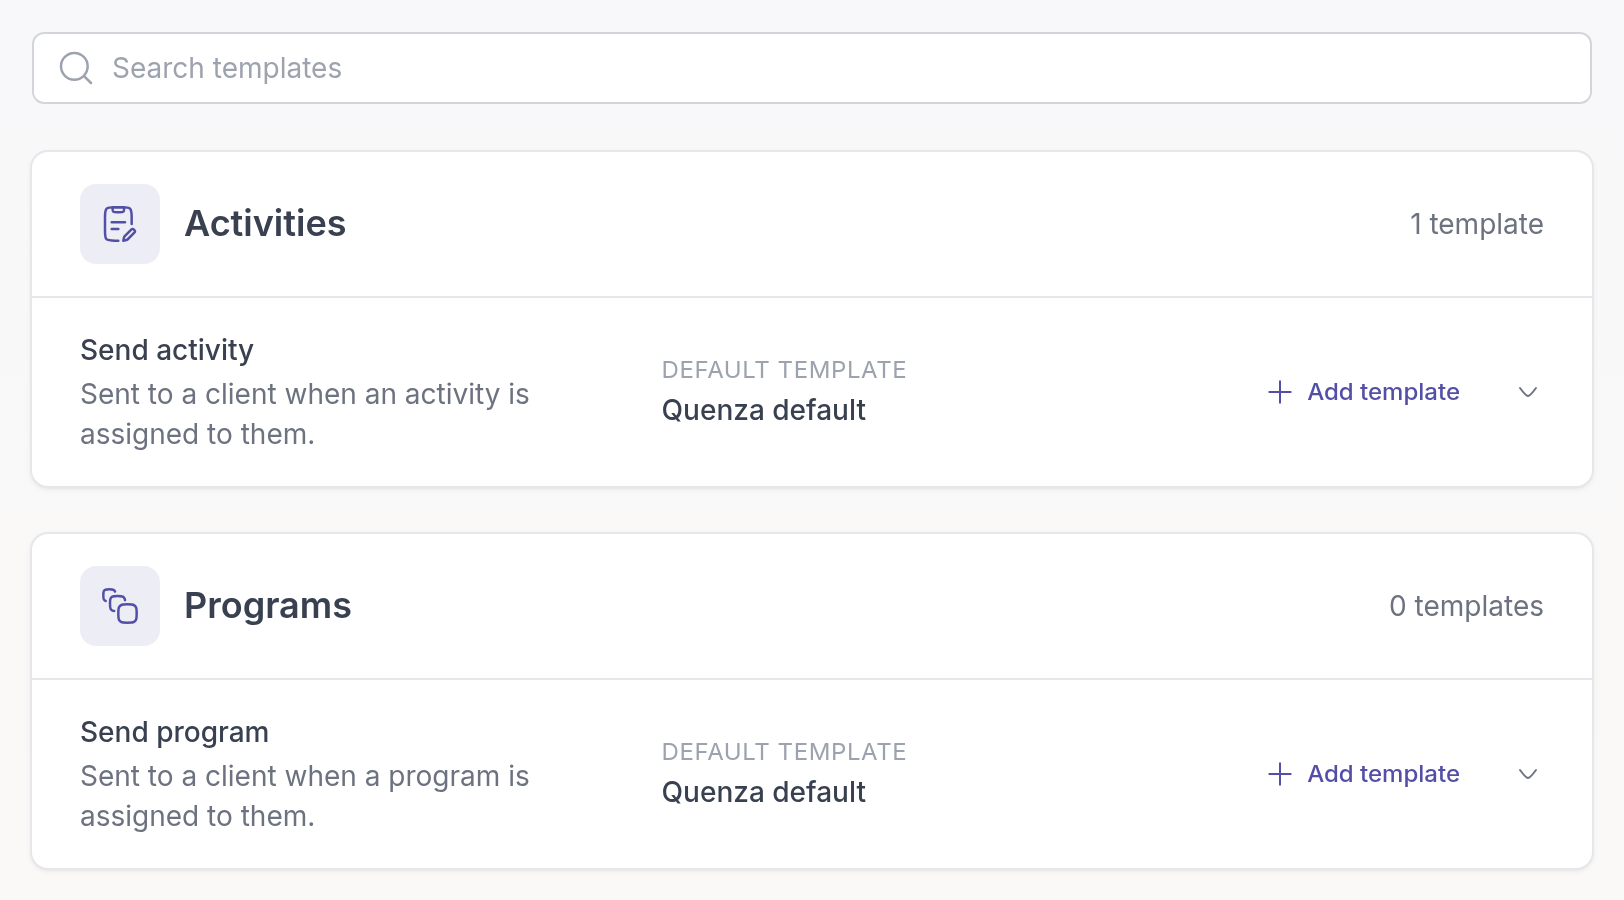
- Click **Add template** next to an email type to create a template.
- Open a template's menu to **Edit**, **Duplicate** or **Delete** it, or choose **Set as default** to make it the workspace default for that type.
- The **Quenza default** template can't be edited. Duplicate it to make your own version.
> **Note:** You can't delete the template that is set as the workspace default. Set a different default first. When you delete a template, activities and programs that used it fall back to the workspace default.
## Related
- [Send an activity](https://quenza.com/help/working-with-clients/send-an-activity/)
- [Send a program](https://quenza.com/help/working-with-clients/send-a-program/)
- [Custom sender email](https://quenza.com/help/branding/custom-sender-email/)
---
# Rename "My professional"
> Replace "My professional" with the words you use with clients, such as "My coach" or "My therapist", in every language.
Source: https://quenza.com/help/branding/my-professional-label/
In the client app, clients see you under **My professional**. You can replace that with the words you use in your practice, such as **My coach**, **My therapist** or **My mentor**. The setting applies to the whole workspace.
It is a small change that makes the app feel like yours. Sarah Bennett works as a coach, so her clients see **My coach** in the menu. A therapy practice would choose **My therapist**, and a practice where clients work with two people at once would set the plural, **My therapists**, too.
Custom translations are available on all current plans and during the free trial, but not on Legacy plans. You need permission to edit workspace settings; if you cannot open them, ask your workspace owner.
## Change the label
Go to **Administration → Workspace → Customization**, open the **Translations** tab and choose the language under **Language**. In the **General** section, find **My professional**.
Click a preset, such as **My coach**, to fill in both forms, or type your own wording:
- **Singular**: for clients who work with one professional, such as "My coach".
- **Plural**: for clients who work with several, such as "My coaches".
Then click **Save changes**.
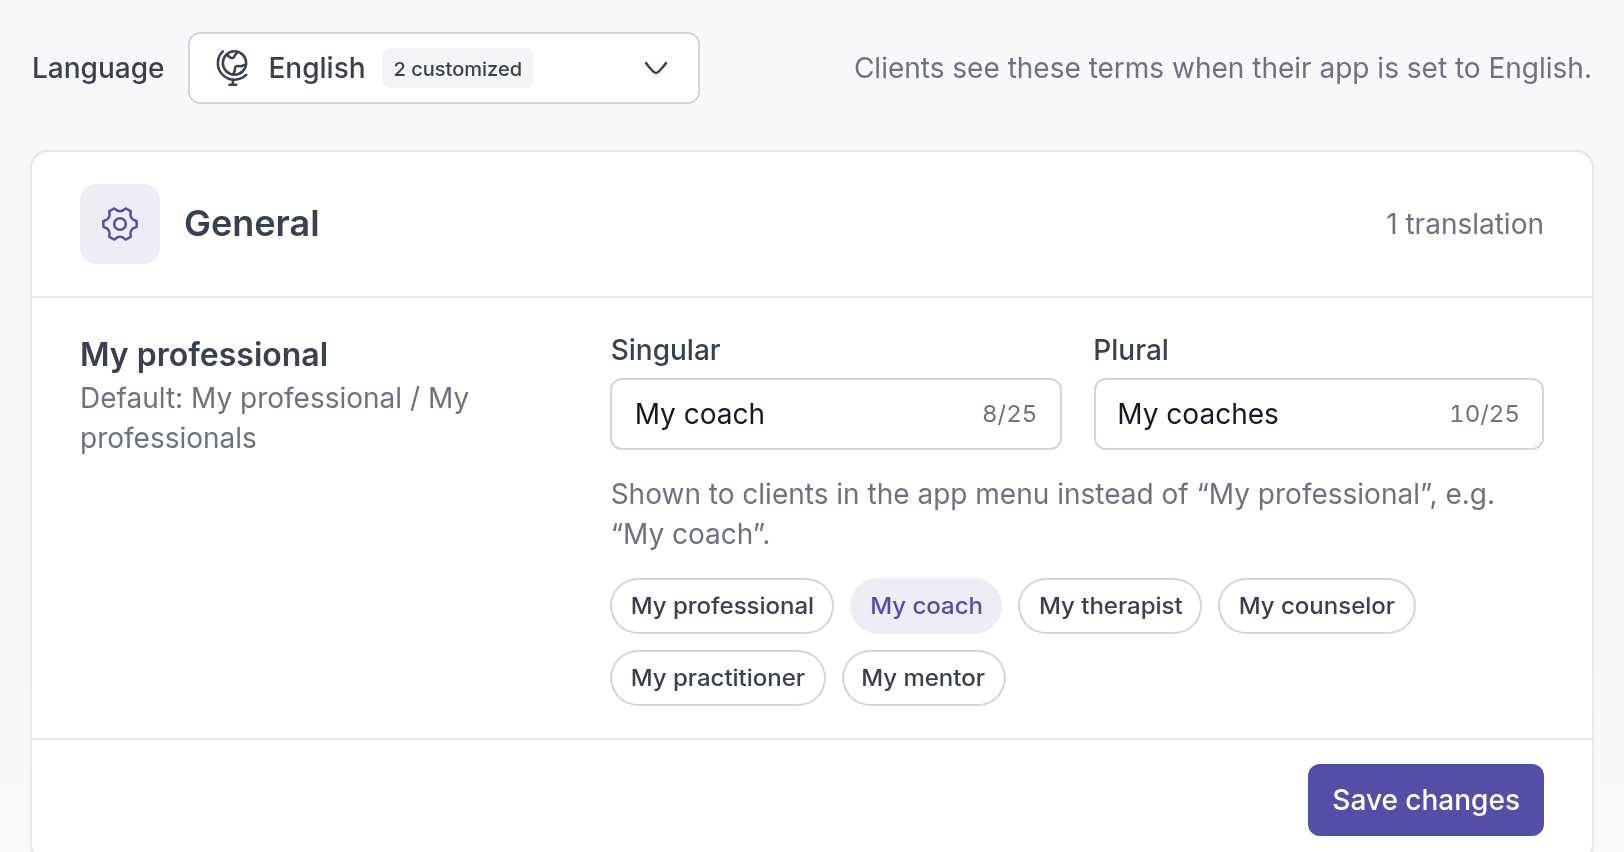
Enter the complete label, including "My". Quenza shows exactly what you type. Each form can be up to 25 characters, including spaces.
You can change one form and leave the other empty. An empty form uses Quenza's built-in wording.
## Set the label for other languages
Clients see the label for the language their app is set to. A client using German sees your German label, or Quenza's built-in German wording if you have not changed it.
You can set a label for English, German, Spanish, Finnish, French, Italian, Dutch and Portuguese. Choose the language under **Language**, pick a preset or type your wording, and click **Save changes**. A preset only changes the selected language. Languages you have changed are listed under **Customized** in the dropdown, the others under **Using defaults**.
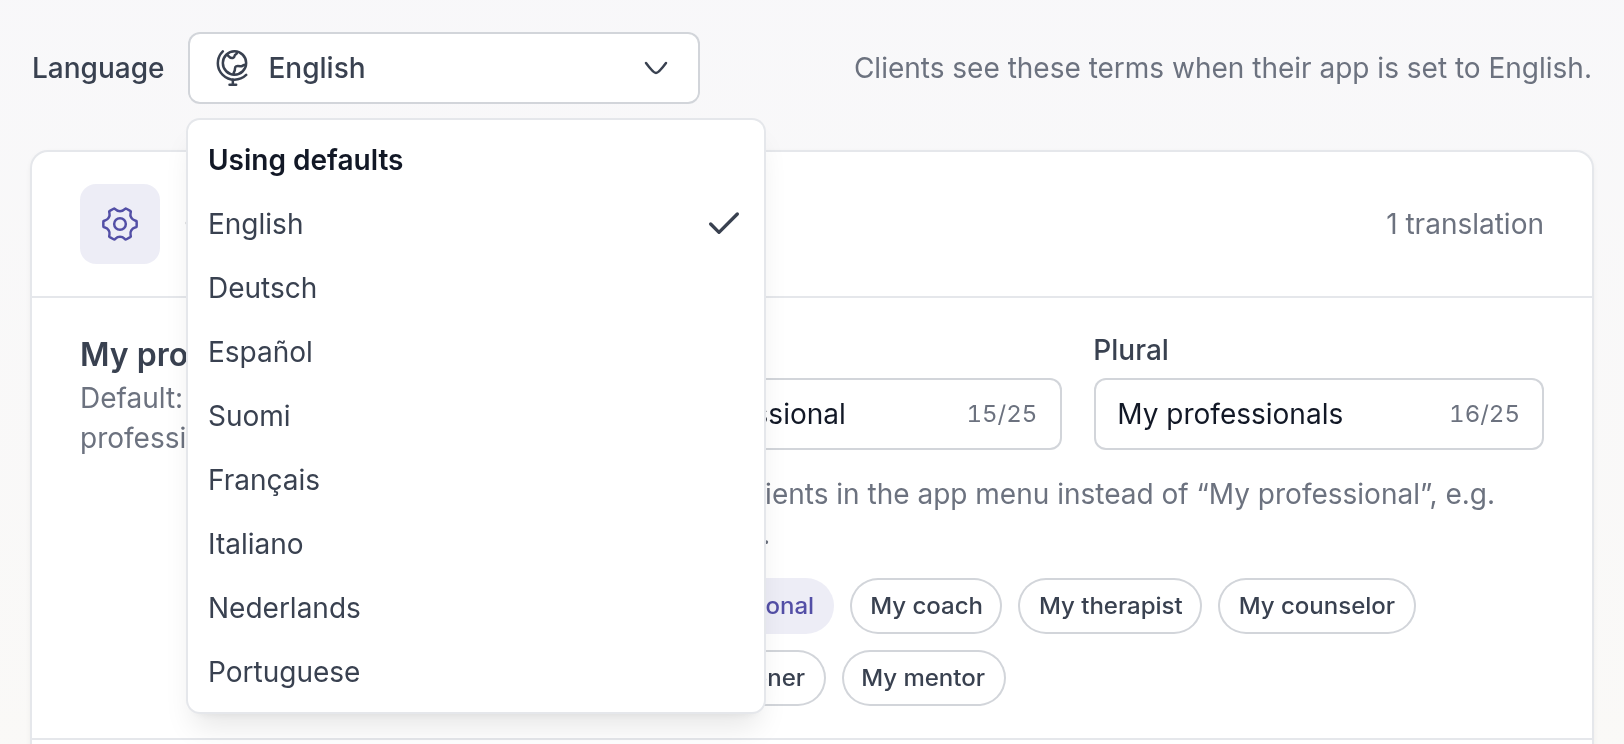
> **Note:** Switching languages does not save your changes, and you can edit several languages before you save. **Save changes** saves your edits in all languages at once.
## What your clients see
Your wording appears in the client app's menu, as the title of the page with their professionals, and as the professional heading in **Chats**. Quenza uses the singular or plural form depending on how many professionals the client works with.
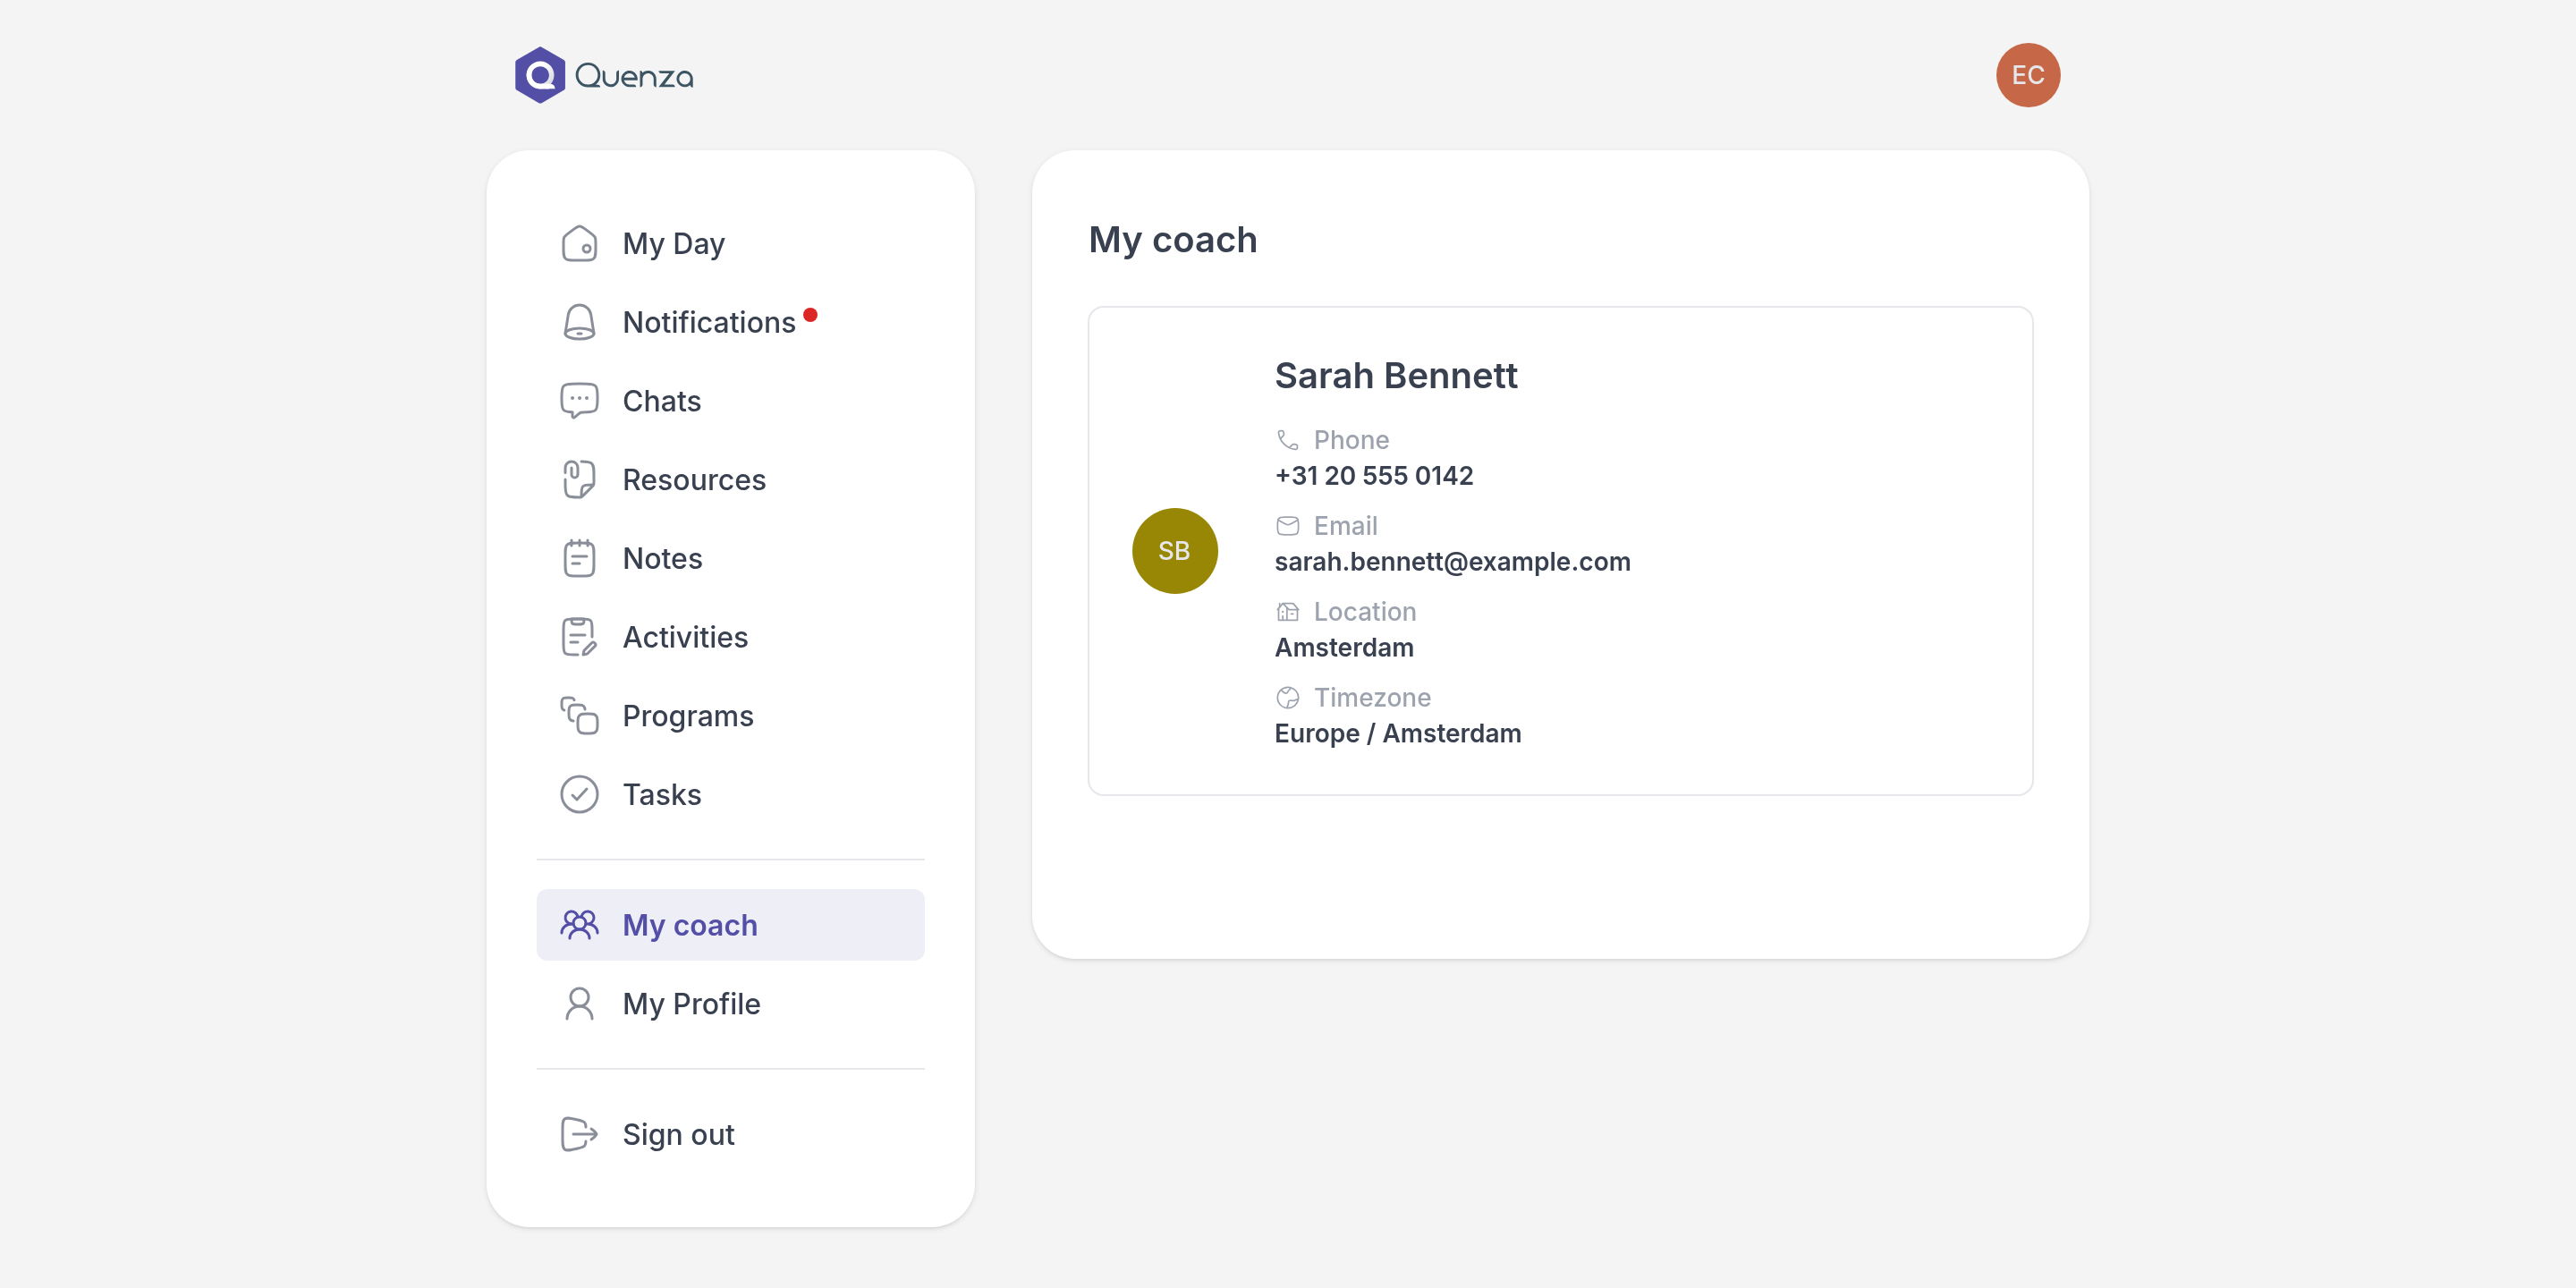
If a client has the app open, they need to refresh it to see the new wording.
The setting does not rename professional profiles, change permissions, change emails, or replace every other use of the word "professional" in Quenza.
## Go back to the default wording
On the **Translations** tab, choose the language, click the **My professional** preset to restore both forms and click **Save changes**.
To restore only one form, clear its field and save. Other languages keep their own labels.
## Related
- [Your logo](https://quenza.com/help/branding/logo/)
- [Your professional](https://quenza.com/help/for-clients/your-professional/) (for clients)
---
# Calendly
> Connect your Calendly booking page so clients can see your availability and book sessions with you from the Quenza client app.
Available on the Growth plan and higher.
Source: https://quenza.com/help/integrations/calendly/
Connect your Calendly booking page to Quenza, and your clients can see your availability and book appointments without leaving the client app.
This saves the back and forth about times. After a session, Emma Clarke opens **Appointments** in the client app, sees Sarah Bennett's free slots for the next two weeks and books the one that suits her. Calendly sends both of them the confirmation, and Sarah's calendar stays the place where all sessions are planned.
Setting this up takes two steps: a workspace Owner or Manager turns on the integration for the workspace, and then each professional connects their own Calendly link. The Calendly integration is not included in the Spark plan. See [Plans and pricing](https://quenza.com/help/billing/plans-and-pricing/).
## Turn on Calendly for your workspace
Owners and Managers can do this. Click **Integrations** in the left menu and click the **Calendly** card.
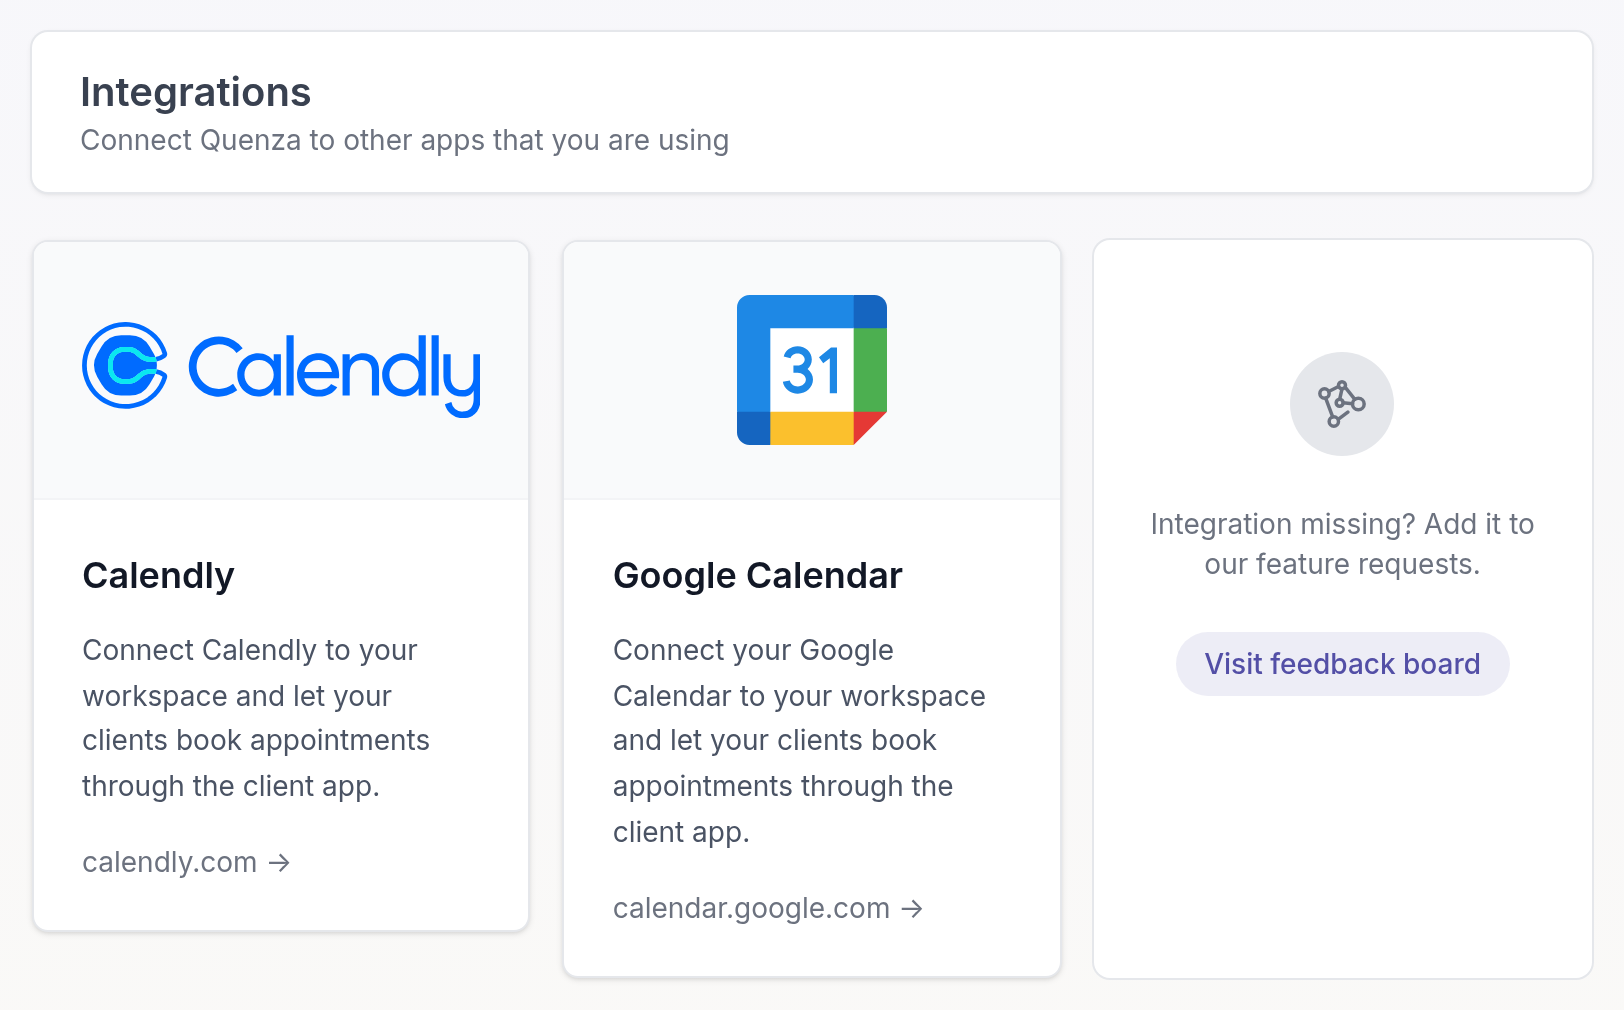
Turn on **Activate Calendly integration** and click **Save**.
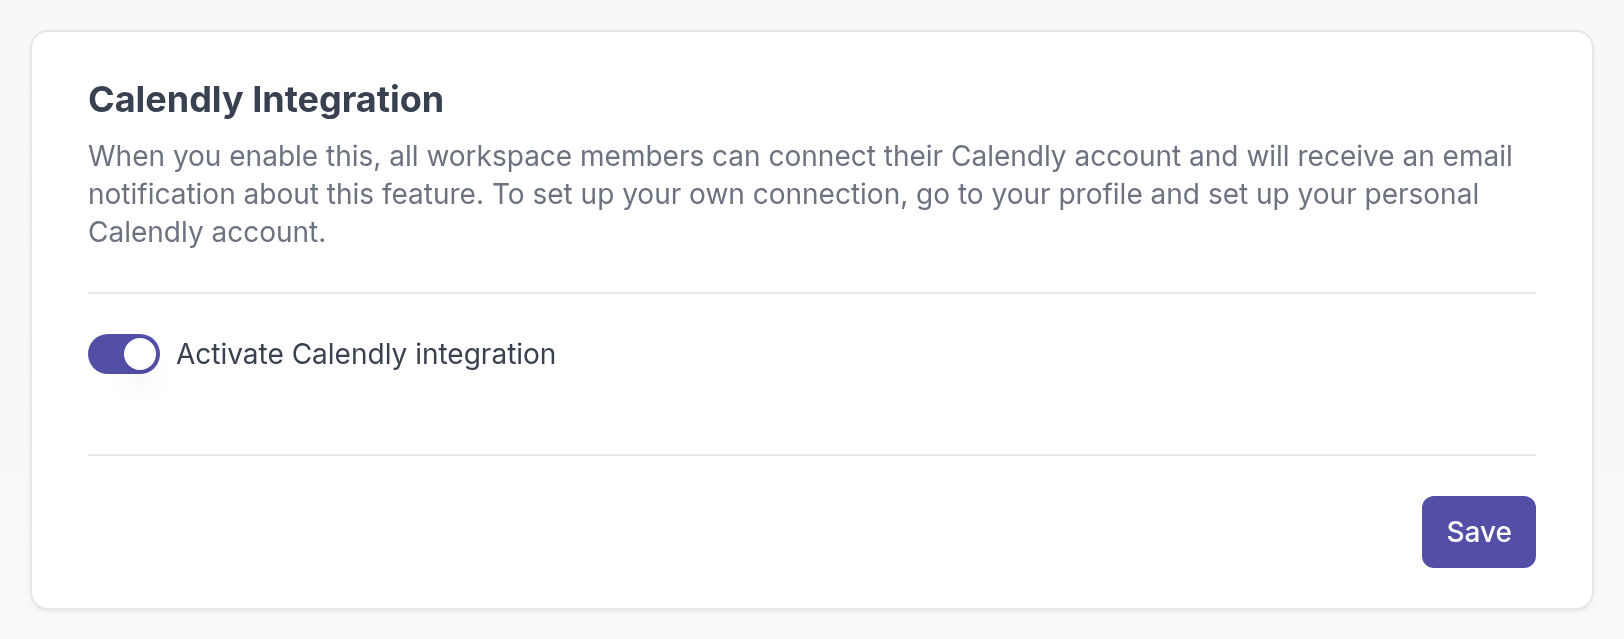
All professionals in your workspace get an email that the Calendly integration is available.
## Connect your Calendly account
Each professional does this for their own booking page.
1. In Calendly, find the event type clients should book and click **Copy link**. The link looks like `https://calendly.com/your-name/30min`.
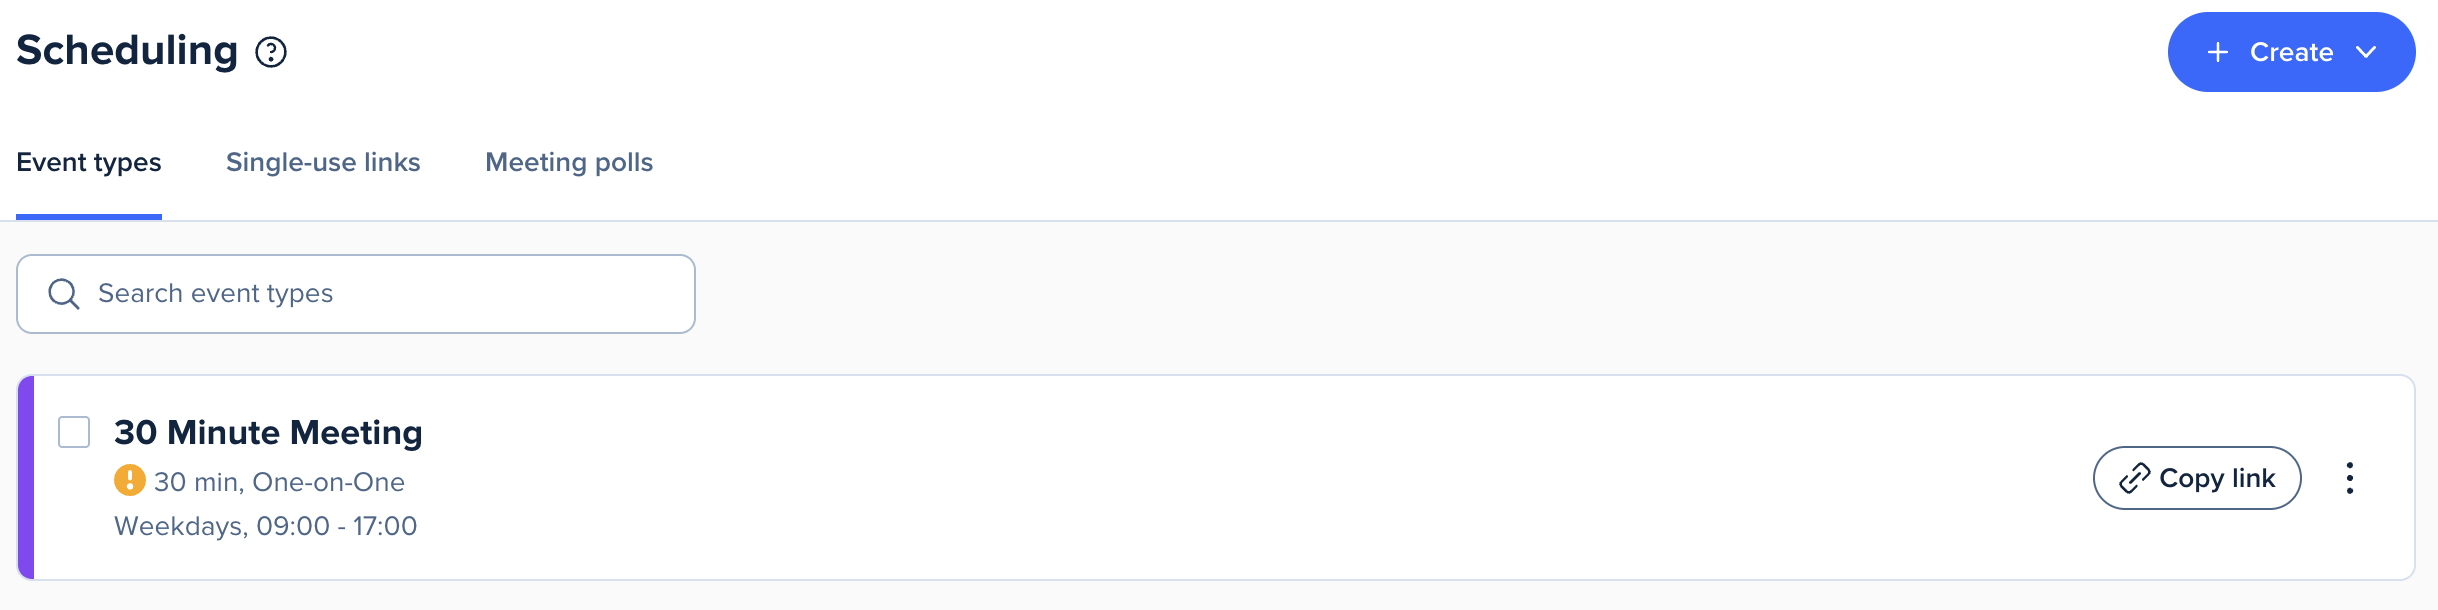
2. In Quenza, click your workspace name at the top of the left menu and choose **My settings**.
3. Go to the **Calendly** tab.
4. Paste only the part after `https://calendly.com/`, for example `your-name/30min`. Quenza already fills in `calendly.com/` for you.
5. Click **Save**.
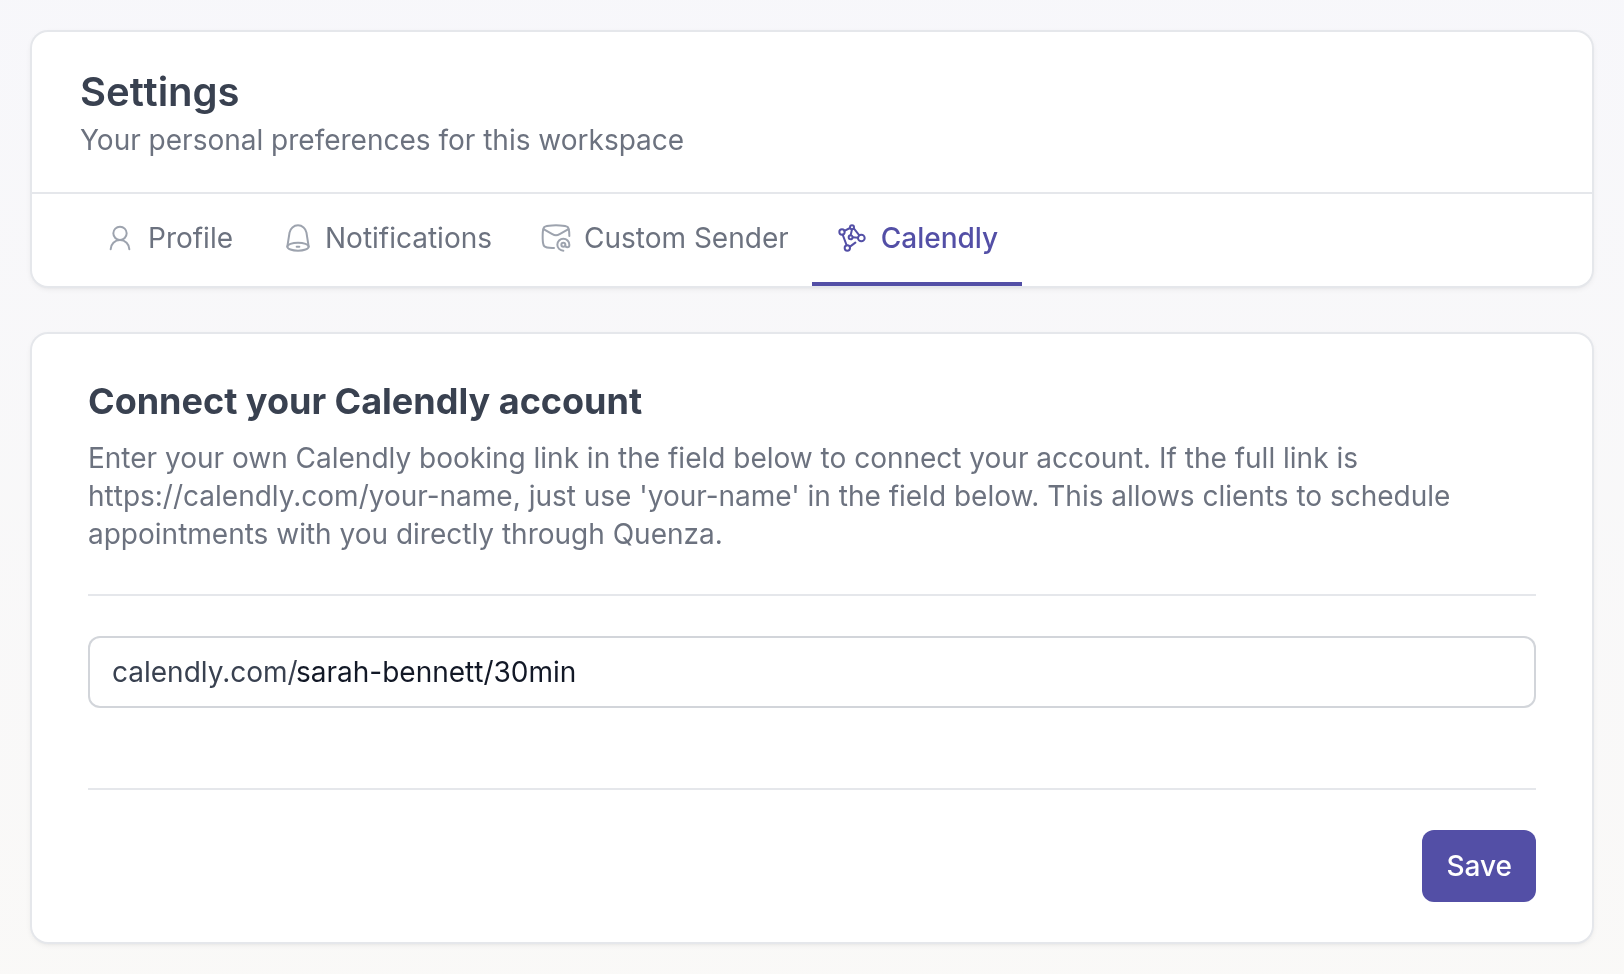
> **Note:** Use one scheduling option at a time. If you have already connected Google Calendar, Quenza shows a reminder so your clients are not confused by two booking options. See [Let clients book appointments with Google Calendar](https://quenza.com/help/integrations/google-calendar/).
## What your clients see
Once you have connected your Calendly link, your clients see **Appointments** in the client app menu. There they can pick a time in your Calendly calendar and book it directly. If several of their professionals offer online scheduling, the client first chooses who to book with.
Bookings, cancellations and reminders are handled by Calendly, with your Calendly settings. Quenza doesn't store the appointments.
## Related
- [Google Calendar](https://quenza.com/help/integrations/google-calendar/)
- [Notifications](https://quenza.com/help/chat-and-notifications/notifications/)
---
# Google Calendar
> Connect a Google Calendar appointment schedule so clients can book sessions with you from the Quenza client app.
Available on the Growth plan and higher.
Source: https://quenza.com/help/integrations/google-calendar/
Connect a Google Calendar appointment schedule to Quenza, and your clients can see your availability and book appointments without leaving the client app.
If you already plan your sessions in Google Calendar, this is the simplest way to let clients book. Sarah Bennett, for example, offers 50-minute sessions on weekday mornings in an appointment schedule. Her clients open **Appointments** in the client app, pick a free slot, and the session appears in her Google Calendar.
Setting this up takes two steps: a workspace Owner or Manager turns on the integration for the workspace, and then each professional connects their own appointment schedule. The Google Calendar integration is not included in the Spark plan. See [Plans and pricing](https://quenza.com/help/billing/plans-and-pricing/).
## Turn on Google Calendar for your workspace
Owners and Managers can do this. Click **Integrations** in the left menu and click the **Google Calendar** card.

Turn on **Activate Google Calendar integration** and click **Save**.
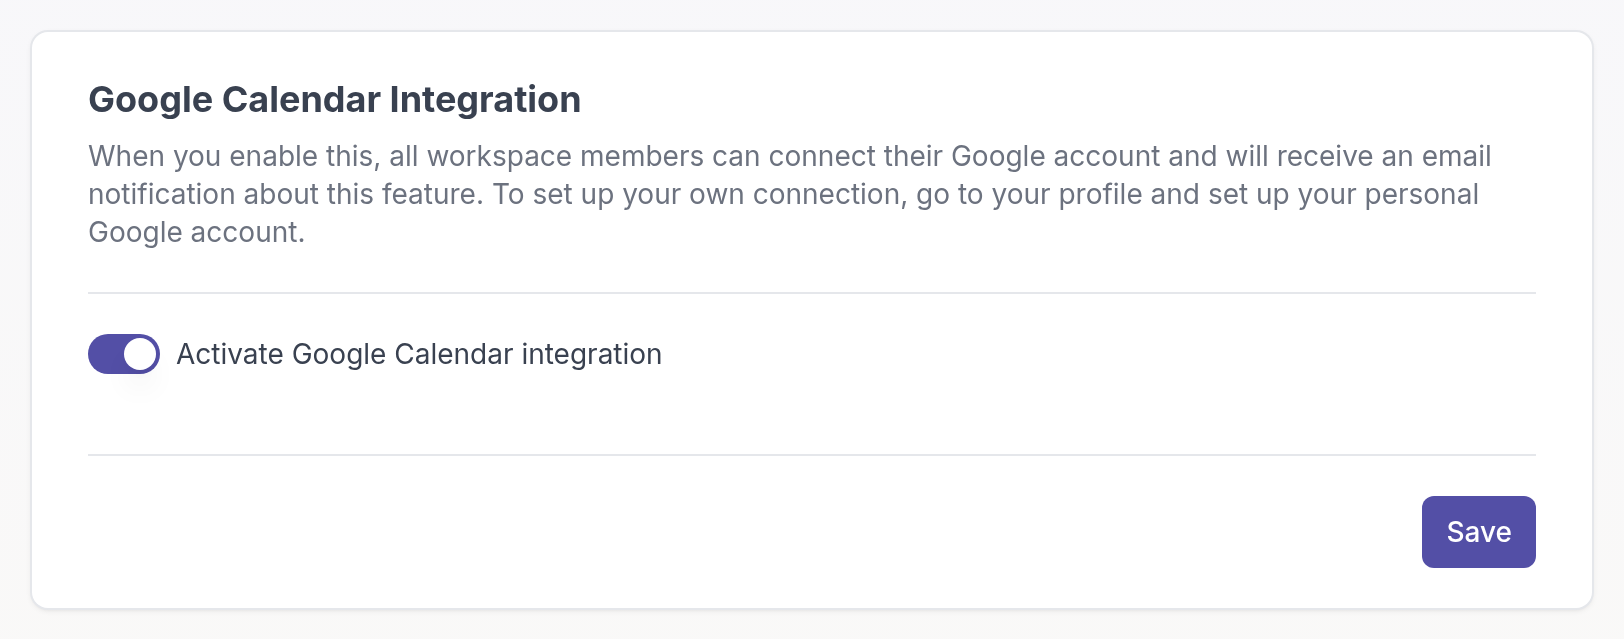
All professionals in your workspace get an email that the Google Calendar integration is available.
## Create an appointment schedule in Google Calendar
Each professional needs their own appointment schedule in Google Calendar.
1. In Google Calendar, click **Create** and choose **Appointment schedule**.
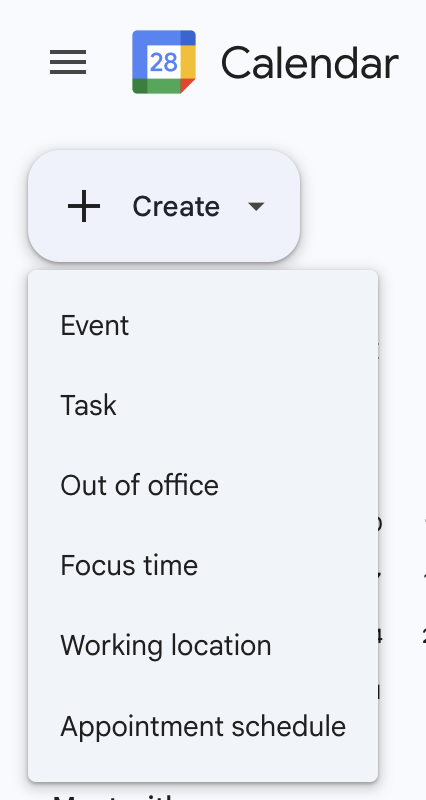
2. Set up the schedule in Google: which slots clients can book and any other booking settings. Google also lets you connect Stripe to take payments for bookings.
3. Save the schedule.
## Copy the embed code
1. Open your appointment schedule in Google Calendar, click the three-dot menu at the top and choose **More sharing options**.
2. Select **Website embed**, then **Inline booking page**.
3. Click **Copy code**.
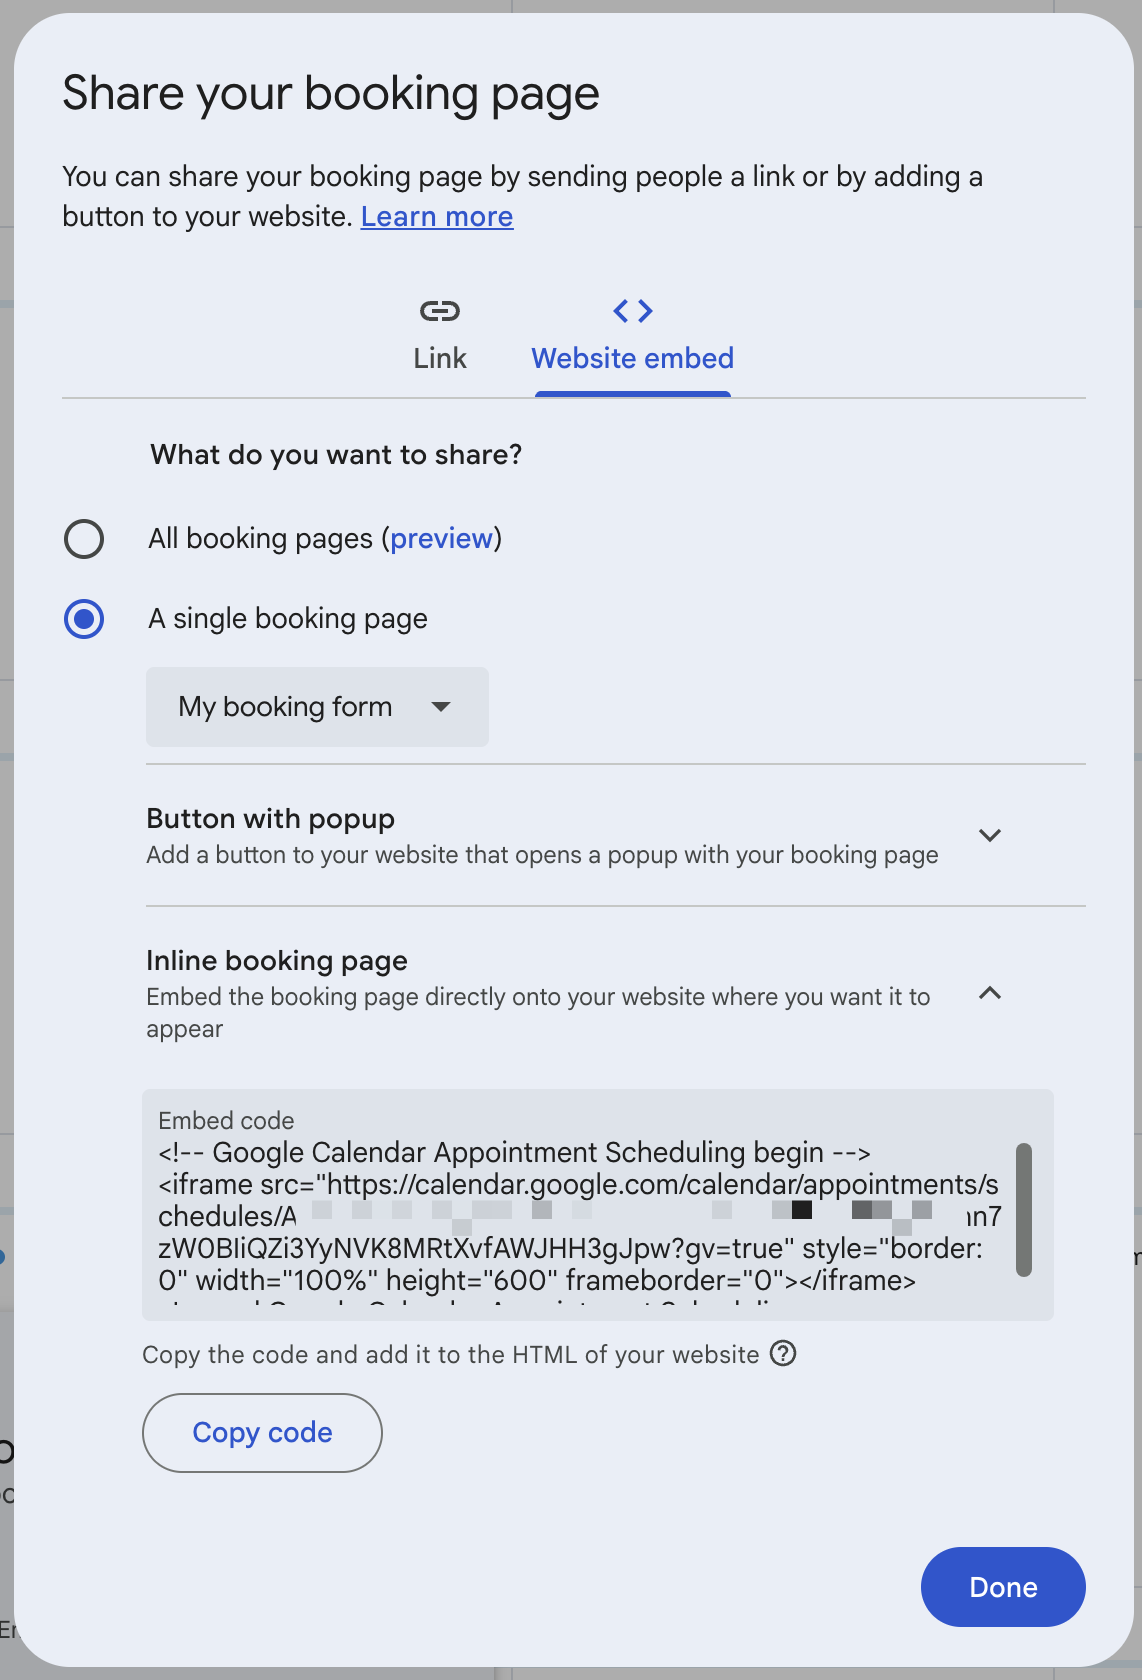
## Connect your appointment schedule in Quenza
1. Click your workspace name at the top of the left menu and choose **My settings**.
2. Go to the **Google Calendar** tab.
3. Paste the full embed code you copied from Google.
4. Click **Save**.
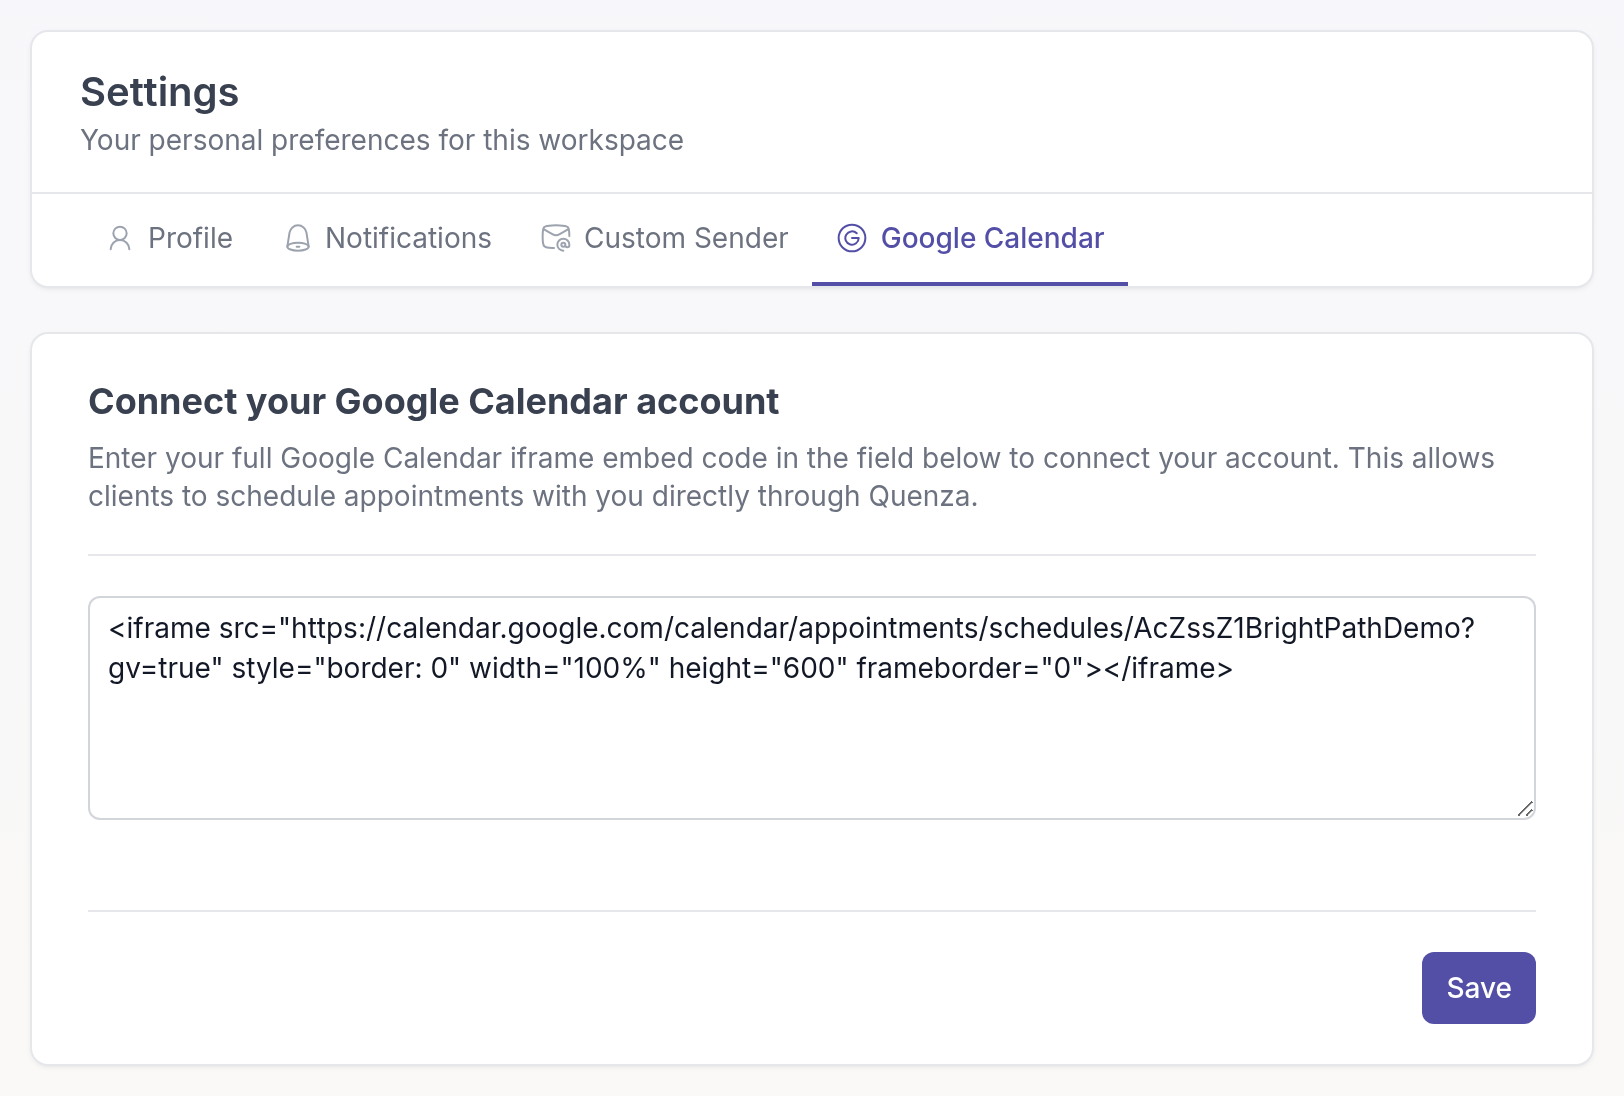
> **Note:** Use one scheduling option at a time. If you have already connected Calendly, Quenza shows a reminder so your clients are not confused by two booking options. See [Let clients book appointments with Calendly](https://quenza.com/help/integrations/calendly/).
## What your clients see
Once you have connected your appointment schedule, your clients see **Appointments** in the client app menu. There they can pick one of your free slots and book it directly. If several of their professionals offer online scheduling, the client first chooses who to book with.
Bookings, cancellations and reminders are handled by Google Calendar, with the settings of your appointment schedule. Quenza doesn't store the appointments.
## Related
- [Calendly](https://quenza.com/help/integrations/calendly/)
---
# API
> Create an API token to connect Quenza to your own systems and scripts, and learn how to use, regenerate and protect the token.
Available on the Collective plan and higher.
Source: https://quenza.com/help/integrations/api/
The Quenza API lets you read and change your workspace data from your own applications, scripts or internal systems. To use it, you need an API token. This is meant for developers and technically experienced users.
A typical use: a practice sells coaching packages through its own website. When someone buys a package, the website creates the client in Quenza through the API and adds them to the right group, so the coach doesn't have to type in anyone's details.
You need to be a workspace Owner or Manager. API access is included in the Collective and Beyond plans. See [Plans and pricing](https://quenza.com/help/billing/plans-and-pricing/).
Video: [Get started with the Quenza API](https://vimeo.com/1172889905)
## What you can do with the API
- **Build a custom integration** between Quenza and a system your organisation uses.
- **Create clients automatically** when something happens elsewhere, such as a new contact in your CRM, a form submission or a completed purchase.
- **Keep clients, groups and team members in sync**: list, create and update clients (and archive or unarchive them), create groups and add members, list tasks, and list, add and update team members.
- **Automate workflows** by triggering actions in Quenza as part of a larger process.
The API does not cover activities, programs, activity results or chats.
To send data from Quenza to another system when something happens, use [webhooks](https://quenza.com/help/integrations/webhooks/) instead.
## Create an API token
An API token is a unique key that identifies you when you make requests to the API, instead of your email and password. A workspace has one API token.
Go to **Developer Tools → API Token** in the left menu and click **Generate**. Under **Your new API token**, click the copy button next to the token and store the token in a safe place, such as a password manager.
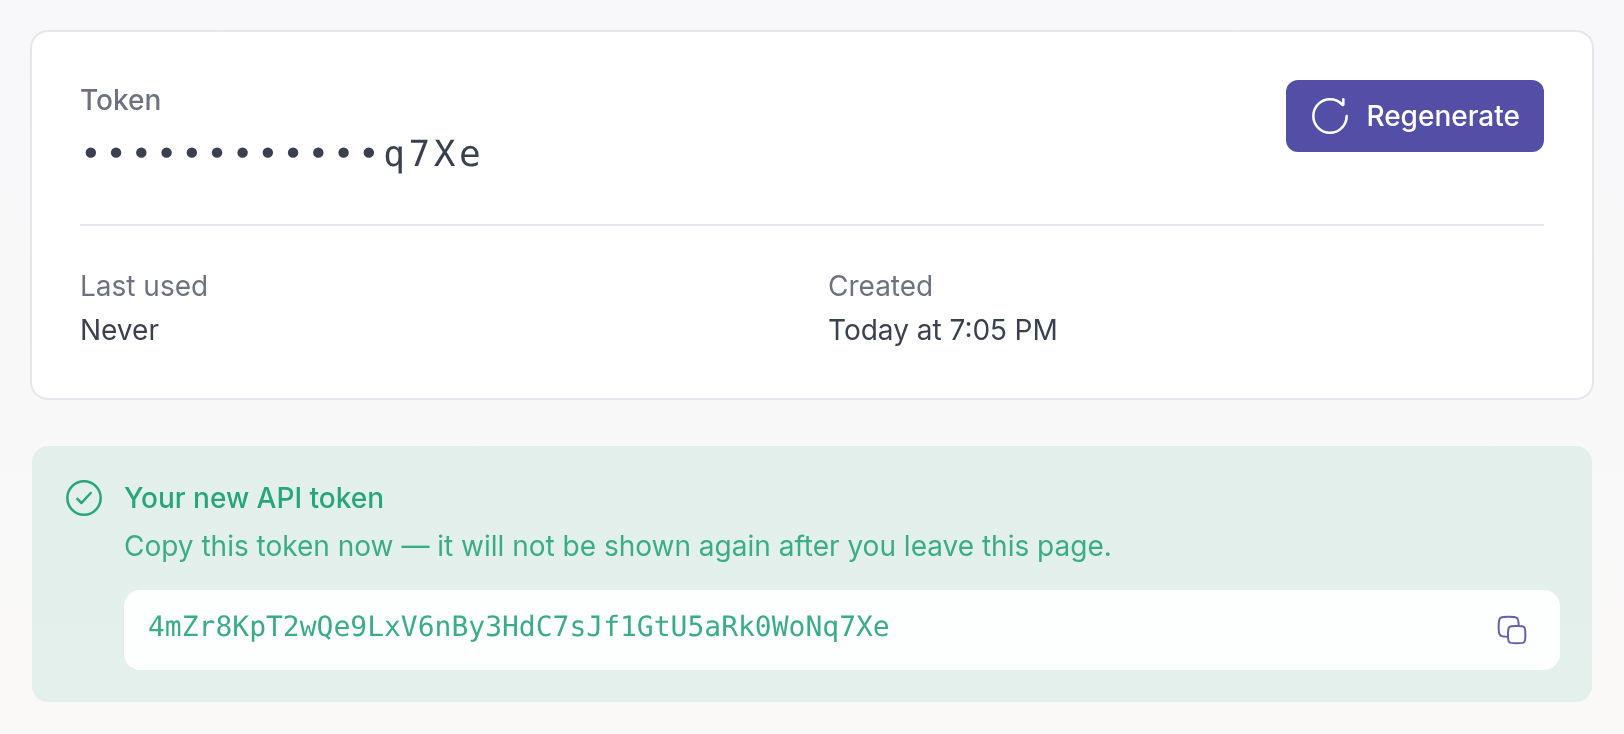
> **Caution:** Quenza shows the token only once. After you leave the page, you cannot see it again. If you lose it, regenerate it.
## Use the token
The API uses Bearer token authentication. Send your token in the `Authorization` header of every request:
```text
Authorization: Bearer YOUR_API_TOKEN
```
The [API reference](https://quenza.com/help/api/) describes every endpoint with request examples in curl, JavaScript and Python. Give the link to your developer.
## Regenerate your token
Once you have a token, the **API Token** page shows its last four characters, when it was created and when it was last used. A token that was never used, or not for months, may belong to an integration you no longer need.
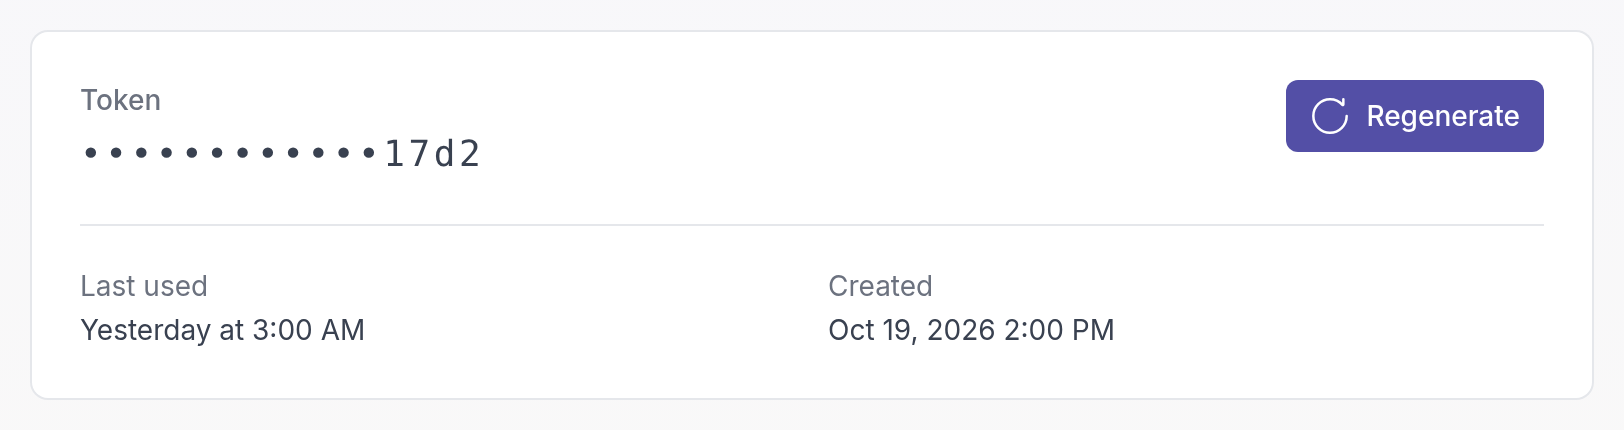
Regenerate the token if it may have been exposed, for example when a developer who had it leaves, or if you lost it. Click **Regenerate** and confirm with **Regenerate API token**.
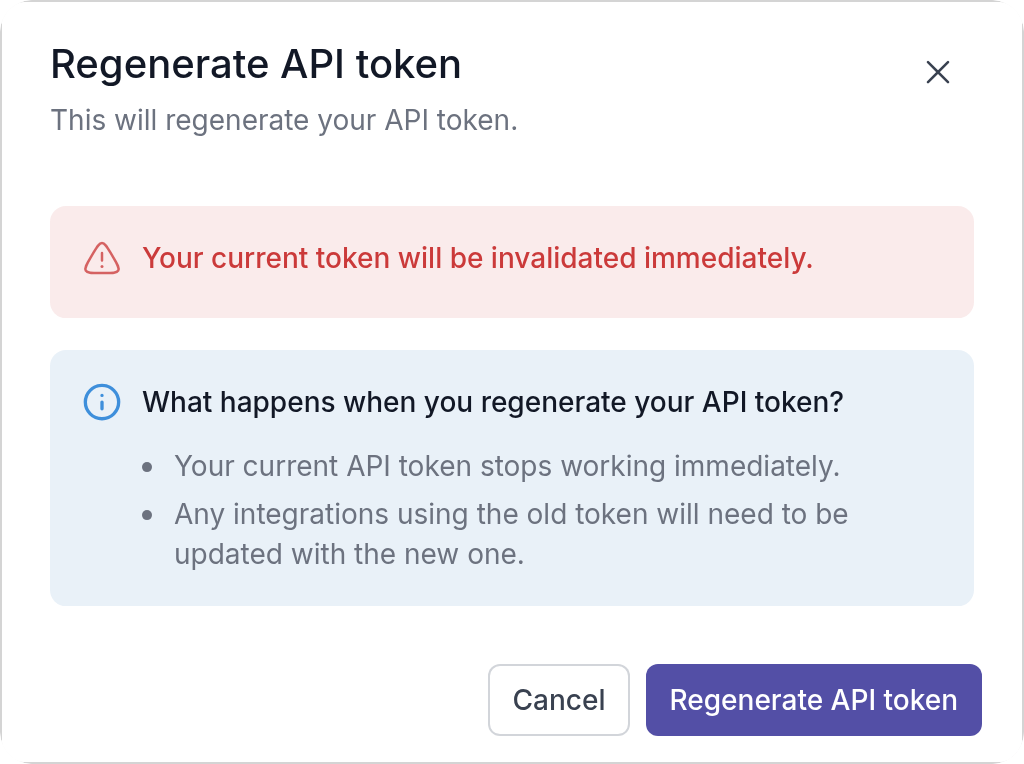
Your old token stops working immediately. Update every integration that used it with the new token.
## Keep your token safe
Your API token gives access to your workspace. Treat it like a password:
- Do not share it with others.
- Do not put it in public code or repositories.
- Regenerate it if you think someone else has seen it.
## Do I need a developer?
Not always. Working with the API directly needs technical knowledge, but tools like Zapier or Make let you connect Quenza to other systems without writing code. If you are unsure how to start, contact the developer or provider of the system you want to connect, or contact Quenza Support.
---
# Webhooks
> Use webhooks to let Quenza notify your CRM or another application automatically when a client is created or accepts their invitation.
Available on the Growth plan and higher.
Source: https://quenza.com/help/integrations/webhooks/
A webhook sends a message from Quenza to another application as soon as something happens in your workspace. For example, when a new client is created, Quenza can tell your CRM, your email marketing tool or an automation platform like Zapier or Make, so the client is added there too.
You need to be a workspace Owner or Manager. Webhooks are not included in every plan, and the number of webhooks you can add depends on your plan. See [Plans and pricing](https://quenza.com/help/billing/plans-and-pricing/).
Sarah Bennett, for example, sends a monthly newsletter from her email marketing tool. With a webhook, every new client in Quenza is added to her newsletter list automatically, including people who sign up through her landing page. See the [Zapier example](#example-add-new-clients-to-a-mailing-list-with-zapier) below.
Setting up a webhook needs an address that can receive the messages. You usually get it from the system you want to connect, or from a developer. To send data into Quenza instead, use the [Quenza API](https://quenza.com/help/integrations/api/).
Video: [Automate with webhooks](https://vimeo.com/1172176842)
## Events you can send
Quenza sends webhooks for two events only. There are no webhooks for activities, programs, tasks, chat or other changes.
| Event | Name in the request | Sent when |
| --- | --- | --- |
| **Client Created** | `client.created` | A client or guest is added to your workspace: by hand, by import, through the API or through a [landing page](https://quenza.com/help/new-clients/landing-pages/). It is also sent when you convert a guest to a client with an account. |
| **Client Invitation Accepted** | `client.invitation_accepted` | A client accepts their invitation and sets up their account. |
## Add a webhook
Your webhooks are under **Developer Tools → Webhooks** in the left menu. Click **+ Webhook** to add one.
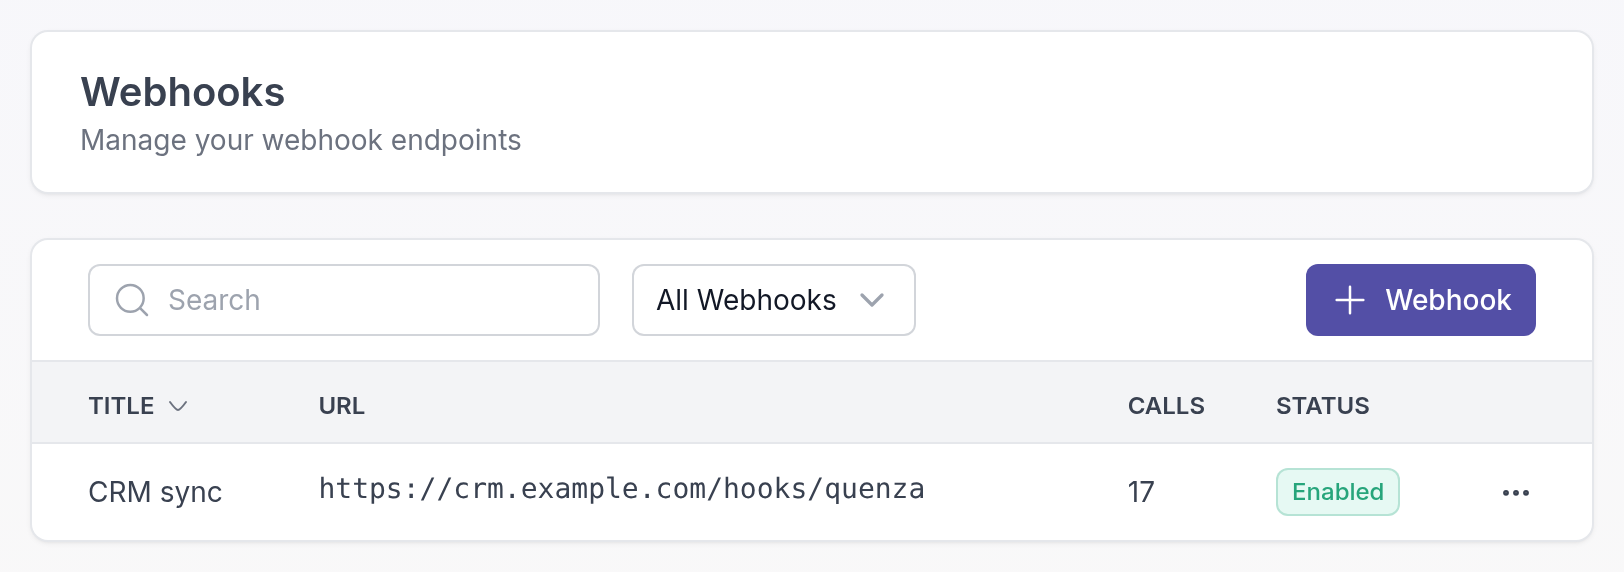
In the **Add webhook** dialog:
- **Title** helps you recognise the webhook, for example "Mailing list via Zapier".
- **URL** is the address that should receive the messages. It must start with `https://`.
- Under **Events**, select the events you want to send.
- Under **Authentication**, enter a **Username** and **Password** only if the receiving system asks for HTTP Basic Authentication.
- Under **Custom Headers**, click **Add header** to add a **Header name** and **Header value**, for example an API key the receiving system needs.
Leave **Enabled** on and click **Add webhook**.
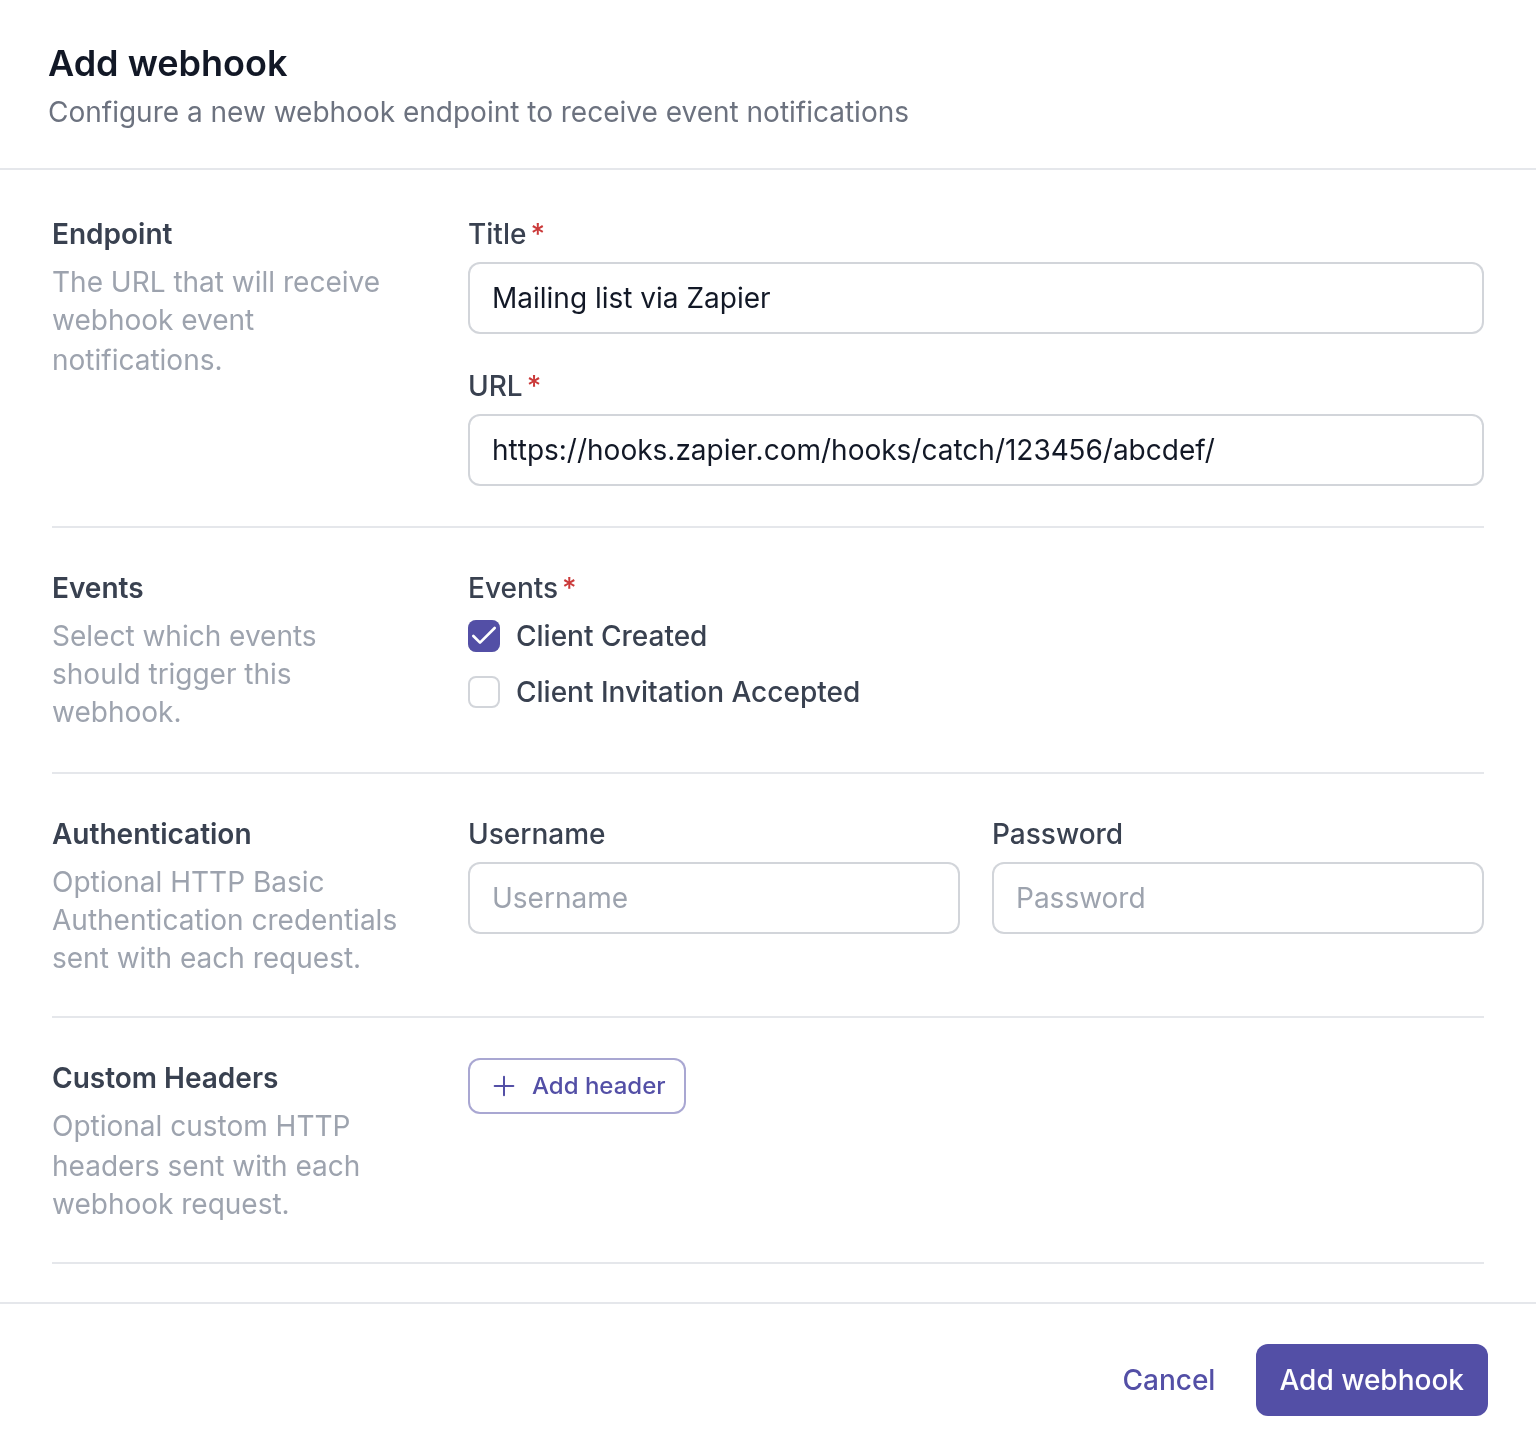
Quenza now sends a message to the URL each time one of the selected events happens.
If you have reached the number of webhooks your plan includes, Quenza tells you when you click **+ Webhook**.
## Example: add new clients to a mailing list with Zapier
Zapier connects apps without code. With its **Webhooks by Zapier** app, Zapier can receive Quenza's `client.created` message and pass the client's name and email address to your mailing list tool, CRM or spreadsheet. Webhooks by Zapier is a premium Zapier app, so you need a paid Zapier plan. Zapier's screens change from time to time; the steps below describe the general flow.
1. In Zapier, create a Zap. As the trigger, choose **Webhooks by Zapier** and the event **Catch Hook**.
2. Copy the webhook URL Zapier shows on the **Test** tab. It starts with `https://hooks.zapier.com/`.
3. In Quenza, add a webhook with that URL and select the **Client Created** event.
4. Add a test client in Quenza, with a name and an email address at example.com, so Quenza sends a message.
5. Back in Zapier, click **Test trigger**. Zapier shows the message it received, with fields such as `client.first_name` and `client.email`.
6. Add an action for your mailing list tool, such as adding a subscriber, and fill its fields with the client's details from the trigger.
7. Publish the Zap.
From now on, every client added in Quenza is added to your list as well. Delete the test client afterwards, also from your mailing list.
> **Note:** Before you add clients to a mailing list, make sure they agreed to receive your newsletter. Quenza sends the message for every new client, including guests, so use a filter step in Zapier if only some clients should be added.
## Manage your webhooks
The **Webhooks** page lists your webhooks with their URL, the number of calls and whether they are enabled. Click the **⋯** menu next to a webhook to:
- **Edit** its settings. Click **Save changes** when you are done.
- **Disable** it to stop sending messages without deleting it, or **Enable** it again.
- **Show History** to see the messages Quenza sent.
- **Delete** it permanently.
While a webhook is disabled, Quenza sends nothing to it. Events that happen in that time are not sent later.
## Check what was sent
When something doesn't arrive in your other system, start with the webhook's history. Click the webhook on the **Webhooks** page. The **History** tab lists every message, with its event, status and number of attempts. Click a message, or choose **Details** in its **⋯** menu, to see the HTTP status and response your system returned and the payload Quenza sent.
A message has one of these statuses:
- **Pending**: waiting to be sent.
- **Successful**: your system confirmed it received the message.
- **Retrying**: sending failed and Quenza will try again.
- **Failed**: Quenza stopped trying.
## Failed messages and retries
Quenza counts a message as delivered when your system answers with a 2xx HTTP status code, such as 200. Any other answer, or no answer within 30 seconds, counts as a failure.
After a failure, Quenza tries again, first within about a minute, then with longer and longer waits up to every 4 hours. After 30 attempts, about three days after the event, the message gets the status **Failed**.
To send a failed message again, open the webhook's **History** tab, click the **⋯** menu next to the message and choose **Retry**. Quenza sends it once more as a new message in the history. You can retry each failed message once.
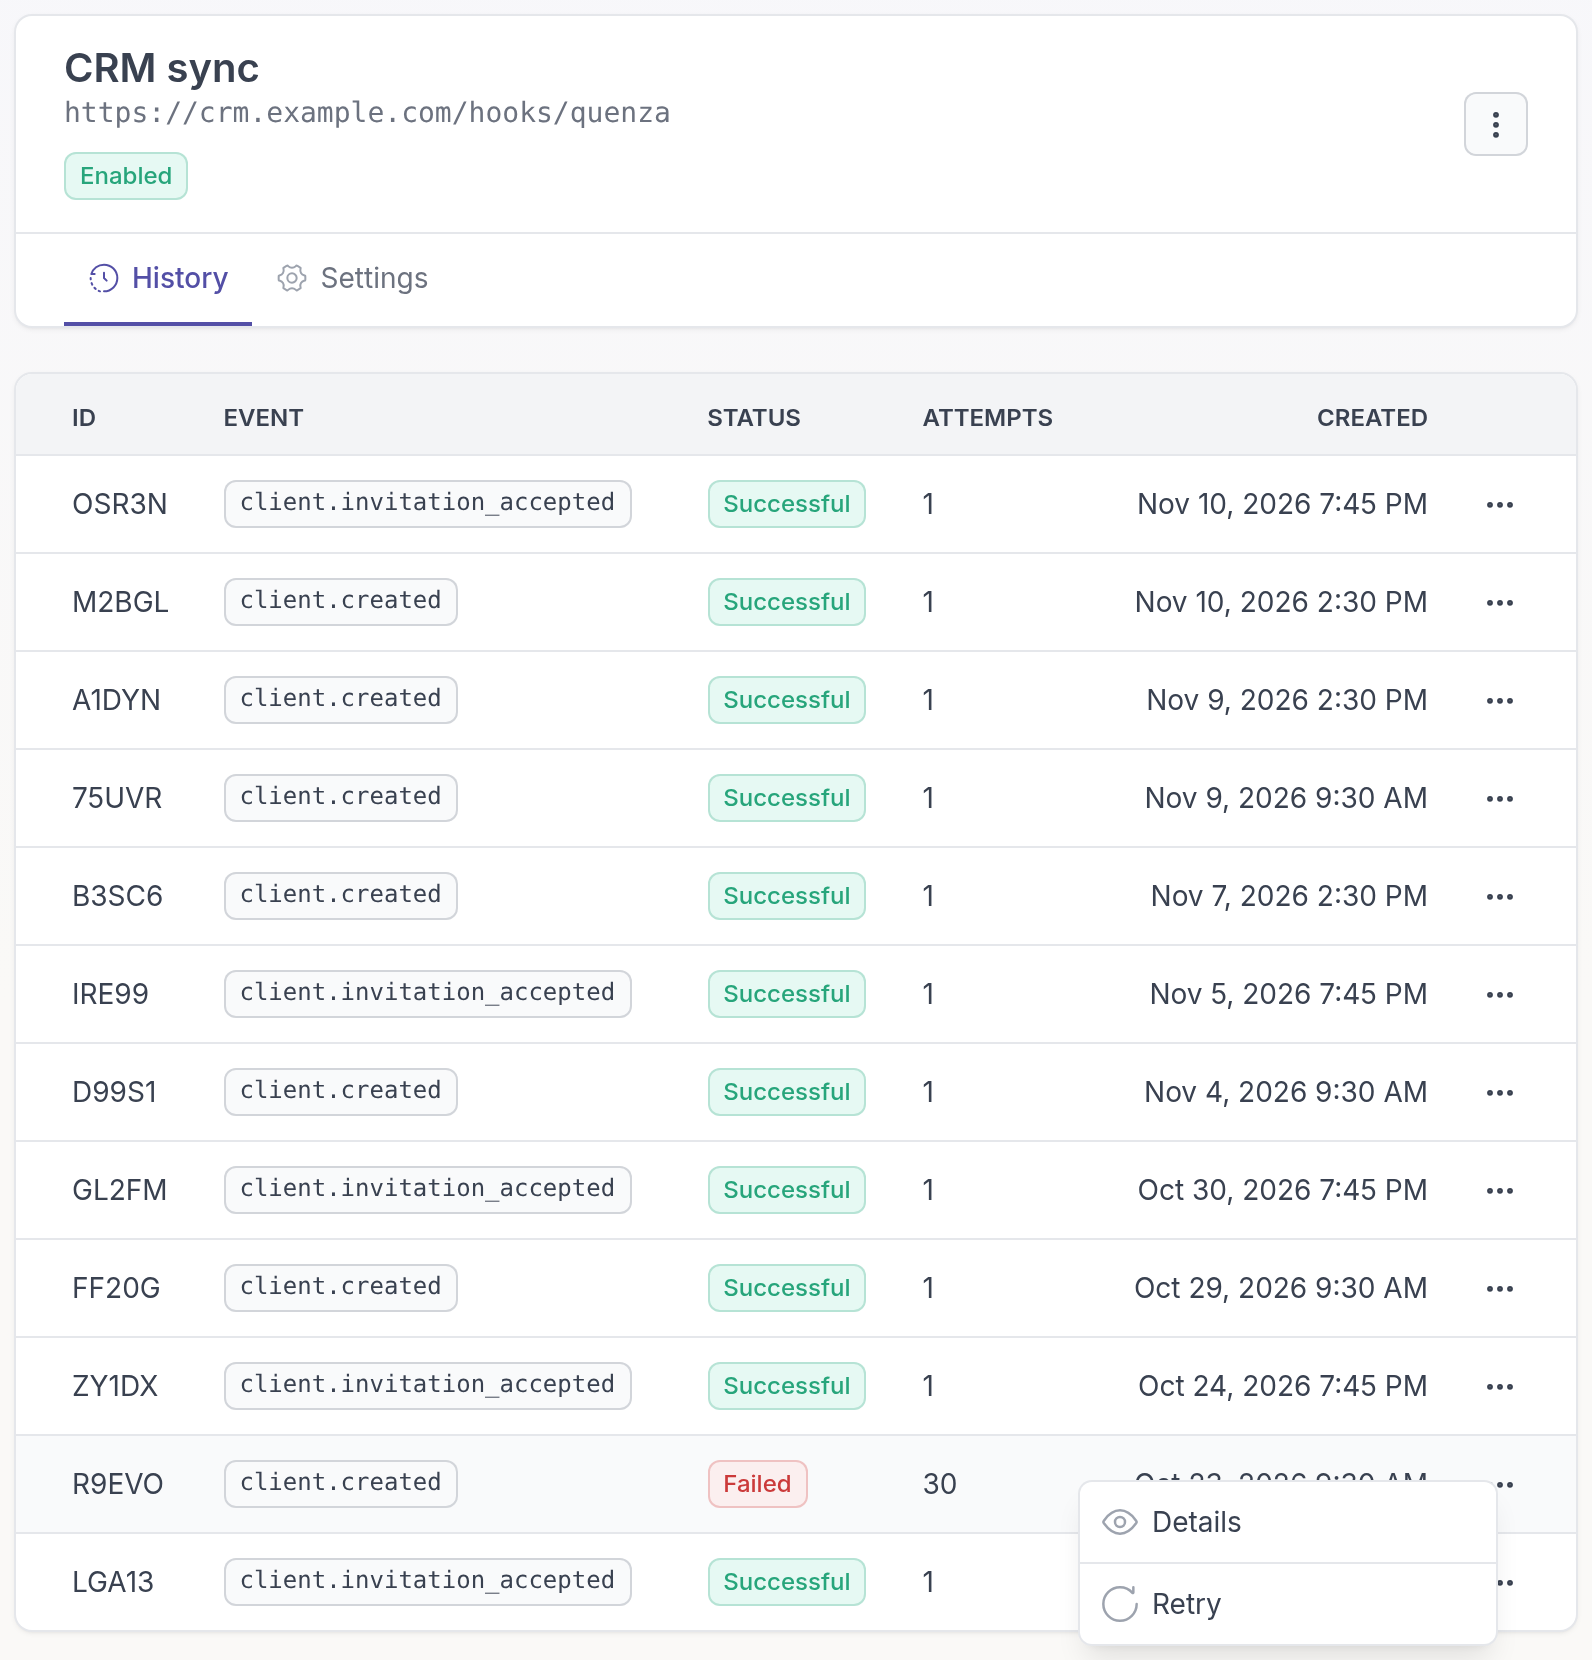
> **Note:** Each message keeps the URL, headers and login details the webhook had when the event happened, also for retries. If you change the webhook's settings, the new settings apply to new events.
## For developers: what Quenza sends
The API reference has the full details for developers: [Receive webhooks](https://quenza.com/help/api/webhooks/), with a complete receiver in JavaScript, Python and PHP, and the fields of [client.created](https://quenza.com/help/api/webhooks/client-created/) and [client.invitation_accepted](https://quenza.com/help/api/webhooks/client-invitation-accepted/).
Quenza sends an HTTP `POST` request with a JSON body to your URL. Each request has these headers:
- `Content-Type: application/json`
- `X-Quenza-Event`: the event name, for example `client.created`
- `Authorization: Basic …` if you set a username and password
- Any custom headers you added
The body of a `client.created` request looks like this:
```json
{
"client": {
"id": "K3V9XQ",
"email": "jane@example.com",
"first_name": "Jane",
"last_name": "Doe",
"is_guest": false,
"status": "pending",
"created_at": "2026-11-13T09:30:00+00:00"
},
"invited_by": {
"id": "R7M2PL",
"email": "alex@example.com",
"first_name": "Alex",
"last_name": "Smith"
}
}
```
`invited_by` is the professional who added the client. For a landing page signup, it is the professional the signup form assigns new clients to.
The body of a `client.invitation_accepted` request has only the `client` object, with one more field, `invitation_accepted_at`.
`status` is `pending` for a client who hasn't accepted their invitation yet, `active` for an active client or a guest, and `archived` for an archived client.
The body does not contain the event name. Read it from the `X-Quenza-Event` header.
> **Caution:** Quenza does not sign webhook requests. To check that a request really comes from Quenza, use HTTP Basic Authentication or a custom header with a secret value, and check it on your server.
Your system may receive more than one message for the same client. For example, a guest who is later converted to a client with an account triggers `client.created` twice, and a message that timed out is sent again even if your system already processed it. Use the client `id` to avoid processing the same client twice.
## Related
- [API](https://quenza.com/help/integrations/api/)
- [Landing pages](https://quenza.com/help/new-clients/landing-pages/)
---
# Workspace settings
> Find the Administration pages where you rename your workspace, manage your team, billing and integrations, and see your workspace statistics.
Source: https://quenza.com/help/team/workspace-settings/
A workspace is your practice in Quenza: your clients, content, team and settings, with one subscription. The **Administration** section of the sidebar is where you run it: its name, your team, billing, branding and connections to other tools.
The workspace **Owner** and **Managers** see all of it. A **Billing Manager** only sees **Statistics** and **Billing**. **Members** don't see the Administration pages; they work with clients and content. See [Roles and permissions](https://quenza.com/help/team/roles-and-permissions/).
Your own preferences, such as your profile and notifications, are not here but under **My settings** in the workspace menu. See [Edit your profile](https://quenza.com/help/getting-started/edit-your-profile/).
## Rename your workspace
Your workspace name is shown at the top left of the sidebar, and your clients and colleagues see it too. Use your company or practice name, for example "Bright Path Coaching" rather than "Sarah's workspace".
1. In the sidebar under **Administration**, click **Workspace → General**.
2. Under **General information**, change the **Name**.
3. Click **Save**.
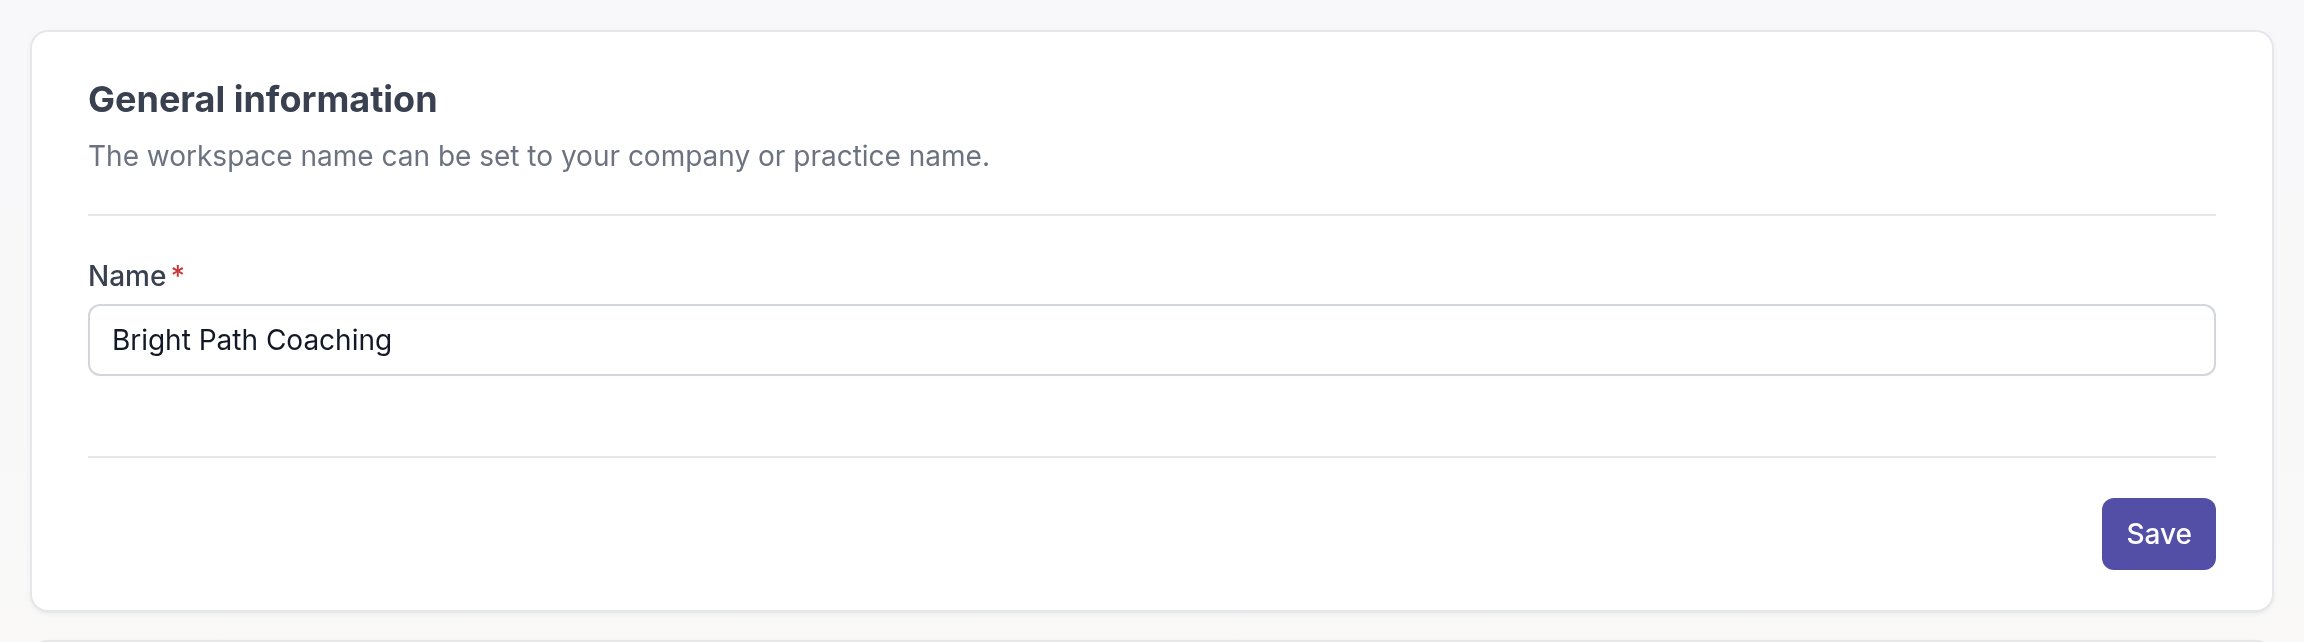
## What you find under Administration
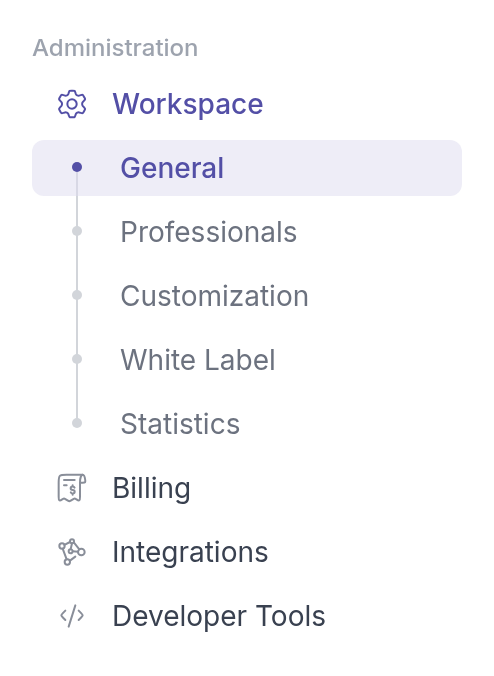
- **Workspace → General**: the workspace name, and the option to delete the workspace.
- **Workspace → Professionals**: everyone in your team, with their status and the date they were added. See [Add team members](https://quenza.com/help/team/add-team-members/) and [Suspend and reactivate](https://quenza.com/help/team/suspend-and-reactivate/).
- **Workspace → Customization**: your own wording in the client app and your email templates. See [Rename "My professional" in the client app](https://quenza.com/help/branding/my-professional-label/) and [Create and use email templates](https://quenza.com/help/branding/email-templates/).
- **Workspace → White Label**: your logo, sender address and domain. See [Add your logo](https://quenza.com/help/branding/logo/), [Send emails from your own address](https://quenza.com/help/branding/custom-sender-email/) and [Use your own domain for the client portal](https://quenza.com/help/branding/custom-domain/).
- **Workspace → Statistics**: totals for your clients and activities. See [Workspace statistics](https://quenza.com/help/team/workspace-statistics/).
- **Billing → Subscription** and **Billing → Invoices**: your plan, payment details and invoices. See [Compare plans and pricing](https://quenza.com/help/billing/plans-and-pricing/) and [View invoices and understand taxes](https://quenza.com/help/billing/invoices-and-taxes/). Billing is only available in the browser, not in the mobile app. See [Mobile app](https://quenza.com/help/getting-started/mobile-app/).
- **Integrations**: connect Calendly or Google Calendar. See [Let clients book appointments with Calendly](https://quenza.com/help/integrations/calendly/).
- **Developer Tools**: webhooks and API tokens. See [Get started with the Quenza API](https://quenza.com/help/integrations/api/).
## Delete your workspace
Only the workspace **Owner** can delete a workspace. Deleting it permanently removes all its data, including professionals, clients, activities and programs. See [Delete your workspace or account](https://quenza.com/help/billing/delete-account/).
> **Tip:** If you only want to stop paying, you don't need to delete your workspace. [Cancel your subscription](https://quenza.com/help/billing/cancel-subscription/) instead.
---
# Roles and permissions
> What the Owner, Manager, Member and Billing Manager roles can do in your workspace, and how to change someone's role.
Source: https://quenza.com/help/team/roles-and-permissions/
Every person in your workspace has a role, which controls what they can see and do. You choose a role when you [add a team member](https://quenza.com/help/team/add-team-members/), and the Owner or a Manager can change it later.
Roles let you share the work without sharing everything. For example, at Bright Path Coaching, Sarah Bennett is the **Owner**. Mia Hoffmann helps run the practice as a **Manager**, coaches such as Priya Shah are **Members** who work with their clients, and the bookkeeper Tom Reynolds is a **Billing Manager** who only handles invoices.
## The four roles
- **Owner**: the person who created the workspace. The Owner can do everything, including deleting the workspace. Each workspace has one Owner.
- **Manager**: can do everything the Owner can, except delete the workspace.
- **Member**: works with clients and content, but can't change workspace settings, manage the team or see billing.
- **Billing Manager**: can only see the billing pages and the workspace statistics. A Billing Manager doesn't work with clients and doesn't take up a professional seat.
## What each role can do
| | Owner | Manager | Member | Billing Manager |
| --- | --- | --- | --- | --- |
| Work with clients, groups, activities, programs, resources, tasks, notes and landing pages | Yes | Yes | Yes | No |
| Invite, edit, suspend and reactivate professionals | Yes | Yes | No | No |
| Change workspace settings, branding, integrations and developer tools | Yes | Yes | No | No |
| View workspace statistics | Yes | Yes | No | Yes |
| Manage the subscription, payment details and invoices | Yes | Yes | No | Yes |
| Delete the workspace | Yes | No | No | No |
Members can see the other professionals in the workspace, for example to assign them to a client, but they can't change them.
## Which plans include roles
Choosing roles is part of **Roles & Permissions**, which is included in the Beyond plan. On other plans, everyone you invite becomes a **Manager**; the **Member** and **Billing Manager** options are locked in the **Invite member** form. See [Compare plans and pricing](https://quenza.com/help/billing/plans-and-pricing/).
> **Caution:** If you move to a plan without Roles & Permissions, everyone except the Owner is set to **Manager**. See [Upgrade or downgrade your plan](https://quenza.com/help/billing/change-plan/).
## Change someone's role
You need to be the Owner or a Manager. In the sidebar under **Administration**, click **Workspace → Professionals**, click the person's name, choose the new role under **Permission level** and click **Save**.
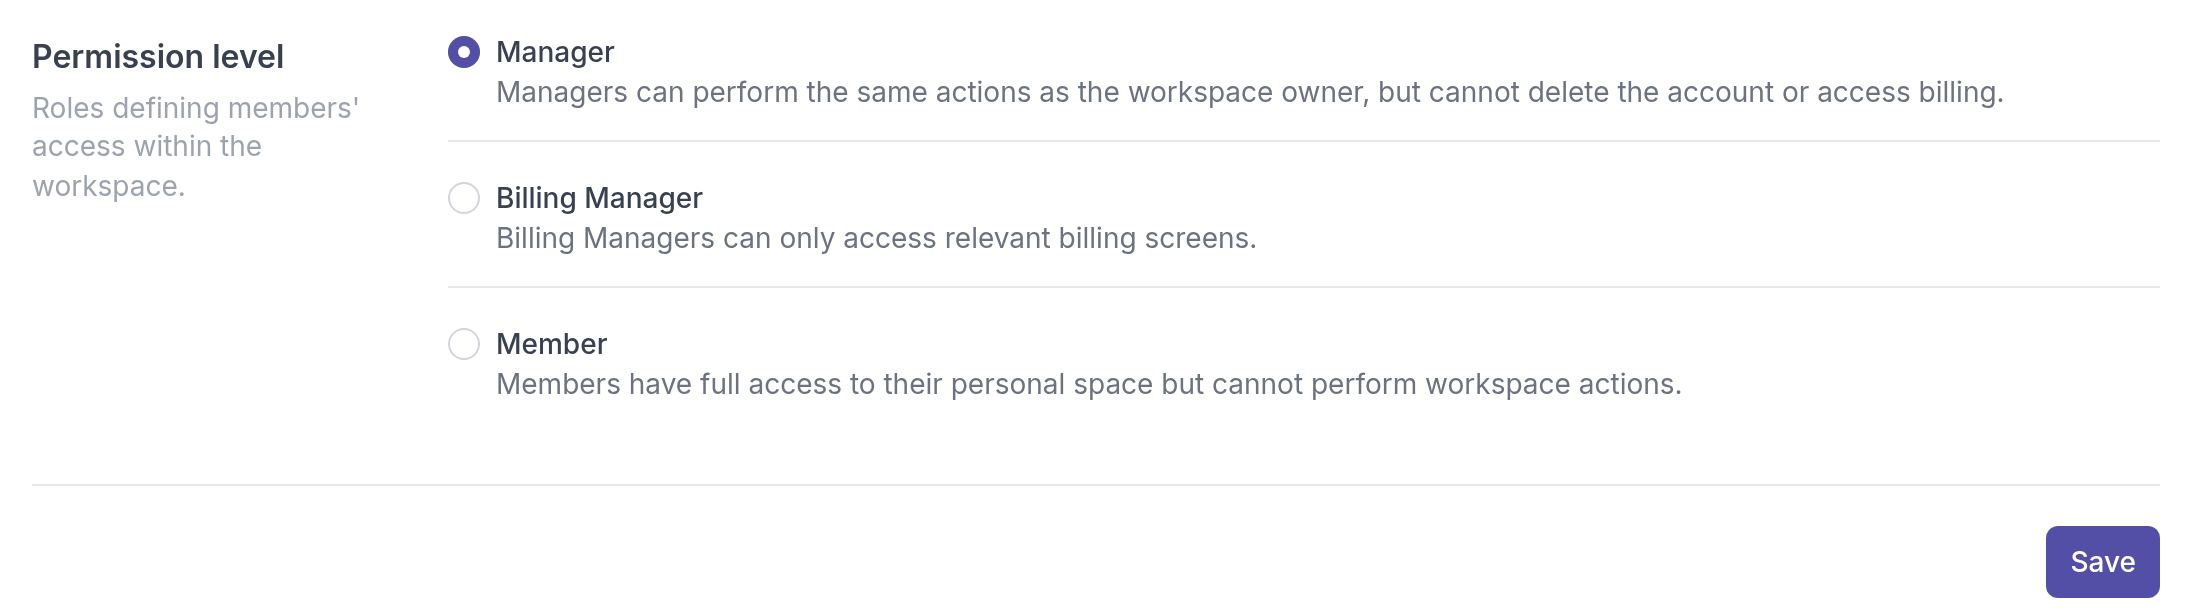
You can't change the Owner's role, make someone else the Owner, or change your own role. For those people, **Permission level** isn't shown.
Billing Managers don't count toward the number of professionals your plan includes. See [Professional seats by plan](https://quenza.com/help/billing/professional-seats/).
---
# Add team members
> Invite a colleague to your Quenza workspace by email, choose their role, and resend the invitation if they can't find it.
Source: https://quenza.com/help/team/add-team-members/
Invite colleagues to your workspace so you can work with the same clients, groups and content. You need to be the workspace **Owner** or a **Manager**, and your plan needs a free professional seat.
For example, Sarah Bennett takes on a second coach, Priya Shah, for the growing Mindfulness group. She invites Priya as a **Member**, so Priya can work with clients and content but doesn't see billing or workspace settings. Once Priya has accepted, Sarah assigns her to the group and to a few clients.
## Invite a colleague
1. In the sidebar under **Administration**, click **Workspace → Professionals**.
2. Click **+ Professional**.
3. Enter their **First name**, **Last name** and **Email address**. Optionally, click **Upload** under **Profile picture** to add a photo.
4. Under **Language**, choose the language for their app and emails.
5. Under **Permission level**, choose **Manager**, **Billing Manager** or **Member**. See [Roles and permissions](https://quenza.com/help/team/roles-and-permissions/).
6. Click **Invite**.
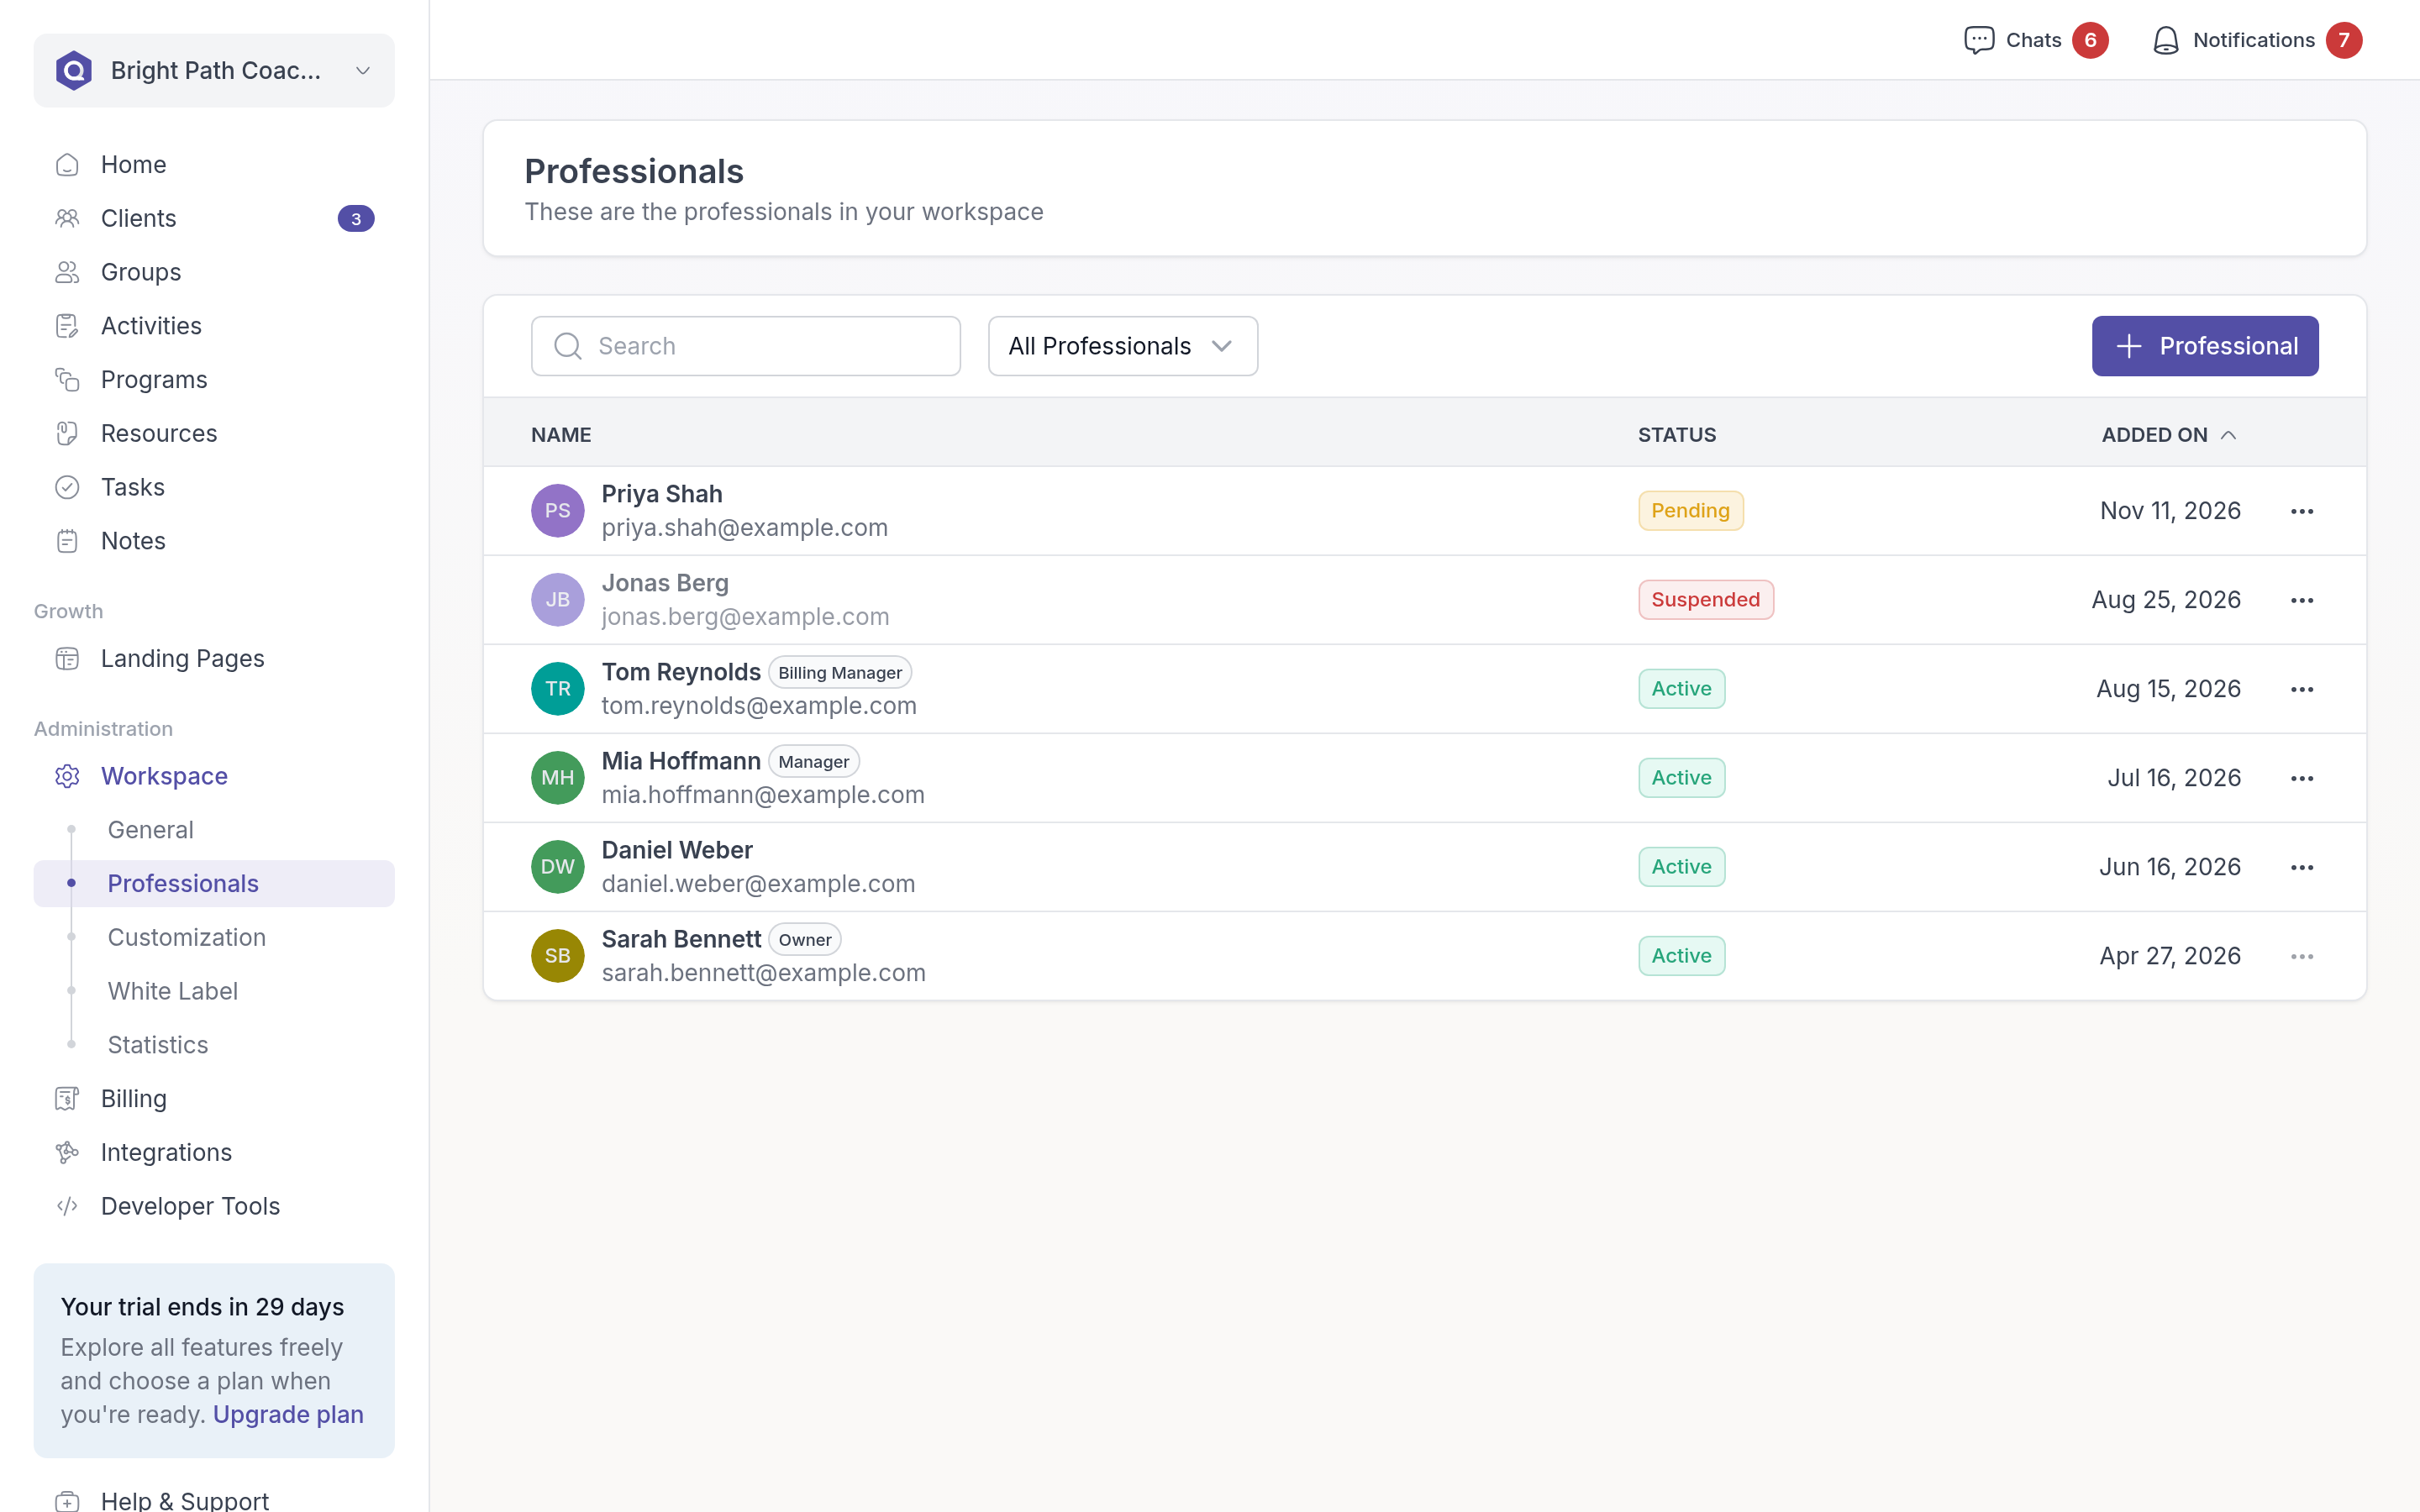
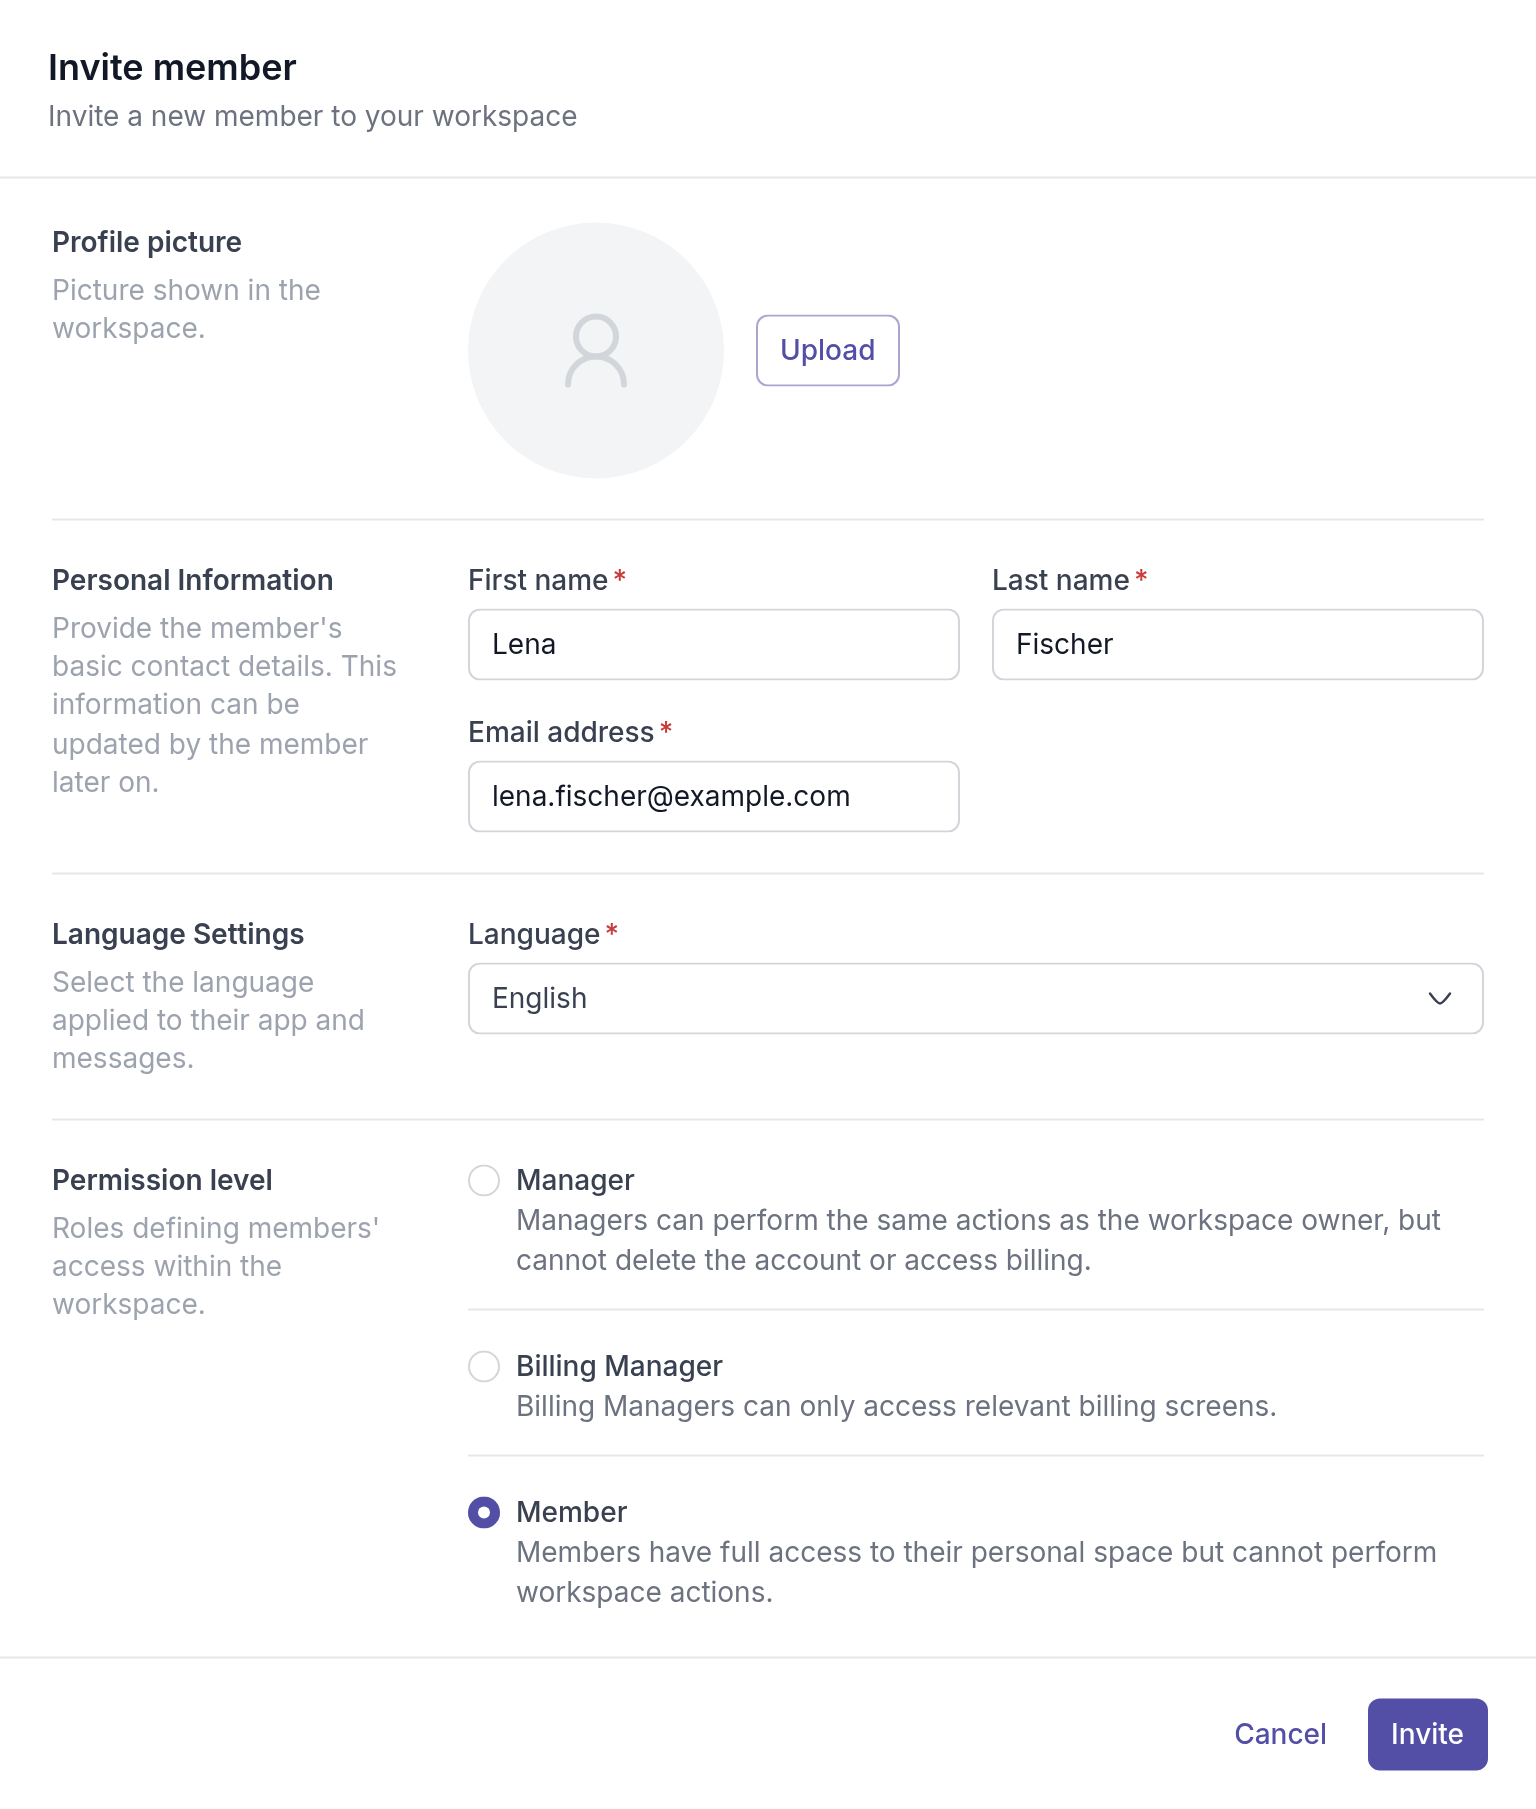
> **Note:** On plans without Roles & Permissions, every new team member is a **Manager**; the other options are locked. Roles are part of the Beyond plan.
## What happens next
Your colleague gets an email with an **Accept Invitation** button. The link works for 30 days. Until they accept, they are listed with the status **Pending**. They set a password, answer a few setup questions and the workspace opens. See [Accept an invitation](https://quenza.com/help/team/accept-invitation/).
When they accept, their status changes to **Active** and the person who invited them gets a notification. From then on you can assign them to clients and groups. See [Assign professionals](https://quenza.com/help/clients/assign-professionals/).
If your colleague already has a Quenza account with the same email address, for example for their own practice, the workspace is added to their account and they switch between workspaces from the workspace menu. See [Multiple workspaces](https://quenza.com/help/team/multiple-workspaces/).
## Resend an invitation
If your colleague can't find the invitation email, ask them to check their spam folder first. To send it again, click the **⋯** menu next to the pending team member on **Workspace → Professionals**, choose **Resend Invitation** and confirm. The new email contains a new link.
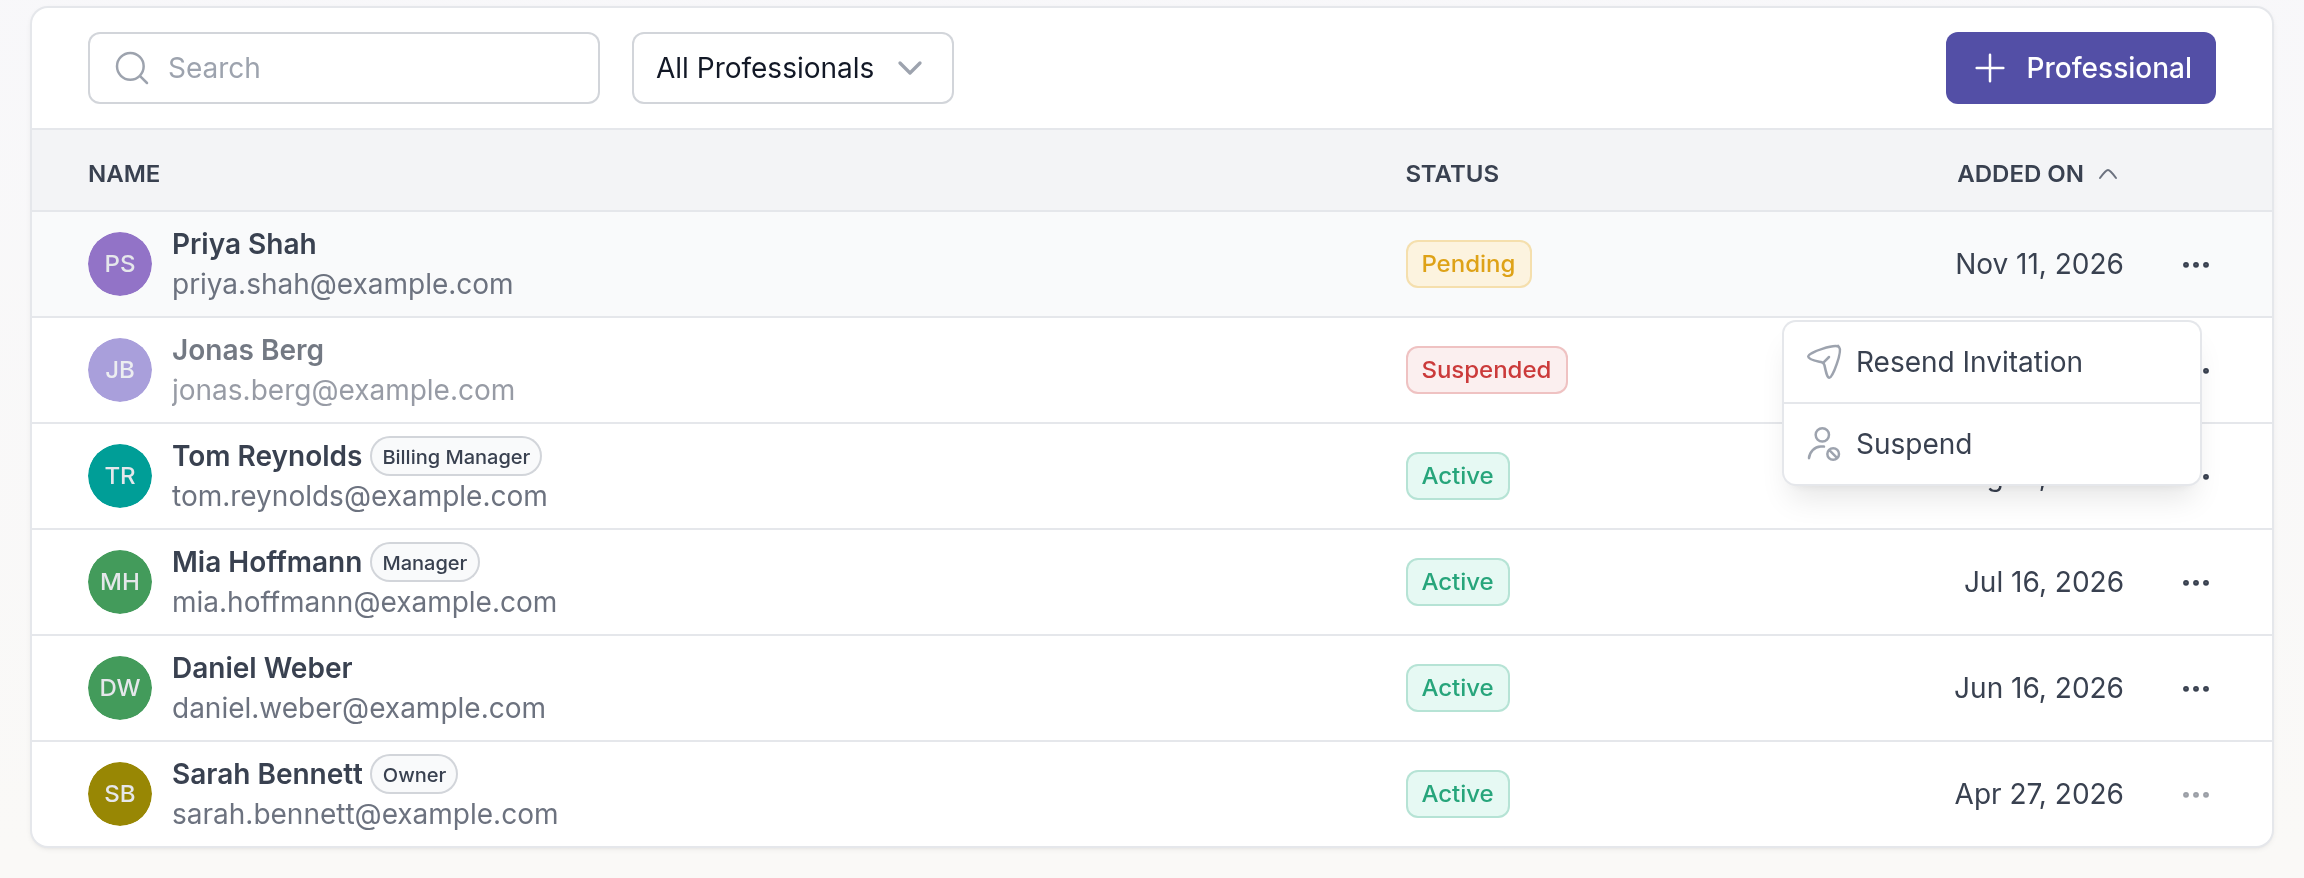
## If all your seats are taken
When your plan has no free professional seat, Quenza shows **Plan Limit Reached** instead of the invite form. If you can manage billing, click **Upgrade Plan** to move to a plan with more seats. You can also free up a seat by [suspending a team member](https://quenza.com/help/team/suspend-and-reactivate/).
Pending invitations count toward your seats; Billing Managers don't. See [Professional seats by plan](https://quenza.com/help/billing/professional-seats/).
---
# Accept an invitation
> Join a colleague's Quenza workspace from the invitation email, set your password and answer a few setup questions before you start working.
Source: https://quenza.com/help/team/accept-invitation/
When a colleague adds you to their workspace, Quenza sends you an invitation email. Accepting it takes a few minutes: you set a password, answer a few setup questions, and the workspace opens. You don't need a trial or a subscription of your own; the workspace's plan covers you.
For example, Sarah Bennett invites Priya Shah to Bright Path Coaching as a **Member**. Priya accepts on Monday morning, and by lunchtime Sarah has assigned her two new clients.
## Open the invitation email
The email has the subject **You have been invited to join a workspace** and says who invited you and to which workspace. Click **Accept Invitation**.
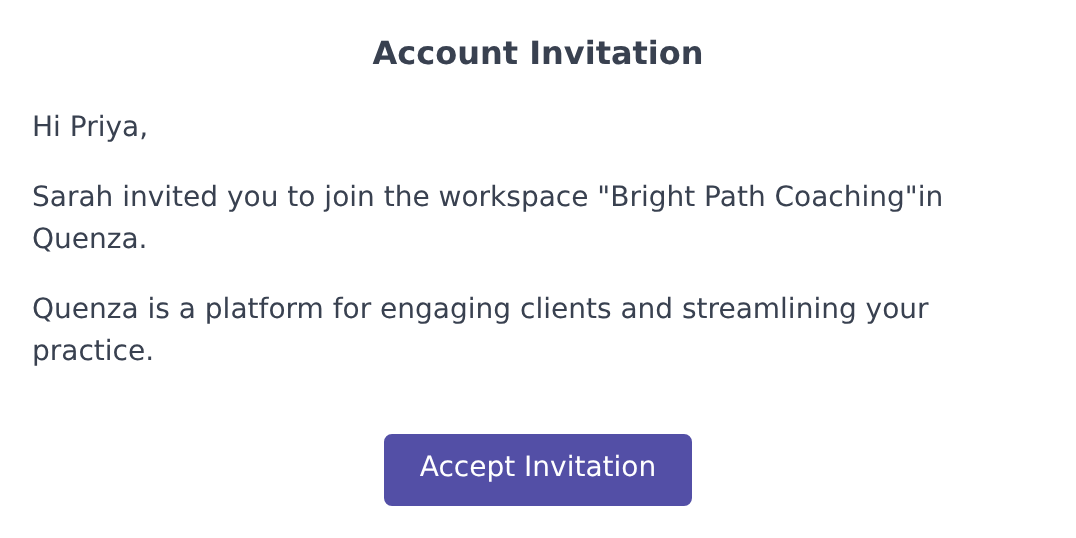
The link works for 30 days. Can't find the email? Check your spam folder, or ask the person who invited you to send it again. See [Resend an invitation](https://quenza.com/help/team/add-team-members/#resend-an-invitation). If the link has expired or was already used, Quenza shows **The link has expired**; ask for a new invitation.
## Set your password
The link opens the **Set your password** page.
1. Enter a password under **Password** and again under **Confirm Password**. Use at least 8 characters, with at least one letter and one number.
2. Select **I agree to the Terms of Service**.
3. Click **Save your password**.
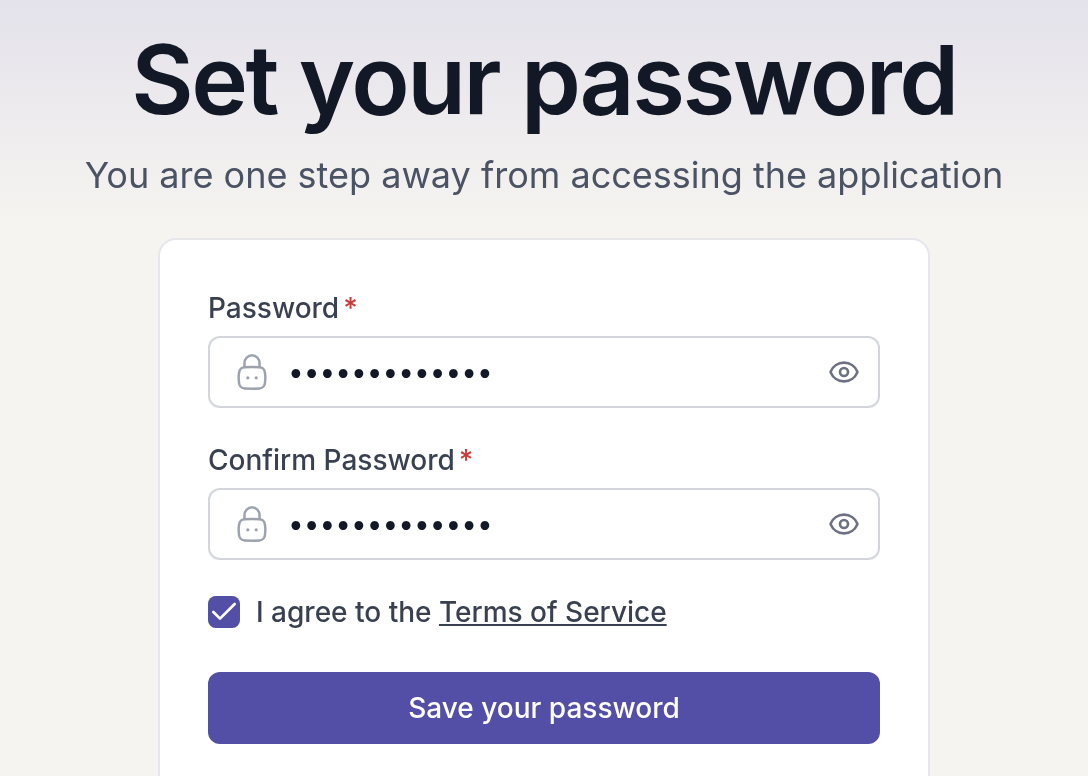
From now on you sign in with your email address and this password, on the web and in the [mobile app](https://quenza.com/help/getting-started/mobile-app/).
> **Note:** Already have a Quenza account with this email address, for example for your own practice? Then you skip this page: the invitation is accepted straight away and the new workspace opens. Switch between your workspaces from the workspace menu. See [Multiple workspaces](https://quenza.com/help/team/multiple-workspaces/).
## Set up your account
Quenza now asks a few short questions under **Set up your account**. Click **Continue** after each one.
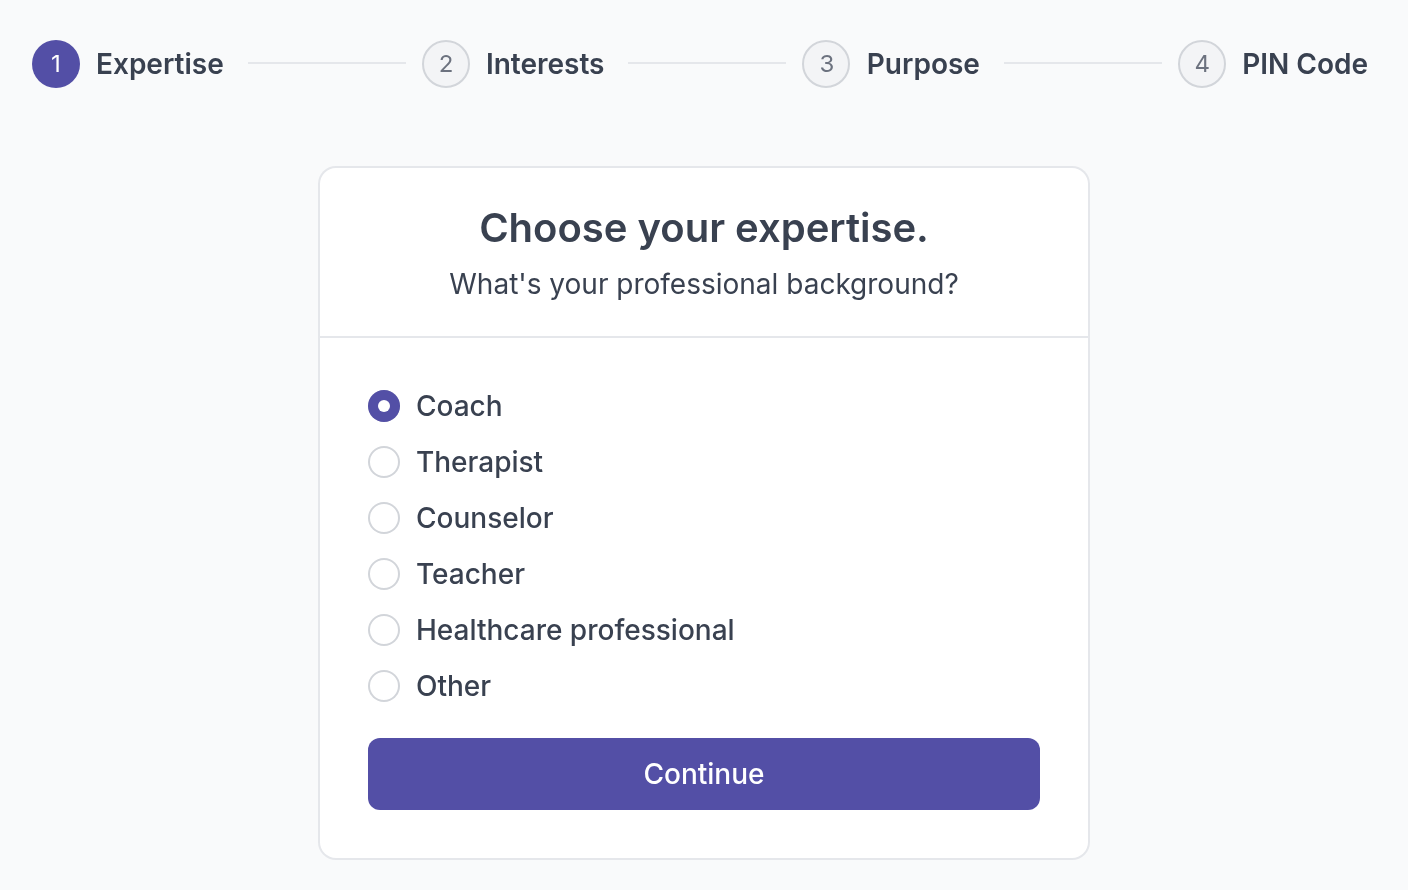
- **Expertise**: your professional background, such as **Coach**, **Therapist** or **Counselor**.
- **Interests**: the topics you work on, such as **Stress** or **Mindfulness**.
- **Purpose**: what you want to do with Quenza, such as **Send Exercises** or **Track Client Progress**.
- **PIN Code**: a 4-digit PIN that locks Quenza when you step away. Click **Finish**, or **Skip and finish** to do this later. See [Set your PIN](https://quenza.com/help/getting-started/set-your-pin/).
You don't name the workspace; the person who created it has already done that.
## What happens next
The workspace opens on the [Home page](https://quenza.com/help/getting-started/home-page/). Your status on the team changes from **Pending** to **Active**, and the colleague who invited you gets a notification that you accepted.
What you can do depends on the role you were given. See [Roles and permissions](https://quenza.com/help/team/roles-and-permissions/). A good first step is to [edit your profile](https://quenza.com/help/getting-started/edit-your-profile/), so your clients see your photo and contact details.
---
# Suspend and reactivate
> Suspend a team member to remove their access to your workspace when they leave or take a break, and reactivate them later.
Source: https://quenza.com/help/team/suspend-and-reactivate/
When a colleague leaves your practice or takes a break, suspend them. They lose access to your workspace, but nothing they worked on is deleted, and you can reactivate them later. You need to be the workspace **Owner** or a **Manager**.
There is no option to delete a team member in the app. Suspending is how you remove someone's access.
For example, Jonas Berg goes on parental leave for four months. Sarah Bennett first assigns his clients to Daniel Weber, so they keep a professional who follows up on their activities. Then she suspends Jonas, which frees his seat for a temporary colleague. When Jonas comes back, she reactivates him and his clients and notes are still there.
## Suspend a team member
1. In the sidebar under **Administration**, click **Workspace → Professionals**.
2. Click the **⋯** menu next to the person and choose **Suspend**.
3. Type the person's name in the box to confirm, then click **Suspend professional**.
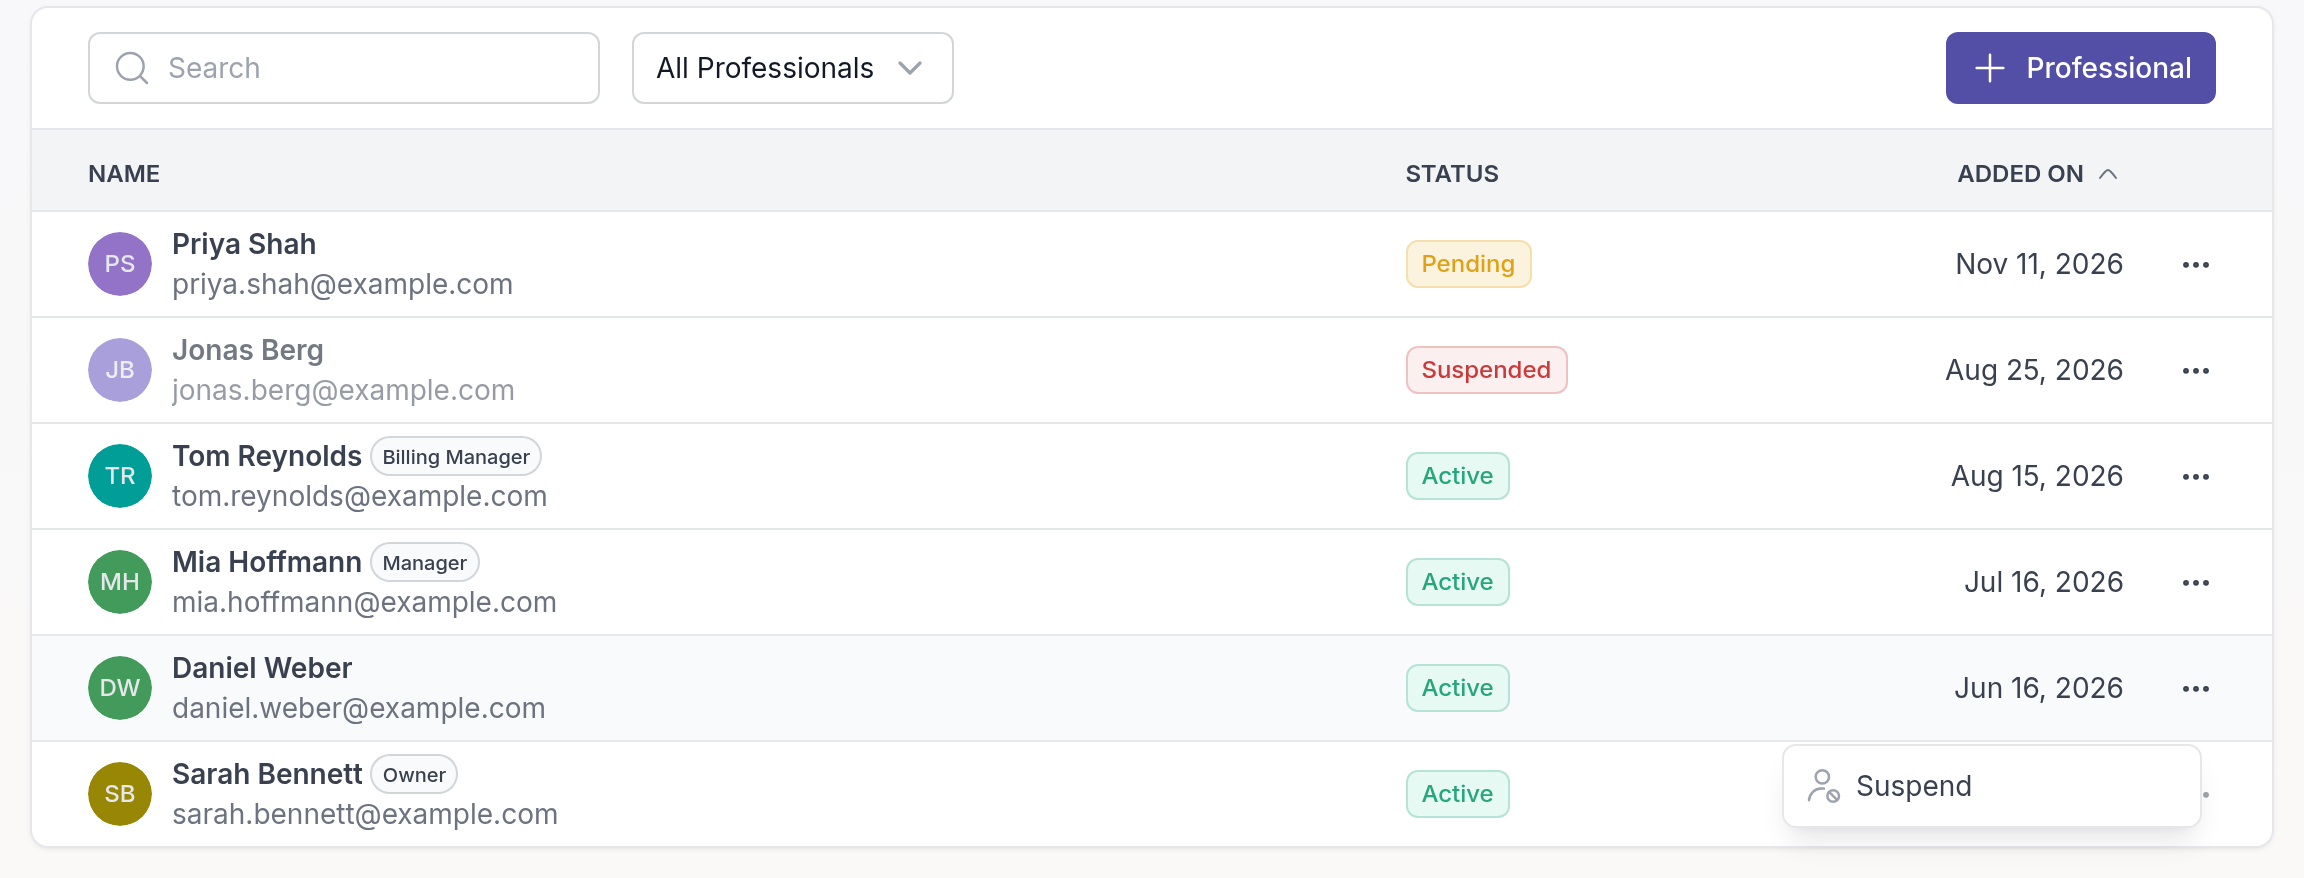
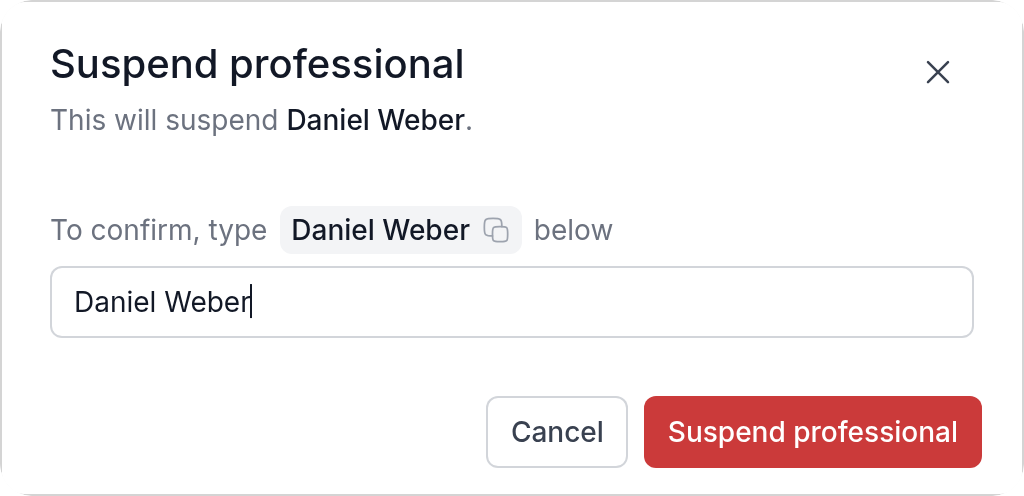
Their status changes to **Suspended**. What happens next:
- They can no longer open your workspace. Other workspaces they belong to are not affected.
- Your clients, notes, activities and other data stay in the workspace.
- One-to-one chats with them become read-only. Group chats are not affected.
- Their professional seat becomes free, so you can invite someone else. See [Professional seats by plan](https://quenza.com/help/billing/professional-seats/).
Clients stay assigned to a suspended colleague. If those clients still need someone, assign them to another professional first. See [Assign professionals](https://quenza.com/help/clients/assign-professionals/).
You can't suspend yourself.
## Reactivate a team member
1. Go to **Workspace → Professionals**.
2. To find suspended team members quickly, set the filter to **Suspended**.
3. Click the **⋯** menu next to the person and choose **Reactivate**.
4. Click **Reactivate professional** to confirm.
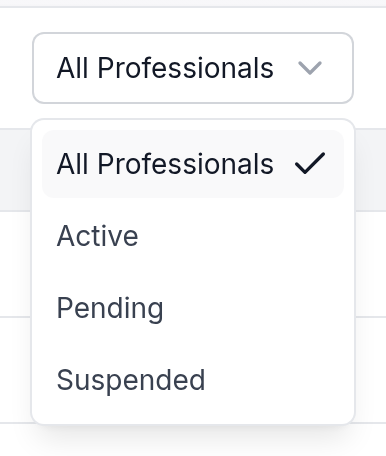

They get access to your workspace again, and their chats can be used again.
> **Note:** A reactivated team member takes up a professional seat again. If all seats are taken, Quenza shows **Plan Limit Reached**. Upgrade your plan or suspend someone else first.
## Pending invitations
For someone who hasn't accepted their invitation yet, the **⋯** menu also shows **Resend Invitation**. See [Resend an invitation](https://quenza.com/help/team/add-team-members/#resend-an-invitation). Suspending a pending team member frees the seat their invitation takes up.
---
# Workspace statistics
> View your workspace statistics: how many clients and activities your workspace has, and how many activities clients have completed.
Source: https://quenza.com/help/team/workspace-statistics/
The **Workspace statistics** page shows totals for your whole workspace, so you can follow its growth at a glance. The workspace **Owner**, **Managers** and **Billing Managers** can open it. **Members** can't.
It is useful for a quick look back, for example at the end of a quarter: how many clients you work with now, and how many of the activities you sent were actually completed. If clients complete only a small share, that may be a sign to send shorter activities or to follow up in your sessions.
## Open the statistics
In the sidebar under **Administration**, click **Workspace → Statistics**.
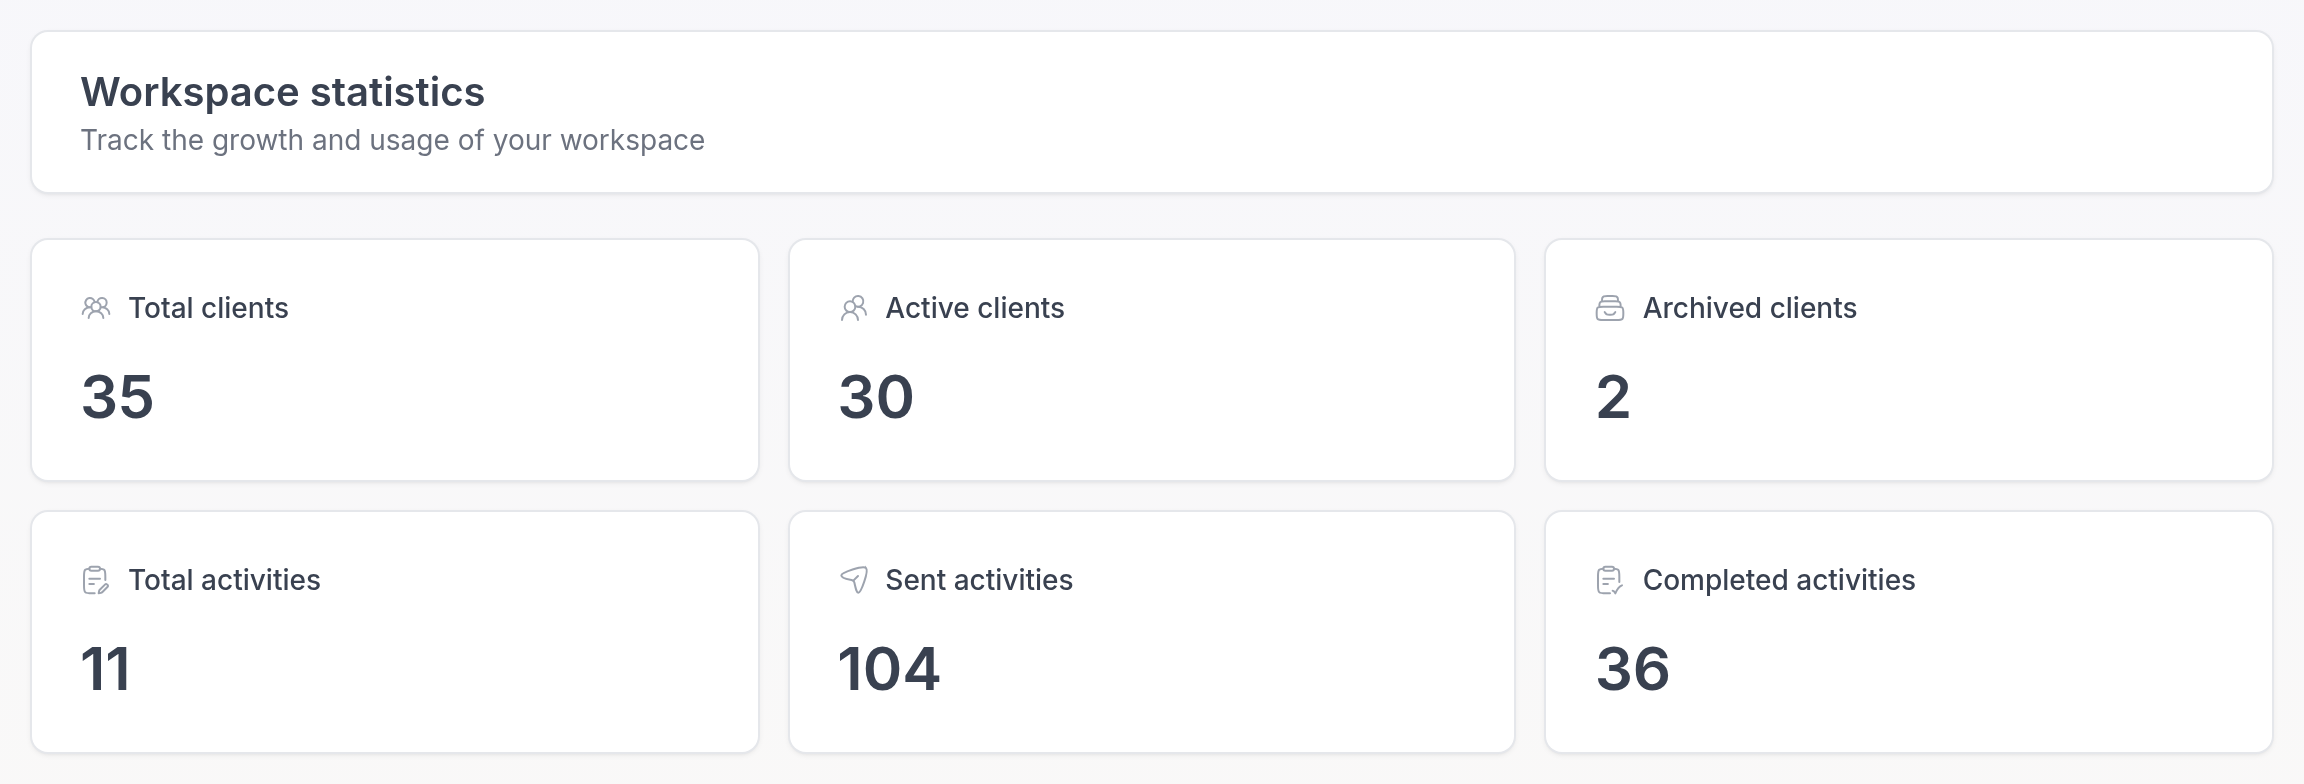
## What the numbers mean
- **Total clients**: every client in your workspace, including archived clients, clients who haven't accepted their invitation yet, and the demo client of each professional.
- **Active clients**: clients who aren't archived and have either accepted their invitation or were added as a guest without an account.
- **Archived clients**: clients you have archived. See [Archive clients](https://quenza.com/help/clients/archive-clients/).
- **Total activities**: the activities in your workspace's library.
- **Sent activities**: how many times an activity has been sent to a client, also as part of a program.
- **Completed activities**: how many of those sent activities clients have completed.
The numbers are totals for the whole workspace and all professionals in it, from the start. They update as you add clients and send activities. For the count that matters for your plan's client limit, see [Client limits](https://quenza.com/help/billing/client-limits/).
To see what is happening today rather than in total, use the [Home page](https://quenza.com/help/getting-started/home-page/).
---
# Multiple workspaces
> Switch between the Quenza workspaces you belong to with one login, or create a new workspace for another practice.
Source: https://quenza.com/help/team/multiple-workspaces/
Your Quenza login is a personal account that can belong to several workspaces. Each workspace is a separate practice with its own clients, content, team and subscription. You switch between them from the workspace menu, and you can create a new workspace at any time.
For example, Sarah Bennett runs her own practice, Bright Path Coaching, and also works two days a week at Calm Minds Collective, where a colleague invited her. She signs in once and switches between the two. Clients of one workspace never see the other.
## Switch to another workspace
Click your workspace name at the top left of the sidebar, then click the workspace you want under **Workspaces**.

Each workspace has a label. **Professional** opens the workspace in the practitioner app. **Client** opens the client portal of a workspace where you are a client, and **Demo client** opens the client portal as your demo client. See [View as client](https://quenza.com/help/getting-started/view-as-client/). A checkmark shows the workspace you are in now, and a red number shows unread notifications and chat messages in a workspace, so you see when something needs you elsewhere.
Some things belong to your account and are the same in every workspace: your sign-in email, password, PIN and language. Your profile (name, photo, biography) belongs to each workspace separately. See [Edit your profile](https://quenza.com/help/getting-started/edit-your-profile/).
## Join another team
To work in a colleague's workspace, ask them to invite you with the email address you already use. The workspace is then added to your account. See [Accept an invitation](https://quenza.com/help/team/accept-invitation/).
## Create a new workspace
1. Click your workspace name at the top left of the sidebar.
2. Click **New workspace**. Your account page opens in a new tab on **My workspaces**.
3. Click **Create new workspace**.
4. In **Create a new workspace**, enter the **First name** and **Last name** you want clients and colleagues to see.
5. Click **Create workspace**.
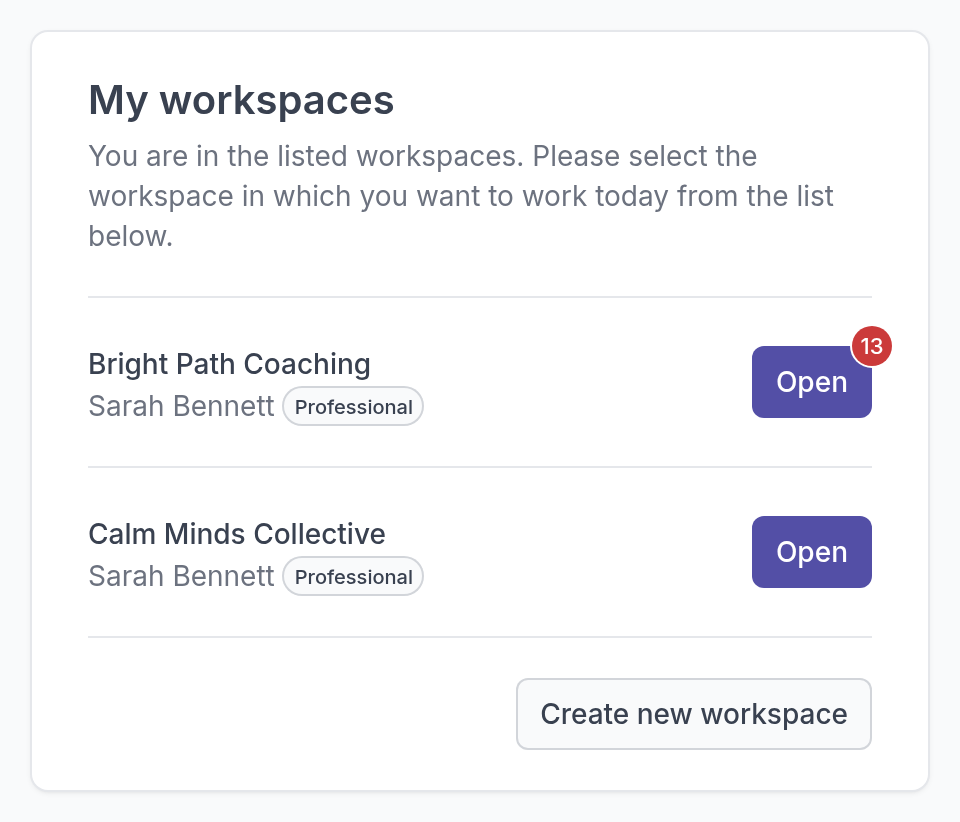
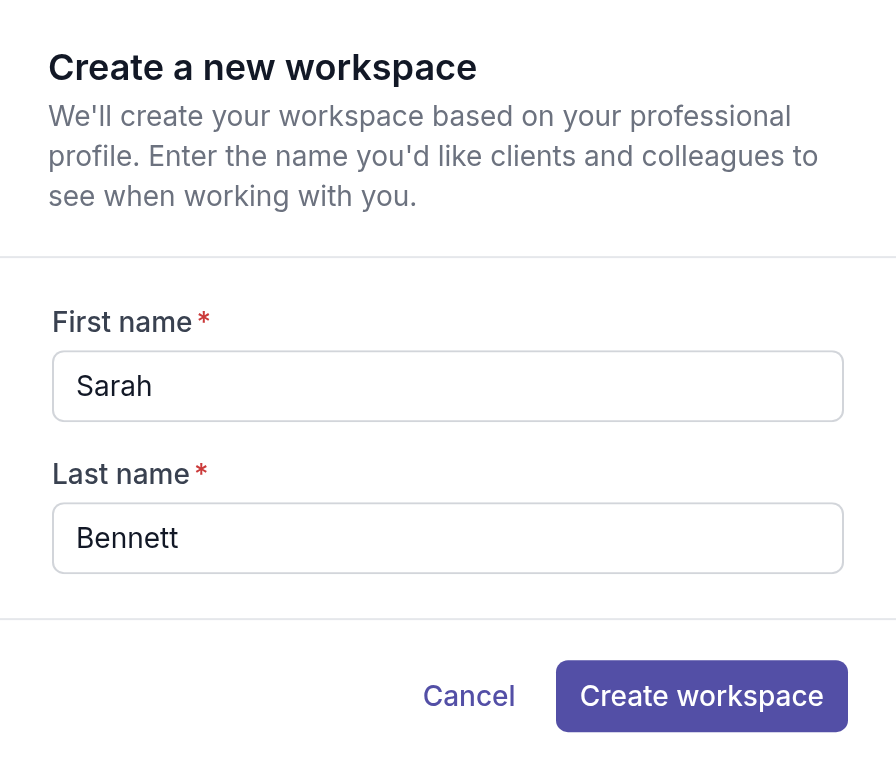
Quenza creates the workspace, makes you its **Owner** and opens it. The new workspace is named after your first name, for example "Sarah's workspace", and Quenza asks a few setup questions, starting with the workspace name. To change the name later, see [Rename your workspace](https://quenza.com/help/team/workspace-settings/#rename-your-workspace).
A new workspace starts with its own free trial and its own subscription, separate from your other workspaces. See [How your free trial works](https://quenza.com/help/billing/free-trial/).
---
# Plans and pricing
> See what each Quenza plan costs, how many clients and professionals it includes, and which features it adds.
Source: https://quenza.com/help/billing/plans-and-pricing/
Quenza has five plans, so you can start with what you need and move up as your practice grows. Every workspace starts with a [30-day free trial](https://quenza.com/help/billing/free-trial/), no credit card required.
## Plans at a glance
| Plan | Monthly | Yearly (per month) | Clients | Professionals | Best for |
| --- | --- | --- | --- | --- | --- |
| Spark | $25 | $20 | 10 | 1 | Solo professionals starting out |
| Growth | $50 | $40 | 250 | 1 | Established practices ready to scale |
| Impact | $125 | $100 | 400 | 1 | Power users who want full creative control |
| Collective | $160 | $128 | 500 | 3 | Teams delivering client care together |
| Beyond | Custom | Custom | Unlimited | Unlimited | Organizations operating at scale |
Paying yearly saves you 20% compared to paying monthly. See [Monthly or yearly billing](https://quenza.com/help/billing/monthly-or-yearly-billing/). Each plan includes everything in the plan below it, plus its own additions. In this help center, an article about a feature that needs a higher plan shows it under the title, for example **Growth plan and higher**. Articles without such a note describe features every plan has.
The client limit counts archived and invited clients too. See [Client limits](https://quenza.com/help/billing/client-limits/) and [Professional seats](https://quenza.com/help/billing/professional-seats/).
## What each plan includes
### Spark
The core for a solo practice: activities, programs, notes, tasks, [Resources](https://quenza.com/help/working-with-clients/resources/) for sharing files and materials, the client portal, the mobile apps for you and your clients, 1:1 client chat, multi-language support, custom translations and the Core content library. Unlimited storage is included on every plan.
### Growth
Everything in Spark, plus the Plus content library, [Groups](https://quenza.com/help/clients/groups/), [group chat](https://quenza.com/help/chat-and-notifications/group-chat/), [recurring tasks](https://quenza.com/help/working-with-clients/recurring-tasks/), [email templates](https://quenza.com/help/branding/email-templates/), 1 [landing page](https://quenza.com/help/new-clients/landing-pages/), [custom logo branding](https://quenza.com/help/branding/logo/), [Calendly](https://quenza.com/help/integrations/calendly/) and [Google Calendar](https://quenza.com/help/integrations/google-calendar/), 1 [webhook](https://quenza.com/help/integrations/webhooks/) endpoint and email support. Growth is the most popular plan.
### Impact
Everything in Growth, plus the Premium content library, a [custom sender email address](https://quenza.com/help/branding/custom-sender-email/), a [custom domain for your client portal](https://quenza.com/help/branding/custom-domain/), up to 3 landing pages and up to 2 webhook endpoints.
### Collective
Everything in Impact, with up to 3 professionals. It adds team chat, [API access](https://quenza.com/help/integrations/api/), up to 5 landing pages and up to 5 webhook endpoints.
### Beyond
Everything in Collective, with unlimited clients, professionals, landing pages and webhooks. It adds [roles and permissions](https://quenza.com/help/team/roles-and-permissions/), premium support, full service setup and content built for your practice. Beyond is priced per organization: click **Contact Sales** on the Billing page, tell us about your team, and we send you a quote.
## See the full comparison
The Billing page shows every plan side by side, with a feature-by-feature comparison below the prices. Go to **Billing → Subscription** under **Administration** in the sidebar, use the **Monthly** and **Yearly** toggle to see both prices, and scroll down for the features. Billing is available to the workspace **Owner**, **Manager** and **Billing Manager**, in the web app only.
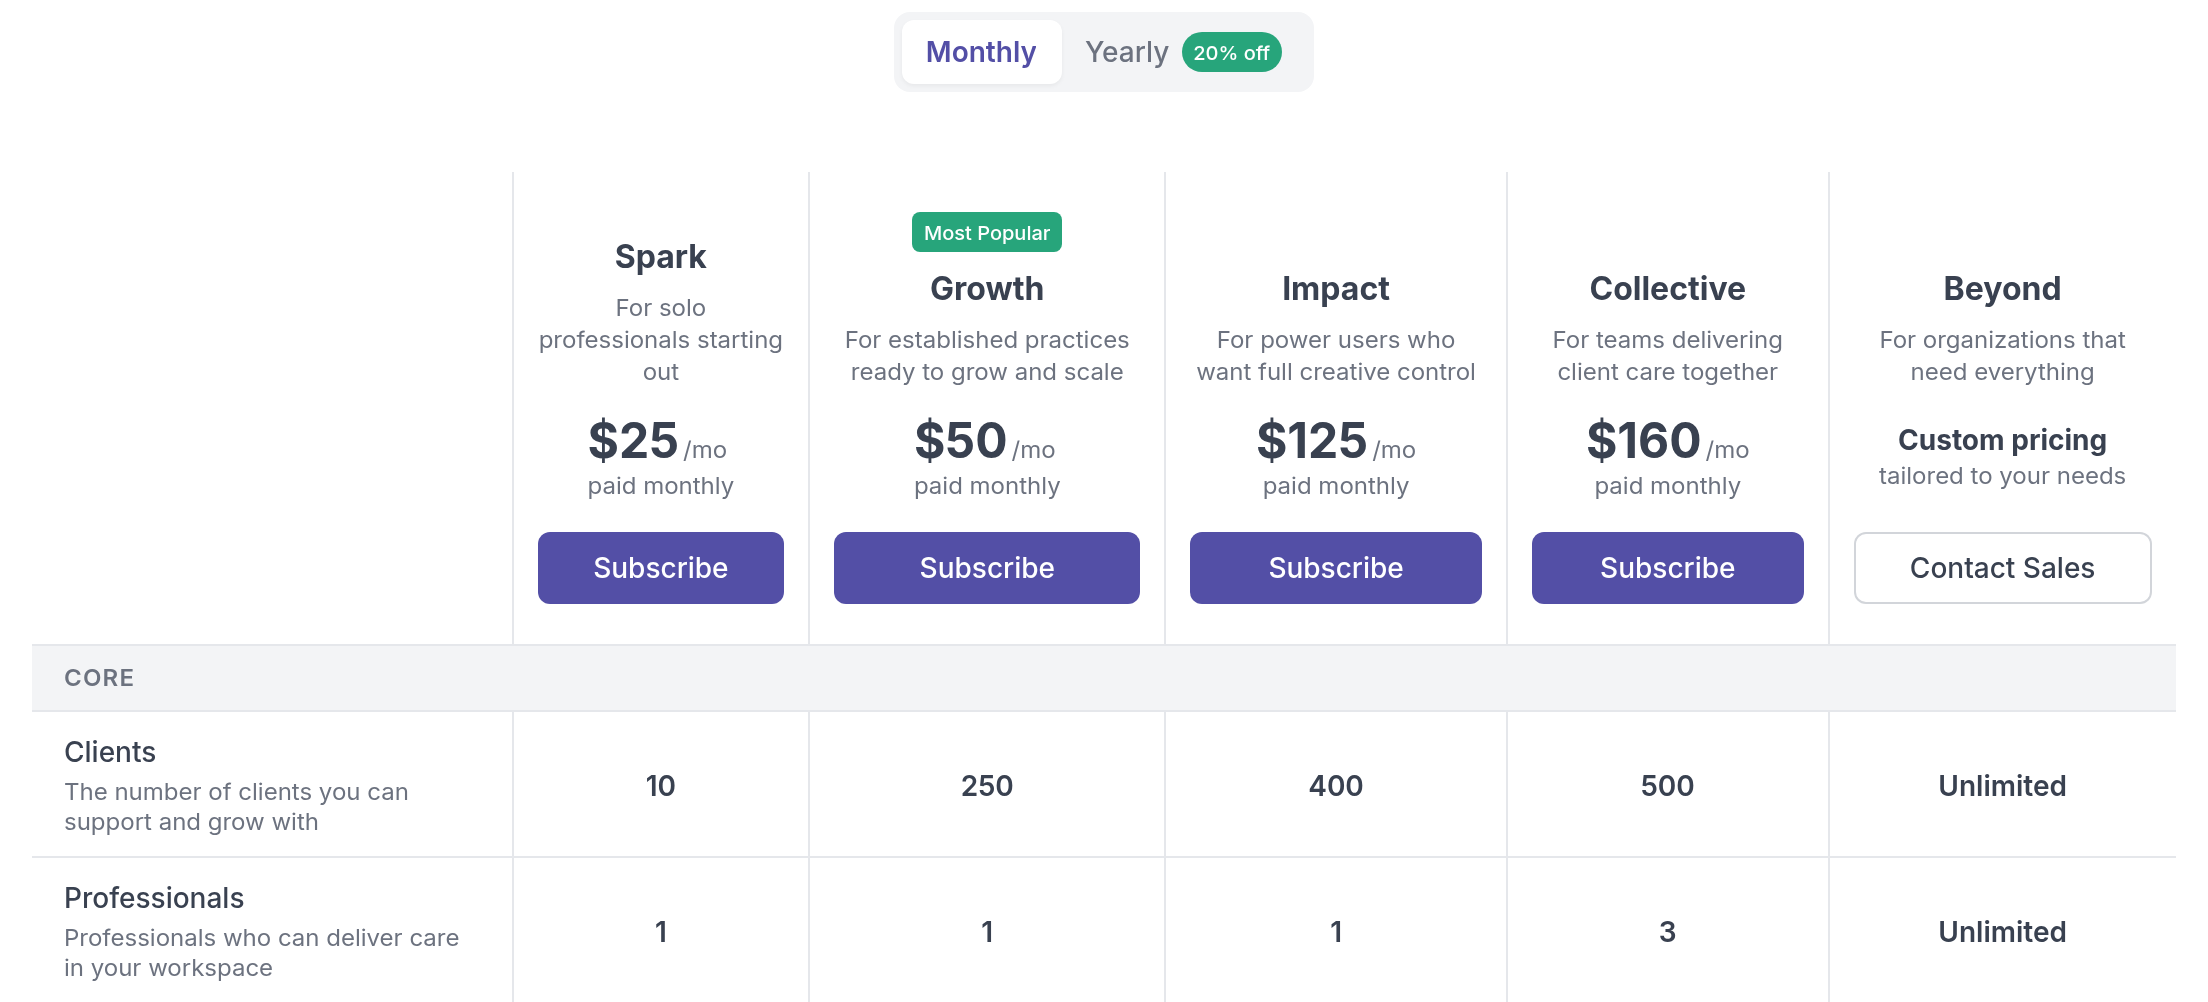
## Choose a plan
Start with two questions: how many clients do you have, counting archived and invited clients, and how many professionals work in your workspace? Then check which features you need.
- A coach starting out with a handful of one-to-one clients fits on **Spark**.
- A therapist with a full caseload who also runs a Mindfulness group needs **Growth**: groups, group chat and room for 250 clients.
- A practitioner who wants clients to see only their own brand, with their own email sender and portal address, picks **Impact**.
- A practice like Bright Path Coaching, where Sarah Bennett works with two colleagues, needs **Collective** for its 3 professional seats.
If you are unsure, start lower. You can move up at any time, and upgrades take effect immediately. See [Change plan](https://quenza.com/help/billing/change-plan/).
---
# Free trial
> See what you can do during your 30-day free Quenza trial, what happens to your workspace when it ends, and how to subscribe to a plan.
Source: https://quenza.com/help/billing/free-trial/
Every new Quenza workspace starts with a 30-day free trial, so you can try Quenza with your own clients before you pay anything. You don't need a credit card to start. To sign up, see [Start your free trial](https://quenza.com/help/getting-started/start-your-free-trial/).
## Make the most of the trial
Use the trial as a test run of your real practice. For example: invite two or three clients, send them an activity such as a Daily mood check-in, add a [group](https://quenza.com/help/clients/groups/) if you run one, and see how it feels for you and for them. By the end of the month you know which features you use, which tells you which plan fits. See [Plans and pricing](https://quenza.com/help/billing/plans-and-pricing/).
The trial includes up to 10 clients and 3 professionals, so you can try Quenza with a few real clients and colleagues. To move a larger client list, [import](https://quenza.com/help/clients/import-clients/) the first 10 now and the rest after you subscribe; the import tells you when a file has more clients than you have room for.
The workspace **Owner**, **Manager** and **Billing Manager** see in the sidebar how many days are left, with an **Upgrade plan** link to the Billing page.
## Subscribe to a plan
You can subscribe at any time during the trial or after it ends, in the web app. Subscribing is not possible in the mobile app.
1. In the sidebar under **Administration**, click **Billing → Subscription**.
2. Choose **Monthly** or **Yearly**. Yearly is 20% cheaper; see [Monthly or yearly billing](https://quenza.com/help/billing/monthly-or-yearly-billing/).
3. Click **Subscribe** on the plan you want.
4. On the secure payment page, enter your billing address and card details and confirm.
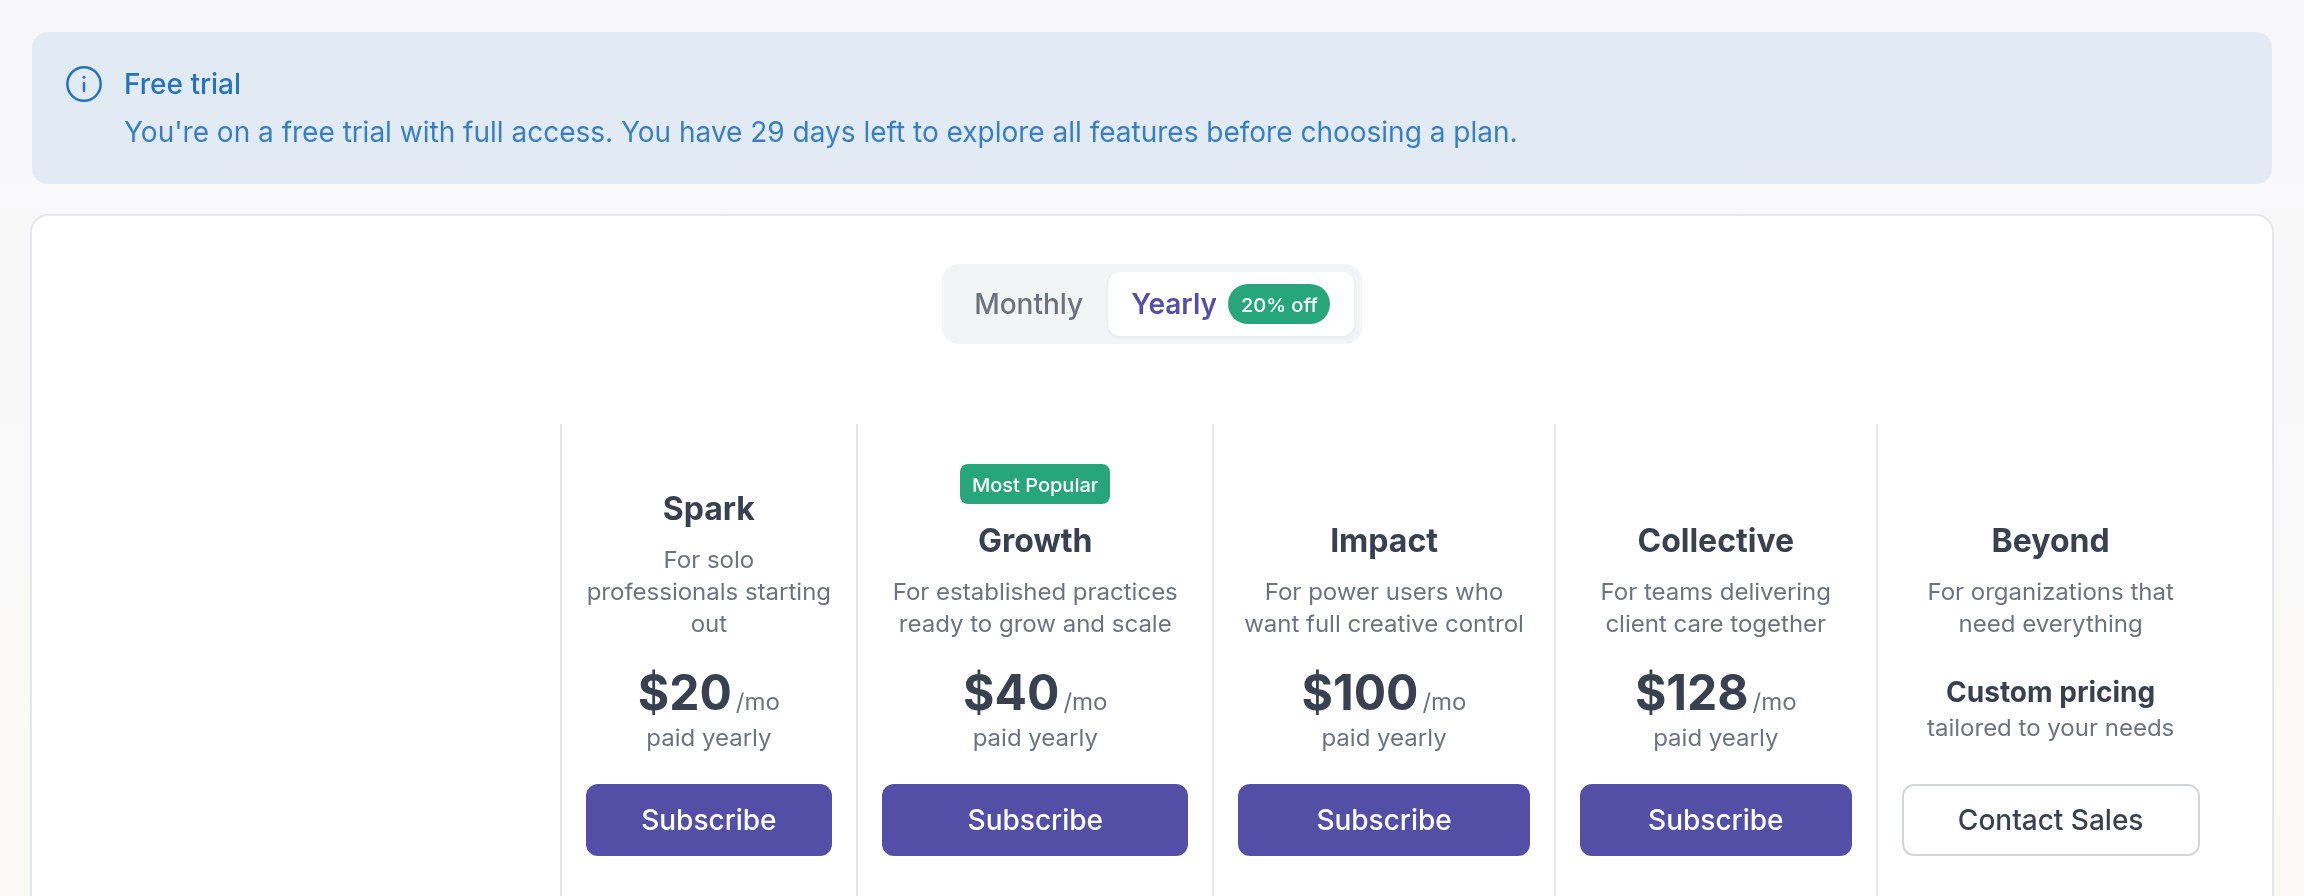
You return to the Billing page, where your new plan is marked **Your Plan**. Everything you set up during the trial stays as it is.
If your workspace uses more than the plan you pick allows, for example more clients, Quenza tells you before you go to the payment page. See [Change plan](https://quenza.com/help/billing/change-plan/#plan-change-not-possible).
## When the trial ends
If you haven't subscribed when the trial ends, your workspace is paused until you choose a plan.
- The **Owner**, **Manager** and **Billing Manager** see a **Trial Ended** page with all plans, where they can subscribe straight away.
- Other professionals in the workspace see a message asking them to contact the workspace owner or billing manager.
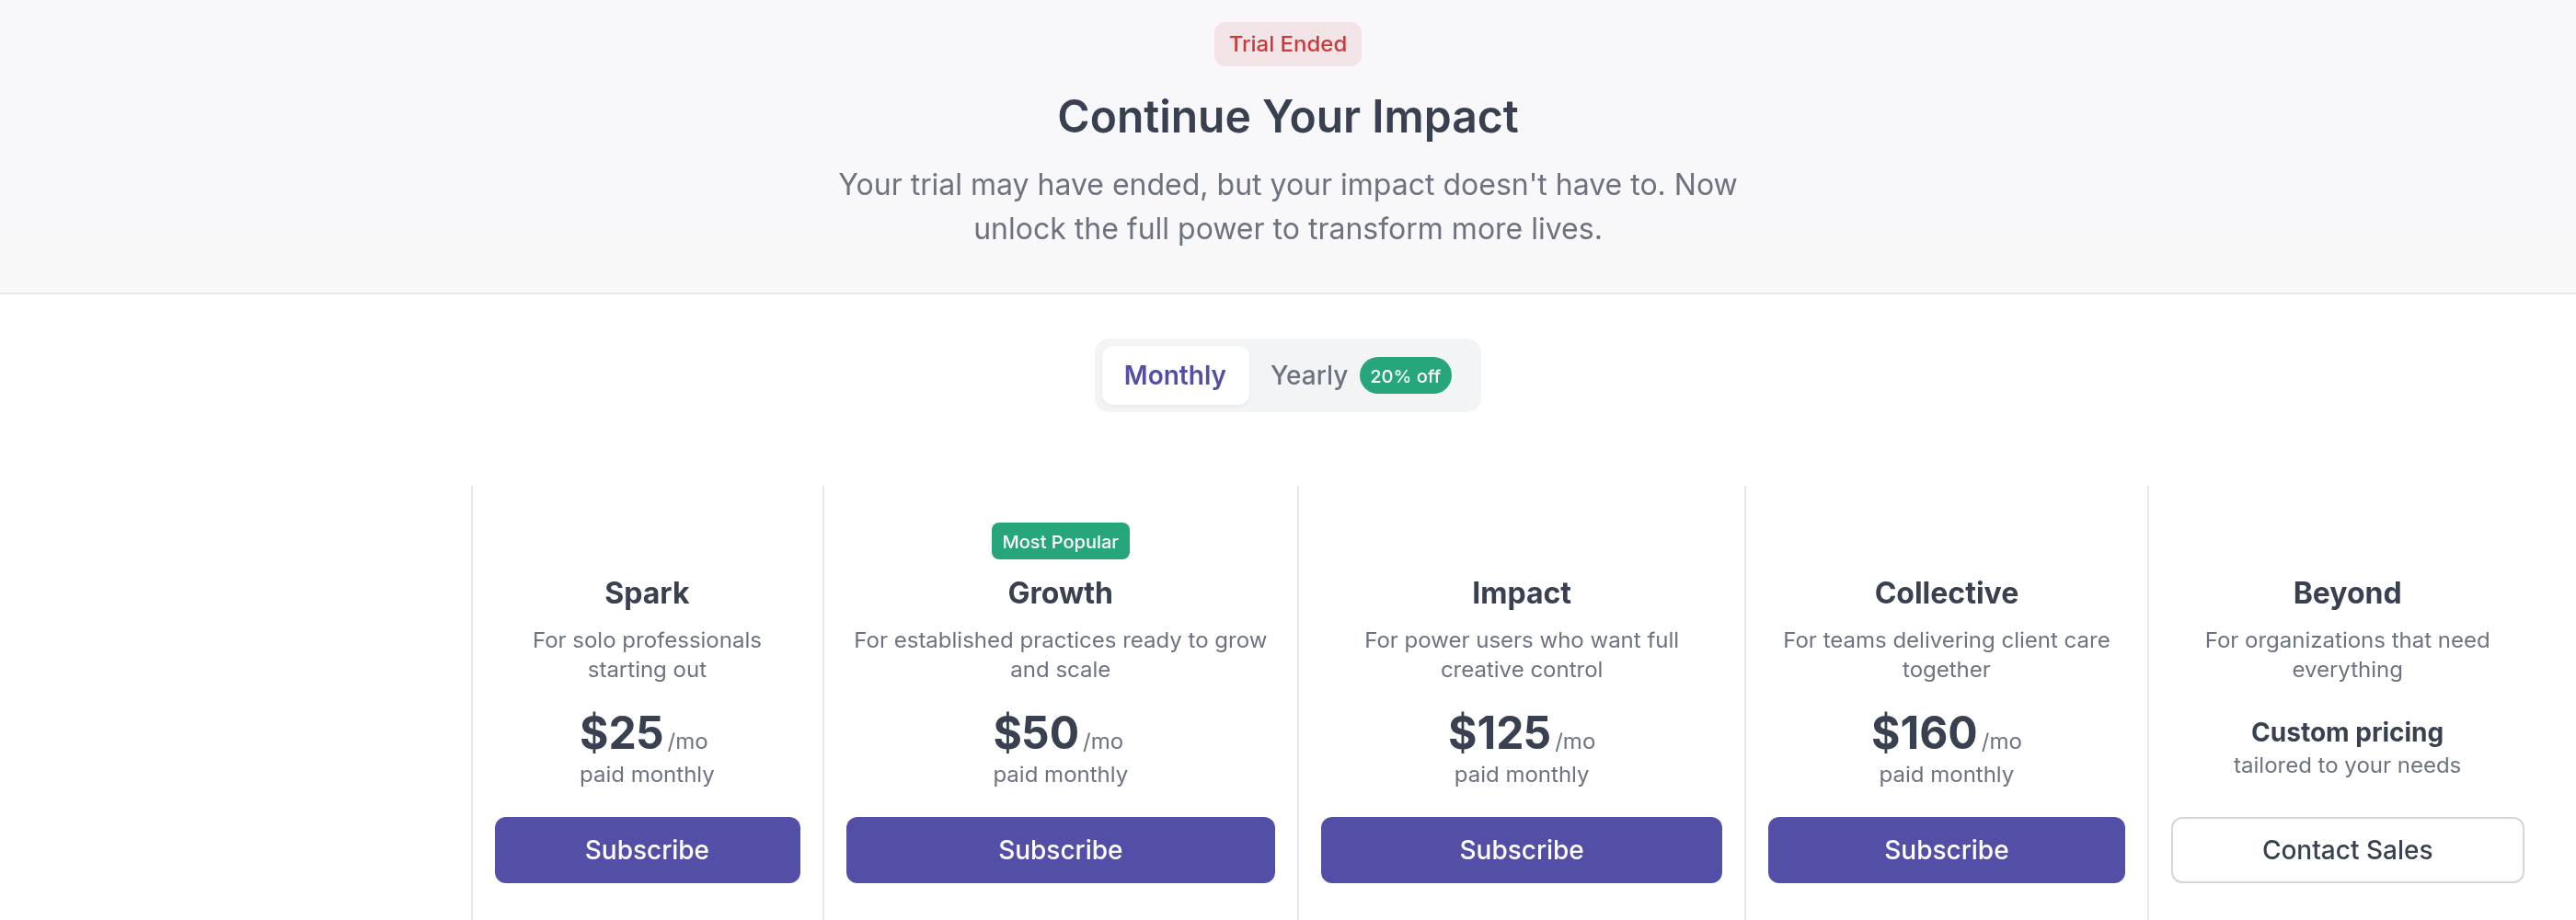
Your workspace and data are not deleted when the trial ends. Your clients, content and settings are kept, so you can pick up where you left off once you subscribe.
If you would like help choosing a plan, contact our support team.
---
# Client limits
> See what counts toward your plan's client limit, including archived and invited clients, what happens when you reach it, and how to free up space.
Source: https://quenza.com/help/billing/client-limits/
Each Quenza plan includes a set number of clients. This page explains which clients count, what happens at the limit, and how to make room. Knowing this helps you pick the right plan and avoid surprises when you invite a new client.
## Client limit per plan
| Plan | Clients |
| --- | --- |
| Spark | 10 |
| Growth | 250 |
| Impact | 400 |
| Collective | 500 |
| Beyond | Unlimited |
During the [free trial](https://quenza.com/help/billing/free-trial/) you can add up to 10 clients. Your plan's limit applies as soon as you subscribe.
## What counts toward your limit
Every client in your workspace counts toward the limit:
- **Active clients**: the people you currently work with. They can use the client app, chat with you and receive activities and programs.
- **Archived clients**: people you no longer actively work with. They keep read-only access to their own data, but you can't send them new content. See [Archive a client](https://quenza.com/help/clients/archive-clients/).
- **Invited clients** who have not accepted their invitation yet.
- **Guests**, clients without a login. See [Guest clients](https://quenza.com/help/clients/guest-clients/).
Your demo client doesn't count.
> **Note:** Archiving a client keeps their information available to them, but it doesn't free up a slot. Archived clients still count toward your limit.
If you are on a Legacy plan, the rules are different: only active clients count. See [Legacy plans](https://quenza.com/help/billing/legacy-plans/).
## When you reach the limit
When your workspace is at its client limit, Quenza shows **Plan Limit Reached** and you can't add more clients until you free up space or move to a higher plan. Click **Upgrade Plan** to go to the Billing page. If you don't have access to billing, ask your workspace owner or billing manager to upgrade.
The same applies when you [import clients](https://quenza.com/help/clients/import-clients/): if your file has more clients than you have free slots, Quenza shows **Import limit reached**.
Your existing clients and their data are not affected by reaching the limit.
## Free up space
You have two options:
- [Delete a client](https://quenza.com/help/clients/delete-clients/) you no longer need. This is the only way to free up a slot; archiving is not enough.
- Move to a plan with a higher limit. See [Change plan](https://quenza.com/help/billing/change-plan/).
## Plan ahead
When you choose a plan, add up your active, archived and invited clients to find your real total. Pick a plan whose limit comfortably covers it, especially if you have built up a large archive of past clients.
For example: Sarah Bennett works with 20 clients at a time, has archived 60 past clients over the years, and has 3 invitations waiting. Her real total is 83, so Spark (10 clients) is too small and Growth (250 clients) leaves plenty of room. If she wants to stay on a smaller plan, she can delete past clients she no longer needs, after [exporting their data](https://quenza.com/help/clients/export-client-data/) if she must keep records.
---
# Professional seats
> See how many professionals each Quenza plan includes, who counts toward the seat limit, and how to get more seats for your team.
Source: https://quenza.com/help/billing/professional-seats/
Professionals are the people in your workspace who work with clients, sometimes called team members. Each plan includes a set number of professional seats.
## Seats per plan
| Plan | Professionals |
| --- | --- |
| Spark | 1 |
| Growth | 1 |
| Impact | 1 |
| Collective | 3 |
| Beyond | Unlimited |
Seats are built into each plan; you can't buy single extra seats. A solo coach fits on any plan. A practice with a colleague or two, like Bright Path Coaching with Sarah Bennett and two other coaches, needs Collective.
## Who counts toward the limit
- Active professionals, including the workspace owner, count toward the limit.
- Professionals you have invited but who have not accepted yet also count.
- [Suspended professionals](https://quenza.com/help/team/suspend-and-reactivate/) don't count.
- Members with the **Billing Manager** role don't count. They can only see the billing pages, so you can give your bookkeeper access to invoices without using a seat.
When all seats are taken and you try to add a professional, Quenza shows **Plan Limit Reached**. Click **Upgrade Plan** to go to the Billing page, or free up a seat first.
## Get more seats
To add more professionals than your plan includes, move to a plan with more seats: Collective for up to 3 professionals, or Beyond for unlimited professionals. Upgrades take effect immediately. See [Change plan](https://quenza.com/help/billing/change-plan/) and [Add a team member](https://quenza.com/help/team/add-team-members/).
## Roles and permissions
On Beyond, you can also use [roles and permissions](https://quenza.com/help/team/roles-and-permissions/) to control what each professional can do in your workspace.
## Downgrading with more professionals than the new plan allows
Before you can move to a plan with fewer seats, your usage has to fit the new plan. For example, if you have 2 professionals and want to move to a plan with 1 seat, Quenza shows **Plan change not possible** until you remove or suspend a professional. Removing a professional doesn't delete any client data.
---
# Change plan
> Move to a higher or lower Quenza plan, and learn when the change takes effect and what happens to your features.
Source: https://quenza.com/help/billing/change-plan/
Your plan can grow or shrink with your practice. Upgrades start right away. Downgrades start at your next renewal, so you keep what you paid for until then. The workspace **Owner**, **Manager** and **Billing Manager** can change the plan, in the web app.
A typical reason to upgrade: Sarah Bennett runs Bright Path Coaching on Growth and wants to put her own address on client emails and run the client portal on her own domain. Both come with Impact, so she upgrades, and the features are there straight away. A typical reason to downgrade: a practice that stopped running groups and no longer needs the calendar integrations.
## Compare and choose
Go to **Billing → Subscription** under **Administration** in the sidebar. All plans are shown side by side with their prices and features, and your current plan is marked **Your Plan**. The **Monthly** and **Yearly** toggle above the plans changes the prices and the billing interval you move to.
Each plan has one button:
- **Upgrade** on the plans above yours.
- **Downgrade** on the plans below yours.
- **Contact Sales** on Beyond, which is priced for your organization. See [Plans and pricing](https://quenza.com/help/billing/plans-and-pricing/#beyond).
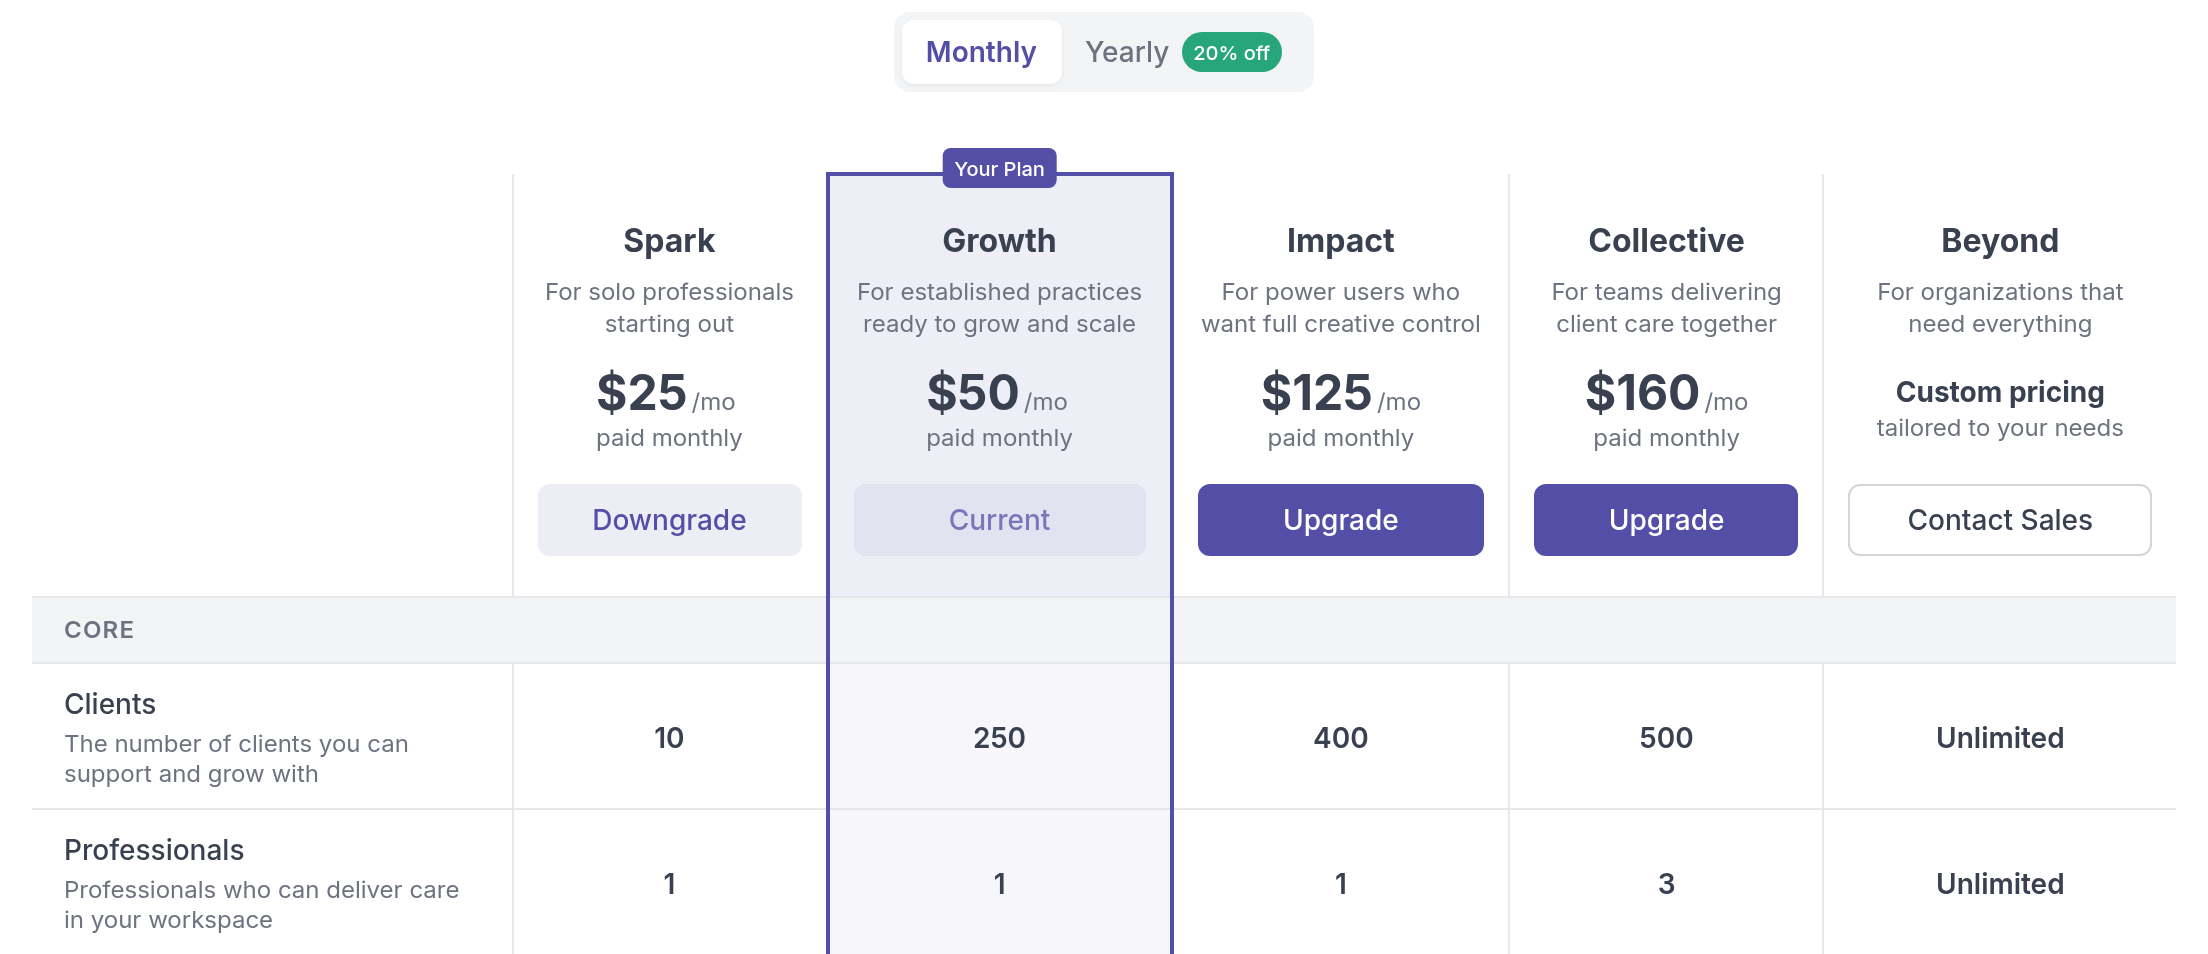
Click the button on the plan you want. If you move to a plan with fewer features, Quenza first shows what will change (see below); click **Continue with plan change** to go ahead.
## Upgrading
An upgrade takes effect immediately. The higher client limit, extra professional seats and new features are available right away. You pay the difference for the rest of the current billing period, and from then on the new plan's price.
You can't upgrade while an invoice is unpaid. Pay the open invoice first under **Billing → Invoices**. See [Invoices and taxes](https://quenza.com/help/billing/invoices-and-taxes/).
## Downgrading
A downgrade starts at the beginning of your next billing period. Until then you keep your current plan with all its features and limits.
While the change is waiting, the Billing page shows **Scheduled Plan Change** with the plan and the date. Click **Cancel Change** if you want to stay on your current plan after all.

If you [cancel your subscription](https://quenza.com/help/billing/cancel-subscription/) while a downgrade is scheduled, the scheduled downgrade is removed.
## Plan change not possible
Your usage has to fit the plan you move to. If it doesn't, Quenza shows **Plan change not possible** with what is over the limit: **Clients**, **Team members** or **Webhook endpoints**, each with your current number and the new plan's maximum.
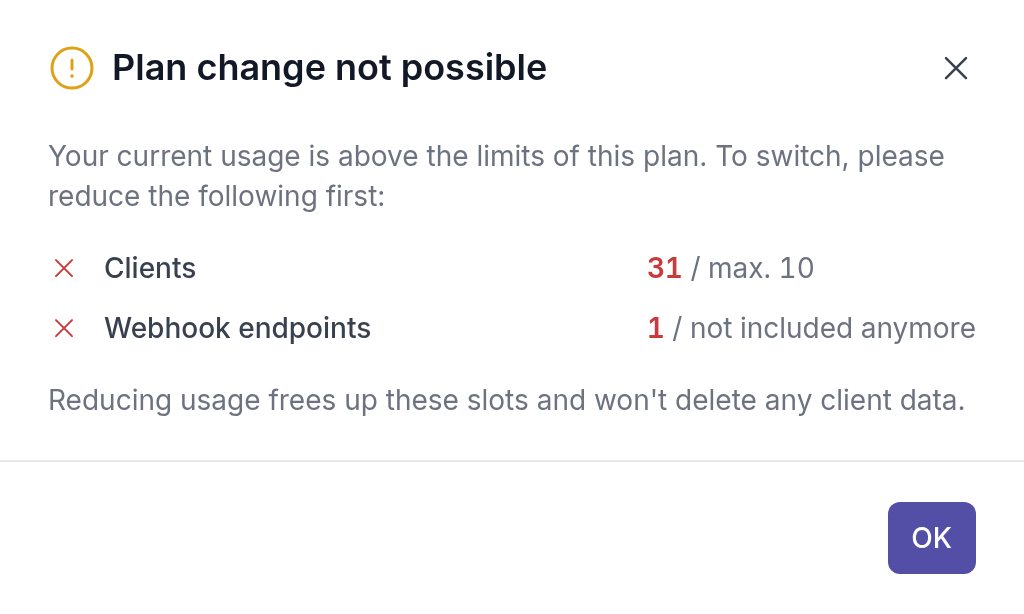
Reduce each listed item first, then try again:
- **Clients**: [delete clients](https://quenza.com/help/clients/delete-clients/) you no longer work with. Archived clients still count, so archiving is not enough. See [Client limits](https://quenza.com/help/billing/client-limits/).
- **Team members**: remove or [suspend a professional](https://quenza.com/help/team/suspend-and-reactivate/).
- **Webhook endpoints**: remove an endpoint under [Webhooks](https://quenza.com/help/integrations/webhooks/).
## When the new plan has fewer features
Features that are not part of the new plan stop working once the new plan starts. Before you confirm, the **Plan Change Information** dialog lists what will happen in your workspace.
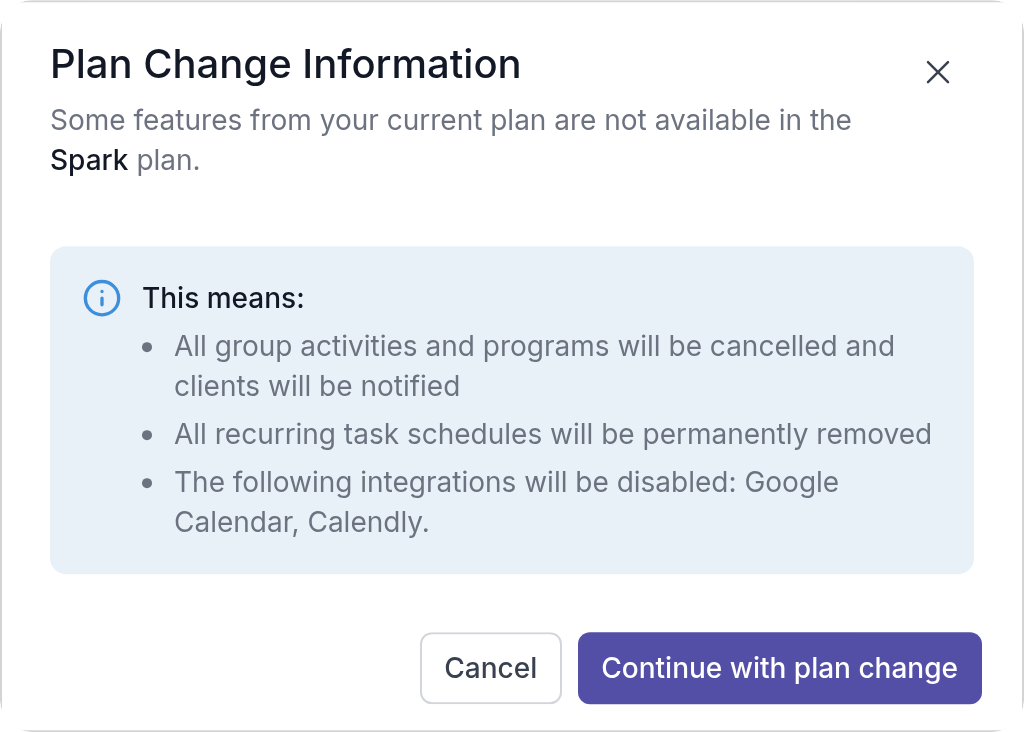
Depending on what you use now, that can be:
- **Groups**: all group activities and programs are cancelled, and clients are notified.
- **Recurring tasks**: all recurring task schedules are permanently removed.
- **Calendar integrations**: Calendly and Google Calendar are switched off.
- **Roles and permissions**: all professionals are set to the **Manager** role.
- **Multi-language**: the language for all professionals and clients is set to English.
Your clients, content and other data stay in your workspace. If you upgrade again later, the features come back, but cancelled assignments and removed recurring task schedules are not restored.
> **Caution:** Before you move away from a plan with groups, check which group programs are still running. Members of the Mindfulness group, for example, would see their group program cancelled.
---
# Monthly or yearly billing
> Switch your Quenza plan between monthly and yearly billing at any time, and see how paying yearly saves 20% compared to paying monthly.
Source: https://quenza.com/help/billing/monthly-or-yearly-billing/
Every plan can be paid monthly or yearly. Paying yearly costs 20% less than paying monthly. You can switch at any time without changing your plan or its features. The workspace **Owner**, **Manager** and **Billing Manager** can do this, in the web app.
## Monthly or yearly: which suits you
| Plan | Monthly billing | Yearly billing | You save per year |
| --- | --- | --- | --- |
| Spark | $25 a month, $300 a year | $240 a year ($20 a month) | $60 |
| Growth | $50 a month, $600 a year | $480 a year ($40 a month) | $120 |
| Impact | $125 a month, $1,500 a year | $1,200 a year ($100 a month) | $300 |
| Collective | $160 a month, $1,920 a year | $1,536 a year ($128 a month) | $384 |
**Monthly** suits you while you are still finding out which plan fits, or when your practice is changing, for example while you build up your client base after the [free trial](https://quenza.com/help/billing/free-trial/). You pay a smaller amount each month and can change course easily.
**Yearly** suits you once your practice is settled. Sarah Bennett has run Bright Path Coaching on Growth for six months and knows it fits. Switching to yearly costs her $480 a year instead of $600.
## Switch
Go to **Billing → Subscription** under **Administration** in the sidebar. Above the plans, select **Yearly** or **Monthly**: the prices change to that interval, and your current plan shows a **Switch** button. Click **Switch** to move to the other interval.
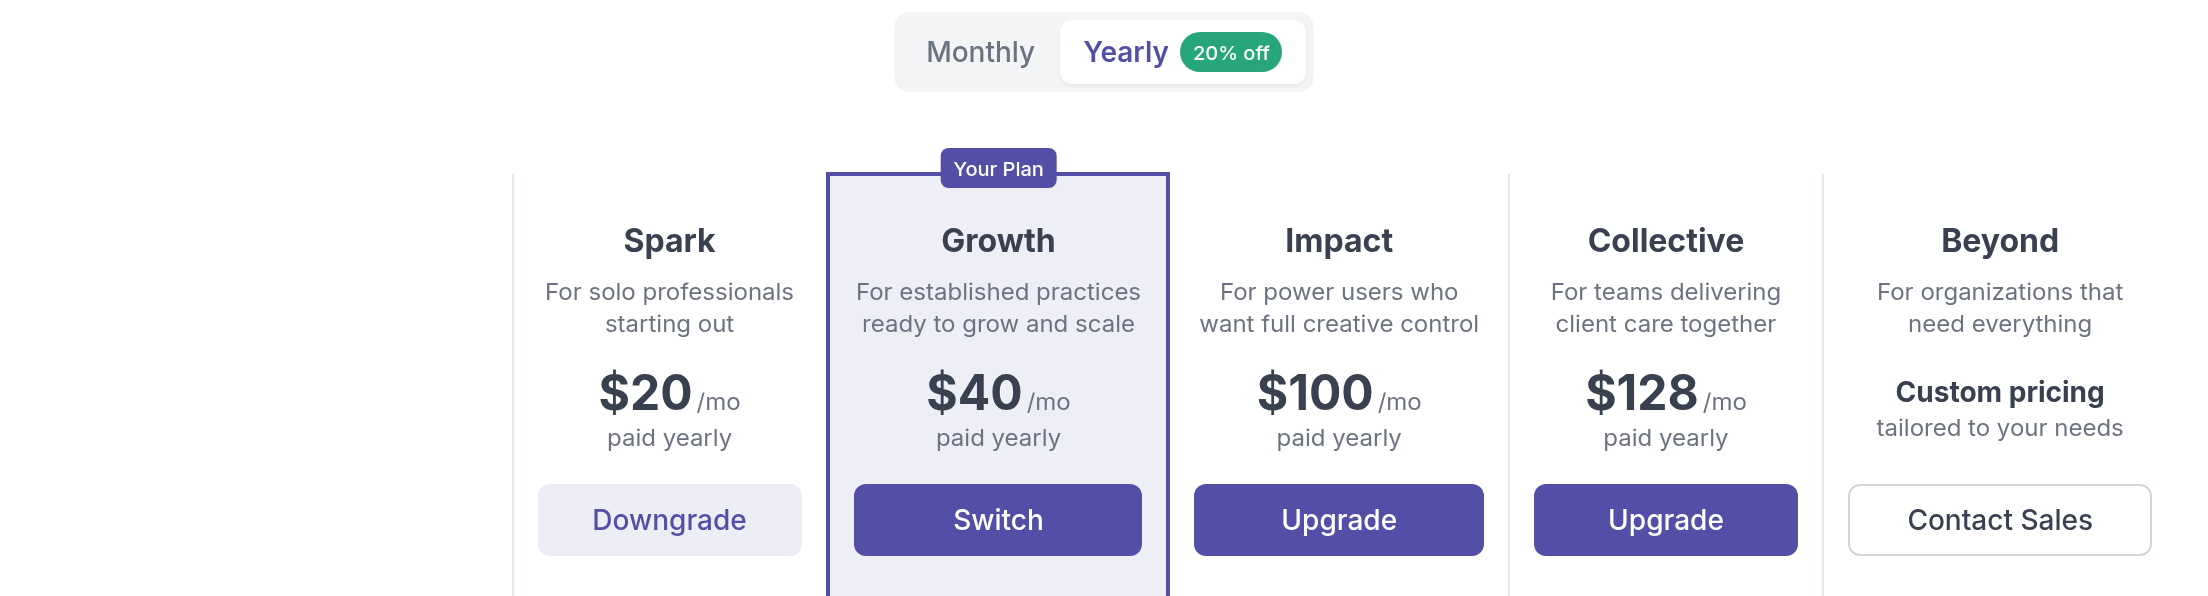
The switch takes effect right away:
- **From monthly to yearly**: your yearly term starts now and you are charged the yearly price. The part of the current month you have already paid for is taken into account.
- **From yearly to monthly**: your monthly billing starts now. The part of your yearly payment you haven't used yet is taken into account.
The new amount appears on your next invoice under **Billing → Invoices**. See [Invoices and taxes](https://quenza.com/help/billing/invoices-and-taxes/).
## What doesn't change
Switching how often you pay doesn't change your plan, your client limit or your features. To move to another plan, such as from Spark to Growth, see [Change plan](https://quenza.com/help/billing/change-plan/). You can switch interval and plan in one go: select **Yearly**, then click **Upgrade** on the higher plan.
---
# Payment method
> Change the card or payment method your Quenza subscription is charged to, for example when your card expires or a payment fails.
Source: https://quenza.com/help/billing/payment-method/
Your subscription renews automatically with the card on file. Update it before your card expires, when you get a new card, or when you want your practice's business card charged instead of a personal one. The workspace **Owner**, **Manager** and **Billing Manager** can do this, in the web app.
1. In the sidebar under **Administration**, click **Billing → Subscription**.
2. In the **Payment Method** card, click **Update Payment**. The secure billing portal of our payment provider opens in a new tab.
3. Add your new card or payment details and save.
Your next payment is taken from the updated payment method. The **Payment Method** card appears once you have a subscription.
## Your card details are safe
Payments are processed by our payment provider. Your full card details are stored with the provider, never in your Quenza workspace, and nobody at your practice or at Quenza can see them.
## If a payment fails
If a renewal payment doesn't go through, for example because the card expired, the invoice stays **Open** or becomes **Overdue**. Update your payment method as above, then go to **Billing → Invoices** and click the invoice to pay it. See [Invoices and taxes](https://quenza.com/help/billing/invoices-and-taxes/).
While an invoice is unpaid, you can't upgrade to a higher plan. If you need help, contact our support team.
---
# Billing address
> Update the billing address shown on your Quenza invoices and used to calculate tax, for example when your company details change.
Source: https://quenza.com/help/billing/billing-address/
Your billing address appears on your invoices and is used to calculate any tax that applies to your subscription. Update it when your details change, for example when you move your practice, register a company or want invoices in your company's name for your accountant. The workspace **Owner**, **Manager** and **Billing Manager** can do this, in the web app.
You first enter a billing address when you subscribe, on the payment page. After that, you change it here:
1. In the sidebar under **Administration**, click **Billing → Subscription**.
2. In the **Billing Address** card, click **Update Address**. The secure billing portal of our payment provider opens in a new tab.
3. Enter your new address and save.
Every invoice from then on shows the new address. Invoices you already received don't change. You find them under **Billing → Invoices**; see [Invoices and taxes](https://quenza.com/help/billing/invoices-and-taxes/).
The **Billing Address** card appears once you have a subscription. In the same billing portal you can also change your card; see [Payment method](https://quenza.com/help/billing/payment-method/).
---
# Invoices and taxes
> Find and download your Quenza invoices as PDF, pay an open invoice, and learn how subscription payments and VAT work.
Source: https://quenza.com/help/billing/invoices-and-taxes/
Every payment for your Quenza subscription comes with an invoice. You need them for your bookkeeping, for example to send to your accountant at the end of the quarter. The workspace **Owner**, **Manager** and **Billing Manager** can view them, in the web app.
## View and download invoices
In the sidebar under **Administration**, click **Billing → Invoices**. The page lists your 10 most recent invoices, newest first, with the **Invoice number**, **Date**, **Status** and **Amount**.
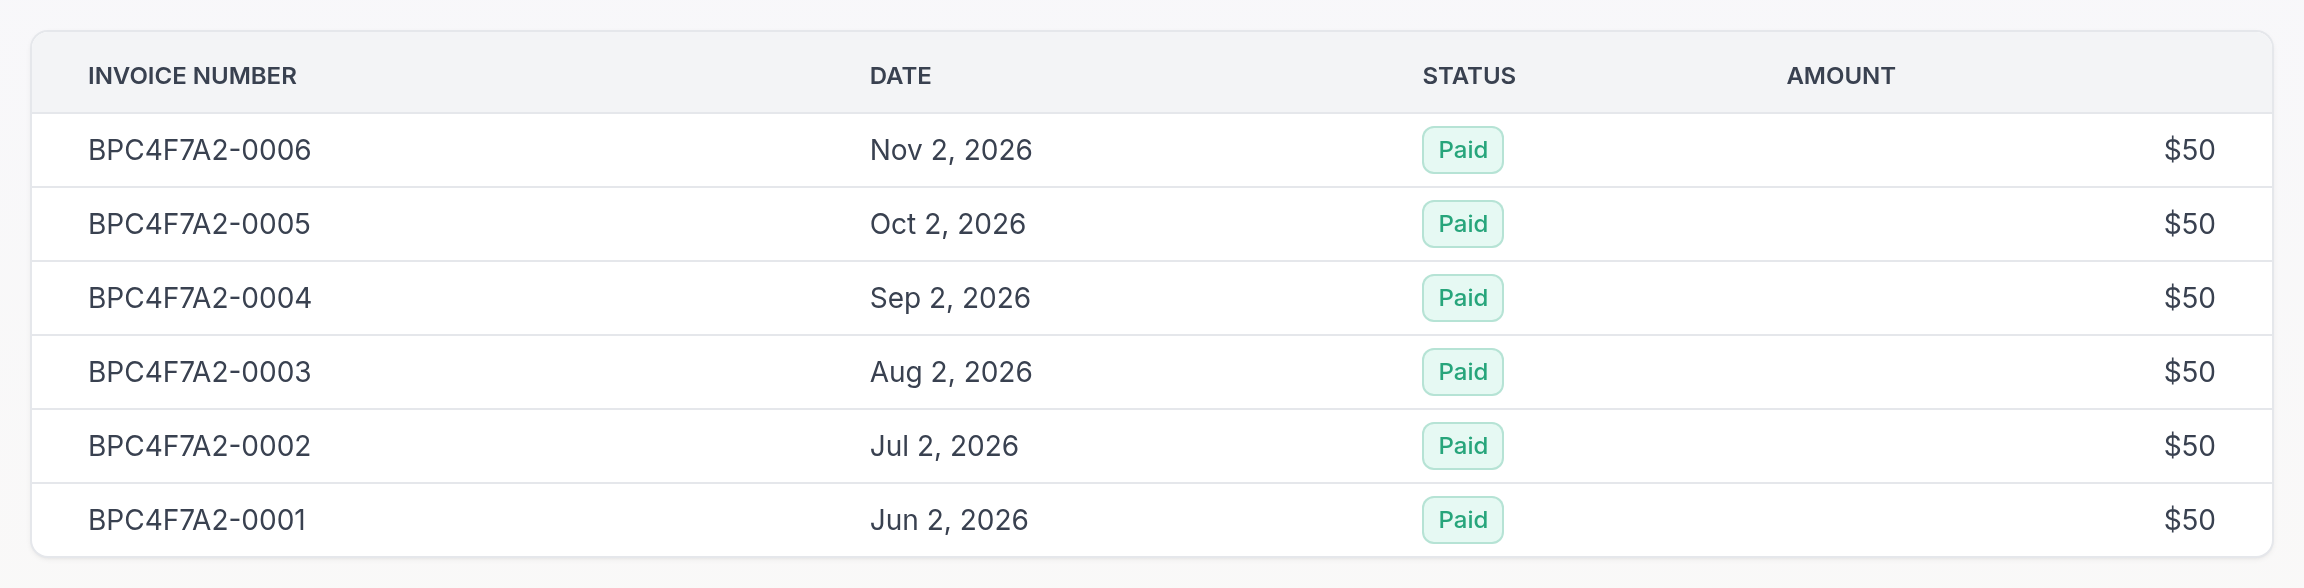
Click an invoice to open it on a secure page of our payment provider, in a new tab. There you can see the full invoice and download it, or its receipt, as a PDF.
## Invoice status
- **Paid**: the payment went through.
- **Open**: not paid yet. Click the invoice to pay it.
- **Overdue**: the payment date has passed. Click the invoice to pay it, and check your [payment method](https://quenza.com/help/billing/payment-method/).
- **Uncollectible** or **Void**: the invoice no longer needs to be paid.
## How payments are taken
Subscriptions are paid by card through our secure payment provider. Your plan renews automatically at the end of each billing period, monthly or yearly, until you [cancel](https://quenza.com/help/billing/cancel-subscription/).
When you change your plan or billing interval during a period, the difference for the rest of that period is settled on your invoice. See [Change plan](https://quenza.com/help/billing/change-plan/) and [Monthly or yearly billing](https://quenza.com/help/billing/monthly-or-yearly-billing/).
## Taxes
The prices on our pricing page include VAT. The price you see is the price you pay; VAT is not added on top at checkout. Tax is calculated from your [billing address](https://quenza.com/help/billing/billing-address/), so keep it up to date to get the correct tax details on your invoice.
## No hidden fees
You pay your plan's monthly or yearly price. There are no setup fees and no extra per-client charges on top of your plan.
## Questions about a charge
If a charge or invoice looks unexpected, contact our support team and mention the invoice number.
---
# Cancel subscription
> Stop your Quenza subscription from renewing, see how long you keep access, and learn what happens to your workspace and data.
Source: https://quenza.com/help/billing/cancel-subscription/
You can cancel your Quenza subscription at any time. There is no cancellation fee and no long-term contract. Cancelling stops the renewal; you keep using Quenza until the end of the period you have already paid for. The workspace **Owner**, **Manager** and **Billing Manager** can cancel, in the web app.
> **Tip:** Cancelling is not the only way to pay less. If your practice has become smaller, a [lower plan](https://quenza.com/help/billing/change-plan/) or [yearly billing](https://quenza.com/help/billing/monthly-or-yearly-billing/) may fit better, and your clients keep their access.
## Cancel
Go to **Billing → Subscription** under **Administration** in the sidebar. The **Cancel Subscription** card sits next to **Billing Address** and **Payment Method** at the top of the page.

1. In the **Cancel Subscription** card, click **Cancel Subscription**.
2. Check the date until which your access stays active.
3. Type your workspace name to confirm.
4. Click **Cancel Subscription**.
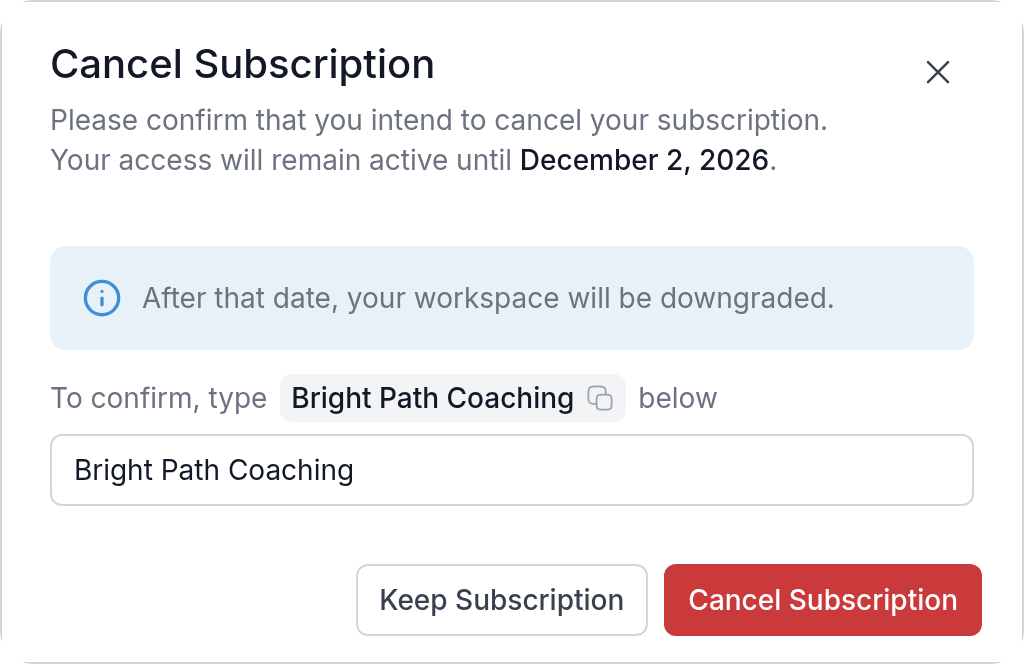
Changed your mind in the dialog? Click **Keep Subscription**. If you had a [scheduled downgrade](https://quenza.com/help/billing/change-plan/#downgrading), cancelling removes it.
## Until the end date
Nothing changes for you or your clients until the end date. You won't be charged again. The card now shows **Subscription Cancelled** with the date your subscription ends.
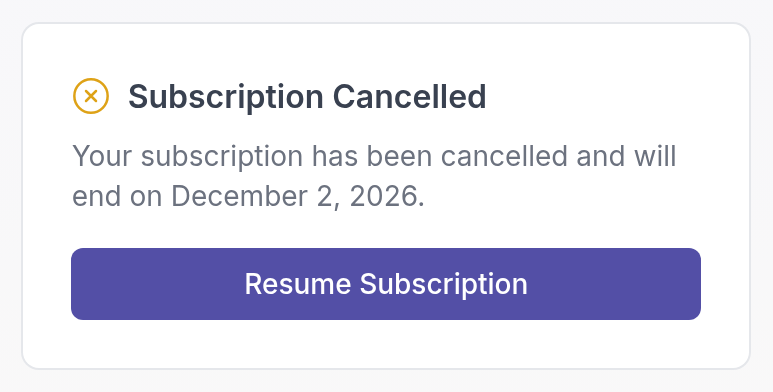
To continue after all, click **Resume Subscription** before that date. Your subscription renews as before, on the same plan.
## After the end date
Your workspace becomes inactive. The **Owner**, **Manager** and **Billing Manager** see a **Subscription Ended** page where they can choose a plan; other professionals see a message to contact them.
Cancelling doesn't delete anything. Your clients, activities, programs and other content are kept, so you can subscribe again and continue where you left off. To remove your workspace and all its data permanently, see [Delete workspace or account](https://quenza.com/help/billing/delete-account/).
## Need help?
If you are thinking about cancelling because something doesn't work the way you expected, contact our support team first. We are happy to help you find a solution or a better-fitting plan.
---
# Discounts
> Find out why Quenza has no discount codes or coupons, and how you can pay less by billing yearly or choosing the plan that fits.
Source: https://quenza.com/help/billing/discounts/
Quenza does not offer discount codes, coupons or one-off deals. The price you see for a plan is the price everyone pays.
## Why pricing works this way
- **It is fair.** Everyone pays the same for the same plan. Your price never depends on negotiating or catching a promotion.
- **It is transparent.** The price on our pricing page is the real price. There is no better deal behind a conversation.
- **It is simple.** We would rather spend our time on the product than on managing codes and special cases.
## Ways to pay less
The savings we offer are built into the plans and open to everyone:
- **Pay yearly.** Yearly billing saves 20% on every plan, automatically. On Growth, for example, you pay $480 a year instead of $600. See [Monthly or yearly billing](https://quenza.com/help/billing/monthly-or-yearly-billing/).
- **Choose the plan that fits.** Plans range from Spark for solo practitioners to Beyond for larger organizations. Start with the plan that matches how you work today and move up when you need more. See [Plans and pricing](https://quenza.com/help/billing/plans-and-pricing/).
If you are not sure which plan fits your practice, our support team is happy to help you compare.
---
# Legacy plans
> What your Legacy plan includes, how it compares with the new Spark to Beyond plans, and what to check before you switch.
Source: https://quenza.com/help/billing/legacy-plans/
If you signed up before Quenza introduced its current plans, you are on the **Legacy plan**. Nothing about your plan has changed: you keep the same price and features. The Billing page shows a **You're on a Legacy Plan** banner so you know which plan you are on.
You don't need to do anything. One thing to know: new features are added to the new plans only, not to the Legacy plan.
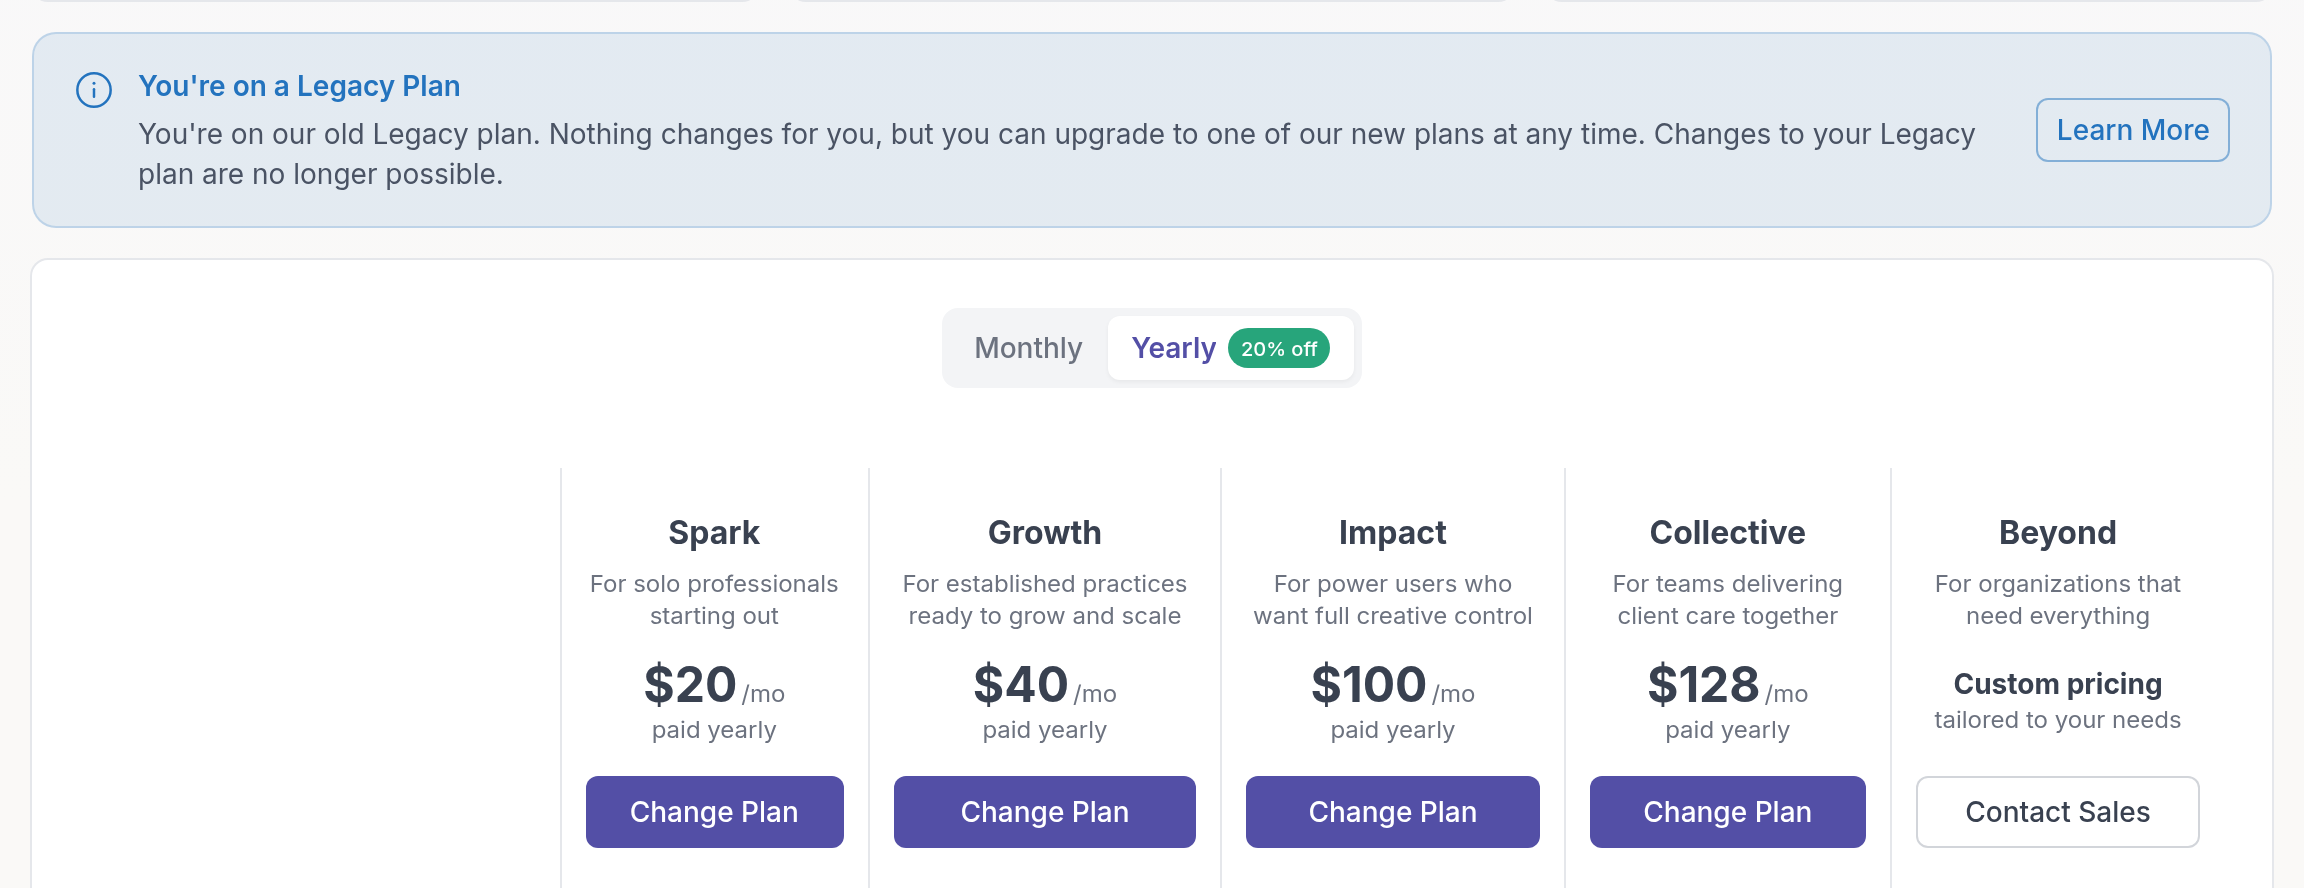
## What your Legacy plan includes
**Clients and team**
- 5 active clients included. Client blocks you already purchased stay on your plan, but you can no longer buy new client blocks.
- Unlimited archived clients with read-only access. On the Legacy plan, archived clients don't count toward your limit.
- 1 practitioner included, with the option to add more team members.
**Features**
- Client portal, plus the mobile apps for you and your clients
- Unlimited storage
- Roles and permissions for your team
- Activities, programs and tasks
- Resources (file and material sharing)
- Groups
- 1:1 chat, group chat and team chat
- Multi-language support
- Core, Plus and Premium content libraries
- Custom logo and custom sender branding
- Custom domains (your client portal on your own web address)
- Calendly and Google Calendar integrations
- Webhooks and API access
- Pre-made content and email support
**Not included**
These features were released after the Legacy plan was set, so they are only available on the new plans:
- Recurring tasks
- Landing pages
- [Email templates](https://quenza.com/help/branding/email-templates/)
- [Custom translations](https://quenza.com/help/branding/my-professional-label/), such as renaming "My professional" in your clients' app
## The new plans
Each new plan includes everything in the plan below it, plus more.
| Plan | Price (billed monthly) | Clients | Practitioners | Built for |
| --- | --- | --- | --- | --- |
| Spark | $25/mo | 10 | 1 | Solo practitioners starting out |
| Growth | $50/mo | 250 | 1 | Established practices ready to scale |
| Impact | $125/mo | 400 | 1 | Power users who want full creative control |
| Collective | $160/mo | 500 | 3 | Teams delivering care together |
| Beyond | Custom | Unlimited | Unlimited | Larger organizations |
Billing yearly saves 20% on every plan. On the new plans, archived clients count toward the client limit. See [Client limits](https://quenza.com/help/billing/client-limits/) and [Plans and pricing](https://quenza.com/help/billing/plans-and-pricing/).
## Why you might switch
- **New features.** Your Legacy plan stays as it is, which also means it doesn't get new features. Everything we release from now on goes to the new plans.
- **More clients.** You can no longer add client blocks to the Legacy plan. The new plans include far more clients: 250 on Growth, 400 on Impact, 500 on Collective and unlimited on Beyond.
## Check which plan covers what you use
Because the Legacy plan includes almost every feature, check which new plan covers the features you rely on:
- **On every plan, from Spark:** Resources and multi-language
- **From Growth:** Groups, group chat, Plus content, custom logo, Calendly, Google Calendar and webhooks (1 endpoint on Growth, 2 on Impact, 5 on Collective)
- **From Impact:** Premium content, custom sender and custom domains
- **From Collective:** team chat and API access
- **Beyond only:** unlimited clients and professionals, roles and permissions
If you move to a plan without a feature you use now, Quenza tells you what will change before you confirm. See [Change plan](https://quenza.com/help/billing/change-plan/#when-the-new-plan-has-fewer-features).
## If you stay
Staying on the Legacy plan is fine. You keep your price and features for as long as you stay on it. You won't get features released from now on, and you can't buy additional client blocks.
## Switch to a new plan
For example: a coach on the Legacy plan with 40 clients who also runs a Mindfulness group needs groups, so Growth (250 clients) covers what she uses. Her Legacy client blocks no longer matter, because Growth includes the clients.
1. In the sidebar under **Administration**, click **Billing → Subscription**.
2. Choose **Monthly** or **Yearly**.
3. Click **Change Plan** on the plan you want.
The switch to a new plan takes effect immediately. If the new plan has fewer features than you use now, Quenza lists what will change before you confirm. You can't go back to the Legacy plan afterwards.
If you would like help choosing, contact our support team.
---
# Delete workspace or account
> Permanently delete a Quenza workspace and all its data, or ask the Quenza team to close your personal account for you.
Source: https://quenza.com/help/billing/delete-account/
Your Quenza login is a personal account that can belong to more than one workspace. Deleting a workspace and closing your personal account are two different things:
- **Delete a workspace** when you close your practice in Quenza for good: the workspace and everything in it is removed, for everyone in it.
- **Close your account** when you personally want to leave Quenza: your profile is removed from every workspace you belong to.
> **Tip:** If you only want to stop paying, you don't need to delete anything. [Cancel your subscription](https://quenza.com/help/billing/cancel-subscription/) instead; your workspace and data are kept, and you can come back later.
## Delete a workspace
Deleting a workspace permanently removes all its data: professionals, clients, activities, programs, notes, tasks and everything related. An active subscription is cancelled. The personal accounts of the clients and professionals stay active, so they can still sign in to other workspaces. Only the workspace **Owner** can delete a workspace.
Before you delete, think about what your clients need to keep. For example, [export client data](https://quenza.com/help/clients/export-client-data/) you are required to keep for your records, and let clients know so they can save their own notes.
> **Danger:** Deleting a workspace is permanent. The workspace and its data can't be recovered.
1. In the sidebar under **Administration**, click **Workspace → General**.
2. Scroll down to **Delete Workspace** and click **Delete Workspace**.
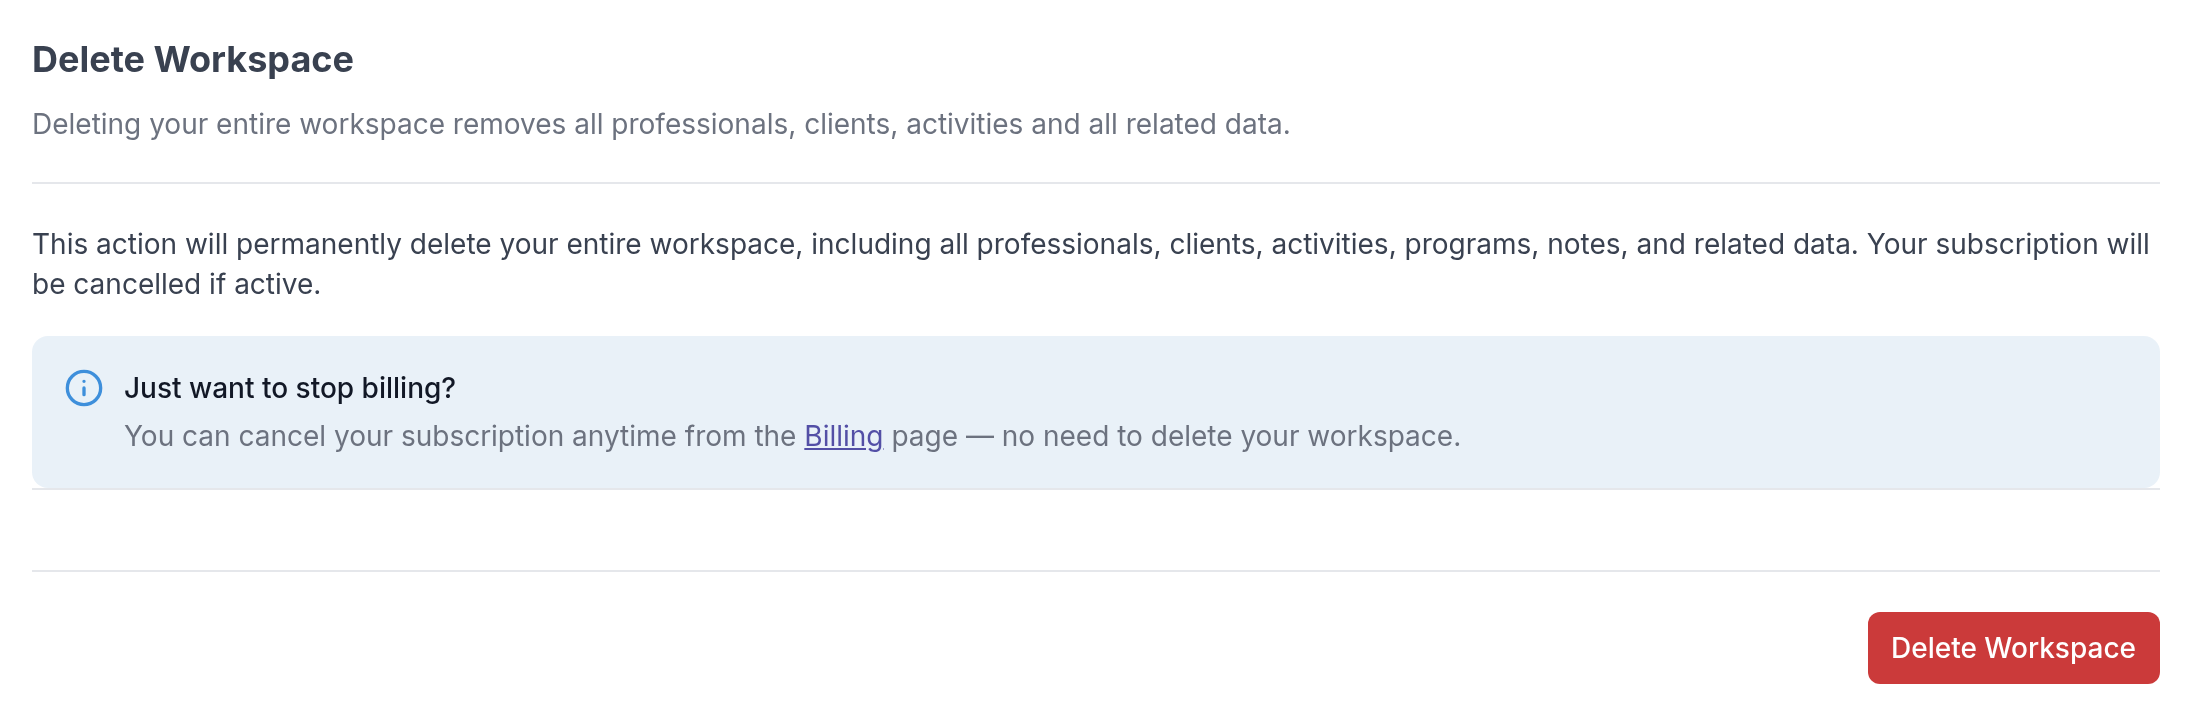
3. Read what will be deleted and type the workspace name to confirm.
4. Click **Delete Workspace**.
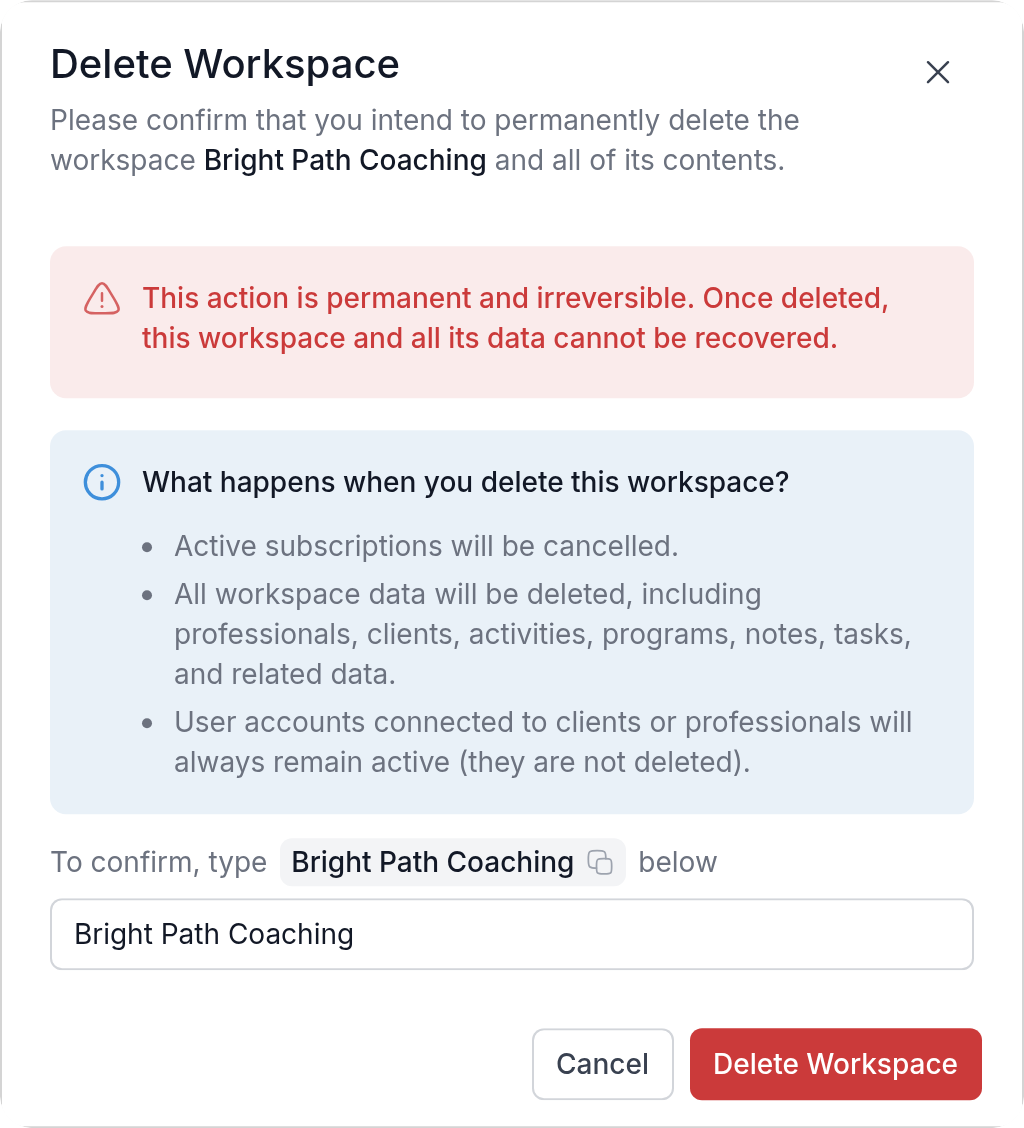
## Close your personal account
Closing your personal account removes your profile from every workspace. You can't do this yourself in the app yet; the Quenza team does it for you.
Click your workspace name at the top left, then **My account**. Your account page opens in a new tab, and the **Close account** tab explains what closing your account means.
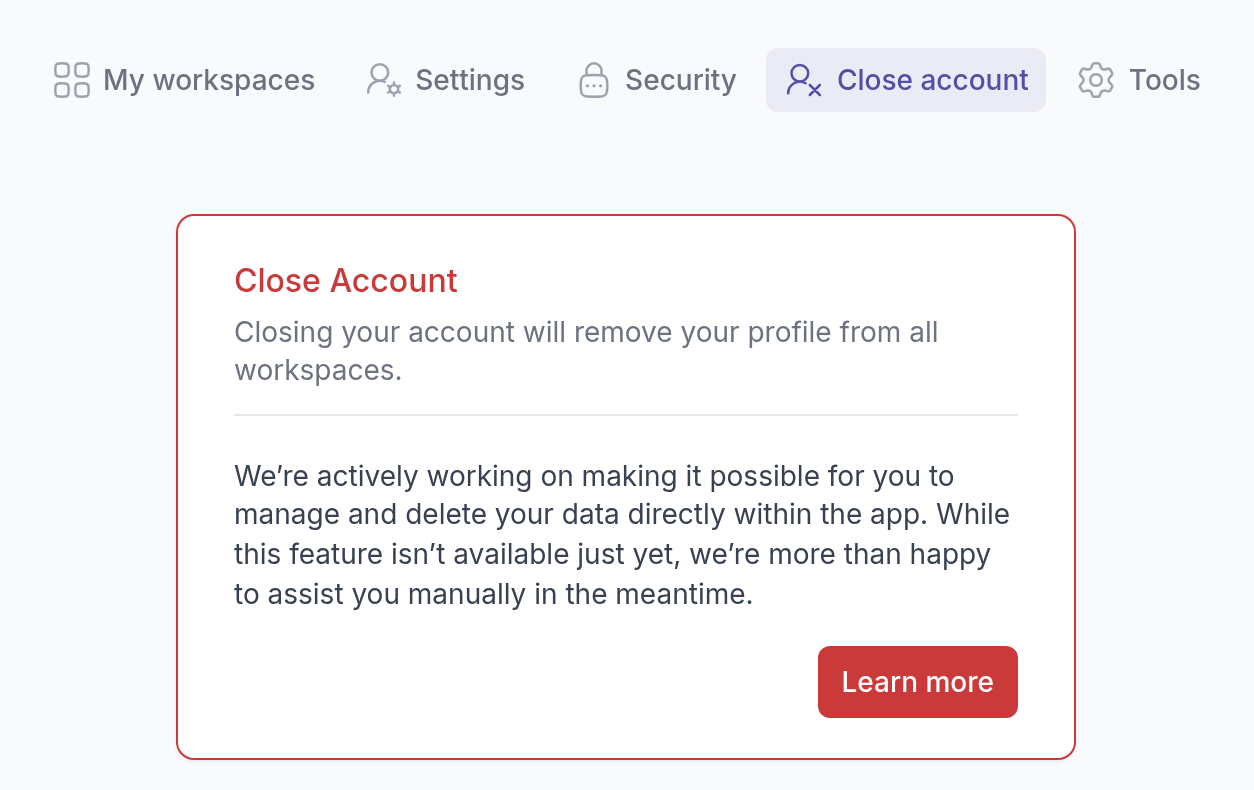
To go ahead, contact our support team from the email address you sign in with and ask them to close your account. They remove and delete your data for you.
---
# Sign-in problems
> What to check when you can't sign in to Quenza, from using the right app to error messages and missing login emails.
Source: https://quenza.com/help/troubleshooting/sign-in-problems/
If you can't sign in, work through the checks below. Most problems come from signing in to the wrong application or a small typo in the email address. The same checks help when a client tells you they can't get in: send them this page.
The sections below explain each fix in full.
## Check that you use the right application
Quenza has two separate applications. Your account exists in only one of them, so your email address and password only work there.
- **The new Quenza**: sign in at [my.quenza.com/login](https://my.quenza.com/login).
- **Quenza Classic**: sign in at [app.quenza.com/auth/login](https://app.quenza.com/auth/login).
If you created your account before May 27, 2025, you most likely use Quenza Classic. See [Quenza Classic and the new Quenza](https://quenza.com/help/getting-started/quenza-classic/).
Clients whose professional uses their own web address for the client portal can also sign in there. See [Use your own domain for the client portal](https://quenza.com/help/branding/custom-domain/).
## "These credentials do not match our records"
This message on the **Password** tab means the email address and password don't match an account in the new Quenza. In the example below, Emma Clarke typed `emma.clark@` instead of `emma.clarke@`.
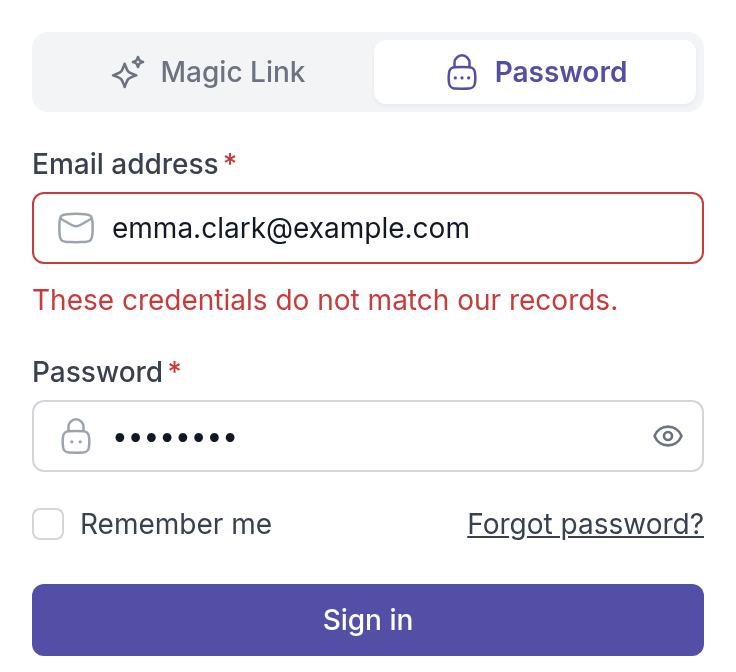
- Check the spelling of your email address. Use the address your account was created with, or the one your invitation was sent to. Capital letters don't matter.
- Retype your password slowly. Passwords are case-sensitive, so check that Caps Lock is off.
- Still no luck? [Reset your password](https://quenza.com/help/troubleshooting/reset-your-password/), or sign in with a magic link instead.
## Sign in with a magic link
You don't need a password to sign in. A magic link is a one-time sign-in link we email you. It is handy on a new phone or a shared computer where you don't want to type a password.
1. On the sign-in page, select the **Magic Link** tab.
2. Enter your **Email address**.
3. Click **Send login link**.
4. Open the email with the subject **Sign in to Quenza** and click **Sign in to Quenza**.
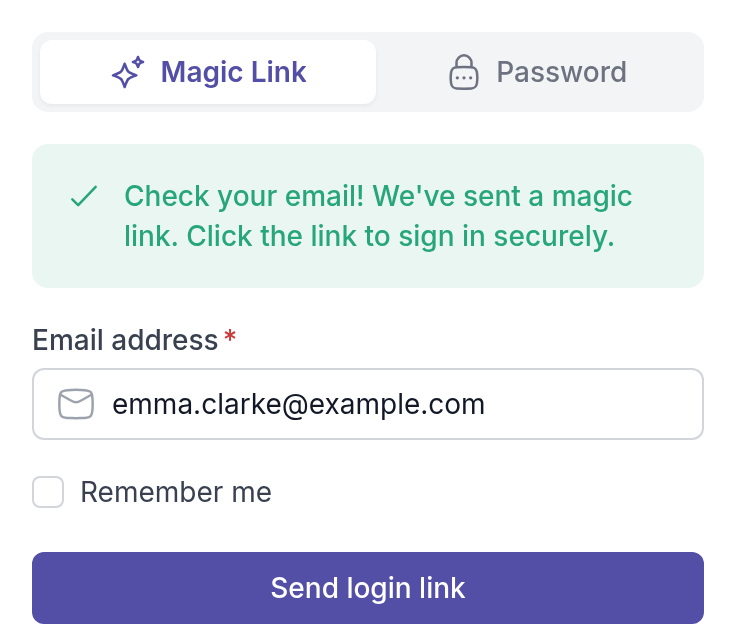
The link works once and expires after 15 minutes. If no email arrives, check your spam folder and the spelling of your address. We only send the link to an email address that has a confirmed Quenza account, so the page shows the same message even when the address is wrong.
## "Too many login attempts"
After five failed attempts within a minute, Quenza blocks new attempts for a short time. Wait until the time in the message has passed, then try again, or use a magic link.
## You haven't accepted your invitation yet
If a professional or colleague invited you, you first need to accept the invitation from the email you received. Until then, you can't sign in or reset your password. Ask them to resend the invitation if you can't find it. If you invited a client who can't find it, see [Missing invitation](https://quenza.com/help/troubleshooting/missing-invitation/).
## Still can't sign in?
If you use the right application and your details are correct, email us at [help@quenza.com](mailto:help@quenza.com). Tell us the email address you sign in with and what you see on the screen.
---
# Missing invitation
> Find out why a client didn't get their Quenza invitation email, from guest accounts and spam folders to typos, and send a new invitation.
Source: https://quenza.com/help/troubleshooting/missing-invitation/
When you add a client, Quenza emails them an invitation to set up their account. If the client says it never arrived, answer the questions below to find the cause.
The sections below explain each cause in full.
## The client is a guest
Guests have no login, so Quenza never sends them an invitation. You see a **Guest** badge next to their name in your client list. To give a guest an account, open the **⋯** menu on their page and choose **Convert Guest to Account**. Quenza then sends the invitation. See [Guest clients](https://quenza.com/help/clients/guest-clients/).
## The client has already accepted
Clients who accepted their invitation have the status **Active**. There is nothing to resend: they sign in at my.quenza.com or in the Quenza app. If they can't get in, send them [Sign-in problems](https://quenza.com/help/troubleshooting/sign-in-problems/). Clients who haven't accepted yet have the status **Pending**.
## The email is in another folder
The invitation has the subject **You have been invited to join a workspace** and an **Accept Invitation** button. Ask the client to search for that subject in every folder of their mailbox, spam and junk too.
If you set up a [custom sender email](https://quenza.com/help/branding/custom-sender-email/), the invitation comes from your own name and address instead of Quenza's, so the client may not look for Quenza.
## The email address is wrong
Open the client and check the email address under **Client details**. If it has a typo, email us at [help@quenza.com](mailto:help@quenza.com) with the client's name, the wrong address and the right one, and we will correct it.
> **Caution:** Changing the address in **Client details** does not change the address the invitation goes to. Resending the invitation after the change still sends it to the old address.
## Send the invitation again
1. Open the client's page and click **⋯** at the top right.
2. Choose **Resend Invitation**.
3. Check the name and address in the dialog and click **Resend invitation**.
The client gets a new email with a new link, and the link in the earlier email stops working. An invitation link works for 30 days; after that, the client sees **The link has expired** and needs a new one.
If the new email doesn't arrive within a few minutes either, the client's email provider may be blocking it. Email us at [help@quenza.com](mailto:help@quenza.com) with the client's name, and we will check it.
---
# Reset your password
> Set a new password for your Quenza account when you have forgotten it, using a reset link sent to your email address.
Source: https://quenza.com/help/troubleshooting/reset-your-password/
If you have forgotten your password, you can set a new one yourself with a link we email you. It works the same for professionals and clients. If one of your clients is locked out, you can send them here too: they reset their password themselves, and you don't need to do anything.
> **Tip:** You don't need a password to sign in. On the sign-in page, the **Magic Link** tab emails you a link that signs you in directly. Many people never set a password at all. See [Sign-in problems](https://quenza.com/help/troubleshooting/sign-in-problems/#sign-in-with-a-magic-link).
## Request a reset link
Go to the sign-in page at [my.quenza.com/login](https://my.quenza.com/login), select the **Password** tab and click **Forgot password?** below the password field.
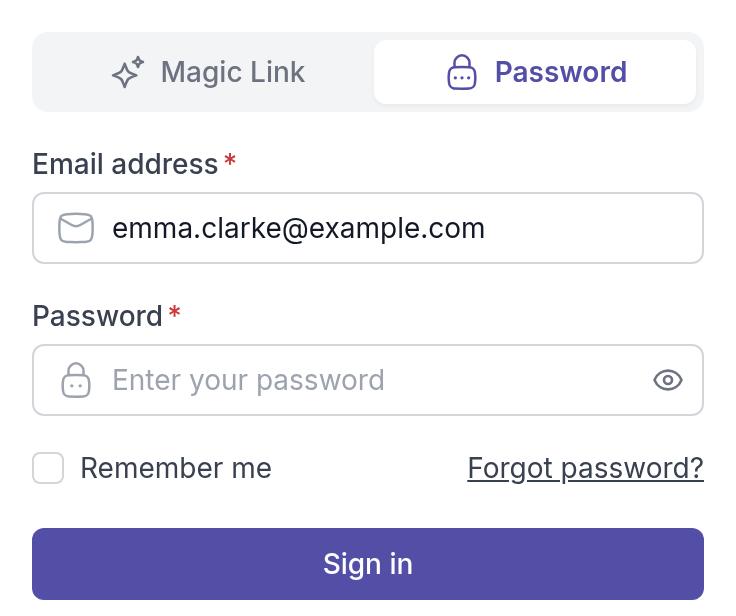
On the **Forgot your password?** page, enter the **Email address** of your Quenza account and click **Send reset link**.
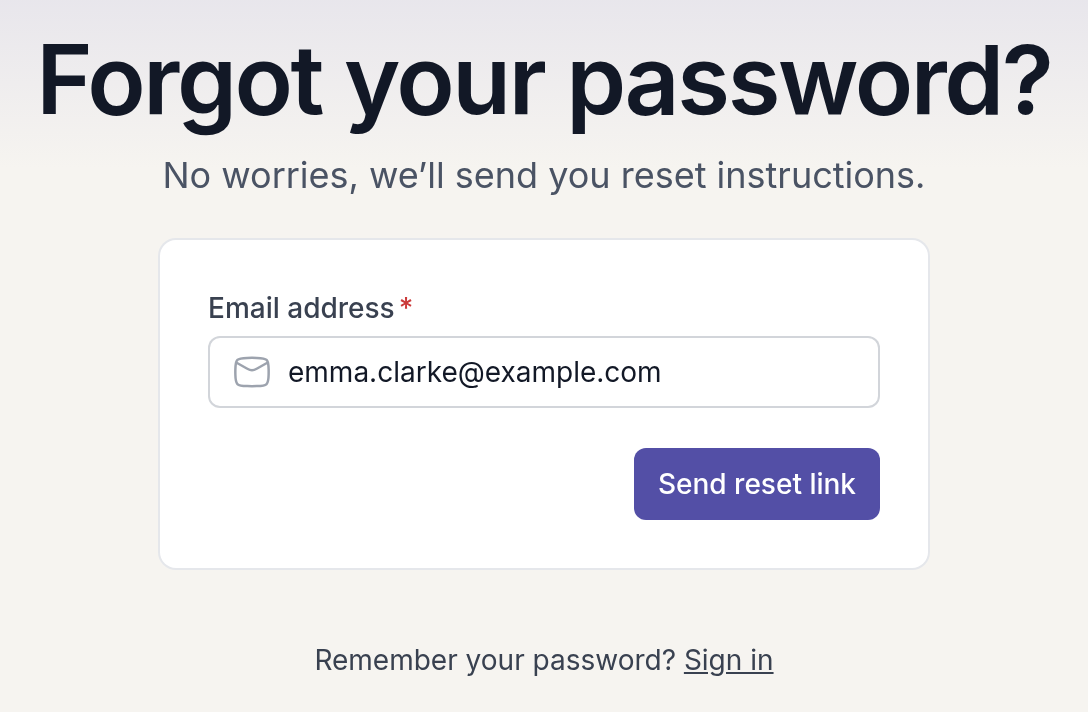
The page changes to **Email sent**. If no email arrives within a few minutes, check your spam or promotions folder. After 60 seconds you can click **Resend email** to send it again.
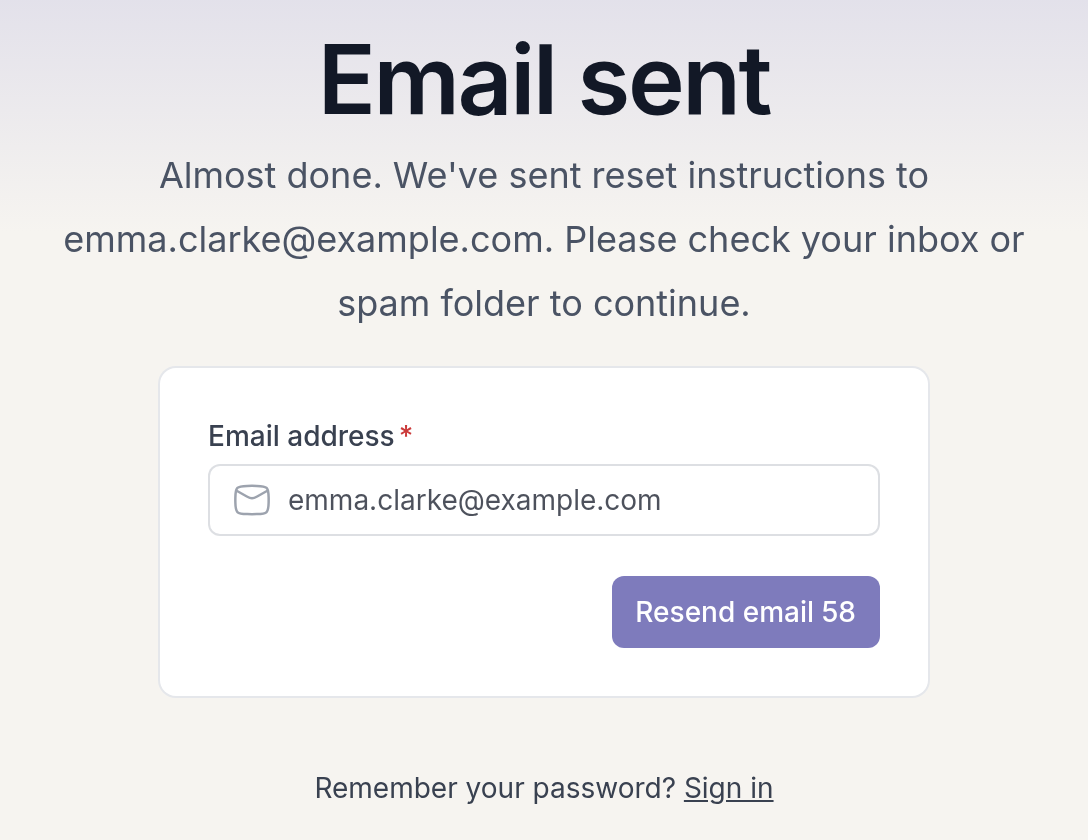
## Set a new password
Open the email with the subject **Reset Password** and click **Reset password**. If you requested more than one, use the newest email.
1. On the **Set new password** page, enter your new **Password**. It must be at least 8 characters and contain both letters and numbers.
2. Enter it again under **Confirm Password**.
3. Click **Reset password**.
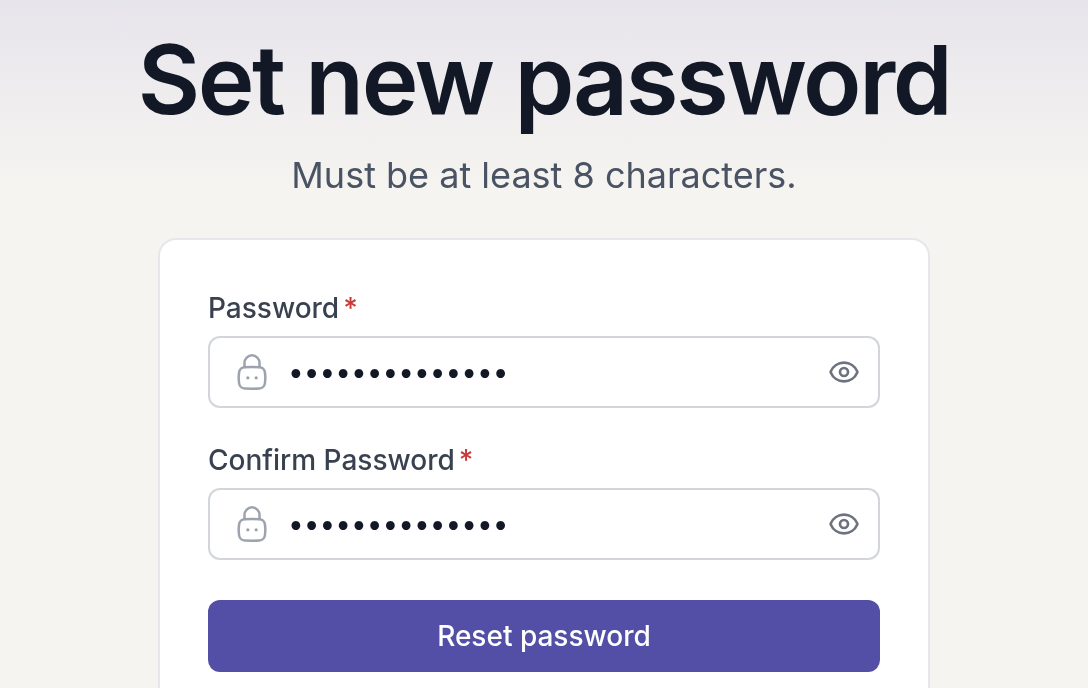
On the **All done** page, click **Let me sign in** and sign in with your new password.
## If the reset doesn't work
- **Invalid request**: the link is incomplete or has already been used. Request a new reset link and use the newest email.
- **Your account has a pending invitation**: you were invited to Quenza but haven't accepted yet. Open the invitation email and click the button in it to set up your account. Ask your professional or workspace owner to resend it if you can't find it.
Still stuck? Email us at [help@quenza.com](mailto:help@quenza.com).
---
# Feedback and changelog
> Suggest features, vote on ideas, report bugs and follow product updates on the Quenza feedback site and changelog.
Source: https://quenza.com/help/troubleshooting/feedback-and-changelog/
Quenza is built with the practitioners who use it. Tell us what would make it better for your practice, vote on other people's ideas, and see what we have recently released. Anyone with a professional account can do this from the links at the bottom left of the sidebar.
## Suggest a feature or vote on ideas
Click **Feedback** at the bottom left of the sidebar. The Quenza feedback site, [feedback.quenza.com](https://feedback.quenza.com/), opens in a new tab. Ideas are sorted into boards:
- **Feature Requests**: ideas for new features or improvements.
- **Pre-Made Content**: activities, programs or other content you would like in the pre-made library.
- **Integrations**: tools you would like Quenza to connect with.
- **Languages**: languages you would like Quenza to support.
Look for an existing request first. If there is one, upvote it and add a comment about how you would use it. A concrete example helps us most, such as: "I run a weekly Mindfulness group and would like to send the same reflection to every member after each session." If there isn't one, create a new request in the board that fits.
When you create or upvote a request, you get updates when its status changes, for example when we start working on it or release it.
## Report a bug
If something doesn't work as expected, email us at [help@quenza.com](mailto:help@quenza.com). Describe what you did, what you expected and what happened instead. A screenshot helps. Leave out client names and other personal data.
## See what's new
[What's new](https://quenza.com/help/whats-new/) lists new features, improvements and fixes, newest first, and links each change to the help articles that explain it. Open it with **What's new** at the top of this help center, or with **Changelog** at the bottom left of the sidebar in Quenza.
## Join the community
Click **Community** at the bottom left of the sidebar to open the Quenza community. There you can ask other practitioners how they use Quenza, share tips and read announcements about new pre-made content.
---
# Accept your invitation
> Accept the invitation email from your professional, set your password and sign in to the client portal or the Quenza app.
Source: https://quenza.com/help/for-clients/accept-your-invitation/
When your professional adds you in Quenza, you get an email inviting you to their client portal. That is your private space for the exercises, messages and notes you share between sessions. Accepting the invitation takes a minute, and you only do it once.
You also get this email after you sign up on your professional's page and are accepted. See [Sign up online](https://quenza.com/help/for-clients/sign-up-online/).
## Accept your invitation
The email has the subject **You have been invited to join a workspace**. It often comes from your professional's own name or email address rather than from Quenza, so look for their name in your inbox. Click **Accept Invitation** in the email.
You then choose a password:
1. Enter a password in **Password** and again in **Confirm Password**. Use at least 8 characters, with both letters and numbers.
2. Tick **I agree to the Terms of Service**.
3. Click **Save your password**.
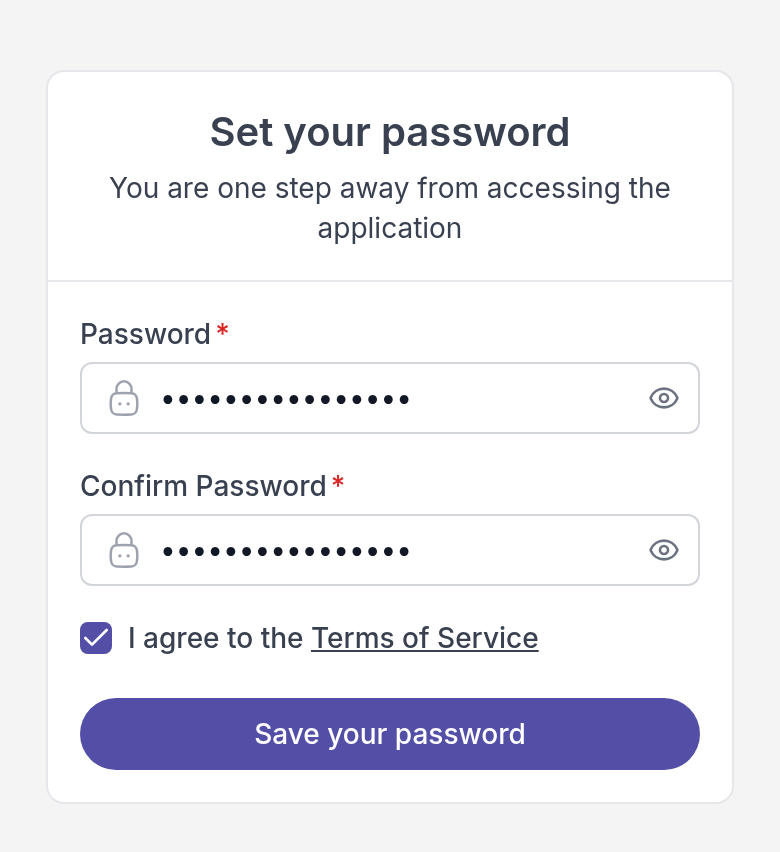
You are signed in straight away and land on **My Day**, your home page. See [Get started](https://quenza.com/help/for-clients/get-started/) for a short tour.
Already have a Quenza account with the same email address, for example because you also work with another practice? Then you skip the password step: the link takes you straight into the new workspace, and you use your existing password.
> **Note:** If the page says **The link has expired**, the invitation is too old or has already been used. Ask your professional to send you a new one.
## Sign in later
Next time, go to the sign-in page your professional gave you, or open the [Quenza app](https://quenza.com/help/for-clients/get-the-quenza-app/). There are two ways to sign in.
**With a login link.** On the **Magic Link** tab, enter your **Email address** and click **Send login link**. Open the email and click the link. You don't need to remember a password, which is handy on a device you don't use often.
**With your password.** On the **Password** tab, enter your **Email address** and **Password** and click **Sign in**.
Tick **Remember me** to stay signed in on this device. Only do this on a device you don't share with others. The Quenza app always keeps you signed in.
If you work with more than one practice, you may first see **Select your workspace**. Choose the one you want. See [Switch workspaces](https://quenza.com/help/for-clients/switch-workspaces/).
## If you forgot your password
On the **Password** tab, click **Forgot password?**. Enter your **Email address**, click **Send reset link**, and follow the link in the email to choose a new password.
Or skip the password altogether and sign in with a login link from the **Magic Link** tab.
If an email does not arrive, check your spam folder. Still stuck? Contact your professional. They can check your email address and send you a new invitation if needed.
---
# Sign up online
> Sign up through your professional's Quenza page, confirm your email address and see whether you got a place or joined the waiting list.
Source: https://quenza.com/help/for-clients/sign-up-online/
Some professionals have a page of their own in Quenza where you can sign up, for example for a group, a course or a first session. You fill in a short form, confirm your email address, and your professional takes it from there. You don't need an account to sign up.
## Fill in the form
Your professional shares the page with you, for example on their website, in a newsletter or in an email. The page tells you what you are signing up for and who you will work with.
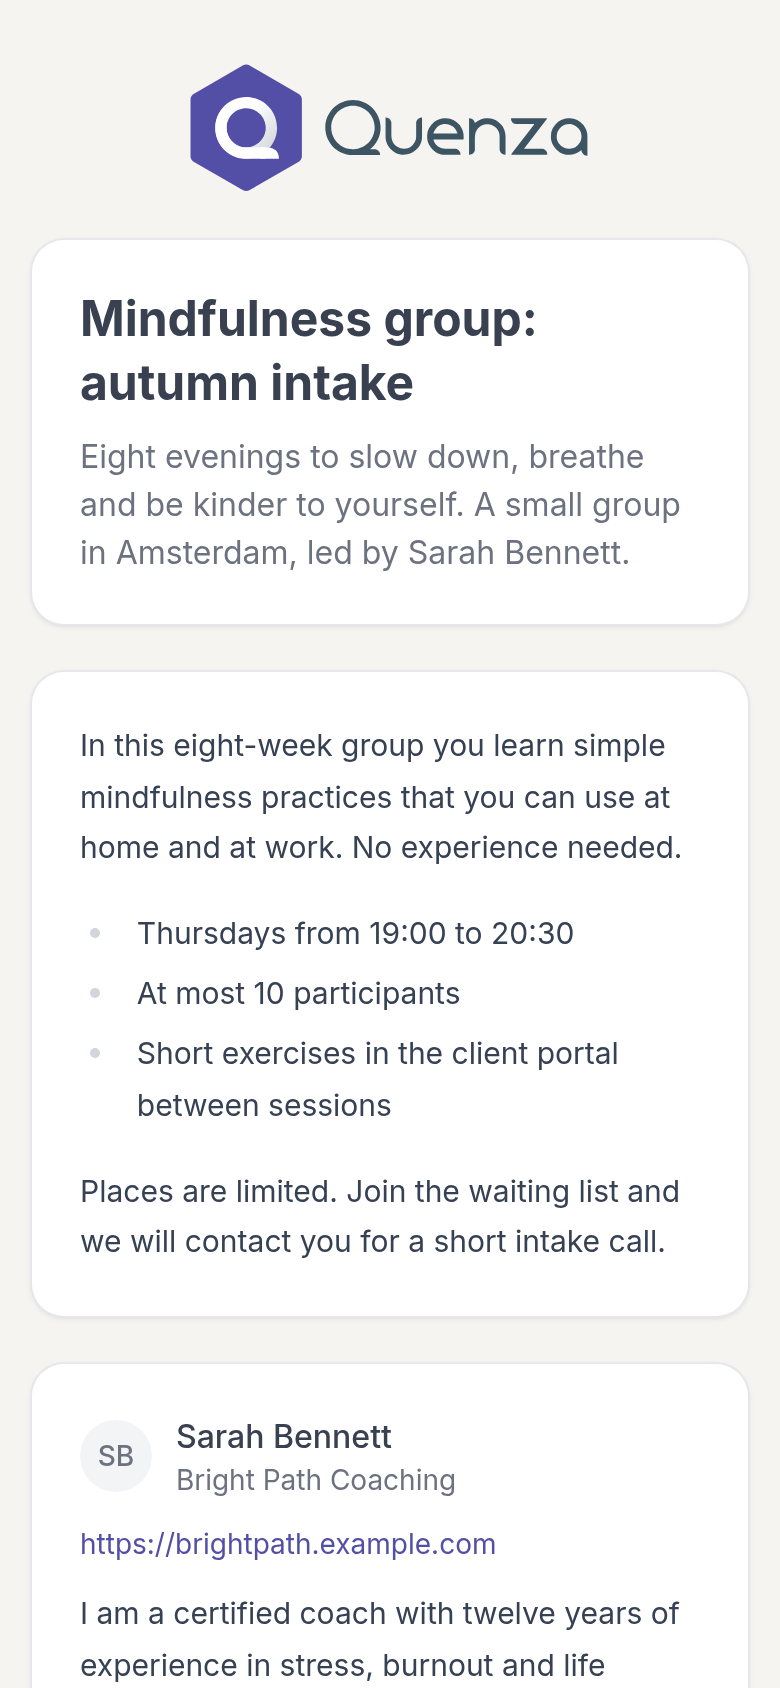
At the bottom is the form. Enter your **First name**, **Last name** and **Email address** and click the button below them. Its label depends on the page, such as **Join the waiting list** or **Send request**. Some forms also ask for your language.
You then see **Almost there!**. Nothing has been sent to your professional yet: first you confirm that the email address is yours.
## Confirm your email address
You get an email with the subject **Confirm your request to join** and the name of the page. Open it and click **Confirm request**. That is all: opening the link confirms your request.
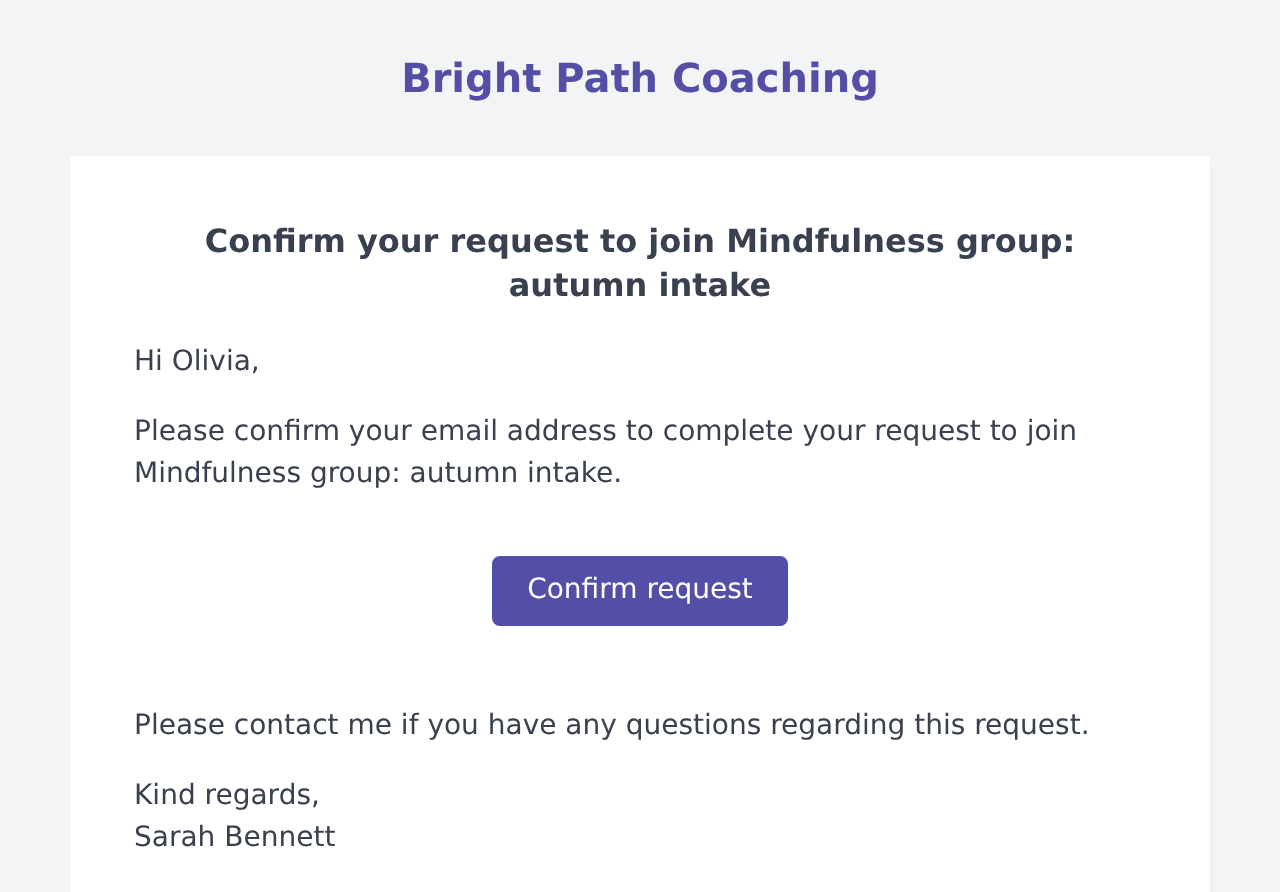
The link works for 24 hours. If it has expired, you see **This link is no longer valid**. Fill in the form again to get a new one.
No email? Check your spam folder, and check that you typed your email address correctly.
## What happens next
When you open the link, the page tells you where you stand.
**You're in!** You have a place. Shortly after, you get a second email: your invitation to the client portal. Accept it to set your password and get started. See [Accept your invitation](https://quenza.com/help/for-clients/accept-your-invitation/). Your professional may have set things up so that an activity, a program or a group is waiting for you as soon as you are in.
**You're on the waiting list.** Your professional reviews each request before accepting it, or the practice is full right now. They get your request and you get an email once they have looked at it: an invitation if they accept you, or sometimes a short message if they cannot offer you a place.
**Request already received.** There is already a request from this email address, or you already work with this practice. You may also see this right after you send the form. You don't need to do anything. If you are unsure, contact your professional.
Your professional can change these messages, so the wording on their page may differ.
> **Note:** Some professionals sign people up as guests: you then see **You're all set. No account setup needed.** You don't need a password: when your professional sends you an activity or shares a note, you get an email with a link that opens it directly. Your professional can invite you to the full client portal later.
## Example
Olivia reads on Sarah Bennett's website about the Mindfulness group that starts this autumn. She opens the page, fills in her name and email address, and clicks **Join the waiting list**. In her inbox she clicks **Confirm request** and sees **You're on the waiting list**. A week later, after a short intake call, Sarah accepts her request. Olivia gets an invitation email, sets her password and finds the group's first exercise on **My Day**.
---
# Get the Quenza app
> Install the free Quenza app for iPhone or Android, sign in with the details from your invitation, and get notified when your professional sends something.
Source: https://quenza.com/help/for-clients/get-the-quenza-app/
The Quenza app puts everything your professional shares with you on your phone: your activities, programs, tasks, chats, notes and files. It is free for you, and you sign in with the same email address and password as in your browser.
You don't need the app. Everything also works in your web browser. Many people like the app because it tells them right away when something new arrives, so they can fill in a short check-in on the bus or answer a message between two meetings.
## Install the app
Search for **Quenza** in your phone's app store, or use these links:
- iPhone and iPad: [Quenza on the App Store](https://apps.apple.com/app/quenza/id6761123782)
- Android: [Quenza on Google Play](https://play.google.com/store/apps/details?id=com.quenza.nextgen)
There is one Quenza app for both professionals and clients. You only see what belongs to you.
> **Caution:** There is also an older app called **Quenza Classic**. It belongs to the old Quenza platform and does not work with your account. If the app says your email address or password is wrong, check that you installed **Quenza**, not Quenza Classic.
## Sign in
Open the app and sign in with the email address your invitation was sent to. You can ask for a login link by email (**Magic Link**) or use the password you chose when you accepted your invitation (**Password**).
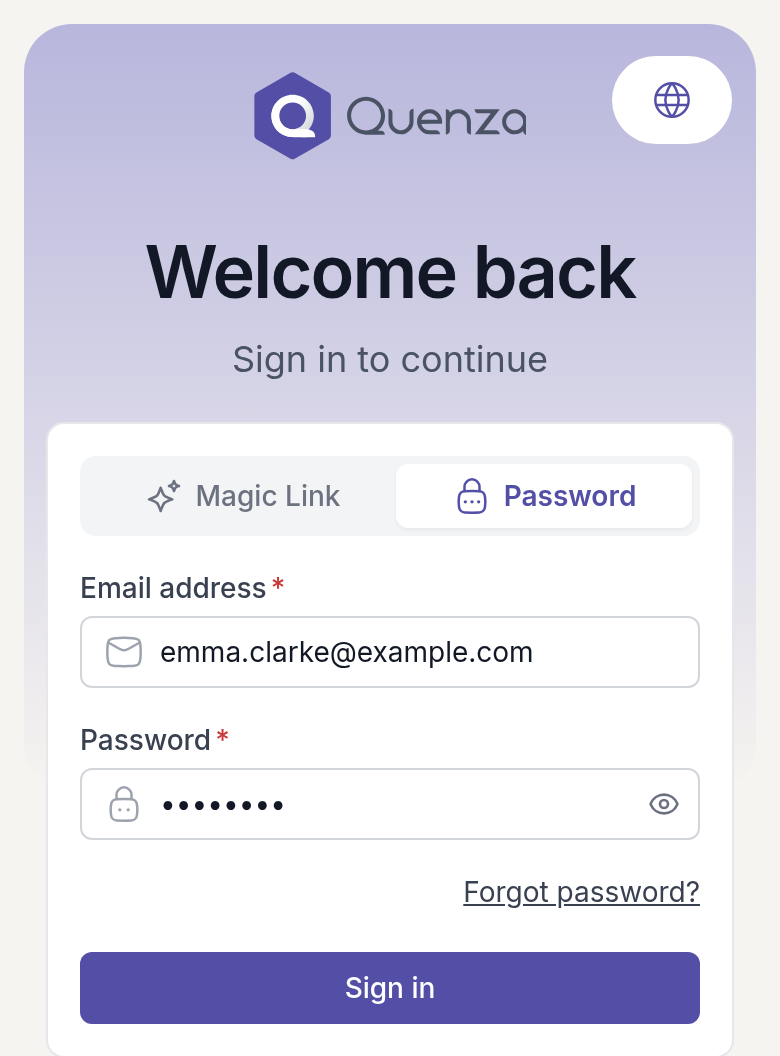
Haven't accepted your invitation yet? Do that first, from the email your professional sent you. See [Accept your invitation](https://quenza.com/help/for-clients/accept-your-invitation/). Forgot your password? Choose **Forgot password?** on the **Password** tab.
The app keeps you signed in, so you don't have to sign in each time you open it.
## Find your way around
After you sign in, you land on **My Day**, the same home page as in the browser. The bar at the bottom takes you to the pages you use most. The menu button at its right end shows the rest, such as **Tasks**, **Resources** and **My Profile**.
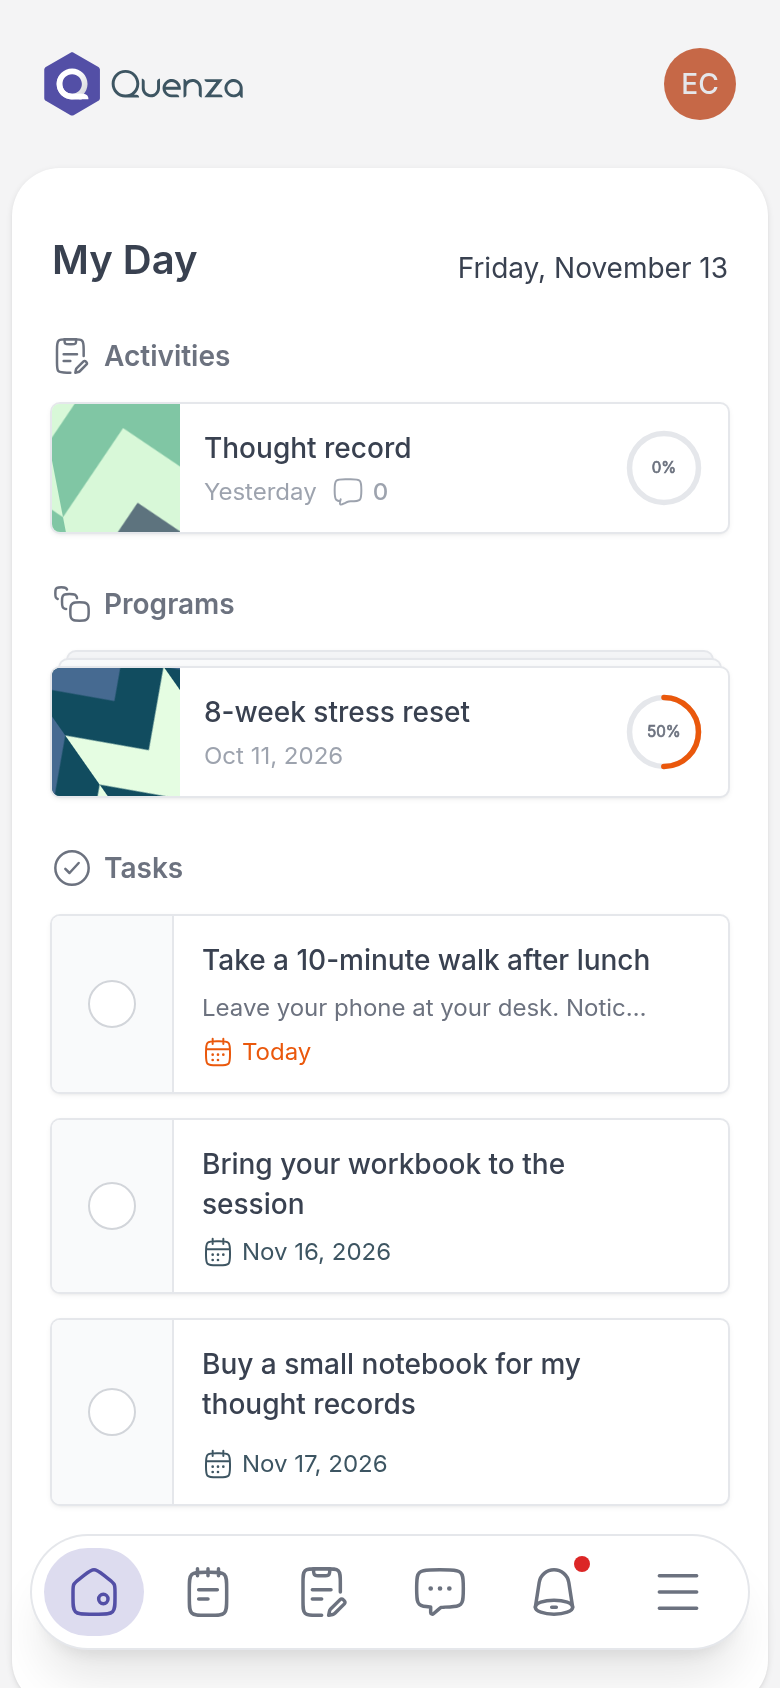
For a tour of every page, see [Get started](https://quenza.com/help/for-clients/get-started/).
## Turn on notifications
The first time you open the app, your phone asks whether Quenza may send you notifications. Choose **Allow**. You then get a notification on your phone when, for example:
- your professional sends you an activity or a program, or reminds you about one
- the next step of a program opens
- your professional gives you a task, or shares a note, file or link with you
- someone comments on a note or an activity
- you get a new chat message
Tap a notification to go straight to what it is about. On an iPhone, the number on the app icon shows how many things are waiting for you, across all the practices you work with. On Android you see a dot instead.
If you said no by mistake, turn notifications on for Quenza in your phone's settings. See also [Notifications](https://quenza.com/help/for-clients/notifications/).
> **Tip:** If you use a PIN in Quenza, the app locks itself when you have not used it for a while. See [Edit your profile](https://quenza.com/help/for-clients/edit-your-profile/#lock-the-app-with-a-pin).
---
# Get started
> A short tour of the Quenza client portal and app, and where to find the activities, programs, chats, files and notes your professional shares with you.
Source: https://quenza.com/help/for-clients/get-started/
The client portal is your private space for the time between sessions with your professional. They send you exercises and programs to work on, give you small tasks, and share notes and files. You can message them, write your own notes and keep track of what you have done. This page shows you where everything is. Not signed in yet? See [Accept your invitation](https://quenza.com/help/for-clients/accept-your-invitation/), or [Sign up online](https://quenza.com/help/for-clients/sign-up-online/) if your professional has a sign-up page.
A typical week could look like this: after Tuesday's session, Emma finds a summary from her coach Sarah under **Notes** and a short **Thought record** on **My Day**. She fills it in on Thursday evening, sends Sarah a quick question in **Chats**, and ticks off the task "Take a 10-minute walk after lunch" during the week.
## Your home page: My Day
When you sign in, you land on **My Day**. It shows what is waiting for you right now: activities, program steps and tasks. Start there each time. See [My Day](https://quenza.com/help/for-clients/my-day/).
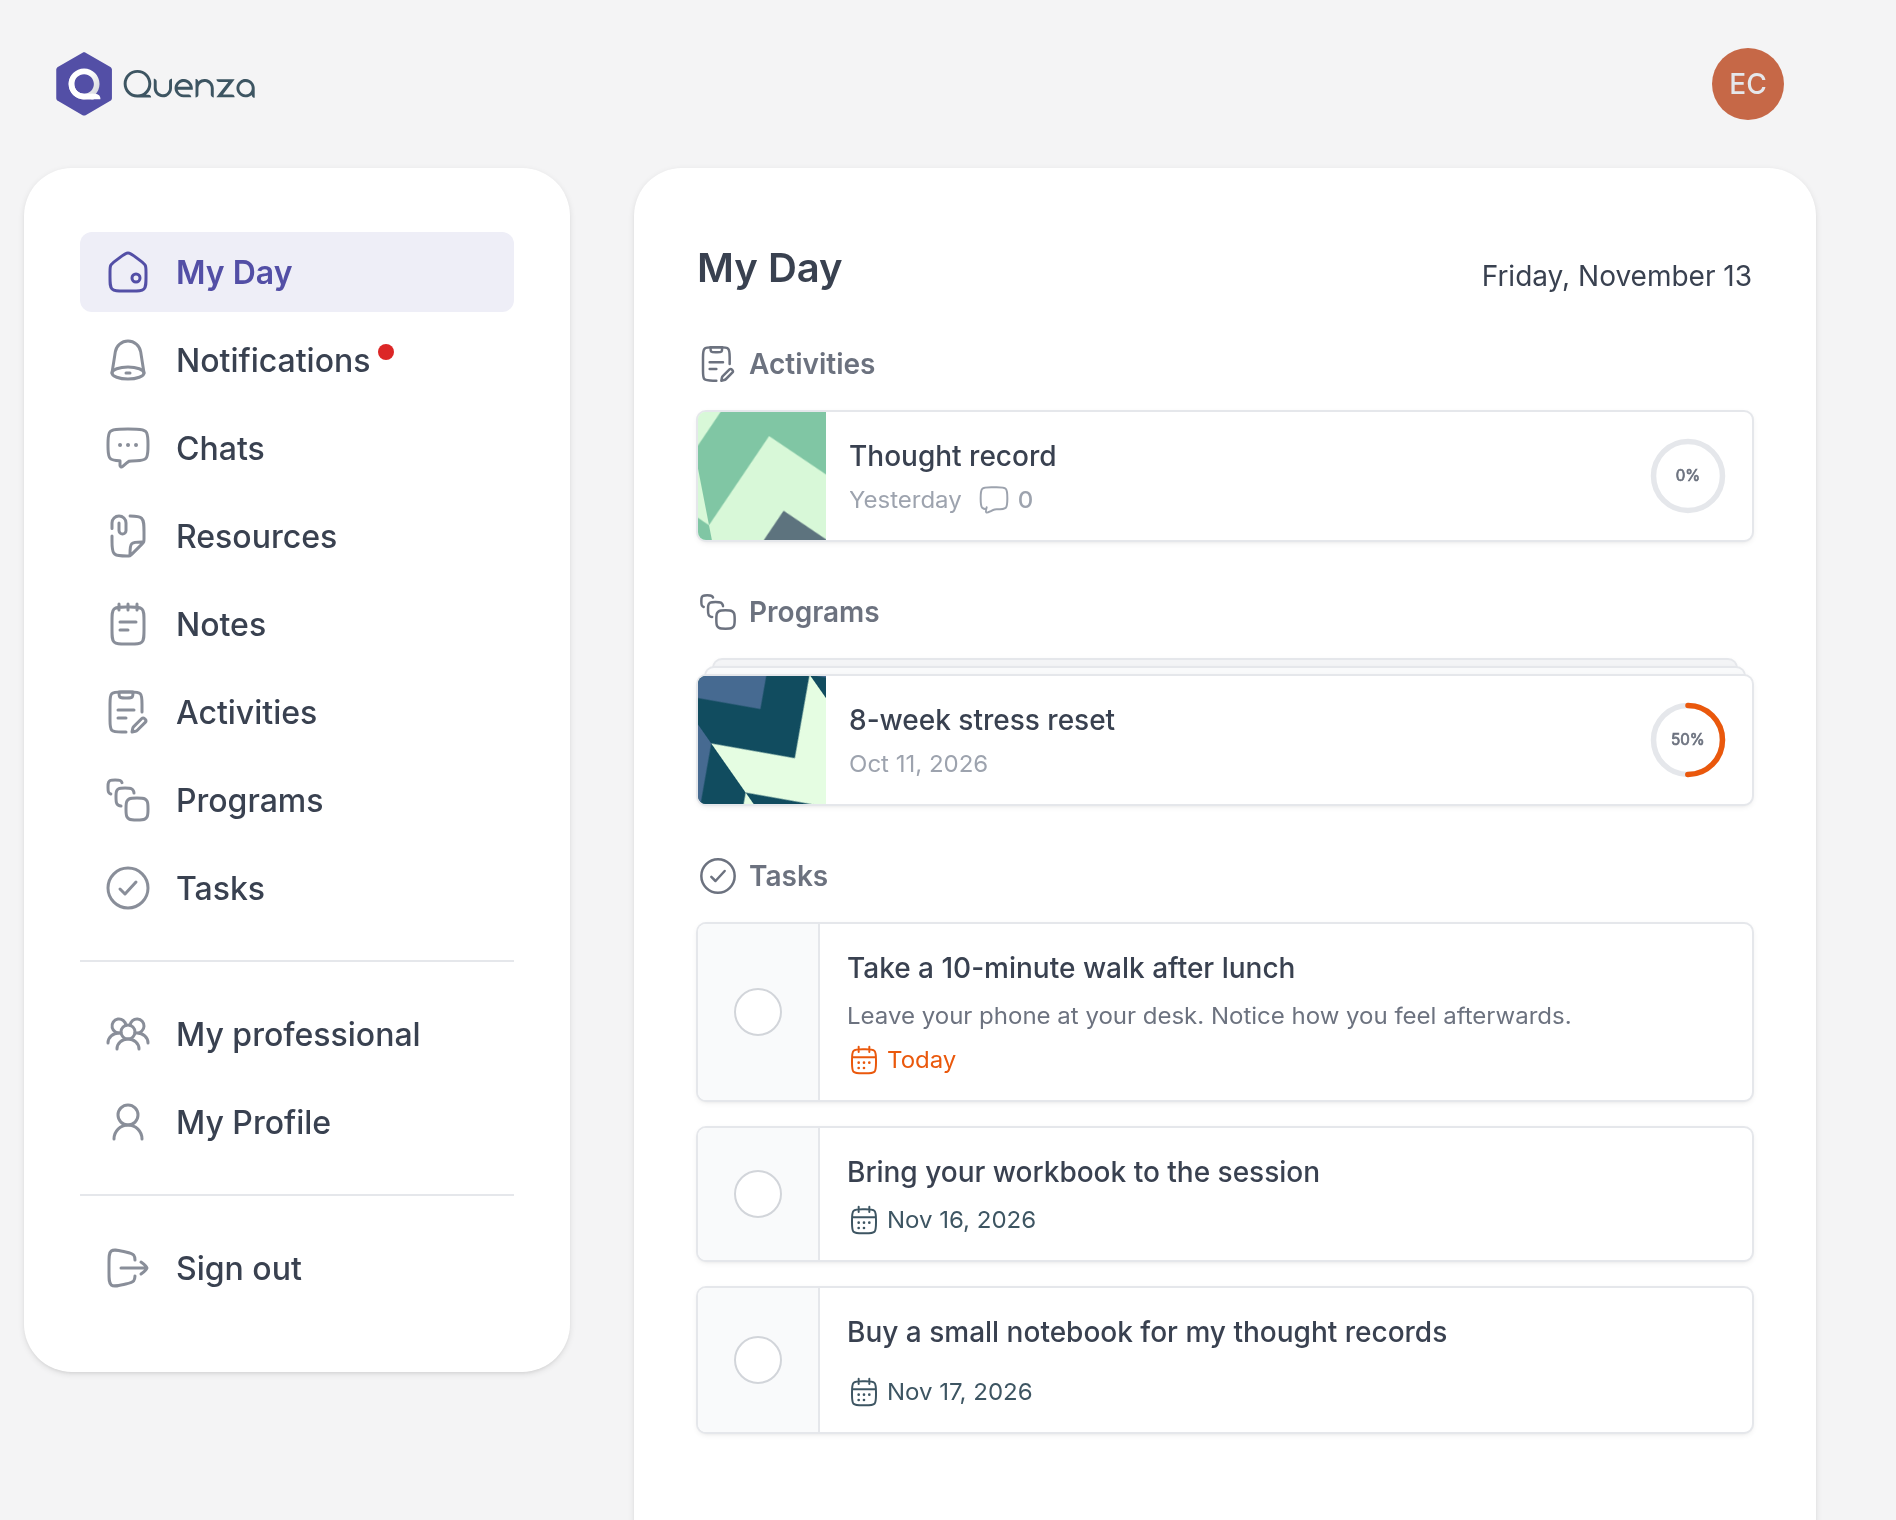
## The menu
On a computer, the menu is on the left. On a phone, the pages you use most are in the bar at the bottom of the screen, and the menu button at its right end opens the rest.
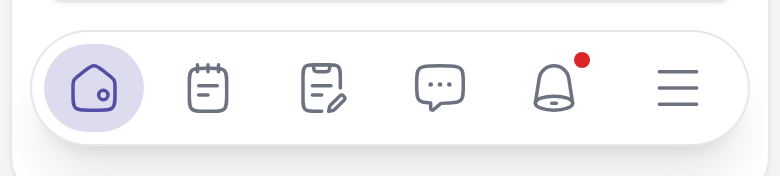
| Menu item | What you find there |
| --- | --- |
| **My Day** | What needs your attention today. |
| **Notifications** | Updates about new activities, notes, comments and more. See [Notifications](https://quenza.com/help/for-clients/notifications/). |
| **Chats** | Messages with your professional. See [Message your professional](https://quenza.com/help/for-clients/message-your-professional/). |
| **Resources** | Files and links shared with you, and your own. See [Files and links](https://quenza.com/help/for-clients/files-and-links/). |
| **Notes** | Notes shared with you, and your own notes. See [Notes and comments](https://quenza.com/help/for-clients/notes-and-comments/). |
| **Activities** | All activities sent to you, open and completed. See [Complete an activity](https://quenza.com/help/for-clients/complete-an-activity/). |
| **Programs** | Series of activities that open over time. See [Work through a program](https://quenza.com/help/for-clients/work-through-a-program/). |
| **Tasks** | To-dos from your professional and your own. See [Complete a task](https://quenza.com/help/for-clients/complete-a-task/). |
| **Appointments** | Book a session, if your professional offers online booking. |
| **My professional** | Who you work with and how to reach them. See [Your professional](https://quenza.com/help/for-clients/your-professional/). |
| **My Profile** | Your own details and settings. See [Edit your profile](https://quenza.com/help/for-clients/edit-your-profile/). |
| **Workspaces** | Move between practices, if you work with more than one. See [Switch workspaces](https://quenza.com/help/for-clients/switch-workspaces/). |
| **Sign out** | Sign out of the portal. |
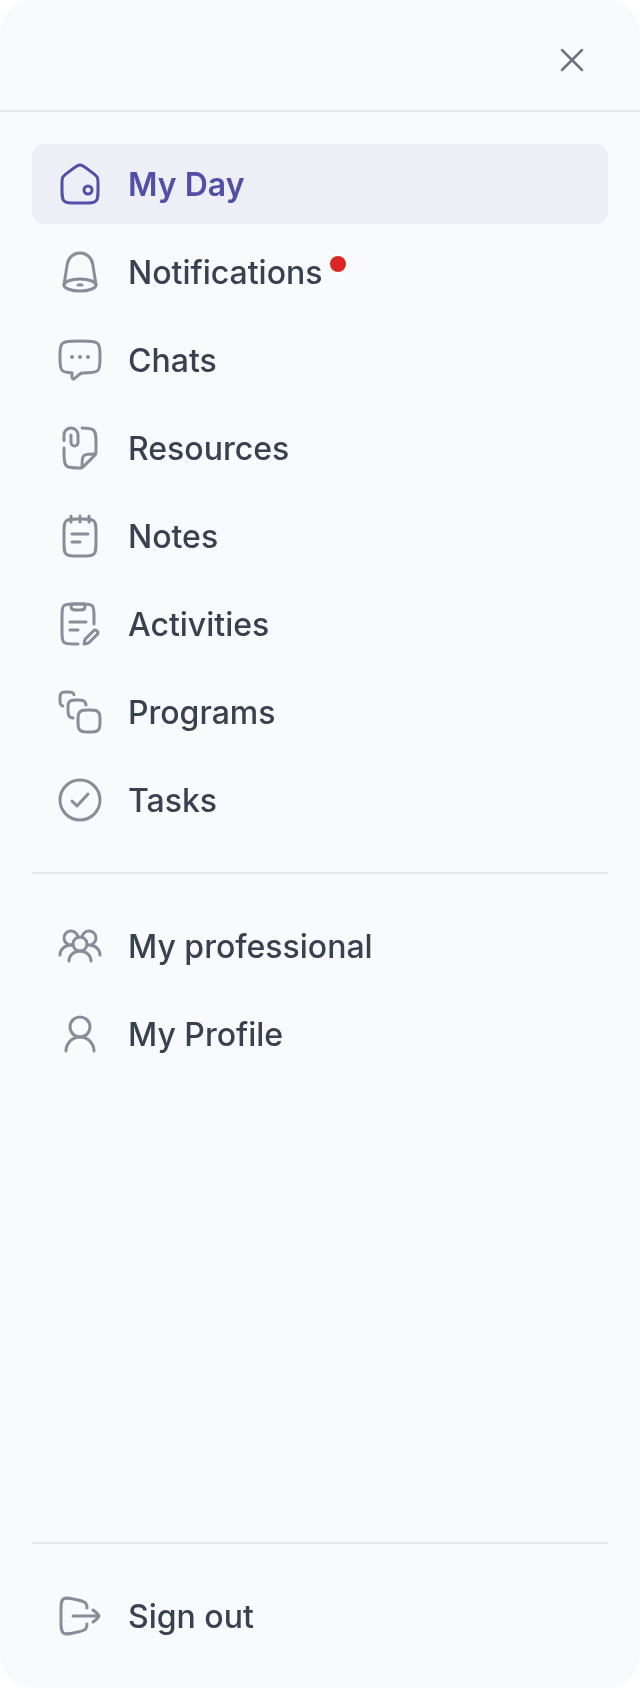
A red dot next to **Notifications** or **Chats** means there is something new.
Your menu may look a little different. Your professional decides which features they use, so you may not see **Resources** or **Appointments**. **Workspaces** only appears if you belong to more than one practice. Your professional can also rename **My professional**, for example to **My coach** or **My therapist**.
You can also open **My Profile** by clicking your photo or initials at the top right.
> **Tip:** Prefer your phone? Install the free Quenza app and get a notification when something new arrives. See [Get the Quenza app](https://quenza.com/help/for-clients/get-the-quenza-app/).
## If your account is read-only
When your professional archives your profile, for example because you finished working together, the portal shows **Your account is in read only mode.** at the top.
- **You keep everything.** You can still open your past activities and programs, your notes, the notes shared with you, your messages and comments.
- **You can no longer work together in Quenza.** You cannot complete activities, comment, share notes or send messages, and your professional cannot send you anything new.
Nothing is deleted. To start working together again, contact your professional.
## If something does not work
An empty page means nothing has been shared with you there yet. If you expected to see something, or a page shows **Portal access is not active**, contact your professional. They manage your access to the portal.
---
# My Day
> Use My Day, your home page in the client portal, to see which activities, programs and tasks are waiting for you and when you are all caught up.
Source: https://quenza.com/help/for-clients/my-day/
**My Day** is the first page you see when you sign in. It gathers everything that needs your attention right now, so you don't have to look through the other pages to know what to do next. A quick look each day is enough.

## What you see on My Day
My Day has up to three groups:
- **Activities**: exercises and questionnaires your professional sent you that you have not finished yet. The circle shows how far along you are.
- **Programs**: programs with a step that is ready for you now.
- **Tasks**: open to-dos, from your professional and ones you added yourself. Tasks that are due soonest come first.
Click an activity or program to open it and continue where you left off. Tick the circle next to a task when you have done it. See [Complete a task](https://quenza.com/help/for-clients/complete-a-task/). If a group has more items than fit, click **View more** to see them all.
## How My Day changes
My Day fills and empties on its own:
- **Something new arrives** when your professional sends it, or when the next step of a program opens. You also get a notification.
- **Something leaves** when you finish it. A program leaves My Day once you have done its current step and comes back when the next step opens.
- **An activity with a deadline** shows **Expires** and the date. After that date it disappears from My Day. If you need more time, ask your professional.
Nothing you finish is lost. You can always find it again on the **Activities**, **Programs** or **Tasks** page.
For example: on Monday, Emma's My Day shows the **Thought record** Sarah sent after their session, this week's step of the **8-week stress reset** and the task "Take a 10-minute walk after lunch". By Thursday she has done all three, and My Day is empty until the next program step opens on Saturday.
## All caught up
When there is nothing left to do, My Day says **Great! You're all caught up.**
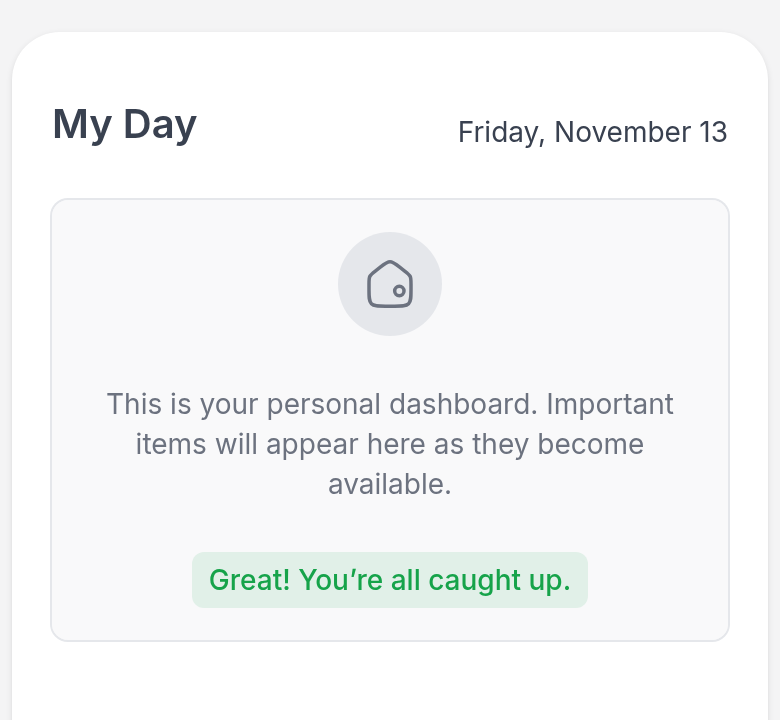
## Related
- [Complete an activity](https://quenza.com/help/for-clients/complete-an-activity/)
- [Work through a program](https://quenza.com/help/for-clients/work-through-a-program/)
- [Complete a task](https://quenza.com/help/for-clients/complete-a-task/)
---
# Complete an activity
> Open an activity your professional sent you, work through it step by step, and change your answers later if you need to.
Source: https://quenza.com/help/for-clients/complete-an-activity/
An activity is an exercise, questionnaire or short lesson your professional sends you to do between sessions. It could be a mood check-in that takes two minutes, a worksheet to reflect on a difficult moment, or a short audio exercise. You work through it one step at a time, at your own pace, and your professional sees your answers afterwards (unless the activity is set up otherwise).
For example: after a session about worrying thoughts, Sarah sends Emma a **Thought record**. When Emma notices a familiar worry at work on Wednesday, she opens it on her phone and writes down what happened while it is still fresh.
## Do an activity
Open the activity from **My Day** or from the **Activities** page. Open activities show how far you are; finished ones have a green check mark.
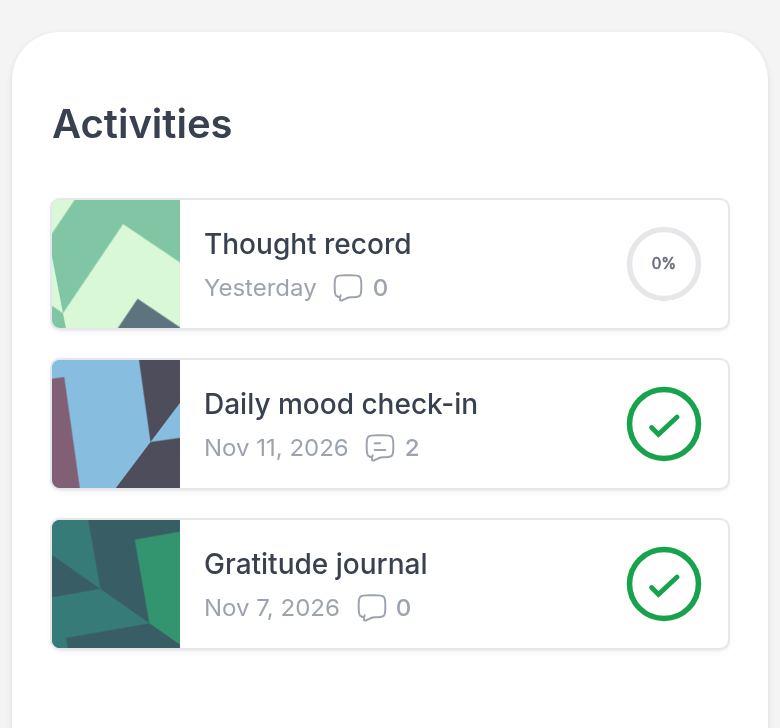
Read each step and answer the questions. The counter at the top, such as **2 / 4**, shows where you are. Click **Next** to go on, or the arrow next to it to go back. If **Next** is greyed out, a question on this step still needs an answer.
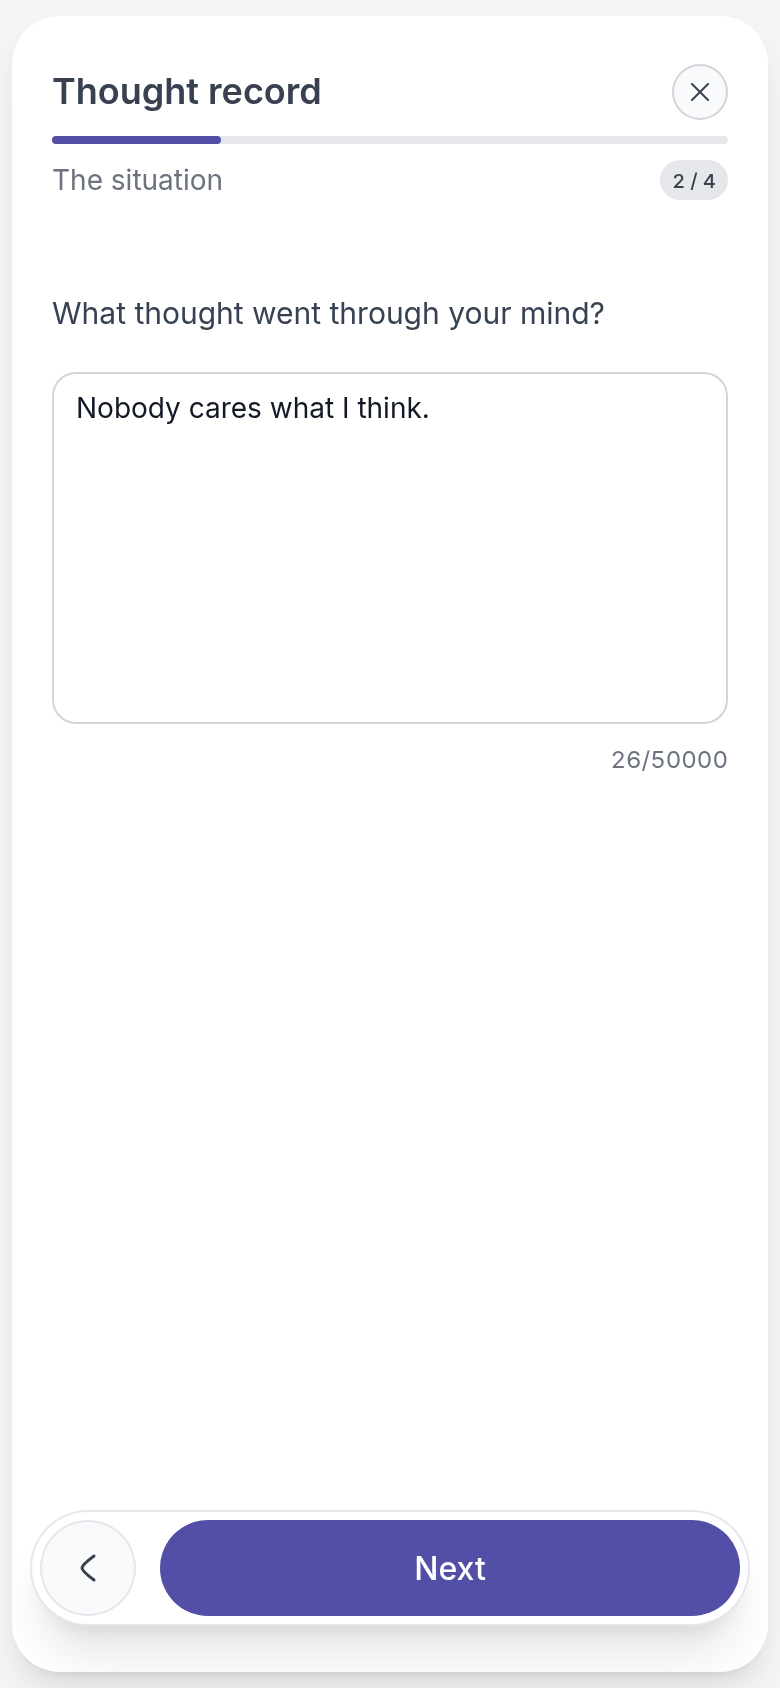
On the last step, click **Finish**. You see **You completed this activity.** Click **Exit** to go back. Your professional is notified, and the activity moves off **My Day**.
## Take a break
You don't have to finish in one go. Click the **X** at the top right to leave. Your answers are saved each time you click **Next**, so next time you continue where you left off.
Some activities have a deadline: you then see **Expires** and the date. After that you can no longer fill it in. If you need more time, ask your professional.
## Choose who sees your answers
Usually your professional decides who can see your answers. Sometimes they leave it to you, and before you start you see **Who can see your results?**:
- **Me and my professional**: you both can see your completed answers.
- **Only me**: your answers stay private and are not shown to your professional.
- **Only my professional**: your professional can see your answers after you finish, but you cannot.
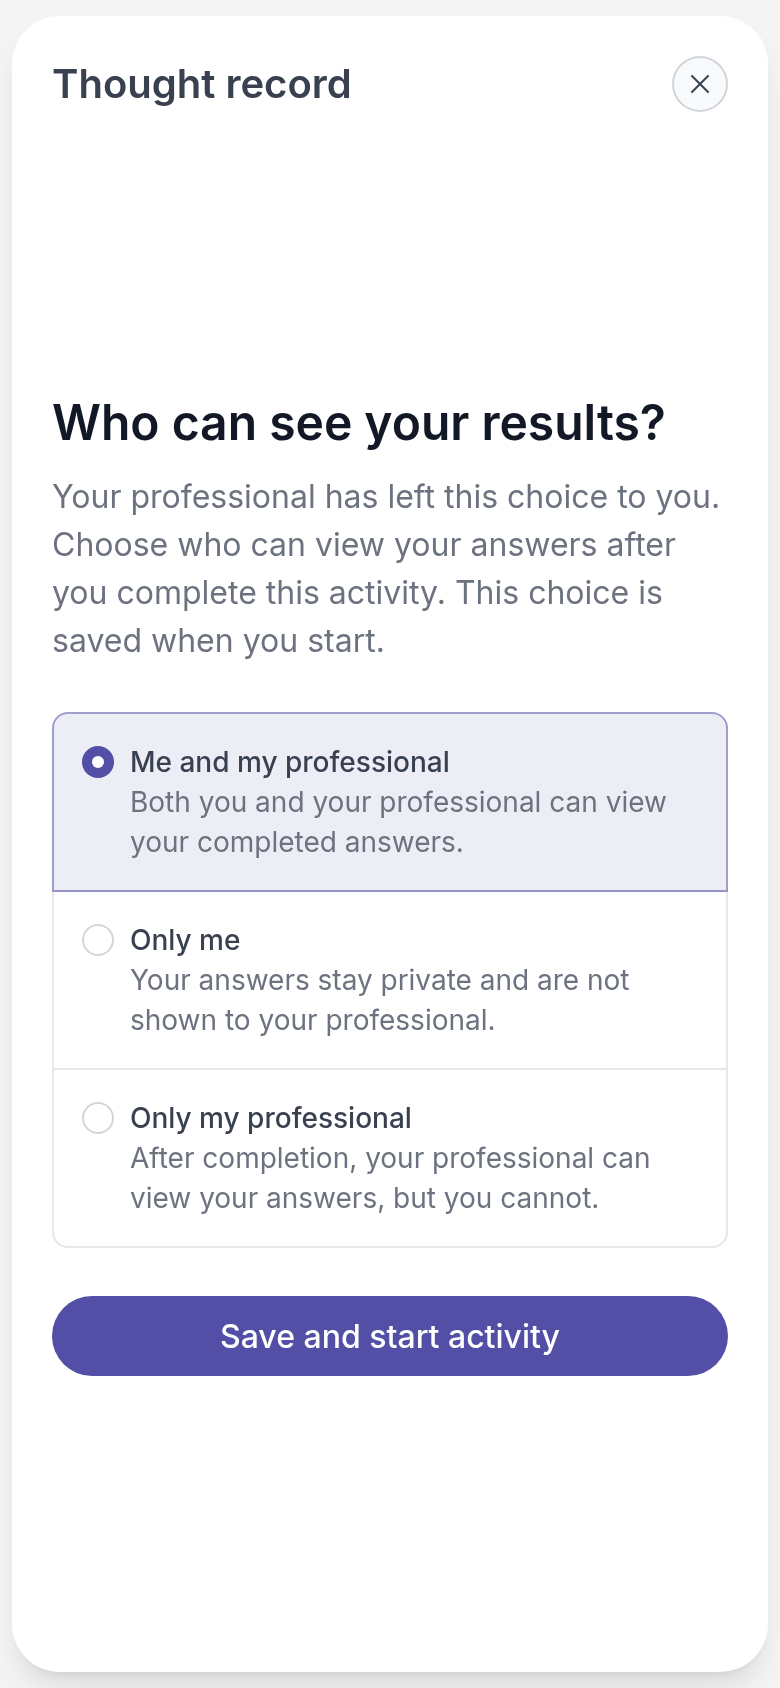
Choose one and click **Save and start activity**. Your choice cannot be changed afterwards, so if you are unsure, ask your professional first.
## Look back at or change your answers
Open a completed activity from the **Activities** page to read your answers again. That is useful before a session, to remember what you wrote.
To change them, open the menu at the top right (**⋮**) and choose **Make changes**. Go through the steps and click **Finish** again. Your professional is notified that you updated the activity. **Export as PDF** in the same menu saves a copy of your answers.
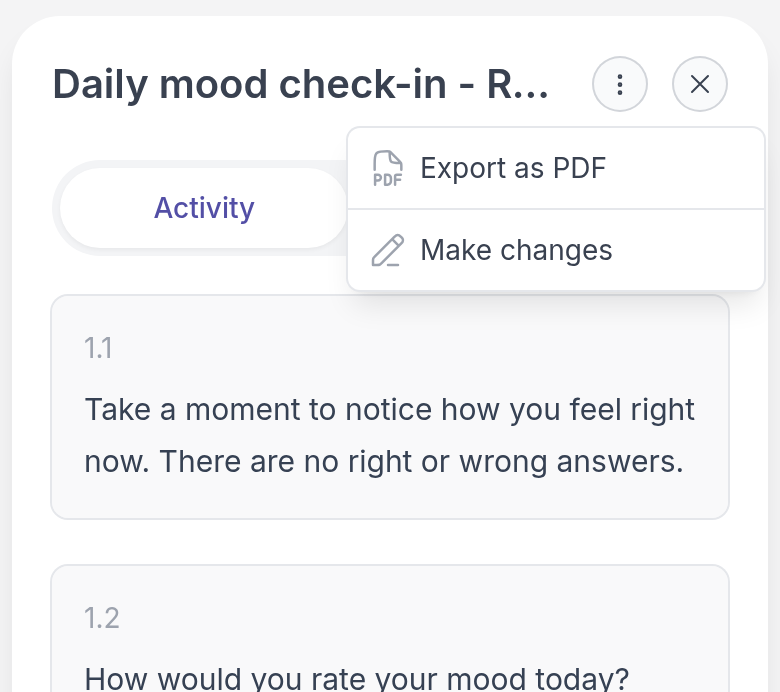
You don't see these options if only your professional can see the answers.
## Comment on a completed activity
If your professional allows comments on an activity, you can talk about it right there, next to your answers. Open the completed activity, select the **Comments** tab, type in **Leave a comment...** and click **Send**. To answer a comment, click **Reply** below it.
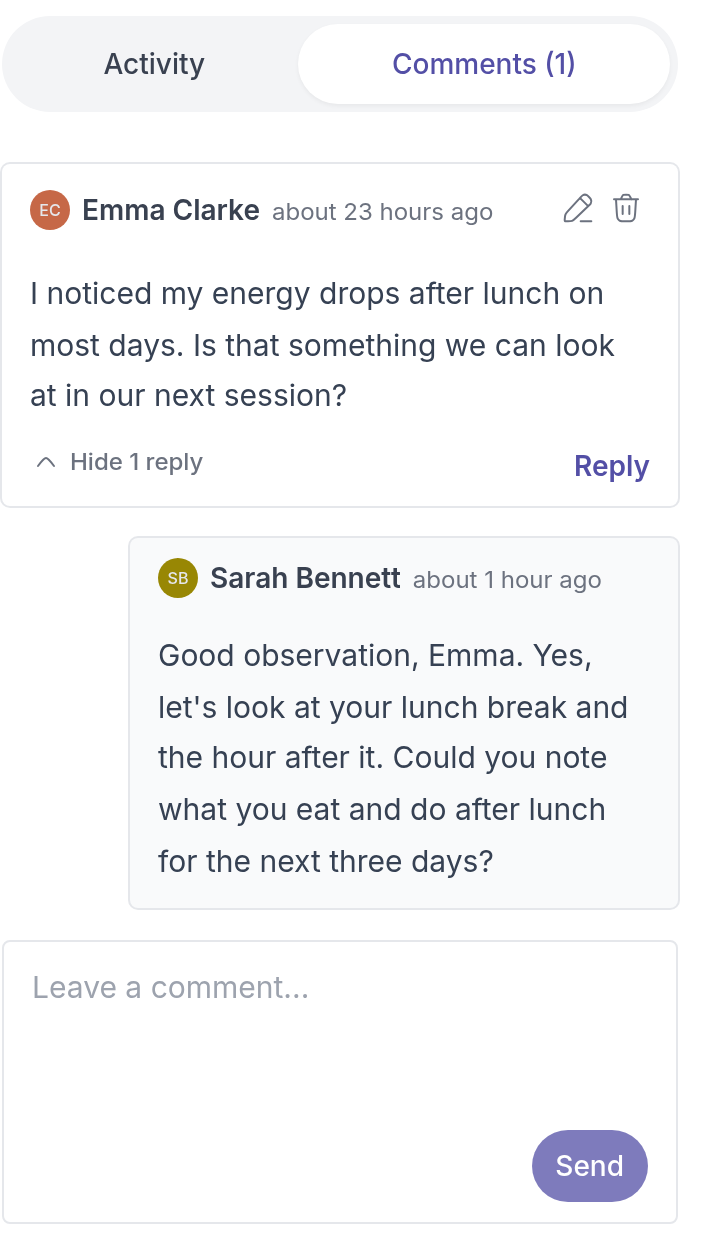
Your professional is notified and can reply. You get a notification when they do.
---
# Work through a program
> Follow a program from your professional step by step, see which steps are ready or still locked, and look back at the steps you finished.
Source: https://quenza.com/help/for-clients/work-through-a-program/
A program is a series of activities your professional has planned for you, often over several weeks. Instead of everything at once, the steps open one by one, so you can focus on one thing at a time. Each step is an activity, and you do it like any other: see [Complete an activity](https://quenza.com/help/for-clients/complete-an-activity/).
For example, Emma follows **Mindful mornings**, a four-week program from Sarah. Each week a new short exercise opens: a breathing exercise in week 1, a daily mood check-in in week 2, a gratitude journal in week 3. She does each one at her own pace before the next one opens.
## Open a program
Go to **Programs**, or click the program on **My Day** when a step is ready. The circle shows how much of the program you have done.
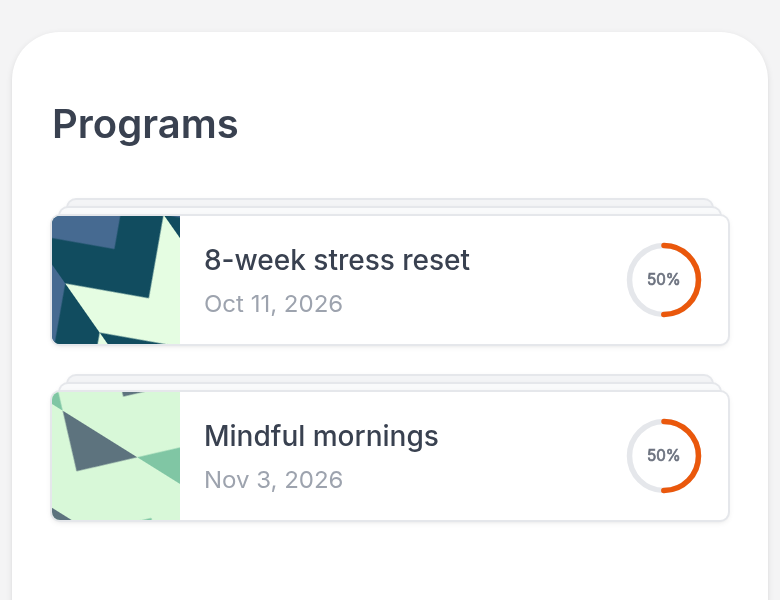
The program opens with all its steps, grouped into sections such as weeks if your professional added them. Click a step to open it.
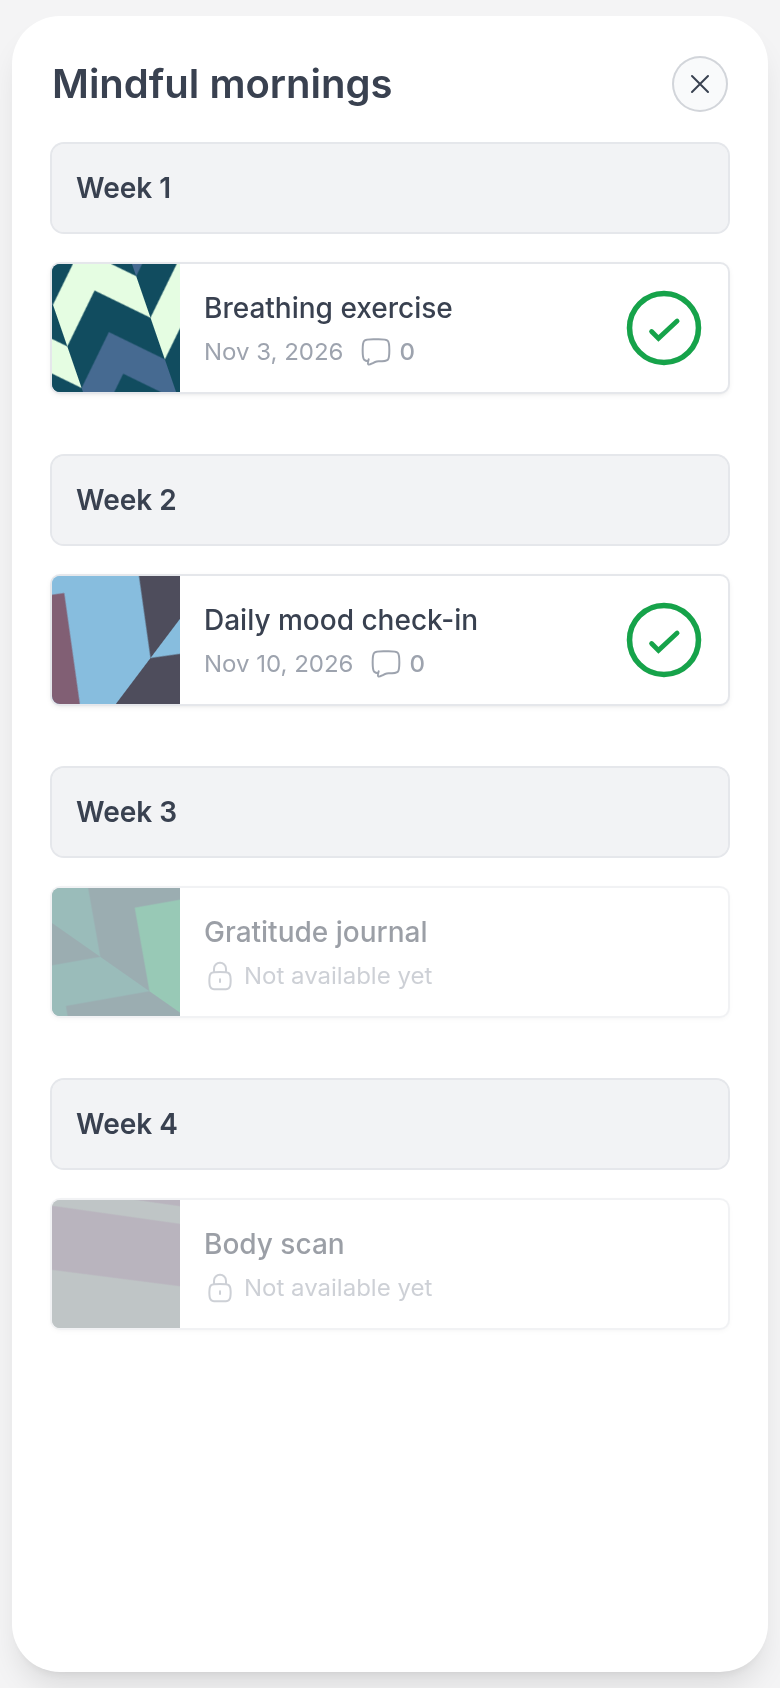
## Which steps are ready
- **A step with a date** can be opened now.
- **A step marked Not available yet**, greyed out with a lock, opens later.
- **A finished step** shows a green check mark. Open it to look back at your answers.
Your professional decides when each step opens: right away, as soon as you finish the previous step, after some time (for example a week after the previous one), or when they open it for you, for example after you have talked about it in a session.
When a new step opens, you get a notification and the program appears on **My Day**. Once you have done that step, the program leaves My Day until the next one is ready.
If a step stays locked longer than you expected, ask your professional.
---
# Complete a task
> Tick off the to-dos your professional gives you between sessions, and add, edit or delete tasks of your own.
Source: https://quenza.com/help/for-clients/complete-a-task/
Tasks are small, practical to-dos, such as "Take a 10-minute walk after lunch" or "Bring your workbook to the session". Your professional can give you tasks, often with a due date, and you can add your own to keep track of what you want to do between sessions.
## Tick off a task
You find your open tasks on **My Day** and on the **Tasks** page. When you have done one, click the circle on its left. The task is crossed out and moves to **Completed**. If your professional gave you the task, they are notified that you finished it.
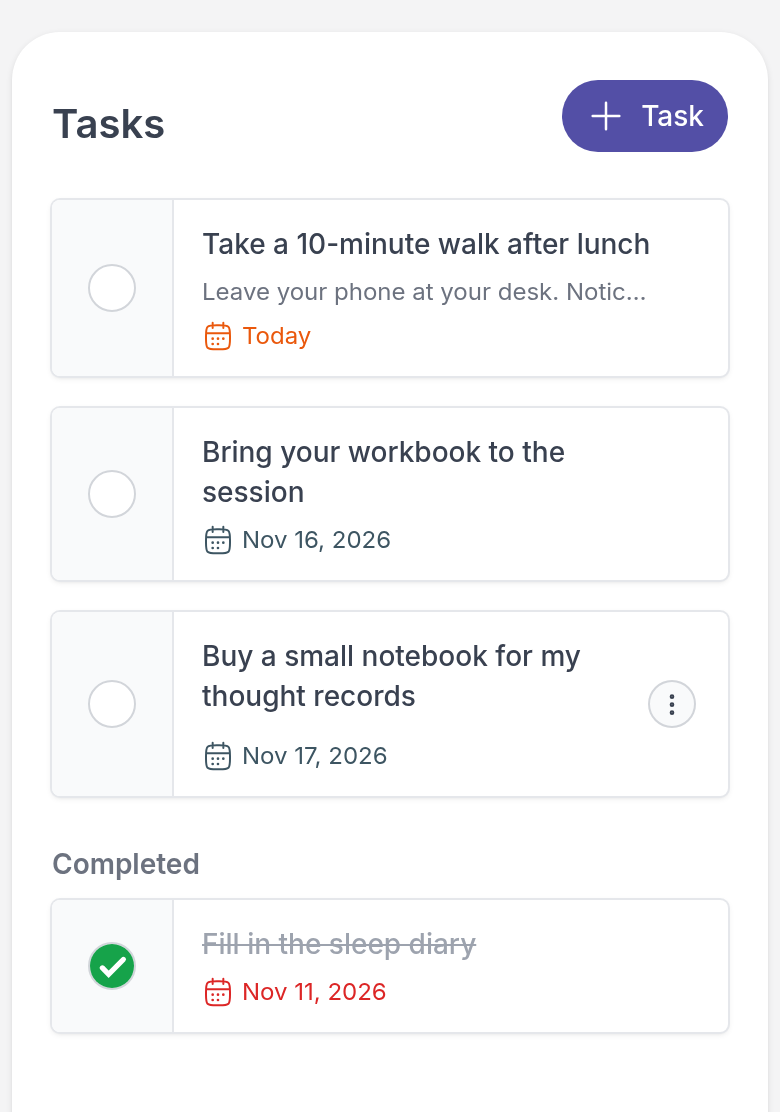
Ticked a task by mistake? Click the circle again to mark it as not done.
To read a task's full description, click its title.
## Add your own task
Your own tasks help you remember what you planned. For example, Emma decides in a session that she wants a small notebook for her thought records, so she adds that as a task with a due date at the end of the week.
1. Go to **Tasks** and click **Task** (with the plus sign) at the top right.
2. Enter a **Title**. If you like, add a **Description** and pick a **Due date**.
3. Click **Save**.
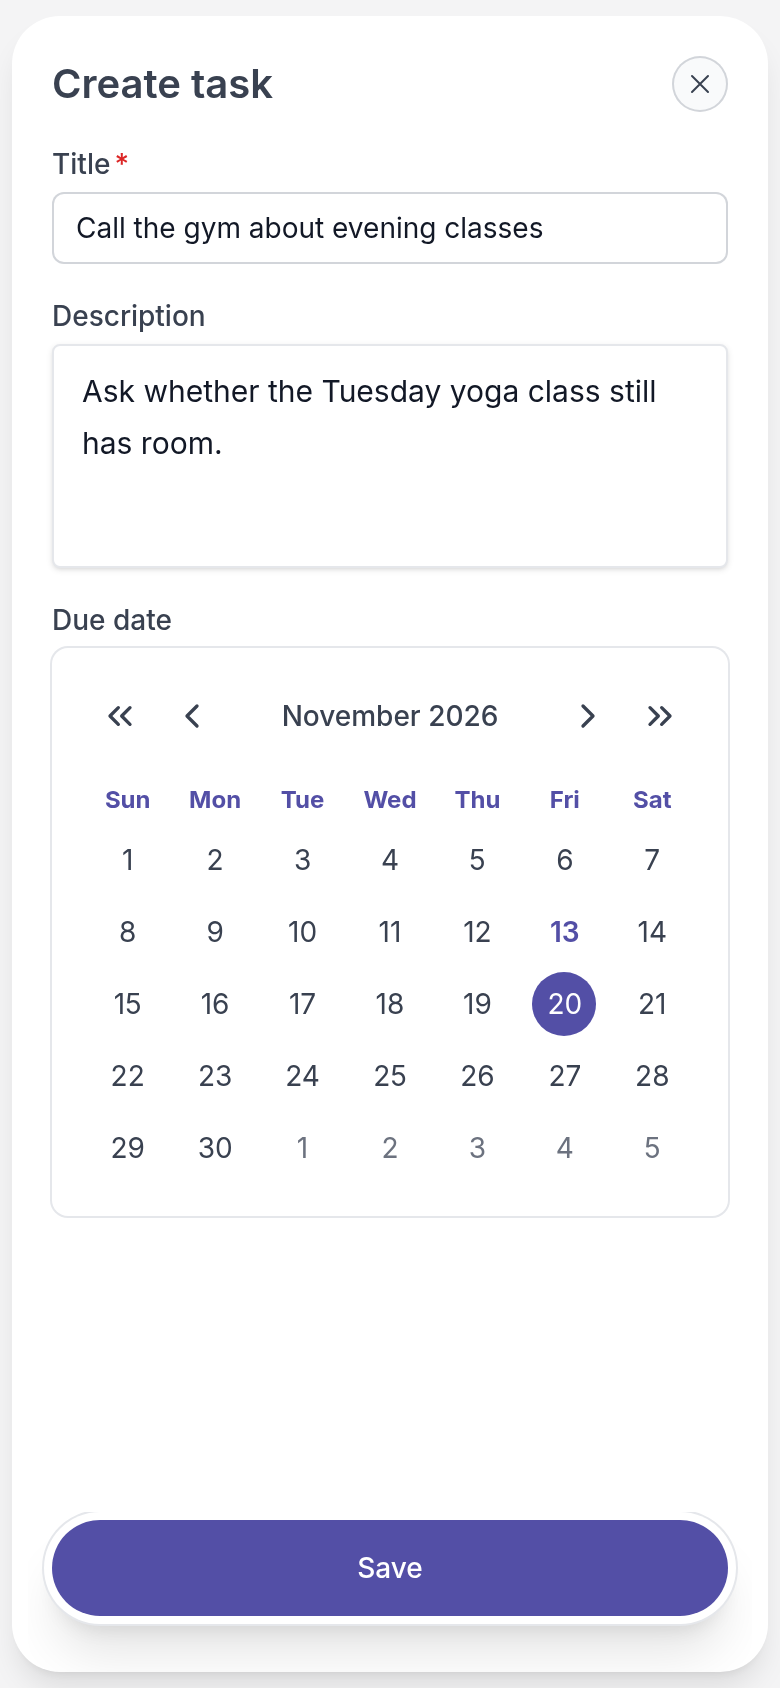
Tasks you add yourself are for you only. They do not appear in your professional's task lists.
## Edit or delete your own task
Click **⋮** next to a task you added and choose **Edit task** or **Delete task**. **Delete task** asks you to confirm first and then removes the task for good.
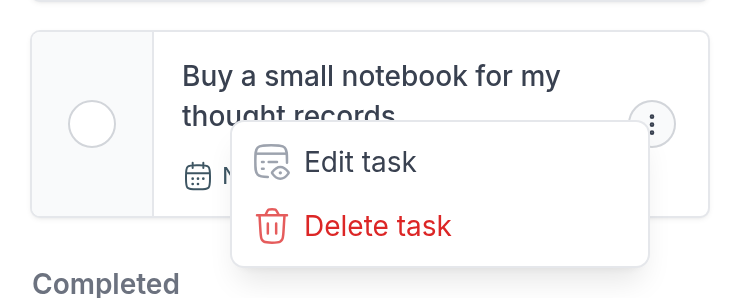
You can only edit or delete tasks you added yourself. To change a task from your professional, ask them.
---
# Message your professional
> Send your therapist, coach or other professional a message, a file or a voice recording in Chats, and see when they have read it.
Source: https://quenza.com/help/for-clients/message-your-professional/
Chats are a direct, private line to your professional between sessions. Use them for a short question, to let them know how an exercise went, or to sort out something practical, such as moving an appointment. For anything urgent, contact your professional in the way you agreed with them.
## Send a message
Go to **Chats** and click your professional's name. If you have not chatted before, this starts a new chat. If your professional uses group chats, for example for a group you take part in, you find them under **Other chats**.
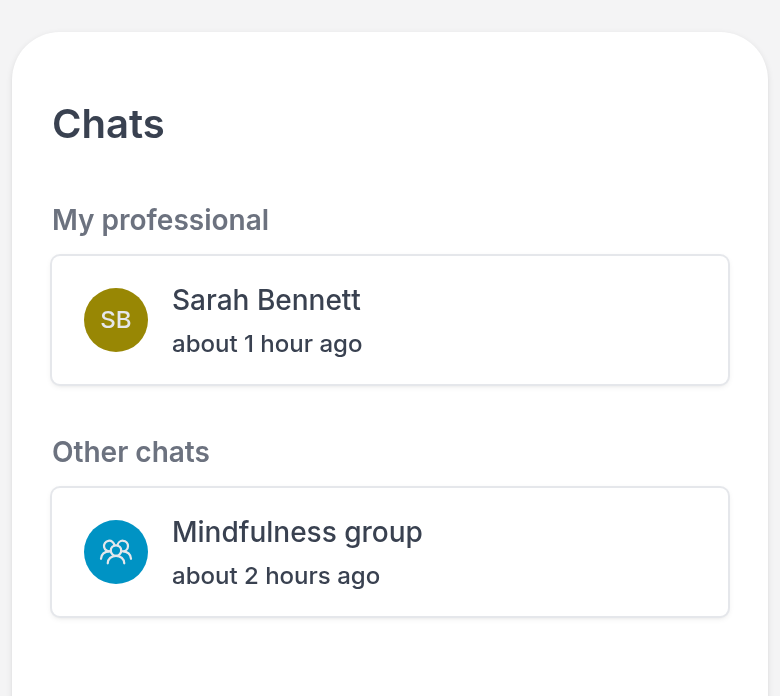
Type in **Type a message** and click the send button (the paper plane). On a computer you can also press Enter.
Your professional gets your message and can reply. A red dot next to **Chats** in the menu means you have a new message.
## Send a file or a voice message
- **A file**, such as a photo of your journal page or a PDF: click the paper clip, choose the file, then click the send button.
- **A voice message**: click the microphone and speak. Click the check mark when you are done, or the bin to throw the recording away. Then click the send button. The first time, your browser or phone asks to use your microphone. Allow it.
A voice message can be easier than typing, for example when you want to describe how a difficult moment felt.
## See if your message has been read
Next to the time of each message you sent is a small circle:
- **An outlined circle**: your message has been sent.
- **A filled circle**: your professional has seen it.
Your professional can also see when you have read their messages. Group chats do not show this.
> **Note:** Seen does not mean your professional can reply right away. They answer when they are available.
## Delete a message
You can delete messages you sent. On a computer, move your mouse over the message, click **⋯** and choose **Delete**. On a phone, swipe the message to the left and tap the bin. Then click **Delete message** to confirm.
The message is replaced by **This message was deleted**. Your professional sees this too.
## If you cannot send messages
If you see **This participant is no longer active.**, you can read the chat but not send new messages. Contact your professional in another way if you need to reach them.
---
# Notes and comments
> Read the session notes your professional shares with you, reply with a comment, and write and share notes of your own.
Source: https://quenza.com/help/for-clients/notes-and-comments/
Notes are for what you want to remember. Your professional can share a note with you, for example a summary of your last session with the exercise you practised. You can reply with a comment, and you can write notes of your own: thoughts you want to bring up next time, or a short journal entry.
## Read a note
Go to **Notes** and click a note to open it. Each note shows who wrote it, when, and how many comments it has. You get a notification when your professional shares a new note with you.
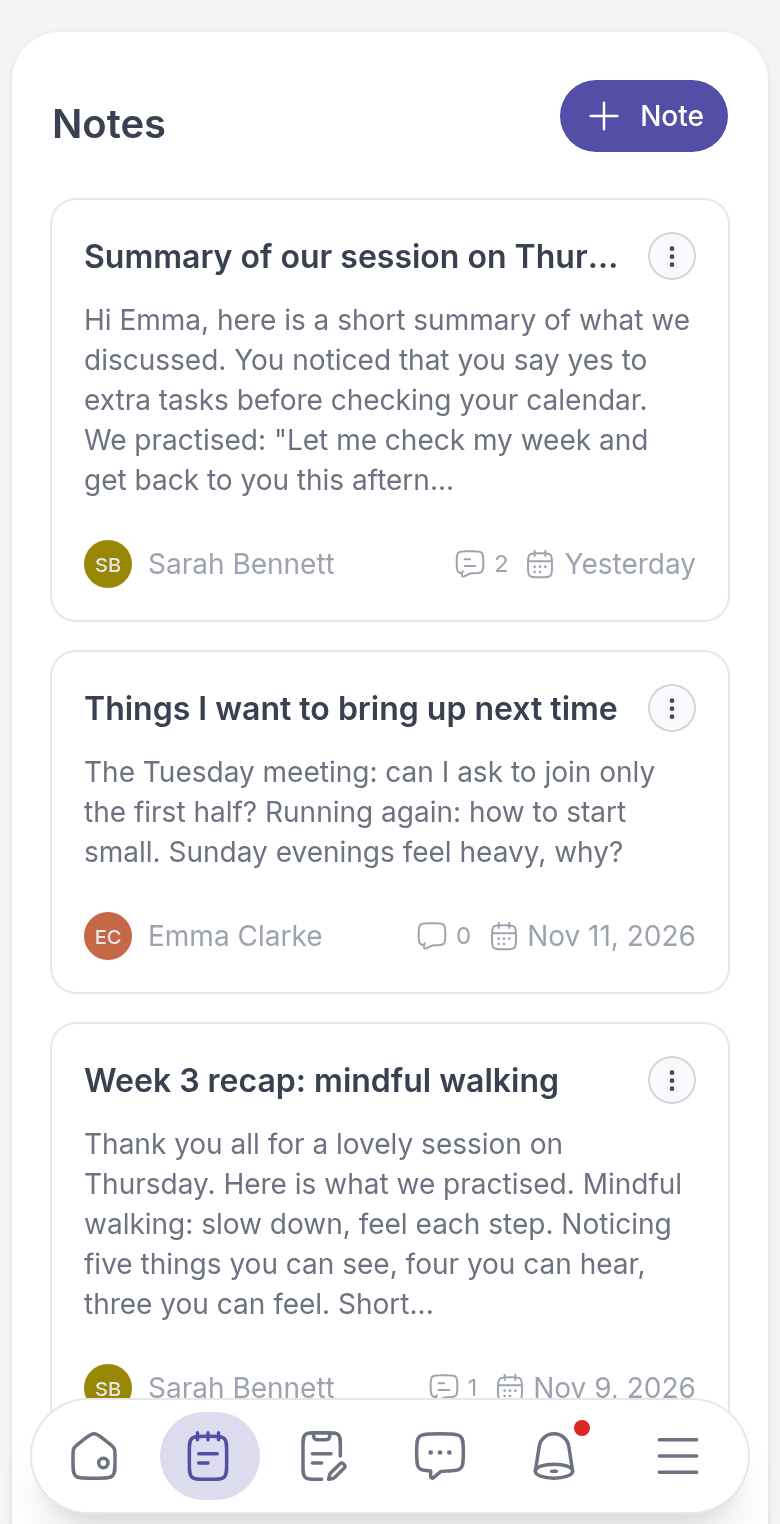
To keep a copy, open the menu at the top right of the note (**⋮**) and choose **Export as PDF**.
## Comment on a note
A comment is a good way to respond to a note without starting a separate chat. For example, after reading Sarah's session summary, Emma tells her the new sentence she practised already helped once.
Open the note, select the **Comments** tab, type in **Leave a comment...** and click **Send**. To answer a comment, click **Reply** below it, type your answer and click **Reply** again.
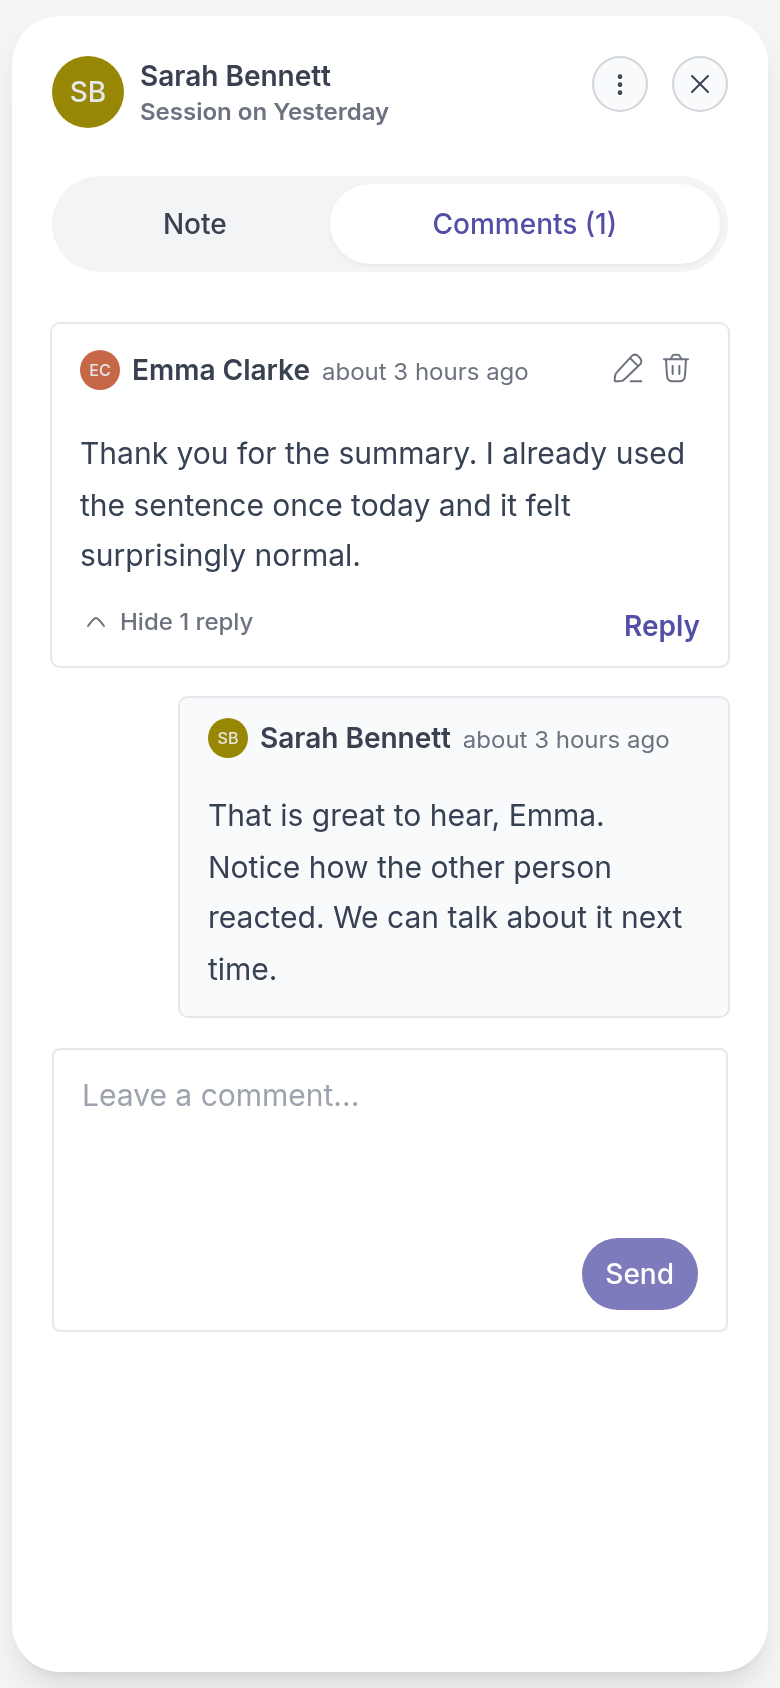
Your professional is notified and can reply. To change or remove a comment you wrote, click the pencil or the bin next to it.
If you see **Commenting is disabled for this note.**, your professional has turned off comments for this note.
> **Caution:** If your professional shared the note with a group you belong to, the other members of the group can see your comment too.
## Write your own note
Go to **Notes** and click **Note** (with the plus sign) at the top right. Give your note a title, write your text and click **Save**.
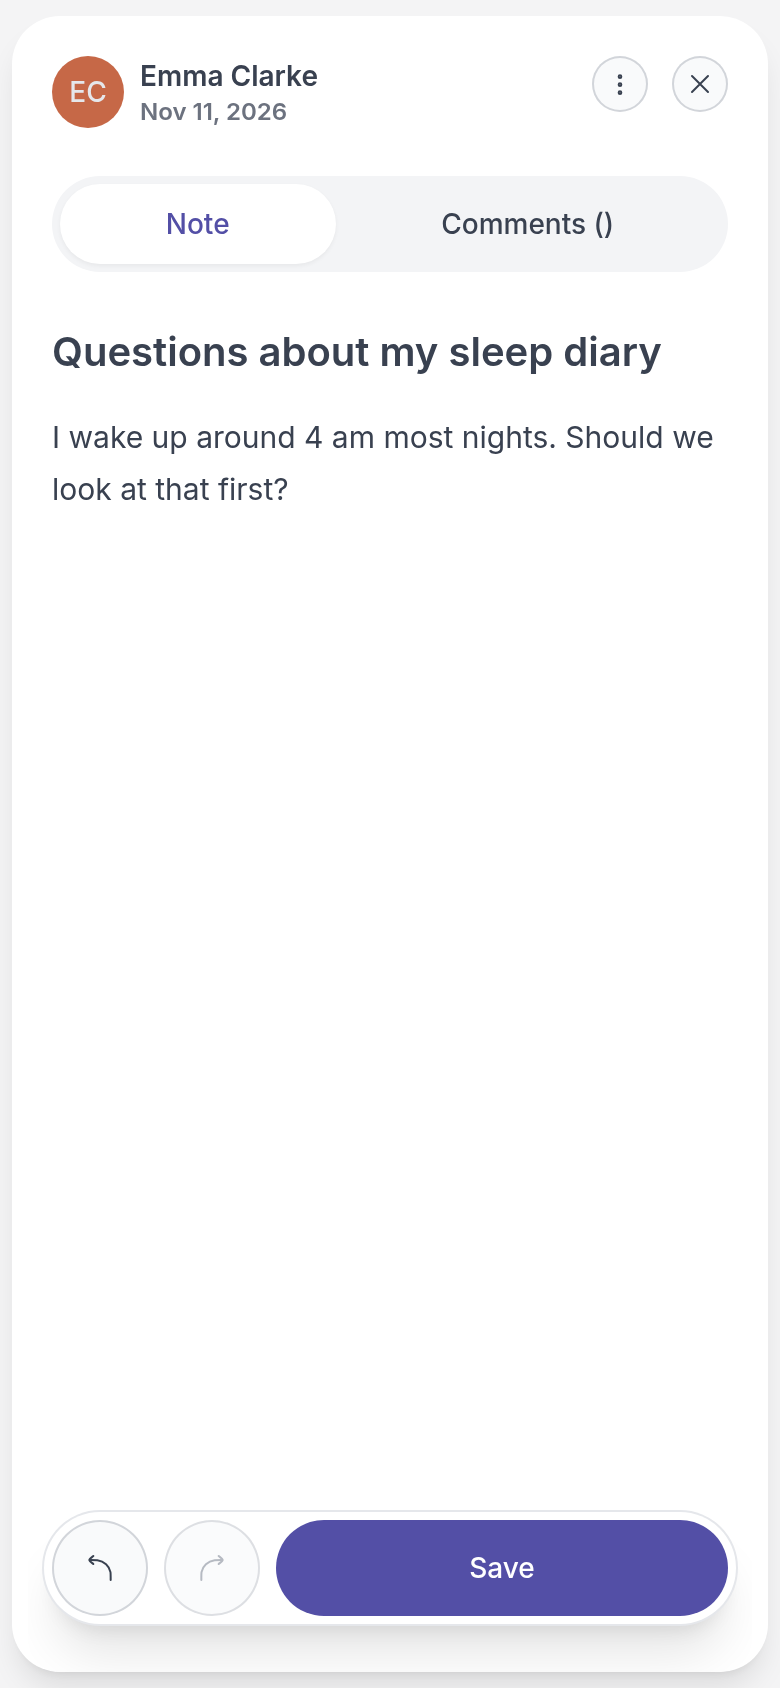
Only you can see your note until you share it. The note is added to your list as soon as you click **Note**, as **Untitled note** until you give it a title. If you leave before saving, Quenza offers to **Restore** your text the next time you open the note.
## Share your own note
Sharing a note lets your professional read it before your session, so you can start right where it matters. Open your note, click **⋮** and choose **Share note**. You can then talk about it on the **Comments** tab.
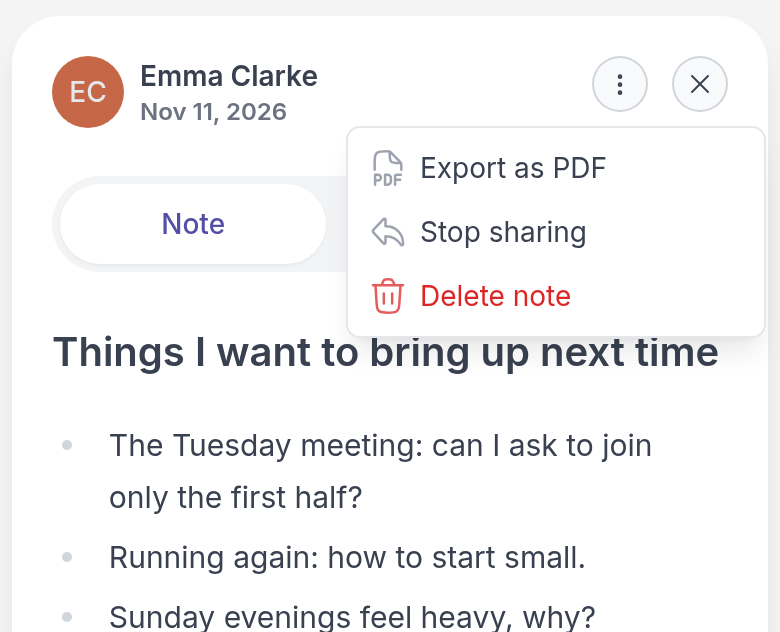
A note you have already shared shows **Stop sharing** instead, as in the picture. Choose it to make the note private again.
> **Caution:** **Delete note** removes the note for good. You are asked to confirm first.
---
# Files and links
> Find the worksheets, documents and links your professional shares with you, and add files and links of your own.
Source: https://quenza.com/help/for-clients/files-and-links/
**Resources** is where your professional keeps the files and links they share with you: a worksheet to print, a chapter to read, an audio exercise, or a helpful website. Everything stays there, so you can come back to it whenever you need it. You can also keep your own files and links here.
If you don't see **Resources** in the menu, your professional does not use this feature.
## Open a file or link
Go to **Resources** and select **Shared with you**. Click a file to download it, or a link to open it in a new tab. Audio files play right on the page.
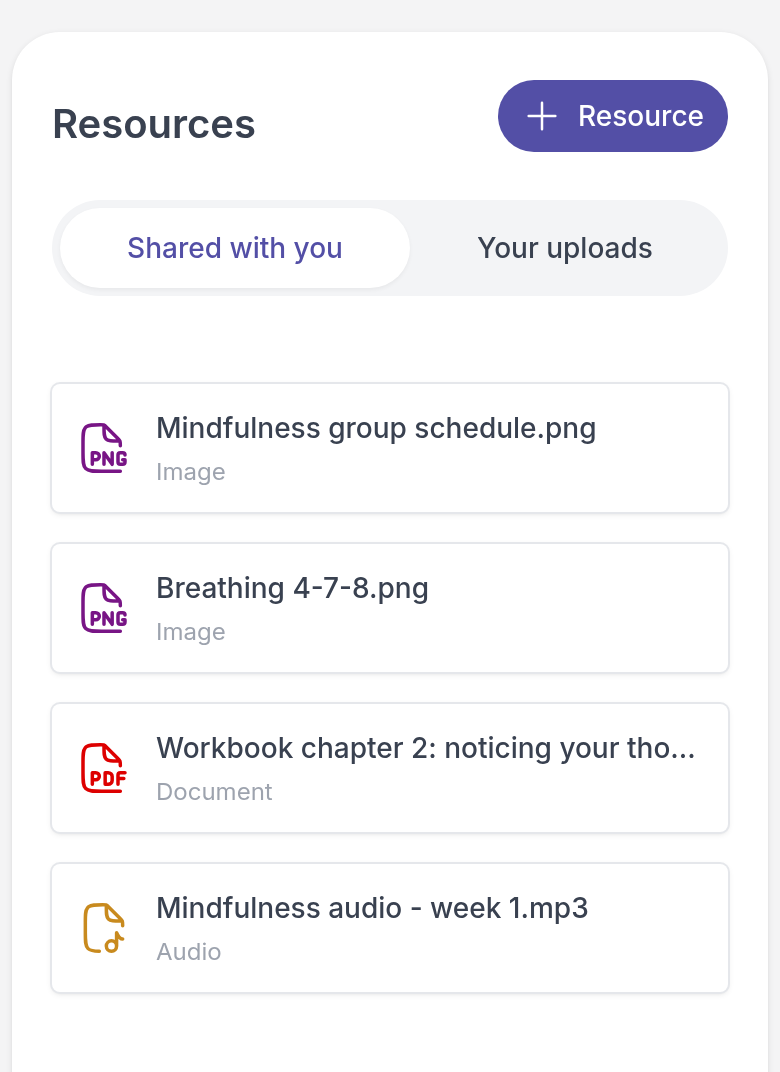
You get a notification when your professional shares something new.
## Add your own file or link
Say you found a useful article on breathing exercises and want to ask your professional about it. Add it as a link and share it with them, so it is ready to discuss in your next session.
1. Go to **Resources** and click **Resource** (with the plus sign) at the top right.
2. Choose **File** to upload a document, image or audio file from your device, or **Link** to enter a **Name** and a **URL**.
3. Under **Who can see this?**, choose **Just me** to keep it private, or **Share with** your professional to let them open it.
4. Click **Save**.
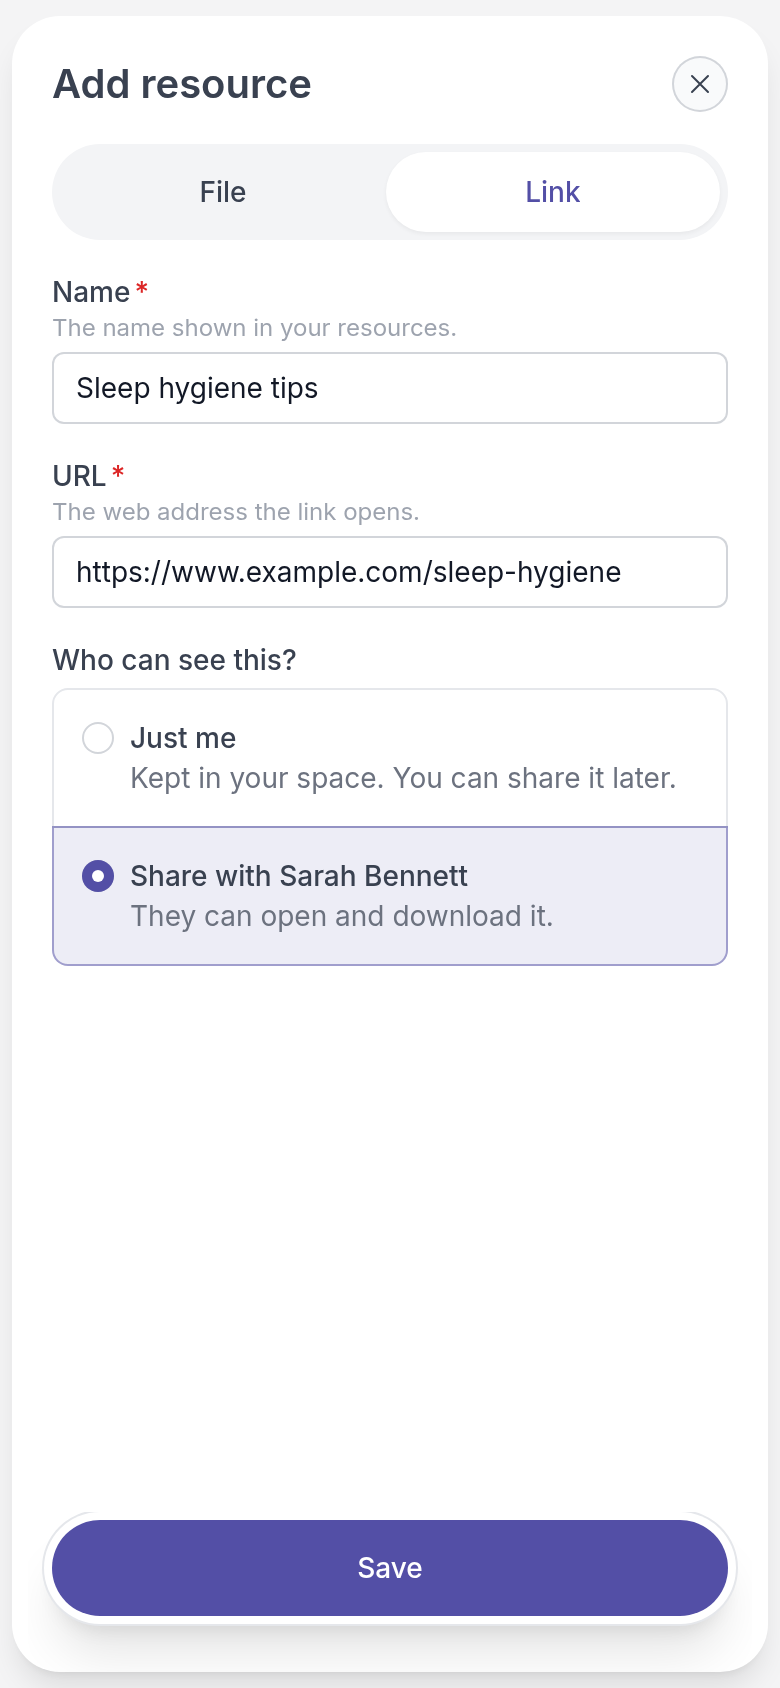
Your file or link appears under **Your uploads**. Items you have shared are marked **Shared**. If you work with more than one professional, sharing makes the item available to all of them.
## Share, change or delete your own items
Go to **Resources**, select **Your uploads** and click **⋮** next to the item:
- **Share with professional**: let your professional open it.
- **Unshare with professional**: make it private again. It stays in **Your uploads**.
- **Edit resource**: change the name or web address of a link. Files cannot be edited.
- **Delete resource**: remove it.
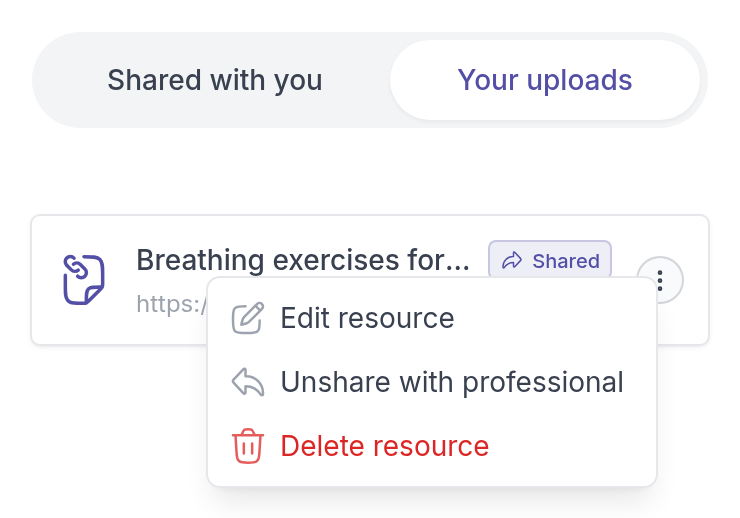
> **Caution:** **Delete resource** removes the file or link for good. You are asked to confirm first.
---
# Notifications
> See what is new from your professional on the Notifications page, mark updates as read, and turn email notifications on or off.
Source: https://quenza.com/help/for-clients/notifications/
Notifications tell you when something new is waiting for you, so you don't have to check every page. You see them in the portal, and you can also get them by email or on your phone.
## Check your notifications
Go to **Notifications**. A red dot next to it in the menu means there is something new. New notifications have a red dot and a coloured background. Click one to go straight to what it is about, for example the comment Sarah left on your mood check-in.
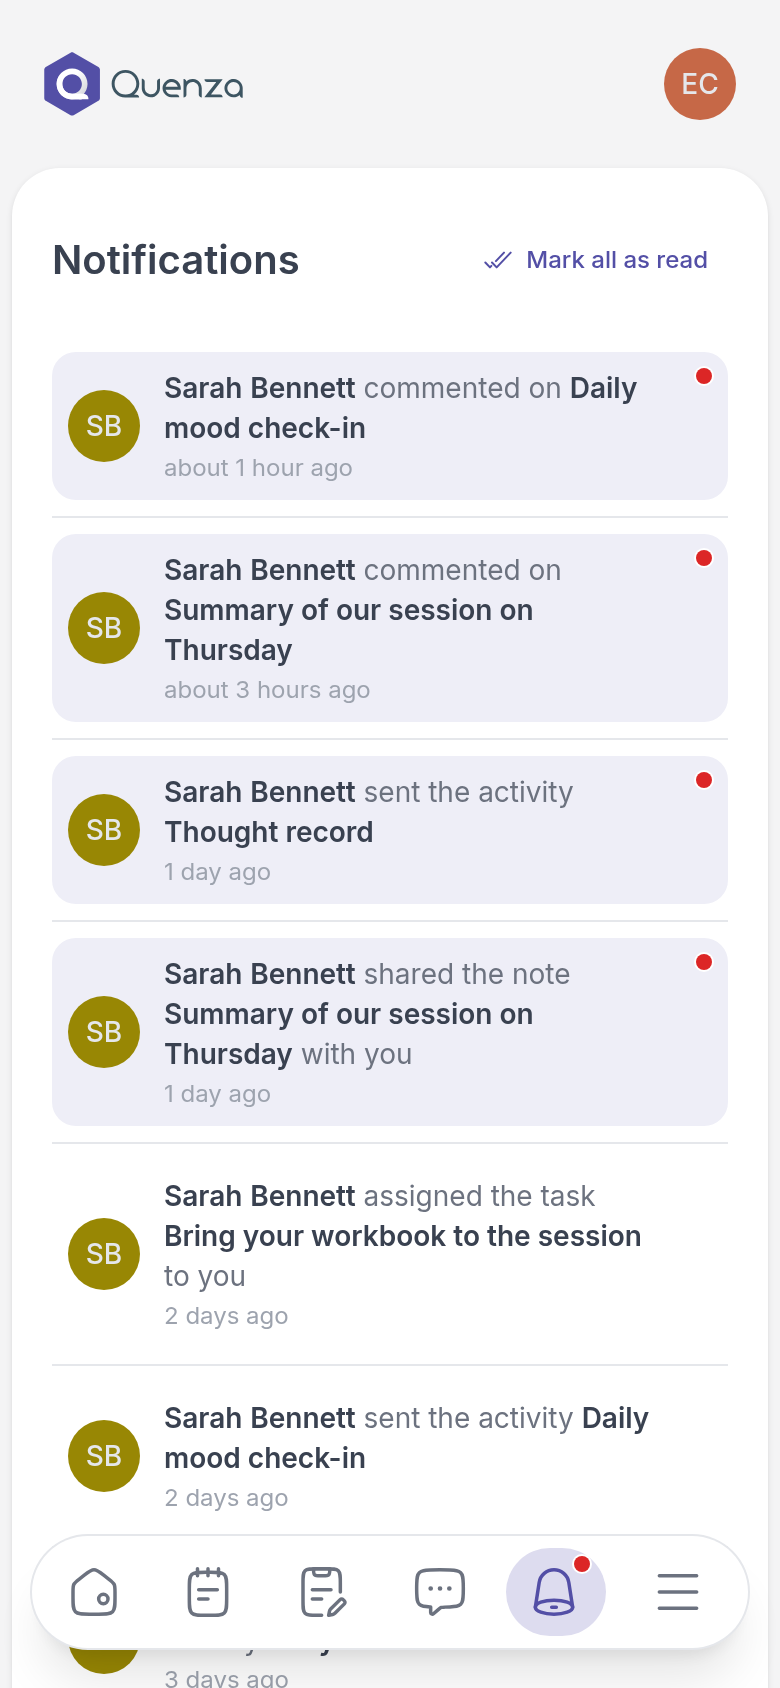
A notification counts as read once you click it. To mark them all as read at once, click **Mark all as read**. When you have read everything, you see **You are up to date.**
## What you are notified about
You get a notification when your professional:
- sends you an activity or a program, or reminds you about one
- opens the next step of a program
- cancels an activity or a program
- gives you a task
- shares a note, a file or a link with you
And when:
- someone comments on a note or an activity, or replies to your comment
- a professional starts or stops working with you
New chat messages are not listed here. A red dot next to **Chats** tells you about those. See [Message your professional](https://quenza.com/help/for-clients/message-your-professional/).
## Get updates by email
You can also get these updates by email, including an email when you have unread chat messages. That helps if you don't sign in every day.
1. Go to **My Profile**.
2. Under **Personal Information**, turn **Enable notifications via Email** on or off.
3. Click **Update**.
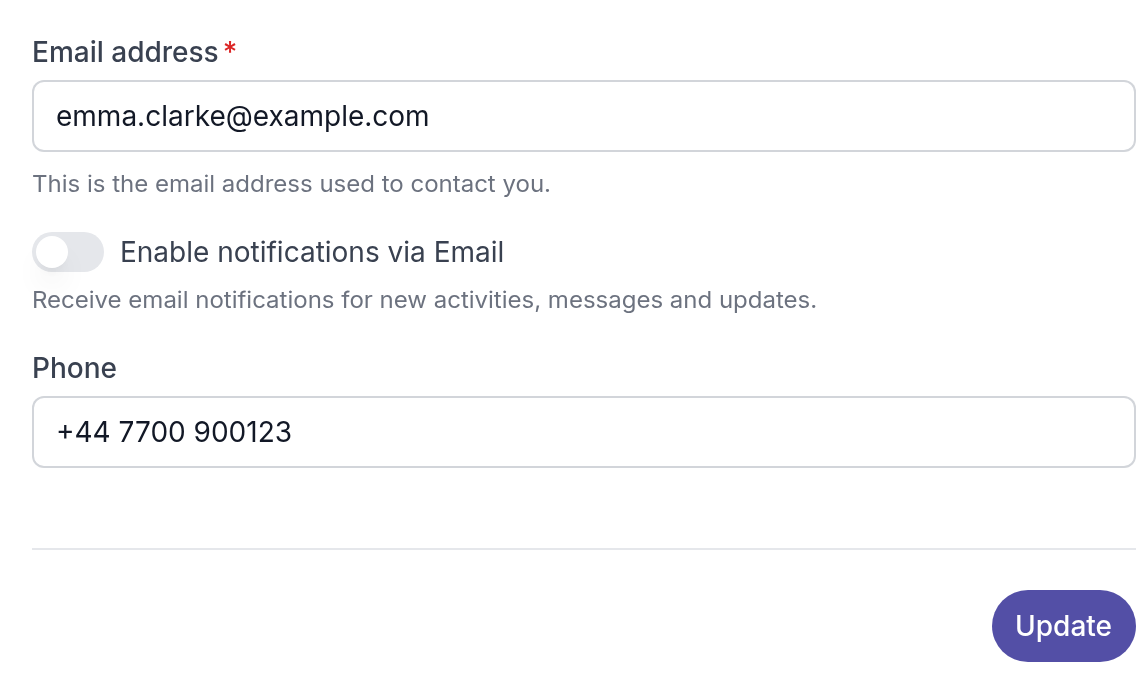
Emails go to the **Email address** in your profile.
## Get updates on your phone
With the Quenza app on your phone, you get these updates as notifications on your phone too, and for new chat messages. Allow notifications when the app asks. See [Get the Quenza app](https://quenza.com/help/for-clients/get-the-quenza-app/).
---
# Your professional
> Find your professional's contact details and book an appointment with them, if they offer online booking.
Source: https://quenza.com/help/for-clients/your-professional/
The **My professional** page shows who supports you in this workspace and how to reach them. It is handy when you need a phone number before a session, or want to check where the practice is.
## View your professional's details
Go to **My professional**. You see a card with your professional's photo and name, and the details they have added, such as **Phone**, **Email**, **Location** and **Timezone**.
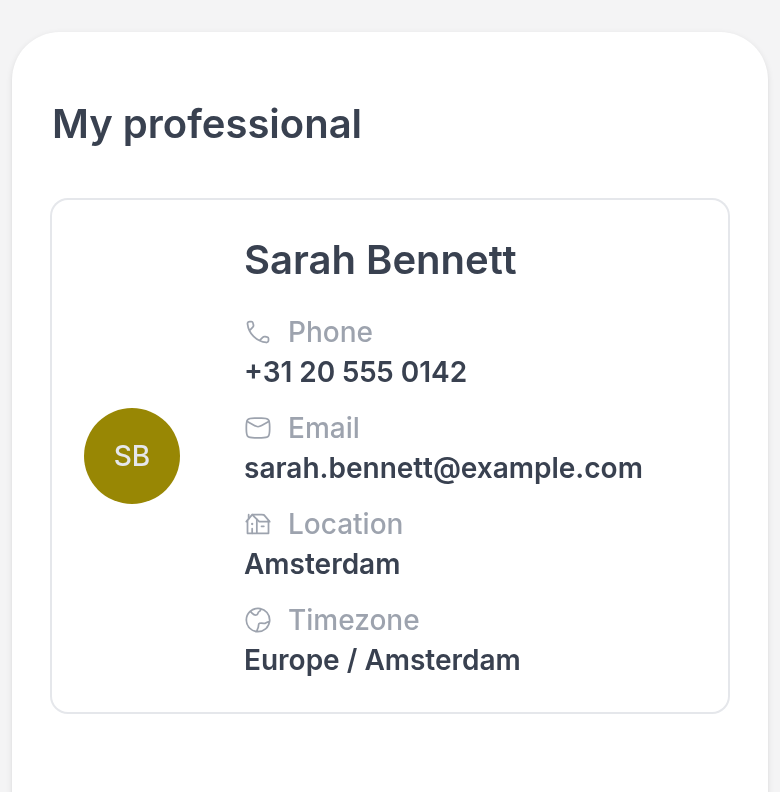
The timezone helps when your professional lives somewhere else: you can see what time it is for them before you plan a call.
If you work with more than one professional, for example a coach and a dietitian in the same practice, the page is called **My professionals** and shows a card for each. Your professional can also give this page another name, such as **My coach** or **My therapist**.
When a professional starts or stops working with you, you get a notification. See [Notifications](https://quenza.com/help/for-clients/notifications/).
## Book an appointment
If your professional offers online booking, their card has a **Book Appointment** button (on a phone, only a calendar icon). Click it, pick a time in the booking calendar on the **Appointments** page and follow the steps. You can also go to **Appointments** in the menu.
If you don't see the button, your professional does not offer online booking in Quenza. Ask them how to make an appointment.
## Send a message
To write to your professional, use **Chats**. See [Message your professional](https://quenza.com/help/for-clients/message-your-professional/).
---
# Edit your profile
> Update your name, photo and other details in the client portal, change your login email or password, set a PIN, and download or delete your data.
Source: https://quenza.com/help/for-clients/edit-your-profile/
Your profile holds the details the people you work with see about you, such as your name and phone number. You can keep them up to date yourself, choose how Quenza contacts you, and manage your login. Go to **My Profile** in the menu, or click your photo or initials at the top right.
## Update your details
Under **Personal Information** you can change your photo (**Upload** or **Remove**), **First name**, **Last name**, **Gender**, **Timezone**, **Date of birth** and, if you see it, **Language**: the language the portal is shown in. If you choose **Other** under **Gender**, you can describe it in **Gender identity**.
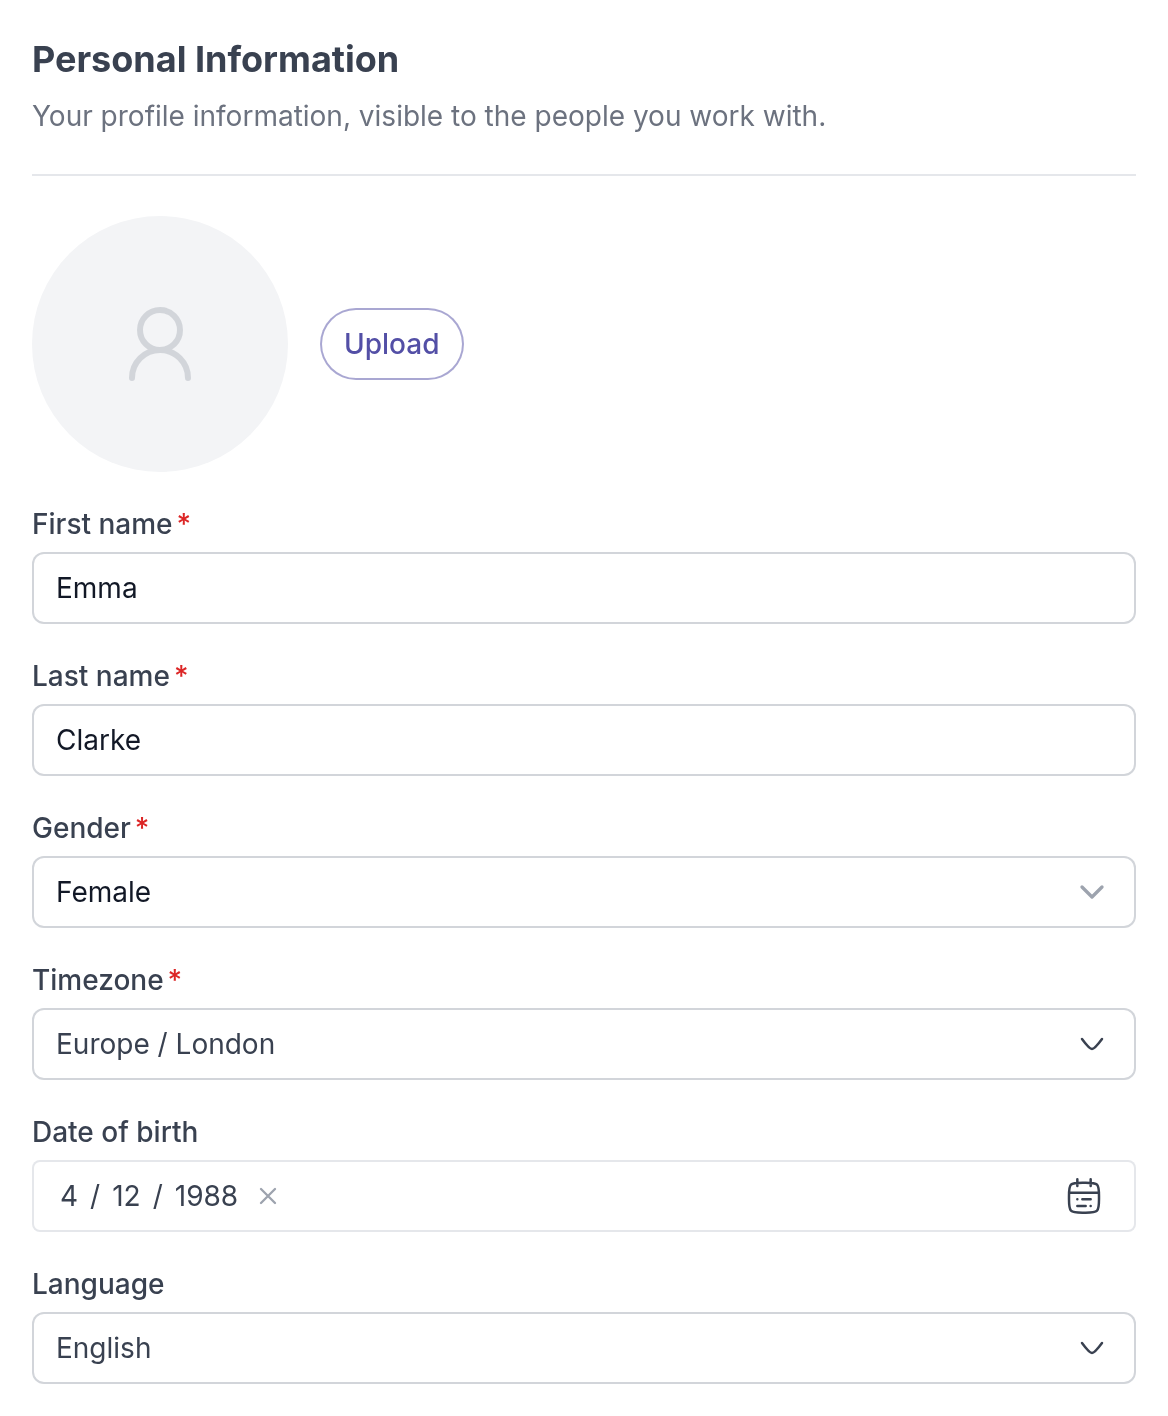
Further down are **Email address** and **Phone**: where your professional can reach you. Click **Update** to save. You see **Your profile has been updated**, and your professional sees the new details right away.

For example: Emma moves to Amsterdam for a few months. She changes her **Timezone** to **Europe / Amsterdam** so the due dates of her tasks match her new day.
> **Note:** **Email address** here is only where you are contacted. It does not change the email you sign in with. See [Change your login email or password](#change-your-login-email-or-password) below.
**Enable notifications via Email** turns email updates on or off. See [Notifications](https://quenza.com/help/for-clients/notifications/).
If you work with more than one practice, these details are saved separately for each workspace. Your language applies everywhere.
## Change your login email or password
Under **Authentication & Security**:
1. To change the email you sign in with, edit **Login email**.
2. To change your password, enter it in **New Password** and again in **Password Confirmation**. Leave both empty to keep your current password.
3. Click **Update**.
4. Enter your **Current Password** and click **Submit**.
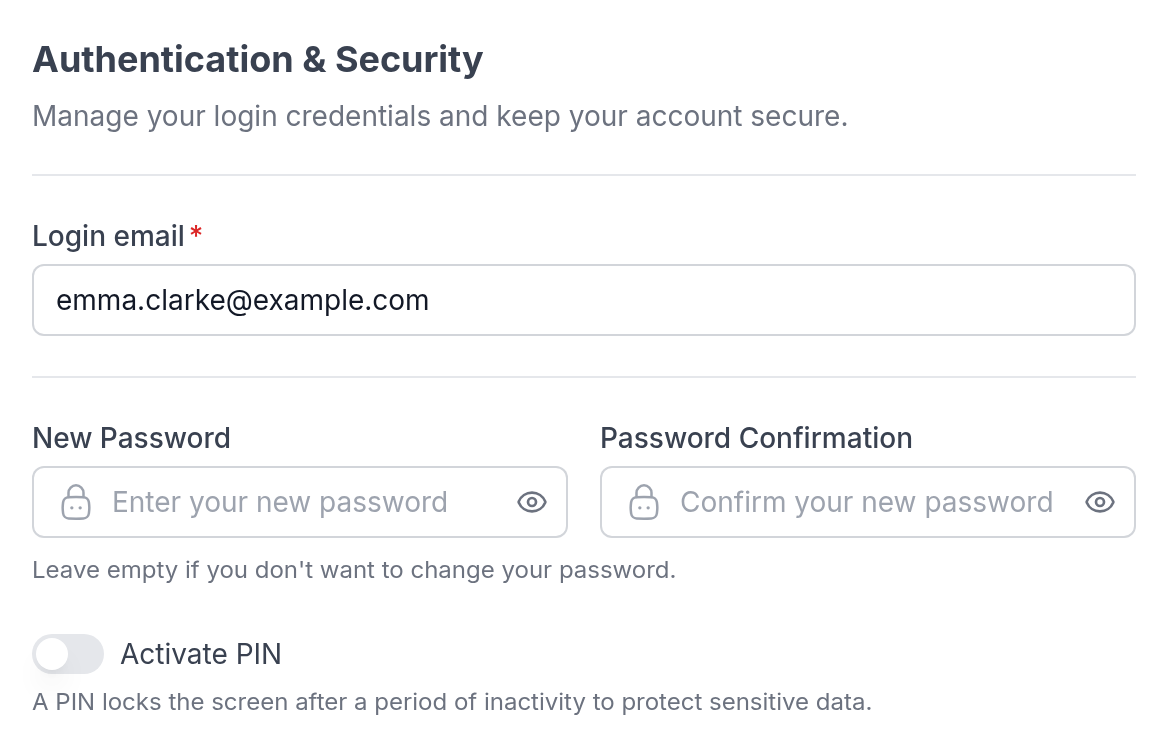
A new password needs at least 8 characters, with both letters and numbers.
## Lock the app with a PIN
A PIN locks the screen when you have not used Quenza for a while. Your notes and answers are personal, so this is worth doing if someone else might pick up your phone or computer.
1. Under **Authentication & Security**, turn on **Activate PIN**.
2. Enter a 4-digit code in **New PIN Code** and again in **PIN Confirmation**.
3. Click **Update**, then enter your **Current Password** and click **Submit**.
## Download your data
You can save your notes and completed activities from this workspace in one PDF, for example to keep a record when you finish working with your professional.
1. Under **Export my data**, click **Export data**.
2. Choose **Notes**, **Completed activities** or both, and click **Export PDF**.
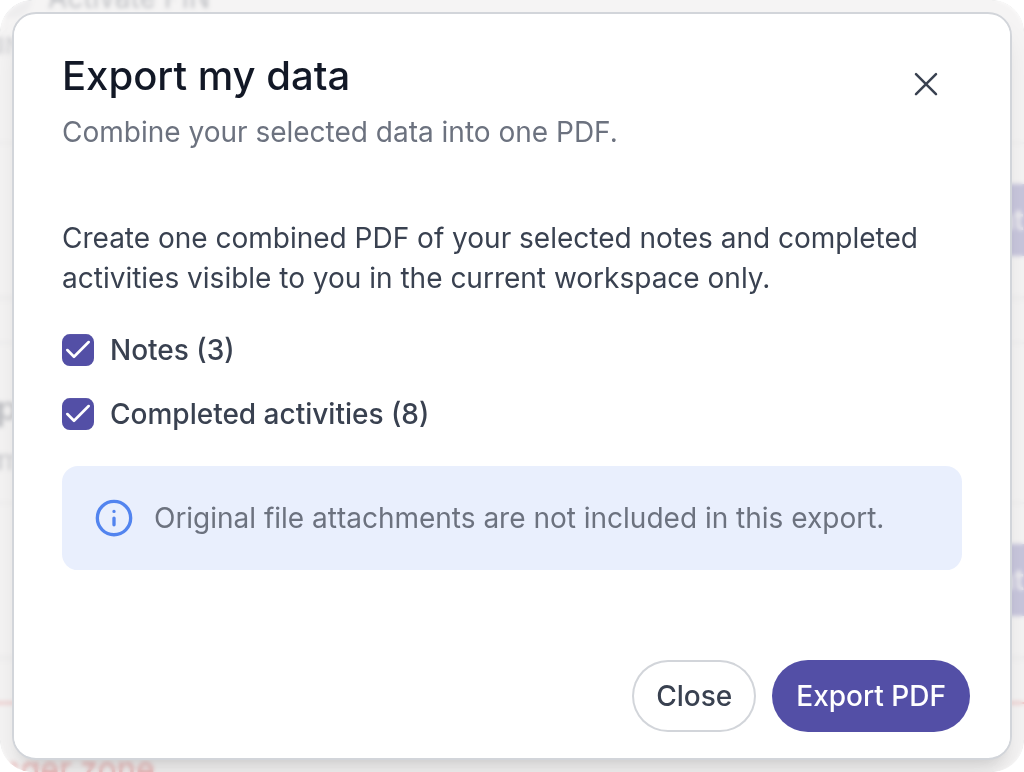
3. When the PDF is ready, click **Download PDF**.
The download link stays valid for 30 minutes. Files you attached are not included.
## Delete your account
> **Danger:** Deleting your account cannot be undone. You can no longer sign in, and you may lose access to every client portal linked to this login, not just this one.
1. Scroll to **Danger zone** and click **Delete my account**.
2. Read what happens, type **DELETE** in the box and click **Delete account**.
3. Enter your **Current Password** and click **Submit**.
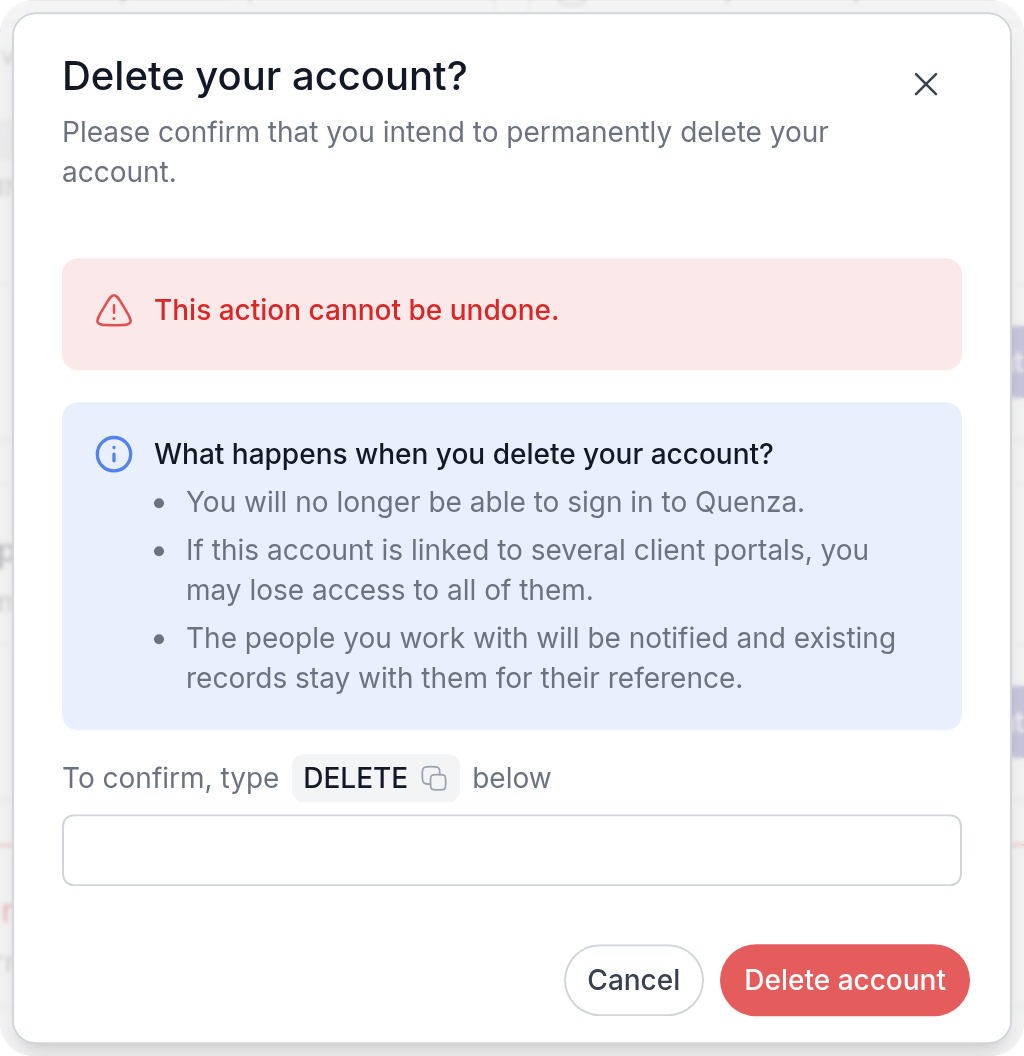
The people you work with are notified. The records they already have stay with them for their reference. If you only want to stop working with one practice, ask your professional instead.
---
# Switch workspaces
> Move between practices or professionals with one login if you belong to more than one Quenza workspace as a client.
Source: https://quenza.com/help/for-clients/switch-workspaces/
Each practice you work with in Quenza has its own workspace. If you work with more than one, for example a coach at one practice and a group program at another, you use one login for all of them and move between them in a few clicks. Each practice only sees what you do in its own workspace.
## Switch to another workspace
In the menu, click **Workspaces**. You only see this item if you belong to more than one workspace.
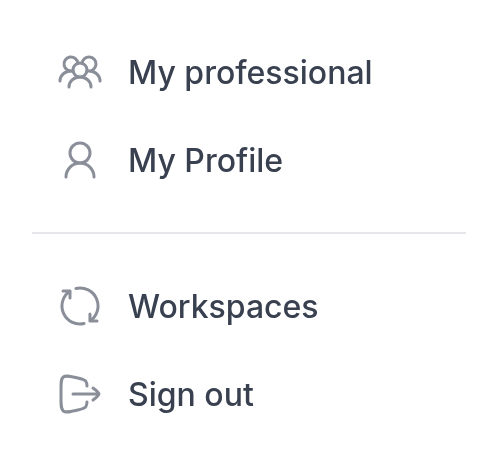
**Switch workspace** lists every practice with your name in it. The one you are in now is marked **Current**. A red number on **Switch** shows how many unread notifications and messages are waiting for you there. Click **Switch** to go there.
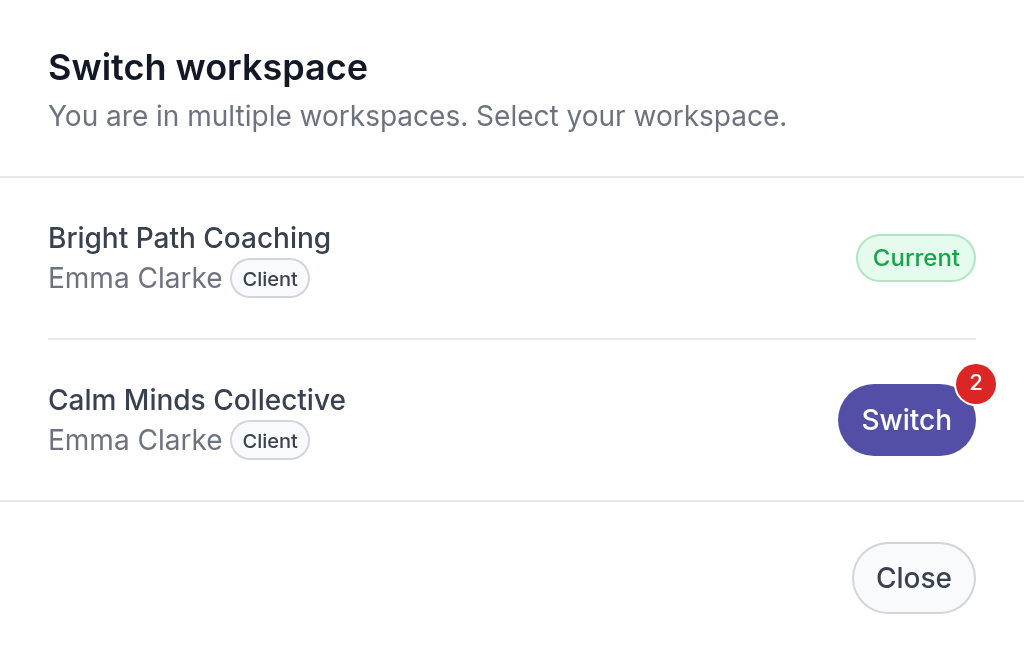
To go back, open **Workspaces** again.
## Choose a workspace when you sign in
If you belong to more than one workspace, you may see **Select your workspace** after you sign in. Click **Open** next to the one you want.
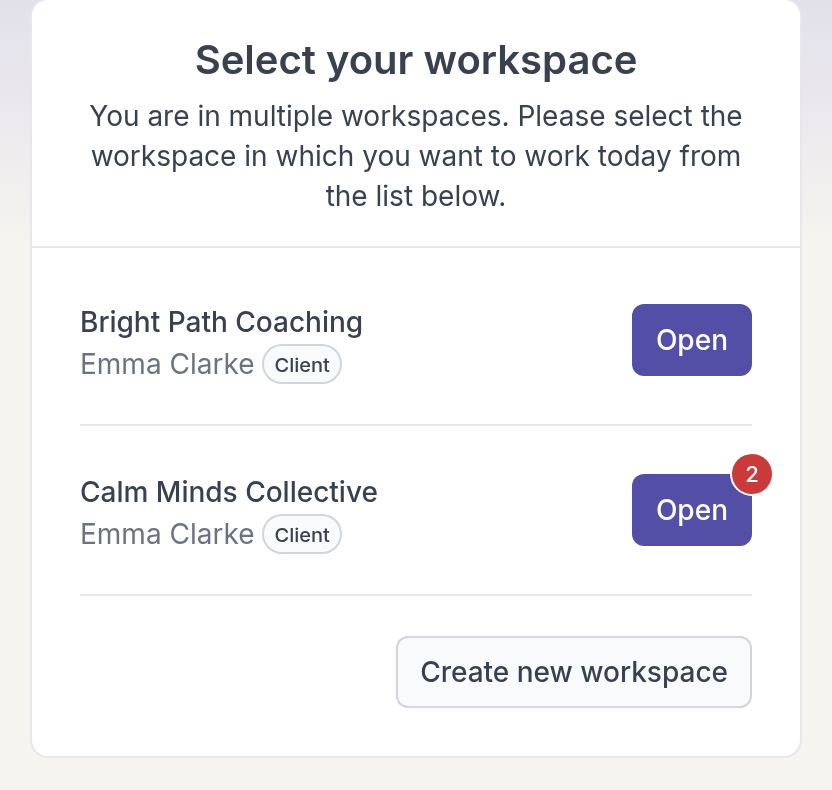
In the Quenza app on an iPhone, the number on the app icon adds up what is waiting for you in all your workspaces.
## What is separate in each workspace
Your activities, programs, tasks, notes, files and chats belong to one workspace. You only see them when you are in that workspace. Your profile details are also saved per workspace. Your login email, password and language are the same everywhere. See [Edit your profile](https://quenza.com/help/for-clients/edit-your-profile/).
---
# What you can build
> Ideas and a quick start for the Quenza API, from filling group courses from your shop to a weekly task digest for your team.
Source: https://quenza.com/help/api/guides/
Quenza is where your sessions, activities and conversations happen. The API connects it to everything around them: your website and shop, your CRM, your booking tool, your team's chat and your own reports. Each idea below takes a few requests and saves someone a little typing every day, and together they add up to a practice that runs more smoothly.
## Quick start
1. **Get a token.** A workspace Owner or Manager creates it under **Developer Tools → API Token**. See [Authentication](https://quenza.com/help/api/authentication/).
2. **Make your first request.** List your clients with the example in the [Introduction](https://quenza.com/help/api/#make-your-first-request). Every endpoint page has the same request in curl, JavaScript, Python and PHP, ready to copy.
3. **Pick an idea.** Start with one of the guides below, or combine the endpoints your own way.
No developer at hand? Zapier and Make can send the same requests with an HTTP step, and they can receive Quenza's [webhooks](https://quenza.com/help/integrations/webhooks/).
## Ideas with a step-by-step guide
### Fill group courses from your shop
Someone buys a place in your eight-week course on your website. Seconds later they have their invitation, sit in the group chat and have the first week's activities, also when the course already started. [Add buyers to a group](https://quenza.com/help/api/guides/add-buyers-to-a-group/)
### Keep your CRM and Quenza in step
A lead marked as booked in your CRM becomes a client in Quenza, and new details flow over without copying. With the **Client Invitation Accepted** webhook, the CRM also learns when a client has set up their account. [Sync clients from your CRM](https://quenza.com/help/api/guides/sync-clients/)
### Never lose a client to an unopened invitation
Every Monday, your coaches get a short list of clients who were invited more than a week ago and have not started yet, so they can send a friendly reminder before the client's motivation fades. [Follow up on invitations](https://quenza.com/help/api/guides/follow-up-on-invitations/)
### Start the week with a task digest
Each member of your team gets their open tasks for the week in Slack or by email: what is overdue, what is due soon, and for which client. [Weekly task digest](https://quenza.com/help/api/guides/weekly-task-digest/)
## More ideas to try
### Turn bookings into clients
When someone books their first session in your booking tool, [create the client](https://quenza.com/help/api/clients/create-a-client/). Their invitation is waiting when they arrive, and the intake questionnaire can be sent before the first session instead of after it.
### Welcome new colleagues on day one
When a new coach is added to your HR or staff planning tool, [create them as a member](https://quenza.com/help/api/members/create-a-member/) with the role `member`, and keep their phone number and address in step with [Update a member](https://quenza.com/help/api/members/update-a-member/). Suspending someone who leaves is done in Quenza; see [Suspend and reactivate](https://quenza.com/help/team/suspend-and-reactivate/).
### End packages cleanly
When a coaching package ends in your billing or booking tool, [archive the client](https://quenza.com/help/api/clients/archive-a-client/), so running activities stop and the chat becomes read-only. When they book again, [unarchive them](https://quenza.com/help/api/clients/unarchive-a-client/) and pick up where you left off.
### Build your own practice dashboard
[List clients](https://quenza.com/help/api/clients/list-clients/) and [list tasks](https://quenza.com/help/api/tasks/list-tasks/) once a night and write the numbers to a spreadsheet: active, pending and archived clients, new clients per month, tasks completed per week. A chart in Google Sheets or Looker Studio then shows how the practice grows.
### Run a programme for a partner organisation
A company books your stress programme for 30 employees. Create a group for the company, then create the employees from the list HR sends you and add them to the group in one request. Everyone is invited the same morning.
## What the API does not cover yet
The API works with clients, groups, team members and tasks. It cannot send activities or programs, read activity results, notes or chats, or list groups. Groups can send their activities to new members automatically, which covers most course and programme ideas; see [New group members](https://quenza.com/help/clients/new-group-members/).
---
# Quenza API
> Connect Quenza to your own systems with the REST API, and create and update clients, groups, team members and tasks with simple JSON requests.
Available on the Collective plan and higher.
Source: https://quenza.com/help/api/
The Quenza API lets your own software work with your Quenza workspace. Your website, CRM or booking system can add clients, put them in groups, invite team members and read tasks, without anyone typing details into Quenza by hand.
For example, Bright Path Coaching sells an eight-week mindfulness course on its website. When someone buys it, the website creates the client in Quenza and adds them to the Mindfulness group. The client gets their invitation right away, and Sarah Bennett sees them in her client list the next time she opens Quenza.
This part of the help center is for developers. If you only need to create a token for your developer, see [API token](https://quenza.com/help/integrations/api/). For inspiration, start with [What you can build](https://quenza.com/help/api/guides/). If you would rather not write code, tools like Zapier or Make can call the API for you.
## Make your first request
You need an API token. A workspace Owner or Manager creates it under **Developer Tools → API Token**; see [Authentication](https://quenza.com/help/api/authentication/). Store it in an environment variable, so it never ends up in your code:
```bash
export QUENZA_API_TOKEN="your token"
```
Then ask for the first client in your workspace:
```bash
curl "https://developers.quenza.com/v1/clients?limit=1" \
-H "Authorization: Bearer $QUENZA_API_TOKEN" \
-H "Accept: application/json"
```
Quenza answers with JSON. A list always has the records in `data`, and `meta` and `links` for [pagination](https://quenza.com/help/api/pagination/):
```json
{
"data": [
{
"id": "8GJ4D9KQ",
"email": "emma.clarke@example.com",
"first_name": "Emma",
"last_name": "Clarke",
"status": "active"
}
],
"meta": { "limit": 1, "offset": 0, "total": 24 },
"links": { "next": "https://developers.quenza.com/v1/clients?limit=1&offset=1", "prev": null }
}
```
The example is shortened: a client has more fields, listed in [List clients](https://quenza.com/help/api/clients/list-clients/).
## What you can do
- **Clients**: [list](https://quenza.com/help/api/clients/list-clients/), [create](https://quenza.com/help/api/clients/create-a-client/), [get](https://quenza.com/help/api/clients/get-a-client/), [update](https://quenza.com/help/api/clients/update-a-client/), [archive](https://quenza.com/help/api/clients/archive-a-client/) and [unarchive](https://quenza.com/help/api/clients/unarchive-a-client/) clients.
- **Groups**: [create a group](https://quenza.com/help/api/groups/create-a-group/) and [add clients to it](https://quenza.com/help/api/groups/add-members-to-a-group/).
- **Members**: [list](https://quenza.com/help/api/members/list-members/), [invite](https://quenza.com/help/api/members/create-a-member/) and [update](https://quenza.com/help/api/members/update-a-member/) the professionals on your team.
- **Tasks**: [list tasks](https://quenza.com/help/api/tasks/list-tasks/), for all clients and members or for one of them.
The API does not cover activities, programs, activity results, notes or chats. To hear from Quenza when something happens, such as a new client or an accepted invitation, use [webhooks](https://quenza.com/help/api/webhooks/).
## How the API works
- **Base URL**: every endpoint starts with `https://developers.quenza.com/v1`. The API only answers over HTTPS.
- **JSON in, JSON out**: send `Accept: application/json` with every request, and `Content-Type: application/json` with every `POST` and `PATCH`, also when there is no body. See [Errors](https://quenza.com/help/api/errors/) for what happens without them.
- **One workspace per token**: a token belongs to one workspace and acts as the professional who created it. Clients and groups you create are assigned to that professional.
- **IDs are text**: IDs such as `8GJ4D9KQ` are short strings. Store them as they are; do not turn them into numbers.
- **Times in UTC**: times are ISO 8601 in UTC, such as `2026-11-15T10:00:00.000000Z`. Dates without a time, such as a birthdate, are `YYYY-MM-DD`.
- **Every field, every time**: responses always contain every field. A field without a value is `null`.
## Try it without code
Download the [Postman collection](https://quenza.com/help/api/postman/) to send every request of this reference from Postman, Insomnia or Bruno with your own token. Tools and code generators read the [OpenAPI file](https://quenza.com/help/api/openapi.json).
> **Note:** The API is included in the Collective and Beyond plans. On other plans, every request answers with `403`. See [Plans and pricing](https://quenza.com/help/billing/plans-and-pricing/).
---
# Sync clients from your CRM
> Create clients in Quenza when a lead in your CRM becomes a client, find clients who already exist, and keep their details up to date.
Source: https://quenza.com/help/api/guides/sync-clients/
Many practices keep leads in a CRM and move them to Quenza once they book. This guide connects the two: when a lead becomes a client in the CRM, your integration creates them in Quenza, remembers their Quenza ID and keeps their details in step.
Sarah Bennett, for example, tracks enquiries for Bright Path Coaching in her CRM. When she marks Emma Clarke as **Booked**, the CRM calls her integration, Emma gets her invitation from Quenza, and the CRM stores Emma's Quenza ID for later updates.
Every example comes in JavaScript (Node.js 18 or later), Python (with `requests`) and PHP (with Guzzle); pick your language in the tabs. They all use this small helper, which sends a request and stops with an error when Quenza answers with one:
**JavaScript**
```js
const API = 'https://developers.quenza.com/v1';
async function quenza(method, path, body) {
const response = await fetch(`${API}${path}`, {
method,
headers: {
Authorization: `Bearer ${process.env.QUENZA_API_TOKEN}`,
Accept: 'application/json',
'Content-Type': 'application/json',
},
body: body && JSON.stringify(body),
});
const json = response.status === 204 ? null : await response.json();
if (!response.ok) throw Object.assign(new Error(json.message), { status: response.status, errors: json.errors });
return json;
}
```
**Python**
```python
import os
import requests
API = "https://developers.quenza.com/v1"
HEADERS = {
"Authorization": f"Bearer {os.environ['QUENZA_API_TOKEN']}",
"Accept": "application/json",
"Content-Type": "application/json",
}
class QuenzaError(Exception):
def __init__(self, response):
body = response.json()
super().__init__(body.get("message"))
self.status = response.status_code
self.errors = body.get("errors", {})
def quenza(method, path, body=None):
response = requests.request(method, f"{API}{path}", headers=HEADERS, json=body)
if not response.ok:
raise QuenzaError(response)
return response.json() if response.content else None
```
**PHP**
```php
'https://developers.quenza.com/v1/',
'headers' => [
'Authorization' => 'Bearer ' . getenv('QUENZA_API_TOKEN'),
'Accept' => 'application/json',
'Content-Type' => 'application/json',
],
]);
// Guzzle throws a ClientException when Quenza answers with an error.
$quenza = function (string $method, string $path, ?array $body = null) use ($http): ?array {
$response = $http->request($method, $path, $body === null ? [] : ['json' => $body]);
return json_decode($response->getBody(), true);
};
```
## Create the client
[Create a client](https://quenza.com/help/api/clients/create-a-client/) with their email and name. Quenza sends the invitation email straight away and assigns the client to the professional who owns the token.
**JavaScript**
```js
const { data: client } = await quenza('POST', '/clients', {
email: 'emma.clarke@example.com',
first_name: 'Emma',
last_name: 'Clarke',
timezone: 'Europe/Amsterdam',
language_code: 'en',
});
// Store client.id ("8GJ4D9KQ") on the contact in your CRM.
```
**Python**
```python
client = quenza("POST", "/clients", {
"email": "emma.clarke@example.com",
"first_name": "Emma",
"last_name": "Clarke",
"timezone": "Europe/Amsterdam",
"language_code": "en",
})["data"]
# Store client["id"] ("8GJ4D9KQ") on the contact in your CRM.
```
**PHP**
```php
$client = $quenza('POST', 'clients', [
'email' => 'emma.clarke@example.com',
'first_name' => 'Emma',
'last_name' => 'Clarke',
'timezone' => 'Europe/Amsterdam',
'language_code' => 'en',
])['data'];
// Store $client['id'] ("8GJ4D9KQ") on the contact in your CRM.
```
Store the returned `id` in your CRM, for example in a custom field. Every later request about this client uses it.
## Handle clients who already exist
An email address can belong to only one client in a workspace. When the client is already in Quenza, for example because they signed up through a landing page, the request fails with `422` and an `errors.email` entry. The API has no search, so look the client up in the list of clients:
**JavaScript**
```js
async function findClientByEmail(email) {
let path = '/clients?limit=100';
while (path) {
const { data, links } = await quenza('GET', path);
const match = data.find((c) => c.email.toLowerCase() === email.toLowerCase());
if (match) return match;
path = links.next && links.next.replace(API, '');
}
return null;
}
async function createOrFindClient(contact) {
try {
return (await quenza('POST', '/clients', contact)).data;
} catch (error) {
if (error.status === 422 && error.errors?.email) return findClientByEmail(contact.email);
throw error;
}
}
```
**Python**
```python
def find_client_by_email(email):
path = "/clients?limit=100"
while path:
page = quenza("GET", path)
for client in page["data"]:
if client["email"].lower() == email.lower():
return client
path = page["links"]["next"] and page["links"]["next"].replace(API, "")
return None
def create_or_find_client(contact):
try:
return quenza("POST", "/clients", contact)["data"]
except QuenzaError as error:
if error.status == 422 and "email" in error.errors:
return find_client_by_email(contact["email"])
raise
```
**PHP**
```php
function findClientByEmail(callable $quenza, string $email): ?array
{
$url = 'clients?limit=100';
while ($url !== null) {
$page = $quenza('GET', $url);
foreach ($page['data'] as $client) {
if (strcasecmp($client['email'], $email) === 0) {
return $client;
}
}
$url = $page['links']['next'];
}
return null;
}
function createOrFindClient(callable $quenza, array $contact): ?array
{
try {
return $quenza('POST', 'clients', $contact)['data'];
} catch (ClientException $e) {
$body = json_decode($e->getResponse()->getBody(), true);
if ($e->getResponse()->getStatusCode() === 422 && isset($body['errors']['email'])) {
return findClientByEmail($quenza, $contact['email']);
}
throw $e;
}
}
```
A `422` without `errors.email` means something else, for example that your plan's client limit is reached; the code passes those errors on. Reading the whole list for every contact is slow in a large workspace. Do it once, store the IDs in your CRM, and only fall back to the list when a contact has no ID yet.
## Keep details up to date
When a phone number or name changes in the CRM, [update the client](https://quenza.com/help/api/clients/update-a-client/) with only the fields that changed:
**JavaScript**
```js
await quenza('PATCH', `/clients/${contact.quenzaId}`, { phone: '+31 6 9876 5432' });
```
**Python**
```python
quenza("PATCH", f"/clients/{contact['quenza_id']}", {"phone": "+31 6 9876 5432"})
```
**PHP**
```php
$quenza('PATCH', "clients/{$contact['quenza_id']}", ['phone' => '+31 6 9876 5432']);
```
Leave out the fields you do not want to change. To clear an optional field, send `null`.
## When the coaching ends
When a client leaves, [archive them](https://quenza.com/help/api/clients/archive-a-client/). Their history stays in Quenza, their assignments are cancelled and their chats become read-only. If they come back, [unarchive them](https://quenza.com/help/api/clients/unarchive-a-client/).
## The other direction
To update the CRM when something happens in Quenza, for example when a client accepts their invitation, use [webhooks](https://quenza.com/help/api/webhooks/). Together with the API, both systems stay in step without anyone copying data by hand.
---
# Receive webhooks
> Let Quenza call your server when a client is created or accepts their invitation, and check, deduplicate and process each webhook safely.
Available on the Growth plan and higher.
Source: https://quenza.com/help/api/webhooks/
The API answers when you ask; a webhook tells you without asking. As soon as a client is created in your workspace, or accepts their invitation, Quenza sends a `POST` request to an address on your server. Your code can then add the client to your CRM, start a welcome email in your mailing tool or post a note in your team chat.
At Bright Path Coaching, a client who signs up through the landing page triggers [`client.created`](https://quenza.com/help/api/webhooks/client-created/). Sarah Bennett's CRM receives the name and email address seconds later, and when the client sets up their account, [`client.invitation_accepted`](https://quenza.com/help/api/webhooks/client-invitation-accepted/) marks them as onboarded.
A workspace Owner or Manager adds the address under **Developer Tools → Webhooks**; see [Webhooks](https://quenza.com/help/integrations/webhooks/) for the dialog, the history and how to retry a message by hand. Webhooks need a paid plan, and the API is not needed for them.
## Events
| Event | Sent when | Body |
| --- | --- | --- |
| [`client.created`](https://quenza.com/help/api/webhooks/client-created/) | A client or guest is added: by hand, by import, through the API or a landing page, and when a guest is converted to a client. | `client`, `invited_by` |
| [`client.invitation_accepted`](https://quenza.com/help/api/webhooks/client-invitation-accepted/) | A client accepts their invitation and sets up their account. | `client` |
There are no webhooks for activities, programs, tasks, chats or changes to existing clients. To find out about those, ask the API on a schedule, as in the [weekly task digest](https://quenza.com/help/api/guides/weekly-task-digest/).
## The request
Quenza sends one `POST` per event and webhook address, with a JSON body and these headers:
| Header | Value |
| --- | --- |
| `Content-Type` | `application/json` |
| `X-Quenza-Event` | The event, such as `client.created`. The body does not contain it. |
| `Authorization` | `Basic …`, only when the webhook has a **Username** and **Password**. |
| Your own headers | Every header you added under **Custom Headers**, such as `X-Webhook-Secret`. |
The address must start with `https://` and be reachable from the internet. Addresses on a private network or `localhost` are refused; to try a webhook on your own computer, use a tunnel such as ngrok or Cloudflare Tunnel.
## Delivery and retries
- **Answer with a 2xx status**, such as `200` or `204`, within 30 seconds. Anything else, or no answer in time, counts as a failure.
- **Failed messages are sent again**: the first retry follows within about a minute, then the waits grow to every 4 hours. After 30 attempts, about three days after the event, the message gets the status **Failed**. A webhook that is disabled gets no retries.
- **Messages can arrive twice**: a message that timed out is sent again, also when your server did process it, and a guest who is converted to a client triggers `client.created` a second time. Use the client `id` to process each client only once.
- **Order is not guaranteed**: after a retry, `client.invitation_accepted` can arrive before the `client.created` of the same client.
- **Each message keeps its settings**: the address, headers and login are those the webhook had when the event happened, also for retries.
So answer first and do the slow work afterwards, or put it in a queue. A server that sends emails before it answers risks a timeout, a retry and a second email.
## Check that the request comes from Quenza
> **Caution:** Quenza does not sign webhook requests. Anyone who knows your address could send a request to it, so always protect it with a secret.
Set a **Username** and **Password** on the webhook (HTTP Basic Authentication), or add a custom header with a long random value, such as `X-Webhook-Secret`. Generate the value with `openssl rand -hex 32`, store it on your server as an environment variable and refuse every request without it. Compare it in constant time, so its length and content cannot be guessed from the response times.
## A complete receiver
This receiver checks the `X-Webhook-Secret` header, answers right away, skips messages it has already seen and then handles the event. It keeps the seen messages in a file to stay short; use your database in production.
**JavaScript**
```js
// Node.js 18 or later, no packages: node receiver.mjs
const secret = Buffer.from(process.env.QUENZA_WEBHOOK_SECRET);
const seenFile = 'seen-webhooks.txt';
const seen = new Set(existsSync(seenFile) ? readFileSync(seenFile, 'utf8').split('\n') : []);
const fromQuenza = (value = '') => {
const given = Buffer.from(value);
return given.length === secret.length && timingSafeEqual(given, secret);
};
createServer(async (req, res) => {
if (req.method !== 'POST' || !fromQuenza(req.headers['x-webhook-secret'])) {
res.writeHead(401).end();
return;
}
let body = '';
for await (const chunk of req) body += chunk;
res.writeHead(204).end(); // answer first, then do the work
const event = req.headers['x-quenza-event'];
const { client, invited_by } = JSON.parse(body);
const key = `${event}:${client.id}`;
if (seen.has(key)) return; // already handled
seen.add(key);
appendFileSync(seenFile, `${key}\n`);
if (event === 'client.created') {
console.log(`New client ${client.first_name} ${client.last_name} <${client.email}>, added by ${invited_by.first_name}`);
} else if (event === 'client.invitation_accepted') {
console.log(`${client.email} set up their account at ${client.invitation_accepted_at}`);
}
}).listen(3000);
```
**Python**
```python
# pip install flask, then: flask --app receiver run --port 3000
import hmac
import json
import os
import threading
from flask import Flask, request
app = Flask(__name__)
SECRET = os.environ["QUENZA_WEBHOOK_SECRET"]
SEEN_FILE = "seen-webhooks.txt"
seen = set(open(SEEN_FILE).read().split()) if os.path.exists(SEEN_FILE) else set()
lock = threading.Lock()
def handle(event, body):
client = body["client"]
key = f"{event}:{client['id']}"
with lock:
if key in seen: # already handled
return
seen.add(key)
with open(SEEN_FILE, "a") as f:
f.write(key + "\n")
if event == "client.created":
who = body["invited_by"]["first_name"]
print(f"New client {client['first_name']} {client['last_name']} <{client['email']}>, added by {who}")
elif event == "client.invitation_accepted":
print(f"{client['email']} set up their account at {client['invitation_accepted_at']}")
@app.post("/")
def webhook():
if not hmac.compare_digest(request.headers.get("X-Webhook-Secret", ""), SECRET):
return "", 401
event = request.headers.get("X-Quenza-Event")
body = json.loads(request.get_data())
# Answer first, then do the work in the background.
threading.Thread(target=handle, args=(event, body)).start()
return "", 204
```
**PHP**
```php
, added by {$body['invited_by']['first_name']}");
} elseif ($event === 'client.invitation_accepted') {
error_log("{$client['email']} set up their account at {$client['invitation_accepted_at']}");
}
```
In Quenza, add the webhook with your server's address and, under **Custom Headers**, the header name `X-Webhook-Secret` with the same value as `QUENZA_WEBHOOK_SECRET`.
## Try it
Before you connect the real address, send the request Quenza would send yourself:
```bash
curl -X POST http://localhost:3000/ \
-H "Content-Type: application/json" \
-H "X-Quenza-Event: client.created" \
-H "X-Webhook-Secret: $QUENZA_WEBHOOK_SECRET" \
-d '{"client":{"id":"8GJ4D9KQ","email":"emma.clarke@example.com","first_name":"Emma","last_name":"Clarke","is_guest":false,"status":"pending","created_at":"2026-11-15T09:30:00+00:00"},"invited_by":{"id":"H2V7N4QX","email":"sarah.bennett@example.com","first_name":"Sarah","last_name":"Bennett"}}'
```
Then add a test client in Quenza with an email address at example.com, and check the webhook's **History** tab: the message should show **Successful**. Delete the test client afterwards.
## Get more details
The webhook body only has the client's basics. To read everything else, such as their phone number, time zone or birthdate, [get the client](https://quenza.com/help/api/clients/get-a-client/) with the `id` from the webhook; it is the same ID the API uses. That needs an [API token](https://quenza.com/help/api/authentication/) and the Collective plan or higher.
---
# Authentication
> Authenticate every Quenza API request with your workspace's API token in a Bearer header, and keep the token out of code and browsers.
Source: https://quenza.com/help/api/authentication/
Every request to the API carries your workspace's API token. Quenza uses it to know which workspace you work in and on whose behalf.
## Get a token
A workspace Owner or Manager creates the token under **Developer Tools → API Token** with **Generate**. Quenza shows it only once, so copy it straight into a password manager or your server's secret store. [API](https://quenza.com/help/integrations/api/) shows each step with screenshots.
A workspace has one token. It acts as the professional who created it: clients and groups you create through the API are assigned to them, and their time zone is the default for new clients and members.
## Send the token
Put the token in the `Authorization` header of every request, after the word `Bearer`:
```http
GET /v1/clients HTTP/1.1
Host: developers.quenza.com
Authorization: Bearer your-token
Accept: application/json
```
The examples in this reference read the token from an environment variable called `QUENZA_API_TOKEN`:
**JavaScript**
```js
const response = await fetch('https://developers.quenza.com/v1/members', {
headers: {
Authorization: `Bearer ${process.env.QUENZA_API_TOKEN}`,
Accept: 'application/json',
},
});
```
**Python**
```python
import os
import requests
response = requests.get(
"https://developers.quenza.com/v1/members",
headers={
"Authorization": f"Bearer {os.environ['QUENZA_API_TOKEN']}",
"Accept": "application/json",
},
)
```
**PHP**
```php
get('https://developers.quenza.com/v1/members', [
'headers' => [
'Authorization' => 'Bearer ' . getenv('QUENZA_API_TOKEN'),
'Accept' => 'application/json',
],
]);
```
## Keep the token safe
The token can read and change every client, group and team member in your workspace. Treat it like a password:
- Call the API from your server, never from a web page or a mobile app, where anyone can read the token.
- Keep it in an environment variable or a secret store, not in your code or a Git repository.
- Give each integration only to people who need it, and regenerate the token when one of them leaves.
When you regenerate the token, the old one stops working immediately. Update every integration that used it.
## When authentication fails
Quenza answers with `401` and a `message` that says why:
| Message | What it means |
| --- | --- |
| `Unauthenticated.` | The header is missing, or the token is wrong or was regenerated. |
| `Invalid token type.` | The token is not an API token, for example a token from a login session. |
| `No workspace associated with this token.` | The token belongs to no workspace. Create a new one. |
| `No professional record found for this token.` | The professional who created the token is no longer in the workspace. Create a new token. |
Two other answers concern the workspace, not the token: `402` when the workspace has no active subscription or trial, and `403` when its plan does not include the API. See [Errors](https://quenza.com/help/api/errors/).
---
# Add buyers to a group
> Sell a group course on your website and let your shop add every buyer to the right Quenza group, with the course's activities sent to them.
Source: https://quenza.com/help/api/guides/add-buyers-to-a-group/
When you sell a group course online, every buyer should end up in the course's group in Quenza, with the chat and the activities the group already received. This guide sets that up once and then handles each purchase automatically.
Bright Path Coaching sells its eight-week Mindfulness course in its web shop. When Lucas Meyer buys a place, the shop creates him in Quenza and adds him to the Mindfulness group. Lucas gets his invitation, joins the group chat and receives the first week's activities, even though the course started a week ago.
The examples come in JavaScript (Node.js 18 or later), Python (with `requests`) and PHP (with Guzzle); pick your language in the tabs.
## Create the group once
[Create a group](https://quenza.com/help/api/groups/create-a-group/) for the course, or create it in Quenza by hand. Switch on `auto_send_assignments_to_new_members`, so people who join later get what the group already received, and `enable_chat` for a group chat:
**JavaScript**
```js
const API = 'https://developers.quenza.com/v1';
const headers = {
Authorization: `Bearer ${process.env.QUENZA_API_TOKEN}`,
Accept: 'application/json',
'Content-Type': 'application/json',
};
const response = await fetch(`${API}/groups`, {
method: 'POST',
headers,
body: JSON.stringify({
name: 'Mindfulness group',
description: 'Eight weekly sessions on attention, breathing and self-compassion.',
enable_chat: true,
auto_send_assignments_to_new_members: true,
}),
});
if (!response.ok) throw new Error(`Quenza API error ${response.status}`);
const groupId = (await response.json()).data.id; // "R4XN8VQT"
```
**Python**
```python
import os
import requests
API = "https://developers.quenza.com/v1"
HEADERS = {
"Authorization": f"Bearer {os.environ['QUENZA_API_TOKEN']}",
"Accept": "application/json",
}
response = requests.post(f"{API}/groups", headers=HEADERS, json={
"name": "Mindfulness group",
"description": "Eight weekly sessions on attention, breathing and self-compassion.",
"enable_chat": True,
"auto_send_assignments_to_new_members": True,
})
response.raise_for_status()
group_id = response.json()["data"]["id"] # "R4XN8VQT"
```
**PHP**
```php
'https://developers.quenza.com/v1/',
'headers' => [
'Authorization' => 'Bearer ' . getenv('QUENZA_API_TOKEN'),
'Accept' => 'application/json',
],
]);
$response = $http->post('groups', ['json' => [
'name' => 'Mindfulness group',
'description' => 'Eight weekly sessions on attention, breathing and self-compassion.',
'enable_chat' => true,
'auto_send_assignments_to_new_members' => true,
]]);
$groupId = json_decode($response->getBody(), true)['data']['id']; // "R4XN8VQT"
```
Store the group's ID in your shop's settings, next to the product. A group you created in Quenza by hand has an ID too, but the API has no list of groups; create the group through the API if your shop needs its ID.
## Add each buyer
When an order is paid, create the client, then [add them to the group](https://quenza.com/help/api/groups/add-members-to-a-group/):
**JavaScript**
```js
async function enrol(order, groupId) {
const created = await fetch(`${API}/clients`, {
method: 'POST',
headers,
body: JSON.stringify({ email: order.email, first_name: order.first_name, last_name: order.last_name }),
});
const body = await created.json();
let clientId;
if (created.status === 422 && body.errors?.email) {
clientId = await findClientId(order.email); // already a client, see below
} else if (!created.ok) {
throw new Error(`Quenza API error ${created.status}: ${body.message}`);
} else {
clientId = body.data.id;
}
const added = await fetch(`${API}/groups/${groupId}/members`, {
method: 'POST',
headers,
body: JSON.stringify({ members: [clientId] }),
});
if (!added.ok) throw new Error(`Quenza API error ${added.status}`);
}
```
**Python**
```python
def enrol(order, group_id):
response = requests.post(f"{API}/clients", headers=HEADERS, json={
"email": order["email"],
"first_name": order["first_name"],
"last_name": order["last_name"],
})
if response.status_code == 422 and "email" in response.json().get("errors", {}):
client_id = find_client_id(order["email"]) # already a client, see below
else:
response.raise_for_status()
client_id = response.json()["data"]["id"]
response = requests.post(
f"{API}/groups/{group_id}/members",
headers=HEADERS,
json={"members": [client_id]},
)
response.raise_for_status()
```
**PHP**
```php
use GuzzleHttp\Exception\ClientException;
function enrol(GuzzleHttp\Client $http, array $order, string $groupId): void
{
try {
$response = $http->post('clients', ['json' => [
'email' => $order['email'],
'first_name' => $order['first_name'],
'last_name' => $order['last_name'],
]]);
$clientId = json_decode($response->getBody(), true)['data']['id'];
} catch (ClientException $e) {
$body = json_decode($e->getResponse()->getBody(), true);
if ($e->getResponse()->getStatusCode() !== 422 || !isset($body['errors']['email'])) {
throw $e;
}
$clientId = findClientId($http, $order['email']); // already a client, see below
}
$http->post("groups/{$groupId}/members", ['json' => ['members' => [$clientId]]]);
}
```
A buyer who is already a client cannot be created again. Find their ID in the list of clients, as [Sync clients from your CRM](https://quenza.com/help/api/guides/sync-clients/#handle-clients-who-already-exist) shows.
Adding someone who is already in the group does nothing and answers with `204`. So when a payment notification arrives twice, nothing breaks.
## What the buyer gets
- An invitation email to set up their account.
- A place in the group chat, if the group has one.
- The activities and programs the group already received, because `auto_send_assignments_to_new_members` is on. See [New group members](https://quenza.com/help/clients/new-group-members/).
> **Tip:** Your plan's client limit also applies to clients created through the API. When it is reached, creating a client fails with `422` and `Limit reached`. Let the shop email you in that case, so no buyer is left waiting. See [Errors](https://quenza.com/help/api/errors/#422-validation-error).
---
# client.created
> The client.created webhook tells your server about every new client or guest in Quenza, with their name, email address, status and who added them.
Available on the Growth plan and higher.
Source: https://quenza.com/help/api/webhooks/client-created/
Quenza sends `client.created` as soon as a client or guest is added to your workspace. Use it to add new clients to your CRM or mailing list, or to tell your team that someone new has joined.
It is sent for every way a client is added:
- by hand, also as a guest without an account ([Add clients](https://quenza.com/help/clients/add-clients/)),
- by [import](https://quenza.com/help/clients/import-clients/), once per imported client,
- through the API, with [Create a client](https://quenza.com/help/api/clients/create-a-client/),
- through a [landing page](https://quenza.com/help/new-clients/landing-pages/) signup,
- when a guest is converted to a client with an account. The `id` stays the same, so your server receives the same client a second time, now with `is_guest` set to `false`.
It is not sent when a client's details change or when a client is archived. The invitation email goes out at the same time; when the client sets up their account, [`client.invitation_accepted`](https://quenza.com/help/api/webhooks/client-invitation-accepted/) follows.
## Request
`POST` to your webhook address, with the header `X-Quenza-Event: client.created`. See [Receive webhooks](https://quenza.com/help/api/webhooks/) for all headers, retries and how to check the request.
```json
{
"client": {
"id": "8GJ4D9KQ",
"email": "emma.clarke@example.com",
"first_name": "Emma",
"last_name": "Clarke",
"is_guest": false,
"status": "pending",
"created_at": "2026-11-15T09:30:00+00:00"
},
"invited_by": {
"id": "H2V7N4QX",
"email": "sarah.bennett@example.com",
"first_name": "Sarah",
"last_name": "Bennett"
}
}
```
## Fields
### client
| Field | Type | Description |
| --- | --- | --- |
| `id` | string | The client's ID, the same as in the API. Use it to [get the client](https://quenza.com/help/api/clients/get-a-client/) and to recognise a client you have already processed. |
| `email` | string | The client's email address. |
| `first_name` | string | The client's first name. |
| `last_name` | string | The client's last name. |
| `is_guest` | boolean | `true` for a guest without an account or login, `false` for a client. |
| `status` | string | `pending` while the client has not accepted their invitation, `active` for an active client or a guest, `archived` for an archived client. |
| `created_at` | string | When the client was added, ISO 8601 with offset, such as `2026-11-15T09:30:00+00:00`. |
### invited_by
The professional who added the client. For a landing page signup, it is the professional the signup form assigns new clients to; for an API request, the professional who created the token.
| Field | Type | Description |
| --- | --- | --- |
| `id` | string | The professional's ID, the same as in [List members](https://quenza.com/help/api/members/list-members/). |
| `email` | string | The professional's email address. |
| `first_name` | string | The professional's first name. |
| `last_name` | string | The professional's last name. |
---
# Weekly task digest
> Send every team member their open Quenza tasks each Monday, overdue and due this week, to Slack or by email, in JavaScript, Python or PHP.
Source: https://quenza.com/help/api/guides/weekly-task-digest/
Tasks are easy to forget when nobody looks at the task list. A short message every Monday morning helps: each member of the team sees what is overdue, what is due this week and for which client.
At Bright Path Coaching, Sarah Bennett and Daniel Weber get a Slack message at 8:00 every Monday. Daniel's says that the intake call notes for Emma Clarke are two days overdue and that he wanted to send Lucas Meyer his reading list by Thursday.
The script comes in JavaScript (Node.js 18 or later), Python (with `requests`) and PHP (with Guzzle, `composer require guzzlehttp/guzzle`); pick your language in the tabs. It posts to a Slack incoming webhook. Swap the last step for an email if your team does not use Slack.
## How it works
1. [List the members](https://quenza.com/help/api/members/list-members/) of the workspace.
2. For each active member, [list their tasks](https://quenza.com/help/api/tasks/list-tasks/) with `assignee_type=professional` and their ID.
3. Keep the open tasks that are overdue or due in the next seven days.
4. Send each member their list.
## The script
**JavaScript**
```js
const API = 'https://developers.quenza.com/v1';
const headers = { Authorization: `Bearer ${process.env.QUENZA_API_TOKEN}`, Accept: 'application/json' };
// Reads every page of a list (see Pagination).
async function all(path, query = {}) {
const records = [];
let url = `${API}/${path}?${new URLSearchParams({ ...query, limit: 100 })}`;
while (url) {
const response = await fetch(url, { headers });
if (!response.ok) throw new Error(`Quenza API error ${response.status}`);
const page = await response.json();
records.push(...page.data);
url = page.links.next;
}
return records;
}
async function sendDigest(member, lines) {
await fetch(process.env.SLACK_WEBHOOK_URL, {
method: 'POST',
headers: { 'Content-Type': 'application/json' },
body: JSON.stringify({ text: `Good morning ${member.first_name}, your open tasks this week:\n${lines.join('\n')}` }),
});
}
// Client names by ID, so the digest can say who a task is about.
const clients = new Map((await all('clients')).map((c) => [c.id, c]));
const now = new Date();
const weekEnd = new Date(now.getTime() + 7 * 24 * 60 * 60 * 1000);
const day = (date) => date.toLocaleDateString('en-GB', { weekday: 'short', day: 'numeric', month: 'short' });
for (const member of await all('members')) {
if (member.status !== 'active') continue;
const tasks = await all('tasks', { assignee_type: 'professional', assignee_id: member.id });
const lines = tasks
.filter((task) => !task.is_completed && task.due_at && new Date(task.due_at) <= weekEnd)
.map((task) => {
const due = new Date(task.due_at);
const client = clients.get(task.client_id);
const icon = due < now ? ':red_circle:' : ':large_yellow_circle:';
return `${icon} ${task.title}${client ? ` for ${client.first_name} ${client.last_name}` : ''} (due ${day(due)})`;
});
if (lines.length) await sendDigest(member, lines);
}
```
**Python**
```python
import os
from datetime import datetime, timedelta, timezone
import requests
API = "https://developers.quenza.com/v1"
HEADERS = {
"Authorization": f"Bearer {os.environ['QUENZA_API_TOKEN']}",
"Accept": "application/json",
}
def all_records(path, **query):
"""Reads every page of a list (see Pagination)."""
records = []
url, params = f"{API}/{path}", {**query, "limit": 100}
while url:
response = requests.get(url, headers=HEADERS, params=params)
response.raise_for_status()
page = response.json()
records += page["data"]
url, params = page["links"]["next"], None # the next link has the query already
return records
def parse(timestamp):
return datetime.fromisoformat(timestamp.replace("Z", "+00:00"))
def send_digest(member, lines):
requests.post(os.environ["SLACK_WEBHOOK_URL"], json={
"text": f"Good morning {member['first_name']}, your open tasks this week:\n" + "\n".join(lines),
})
# Client names by ID, so the digest can say who a task is about.
clients = {c["id"]: c for c in all_records("clients")}
now = datetime.now(timezone.utc)
week_end = now + timedelta(days=7)
for member in all_records("members"):
if member["status"] != "active":
continue
tasks = all_records("tasks", assignee_type="professional", assignee_id=member["id"])
lines = []
for task in tasks:
if task["is_completed"] or not task["due_at"]:
continue
due = parse(task["due_at"])
if due > week_end:
continue
client = clients.get(task["client_id"])
icon = ":red_circle:" if due < now else ":large_yellow_circle:"
name = f" for {client['first_name']} {client['last_name']}" if client else ""
lines.append(f"{icon} {task['title']}{name} (due {due:%a %d %b})")
if lines:
send_digest(member, lines)
```
**PHP**
```php
'https://developers.quenza.com/v1/',
'headers' => [
'Authorization' => 'Bearer ' . getenv('QUENZA_API_TOKEN'),
'Accept' => 'application/json',
],
]);
// Reads every page of a list (see Pagination).
function all(GuzzleHttp\Client $http, string $path, array $query = []): array
{
$records = [];
$query += ['limit' => 100, 'offset' => 0];
do {
$page = json_decode($http->get($path, ['query' => $query])->getBody(), true);
$records = array_merge($records, $page['data']);
$query['offset'] += $query['limit'];
} while ($page['links']['next'] !== null);
return $records;
}
// Client names by ID, so the digest can say who a task is about.
$clients = array_column(all($http, 'clients'), null, 'id');
$weekEnd = new DateTimeImmutable('+7 days');
foreach (all($http, 'members') as $member) {
if ($member['status'] !== 'active') {
continue;
}
$tasks = all($http, 'tasks', ['assignee_type' => 'professional', 'assignee_id' => $member['id']]);
$lines = [];
foreach ($tasks as $task) {
if ($task['is_completed'] || $task['due_at'] === null) {
continue;
}
$due = new DateTimeImmutable($task['due_at']);
if ($due > $weekEnd) {
continue;
}
$client = $clients[$task['client_id']] ?? null;
$lines[] = sprintf(
'%s %s%s (due %s)',
$due < new DateTimeImmutable() ? ':red_circle:' : ':large_yellow_circle:',
$task['title'],
$client ? " for {$client['first_name']} {$client['last_name']}" : '',
$due->format('D j M')
);
}
if ($lines) {
sendDigest($member, $lines);
}
}
function sendDigest(array $member, array $lines): void
{
(new GuzzleHttp\Client())->post(getenv('SLACK_WEBHOOK_URL'), ['json' => [
'text' => "Good morning {$member['first_name']}, your open tasks this week:\n" . implode("\n", $lines),
]]);
}
```
Tasks without a due date are left out; add them as a separate "No due date" list if your team uses them a lot.
## Run it every Monday
Run the script with cron, a scheduled job on your hosting, or a scheduled workflow in GitHub Actions. This cron line runs it at 8:00 every Monday:
**JavaScript**
```text
0 8 * * 1 cd /path/to/digest && node task-digest.mjs
```
**Python**
```text
0 8 * * 1 cd /path/to/digest && python3 task_digest.py
```
**PHP**
```text
0 8 * * 1 cd /path/to/digest && php task-digest.php
```
## Make it your own
- **One message per person:** Slack incoming webhooks post to one channel. To message each member directly, look them up by `email` with Slack's API, or send an email to the member's `email` instead.
- **Client tasks too:** tasks a client has to do have `assignee_type` `client`. List them with `assignee_type=client` and a client's ID to remind the coach which clients still have homework open.
- **Done last week:** keep tasks with a `completed_at` in the last seven days and add a line such as "12 tasks completed last week" to keep the mood up.
[Tasks](https://quenza.com/help/working-with-clients/tasks/) explains tasks in the app.
---
# Pagination
> Page through long lists of clients, members or tasks in the Quenza API with offset and limit, and follow the next link until the last page.
Source: https://quenza.com/help/api/pagination/
[List clients](https://quenza.com/help/api/clients/list-clients/), [List members](https://quenza.com/help/api/members/list-members/) and [List tasks](https://quenza.com/help/api/tasks/list-tasks/) return their records in pages. You choose the page with two query parameters:
- `limit`: how many records you get, from 1 to 100. The default is 20. A larger number counts as 100.
- `offset`: how many records to skip from the start. The default is 0.
So `?limit=50&offset=100` returns records 101 to 150.
## What a page looks like
Every list answers with the same three parts:
```json
{
"data": [ ... ],
"meta": { "limit": 50, "offset": 100, "total": 212 },
"links": {
"next": "https://developers.quenza.com/v1/clients?limit=50&offset=150",
"prev": "https://developers.quenza.com/v1/clients?limit=50&offset=50"
}
}
```
- `data` holds the records of this page.
- `meta.total` is the number of records in all pages together.
- `links.next` is the full URL of the next page, or `null` on the last page. `links.prev` is the page before, or `null` on the first page.
## Get every record
Follow `links.next` until it is `null`. This reads all clients of the workspace, 100 at a time:
**JavaScript**
```js
async function allClients() {
const clients = [];
let url = 'https://developers.quenza.com/v1/clients?limit=100';
while (url) {
const response = await fetch(url, {
headers: { Authorization: `Bearer ${process.env.QUENZA_API_TOKEN}`, Accept: 'application/json' },
});
if (!response.ok) throw new Error(`Quenza API error ${response.status}`);
const { data, links } = await response.json();
clients.push(...data);
url = links.next;
}
return clients;
}
```
**Python**
```python
import os
import requests
def all_clients():
clients = []
url = "https://developers.quenza.com/v1/clients?limit=100"
headers = {"Authorization": f"Bearer {os.environ['QUENZA_API_TOKEN']}", "Accept": "application/json"}
while url:
response = requests.get(url, headers=headers)
response.raise_for_status()
page = response.json()
clients += page["data"]
url = page["links"]["next"]
return clients
```
**PHP**
```php
[
'Authorization' => 'Bearer ' . getenv('QUENZA_API_TOKEN'),
'Accept' => 'application/json',
]]);
$clients = [];
$url = 'https://developers.quenza.com/v1/clients?limit=100';
while ($url !== null) {
$page = json_decode($http->get($url)->getBody(), true);
$clients = array_merge($clients, $page['data']);
$url = $page['links']['next'];
}
return $clients;
}
```
## Order of the records
Clients and members come sorted by last name, then first name. Tasks come newest first. When someone adds a client while you page through the list, the records after it move one place; read the whole list again if you need an exact copy.
---
# client.invitation_accepted
> The client.invitation_accepted webhook tells your server when a client has set up their Quenza account, so you can start onboarding or update your CRM.
Available on the Growth plan and higher.
Source: https://quenza.com/help/api/webhooks/client-invitation-accepted/
Quenza sends `client.invitation_accepted` when a client accepts their invitation and sets up their account. From that moment the client can log in, see their activities and chat with you.
Use it to mark the client as onboarded in your CRM, to start a welcome sequence in your mailing tool, or to stop the reminders from [Follow up on invitations](https://quenza.com/help/api/guides/follow-up-on-invitations/). At Bright Path Coaching, Sarah Bennett's team chat gets a short note, so the coach knows the first activity will be seen.
Guests have no account, so they never trigger this event. A guest who is converted to an account triggers [`client.created`](https://quenza.com/help/api/webhooks/client-created/) again and, once they accept the new invitation, this event.
## Request
`POST` to your webhook address, with the header `X-Quenza-Event: client.invitation_accepted`. See [Receive webhooks](https://quenza.com/help/api/webhooks/) for all headers, retries and how to check the request.
```json
{
"client": {
"id": "8GJ4D9KQ",
"email": "emma.clarke@example.com",
"first_name": "Emma",
"last_name": "Clarke",
"is_guest": false,
"status": "active",
"created_at": "2026-11-15T09:30:00+00:00",
"invitation_accepted_at": "2026-11-15T19:42:10+00:00"
}
}
```
## Fields
### client
| Field | Type | Description |
| --- | --- | --- |
| `id` | string | The client's ID, the same as in the API and in `client.created`. |
| `email` | string | The client's email address. |
| `first_name` | string | The client's first name. |
| `last_name` | string | The client's last name. |
| `is_guest` | boolean | Always `false`: guests have no account to accept. |
| `status` | string | Usually `active`. |
| `created_at` | string | When the client was added, ISO 8601 with offset. |
| `invitation_accepted_at` | string | When the client set up their account, ISO 8601 with offset, such as `2026-11-15T19:42:10+00:00`. |
The body has no `invited_by`. To read the client's other details, such as their phone number or time zone, [get the client](https://quenza.com/help/api/clients/get-a-client/) with the `id`.
---
# Errors
> What the HTTP status codes of the Quenza API mean, what the error responses contain, and how your integration should handle each one.
Source: https://quenza.com/help/api/errors/
When a request fails, Quenza answers with a status code of 400 or higher and a JSON body with a `message` in English:
```json
{ "message": "Workspace is not active." }
```
The message is meant for you, not for your users: show your own text in your app, and log Quenza's message.
| Status | Meaning | Try again? |
| --- | --- | --- |
| `401` | The token is missing or wrong. | No, fix the token. |
| `402` | The workspace has no active subscription or trial. | No. |
| `403` | The workspace's plan does not include the API. | No. |
| `404` | The ID in the URL matches nothing in your workspace. | No. |
| `406` | The request does not accept JSON. | No, fix the headers. |
| `415` | The body is not sent as JSON. | No, fix the headers. |
| `422` | A field is missing or wrong, or a limit is reached. | After you fix the data. |
| `429` | Too many requests in a short time. | Yes, after waiting. |
## 401 Unauthenticated
The `Authorization` header is missing, or the token is wrong, regenerated or not an API token. [Authentication](https://quenza.com/help/api/authentication/#when-authentication-fails) lists the messages.
## 402 Workspace not active
```json
{ "message": "Workspace is not active." }
```
The workspace has no active subscription and no trial. The API works again once the subscription is active.
## 403 Not on your plan
```json
{ "message": "This feature is not available on your current plan.", "upgrade_required": true }
```
The API is included in the Collective and Beyond plans. See [Plans and pricing](https://quenza.com/help/billing/plans-and-pricing/).
## 404 Not found
The ID in the URL belongs to no client, group or member in the token's workspace. IDs from another workspace also answer with `404`.
## 406 Not acceptable
```json
{ "message": "The Accept header must be application/json." }
```
Send `Accept: application/json` with every request. Without any `Accept` header, some errors answer with a redirect to the Quenza login page instead of JSON, so always send it.
## 415 Wrong content type
```json
{ "message": "The Content-Type header must be application/json." }
```
Every `POST` and `PATCH` needs `Content-Type: application/json`, also [Archive a client](https://quenza.com/help/api/clients/archive-a-client/) and [Unarchive a client](https://quenza.com/help/api/clients/unarchive-a-client/), which have no body.
## 422 Validation error
A field is missing or has a value Quenza does not accept. `errors` lists every problem by field name:
```json
{
"message": "The email has already been taken. (and 1 more error)",
"errors": {
"email": ["The email has already been taken."],
"timezone": ["The selected timezone is invalid."]
}
}
```
Each endpoint lists its fields and their limits. A taken email is the most common case: the client or member is already in your workspace. [Sync clients from your CRM](https://quenza.com/help/api/guides/sync-clients/) shows how to find them.
`422` also means a limit of your plan is reached, for example when you create a client while all client places are taken:
```json
{ "message": "Limit reached for App\\Models\\Client", "limit": 100 }
```
`limit` is the number your plan includes. Archived and invited clients count too, so archiving does not free a place: delete clients you no longer need in Quenza, or change your plan. See [Client limits](https://quenza.com/help/billing/client-limits/). For team members the message ends in `Professional`; see [Professional seats](https://quenza.com/help/billing/professional-seats/).
## 429 Too many requests
You sent too many requests in a short time. Wait the number of seconds in the `Retry-After` header, then send the request again. The limit is high enough for normal integrations; it is usually reached by a loop that never stops.
---
# Follow up on invitations
> Find clients who have not accepted their Quenza invitation after a week and remind your coaches, so no new client gets lost before the start.
Source: https://quenza.com/help/api/guides/follow-up-on-invitations/
A client who never opens their invitation never sees their first activity. Most of them only need a friendly reminder. This guide finds clients whose invitation is more than a week old and still not accepted, and sends their coach a short list every Monday.
At Bright Path Coaching, Lucas Meyer was invited ten days ago and has not set up his account. On Monday, Sarah Bennett's list says so, and she sends him the invitation again with one click.
The examples come in JavaScript (Node.js 18 or later), Python (with `requests`) and PHP (with Guzzle); pick your language in the tabs.
## Find the waiting clients
[List the clients](https://quenza.com/help/api/clients/list-clients/) and keep those with the status `pending` whose `invited_at` is more than seven days ago:
**JavaScript**
```js
const API = 'https://developers.quenza.com/v1';
const headers = { Authorization: `Bearer ${process.env.QUENZA_API_TOKEN}`, Accept: 'application/json' };
async function* allClients() {
let url = `${API}/clients?limit=100`;
while (url) {
const response = await fetch(url, { headers });
if (!response.ok) throw new Error(`Quenza API error ${response.status}`);
const page = await response.json();
yield* page.data;
url = page.links.next;
}
}
const weekAgo = Date.now() - 7 * 24 * 60 * 60 * 1000;
const waiting = [];
for await (const client of allClients()) {
if (client.status === 'pending' && client.invited_at && Date.parse(client.invited_at) < weekAgo) {
waiting.push(client);
}
}
```
**Python**
```python
import os
from datetime import datetime, timedelta, timezone
import requests
API = "https://developers.quenza.com/v1"
HEADERS = {
"Authorization": f"Bearer {os.environ['QUENZA_API_TOKEN']}",
"Accept": "application/json",
}
def all_clients():
url = f"{API}/clients?limit=100"
while url:
response = requests.get(url, headers=HEADERS)
response.raise_for_status()
page = response.json()
yield from page["data"]
url = page["links"]["next"]
week_ago = datetime.now(timezone.utc) - timedelta(days=7)
waiting = [
c for c in all_clients()
if c["status"] == "pending"
and c["invited_at"]
and datetime.fromisoformat(c["invited_at"].replace("Z", "+00:00")) < week_ago
]
```
**PHP**
```php
[
'Authorization' => 'Bearer ' . getenv('QUENZA_API_TOKEN'),
'Accept' => 'application/json',
]]);
$weekAgo = new DateTimeImmutable('-7 days');
$waiting = [];
$url = 'https://developers.quenza.com/v1/clients?limit=100';
while ($url !== null) {
$page = json_decode($http->get($url)->getBody(), true);
foreach ($page['data'] as $client) {
if ($client['status'] === 'pending' && $client['invited_at'] !== null
&& new DateTimeImmutable($client['invited_at']) < $weekAgo) {
$waiting[] = $client;
}
}
$url = $page['links']['next'];
}
```
## Send the list
Send the list to whoever follows up, for example by email. Use your mail provider's server settings; most need a login as well:
**JavaScript**
```js
// npm install nodemailer
const lines = waiting
.sort((a, b) => a.invited_at.localeCompare(b.invited_at))
.map((c) => `- ${c.first_name} ${c.last_name} (${c.email}), invited ${c.invited_at.slice(0, 10)}`);
if (lines.length) {
const mail = nodemailer.createTransport({ host: process.env.SMTP_HOST, port: Number(process.env.SMTP_PORT ?? 25) });
await mail.sendMail({
from: 'reports@example.com',
to: 'sarah.bennett@example.com',
subject: `${lines.length} clients have not accepted their invitation yet`,
text:
'These clients were invited more than a week ago and have not set up their account:\n\n' +
lines.join('\n') +
"\n\nResend the invitation from the client's ⋯ menu in Quenza.",
});
}
```
**Python**
```python
import smtplib
from email.message import EmailMessage
lines = [
f"- {c['first_name']} {c['last_name']} ({c['email']}), invited {c['invited_at'][:10]}"
for c in sorted(waiting, key=lambda c: c["invited_at"])
]
if lines:
message = EmailMessage()
message["Subject"] = f"{len(lines)} clients have not accepted their invitation yet"
message["From"] = "reports@example.com"
message["To"] = "sarah.bennett@example.com"
message.set_content(
"These clients were invited more than a week ago and have not set up their account:\n\n"
+ "\n".join(lines)
+ "\n\nResend the invitation from the client's ⋯ menu in Quenza."
)
with smtplib.SMTP(os.environ["SMTP_HOST"], int(os.environ.get("SMTP_PORT", 25))) as smtp:
smtp.send_message(message)
```
**PHP**
```php
usort($waiting, fn (array $a, array $b) => strcmp($a['invited_at'], $b['invited_at']));
$lines = array_map(
fn (array $c) => sprintf('- %s %s (%s), invited %s', $c['first_name'], $c['last_name'], $c['email'], substr($c['invited_at'], 0, 10)),
$waiting,
);
if ($lines) {
// mail() uses your server's mail setup; for an SMTP server, use symfony/mailer instead.
mail(
'sarah.bennett@example.com',
count($lines) . ' clients have not accepted their invitation yet',
"These clients were invited more than a week ago and have not set up their account:\n\n"
. implode("\n", $lines)
. "\n\nResend the invitation from the client's ⋯ menu in Quenza.",
['From' => 'reports@example.com', 'Content-Type' => 'text/plain; charset=utf-8'],
);
}
```
Run it once a week, for example every Monday morning with cron.
## Resend the invitation
The API cannot resend invitations. In Quenza, open the client's **⋯** menu and choose **Resend Invitation**. See [Add clients](https://quenza.com/help/clients/add-clients/).
## Make it your own
- **Per coach:** a token sees every client in the workspace, and the client record does not say who their professional is. To split the list per coach, keep the mapping in your own system, for example the CRM that created the client.
- **Know the moment they start:** the **Client Invitation Accepted** [webhook](https://quenza.com/help/integrations/webhooks/) tells your system as soon as a client sets up their account, so you can thank them or mark them as started in your CRM.
- **Clean up:** archive clients who never respond after several reminders with [Archive a client](https://quenza.com/help/api/clients/archive-a-client/), so your lists stay short. Archived clients still count toward your client limit; to free a place, delete them in Quenza. See [Client limits](https://quenza.com/help/billing/client-limits/).
---
# Postman collection
> Try every Quenza API endpoint in Postman without writing code. Download the collection, add your API token and send your first request.
Source: https://quenza.com/help/api/postman/
Postman lets you send API requests from a window instead of from code. It is the quickest way to see what the Quenza API returns for your workspace before you build an integration. One file holds every endpoint of this reference, so you download it once.
The collection has a folder per topic, such as Clients and Members. Every request comes with the right headers, the example body from this reference and an example response, so you can compare what you get with what you should get. Each request's description links its page in this reference.
## Import the collection
1. Download the collection with the button above.
2. In Postman, open your workspace and click **Use resources or import**, then the **Import** tab.
3. Drop the file into the window. **Quenza API** appears under **Collections** in the sidebar.
Postman's own guide, [Import data into Postman](https://learning.postman.com/docs/getting-started/importing-and-exporting/importing-data), shows the same steps. Postman updates its app often, so its screens may differ a little.
## Add your API token
Every request in the collection uses the collection variable `token`. A workspace Owner or Manager creates the token under **Developer Tools → API Token**; see [Authentication](https://quenza.com/help/api/authentication/).
1. In Postman, select the **Quenza API** collection and open its **Variables** tab.
2. Paste your token as the value of `token`. Postman saves it by itself.
> **Caution:** The token gives full API access to your workspace. Postman keeps a variable's value on your computer unless you click **Share** next to it, so don't share it, and don't export the collection with the token in it.
## Send a request
Open **Clients → List clients** and click **Send**. Postman shows the clients of your workspace as JSON, with `data`, `meta` and `links` as described in [Pagination](https://quenza.com/help/api/pagination/).
Requests for one record, such as **Get a client**, have the ID in the address as `:client`. Postman fills it with an example ID from this reference; replace it on the request's **Params** tab with an ID from your own list, or you get a `404`.
> **Caution:** The collection works on your real workspace. **Create a client** and **Create a member** send invitation emails, and a new member uses a seat on your plan. Change the example body to your own test details before you send these requests, and archive test clients afterwards.
## Keep it up to date
The collection is built from this reference, so it always has the endpoints listed here. When [What's new](https://quenza.com/help/whats-new/) announces a new endpoint, download the file again and import it. Then delete the old **Quenza API** collection and add your token to the new one.
## Insomnia, Bruno and other tools
Insomnia and Bruno import the same file. Other tools and code generators read the [OpenAPI file](https://quenza.com/help/api/openapi.json), which describes every endpoint and field of the public API. Use it, for example, to generate a client library for your language.
---
# Archive a client
> Archive a client through the Quenza API when you stop working with them. Assignments are cancelled and their chats become read-only.
Source: https://quenza.com/help/api/clients/archive-a-client/
Archiving keeps the client's history in Quenza but ends your work together:
- Activities and programs that are still running are cancelled.
- Their chats become read-only.
- Their `status` becomes `archived` and `archived_at` is set.
The request has no body, but it still needs `Content-Type: application/json`. To undo it, [unarchive the client](https://quenza.com/help/api/clients/unarchive-a-client/). [Archive clients](https://quenza.com/help/clients/archive-clients/) explains the same in the app.
## Request
`POST https://developers.quenza.com/v1/clients/{client}/archive`
### Path parameters
- `client` (string, required): The client’s ID, such as `8GJ4D9KQ`.
### Example
```bash
curl -X POST https://developers.quenza.com/v1/clients/2M7ZP5AT/archive \
-H "Authorization: Bearer $QUENZA_API_TOKEN" \
-H "Accept: application/json" \
-H "Content-Type: application/json"
```
## Response
200 OK.
```json
{}
```
Status codes: 200 OK, 401 Unauthenticated, 402 Workspace not active, 403 Not on your plan, 404 Not found, 406 Not acceptable, 415 Wrong content type. See /help/api/errors/.
---
# Create a client
> Add a client to your Quenza workspace through the API. Quenza sends their invitation email and assigns them to the token's professional.
Source: https://quenza.com/help/api/clients/create-a-client/
Creates the client and sends them an invitation email to set up their account, in the language you choose. Until they accept it, their `status` is `pending`.
What else happens:
- The client is assigned to the professional who owns the API token.
- The **Client Created** [webhook](https://quenza.com/help/integrations/webhooks/) fires, like for a client you add by hand.
- The client counts towards your plan's client limit. When all places are taken, the request fails with `422` and `Limit reached`; see [Errors](https://quenza.com/help/api/errors/#422-validation-error).
An email address can belong to only one client in your workspace. [Sync clients from your CRM](https://quenza.com/help/api/guides/sync-clients/#handle-clients-who-already-exist) shows what to do when it is taken.
## Request
`POST https://developers.quenza.com/v1/clients`
### Request body
- `email` (string, required): Quenza sends the invitation to this address. It must not belong to another client in your workspace. Up to 255 characters. A valid email address
- `first_name` (string, required): First name. Up to 255 characters
- `last_name` (string, required): Last name. Up to 255 characters
- `phone` (string, or null): Phone number as free text, such as `+31 6 1234 5678`, or `null`. Up to 50 characters
- `gender` (string): Gender. One of `male`, `female`, `other`
- `gender_identity` (string, or null): How the client describes their gender, as free text. Up to 255 characters
- `birthdate` (string, or null): Date of birth as `YYYY-MM-DD`, before today. Format `YYYY-MM-DD`
- `timezone` (string, or null): Time zone as an IANA name, such as `Europe/Amsterdam`. Defaults to the time zone of the professional who owns the API token. One of 419 values, listed in the [OpenAPI file](https://quenza.com/help/api/openapi.json)
- `language_code` (string, or null): Language of the invitation and the client app. Defaults to English (`en`). One of `de`, `nl`, `en`, `es`, `fr`, `it`, `pt`, `fi`
### Example
```bash
curl -X POST https://developers.quenza.com/v1/clients \
-H "Authorization: Bearer $QUENZA_API_TOKEN" \
-H "Accept: application/json" \
-H "Content-Type: application/json" \
-d '{
"email": "emma.clarke@example.com",
"first_name": "Emma",
"last_name": "Clarke",
"timezone": "Europe/Amsterdam",
"language_code": "en"
}'
```
## Response
201 Created.
### Fields of data
- `id` (string): The client’s ID. Use it in the URL of the other client endpoints and to add the client to a group.
- `email` (string): Email address, unique in your workspace.
- `first_name` (string): First name.
- `last_name` (string): Last name.
- `status` (string): `pending` until the client accepts the invitation, then `active`. `archived` after you archive the client. One of `active`, `pending`, `archived`
- `is_guest` (boolean): Whether the client is a guest without a login. Clients created through the API are never guests.
- `timezone` (string): Time zone as an IANA name, such as `Europe/Amsterdam`.
- `phone` (string, or null): Phone number as free text, such as `+31 6 1234 5678`, or `null`.
- `gender` (string, or null): Gender, or `null`. One of `male`, `female`, `other`
- `gender_identity` (string, or null): How the client describes their gender, as free text, or `null`.
- `birthdate` (string, or null): Date of birth as `YYYY-MM-DD`, or `null`. Format `YYYY-MM-DD`
- `invited_at` (string, or null): When the invitation email was sent. ISO 8601 date and time in UTC
- `invitation_accepted_at` (string, or null): When the invitation was accepted, or `null` while it is pending. ISO 8601 date and time in UTC
- `archived_at` (string, or null): When it was archived, or `null`. ISO 8601 date and time in UTC
- `created_at` (string): When it was created. ISO 8601 date and time in UTC
- `updated_at` (string): When it was last changed. ISO 8601 date and time in UTC
```json
{
"data": {
"id": "8GJ4D9KQ",
"email": "emma.clarke@example.com",
"first_name": "Emma",
"last_name": "Clarke",
"status": "pending",
"is_guest": false,
"timezone": "Europe/Amsterdam",
"phone": null,
"gender": null,
"gender_identity": null,
"birthdate": null,
"invited_at": "2026-11-15T10:00:00.000000Z",
"invitation_accepted_at": null,
"archived_at": null,
"created_at": "2026-11-15T10:00:00.000000Z",
"updated_at": "2026-11-15T10:00:00.000000Z"
}
}
```
Status codes: 201 Created, 401 Unauthenticated, 402 Workspace not active, 403 Not on your plan, 406 Not acceptable, 415 Wrong content type, 422 Validation error. See /help/api/errors/.
---
# Get a client
> Read one client's details from the Quenza API by their ID, such as their email, status, time zone and when they accepted their invitation.
Source: https://quenza.com/help/api/clients/get-a-client/
Returns the client with this ID, also when they are pending or archived. An ID that belongs to no client in your workspace answers with `404`.
To find a client by email, read the [list of clients](https://quenza.com/help/api/clients/list-clients/); the API has no search.
## Request
`GET https://developers.quenza.com/v1/clients/{client}`
### Path parameters
- `client` (string, required): The client’s ID, such as `8GJ4D9KQ`.
### Example
```bash
curl https://developers.quenza.com/v1/clients/8GJ4D9KQ \
-H "Authorization: Bearer $QUENZA_API_TOKEN" \
-H "Accept: application/json"
```
## Response
200 OK.
### Fields of data
- `id` (string): The client’s ID. Use it in the URL of the other client endpoints and to add the client to a group.
- `email` (string): Email address, unique in your workspace.
- `first_name` (string): First name.
- `last_name` (string): Last name.
- `status` (string): `pending` until the client accepts the invitation, then `active`. `archived` after you archive the client. One of `active`, `pending`, `archived`
- `is_guest` (boolean): Whether the client is a guest without a login. Clients created through the API are never guests.
- `timezone` (string): Time zone as an IANA name, such as `Europe/Amsterdam`.
- `phone` (string, or null): Phone number as free text, such as `+31 6 1234 5678`, or `null`.
- `gender` (string, or null): Gender, or `null`. One of `male`, `female`, `other`
- `gender_identity` (string, or null): How the client describes their gender, as free text, or `null`.
- `birthdate` (string, or null): Date of birth as `YYYY-MM-DD`, or `null`. Format `YYYY-MM-DD`
- `invited_at` (string, or null): When the invitation email was sent. ISO 8601 date and time in UTC
- `invitation_accepted_at` (string, or null): When the invitation was accepted, or `null` while it is pending. ISO 8601 date and time in UTC
- `archived_at` (string, or null): When it was archived, or `null`. ISO 8601 date and time in UTC
- `created_at` (string): When it was created. ISO 8601 date and time in UTC
- `updated_at` (string): When it was last changed. ISO 8601 date and time in UTC
```json
{
"data": {
"id": "8GJ4D9KQ",
"email": "emma.clarke@example.com",
"first_name": "Emma",
"last_name": "Clarke",
"status": "active",
"is_guest": false,
"timezone": "Europe/Amsterdam",
"phone": "+31 6 1234 5678",
"gender": "female",
"gender_identity": null,
"birthdate": "1991-04-12",
"invited_at": "2026-09-02T08:15:00.000000Z",
"invitation_accepted_at": "2026-09-02T19:40:12.000000Z",
"archived_at": null,
"created_at": "2026-09-02T08:15:00.000000Z",
"updated_at": "2026-10-14T10:02:31.000000Z"
}
}
```
Status codes: 200 OK, 401 Unauthenticated, 402 Workspace not active, 403 Not on your plan, 404 Not found, 406 Not acceptable. See /help/api/errors/.
---
# List clients
> Get all clients of your workspace from the Quenza API, page by page, including clients who are pending or archived, sorted by name.
Source: https://quenza.com/help/api/clients/list-clients/
Returns every client in the workspace: active clients, clients who have not accepted their invitation yet (`pending`) and archived clients. The list is sorted by last name, then first name. Your own demo client is not included.
Use `status` to tell them apart, and [pagination](https://quenza.com/help/api/pagination/) to read more than one page.
## Request
`GET https://developers.quenza.com/v1/clients`
### Query parameters
- `offset` (integer): How many records to skip. Defaults to `0`.
- `limit` (integer): How many records to return, from 1 to 100. Defaults to `20`.
### Example
```bash
curl "https://developers.quenza.com/v1/clients?limit=2" \
-H "Authorization: Bearer $QUENZA_API_TOKEN" \
-H "Accept: application/json"
```
## Response
200 OK.
### Fields of each record in data
- `id` (string): The client’s ID. Use it in the URL of the other client endpoints and to add the client to a group.
- `email` (string): Email address, unique in your workspace.
- `first_name` (string): First name.
- `last_name` (string): Last name.
- `status` (string): `pending` until the client accepts the invitation, then `active`. `archived` after you archive the client. One of `active`, `pending`, `archived`
- `is_guest` (boolean): Whether the client is a guest without a login. Clients created through the API are never guests.
- `timezone` (string): Time zone as an IANA name, such as `Europe/Amsterdam`.
- `phone` (string, or null): Phone number as free text, such as `+31 6 1234 5678`, or `null`.
- `gender` (string, or null): Gender, or `null`. One of `male`, `female`, `other`
- `gender_identity` (string, or null): How the client describes their gender, as free text, or `null`.
- `birthdate` (string, or null): Date of birth as `YYYY-MM-DD`, or `null`. Format `YYYY-MM-DD`
- `invited_at` (string, or null): When the invitation email was sent. ISO 8601 date and time in UTC
- `invitation_accepted_at` (string, or null): When the invitation was accepted, or `null` while it is pending. ISO 8601 date and time in UTC
- `archived_at` (string, or null): When it was archived, or `null`. ISO 8601 date and time in UTC
- `created_at` (string): When it was created. ISO 8601 date and time in UTC
- `updated_at` (string): When it was last changed. ISO 8601 date and time in UTC
```json
{
"data": [
{
"id": "8GJ4D9KQ",
"email": "emma.clarke@example.com",
"first_name": "Emma",
"last_name": "Clarke",
"status": "active",
"is_guest": false,
"timezone": "Europe/Amsterdam",
"phone": "+31 6 1234 5678",
"gender": "female",
"gender_identity": null,
"birthdate": "1991-04-12",
"invited_at": "2026-09-02T08:15:00.000000Z",
"invitation_accepted_at": "2026-09-02T19:40:12.000000Z",
"archived_at": null,
"created_at": "2026-09-02T08:15:00.000000Z",
"updated_at": "2026-10-14T10:02:31.000000Z"
},
{
"id": "2M7ZP5AT",
"email": "lucas.meyer@example.com",
"first_name": "Lucas",
"last_name": "Meyer",
"status": "pending",
"is_guest": false,
"timezone": "Europe/Amsterdam",
"phone": null,
"gender": "male",
"gender_identity": null,
"birthdate": null,
"invited_at": "2026-11-03T09:30:00.000000Z",
"invitation_accepted_at": null,
"archived_at": null,
"created_at": "2026-11-03T09:30:00.000000Z",
"updated_at": "2026-11-03T09:30:00.000000Z"
}
],
"meta": {
"limit": 2,
"offset": 0,
"total": 24
},
"links": {
"next": "https://developers.quenza.com/v1/clients?limit=2&offset=2",
"prev": null
}
}
```
Status codes: 200 OK, 401 Unauthenticated, 402 Workspace not active, 403 Not on your plan, 406 Not acceptable. See /help/api/errors/.
---
# Unarchive a client
> Bring an archived client back with the Quenza API. They become active again and can use their chats, if your plan has a free client place.
Source: https://quenza.com/help/api/clients/unarchive-a-client/
The client becomes active again and their chats can be used again. Cancelled activities and programs stay cancelled; send new ones in Quenza.
Unarchiving needs a free client place on your plan. When all places are taken, the request fails with `422` and `Limit reached`; see [Errors](https://quenza.com/help/api/errors/#422-validation-error). Like archiving, it has no body but needs `Content-Type: application/json`.
## Request
`POST https://developers.quenza.com/v1/clients/{client}/unarchive`
### Path parameters
- `client` (string, required): The client’s ID, such as `8GJ4D9KQ`.
### Example
```bash
curl -X POST https://developers.quenza.com/v1/clients/2M7ZP5AT/unarchive \
-H "Authorization: Bearer $QUENZA_API_TOKEN" \
-H "Accept: application/json" \
-H "Content-Type: application/json"
```
## Response
200 OK.
```json
{}
```
Status codes: 200 OK, 401 Unauthenticated, 402 Workspace not active, 403 Not on your plan, 404 Not found, 406 Not acceptable, 415 Wrong content type, 422 Validation error. See /help/api/errors/.
---
# Update a client
> Change a client's name, email, phone number, birthdate or time zone through the Quenza API. Only the fields you send are changed.
Source: https://quenza.com/help/api/clients/update-a-client/
Send only the fields you want to change; the others stay as they are. To clear an optional field, such as the phone number, send `null`.
The client’s language cannot be changed through the API. A new email address must not belong to another client in your workspace.
## Request
`PATCH https://developers.quenza.com/v1/clients/{client}`
### Path parameters
- `client` (string, required): The client’s ID, such as `8GJ4D9KQ`.
### Request body
- `email` (string): New email address. It must not belong to another client in your workspace. Up to 255 characters. A valid email address
- `first_name` (string): First name. Up to 255 characters
- `last_name` (string): Last name. Up to 255 characters
- `phone` (string, or null): Phone number as free text, such as `+31 6 1234 5678`, or `null`. Up to 50 characters
- `gender` (string): Gender, or `null` to clear it. One of `male`, `female`, `other`
- `gender_identity` (string, or null): How the client describes their gender, as free text, or `null` to clear it. Up to 255 characters
- `birthdate` (string, or null): Date of birth as `YYYY-MM-DD`, at most 120 years ago and before today, or `null` to clear it. Format `YYYY-MM-DD`
- `timezone` (string): Time zone as an IANA name, such as `Europe/Amsterdam`. Cannot be `null`. One of 419 values, listed in the [OpenAPI file](https://quenza.com/help/api/openapi.json)
### Example
```bash
curl -X PATCH https://developers.quenza.com/v1/clients/8GJ4D9KQ \
-H "Authorization: Bearer $QUENZA_API_TOKEN" \
-H "Accept: application/json" \
-H "Content-Type: application/json" \
-d '{
"phone": "+31 6 9876 5432"
}'
```
## Response
200 OK.
### Fields of data
- `id` (string): The client’s ID. Use it in the URL of the other client endpoints and to add the client to a group.
- `email` (string): Email address, unique in your workspace.
- `first_name` (string): First name.
- `last_name` (string): Last name.
- `status` (string): `pending` until the client accepts the invitation, then `active`. `archived` after you archive the client. One of `active`, `pending`, `archived`
- `is_guest` (boolean): Whether the client is a guest without a login. Clients created through the API are never guests.
- `timezone` (string): Time zone as an IANA name, such as `Europe/Amsterdam`.
- `phone` (string, or null): Phone number as free text, such as `+31 6 1234 5678`, or `null`.
- `gender` (string, or null): Gender, or `null`. One of `male`, `female`, `other`
- `gender_identity` (string, or null): How the client describes their gender, as free text, or `null`.
- `birthdate` (string, or null): Date of birth as `YYYY-MM-DD`, or `null`. Format `YYYY-MM-DD`
- `invited_at` (string, or null): When the invitation email was sent. ISO 8601 date and time in UTC
- `invitation_accepted_at` (string, or null): When the invitation was accepted, or `null` while it is pending. ISO 8601 date and time in UTC
- `archived_at` (string, or null): When it was archived, or `null`. ISO 8601 date and time in UTC
- `created_at` (string): When it was created. ISO 8601 date and time in UTC
- `updated_at` (string): When it was last changed. ISO 8601 date and time in UTC
```json
{
"data": {
"id": "8GJ4D9KQ",
"email": "emma.clarke@example.com",
"first_name": "Emma",
"last_name": "Clarke",
"status": "active",
"is_guest": false,
"timezone": "Europe/Amsterdam",
"phone": "+31 6 9876 5432",
"gender": "female",
"gender_identity": null,
"birthdate": "1991-04-12",
"invited_at": "2026-09-02T08:15:00.000000Z",
"invitation_accepted_at": "2026-09-02T19:40:12.000000Z",
"archived_at": null,
"created_at": "2026-09-02T08:15:00.000000Z",
"updated_at": "2026-11-15T10:20:00.000000Z"
}
}
```
Status codes: 200 OK, 401 Unauthenticated, 402 Workspace not active, 403 Not on your plan, 404 Not found, 406 Not acceptable, 415 Wrong content type, 422 Validation error. See /help/api/errors/.
---
# Add members to a group
> Add one or more clients to a Quenza group through the API. They join the group chat and can get the activities the group already received.
Source: https://quenza.com/help/api/groups/add-members-to-a-group/
Send the IDs of the clients in `members`. For each client who is not in the group yet:
- They join the group's chat, if it has one.
- When the group sends earlier activities and programs to new members, they get them now.
Clients who are already in the group, and IDs that match no client, are skipped. If nobody new was added, the answer is `204` without a body. That makes the request safe to repeat, for example when your shop sends a payment notification twice.
[Add buyers to a group](https://quenza.com/help/api/guides/add-buyers-to-a-group/) shows the whole flow from purchase to group.
## Request
`POST https://developers.quenza.com/v1/groups/{group}/members`
### Path parameters
- `group` (string, required): The group’s ID.
### Request body
- `members` (array of strings, required): IDs of the clients to add. Clients who are already in the group, and IDs that match no client, are skipped.
### Example
```bash
curl -X POST https://developers.quenza.com/v1/groups/R4XN8VQT/members \
-H "Authorization: Bearer $QUENZA_API_TOKEN" \
-H "Accept: application/json" \
-H "Content-Type: application/json" \
-d '{
"members": [
"8GJ4D9KQ",
"2M7ZP5AT"
]
}'
```
## Response
200 OK.
### Fields of data
- `id` (string): The group’s ID. Use it to add members.
- `name` (string): Name of the group.
- `description` (string, or null): Short description, or `null`.
- `picture` (string, or null): Address of the group picture, or `null`.
- `auto_send_assignments_to_new_members` (boolean): Whether clients who join later get the group’s earlier activities and programs.
- `file_collection_id` (string): ID of the folder that holds the group’s resources.
- `is_chat_enabled` (boolean): Whether the group has a group chat that is switched on.
- `status` (string): `active`, or `archived` after the group was archived. One of `active`, `archived`
- `archived_at` (string, or null): When it was archived, or `null`. ISO 8601 date and time in UTC
- `created_at` (string): When it was created. ISO 8601 date and time in UTC
- `updated_at` (string): When it was last changed. ISO 8601 date and time in UTC
```json
{
"data": {
"id": "R4XN8VQT",
"name": "Mindfulness group",
"description": "Eight weekly sessions on attention, breathing and self-compassion.",
"picture": null,
"auto_send_assignments_to_new_members": true,
"file_collection_id": "6f1c2d8e-3b7a-4c55-9e21-8a4f0b2d7c19",
"is_chat_enabled": true,
"status": "active",
"archived_at": null,
"created_at": "2026-11-15T10:05:00.000000Z",
"updated_at": "2026-11-15T10:06:00.000000Z"
}
}
```
Status codes: 200 OK, 204 No content, 401 Unauthenticated, 402 Workspace not active, 403 Not on your plan, 404 Not found, 406 Not acceptable, 415 Wrong content type, 422 Validation error. See /help/api/errors/.
---
# Create a group
> Create a client group through the Quenza API, with an optional group chat and automatic sending of earlier activities to new members.
Source: https://quenza.com/help/api/groups/create-a-group/
Creates the group with the professional who owns the API token as its professional. Then [add clients to it](https://quenza.com/help/api/groups/add-members-to-a-group/).
- `enable_chat` creates a group chat for the group's clients.
- `auto_send_assignments_to_new_members` sends the group's earlier activities and programs to clients who join later. See [New group members](https://quenza.com/help/clients/new-group-members/).
Store the returned `id`: the API cannot list groups, and you need it to add members.
## Request
`POST https://developers.quenza.com/v1/groups`
### Request body
- `name` (string, required): Name of the group. Up to 255 characters
- `description` (string, or null): Short description of the group, or `null`. Up to 255 characters
- `enable_chat` (boolean, or null): Create a group chat for the group’s clients. Defaults to `false`.
- `auto_send_assignments_to_new_members` (boolean, or null): Send the group’s earlier activities and programs to clients who join later. Defaults to `false`.
### Example
```bash
curl -X POST https://developers.quenza.com/v1/groups \
-H "Authorization: Bearer $QUENZA_API_TOKEN" \
-H "Accept: application/json" \
-H "Content-Type: application/json" \
-d '{
"name": "Mindfulness group",
"description": "Eight weekly sessions on attention, breathing and self-compassion.",
"enable_chat": true,
"auto_send_assignments_to_new_members": true
}'
```
## Response
201 Created.
### Fields of data
- `id` (string): The group’s ID. Use it to add members.
- `name` (string): Name of the group.
- `description` (string, or null): Short description, or `null`.
- `picture` (string, or null): Address of the group picture, or `null`.
- `auto_send_assignments_to_new_members` (boolean): Whether clients who join later get the group’s earlier activities and programs.
- `file_collection_id` (string): ID of the folder that holds the group’s resources.
- `is_chat_enabled` (boolean): Whether the group has a group chat that is switched on.
- `status` (string): `active`, or `archived` after the group was archived. One of `active`, `archived`
- `archived_at` (string, or null): When it was archived, or `null`. ISO 8601 date and time in UTC
- `created_at` (string): When it was created. ISO 8601 date and time in UTC
- `updated_at` (string): When it was last changed. ISO 8601 date and time in UTC
```json
{
"data": {
"id": "R4XN8VQT",
"name": "Mindfulness group",
"description": "Eight weekly sessions on attention, breathing and self-compassion.",
"picture": null,
"auto_send_assignments_to_new_members": true,
"file_collection_id": "6f1c2d8e-3b7a-4c55-9e21-8a4f0b2d7c19",
"is_chat_enabled": true,
"status": "active",
"archived_at": null,
"created_at": "2026-11-15T10:05:00.000000Z",
"updated_at": "2026-11-15T10:05:00.000000Z"
}
}
```
Status codes: 201 Created, 401 Unauthenticated, 402 Workspace not active, 403 Not on your plan, 406 Not acceptable, 415 Wrong content type, 422 Validation error. See /help/api/errors/.
---
# Create a member
> Invite a professional to your Quenza team through the API as a member or manager. Quenza sends their invitation email and uses a seat.
Source: https://quenza.com/help/api/members/create-a-member/
Creates the member and sends them an invitation email. Until they accept it, their `status` is `pending`.
- Only the roles `member` and `manager` can be given through the API. Make someone an owner or billing manager in Quenza.
- Every member uses a professional seat of your plan. When all seats are taken, the request fails with `422` and `Limit reached`; see [Professional seats](https://quenza.com/help/billing/professional-seats/).
[Add team members](https://quenza.com/help/team/add-team-members/) explains the same in the app.
## Request
`POST https://developers.quenza.com/v1/members`
### Request body
- `email` (string, required): Quenza sends the invitation to this address. It must not belong to another member of your workspace. Up to 255 characters. A valid email address
- `first_name` (string, required): First name. Up to 255 characters
- `last_name` (string, required): Last name. Up to 255 characters
- `role` (string, required): `member` or `manager`. Owners and billing managers cannot be added through the API. One of `member`, `manager`
- `timezone` (string, or null): Time zone as an IANA name, such as `Europe/Amsterdam`. Defaults to the time zone of the professional who owns the API token. One of 419 values, listed in the [OpenAPI file](https://quenza.com/help/api/openapi.json)
- `language_code` (string, or null): Language of the invitation and the app. Defaults to English (`en`). One of `de`, `nl`, `en`, `es`, `fr`, `it`, `pt`, `fi`
- `company` (string, or null): Company or practice name, or `null`. Up to 255 characters
- `website` (string, or null): Website address, such as `https://example.com`, or `null`. Up to 255 characters. A full URL
- `address` (string, or null): Street and house number, or `null`. Up to 255 characters
- `city` (string, or null): City, or `null`. Up to 255 characters
- `state` (string, or null): State or region, or `null`. Up to 255 characters
- `country_code` (string, or null): Two-letter country code in lower case, such as `nl`, or `null`. One of 210 values, listed in the [OpenAPI file](https://quenza.com/help/api/openapi.json)
### Example
```bash
curl -X POST https://developers.quenza.com/v1/members \
-H "Authorization: Bearer $QUENZA_API_TOKEN" \
-H "Accept: application/json" \
-H "Content-Type: application/json" \
-d '{
"email": "daniel.weber@example.com",
"first_name": "Daniel",
"last_name": "Weber",
"role": "member",
"timezone": "Europe/Amsterdam"
}'
```
## Response
201 Created.
### Fields of data
- `id` (string): The member’s ID. Use it to update the member or to find their tasks.
- `email` (string): Email address.
- `first_name` (string): First name.
- `last_name` (string): Last name.
- `status` (string): `pending` until the member accepts the invitation, then `active`. `suspended` while the member is suspended. One of `active`, `pending`, `suspended`
- `role` (string): Role in the workspace. One of `owner`, `manager`, `billing_manager`, `member`
- `timezone` (string): Time zone as an IANA name, such as `Europe/Amsterdam`.
- `phone` (string, or null): Phone number as free text, such as `+31 6 1234 5678`, or `null`.
- `company` (string, or null): Company or practice name, or `null`.
- `website` (string, or null): Website address, such as `https://example.com`, or `null`.
- `address` (string, or null): Street and house number, or `null`.
- `city` (string, or null): City, or `null`.
- `state` (string, or null): State or region, or `null`.
- `country_code` (string, or null): Two-letter country code in lower case, such as `nl`, or `null`.
- `invited_at` (string, or null): When the invitation email was sent. ISO 8601 date and time in UTC
- `invitation_accepted_at` (string, or null): When the invitation was accepted, or `null` while it is pending. ISO 8601 date and time in UTC
- `created_at` (string): When it was created. ISO 8601 date and time in UTC
- `updated_at` (string): When it was last changed. ISO 8601 date and time in UTC
```json
{
"data": {
"id": "K9T3W6PB",
"email": "daniel.weber@example.com",
"first_name": "Daniel",
"last_name": "Weber",
"status": "pending",
"role": "member",
"timezone": "Europe/Amsterdam",
"phone": null,
"company": "Bright Path Coaching",
"website": "https://example.com",
"address": null,
"city": "Amsterdam",
"state": null,
"country_code": "nl",
"invited_at": "2026-11-15T10:10:00.000000Z",
"invitation_accepted_at": null,
"created_at": "2026-11-15T10:10:00.000000Z",
"updated_at": "2026-11-15T10:10:00.000000Z"
}
}
```
Status codes: 201 Created, 401 Unauthenticated, 402 Workspace not active, 403 Not on your plan, 406 Not acceptable, 415 Wrong content type, 422 Validation error. See /help/api/errors/.
---
# List members
> Get the professionals on your Quenza team through the API, with their role and status, including pending and suspended members.
Source: https://quenza.com/help/api/members/list-members/
Returns everyone on the team: active members, members who have not accepted their invitation yet (`pending`) and suspended members. The list is sorted by last name, then first name.
`role` is `owner`, `manager`, `billing_manager` or `member`. [Roles and permissions](https://quenza.com/help/team/roles-and-permissions/) explains what each role can do.
## Request
`GET https://developers.quenza.com/v1/members`
### Query parameters
- `offset` (integer): How many records to skip. Defaults to `0`.
- `limit` (integer): How many records to return, from 1 to 100. Defaults to `20`.
### Example
```bash
curl https://developers.quenza.com/v1/members \
-H "Authorization: Bearer $QUENZA_API_TOKEN" \
-H "Accept: application/json"
```
## Response
200 OK.
### Fields of each record in data
- `id` (string): The member’s ID. Use it to update the member or to find their tasks.
- `email` (string): Email address.
- `first_name` (string): First name.
- `last_name` (string): Last name.
- `status` (string): `pending` until the member accepts the invitation, then `active`. `suspended` while the member is suspended. One of `active`, `pending`, `suspended`
- `role` (string): Role in the workspace. One of `owner`, `manager`, `billing_manager`, `member`
- `timezone` (string): Time zone as an IANA name, such as `Europe/Amsterdam`.
- `phone` (string, or null): Phone number as free text, such as `+31 6 1234 5678`, or `null`.
- `company` (string, or null): Company or practice name, or `null`.
- `website` (string, or null): Website address, such as `https://example.com`, or `null`.
- `address` (string, or null): Street and house number, or `null`.
- `city` (string, or null): City, or `null`.
- `state` (string, or null): State or region, or `null`.
- `country_code` (string, or null): Two-letter country code in lower case, such as `nl`, or `null`.
- `invited_at` (string, or null): When the invitation email was sent. ISO 8601 date and time in UTC
- `invitation_accepted_at` (string, or null): When the invitation was accepted, or `null` while it is pending. ISO 8601 date and time in UTC
- `created_at` (string): When it was created. ISO 8601 date and time in UTC
- `updated_at` (string): When it was last changed. ISO 8601 date and time in UTC
```json
{
"data": [
{
"id": "H2V7N4QX",
"email": "sarah.bennett@example.com",
"first_name": "Sarah",
"last_name": "Bennett",
"status": "active",
"role": "owner",
"timezone": "Europe/Amsterdam",
"phone": "+31 20 555 0142",
"company": "Bright Path Coaching",
"website": "https://example.com",
"address": "Keizersgracht 100",
"city": "Amsterdam",
"state": null,
"country_code": "nl",
"invited_at": null,
"invitation_accepted_at": null,
"created_at": "2025-03-10T14:20:00.000000Z",
"updated_at": "2026-10-01T08:00:00.000000Z"
},
{
"id": "K9T3W6PB",
"email": "daniel.weber@example.com",
"first_name": "Daniel",
"last_name": "Weber",
"status": "active",
"role": "member",
"timezone": "Europe/Amsterdam",
"phone": null,
"company": "Bright Path Coaching",
"website": "https://example.com",
"address": null,
"city": "Amsterdam",
"state": null,
"country_code": "nl",
"invited_at": "2026-11-15T10:10:00.000000Z",
"invitation_accepted_at": "2026-11-15T12:00:00.000000Z",
"created_at": "2026-11-15T10:10:00.000000Z",
"updated_at": "2026-11-15T10:10:00.000000Z"
}
],
"meta": {
"limit": 20,
"offset": 0,
"total": 2
},
"links": {
"next": null,
"prev": null
}
}
```
Status codes: 200 OK, 401 Unauthenticated, 402 Workspace not active, 403 Not on your plan, 406 Not acceptable. See /help/api/errors/.
---
# Update a member
> Change a team member's name, email, phone number, time zone or address through the Quenza API. Only the fields you send are changed.
Source: https://quenza.com/help/api/members/update-a-member/
Send only the fields you want to change; the others stay as they are. To clear an optional field, send `null`.
A member's role cannot be changed through the API. Change it in Quenza; see [Roles and permissions](https://quenza.com/help/team/roles-and-permissions/).
## Request
`PATCH https://developers.quenza.com/v1/members/{professional}`
### Path parameters
- `professional` (string, required): The member’s ID.
### Request body
- `first_name` (string): First name. Up to 255 characters
- `last_name` (string): Last name. Up to 255 characters
- `email` (string): New email address. Up to 255 characters. A valid email address
- `timezone` (string, or null): Time zone as an IANA name, such as `Europe/Amsterdam`. One of 419 values, listed in the [OpenAPI file](https://quenza.com/help/api/openapi.json)
- `phone` (string, or null): Phone number as free text, such as `+31 6 1234 5678`, or `null`. Up to 50 characters
- `company` (string, or null): Company or practice name, or `null`. Up to 255 characters
- `website` (string, or null): Website address, such as `https://example.com`, or `null`. Up to 255 characters. A full URL
- `address` (string, or null): Street and house number, or `null`. Up to 255 characters
- `city` (string, or null): City, or `null`. Up to 255 characters
- `state` (string, or null): State or region, or `null`. Up to 255 characters
- `country_code` (string, or null): Two-letter country code in lower case, such as `nl`, or `null`. One of 210 values, listed in the [OpenAPI file](https://quenza.com/help/api/openapi.json)
### Example
```bash
curl -X PATCH https://developers.quenza.com/v1/members/K9T3W6PB \
-H "Authorization: Bearer $QUENZA_API_TOKEN" \
-H "Accept: application/json" \
-H "Content-Type: application/json" \
-d '{
"city": "Utrecht",
"phone": "+31 30 555 0199"
}'
```
## Response
200 OK.
### Fields of data
- `id` (string): The member’s ID. Use it to update the member or to find their tasks.
- `email` (string): Email address.
- `first_name` (string): First name.
- `last_name` (string): Last name.
- `status` (string): `pending` until the member accepts the invitation, then `active`. `suspended` while the member is suspended. One of `active`, `pending`, `suspended`
- `role` (string): Role in the workspace. One of `owner`, `manager`, `billing_manager`, `member`
- `timezone` (string): Time zone as an IANA name, such as `Europe/Amsterdam`.
- `phone` (string, or null): Phone number as free text, such as `+31 6 1234 5678`, or `null`.
- `company` (string, or null): Company or practice name, or `null`.
- `website` (string, or null): Website address, such as `https://example.com`, or `null`.
- `address` (string, or null): Street and house number, or `null`.
- `city` (string, or null): City, or `null`.
- `state` (string, or null): State or region, or `null`.
- `country_code` (string, or null): Two-letter country code in lower case, such as `nl`, or `null`.
- `invited_at` (string, or null): When the invitation email was sent. ISO 8601 date and time in UTC
- `invitation_accepted_at` (string, or null): When the invitation was accepted, or `null` while it is pending. ISO 8601 date and time in UTC
- `created_at` (string): When it was created. ISO 8601 date and time in UTC
- `updated_at` (string): When it was last changed. ISO 8601 date and time in UTC
```json
{
"data": {
"id": "K9T3W6PB",
"email": "daniel.weber@example.com",
"first_name": "Daniel",
"last_name": "Weber",
"status": "pending",
"role": "member",
"timezone": "Europe/Amsterdam",
"phone": "+31 30 555 0199",
"company": "Bright Path Coaching",
"website": "https://example.com",
"address": null,
"city": "Utrecht",
"state": null,
"country_code": "nl",
"invited_at": "2026-11-15T10:10:00.000000Z",
"invitation_accepted_at": null,
"created_at": "2026-11-15T10:10:00.000000Z",
"updated_at": "2026-11-15T10:30:00.000000Z"
}
}
```
Status codes: 200 OK, 401 Unauthenticated, 402 Workspace not active, 403 Not on your plan, 404 Not found, 406 Not acceptable, 415 Wrong content type, 422 Validation error. See /help/api/errors/.
---
# List tasks
> Get the tasks of your Quenza workspace through the API, newest first, for everyone or only for one client or team member.
Source: https://quenza.com/help/api/tasks/list-tasks/
Returns all tasks of the workspace, newest first, both done and open ones.
To get the tasks of one person, send `assignee_type` and `assignee_id` together: `client` with a client's ID, or `professional` with a member's ID. With only one of the two, you get all tasks.
`client_id` says which client a task is about; `assignee_id` says who has to do it. A task Sarah Bennett has to do for Emma Clarke has Emma's ID in `client_id` and Sarah's in `assignee_id`. See [Tasks](https://quenza.com/help/working-with-clients/tasks/).
## Request
`GET https://developers.quenza.com/v1/tasks`
### Query parameters
- `offset` (integer): How many records to skip. Defaults to `0`.
- `limit` (integer): How many records to return, from 1 to 100. Defaults to `20`.
- `assignee_type` (string): Only tasks for this kind of assignee: `client` or `professional`. Use together with `assignee_id`. One of `client`, `professional`
- `assignee_id` (string): Only tasks assigned to this client or member. Use together with `assignee_type`.
### Example
```bash
curl "https://developers.quenza.com/v1/tasks?assignee_type=client&assignee_id=8GJ4D9KQ" \
-H "Authorization: Bearer $QUENZA_API_TOKEN" \
-H "Accept: application/json"
```
## Response
200 OK.
### Fields of each record in data
- `id` (string): The task’s ID.
- `title` (string): What has to be done.
- `client_id` (string, or null): ID of the client the task belongs to, or `null`.
- `assignee_type` (string): Who has to do the task: a `client` or a `professional` (a member). One of `client`, `professional`
- `assignee_id` (string): ID of the client or member who has to do the task.
- `is_completed` (boolean): Whether the task is done.
- `due_at` (string, or null): When the task is due, or `null`. ISO 8601 date and time in UTC
- `completed_at` (string, or null): When the task was completed, or `null`. ISO 8601 date and time in UTC
- `created_at` (string): When it was created. ISO 8601 date and time in UTC
- `updated_at` (string): When it was last changed. ISO 8601 date and time in UTC
```json
{
"data": [
{
"id": "T5HQ2M8C",
"title": "Fill in the intake questionnaire",
"client_id": "8GJ4D9KQ",
"assignee_type": "client",
"assignee_id": "8GJ4D9KQ",
"is_completed": false,
"due_at": "2026-11-20T17:00:00.000000Z",
"completed_at": null,
"created_at": "2026-11-13T11:00:00.000000Z",
"updated_at": "2026-11-13T11:00:00.000000Z"
}
],
"meta": {
"limit": 20,
"offset": 0,
"total": 1
},
"links": {
"next": null,
"prev": null
}
}
```
Status codes: 200 OK, 401 Unauthenticated, 402 Workspace not active, 403 Not on your plan, 406 Not acceptable. See /help/api/errors/.
---
# AI assistants
> Connect Claude, ChatGPT, Cursor or another AI assistant to the Quenza help center, so its answers about Quenza come from these articles.
Source: https://quenza.com/help/ai-assistants/
AI assistants such as ChatGPT and Claude know a little about Quenza, but not always the current buttons, menus and plans. Connect them to the help center and they look up the answer in these articles before they reply, with a link to the page they used. It works on every plan and needs no login: the help center is public, and the assistant only reads it.
For example, Sarah Bennett asks Claude "How do I give a new client in my Mindfulness group the exercises the group already had?". Claude searches the help center, reads [New group members](https://quenza.com/help/clients/new-group-members/) and explains the setting, with the link.
The assistant only reads the help center. It cannot see or change anything in your Quenza workspace.
## Ask AI in the search
You don't need your own assistant to ask a question in your own words. Click **Ask AI** at the top of any page, or type your question in the search and press Enter. The answer is written from the help articles only, in the language you ask in, with numbered links to the articles it used. Nothing you ask is stored.
## Ask about one article
For a question about the article you are reading, open the **Copy page** menu at the top of the article:
- **Open in ChatGPT** or **Open in Claude** starts a chat that has read the article.
- **Copy page** copies the article as plain text, to paste into any assistant.
- **View as Markdown** opens the article as plain text.
## Connect the whole help center
The help center is also an MCP server. MCP (Model Context Protocol) is the standard way for AI assistants to use outside tools. Add this address as a custom connector or MCP server in your assistant:
```text
https://quenza.com/help/mcp
```
The assistant then gets three tools: search the help center, read an article, and list all articles. It needs no API key or login.
Where to add it depends on the assistant:
- **Claude** (claude.ai and the desktop app): add a custom connector with the address in your connector settings.
- **ChatGPT**: add a custom connector (also called an app) with the address. Depending on your ChatGPT plan, this needs developer mode.
- **Claude Code**: run
```bash
claude mcp add --transport http quenza-help https://quenza.com/help/mcp
```
- **Cursor**: add the server to `.cursor/mcp.json` in your project, or to `~/.cursor/mcp.json` for all projects:
```json
{ "mcpServers": { "quenza-help": { "url": "https://quenza.com/help/mcp" } } }
```
- **VS Code**: add the server to `.vscode/mcp.json`:
```json
{ "servers": { "quenza-help": { "type": "http", "url": "https://quenza.com/help/mcp" } } }
```
The assistants change their settings pages from time to time; their own help explains where custom connectors are today.
> **Note:** An assistant can still make mistakes. When an answer matters, for example about billing or deleting data, open the linked article and check it. For anything the help center does not answer, email our support team at help@quenza.com.
## For developers
- [llms.txt](https://quenza.com/help/llms.txt) lists every article with its Markdown address; [llms-full.txt](https://quenza.com/help/llms-full.txt) contains all of them in one file.
- Every article is available as Markdown: add `.md` to its address without the last slash, such as `/help/clients/import-clients.md`.
- The MCP server speaks Streamable HTTP without sessions and offers the tools `search_quenza_help`, `get_quenza_help_page` and `list_quenza_help_pages`, all read-only.
- To work with your own workspace data, use the [Quenza API](https://quenza.com/help/api/) instead.
---
# What's new
> New features and improvements in Quenza, newest first. Each update has a short summary and links to the help articles that explain it.
Source: https://quenza.com/help/whats-new/
---
# Meet the new Quenza help center
> Help, the API reference and What's new now live together at quenza.com/help, with every article rewritten, a faster search and answers from AI.
Source: https://quenza.com/help/whats-new/the-new-quenza-help-center/
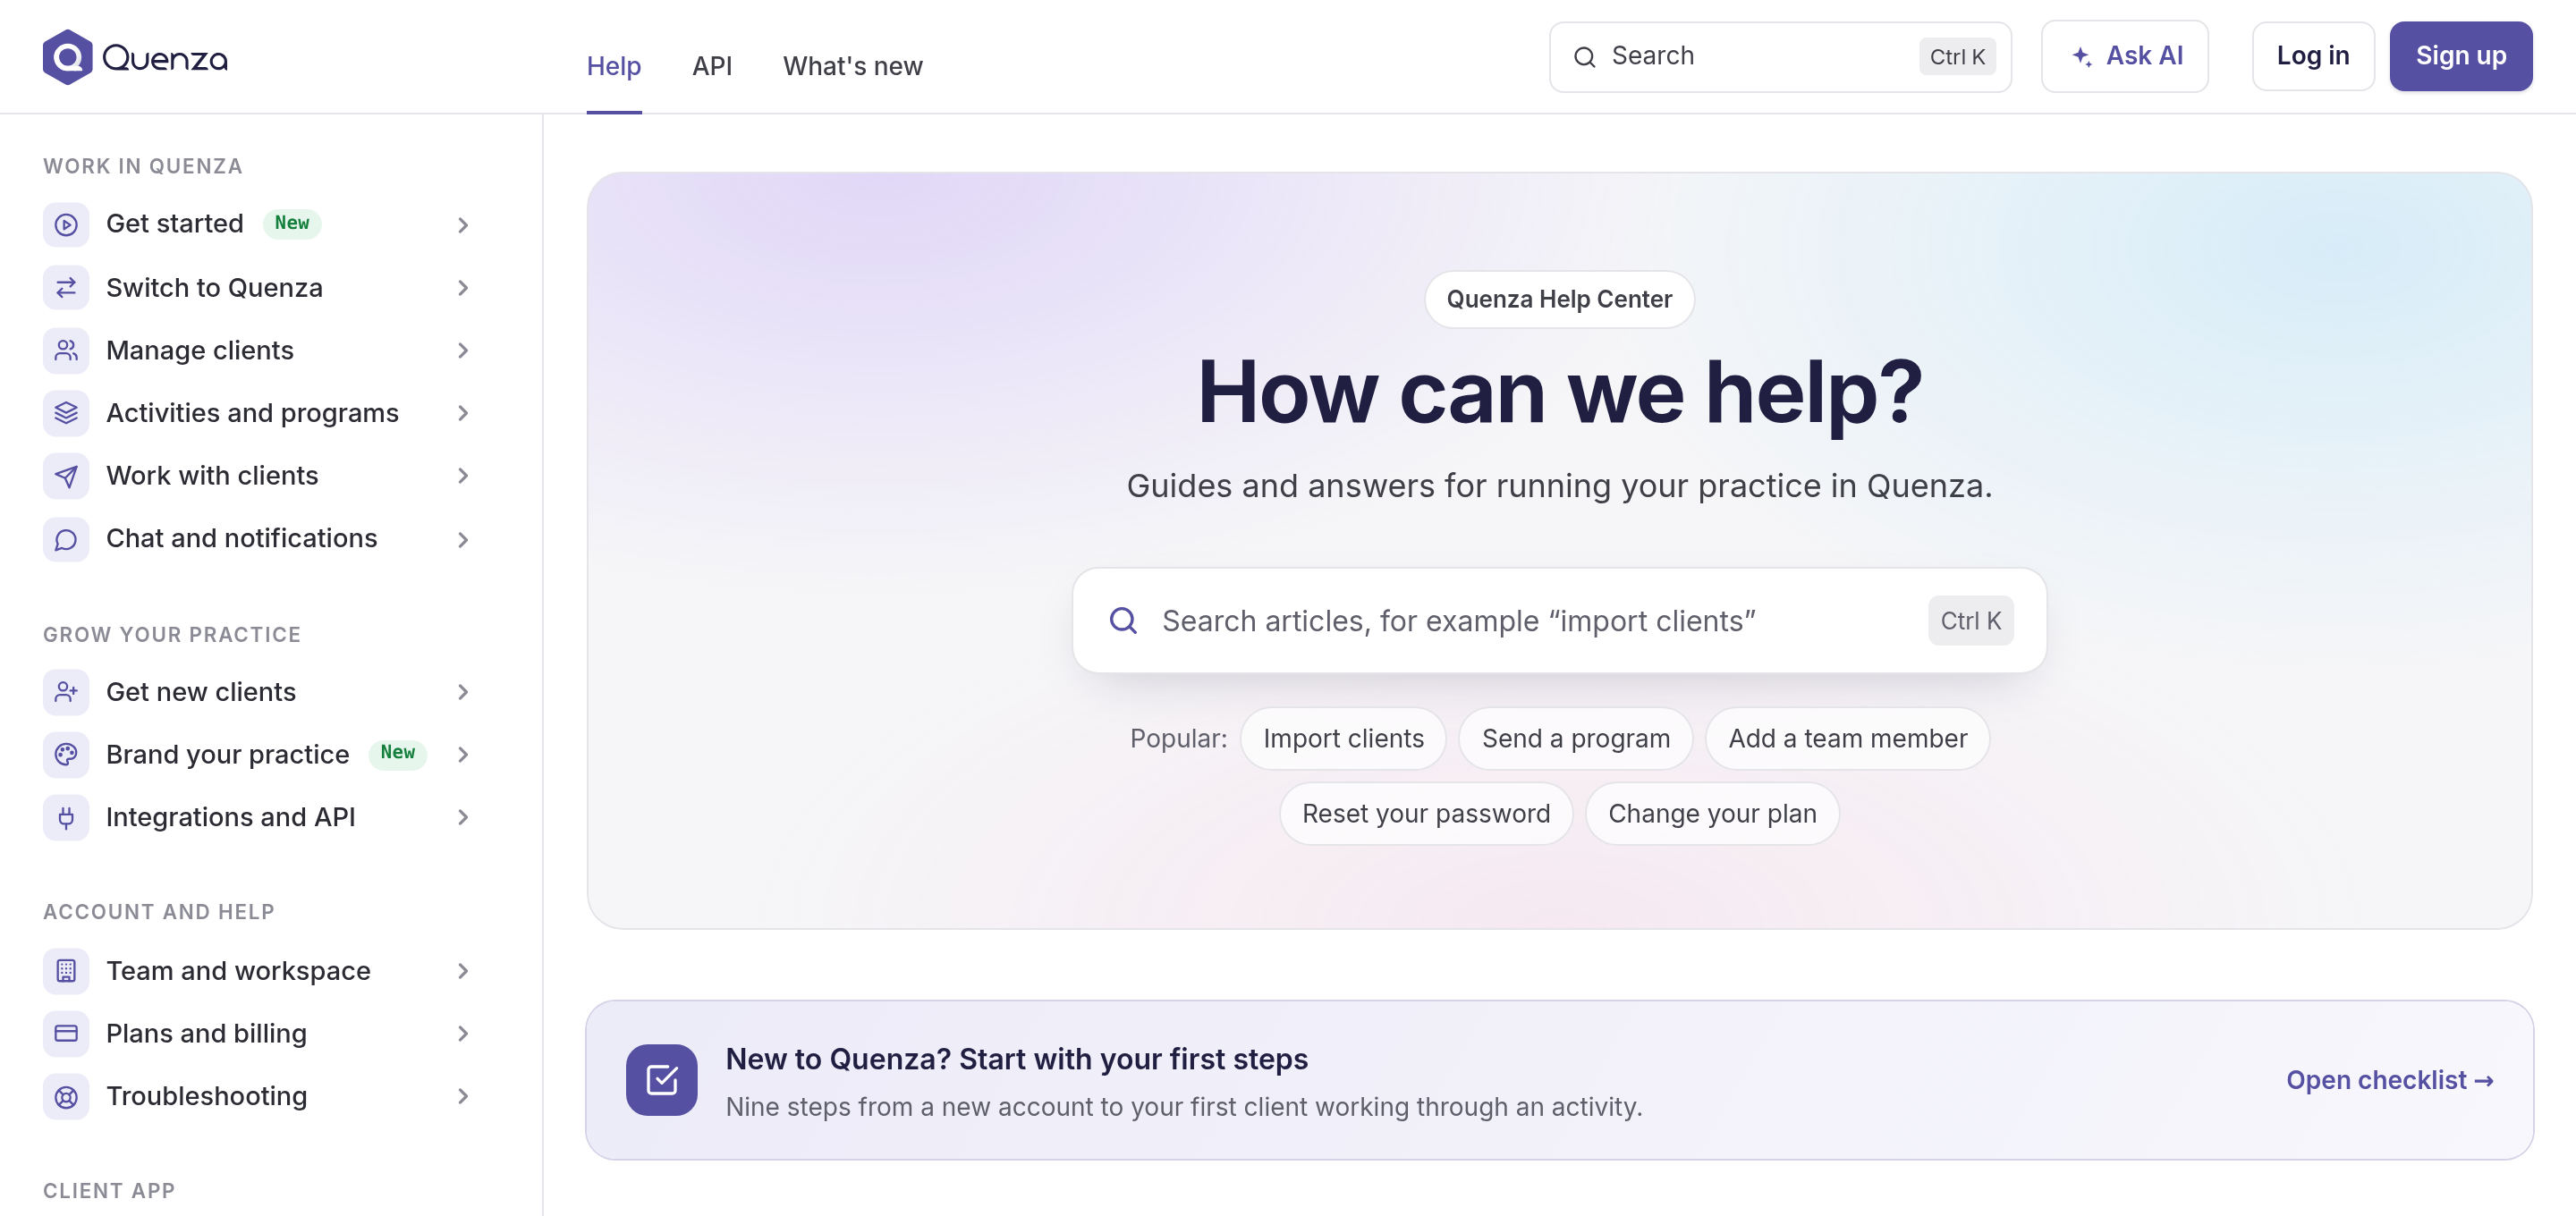
Everything you need to work with Quenza now lives in one place: quenza.com/help. The help center, the API documentation and this What's new page used to be spread over three sites. Today they share one address, one search and one look, and every article has been rewritten from scratch.
Your old links keep working. Bookmarks to help.quenza.com, to the old changelog and to links in emails and the app now open the matching new page.
## Every article, rewritten
We went through Quenza screen by screen and rewrote the help center from start to finish: more than 100 articles, each checked against the app as it works today. Buttons and menus are named exactly as you see them, the screenshots are new, and short clips show the steps that are easier to watch than to read, such as adding elements to an activity or activities to a week of a program.
Each article explains what a feature is for and when it helps, not only where to click, with examples from a coaching practice. Articles for paid features say which plan includes them, and a reading time under the title tells you how long it takes.
## Find answers faster
- **A new search.** Open it with the search field at the top, **Ctrl K** or **/**. It also finds the words you use when they differ from ours, and shows popular and recently viewed articles before you type.
- **Ask AI.** Ask a question in your own words, in any language, and get a short answer written from the help articles, with links to the articles it used. If it can't answer, one click sends your question to our support team.
- **Troubleshooters.** For a missing invitation or sign-in problems, a few yes or no questions lead you straight to the fix.
- **First steps.** A checklist for your first days, from your profile to your first client, that remembers what you have done.
- **Glossary.** Not sure what a word in Quenza means? Point at a dotted word in an article, or open the [Glossary](https://quenza.com/help/getting-started/glossary/).
## Guides you can give your clients
The client app has its own section with 15 guides for your clients, from accepting the invitation to completing an activity. Every guide has a **Share with a client** button: send a link, email it, or show a QR code in a session. Your client sees a calm page with only the guide, without the Quenza help center around it.
Each guide also prints or saves as a PDF handout. For new clients, the [welcome kit](https://quenza.com/help/for-clients/welcome-kit/share/) puts the three guides they need first into one link or handout.
## Built for AI assistants
The help center is made to be read by AI tools as well as by people. Each article can be copied as plain text or opened in ChatGPT or Claude with one click.
You can also connect Claude, ChatGPT, Cursor or another assistant to the whole help center through MCP. It then looks up its answers about Quenza in these articles and links the page it used. The assistant only reads the help center: it can't see or change anything in your Quenza workspace. [AI assistants](https://quenza.com/help/ai-assistants/) shows how to connect it.
## The API reference, now part of the help center
The documentation of the Quenza API moved from developers.quenza.com to the **API** tab here. Every endpoint has examples in curl, JavaScript, Python and PHP, and step-by-step guides show complete integrations, such as adding customers from your online shop to a group or syncing clients from your CRM. Webhooks have their own pages, and a Postman collection lets you try every request without writing code. The API itself stays at developers.quenza.com, so existing integrations keep working.
## Also new
- **What's new** moved here from our feedback board, with every update from the old changelog. A number next to **What's new** at the top shows how many updates from the last 30 days you haven't opened yet. Feature requests and voting stay on [our feedback board](https://feedback.quenza.com).
- **Switch to Quenza.** Guides for moving your practice from a spreadsheet, SimplePractice or Practice Better.
- **Was this article helpful?** Tell us at the end of each article, with a few words on what was missing. Your answers show us which articles to improve first.
Take a look around, and let us know what you are missing.
## In the help center
- [First steps](https://quenza.com/help/getting-started/first-steps/)
- [AI assistants](https://quenza.com/help/ai-assistants/)
- [Welcome kit for new clients](https://quenza.com/help/clients/add-clients/#give-new-clients-a-welcome-kit)
- [Quenza API](https://quenza.com/help/api/)
- [Missing invitation](https://quenza.com/help/troubleshooting/missing-invitation/)
---
# Your Practice, Your Words: Custom Professional Labels
> Choose what your clients call you in Quenza, such as My coach or My therapist, in each language your clients use.
Source: https://quenza.com/help/whats-new/your-practice-your-words-custom-professional-labels/
Coach, therapist, counselor, mentor - "professional" is not always the word you use with your clients. You can now choose the label they see in Quenza, so the client app feels more like your practice.
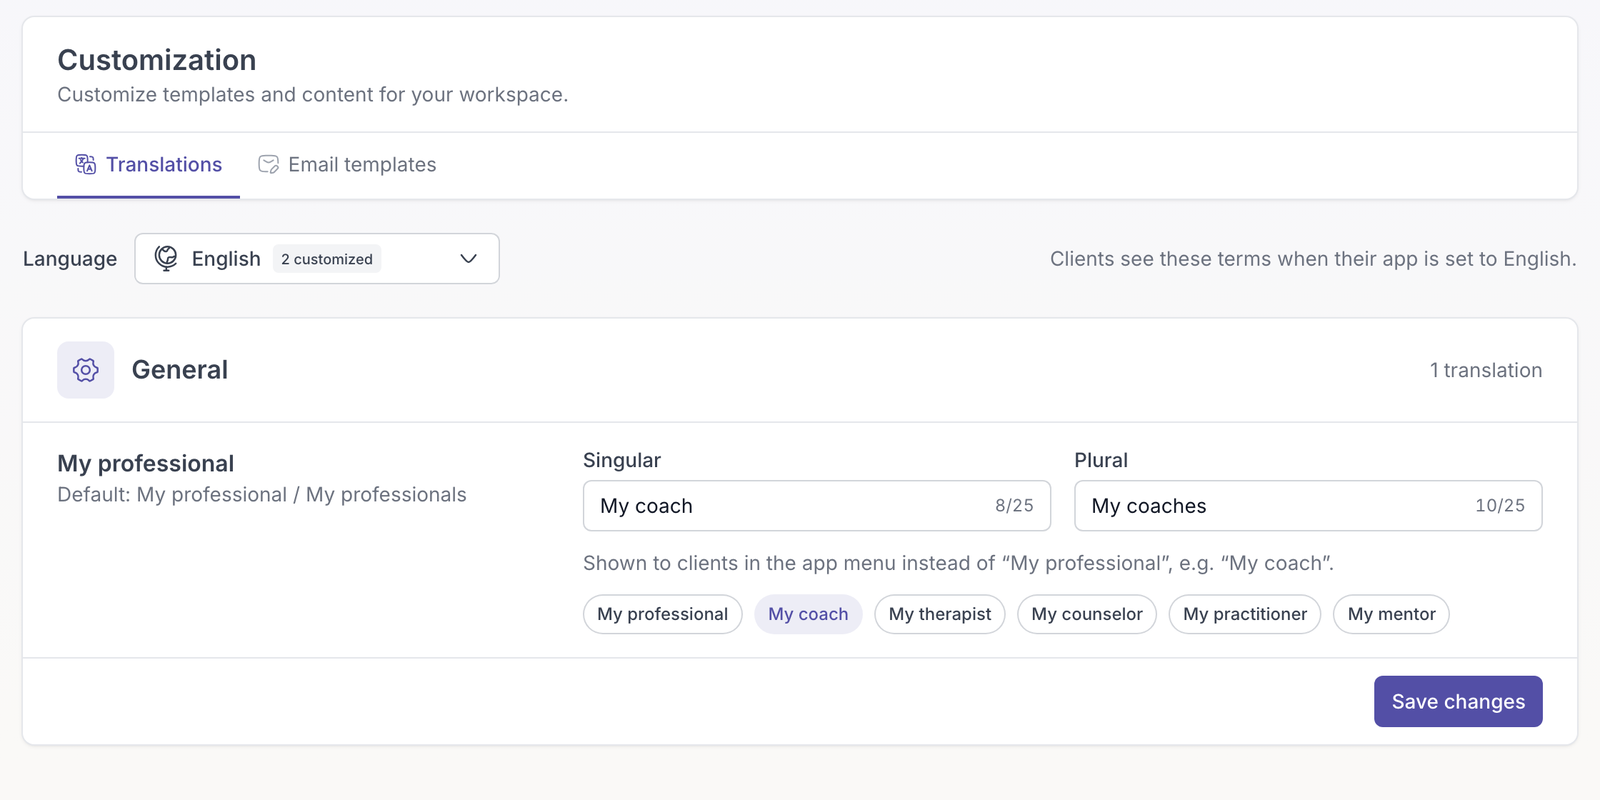
## Choose the words that fit
Pick a ready-made option like **My coach** or **My therapist**, or write your own. Set the singular and plural forms separately, and Quenza uses the right one for each client. Your wording appears in the client navigation, on the professionals page, and in the professional heading in Chats.
## Make it personal in each language
Customize the labels independently in any of Quenza’s supported languages. Clients see the wording for their own app language; languages you leave unchanged keep Quenza’s built-in text.
Find the new settings under **Administration** → **Workspace** → **Customization** → **Translations**, choose your labels, and click Save changes.
Custom professional labels are available on Spark, Growth, Impact, Collective, and Beyond, and during a trial. Legacy workspaces do not include this feature by default. For more information visit our [knowledge base](https://quenza.com/help/branding/my-professional-label/).
## In the help center
- [Rename "My professional"](https://quenza.com/help/branding/my-professional-label/)
---
# Client Resources, Resources on Spark, and More
> Clients can add their own resources, resources come to the Spark plan, you can export all of a client's work at once, and activity sections get introductions.
Source: https://quenza.com/help/whats-new/client-resources-resources-on-spark-and-more/
Resources now work both ways, and they are available on more plans. This update also brings combined client exports, clearer activity sections, and a round of improvements across the app. Here is what's new.
## Clients can add their own resources
Your clients can now upload files and save links right in their app, then choose whether to keep them private or share them with their professionals. Whether it is a useful article, a worksheet, or something they want to discuss in your next session, they now have a place to keep it alongside the resources you share with them.
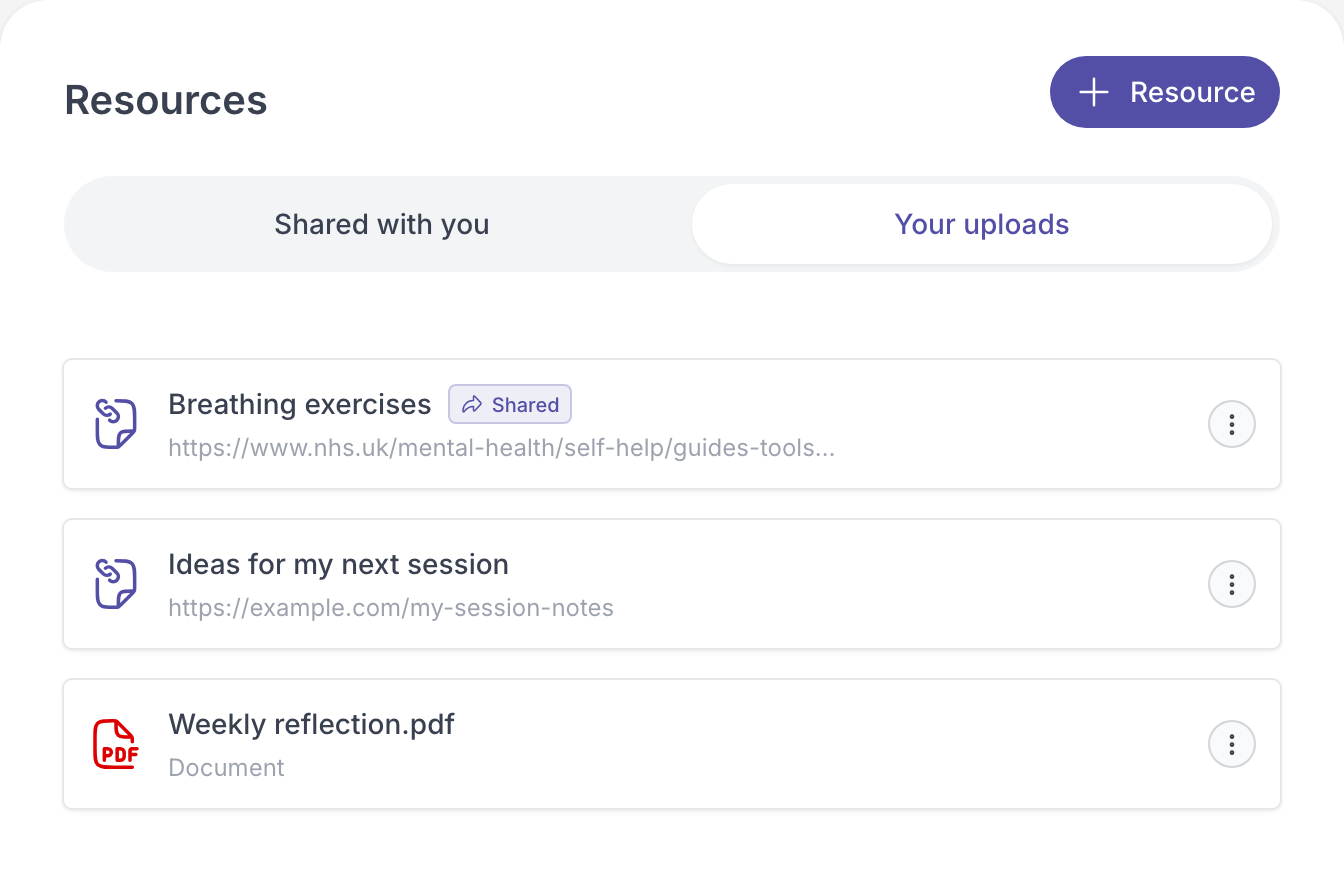
## Resources are now included in Spark
We’ve made Resources available on the Spark plan. Previously included only on Growth and above, Spark users can now upload files, save links, and share resources with clients as part of their existing plan.
## Export a client’s work in one go
You can now generate a combined PDF export from a client’s profile instead of downloading everything separately. Choose notes, completed activities, or both to bring the client work you have access to together in one document.
## Give each activity section its own introduction
The new **Show sections as pages** option introduces each section on a separate page with its number and title. It gives longer activities a clearer structure and helps clients see when they are moving into a new part of an exercise.
## Also improved
- **Client grid view:** Switch between a list and client cards while keeping your search and filters.
- **Activity covers:** The cover now appears beside the title in the activity detail view.
- **Cleaner tables:** A refreshed table element styling and we made the row-label column optional.
- **Links in email templates:** Add clickable links to your email templates.
- **More file formats:** Upload .ics calendar files and .mkv videos in chat and resources.
More soon. As always, keep the requests coming on the feedback board.
## In the help center
- [Files and links](https://quenza.com/help/for-clients/files-and-links/)
- [Resources](https://quenza.com/help/working-with-clients/resources/)
- [Export client data](https://quenza.com/help/clients/export-client-data/)
- [Activity layout](https://quenza.com/help/content/activity-layout/)
---
# Email Templates: your words, every time you send
> Save the message you send with activities and programs as a template, and stop retyping the same message.
Source: https://quenza.com/help/whats-new/email-templates-your-words-every-time-you-send/
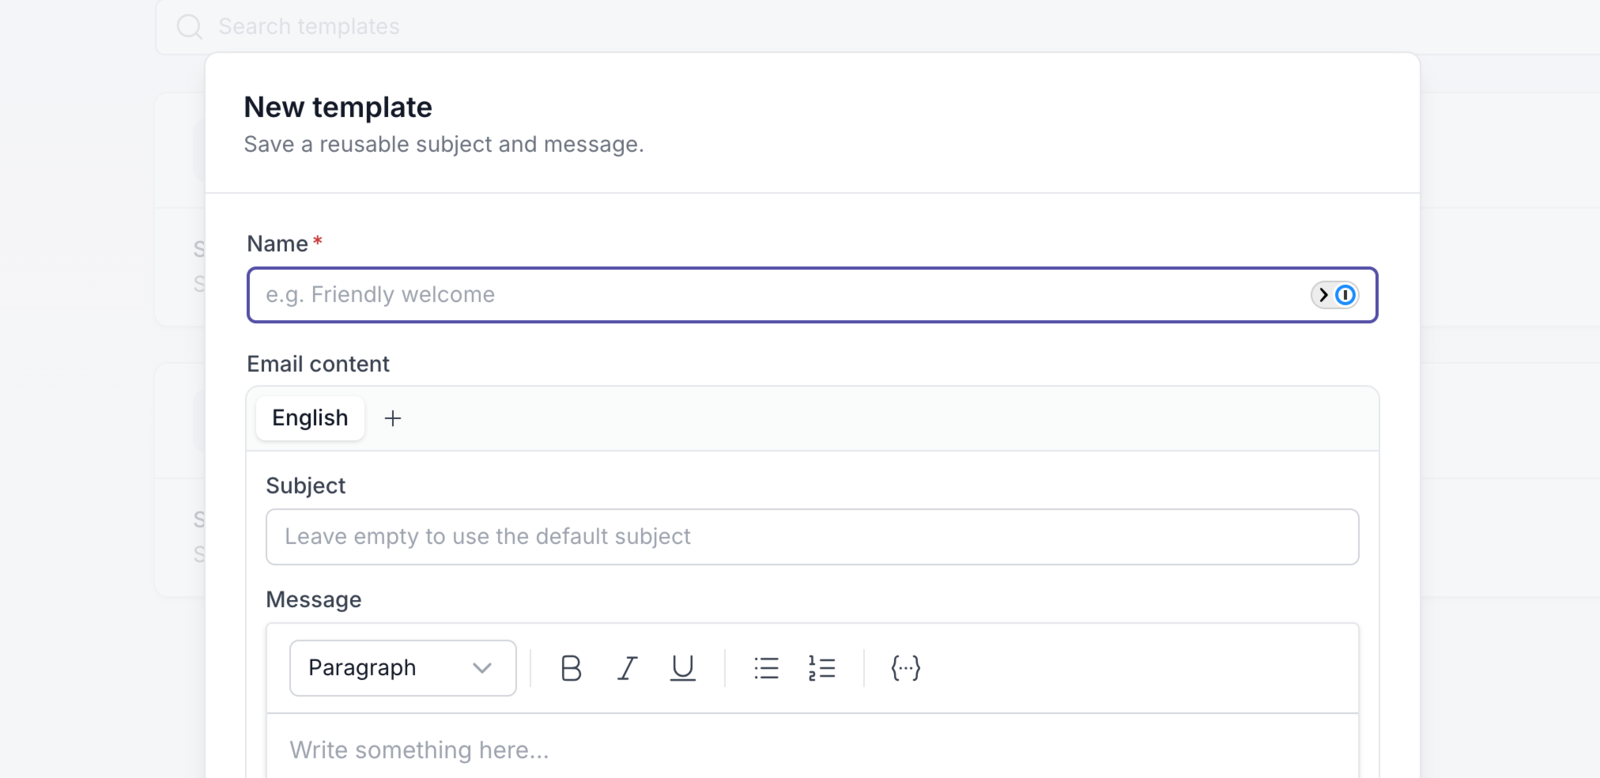
*"I hereby send you the activity…"* Many of you told us that's not how you talk to your clients, and that you were rewriting it before every send. You asked for it, and here it is: starting today, the email your clients get sounds like you.
## Write it once, use it everywhere
Save the message you send with activities and programs as a template, and stop retyping the same message. Create as many templates as you like: a warm welcome for a new program, a short nudge for a weekly check-in, a gentle intro for a first exercise.
## The right message, automatically
Choose your workspace's default for activities and for programs. Want a different message for a specific activity or program? Give it its own template in its settings. Every time you send, the subject and message are already filled in. Tweak them for this client, or just hit send.
## Personal for every client
Add placeholders like the client's first name or the activity title, and Quenza fills them in for each person. Write a version for each language you work in, and every client gets the message in their own language.
## One voice for your whole practice
Templates are shared across your workspace, so everyone on your team sends the same consistent message. Find them under *Administration* → *Workspace* → *Customization* → *Templates*.
## More templates on the way
For now, templates cover the two emails you send most: the one your client gets when you send an activity, and the one when you send a program. More are coming, so you can soon shape other emails from Quenza in your own voice too.
Email Templates are available on the Growth, Impact, Collective and Beyond plans. Full setup details are available in our [help center.](https://quenza.com/help/branding/email-templates/)
## In the help center
- [Email templates](https://quenza.com/help/branding/email-templates/)
---
# Preview Pre-Made Content, Add Elements on Hover, and More
> Preview pre-made activities and programs before you add them, add builder elements right where you point, and play m4a and wav audio in resources.
Source: https://quenza.com/help/whats-new/preview-pre-made-content-add-elements-on-hover-and-more/
A handful of improvements to make building and exploring content in Quenza smoother.
Here is what's new.
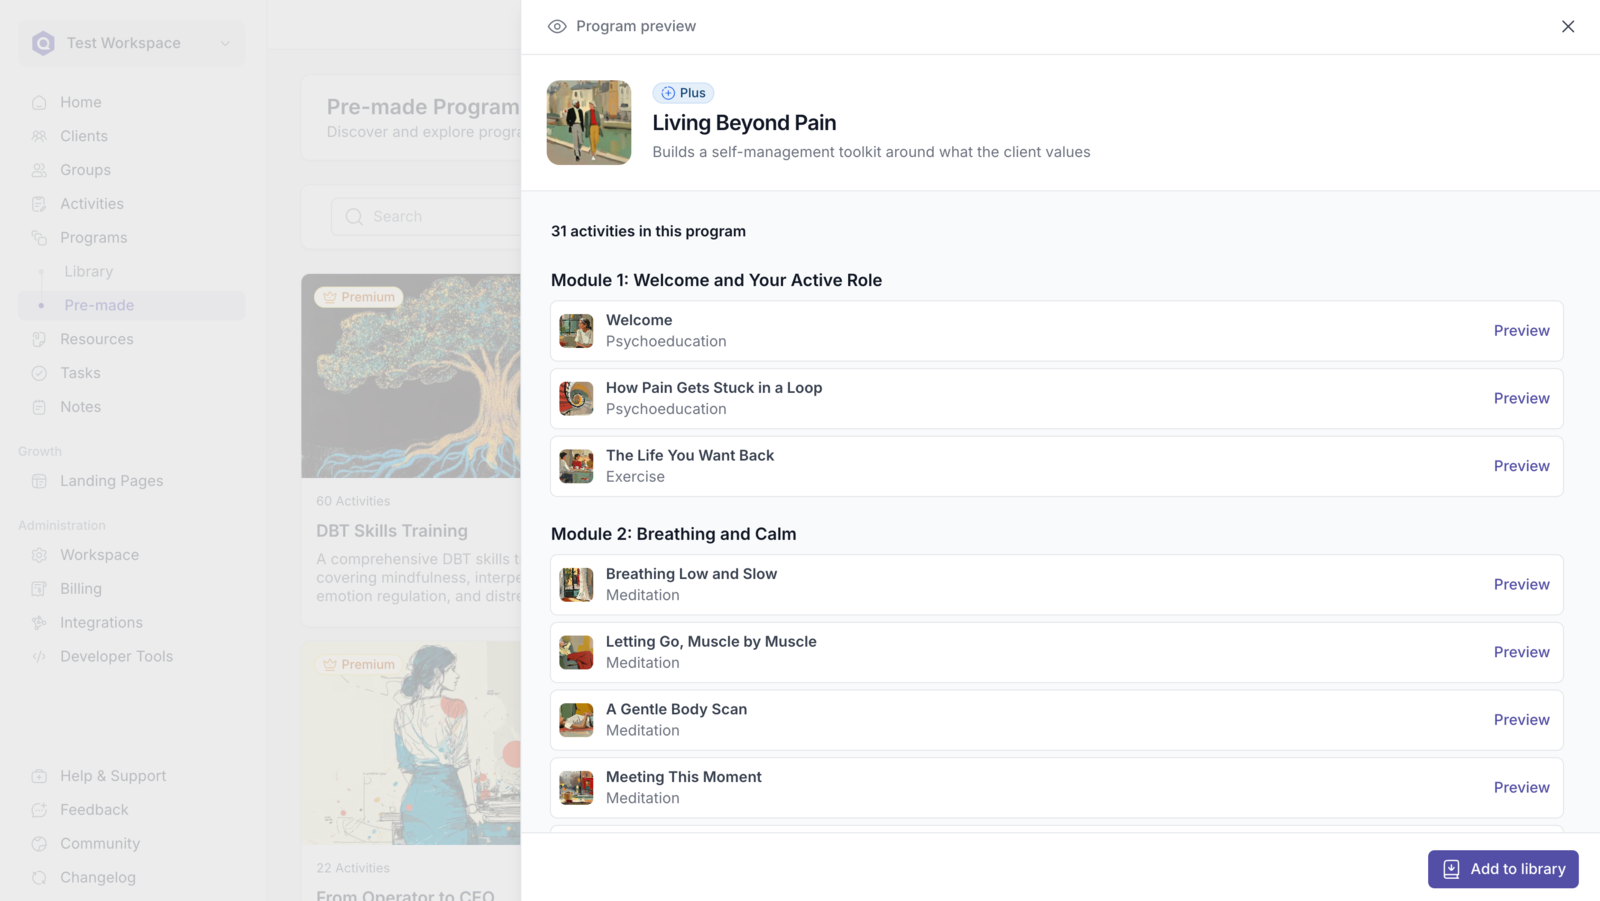
## Preview Premade Activities and Programs Before You Add Them
Clicking a premade activity or program now opens it in a new preview drawer, so you can look through the content before adding it.
If the activity or program is part of your plan, you can preview it in full.
If it's only available on a higher plan, you can now preview part of it to help you decide whether upgrading is worth it. Previously, premade content outside your plan was hidden completely, so you had no way of knowing what you'd get before switching plans.
## Add elements right where you want them
Building just got quicker. Hover between blocks in the activity builder, or the landing page builder, and a + button appears, letting you drop a new element exactly where you need it instead of adding it at the end and dragging it into place.
## Play m4a and wav audio in resources
Audio files in the m4a and wav formats now play back directly in your shared resources, so clients can listen without downloading anything first.
## Reliable previews when you undo and redo
Undo and redo in the builder now keep the element preview in sync, so what you see on screen always matches your most recent change.
More polish on the way. As always, keep the requests coming on the feedback board.
## In the help center
- [Pre-made content](https://quenza.com/help/content/pre-made-content/)
- [Build an activity](https://quenza.com/help/content/build-an-activity/)
- [Resources](https://quenza.com/help/working-with-clients/resources/)
---
# Image Zoom, Word File Support, and a Round of Polish
> Zoom in on images in activities, share Word documents in chat and resources, build programs more smoothly, and delete groups with a clearer dialog.
Source: https://quenza.com/help/whats-new/image-zoom-word-file-support-and-a-round-of-polish/
Since Landing Pages launched, we've shipped a steady stream of smaller improvements and fixes across the app. Here is a roundup of what's new.
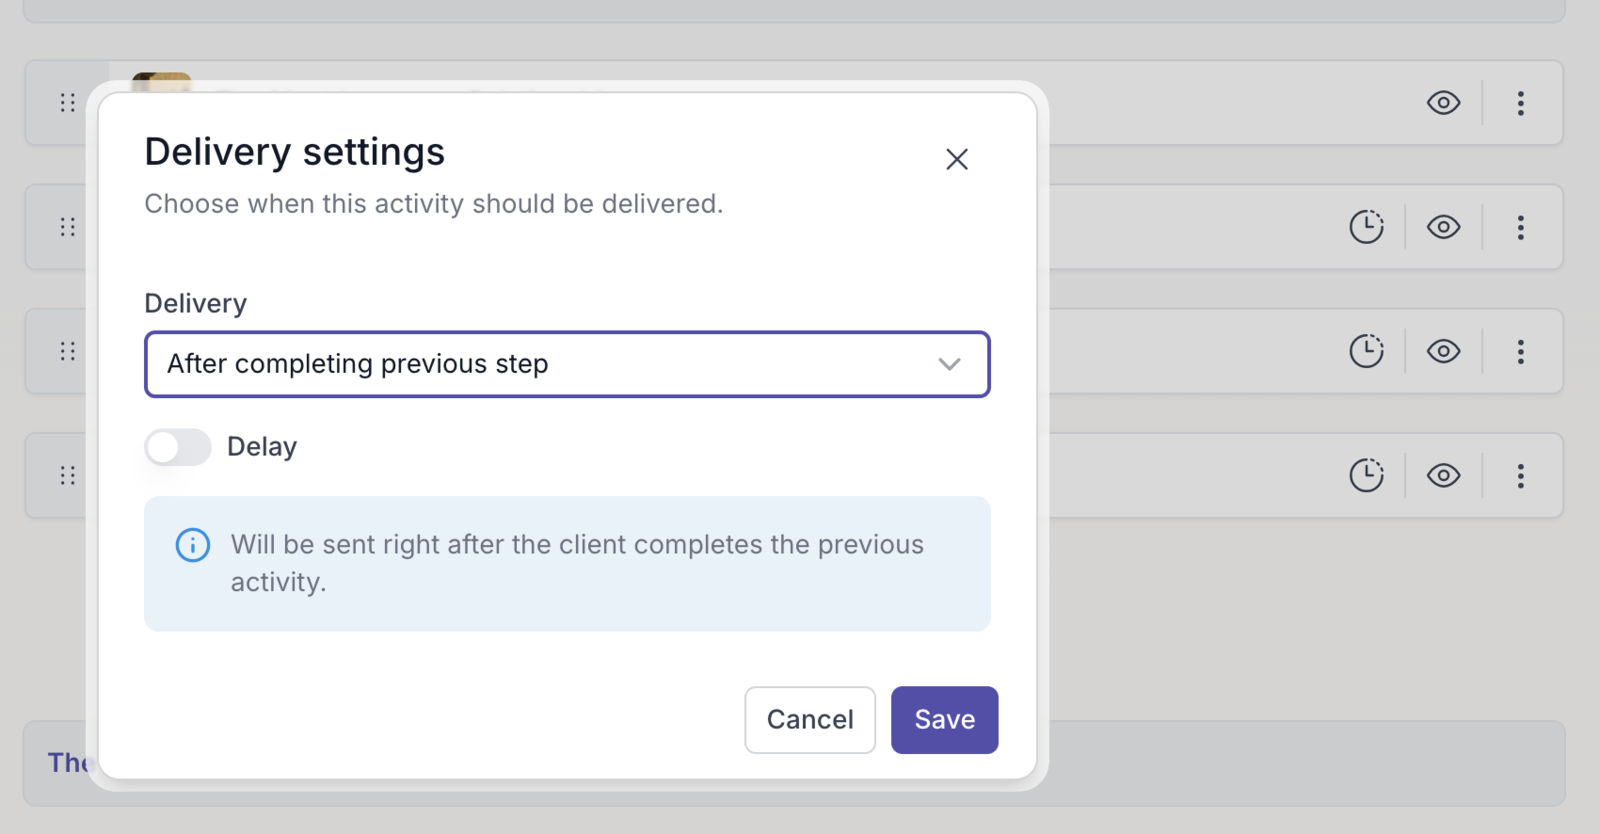
## A smoother program builder
We've refined the program builder with a more intuitive way to manage delivery settings and access activities. Previously, you had to click into an activity to open its delivery settings. Now, a clock icon opens them directly in a modal. Clicking the activity itself takes you straight into edit mode.
## Zoom in on images in activities
You and your clients can now zoom in on images within an activity, so detail-rich visuals like worksheets, diagrams, and charts are much easier to read. This also works in every rich text editor, including notes.
## Share Word documents in chat and resources
Word documents are now a supported file type, both in chat and in your resources, alongside the formats you could already share.
## A clearer group deletion
Deleting a group now makes it clear what will happen before you confirm, so there are no surprises about what gets removed.
## Fixes
- Accepting a workspace invitation now takes you to the right workspace when you're in multiple workspaces.
- Placeholders in activity items now display correctly. We also updated the preview of image, audio, video, and file elements to make it clearer in the activity builder how these elements will render in an activity.
- We now handle long task titles and large resource URLs gracefully.
Plenty more on the way. As always, keep the requests coming on the feedback board.
## In the help center
- [Program delivery](https://quenza.com/help/content/program-delivery/)
- [Attachments](https://quenza.com/help/chat-and-notifications/attachments/)
- [Archive or delete groups](https://quenza.com/help/clients/archive-or-delete-groups/)
---
# Introducing Landing Pages
> Say hello to Landing Pages, a new way to bring clients into your workspace without a website of your own and without inviting anyone by hand.
Source: https://quenza.com/help/whats-new/introducing-landing-pages/
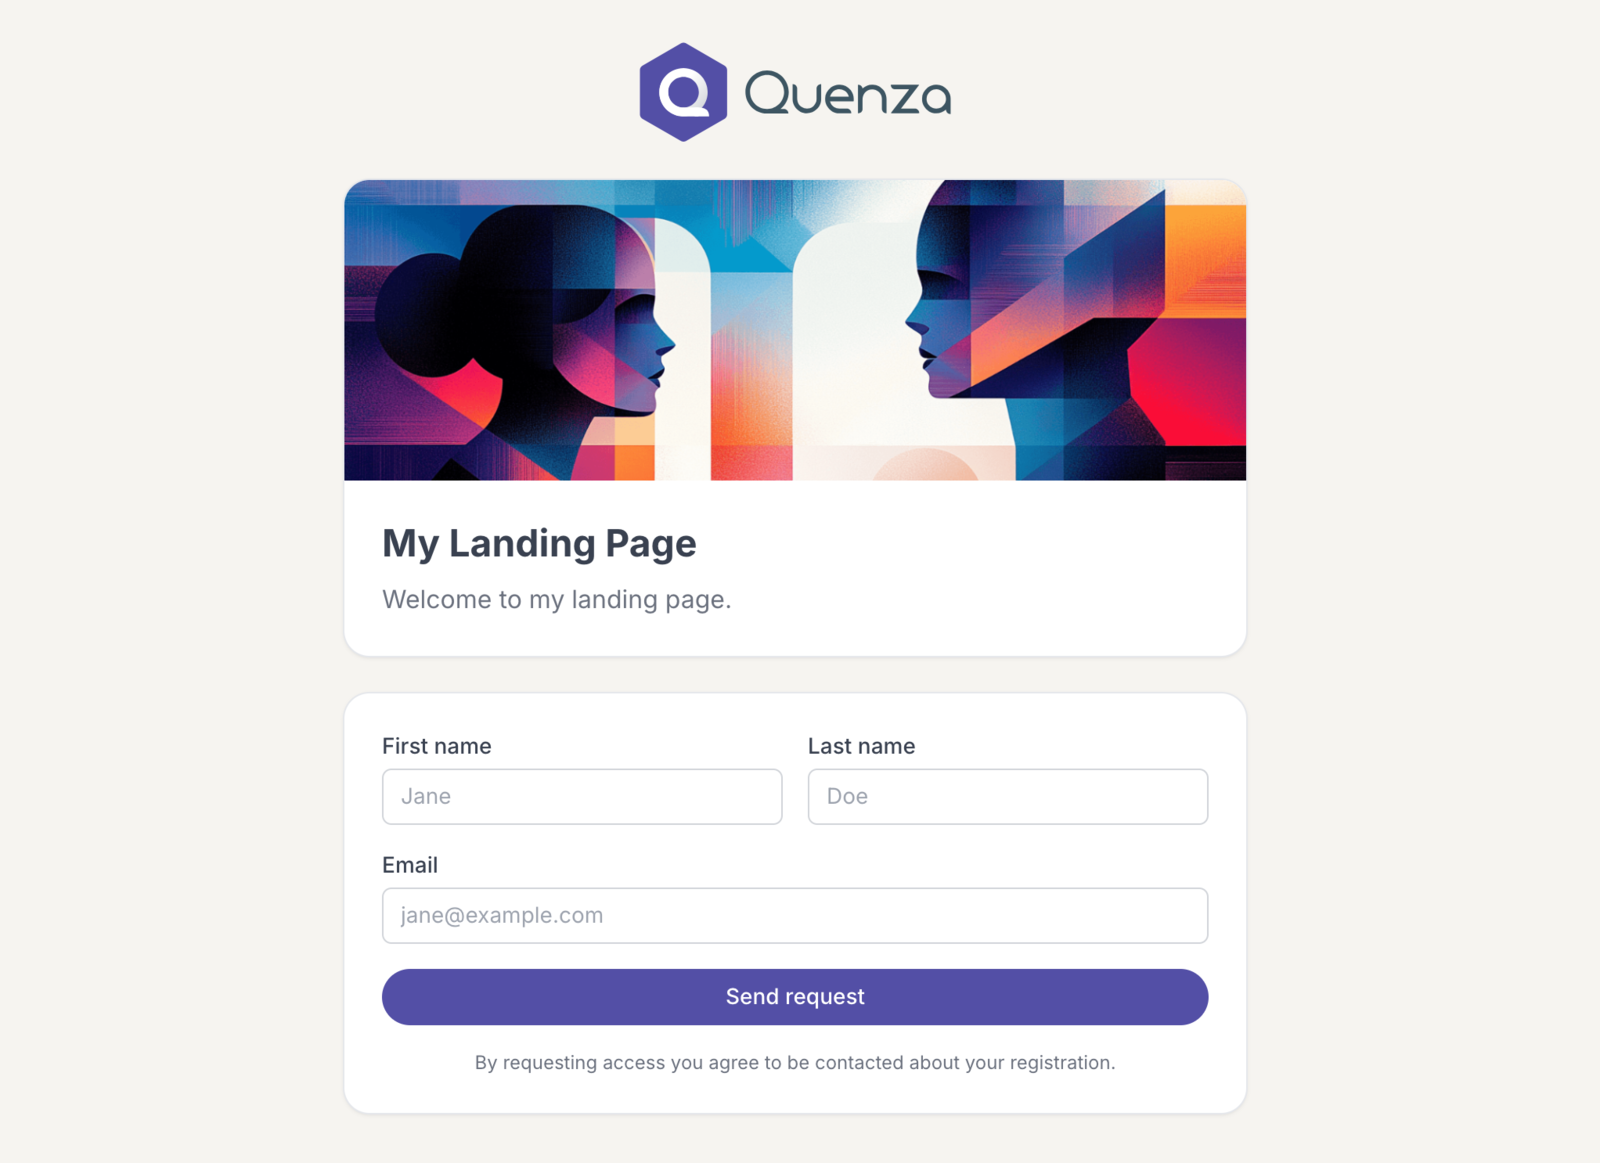
Say hello to Landing Pages, a new way to bring clients into your workspace without a website of your own and without inviting anyone by hand. You can now build a public page, share the link anywhere, and the people who sign up arrive in your workspace as clients, already set up and ready to go.
Pages are built from simple blocks and centered on a signup form you control: collect the details you need, accept people automatically or review them on a waiting list, bring them in as full clients or guests, and have activities, programs, groups, or resources assigned automatically the moment they confirm. Every page gets its own web address and stays private until you publish it.
Landing Pages are available from the Growth plan and up, and your free trial includes one.
Full setup details are available in our [help center](https://quenza.com/help/new-clients/landing-pages/).
## In the help center
- [Landing pages](https://quenza.com/help/new-clients/landing-pages/)
- [Signup form](https://quenza.com/help/new-clients/signup-form/)
- [Automations](https://quenza.com/help/new-clients/automations/)
---
# Fill Out Activities in Session, Delete Chat Messages, and More
> Fill out an activity with your client during a session, delete chat messages, export activities in programs as PDF, and use Quenza in Finnish.
Source: https://quenza.com/help/whats-new/fill-out-activities-in-session-delete-chat-messages-and-more/
A batch of new features and refinements across the app. Here is what's new.
## Fill out an activity in session
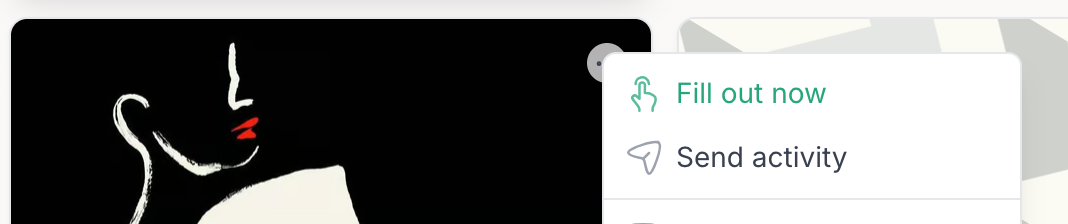
You can now fill out and complete an activity yourself, right from a client's profile. It is perfect for working through an exercise together during a session, and you get to choose who can see the results. You can also reopen a completed activity in read mode to review it with a client, without recreating or resending it.
## Delete chat messages
Sent something by mistake, or want to tidy up a conversation? You can now delete messages in chat.
## Quenza now speaks Finnish
We've added Finnish to our supported languages, so more practitioners and clients can use Quenza in their own language.
## PDF export for activities inside programs
You could already export a completed standalone activity as a PDF. Now you can do the same for completed activities that are part of a program, so it is just as easy to save or share a client's work wherever it lives.
## A fresh look for dialogs
We've redesigned Quenza's modals and confirmation dialogs for a cleaner, more consistent experience across the app.
## Faster image loading
Images across the app now load faster thanks to a new content delivery network, so pages feel a little snappier.
More soon. As always, keep the requests coming on the feedback board.
## In the help center
- [Fill out now](https://quenza.com/help/working-with-clients/fill-out-now/)
- [Chat](https://quenza.com/help/chat-and-notifications/chat/)
- [Change language](https://quenza.com/help/getting-started/change-language/)
- [Export as PDF](https://quenza.com/help/working-with-clients/export-as-pdf/)
---
# Recurring Tasks, a Cleaner Task List, and Fully Branded Emails
> Create a task once and have it repeat automatically, so you never have to recreate the same to-do every day, week, or month.
Source: https://quenza.com/help/whats-new/recurring-tasks-a-cleaner-task-list-and-fully-branded-emails/
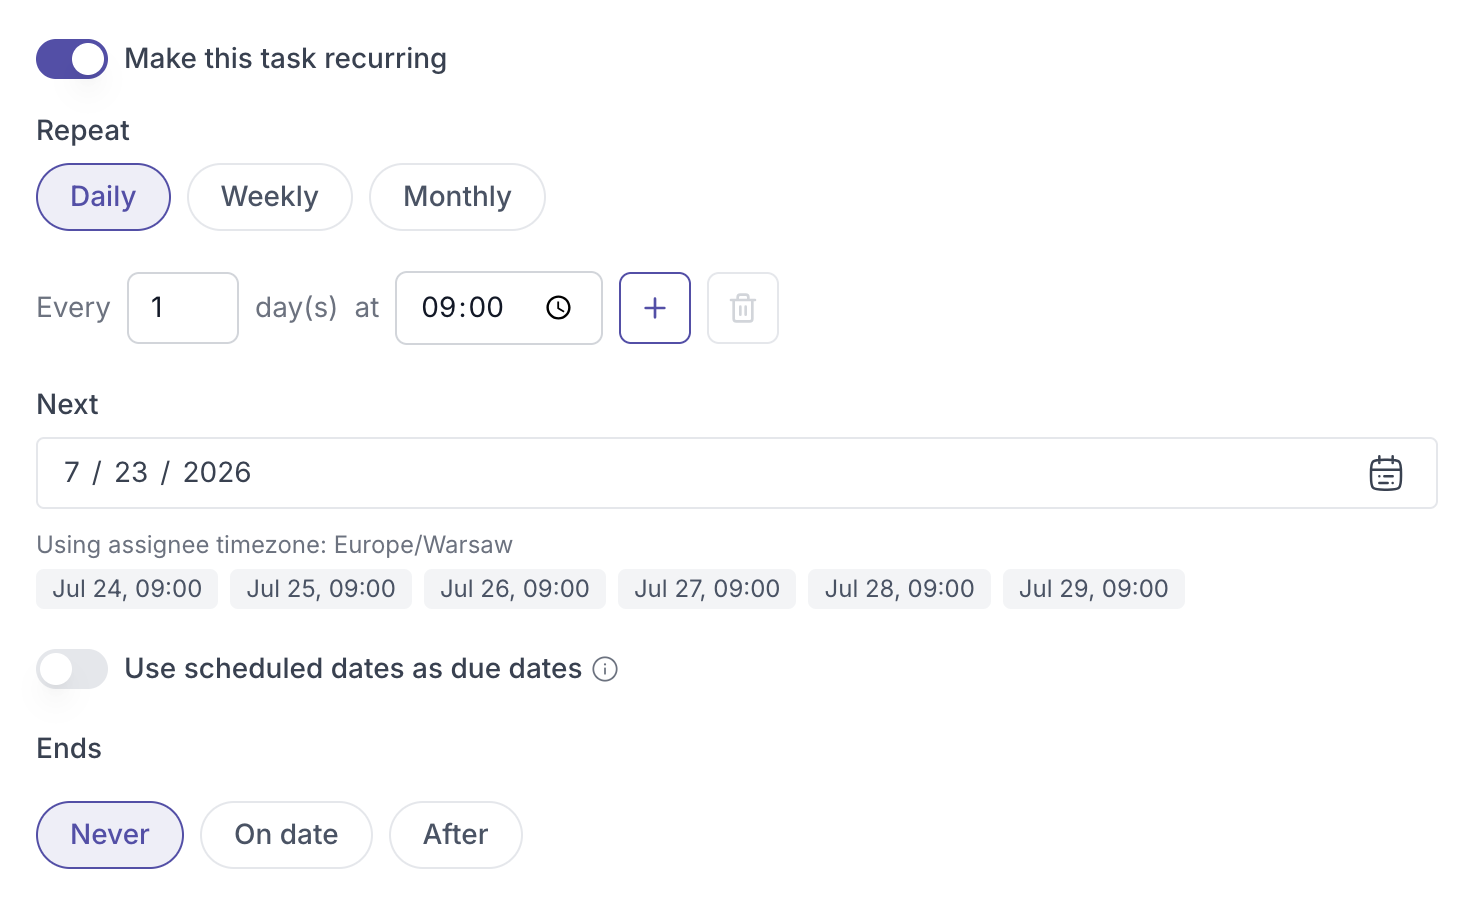
Create a task once and have it repeat automatically, so you never have to recreate the same to-do every day, week, or month. Recurring tasks work for your own workflow or for anything you assign to a client, like a daily breathing exercise or a weekly reflection.
## Set a schedule that fits
When you create a task, turn on "Make this task recurring" to open the scheduling options. Choose Daily, Weekly, or Monthly, and shape it however you need: repeat every few days, pick specific days of the week, or land on the same date each month. You can even add more than one time per day, so a task like a three-times-daily medication reminder shows up in the morning, midday, and afternoon.
## Control when it starts and stops
Set when the first occurrence happens, and preview the upcoming dates before you save so the schedule looks right. Then decide how it ends: keep it going indefinitely, stop on a specific date, or stop after a set number of occurrences, for example a six-week program that ends after six reflections.
## Deadlines that work your way
Every occurrence appears on its scheduled date. With the "Use scheduled dates as due dates" toggle, you decide whether that date is also a deadline. Turn it on and each occurrence is due the day it appears and marked overdue if missed. Turn it off and the task still appears, with no deadline attached.
## Built for clients across time zones
If you assign a recurring task to a client in a different time zone, the schedule follows the client's time zone, not yours, so they receive it at the right local time. A note under the schedule shows which time zone is in use, and the preview reflects it, so it is always worth a quick check after assigning a client.
You can edit any recurring task later from the three-dot menu to adjust the pattern, times, start date, or end conditions. See the full guide at [the help article](https://quenza.com/help/working-with-clients/recurring-tasks/).
## ✨ Also new
- **Completed tasks, out of your way** - Your task list now separates completed tasks into their own "Completed" tab, so your active to-dos stay front and center.
- **Reminders for individual activities in a program** - You can now set a reminder for activities when sending a program, or trigger one on demand from a client's program activity list, instead of only reminding for single activities.
- **Branded system emails with a custom domain** - If you're using a custom domain, system emails like magic login links and password resets are now automatically branded with your custom logo instead of Quenza's, no setup required.
## In the help center
- [Recurring tasks](https://quenza.com/help/working-with-clients/recurring-tasks/)
- [Tasks](https://quenza.com/help/working-with-clients/tasks/)
- [Custom domain](https://quenza.com/help/branding/custom-domain/)
---
# Voice Messages in Chat, Tables in Notes, and More
> Record voice messages in chat, add tables to notes, remove your profile picture, and see how many items each list holds.
Source: https://quenza.com/help/whats-new/voice-messages-in-chat-tables-in-notes-and-more/
A few new things to make your day-to-day in Quenza smoother. Here is what's new.
## Voice messages in chat

You can now send voice messages in chat. Sometimes a quick recording says more than a typed reply, whether you are checking in with a client or sharing a bit of encouragement between sessions. Just record and send, right from the conversation.
## Tables in notes
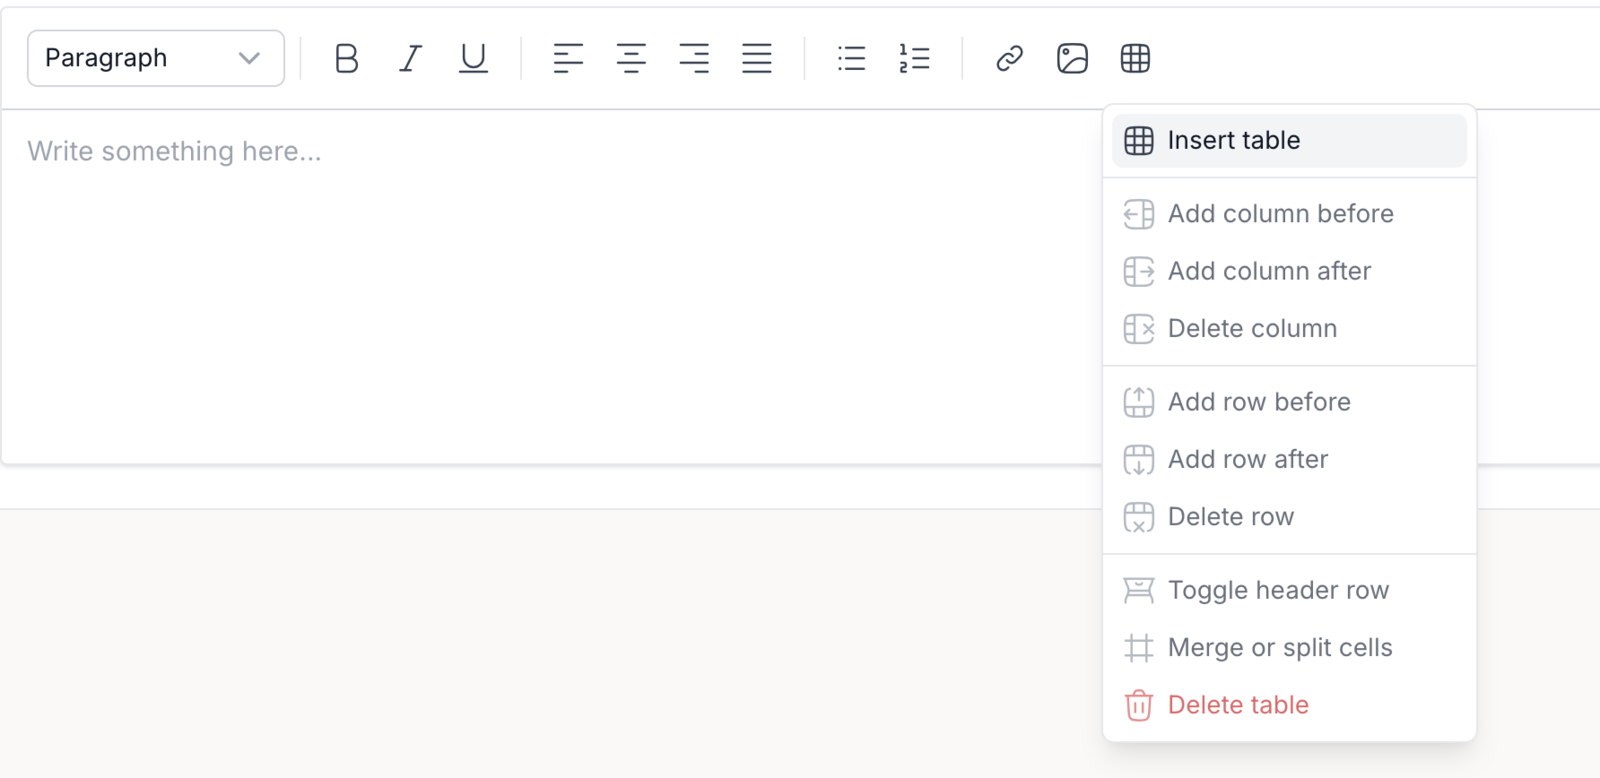
The notes editor now supports tables, so you can structure information in rows and columns, alongside the images and links you can already add. It is handy for session structure, comparisons, or any details that read more clearly in a grid. Tables are available on newly created notes.
## Remove your profile picture
We've improved profile picture uploads. You can now remove your picture entirely, not just replace it, giving you a bit more control over how your profile looks.
## See how many items are in a list
When a listing spans multiple pages, Quenza now shows the total item count, so you can see at a glance how many clients, activities, or other items you have without paging all the way through.
More soon. As always, keep the requests coming on the feedback board.
## In the help center
- [Attachments](https://quenza.com/help/chat-and-notifications/attachments/)
- [Notes](https://quenza.com/help/working-with-clients/notes/)
- [Edit your profile](https://quenza.com/help/getting-started/edit-your-profile/)
---
# A Home to Start Your Day
> Home shows what needs your attention when you sign in: tasks due soon, overdue tasks, pending clients and recent activity in your workspace.
Source: https://quenza.com/help/whats-new/a-home-to-start-your-day/
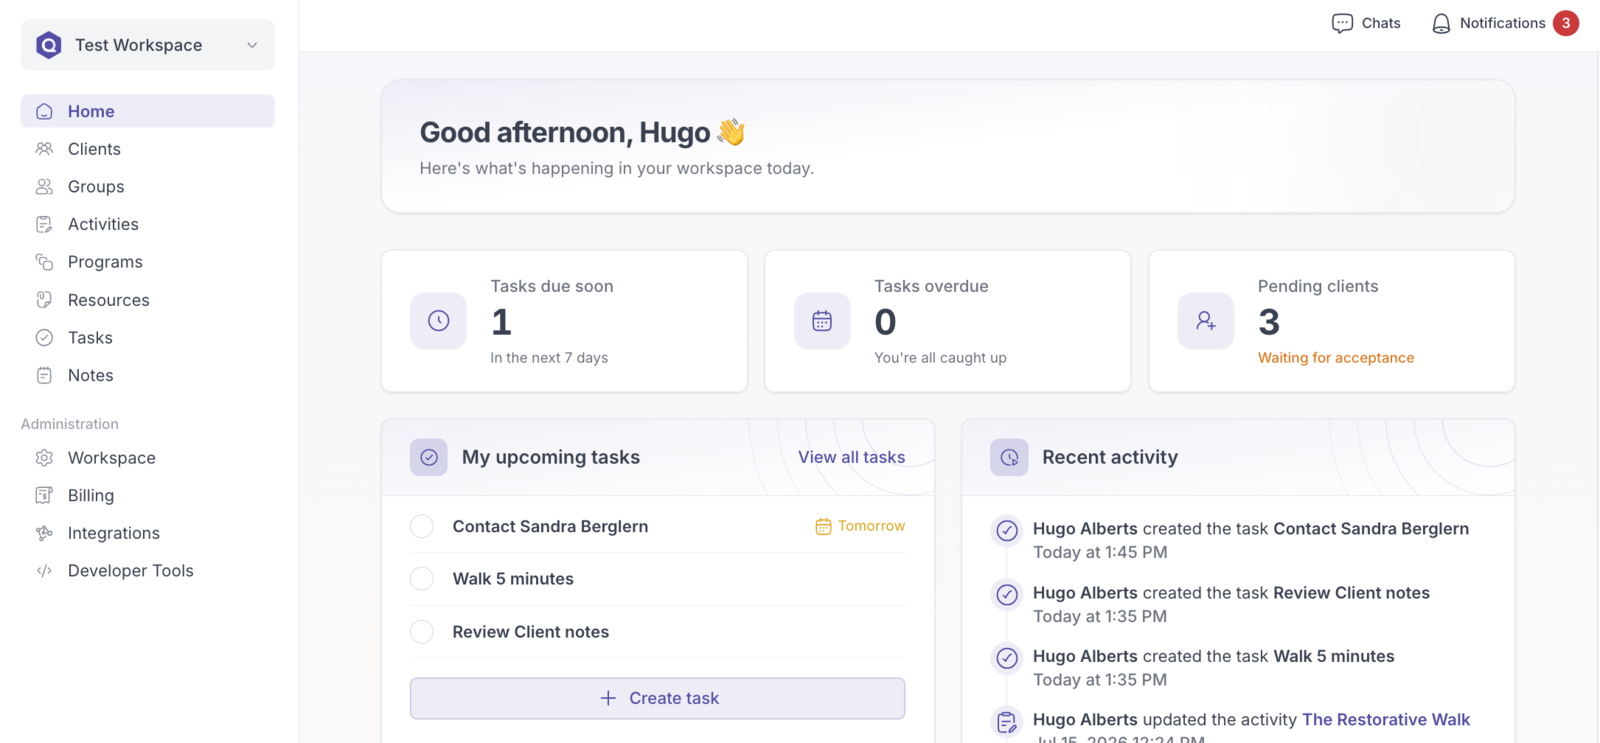
We've built a Home: An overview of your workspace. The moment you sign in, you can see what needs your attention across tasks, clients, and client progress, so you can jump straight into your day instead of hunting around.
## See what needs attention at a glance
Three summary cards at the top of Home show your tasks due soon in the next seven days, any overdue tasks, and pending clients who are still waiting to accept their invitation. It is an instant read on where things stand.
## Your tasks, front and center
An upcoming tasks panel lists what is on your plate, and you can create a new task right from Home without navigating away.
## Stay on top of what's happening
A recent activity feed shows the latest actions across your workspace, from tasks created to activities sent and comments added. Alongside it, Activity updates and Program updates show how your clients are progressing, so you can see at a glance which activities have been completed and which programs are in progress or still pending.
Open Home and take a look. It is the fastest way yet to pick up where you left off.
## In the help center
- [Home page](https://quenza.com/help/getting-started/home-page/)
---
# Revoke Client Access, Sortable Lists, and Custom Sender Authentication
> Turn off a client's access to the portal, sort any list, set up your custom sender email yourself, and upload short videos in activities.
Source: https://quenza.com/help/whats-new/revoke-client-access-sortable-lists-and-custom-sender-authentication/
We've shipped a batch of improvements across the app, several of them straight from your requests on the feedback board. Here is what's new.
## Revoke a client's access
You can now pause a client's access to their portal without deleting them or any of their data. From the client's three-dot menu, revoke access when you need to, for example if a client takes a break or falls behind on payment, then restore it instantly when they are ready to continue. Everything they have done stays exactly where they left it.
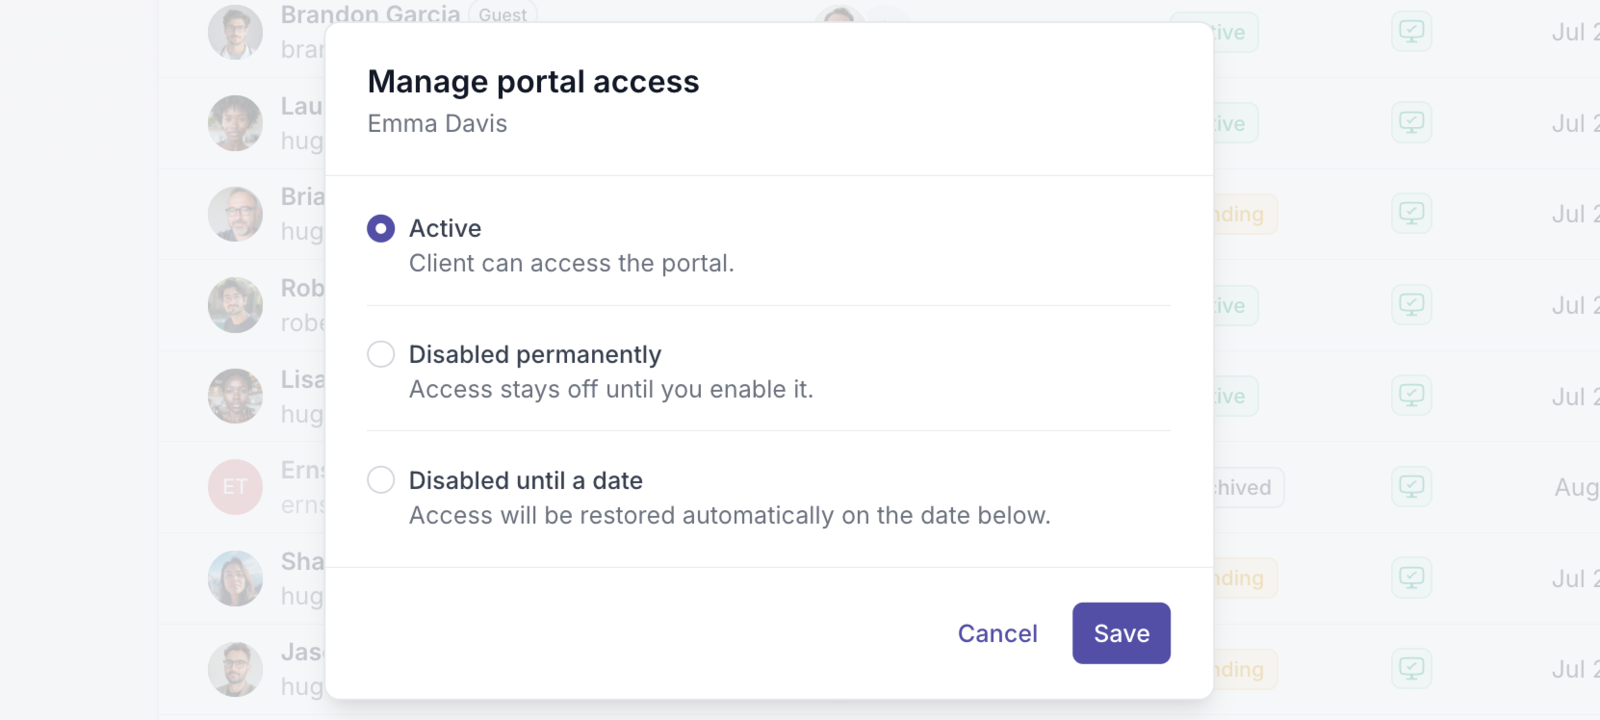
## Sort any list
Listings across Quenza are now sortable. Click a column to order a list the way you want, with a clear indicator showing how it is currently sorted. Whether you are looking at clients, activities, or other tables, you can quickly bring the most relevant items to the top.
## Self-serve DNS for custom sender emails
When you connect a custom sender email, Quenza now shows you the exact DNS records you need to authenticate it, including the DKIM and Return-Path details, right inside the app. Once your domain is verified, open Workspace, then White Label, and copy the DKIM records (added as TXT records) and the Return-Path record (added as a CNAME) into your domain provider. This works for both new and existing custom sender domains and means better deliverability without contacting support. Custom sender email is available on the Impact plan and above.
## Stronger PIN protection
For clients who lock the app with a PIN, we've added an extra layer of security. After three incorrect PIN attempts, the app now asks for the account password before trying again, keeping client data better protected on shared or lost devices.
## Upload short videos in the file upload element
Clients can now upload small video files through the file upload element in your activities, not just images and documents. It is a simple way to let clients share a quick clip as part of an exercise, check-in, or reflection.
## Clickable links in the editor
Links you add in the rich text editor, including in chat messages, are now proper clickable hyperlinks, making it easier to point clients to resources, booking pages, or anything else online.
Keep the requests coming on the feedback board. Your votes genuinely shape what we build next. More soon.
## In the help center
- [Portal access](https://quenza.com/help/clients/portal-access/)
- [Custom sender email](https://quenza.com/help/branding/custom-sender-email/)
- [Set your PIN](https://quenza.com/help/getting-started/set-your-pin/)
---
# Custom Domain for the Client Portal
> Your clients can now reach their portal on a web address that matches your brand, such as client.yourdomain.com, instead of the default Quenza URL.
Source: https://quenza.com/help/whats-new/custom-domain-for-the-client-portal/
Your clients can now reach their portal on a web address that matches your brand, such as client.yourdomain.com, instead of the default Quenza URL. It is one more way to make Quenza feel like a seamless part of your own practice rather than a separate tool.
## How it works
Open Workspace, then White Label, and go to the Custom Domain tab. Enter the subdomain you want to use, for example client.yourdomain.com, and click Connect Domain. Add the CNAME record we show you at your domain provider, then click Refresh to check the status. DNS changes can take up to 24 to 48 hours to take effect. Once the domain verifies, click Activate and your portal is live on your own address. You can deactivate and reactivate it at any time without verifying again, or disconnect it entirely.
## Availability
Custom domains are available on the Impact plan and above. They sit alongside your custom logo and custom sender email, so you can give clients a fully branded experience from the address bar inward.
Want the step-by-step version? See the full guide at [the help article](https://quenza.com/help/branding/custom-domain/).
## In the help center
- [Custom domain](https://quenza.com/help/branding/custom-domain/)
---
# Clear-All Notifications, Tidier Activity Lists & a Round of Fixes
> Clear all notifications at once, delete cancelled activities and programs, see a calmer finish screen, and go straight back to your clients after an import.
Source: https://quenza.com/help/whats-new/clear-all-notifications-tidier-activity-lists-a-round-of-fixes/
We've shipped a batch of quality-of-life improvements and fixes across the app, several of them straight from your votes on the feedback board, plus a few additions for developers building on the Quenza API.
## Clear all notifications at once
Notifications can pile up fast. You can now clear them all with a single button instead of dismissing them one by one. It's a small touch that makes keeping a tidy inbox much easier.
## A calmer activity finish screen
When a client finishes an activity, the closing screen now uses clearer, more neutral wording that names the activity they've completed, rather than a generic “Good job!”. This was one of the most-requested tweaks on the board. It's a first step, and a per-activity custom finish message is on the roadmap for later.
## Delete cancelled activities and programs
Cancelled activities and programs used to linger in a client's list with no way to remove them. Now you can permanently delete cancelled activity and program assignments, so each client's list only shows what's actually relevant. It pairs nicely with the activities and programs filter we added last update.
## Straight back to your client list after importing
After a bulk client import, closing the summary now takes you to your client overview, so you immediately see your newly imported clients instead of landing back on the import screen.
## Bug Fixes
- Calendly and Google Calendar now unlock correctly on the plans that include them.
- Inviting someone who already has a Quenza account no longer asks them to set a new password when they accept. They simply sign in as usual.
- Email addresses entered with capital letters now sign in reliably.
- Fixed a scrolling issue in the sidebar.
## For Developers
We've continued to expand the Quenza API: A new Client Verified webhook fires when a client verifies their email or account, so you can trigger onboarding steps automatically.
The full documentation is in the [API reference](https://quenza.com/help/api/).
Keep the requests coming on the feedback board. Your votes genuinely shape what we build next. More soon.
## In the help center
- [Notifications](https://quenza.com/help/chat-and-notifications/notifications/)
- [Send an activity](https://quenza.com/help/working-with-clients/send-an-activity/)
- [Import clients](https://quenza.com/help/clients/import-clients/)
---
# New Quenza Plans & Pricing
> We've rolled out a brand-new set of Quenza plans, redesigned around how practices of different sizes actually work.
Source: https://quenza.com/help/whats-new/new-quenza-plans-pricing/
We've rolled out a brand-new set of Quenza plans, redesigned around how practices of different sizes actually work. The new tiers make it clearer what you get at each level, so you can start small and grow into more capacity and features as your practice expands. Every plan begins with a 30-day free trial, with no credit card required.
## The new plans
There are now five plans to choose from:
- **Spark**, $20/month, for solo professionals starting out. Includes up to 10 clients, one professional, the core content library with 100+ pre-made activities, and the mobile apps.
- **Growth**, $40/month, our most popular plan, for established practices ready to scale. Everything in Spark, plus up to 250 clients, Groups, file sharing, a custom logo, one webhook, and the expanded Plus content library with 200+ activities.
- **Impact**, $100/month, for power users who want full creative control. Everything in Growth, plus up to 400 clients, custom domains, a custom email sender, two webhooks, and the Premium content library with 400+ activities.
- **Collective**, $128/month, for teams delivering client care together. Everything in Impact, plus up to 500 clients, up to three professionals, team chat, API access, and five webhooks.
- **Beyond**, custom pricing, for organizations delivering care at scale. Everything in Collective, plus unlimited clients and professionals, roles and permissions, unlimited webhooks, and priority support.
All prices shown are billed annually. You can also pay monthly, and choosing yearly billing saves you 20%.
## Manage your plan in-app
You can now see your current plan, track your usage against its limits, and upgrade or downgrade directly inside Quenza. When you reach a limit, for example on clients or professionals, Quenza tells you clearly what's happening and how to add more room.
## Existing customers keep their current plan
If you're already with us, nothing changes. You stay on your current plan and pricing, and you'll see a banner noting that you're on a legacy plan. You're welcome to switch to one of the new plans whenever it suits you, but there's no need to do anything.
## Free trials
New to Quenza? Every plan starts with a 30-day free trial, with no credit card and no commitment. While you're trialing, the plan page shows how many days you have left and makes it easy to choose a plan when you're ready.
Take a look at the full plan comparison on our pricing page at https://quenza.com/pricing, and reach out to our team if you'd like help finding the right fit for your practice.
## In the help center
- [Plans and pricing](https://quenza.com/help/billing/plans-and-pricing/)
- [Change plan](https://quenza.com/help/billing/change-plan/)
- [Legacy plans](https://quenza.com/help/billing/legacy-plans/)
- [Free trial](https://quenza.com/help/billing/free-trial/)
---
# Evergreen Groups, New Builder Elements, and Activity Filtering
> People who join a group later can get what the group already received, the builder gets Divider and Table elements, and you can filter your activities.
Source: https://quenza.com/help/whats-new/evergreen-groups-new-builder-elements-and-activity-filtering/
We've shipped a few more improvements across the platform, with updates to how groups handle new members, a new way to structure your activities, and a handy filter for keeping client lists tidy.
## Evergreen Groups
Until now, adding someone to a group didn't give them access to the activities and programs that group already contained. With rolling groups, that changes, when you want it to.
Each group now has a setting you can turn on to make it "rolling." With it enabled, every activity and program in the group is automatically sent to any member added afterwards, so people who join later are brought up to speed without any manual work on your side. By default this setting is off, so existing groups behave exactly as before.
Need more control? You don't have to enable the setting at all. From the three-dot menu, you can manually send past activities and programs to a newly added member, picking exactly what they receive. Use the setting for hands-off catch-up, or the manual route when you'd rather curate.
## Manage Groups via the API
We've also expanded the Quenza API with new group capabilities. You can now create a group and add a member to a group programmatically, making it easier to wire group management into your own onboarding flows, CRM, or automations. The full documentation is in the [API reference](https://quenza.com/help/api/).
## New Builder Elements: Divider and Table
The Activity Builder gains two new elements this round. Following the page break element we recently added, the Divider gives you another way to bring structure to your activities: drop it between elements to visually separate them from one another, making longer activities easier to read and giving your content clearer sections.
The new Table element lets you organize information in rows and columns, perfect for schedules, comparisons, or structured exercises. You can also enable an option that lets clients add their own rows, turning the table into something they can fill in themselves, handy for logs, trackers, or any exercise where the client contributes entries.
## Filter Your Activities & Programs
The activities and programs list in the client profile now has a filter, so you can narrow down what you see. For example, you can exclude cancelled activities to focus only on what's active and relevant, no more scrolling past items you've already set aside.
## In the help center
- [New group members](https://quenza.com/help/clients/new-group-members/)
- [Question and element types](https://quenza.com/help/content/question-and-element-types/)
- [Activities overview](https://quenza.com/help/content/activities-overview/)
- [API](https://quenza.com/help/integrations/api/)
---
# Flexible Activity Layouts, a Reworked Wheel, and Stronger Mobile Security
> Split activities into pages with page breaks, use the reworked Wheel element, and protect the mobile app better with your PIN.
Source: https://quenza.com/help/whats-new/flexible-activity-layouts-a-reworked-wheel-and-stronger-mobile-security/
We've been busy shipping improvements across the platform, and this round brings some meaningful upgrades to how you build activities and how clients experience Quenza on mobile.
## More Flexible Activity Layouts with Page Breaks
Activities just got a lot more versatile, when you want them to be. By default, activities behave exactly as before, with each element living on its own page. But now you can enable the new page break layout via a setting, unlocking full control over how your content flows. With it turned on, multiple elements can share a single page, and a new page only begins when you add a page break element or start a new section. This means you can group related elements together, pace longer activities the way you want, and design a flow that feels natural for your clients.
A note on progress tracking: in the page break layout, progress is calculated based on completed elements rather than pages. In the classic setup, this distinction didn't matter, one element equaled one page. But with the new flexibility, it does. For example, if an activity has 3 pages where the first page contains 3 elements and the other two pages contain one element each, completing the first page brings the client to 60% progress. This keeps the completion experience fair and accurate, no matter how you structure your layout.
## Wheel Element, Reworked
To make the most of this new layout flexibility, we've reworked the Wheel element so it behaves better alongside page breaks and other elements on the same page.
We've also added some interaction improvements to make rating dimensions feel smoother: you can now navigate between dimensions using the arrow controls, and once a rating is selected, the wheel automatically advances to the next dimension. Less clicking, more flow.
## Improved Mobile App Security
We've polished the UX of the mobile apps and added a new security layer for users who use a PIN code: when the app is minimized, the lock screen now kicks in automatically. This means client data stays protected the moment the app leaves the foreground, a small but important step in keeping sensitive information safe on the go.
## In the help center
- [Activity layout](https://quenza.com/help/content/activity-layout/)
- [Question and element types](https://quenza.com/help/content/question-and-element-types/)
- [Set your PIN](https://quenza.com/help/getting-started/set-your-pin/)
---
# Quenza Mobile App is now available on iOS and Android
> The Quenza mobile app is officially live and available to download for free on both the Apple App Store and Google Play.
Source: https://quenza.com/help/whats-new/quenza-mobile-app-is-now-available-on-ios-and-android/
The Quenza mobile app is officially live and available to download for free on both the Apple App Store and Google Play. 🎉
This is a big milestone for us, and one that has been at the top of many wish lists in our community.
Whether you're a practitioner managing your client work on the go, or a client engaging with activities between sessions, Quenza is now truly with you wherever you are.
## Built for Both Practitioners and Clients
The app supports both account types right out of the box. Practitioners can check in on client progress, respond to activities, and keep conversations flowing without needing to be at their desk. Clients get the same smooth, focused experience they're used to in the web app, now optimized for mobile and ready whenever inspiration (or a free moment) strikes.
## Push Notifications
One of the biggest advantages of going native: real push notifications. No more relying solely on email to know when something needs your attention. Practitioners get notified when clients complete activities, send messages, or need a reply. Clients get gentle nudges when new activities arrive or reminders are due, helping them stay engaged with their work between sessions.
## Searching the App Store? Look for the Right One
You may notice there's a second Quenza app in the stores. That one is for Quenza Classic, our previous platform, and is intended only for existing Classic users. If you're using the current version of Quenza (which you almost certainly are if you're reading this), make sure to download the new Quenza app - it's the one launching today and the one your account is connected to.
## Download It Today
The app is free to download for everyone. Just sign in with your existing Quenza credentials and you're ready to go.
- [Download for iOS](https://apps.apple.com/us/app/quenza/id6761123782) on the App Store
- [Download for Android](https://play.google.com/store/apps/details?id=com.quenza.nextgen) on Google Play
We're proud of this release and can't wait to hear what you think. As always, we'd love your feedback. Let us know what's working well and what you'd like to see next as we continue to evolve the mobile experience.
Happy practicing! 💙
## In the help center
- [Mobile app](https://quenza.com/help/getting-started/mobile-app/)
- [Get the Quenza app](https://quenza.com/help/for-clients/get-the-quenza-app/)
---
# Layout Refresh & More Export Options
> Quenza has a redesigned app layout, and you can now export more of your work and your clients' answers as PDF.
Source: https://quenza.com/help/whats-new/layout-refresh-more-export-options/
Over the past few weeks, we've shipped a refreshed interface and a round of quality-of-life improvements that make Quenza smoother for both professionals and clients.
## Redesigned App Layout
We've given the professional app a visual refresh. The sidebar has been streamlined for a cleaner look, and we've introduced a new top bar, your chat and notifications now live there, keeping things tidy and easy to find no matter where you are in the app.
## Expanded PDF Exports
We've been expanding PDF export support across the platform. Previously, professionals could export completed activity assignments as PDFs. We've now extended this further:
- **Activity assignments** Both professionals and clients can now export activity assignments as PDFs, making it easy to save or share progress outside of Quenza.
- **Notes** Professionals and clients can now both export notes as PDFs, handy for keeping records or sharing session summaries.
## Other Enhancements
- **Loom video support ** You can now paste Loom video links directly into the video element in the Activity Builder, making it easy to add personal video messages or walkthroughs to your activities.
- **Bug fix** We resolved an issue that occurred when upgrading a guest to a client where the email address already existed in the system.
## In the help center
- [Export as PDF](https://quenza.com/help/working-with-clients/export-as-pdf/)
- [Export client data](https://quenza.com/help/clients/export-client-data/)
---
# Quenza API: Build Your Own Integrations
> You can now connect Quenza to your own applications and workflows using the Quenza API.
Source: https://quenza.com/help/whats-new/quenza-api-build-your-own-integrations/
You can now connect Quenza to your own applications and workflows using the Quenza API.
## What's new
We've added the ability to create an API token under Developer Tools, giving you a secure way to authenticate with the Quenza API and access your workspace data programmatically.
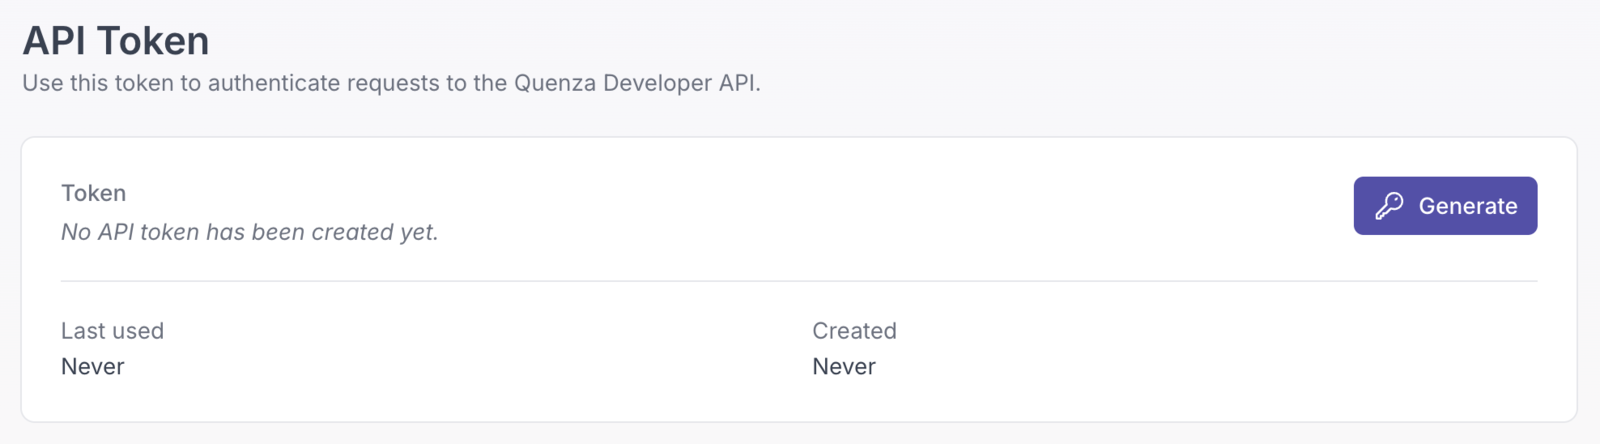
## What you can do with it
- **Create clients automatically**: sync new contacts from your CRM, form submissions, or purchases directly into Quenza
- **Retrieve workspace data**: pull information into your own dashboards or reporting tools
- **Automate workflows**: trigger actions in Quenza as part of a larger automated process
- **Build custom integrations**: connect Quenza with internal systems or applications your organization already uses
## Getting started
Head to *Developer Tools* → *API Token* → *Generate* to create your token. The full documentation is in the [API reference](https://quenza.com/help/api/).
Not a developer? Tools like Zapier or Make let you connect Quenza with other apps using a visual interface - no coding required.
We're excited to see what you build! The API is still in active development, and we'll be adding new endpoints soon.
## In the help center
- [API](https://quenza.com/help/integrations/api/)
---
# Webhooks: Connect Quenza to Your Favorite Tools
> Webhooks tell other tools such as Zapier, Make or Slack when something happens in your Quenza workspace, so you can automate your work.
Source: https://quenza.com/help/whats-new/webhooks-connect-quenza-to-your-favorite-tools/
We're excited to introduce Webhooks, giving you the power to connect Quenza with third-party apps and automate your workflows like never before.
## What Are Webhooks?
Webhooks allow Quenza to automatically notify external applications when specific events happen in your workspace. Whether you want to sync client data with your CRM, trigger automations in Zapier or Make, send notifications to Slack, or update your own systems - webhooks make it possible.
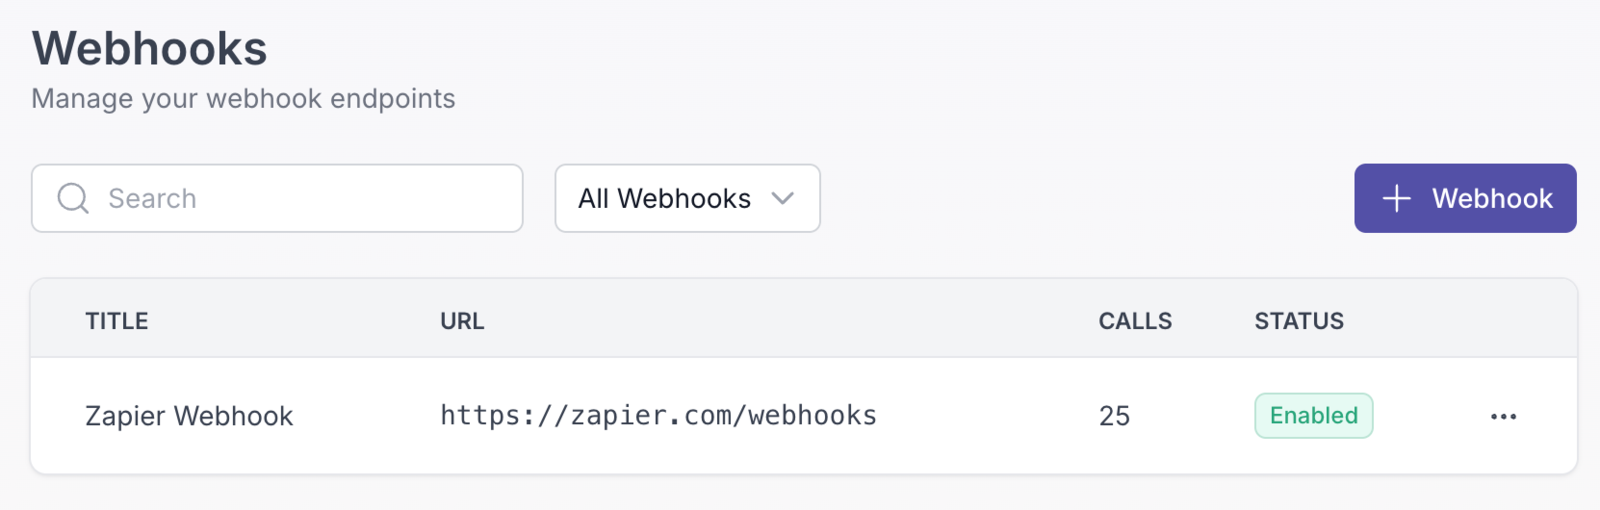
## How It Works
Set up a webhook endpoint in your Quenza workspace settings, select the events you want to listen for, and Quenza will send real-time notifications to your specified URL whenever those events occur. No more manual data entry or switching between tools.
## Missing an Event?
We're continuously expanding the list of supported events. If there's a specific event you need for your integration that isn't available yet, please don't hesitate to reach out to our support team. We'd love to hear your use case and can add new events quickly based on your needs.
This update opens up a world of possibilities for automating and streamlining your practice. We can't wait to see what integrations you build!
## In the help center
- [Webhooks](https://quenza.com/help/integrations/webhooks/)
---
# Resources Overview, Comment Counts & UI Improvements
> A new Resources page lists all files and links in your workspace, and activities and notes show how many comments they have.
Source: https://quenza.com/help/whats-new/resources-overview-comment-counts-ui-improvements/
We've got some handy updates to help you stay organized and keep track of your client interactions more easily.
## New Features
## Resources Overview
We've added a new "Resources" item to the main menu, giving you a dedicated overview of all resources available in your workspace. This makes it much easier to find and share a single resource with multiple clients or groups, without having to navigate to each profile individually.
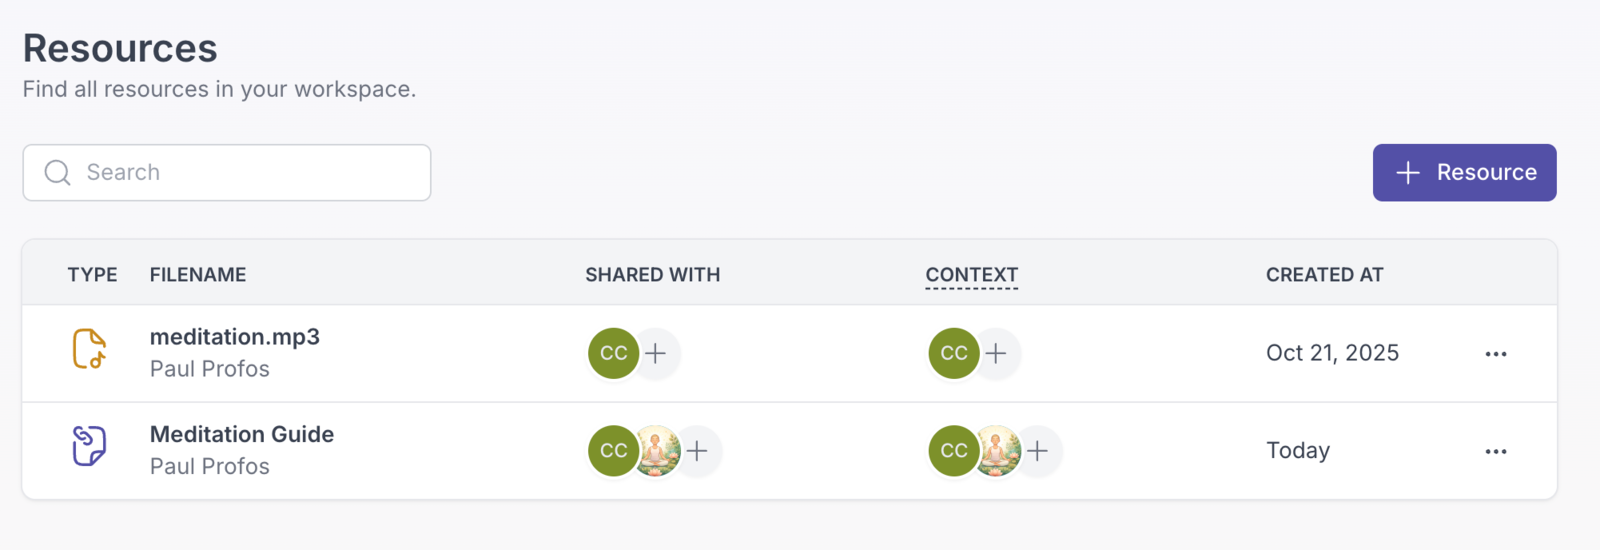
## Improvements
## Comment Counts on Activities and Notes
You can now see the number of comments on activities and notes directly in the table view. Both, in the professional app and the client app. This gives you a quick sense of engagement without having to open each item.
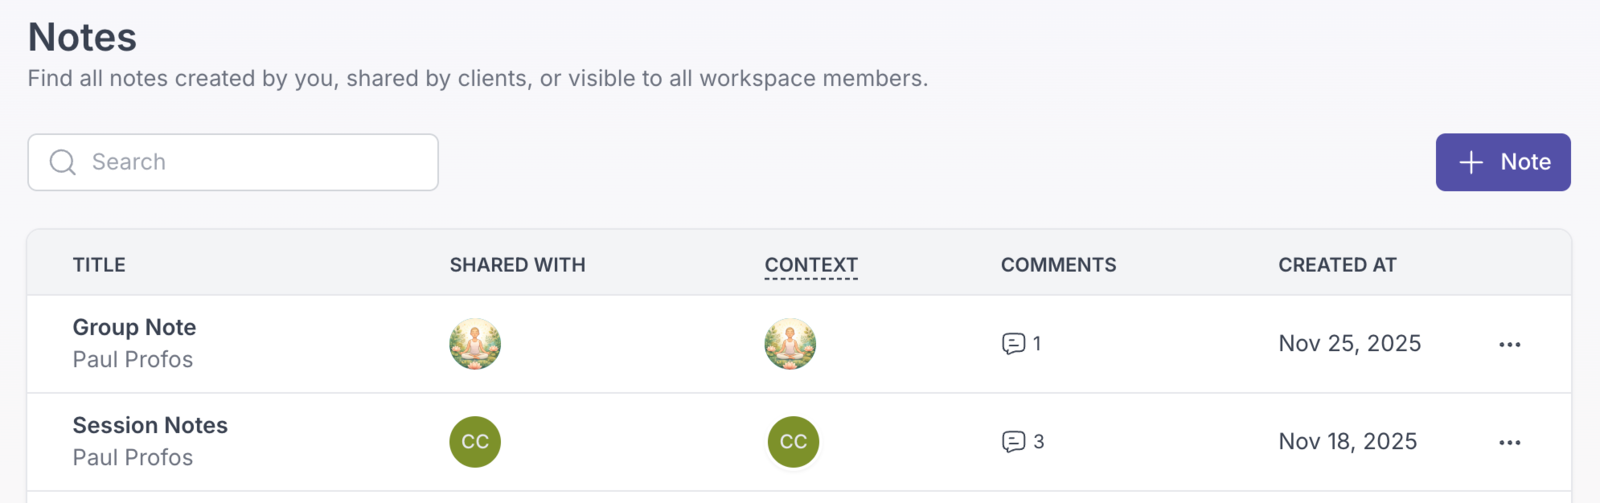
## Bug Fixes
- Streamlined the UI in several places for a cleaner, more consistent experience.
- Fixed a bug with chat attachments in the client app.
## In the help center
- [Resources](https://quenza.com/help/working-with-clients/resources/)
- [Comments](https://quenza.com/help/working-with-clients/comments/)
---
# Attachments in Chats & Custom Email Sender Feature
> Send files in chat, send client emails from your own address with a custom sender, and find your way with the redesigned navigation.
Source: https://quenza.com/help/whats-new/attachments-in-chats-custom-email-sender-feature/
Today, we have some powerful updates that give you more control over your Quenza experience and enhance how you communicate with clients.
## New Features
## Chat Attachments
You can now share files directly in your client conversations! The chat feature now supports attachments, including images, videos, documents, and other file types. This makes it easier to exchange resources, share progress photos, send worksheets, or provide any materials your clients need. Simply click the attachment icon in the chat interface to add files to your messages.
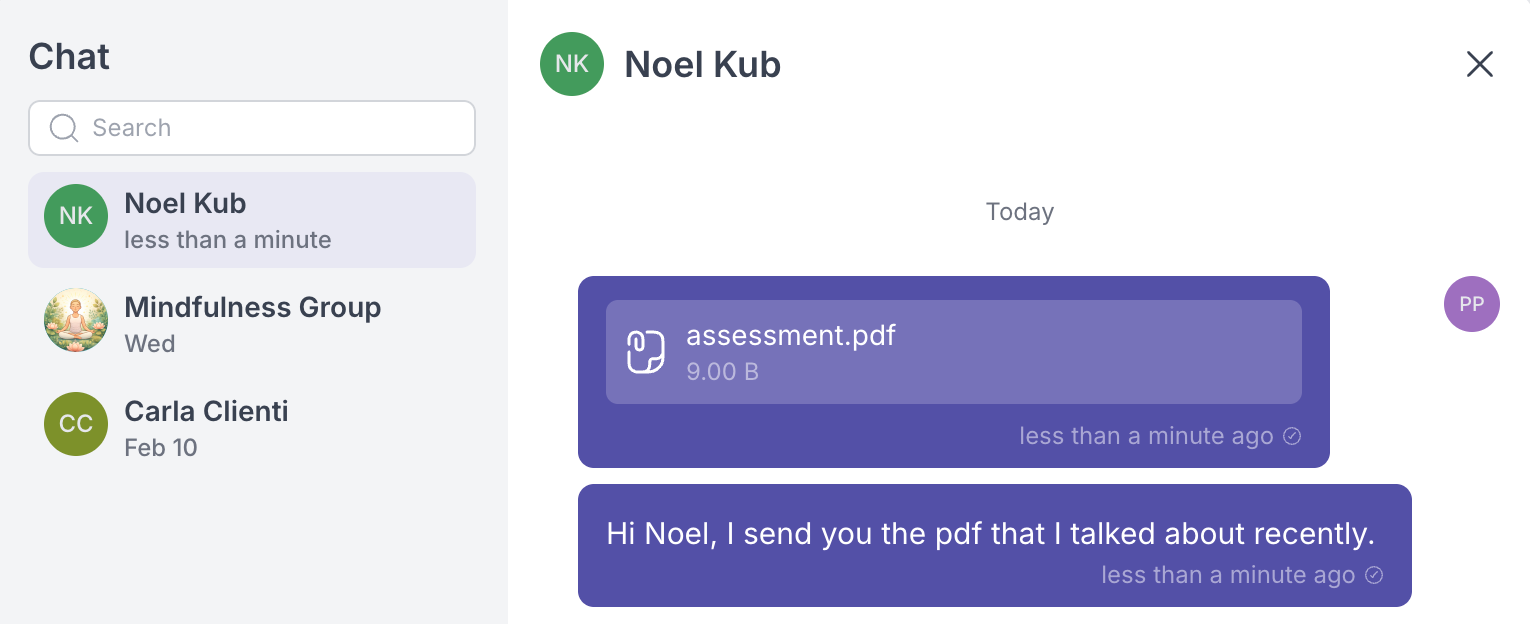
## Custom Sender Email Address (White Label)
Take your branding to the next level with custom sender email addresses. You can now configure Quenza to send all system emails (notifications, reminders, activity assignments, etc.) from your own email address instead of the default Quenza address. This creates a more professional, branded experience for your clients and ensures all communications appear to come directly from you or your practice. This feature can be configured at the workspace level for your entire team, or each professional can set up their own individual sender address. Configure this feature in the menu *Workspace* -> *White Label*.
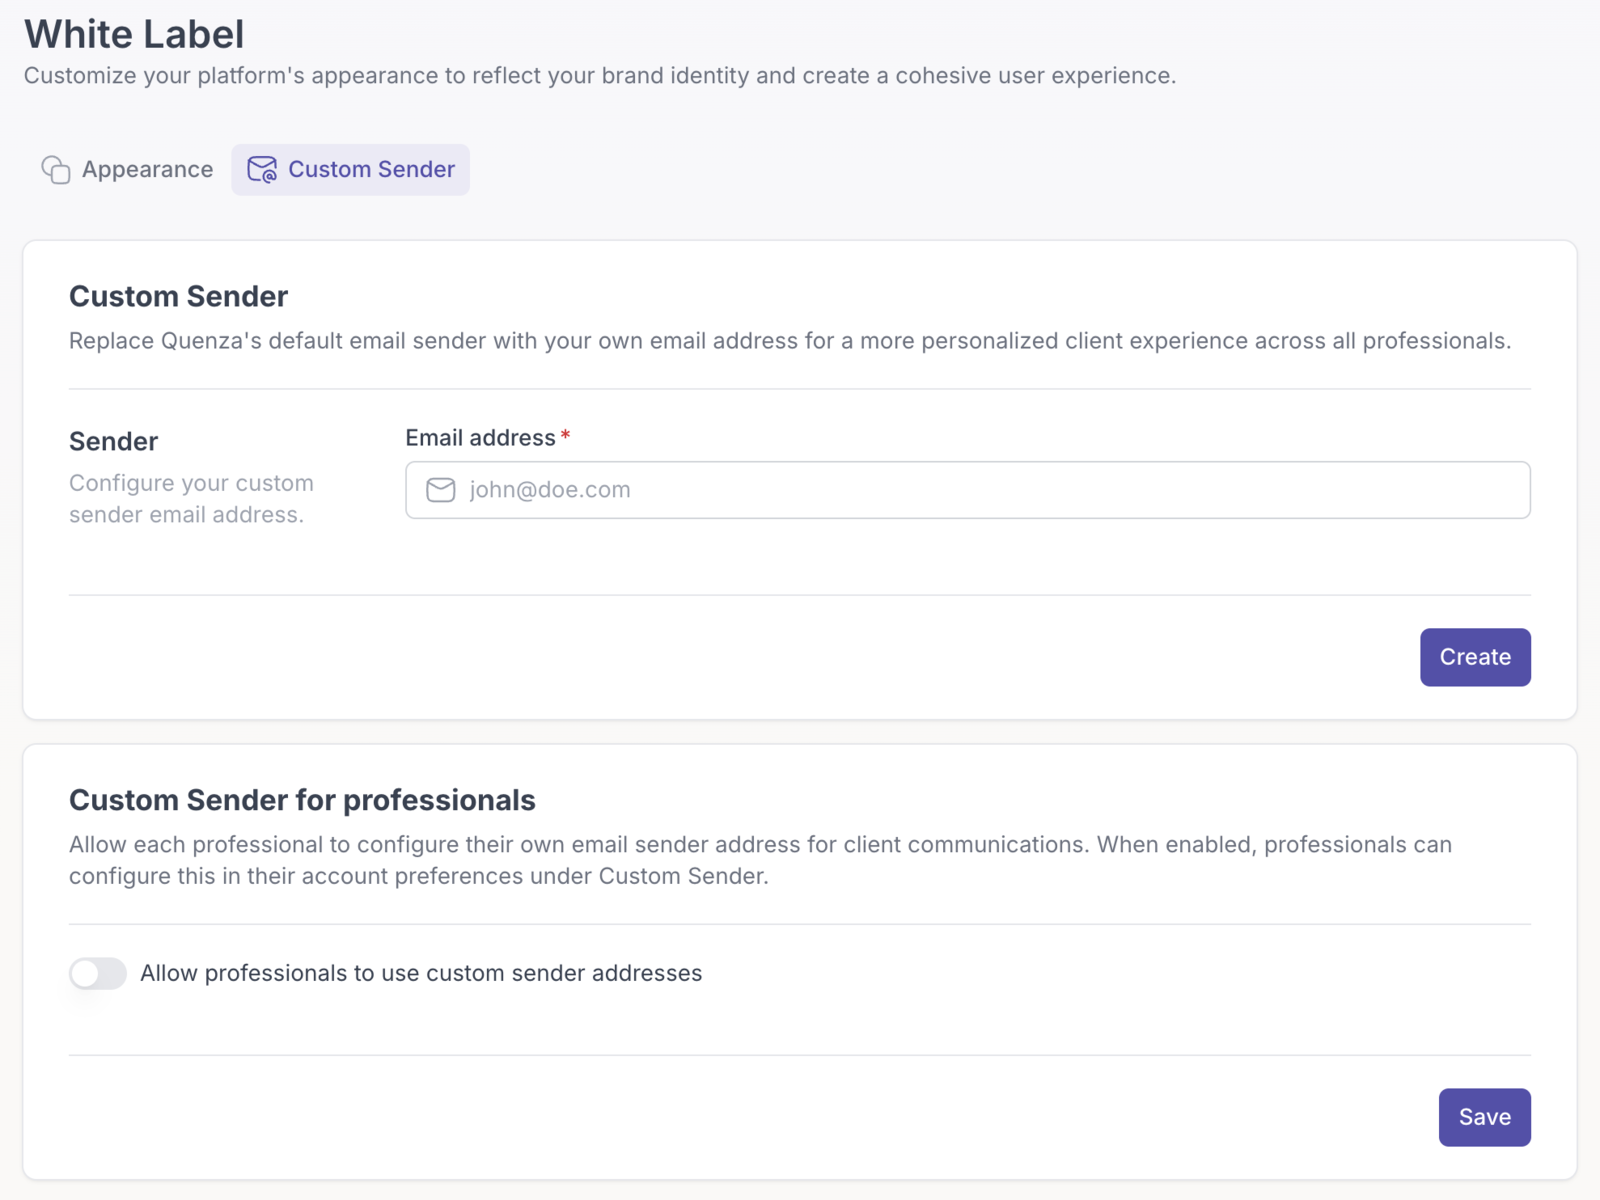
## Improvements
## Redesigned Professional Navigation
We've updated the navigation menu in the professional app to make it more intuitive and efficient. The new menu structure helps you with an easier navigation and prepares it for more features in the future. Also, we changed the Section "Branding" into "White Label", expressing the features that this section will contain.
## In the help center
- [Attachments](https://quenza.com/help/chat-and-notifications/attachments/)
- [Custom sender email](https://quenza.com/help/branding/custom-sender-email/)
---
# Group Chats: Connect and Collaborate in Real-Time
> Every group now has its own chat, where you and the group members can talk in real time between sessions.
Source: https://quenza.com/help/whats-new/group-chats-connect-and-collaborate-in-real-time/
We're excited to introduce Group Chats, a powerful new way to foster communication and collaboration within your groups!
With this feature, all group members and assigned professionals can now chat together in a shared space. Whether you're facilitating group therapy sessions, coaching cohorts, or training programs, Group Chats makes it easy to keep everyone connected and engaged between sessions.
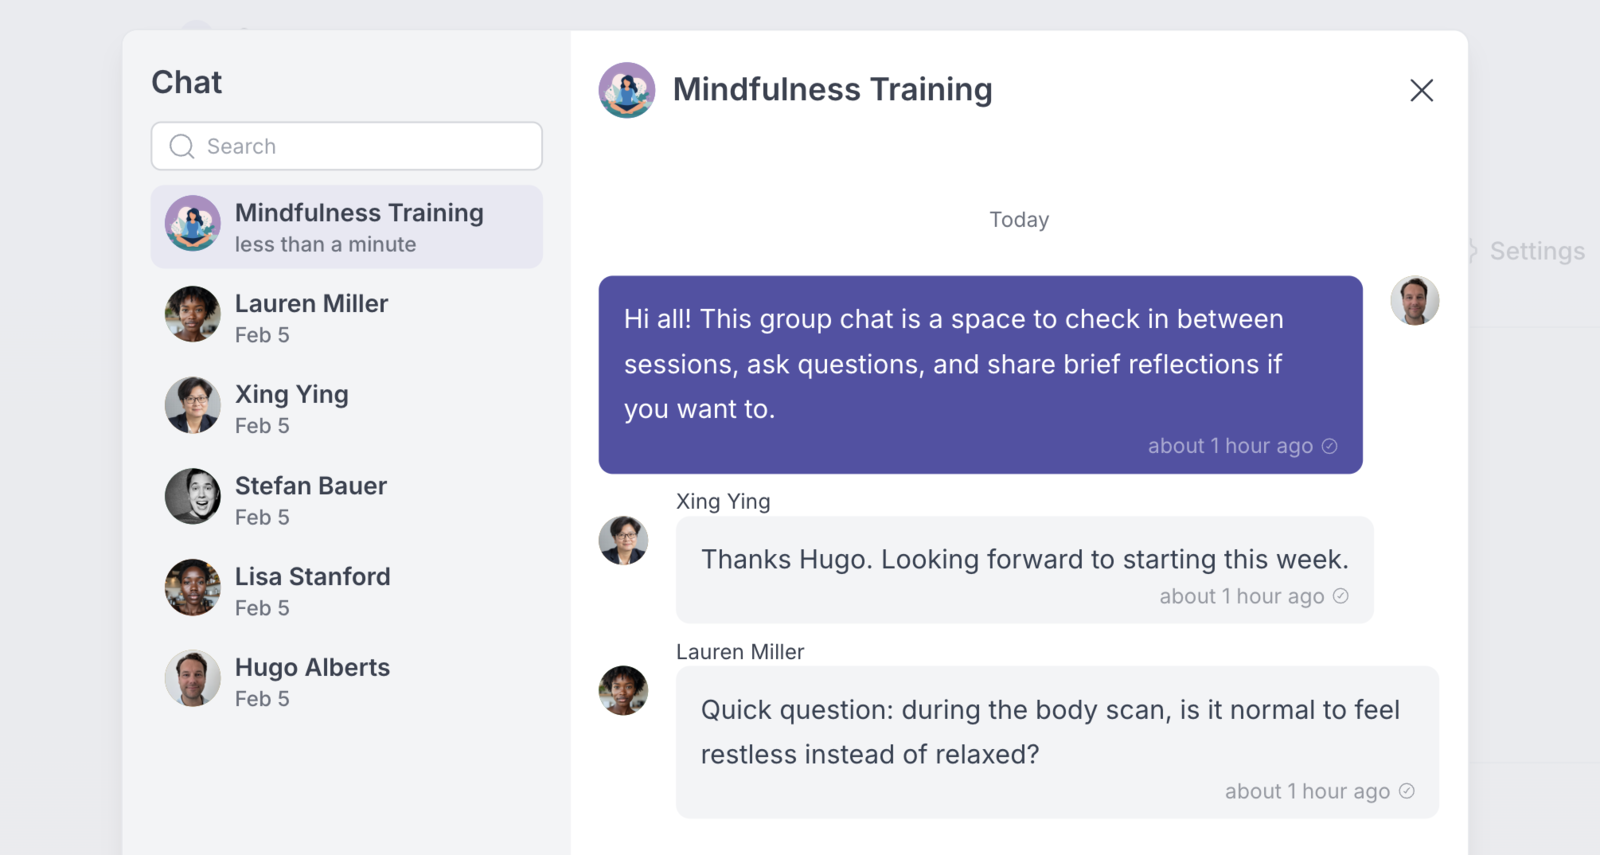
## What This Means for You
## For Professionals
- Facilitate ongoing group discussions without leaving Quenza
- Share updates and encouragement with your entire group at once
- Monitor group dynamics and engagement in real-time
- Create a supportive community environment for your clients
## For Clients
- Connect directly with peers and professionals in a secure, private space
- Share experiences, insights, and support with fellow group members
- Stay engaged with your group between formal sessions
- Build meaningful connections within your therapeutic or coaching community
Group chats are designed with privacy in mind, ensuring all conversations remain secure and confidential. You can enable or disable chat for specific groups based on your facilitation style and group needs.
This feature transforms groups from a simple organizational tool into a dynamic, interactive space where real connection and peer support can flourish. We can't wait to see how you use it to enhance your group programs!
## In the help center
- [Group chat](https://quenza.com/help/chat-and-notifications/group-chat/)
---
# PDF Exports, Chat Notifications and more improvements
> Export completed activities as PDF and get notified about new chat messages, plus several improvements and bug fixes.
Source: https://quenza.com/help/whats-new/pdf-exports-chat-notifications-and-more-improvements/
Happy New Year from the Quenza team! 🎉 We're thrilled to start 2026 with fresh updates that enhance your communication with clients and streamline your activities. Here's what's new and has been improved in the past days:
## New Features
- **PDF Export for Completed Activities:** You can now export completed activities as PDF files for easy sharing and record-keeping. This can be done from the client's profile activities list or when you view the results of an activity.
- **Chat Email Notifications:** Both professionals and clients now receive email notifications when they have unread messages, ensuring important conversations don't get missed
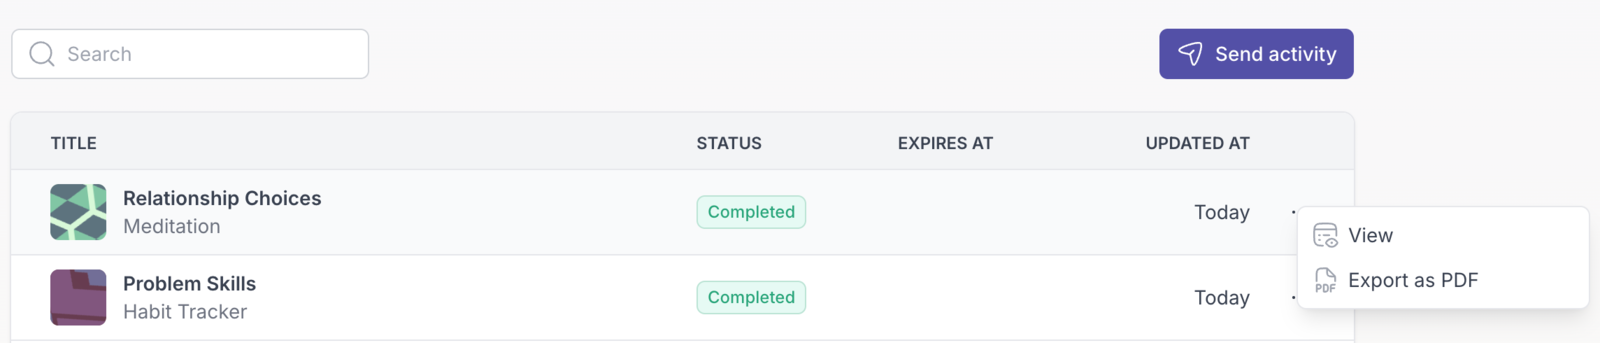
## Improvements
- **Enhanced Rich Text Editor:** Fixed issues where sentences were incorrectly broken, providing a smoother editing experience
- **Browser Title Privacy Update:** Client profile pages now display abbreviated names (e.g., "John D.") in the browser title for improved privacy
- **Checkbox Element Styling:** Checkboxes in the Activity Builder now have a more distinct squared appearance to better differentiate them from radio buttons (multiple choice elements)
## Bug Fixes
- **Language Settings:** Resolved an issue where changing your language preference required entering a password
- **Improved Language Detection:** The platform now better recognizes and applies your language preferences automatically
- **Workspace Deletion:** Resolved an issue where deleting a workspace could result in an error
## In the help center
- [Export as PDF](https://quenza.com/help/working-with-clients/export-as-pdf/)
- [Notification preferences](https://quenza.com/help/chat-and-notifications/notification-preferences/)
---
# Multi-Language Support: Reach Clients in Their Native Language
> Quenza now works in several languages. You choose your own language, and each client sees the app and notifications in theirs.
Source: https://quenza.com/help/whats-new/multi-language-support-reach-clients-in-their-native-language/
We're excited to announce that Quenza now supports multiple languages, making it easier to serve clients around the world and work in the language you're most comfortable with.
## What's New
The platform now offers comprehensive multi-language support for both the professional and client apps. This enhancement ensures that language barriers no longer limit your ability to provide exceptional care and support to diverse client populations, while also allowing you to work in your preferred language.
## Key Features
- **Language Selection for Everyone:** Both professionals and clients can select their preferred language in their account settings
- **Full Professional App Support:** The entire professional interface - from the activity builder to client management - is now available in multiple languages
- **Localized Client Experience:** Clients can use the app in their native language, including all interface elements, notifications, and system messages
- **Independent Language Preferences:** You and your clients can each choose different languages, ensuring everyone works in the language they're most comfortable with
## Help Us Improve
While we've worked hard to provide accurate translations across all supported languages, we recognize that some translations may need refinement. If you encounter any translation that doesn't quite match the intended meaning or could be improved, please don't hesitate to reach out to our support team. Your feedback helps us continuously improve the quality of our multi-language support for the entire Quenza community.
Whether you're a professional working in a non-English speaking region or serving international clients, this update empowers everyone to use Quenza in their preferred language while maintaining the quality and professionalism the platform is known for.
For more information about setting language preferences, visit our help article: [the help article](https://quenza.com/help/getting-started/change-language/)
## In the help center
- [Change language](https://quenza.com/help/getting-started/change-language/)
---
# Real-Time Chat: Connect Instantly with Clients and Team
> Chat in real time with your clients and the professionals in your workspace, in a chat window that opens over the page you are working on.
Source: https://quenza.com/help/whats-new/real-time-chat-connect-instantly-with-clients-and-team/
We're excited to introduce Real-Time Chat, a powerful new way to communicate seamlessly within Quenza. Chat enables instant conversations without interrupting your workflow, keeping you connected while you work.
## Chat with Clients and Professionals
Engage in real-time conversations with your clients for quick check-ins, clarifications, or support. You can also chat with other professionals in your workspace, making collaboration effortless - whether you're discussing client cases, coordinating on programs, or simply staying connected with your team. Chat between other team members is included for every account at no extra cost.
## Modal-Based Design for Uninterrupted Workflow
The Chat always opens in a modal window, ensuring you're never pulled away from what you're working on. Whether you're building an activity, reviewing client progress, or managing assignments, you can chat seamlessly without losing your place in the platform.
More information about Chat can be found in the help article: [the help article](https://quenza.com/help/chat-and-notifications/chat/)
## Other Improvements
- **Workspace Management:** You can now create and delete workspaces directly within the app, giving you more control over your organizational structure.
- **Client Actions in Listing:** All client actions are now accessible directly from the three-dot menu in the client listing, streamlining your workflow and reducing navigation.
- **Activity Builder UX**: Improved the Activity Builder experience with setting newly added elements in view state and a more prominent send button for clearer workflow.
- **Improved onboarding**: Enhanced onboarding and feature discovery with improved user guidance throughout the platform.
This update reflects our commitment to making Quenza more collaborative and efficient for your practice. We can't wait to hear how real-time chat transforms the way you connect with clients and colleagues!
## In the help center
- [Chat](https://quenza.com/help/chat-and-notifications/chat/)
---
# Enhanced Groups with Notes and Resources
> Groups now have notes and resources, so you can keep session notes and share files with all members of a group in one place.
Source: https://quenza.com/help/whats-new/enhanced-groups-with-notes-and-resources/
We're excited to announce significant enhancements to Groups, making them more powerful and efficient for your daily work.
## Notes in Groups
You can now share notes with an entire group. The commenting functionality works as you're accustomed to, with the added benefit that all group members can participate in discussions, fostering collaborative conversations.
## Resources in Groups
The Resource section, previously available only for individual clients, is now available for groups as well. You can now share files and links with all group members in a streamlined manner.
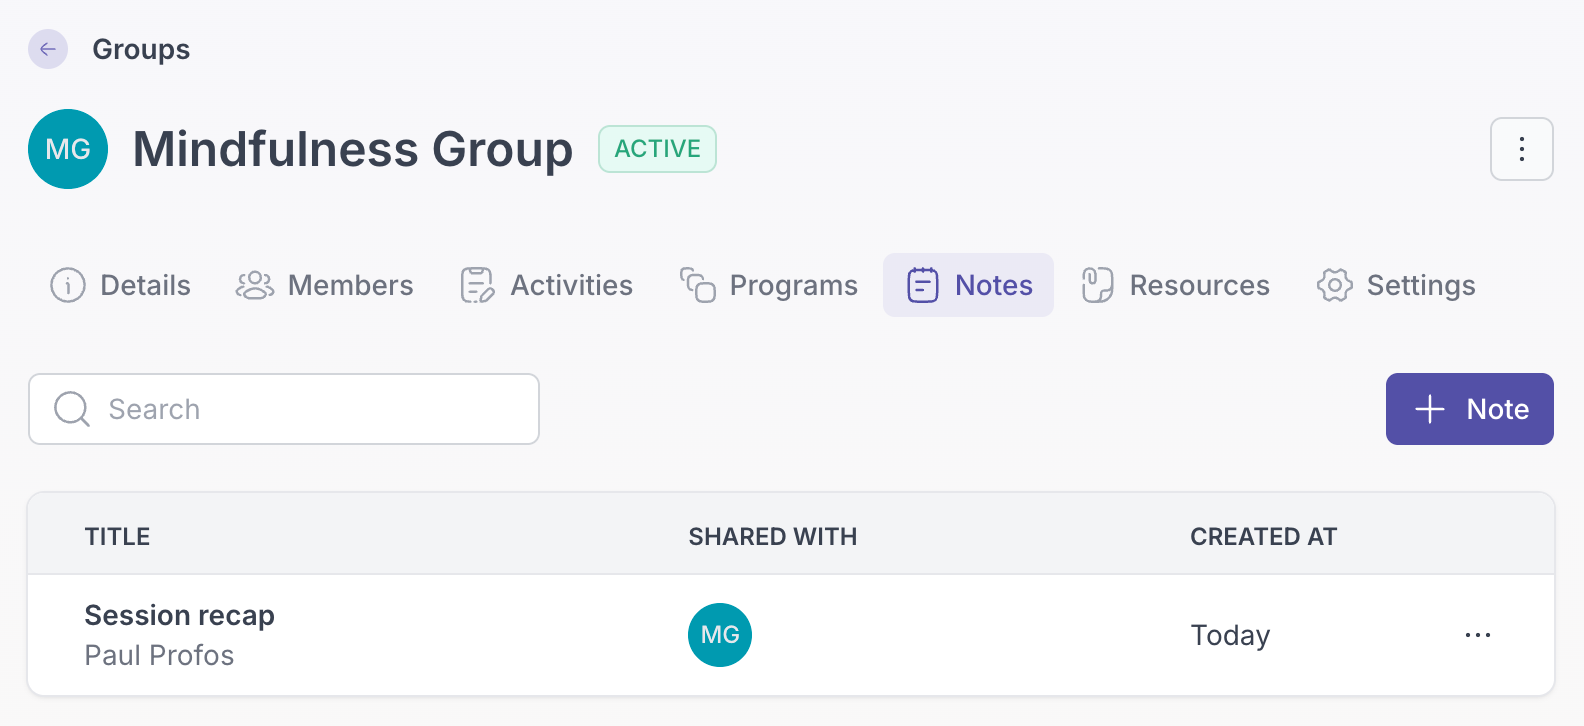
## In the help center
- [Groups](https://quenza.com/help/clients/groups/)
- [Notes](https://quenza.com/help/working-with-clients/notes/)
- [Resources](https://quenza.com/help/working-with-clients/resources/)
---
# Group Enhancements, Simplified Login & Activity Previews
> Groups are easier to work with, you can sign in with a magic link instead of a password, and you can preview activities before you send them.
Source: https://quenza.com/help/whats-new/group-enhancements-simplified-login-activity-previews/
We made some improvements and are happy to announce the following changes:
## Usability Improvements in Groups
We've enhanced the group workflow with two key improvements:
- Send activities or programs directly from the group page
- Access the action menu (three-dot menu) on the group page itself, significantly reducing navigation requirements
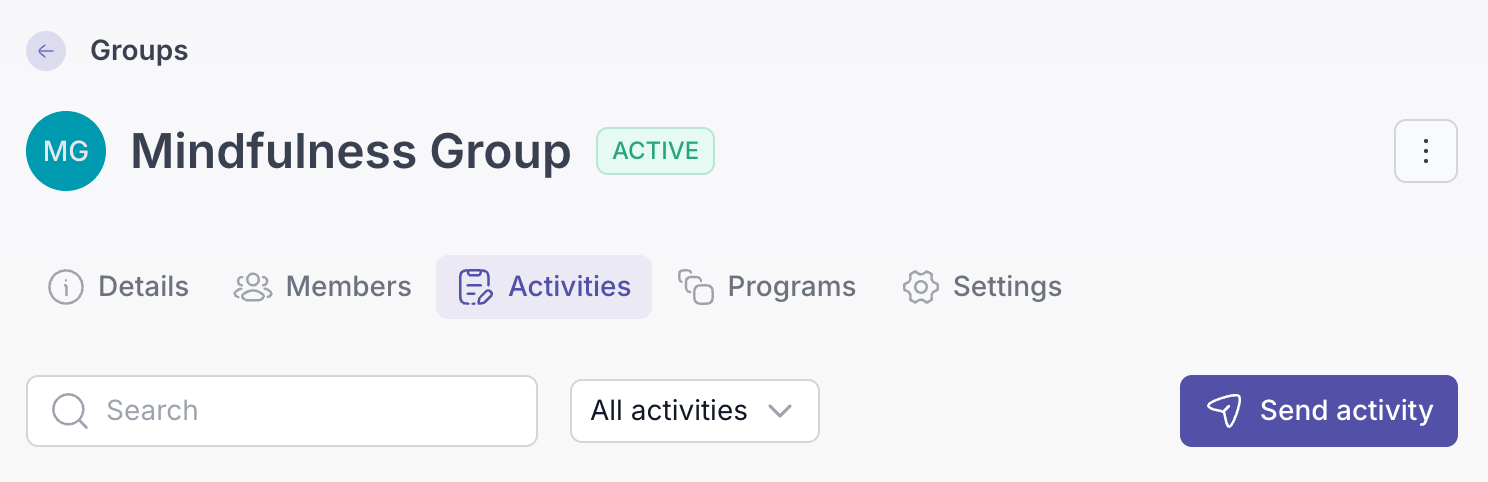
## Magic Login
We've introduced a new authentication option for easier access to your account. In addition to the traditional email and password login, you can now use Magic Login - simply enter your email address, and we'll send you a secure link to access your account.
## Other Improvements
- **Activity Preview in Program Builder:** You can now preview activities directly within the Program Builder without opening each one individually, streamlining your workflow.
- **Activity Preview in Pre-Made Programs:** When browsing pre-made programs, you can now quickly preview each activity before adding the program to your library.
## In the help center
- [Groups](https://quenza.com/help/clients/groups/)
- [Sign-in problems](https://quenza.com/help/troubleshooting/sign-in-problems/)
---
# Google Calendar Integration & Improvements
> Clients can now book appointments through your Google Calendar booking page in Quenza. Also new: images in notes and a password visibility toggle.
Source: https://quenza.com/help/whats-new/google-calendar-integration-improvements/
We're pleased to announce that Quenza now integrates with Google Calendar, enabling your clients to book appointments with you directly through the platform.
The integration preserves Google Calendar's full functionality, allowing you to leverage additional features such as payment processing through Stripe for client appointments.
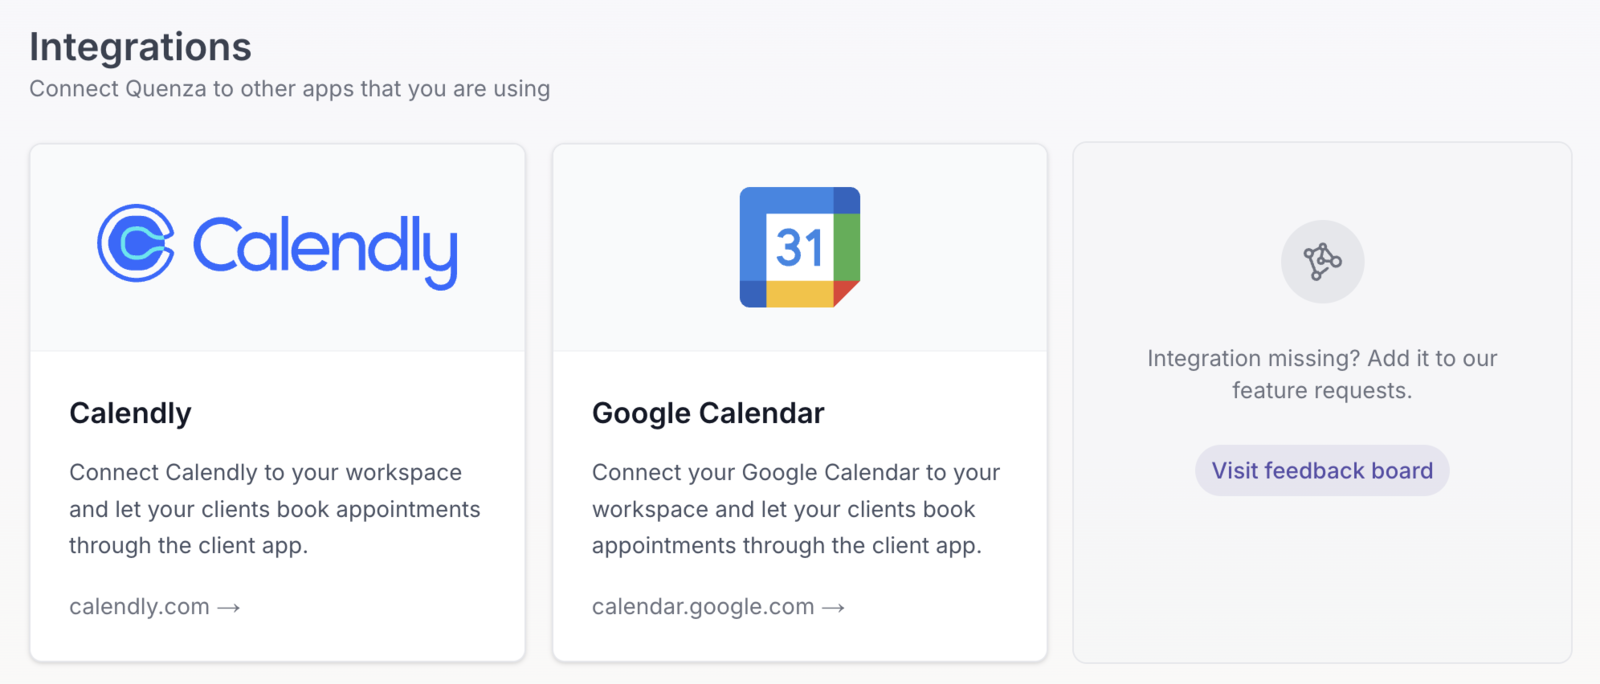
To get started with the Google Calendar integration, please refer to our support article: [the help article](https://quenza.com/help/integrations/google-calendar/)
## Other Improvements
- **Images in Notes:** You can now insert images directly into your notes using the text editor.
- **Enhanced Password Field:** The password field now includes a visibility toggle, helping to reduce password entry errors.
- **Persistent Filter Settings**: Filter criteria applied to listings are now saved and will be automatically applied when you return to that view.
- **Persistent Interval Settings:** The "Show interval" setting in the Program Builder now persists to your profile. When you return to a program, your previous interval visibility preference will be automatically applied.
- **Minor Bug Fixes:** We've corrected the color scheme for Wheel element settings in the Activity Builder and resolved an issue that could incorrectly prompt for a plan upgrade when adding clients.
## In the help center
- [Google Calendar](https://quenza.com/help/integrations/google-calendar/)
---
# Usability Improvements - Do More, Navigate Less
> Add clients, send activities and programs, build content and write notes with fewer clicks, without leaving the page you are on.
Source: https://quenza.com/help/whats-new/usability-improvements-do-more-navigate-less/
We've been hard at work improving the user experience across the platform. This update brings a host of usability enhancements that streamline your daily workflows and put important actions right where you need them.
## Client-Management
Faster assignment workflows: Send activities and programs directly from a client's profile page. No more jumping back to the library when you're already viewing the client's activities and programs tab.
Centralized client actions: The client profile now includes a three-dot menu that gives you quick access to all client-related actions, eliminating unnecessary trips to the client listing.
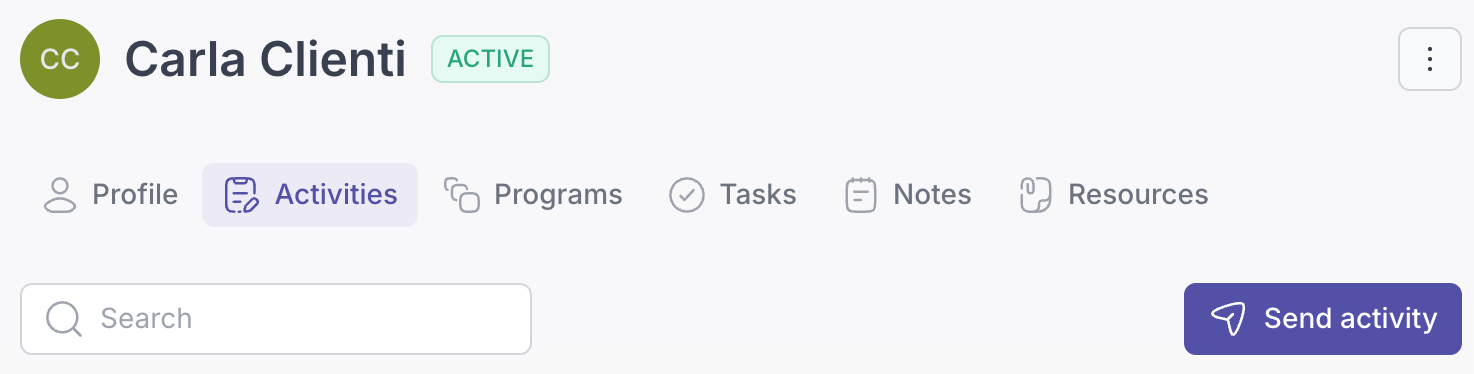
## Activity and Program Assignments
Complete control from assignment details: All assignment actions - including canceling assignments and sending reminders - are now available directly on the assignment detail screen.
## Activity and Program Builder
Streamlined library management: Every action previously available only in the activity and program library listings can now be performed directly within the builder itself.
Within the Program Builder, you can now toggle interval visibility when scheduling activities for a clearer, more focused view.
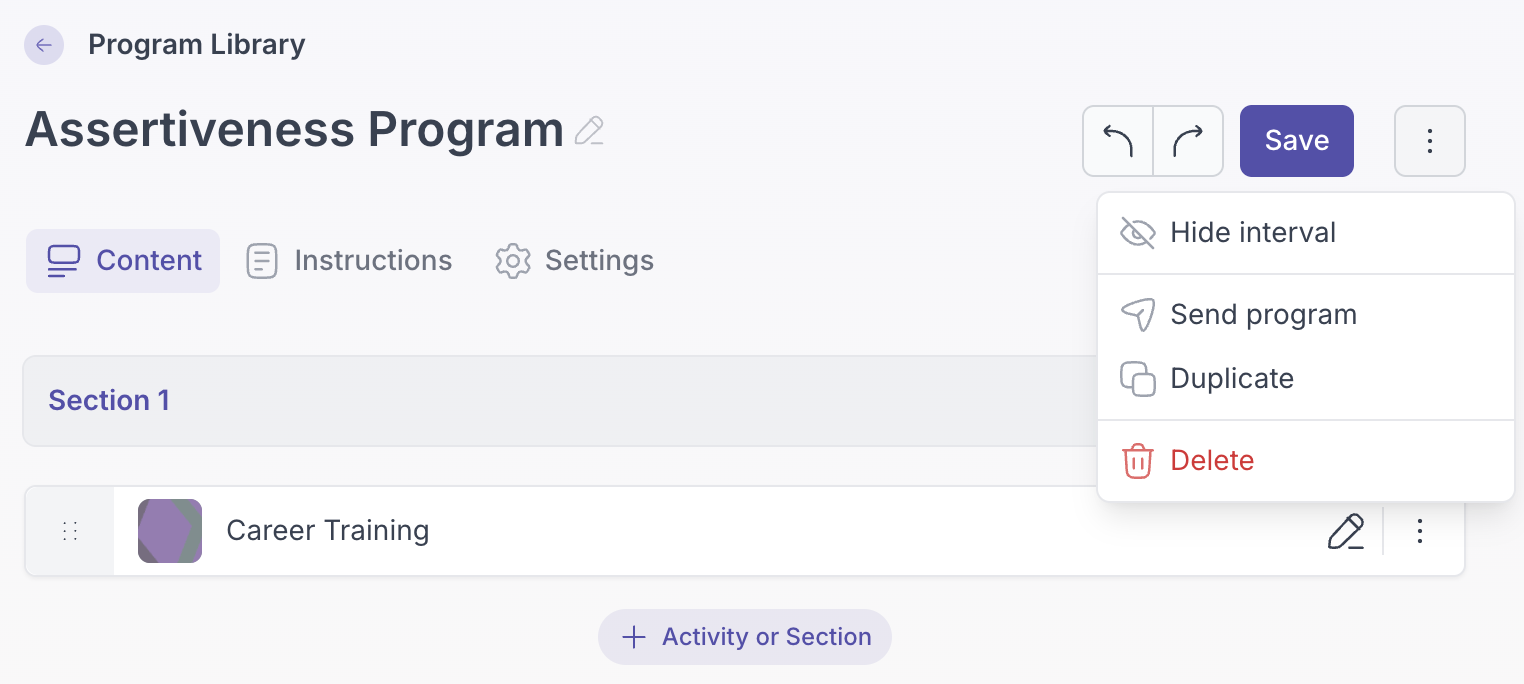
## Notes
Delete notes where you view them: You can now delete notes directly from the detail screen, saving you a trip back to the notes listing.
## In the help center
- [Add clients](https://quenza.com/help/clients/add-clients/)
- [Send an activity](https://quenza.com/help/working-with-clients/send-an-activity/)
- [Build an activity](https://quenza.com/help/content/build-an-activity/)
- [Notes](https://quenza.com/help/working-with-clients/notes/)
---
# Recent Platform Updates: Tasks, Audio Player, Client Deletions & More
> Tasks get descriptions, audio files can be downloaded, and you can now delete a client permanently, plus a set of smaller improvements.
Source: https://quenza.com/help/whats-new/recent-platform-updates-tasks-audio-player-client-deletions-more/
We've been working on several improvements to enhance your experience. Here's what's new:
## Task Descriptions
Tasks just got more powerful! You can now add detailed descriptions to every task, providing comprehensive context, instructions, and relevant links. Whether you're delegating work to team members or tracking complex workflows, this enhancement ensures everyone has the information they need right at their fingertips.
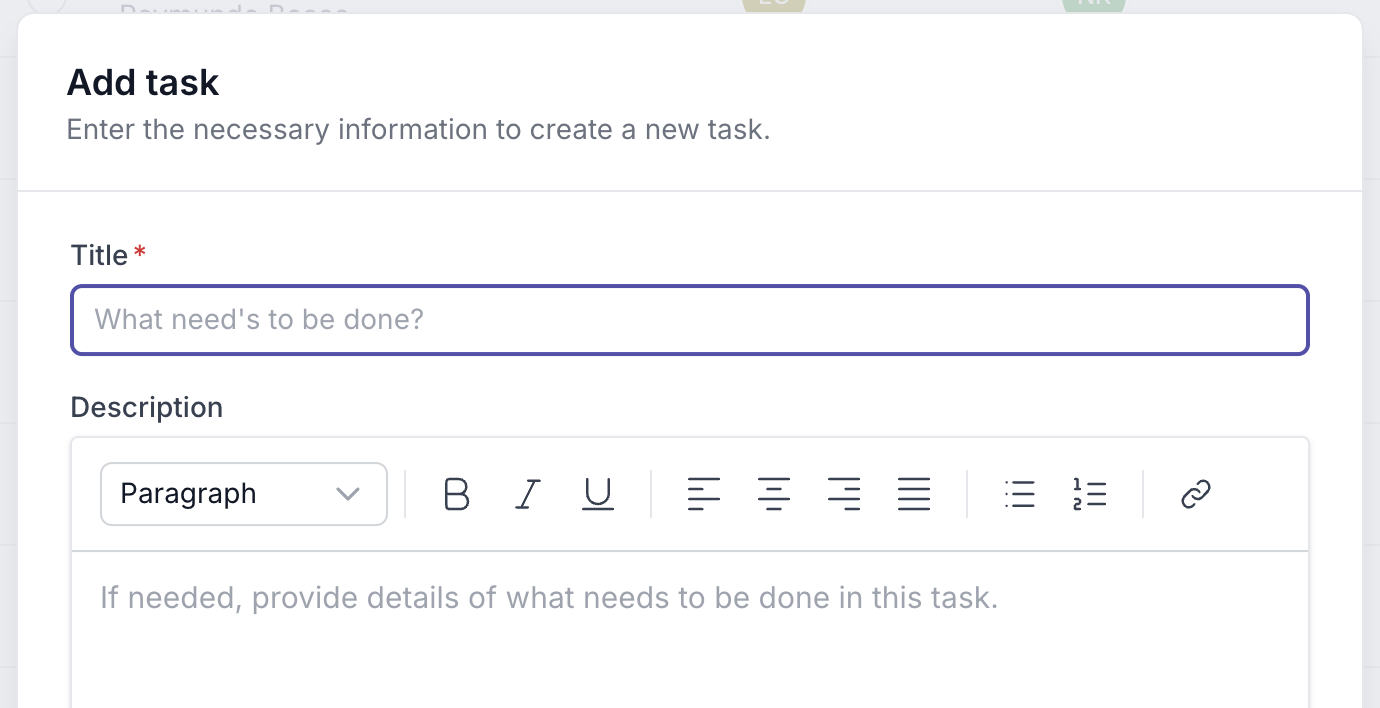
## Audio File Download
Take your audio content offline! Download audio files directly from the platform to listen whenever and wherever works best. You have full control over whether downloads are enabled for each file—ideal for protecting copyrighted content while still allowing streaming access.
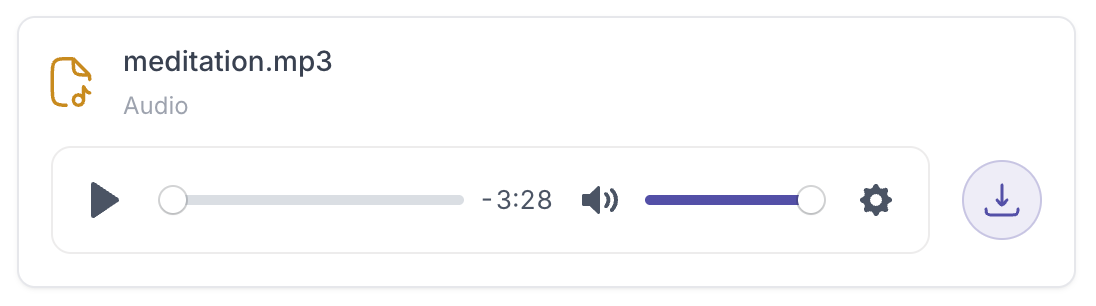
## Permanent Client Deletion
More control over your client data. You now have the option to permanently delete client records when needed, helping you maintain a clean workspace that complies with your data retention policies. Whether you're managing GDPR requirements or simply keeping your practice tidy, this feature puts you in full control.
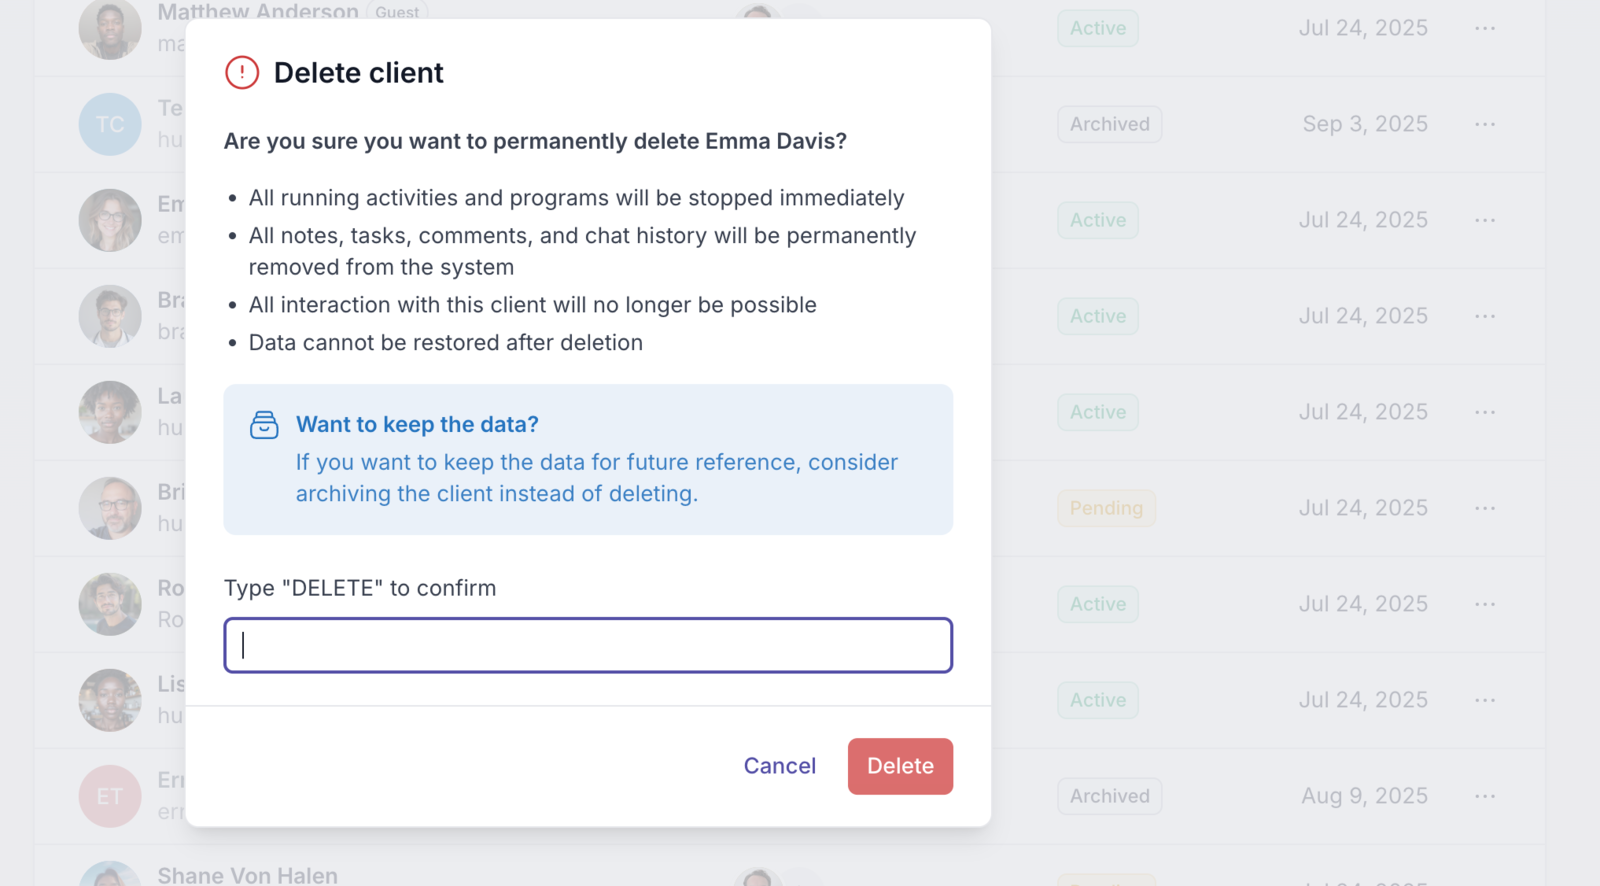
## Other Improvements
- **Demo Client Visibility:** The demo client appears with distinct styling in the client list for improved clarity.
- **Program Activity Notifications:** Notifications for program activities now explicitly indicate that they belong to a program, making it clearer for clients. The notification behavior remains unchanged—tapping it takes the client directly to the activity to begin working on it.
- **Activity and Program Builder**: When deleting a section, activity, or element in our builders, you'll now receive a confirmation prompt. This helps prevent accidental deletions while maintaining the undo functionality at the top of the page.
These updates continue our commitment to making the platform more intuitive and efficient for your daily practice workflows!
## In the help center
- [Tasks](https://quenza.com/help/working-with-clients/tasks/)
- [Delete clients](https://quenza.com/help/clients/delete-clients/)
---
# Better conversations through improved comments
> Comments can now be edited and deleted, replies are threaded under the comment they answer, and notifications about comments are clearer.
Source: https://quenza.com/help/whats-new/better-conversations-through-improved-comments/
We've been hard at work making comments more enjoyable and powerful for you. Here's what's new:
## Editable / Deletable Comments
You can now edit or delete any comment you've created, giving you full control over your conversations.
## Threaded Comments
Reply directly to specific comments to create organized conversation threads. Replies can be collapsed or expanded to keep everything neat and easy to navigate.
## Improved notifications
We've enhanced both email and in-app notifications for comments. When you click a notification link, the relevant window opens and automatically scrolls to the new comment—making it effortless to jump right into the conversation. This improvement applies to client timeline entries as well.
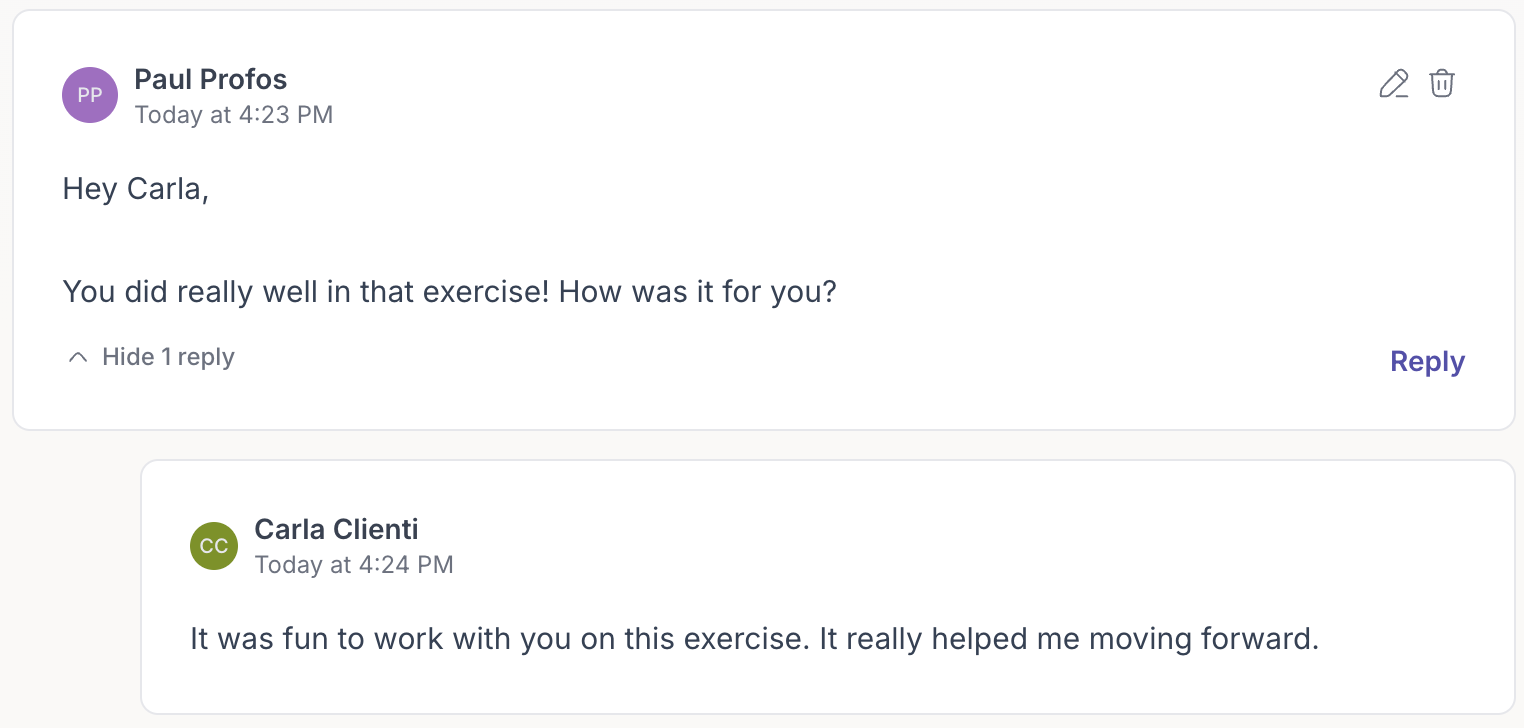
🔧 Bug Fixes
- **Sending programs:** The "Custom" delivery option in the send program dialog now prevents selection of dates in the past.
## In the help center
- [Comments](https://quenza.com/help/working-with-clients/comments/)
---
# More filter options, deletion of program assignments
> Cancel a program for a client or a whole group, see only your own demo client at the top of your list, and filter your lists in more ways.
Source: https://quenza.com/help/whats-new/more-filter-options-deletion-of-program-assignments/
We performed a couple of improvements in the last days, which we will introduce in this post:
✨ Improvements
- **Program cancellation:** Previously, it was not possible to cancel entire programs after they had been sent to the client. We worked on that, and now it is possible to cancel a program for a client or for a whole group.
- **Demo clients:** When you work in a workspace with multiple professionals, each professional has a demo client. Thus, this can lead to confusion as your client list showed all demo clients in your entire workspace. We changed that, and you only see your demo client in the client's listing. Additionally, your demo client is always at the top of the listing.
- **Filter options:** We improved the activity and program library with new filter options, making it easier to search and find the activities and programs that you are looking for. The search filter has been improved and searches more specifically for an activity or program. Previously, you could filter by the format. Now you have the option to filter by topic as well. You could also combine these two filters. In the listing of each filter, we also show the number of activities/programs that have the format or topic in brackets:
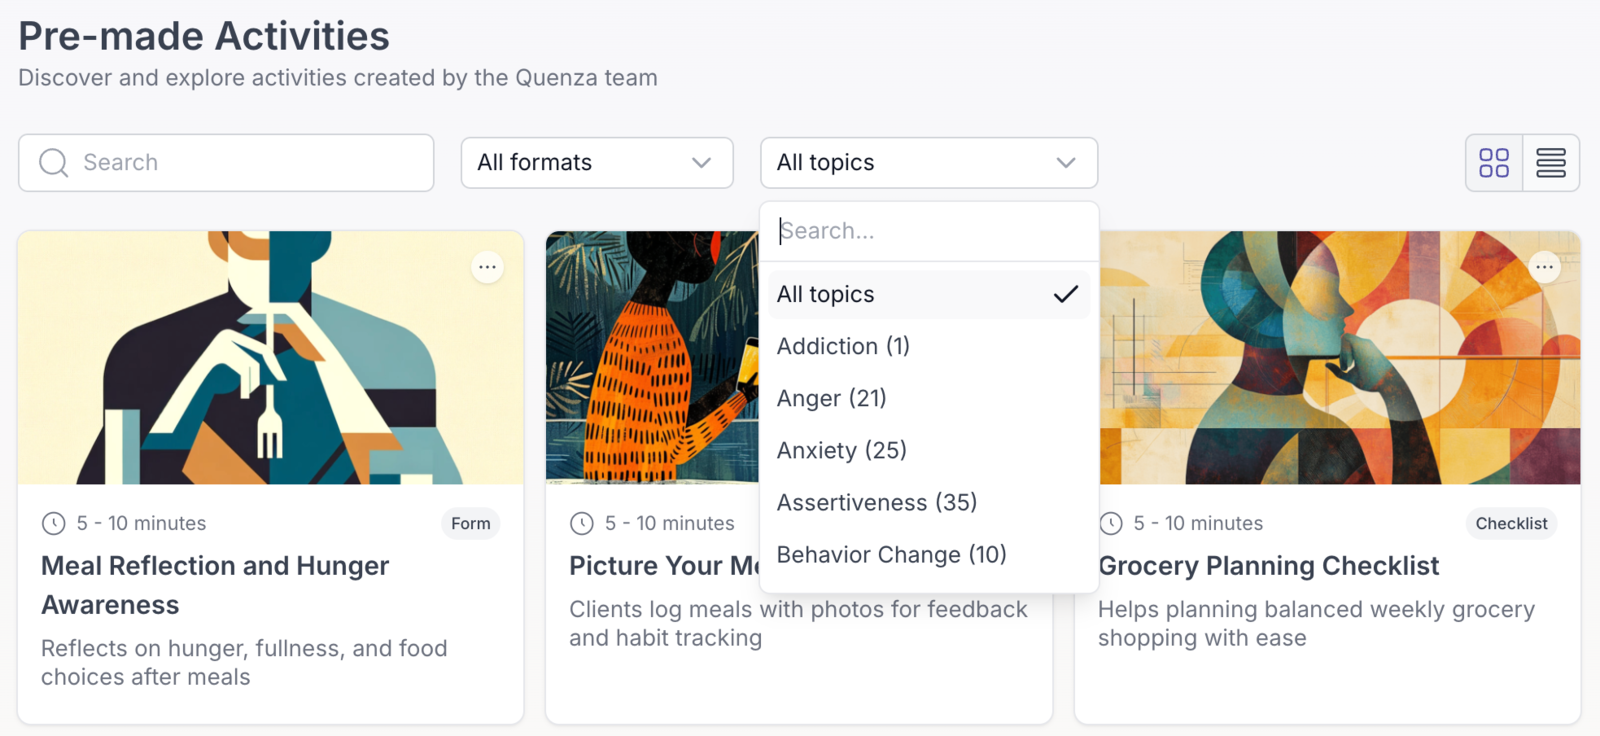
🔧 Bug Fixes
- **Activity creation:** When you create a new activity within a program, the format of that activity is not prefilled, which could lead to confusion, as you could overlook the error when trying to save. We fixed this, and each activity that is created in the program has a default format now.
As always, we appreciate your feedback as we continue to improve the platform.
## In the help center
- [Send a program](https://quenza.com/help/working-with-clients/send-a-program/)
- [Activities overview](https://quenza.com/help/content/activities-overview/)
---
# Improved Client Management, Programs, and Activities
> Duplicate programs in your library, turn guests into regular clients, let clients edit completed activities, and work better with archived clients.
Source: https://quenza.com/help/whats-new/improved-client-management-programs-and-activities/
We're excited to share several improvements designed to streamline your workflow and enhance the client experience. This update focuses on giving you more flexibility in managing client relationships, organizing your program library, and maintaining long-term client records.
✨ Improvements
- Programs can now be duplicated in your personal library, allowing you to quickly create variations of successful programs
- Completed activities can now be edited directly in the client app, providing greater flexibility for clients
- Guests can now be upgraded to become regular clients
- The experience for archived clients has been improved
🔧 Bug Fixes
- Fixed an issue with notifications that have been sent out even when the activity or program was cancelled
- Clients that are pending and have not accepted the invitation can be archived now
These updates are part of our ongoing commitment to making your daily work more intuitive and efficient. As always, we appreciate your feedback as we continue to improve the platform.
## In the help center
- [Archive clients](https://quenza.com/help/clients/archive-clients/)
- [Programs overview](https://quenza.com/help/content/programs-overview/)
---
# Client Resources: Streamlined File Sharing with Clients
> Add files, links and audio to a client profile and decide what your client sees. Audio plays right in the client app.
Source: https://quenza.com/help/whats-new/client-resources-streamlined-file-sharing-with-clients/
Enhance your client relationships by sharing resources directly within the platform. This new feature allows you to add files, links, and audio content to client profiles, making it easier than ever to provide supplementary materials and support.
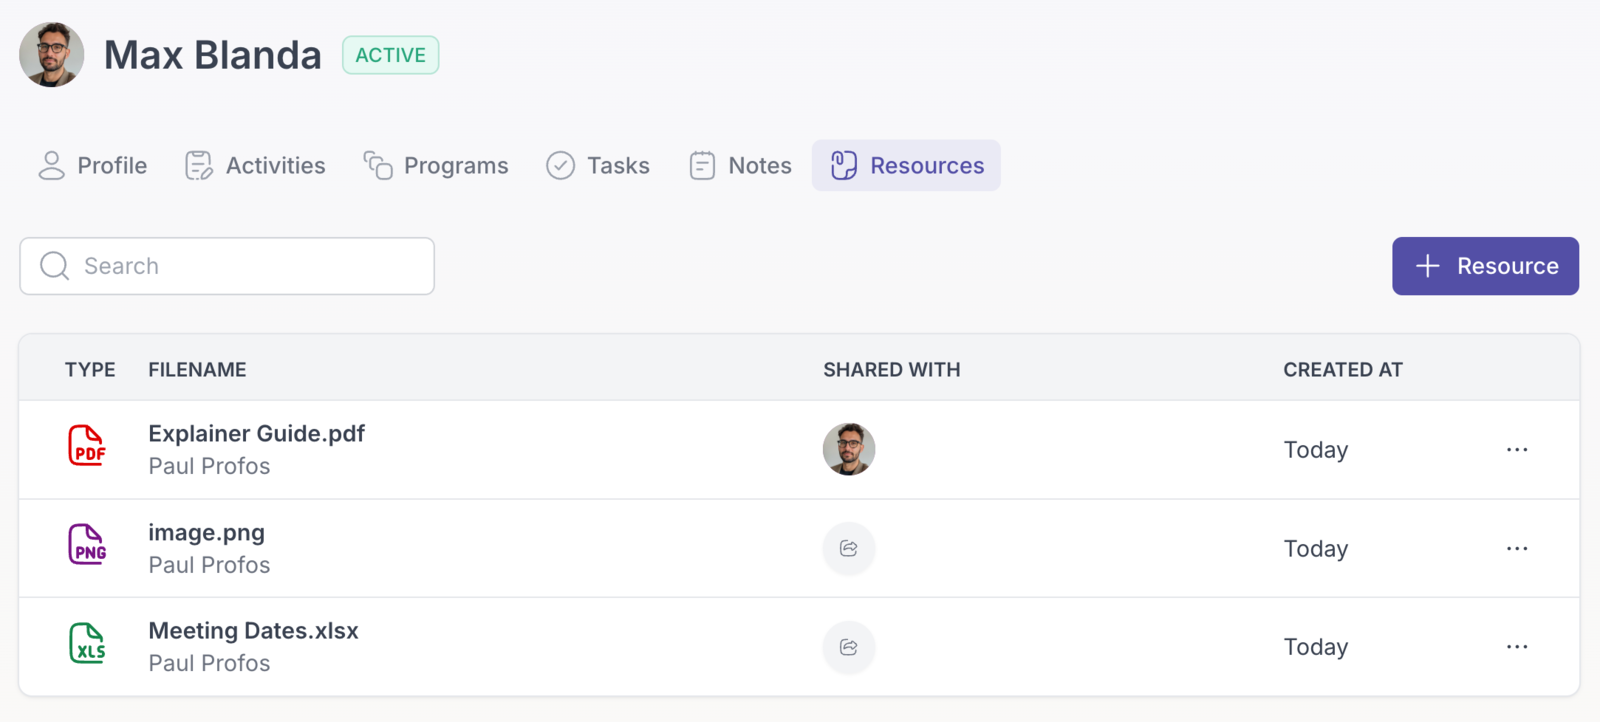
- **Multiple resource types** - Upload files, add links, or add audio recordings directly to the client profile
- **Controlled visibility** - Decide which resources clients can see and access, maintaining full control over shared content
- **Embedded audio player** - Audio files are automatically displayed with a built-in player in the client app for seamless listening
- **Organized client profiles** - All shared resources are neatly organized within each client's profile for easy management.
Whether you're sharing homework worksheets, helpful articles, guided meditations, or reference materials, your clients now have direct access to everything they need in one convenient location.
For more information about this feature, visit the docs "[How to Upload and Share Files or Links with Your Clients](https://quenza.com/help/working-with-clients/share-files-and-links/)"
## In the help center
- [Share files and links](https://quenza.com/help/working-with-clients/share-files-and-links/)
- [Files and links](https://quenza.com/help/for-clients/files-and-links/)
---
# We're Back from Holiday: Simple Updates and Essential Fixes
> Emails now show a plain link below each button, the program view in the client app is cleaner, and notes can no longer be added to inactive clients.
Source: https://quenza.com/help/whats-new/were-back-from-holiday-simple-updates-and-essential-fixes/
Hope you had a great summer! We've been enjoying some well-deserved time off, which is why things have been a bit quieter on the update front. But we're back at full speed and ready to tackle all the exciting features on our roadmap for you.
Let's start with some simple but important improvements:
✨ Improvements
- Added plain text links below email buttons to ensure reliable access, especially for users with MS Edge email clients where button rendering can be inconsistent
- Improved UI elements in the client app's program view for a cleaner experience
🔧 Bug Fixes
- Fixed the issue where notes could be created for clients who hadn't accepted their invitation or were in an archived state
These updates might seem small, but they ensure a smoother experience for both you and your clients. Now that we're back and recharged, expect to see more exciting features rolling out soon.
---
# Flexible Scheduling of Activities in Programs
> Choose when each activity in a program is delivered, with or without a delay, on a fixed interval or by hand, and whether clients see upcoming activities.
Source: https://quenza.com/help/whats-new/flexible-scheduling-of-activities-in-programs/
We’ve expanded the program experience to give you full control over when and how your clients receive activities, so your delivery matches the flow of your design.

With this update, you can now choose from several delivery options:
## No Delay
Deliver multiple activities all at once. This is ideal for self-paced courses where clients can work through content in any order they prefer.
## After Completing Previous Step
Automatically unlock the next activity as soon as the previous one is completed by the client. This works perfectly for structured and sequential journeys.
## After Completing Previous Step with Delay
Add a pause between activities. After finishing one activity, the next is delivered after a set number of hours or days. This is great for giving clients time to reflect before moving on.
## Fixed Interval
Schedule activities to be sent at specific times, regardless of whether the client has completed previous steps. For example, send a prompt every morning at 9 AM or every Monday, no matter their progress.
## Manual Trigger
Take full control over the timing. Review client context or wait for a check-in before sending the next step. You can trigger delivery directly from the program overview in the client's profile.
This flexibility allows you to design programs that perfectly match your intended pace, structure, and style of client engagement. For more information, visit the docs ["How Activity Delivery Works in a Program"](https://quenza.com/help/content/program-delivery/).
## Control Visibility of Upcoming Activities
When sending a program, you can choose whether clients see all upcoming activities or only those that have been delivered.
## Show all upcoming activities
Clients see the full program at once, with future activities grayed out until their delivery date. Great for giving an overview and building anticipation.
## Hide upcoming activities
Clients only see the current step, helping them stay focused and letting you reveal the program gradually. This setting gives you the flexibility to decide how much of the program is visible in advance.
## In the help center
- [Program delivery](https://quenza.com/help/content/program-delivery/)
---
# Sidebar Improvements and Program Bug Fix
> The logo moves to the top of the sidebar and your profile options to the bottom. Required fields in program activities work again.
Source: https://quenza.com/help/whats-new/sidebar-improvements-and-program-bug-fix/
Two quick updates to improve your daily experience:
✨ **Improvements**
- Improved sidebar layout by moving the logo to the top and relocating user profile options to the bottom for a more intuitive, familiar navigation experience
🪲 **Bug Fixes**
- Fixed the issue where required fields in activities within programs weren't functioning properly
These small changes make navigation feel more natural and ensure program activities work exactly as intended!
## In the help center
- [Build a program](https://quenza.com/help/content/build-a-program/)
---
# First Integration Launch: Calendly Appointment Booking
> Connect your Calendly account so clients can book appointments with you right from the Quenza client app.
Source: https://quenza.com/help/whats-new/first-integration-launch-calendly-appointment-booking/
We're excited to announce our first integration with the NextGen platform - **Calendly**!
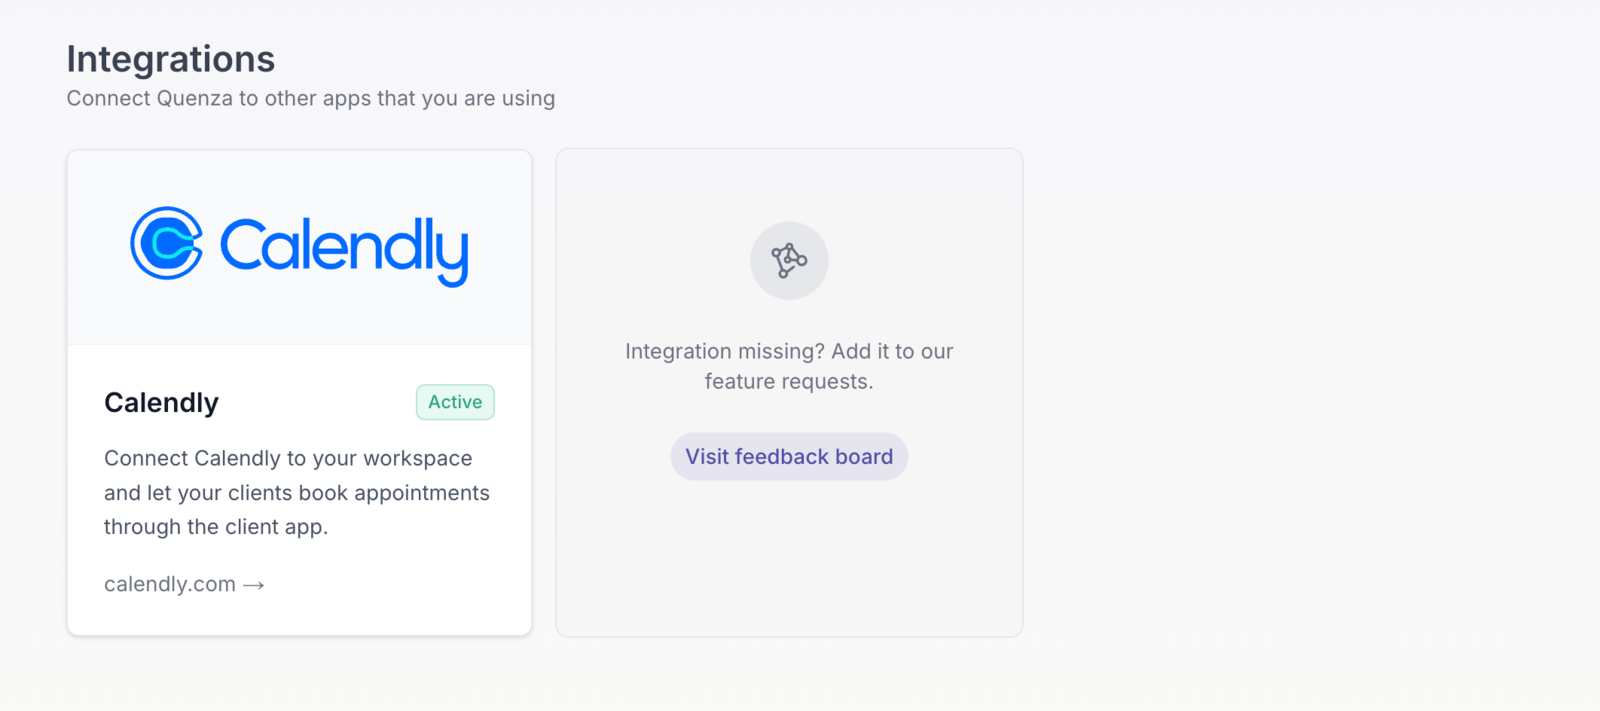
This integration streamlines the appointment booking process by allowing your clients to schedule sessions directly through our client app using your Calendly account.
Once you enable the Calendly integration in your workspace settings, professional members can connect their individual Calendly accounts to the platform. This creates a seamless booking experience where clients can access scheduling directly from within their client portal.
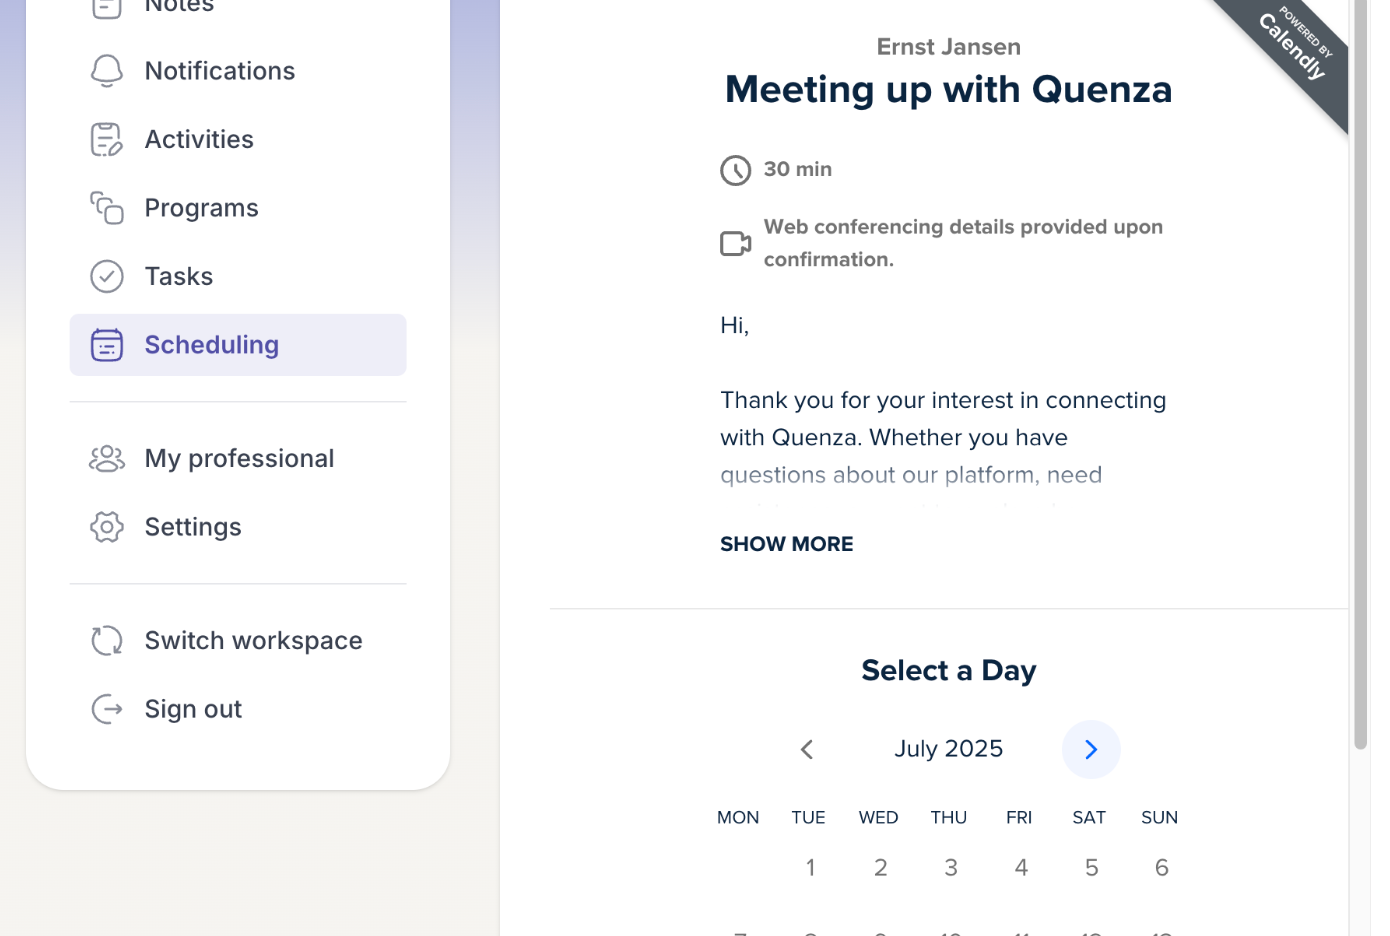
## Here are the key benefits
- Direct booking access - Clients can schedule appointments without leaving the platform
- Multi-professional support - When multiple professionals are available, clients can choose who they'd like to book with
- Streamlined workflow - No more back-and-forth emails or separate booking links
- Familiar interface - Clients get the trusted Calendly booking experience within your branded environment
This integration represents the beginning of our commitment to connecting Quenza with the tools you already use in your practice. By bringing appointment scheduling directly into the client experience, we're eliminating friction and making it easier for clients to engage with your services.
## In the help center
- [Calendly](https://quenza.com/help/integrations/calendly/)
---
# Introducing Groups: Organize Your Clients and Activities
> Groups bring clients with a shared goal together, so you can send activities and programs to everyone in the group at once.
Source: https://quenza.com/help/whats-new/introducing-groups-organize-your-clients-and-activities/
We're excited to introduce Groups – a powerful new feature that streamlines how you work with multiple clients who share similar goals or treatment plans.
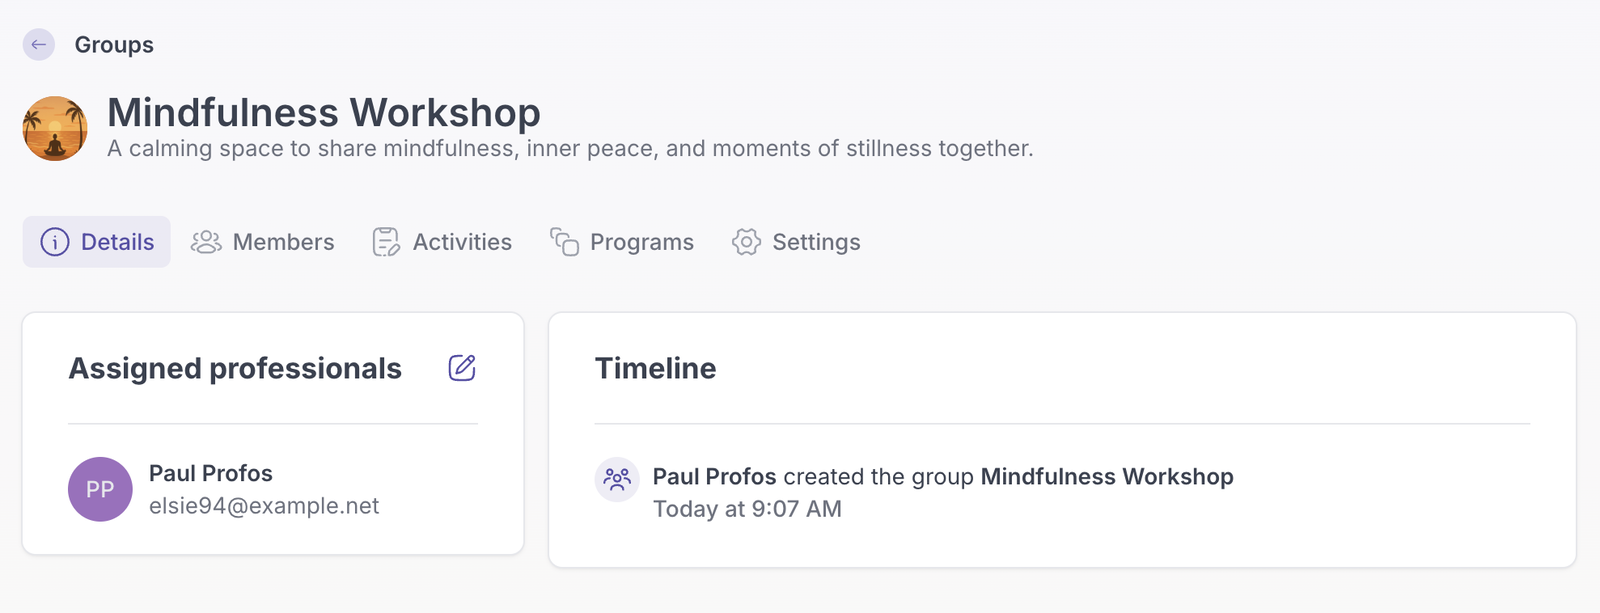
## What's new
- Create client groups to organize your practice more efficiently. Whether you're running group therapy sessions, coaching cohorts, workshops, or working with clients on similar programs, you can now manage them collectively.
- Assign activities and programs to entire groups with a single action. Instead of individually assigning the same content to multiple clients, simply select your group and deploy activities instantly to all members.
- Track collective progress. Monitor how your entire group is performing on specific activities and spot clients who may need additional support.
- Maintain individual oversight while benefiting from group efficiency. Each client's progress remains accessible within the group view, so you never lose sight of personal outcomes.
## Getting started
Navigate to the new Groups section in your dashboard to create your first group. Add existing clients or create groups as you onboard new clients. Your existing individual client management remains unchanged – Groups simply adds a new layer of organization to enhance your workflow. For more information visit the docs: "[Getting started with Groups](https://quenza.com/help/clients/groups/)"
This feature is perfect for:
- Group therapy sessions
- Coaching cohorts
- Educational workshops
- Any scenario where multiple clients share similar activities or goals
This feature builds on your existing client management tools, making it easier than ever to scale your practice while maintaining the personalized care your clients expect.
This is just the beginning – we have exciting plans to expand Groups with additional collaborative features to make group management even more powerful in upcoming releases.
## In the help center
- [Groups](https://quenza.com/help/clients/groups/)
- [New group members](https://quenza.com/help/clients/new-group-members/)
---
# Introducing Branding: Upload Your Custom Logo
> Upload your practice logo. It appears in the emails you send, in the client portal and in your own workspace.
Source: https://quenza.com/help/whats-new/introducing-branding-upload-your-custom-logo/
We're excited to introduce our new Branding feature, starting with the ability to upload your custom company or practice logo. We believe that every professional should have the fundamental ability to represent their brand within the platform, and this marks an important first step toward a more personalized experience.
Once you upload your logo, it will automatically appear across key touchpoints:
- **Email communications** - Your logo will be featured in all emails you send as a professional, including invitations, activity assignments, and other client communications
- **Client portal** - Clients will see your branding when they access their activities and materials
- **Professional portal **- Your logo will be displayed throughout your workspace
This initial branding capability lays the foundation for our future white-label experience. While we recognize that true white-labeling encompasses much more than just logo placement, we wanted to start with this essential element that immediately enhances your professional presence.
We're committed to expanding these branding capabilities over time, giving you more ways to create a cohesive, professional experience that reflects your practice's unique identity. Stay tuned for more branding features as we continue building toward a comprehensive white-label solution!
## In the help center
- [Your logo](https://quenza.com/help/branding/logo/)
---
# Enhanced User Journey: Better Onboarding and Platform Polish
> A new Purpose step in the signup asks what you want to do with Quenza, plus a round of smaller improvements across the platform.
Source: https://quenza.com/help/whats-new/enhanced-user-journey-better-onboarding-and-platform-polish/
We've been busy refining the platform based on your feedback! Here's a collection of improvements that make your daily workflow smoother and more intuitive.
We've added a new "Purpose" step to our signup process that helps us understand what you're hoping to accomplish with Quenza. This simple addition allows new users to share their goals and expectations, whether that's creating engaging therapy activities, managing client programs, collaborating with other professionals, or exploring new approaches.
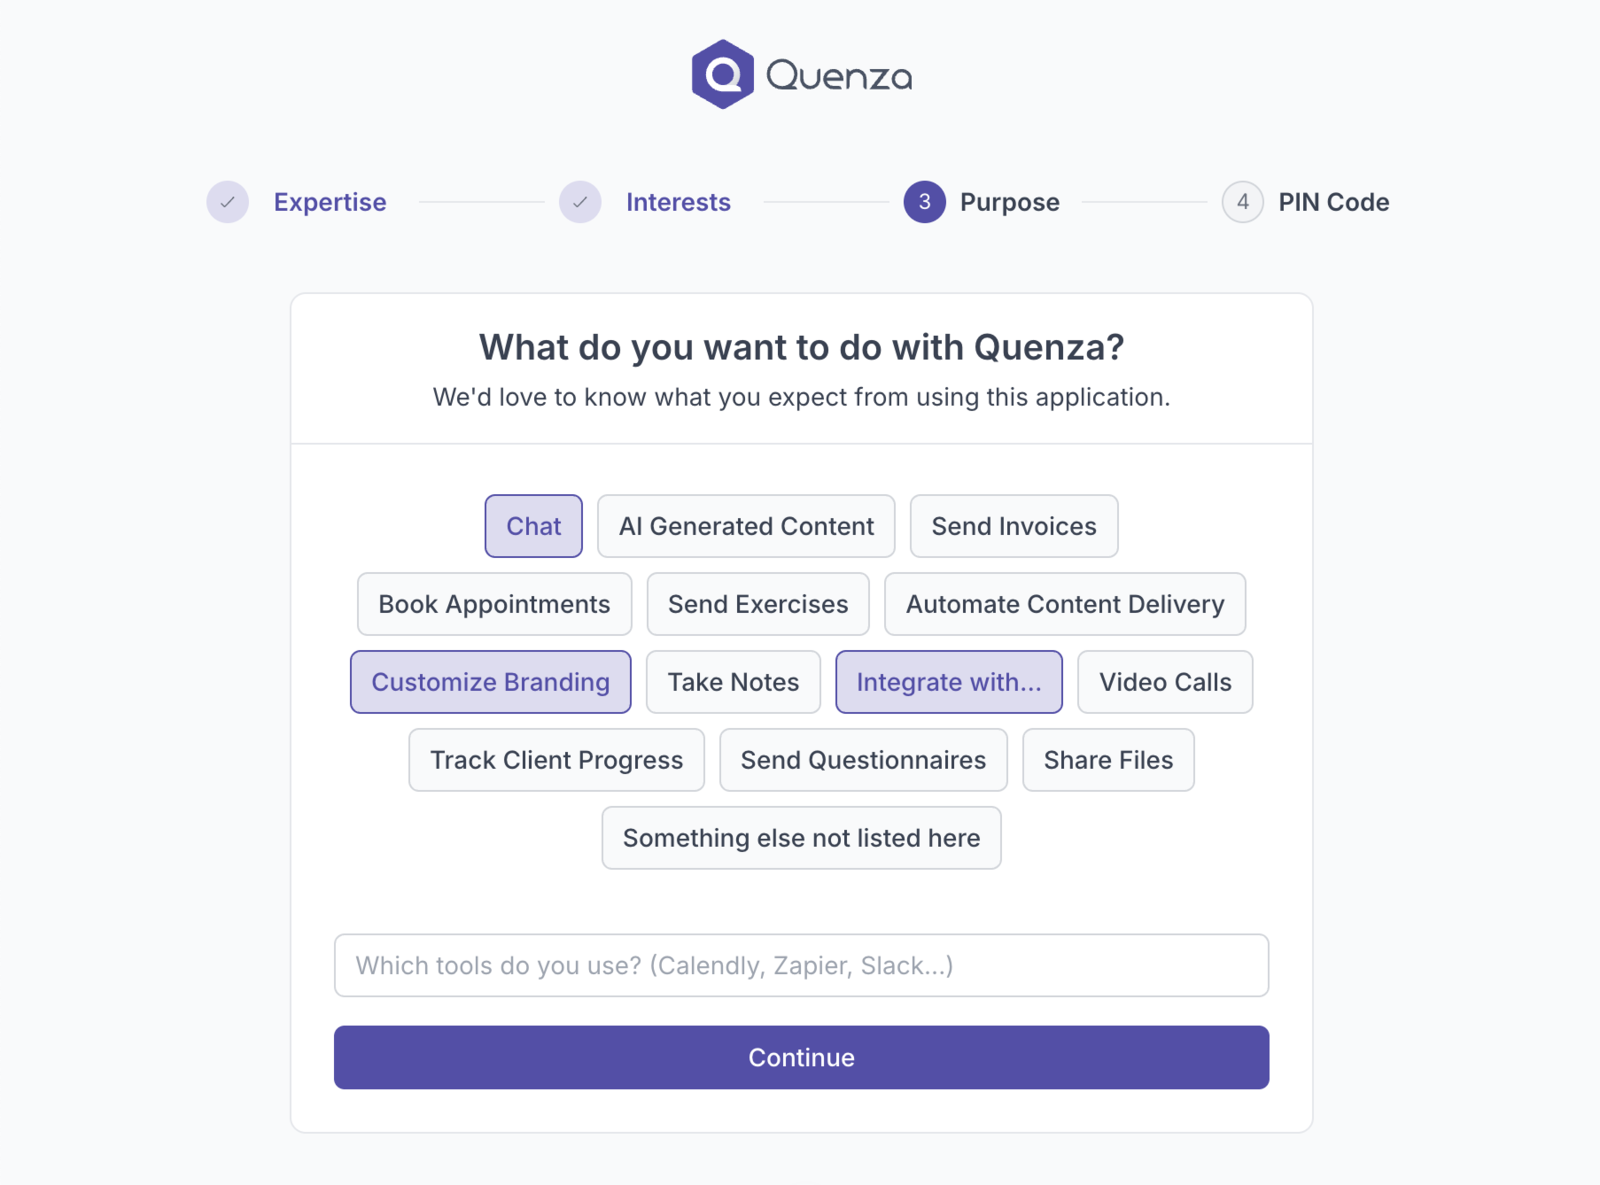
The insights we gather from this step help us prioritize which features to build next and ensure we're developing tools that truly serve your needs. It's a small addition to the signup flow, but it represents our commitment to building a platform that evolves with our community's requirements.
And here are more things we've been working on:
✨ **Improvements**
- **Improved** guest activity magic links to remain valid for 60 days (previously 14 days), giving your clients more flexibility to complete activities at their own pace
- **Improved** our email templates by removing redundant text links below buttons, reducing visual clutter while maintaining full functionality
- **Added** helpful placeholder text in all rich text editors so you always know what's going on
- **Added** a convenient "Send Activity" option directly from the activity view/edit screen, so you no longer need to navigate back to listings to share activities with clients
🪲 **Bug Fixes**
- **Fixed** the issue where professional profile email addresses were incorrectly required to be unique
- **Fixed** the problem where importing existing activities into the program builder wasn't properly applying descriptions and featured images
These updates reflect our ongoing commitment to making the platform more intuitive and efficient for your daily practice. Each improvement might seem small on its own, but together they create a significantly smoother user experience!
## In the help center
- [Start your free trial](https://quenza.com/help/getting-started/start-your-free-trial/)
---
# Contextual Onboarding Videos Now Available Throughout the Platform
> Short videos by our CEO Hugo now appear where you need them, such as the client list and the activity library, and show how to use each feature.
Source: https://quenza.com/help/whats-new/contextual-onboarding-videos-now-available-throughout-the-platform/
We've added helpful onboarding videos directly within key areas of the platform to guide you through features and showcase real-world use cases. Our founder and CEO Hugo personally recorded these videos to help you understand how our platform can solve your specific challenges and make the most of every feature.
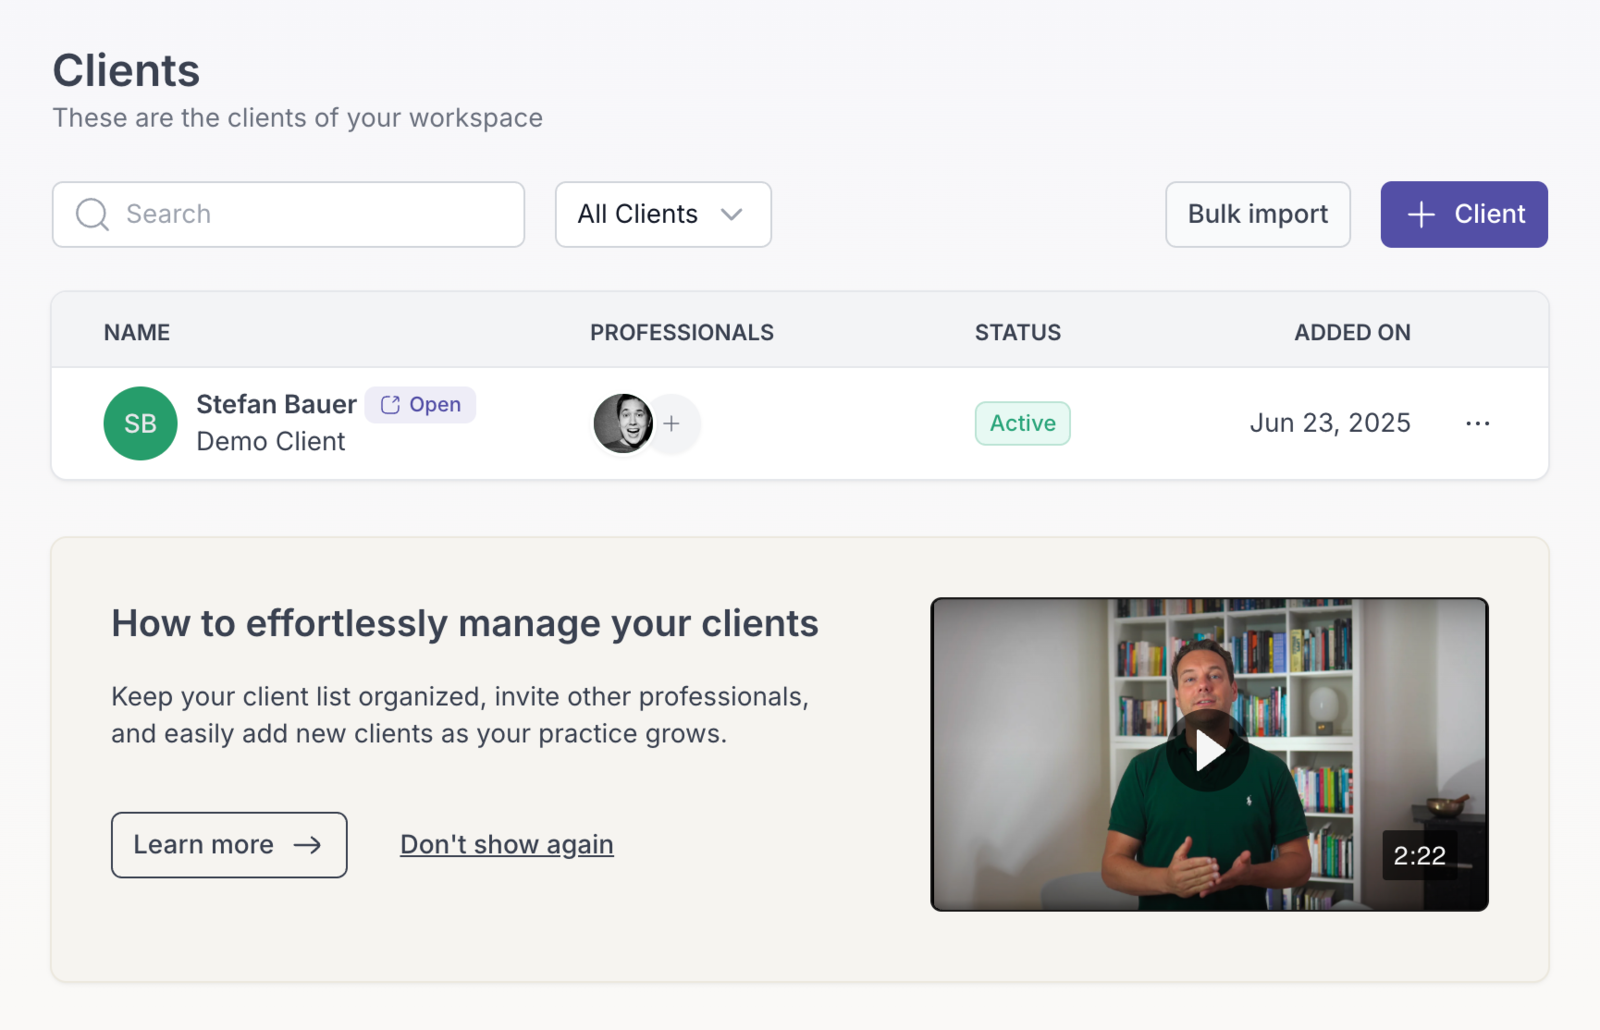
These contextual videos appear right where you need them most, making it easier to discover the full potential of our platform. You'll now find Hugo's guidance in areas like:
- **Client and Professional Management** - Learn how to efficiently organize your client list, invite collaborating professionals, and streamline your practice workflow
- **Activity Library** - Discover how to find, customize, and organize activities for your sessions
- **Program Creation** - Understand how to build structured treatment programs and track client progress
- and many more...
Each video is designed to be concise and actionable, with Hugo showing you not just how features work, but why they're valuable for your practice. Whether you're wondering how to collaborate with other professionals, organize your growing client base, or create more engaging sessions, these videos demonstrate practical solutions to common challenges.
The videos appear contextually within each feature area, so you can get Hugo's expert guidance exactly when you need it - right as you're exploring new functionality. This personal touch helps you quickly understand the value and potential of each feature without having to search through separate help documentation.
We're committed to making the platform as intuitive as possible, and Hugo's onboarding videos are just the beginning of enhanced guidance throughout your experience!
## In the help center
- [The new Quenza](https://quenza.com/help/getting-started/the-new-quenza/)
---
# Save Individual Activities from Programs to Your Library
> You can now save specific activities from any program directly to your personal library!
Source: https://quenza.com/help/whats-new/save-individual-activities-from-programs-to-your-library/
You can now save specific activities from any program directly to your personal library!
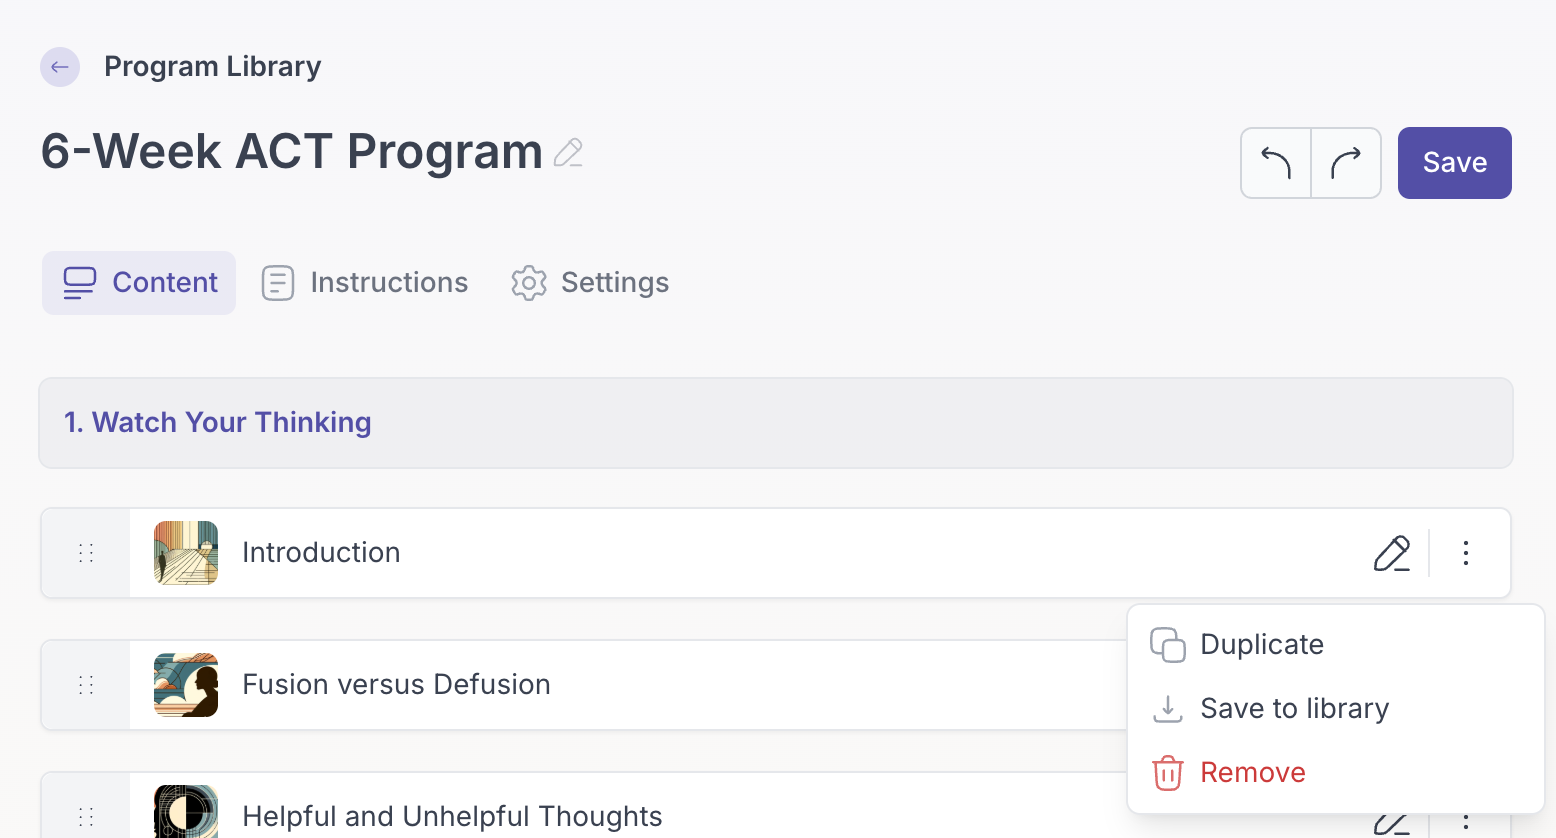
Previously, you could only access activities within their original program context. Now, when viewing a program like our "6-Week ACT Program," you can save individual activities (such as "Introduction," "Fusion versus Defusion," or "Helpful and Unhelpful Thoughts") to your personal library for easy access anytime.
This feature gives you the flexibility to:
- Build your own collection of favorite activities from different programs
- Quickly access specific exercises without navigating through entire programs
- Create a personalized toolkit of activities that work best for you
- Duplicate and customize activities for your own use
Simply click the menu button (⋮) next to any activity in a program and select "**Save to library**" to add it to your personal collection.
This enhancement makes it easier than ever to curate your own library of activities and exercises!
## In the help center
- [Build a program](https://quenza.com/help/content/build-a-program/)
- [Pre-made content](https://quenza.com/help/content/pre-made-content/)
---
# Insert Existing Activities into Programs
> Add activities you already have to a program right in the Program Builder, instead of rebuilding them inside the program.
Source: https://quenza.com/help/whats-new/insert-existing-activities-into-programs/
Building programs just got a lot easier. You can now insert **existing activities** from your activities collection directly into the Program Builder, instead of having to create everything from scratch.
When you're building a program, you now have two options: create a brand new activity or select from your existing activities library. This means you can quickly pull in activities you've already perfected and reuse them across multiple programs.
If you've spent time crafting the perfect intake form, assessment questionnaire, or weekly check-in, you shouldn't have to rebuild it every time you create a new program. Now you can simply select it from your collection and drop it right into your program structure.
This should significantly speed up your program creation process and help you maintain consistency across your client offerings. Build once, use everywhere.
## In the help center
- [Build a program](https://quenza.com/help/content/build-a-program/)
---
# A restructured sidebar with a dedicated Changelog
> The sidebar now groups your daily work at the top and moves support and feedback to the bottom, with a new link to the changelog.
Source: https://quenza.com/help/whats-new/a-restructured-sidebar-with-a-dedicated-changelog/
We've cleaned up and restructured the sidebar to make navigation more intuitive. The main application features you use for daily work are now grouped at the top, while help-focused items like support and feedback have been moved to the bottom where they're still accessible but less in the way.
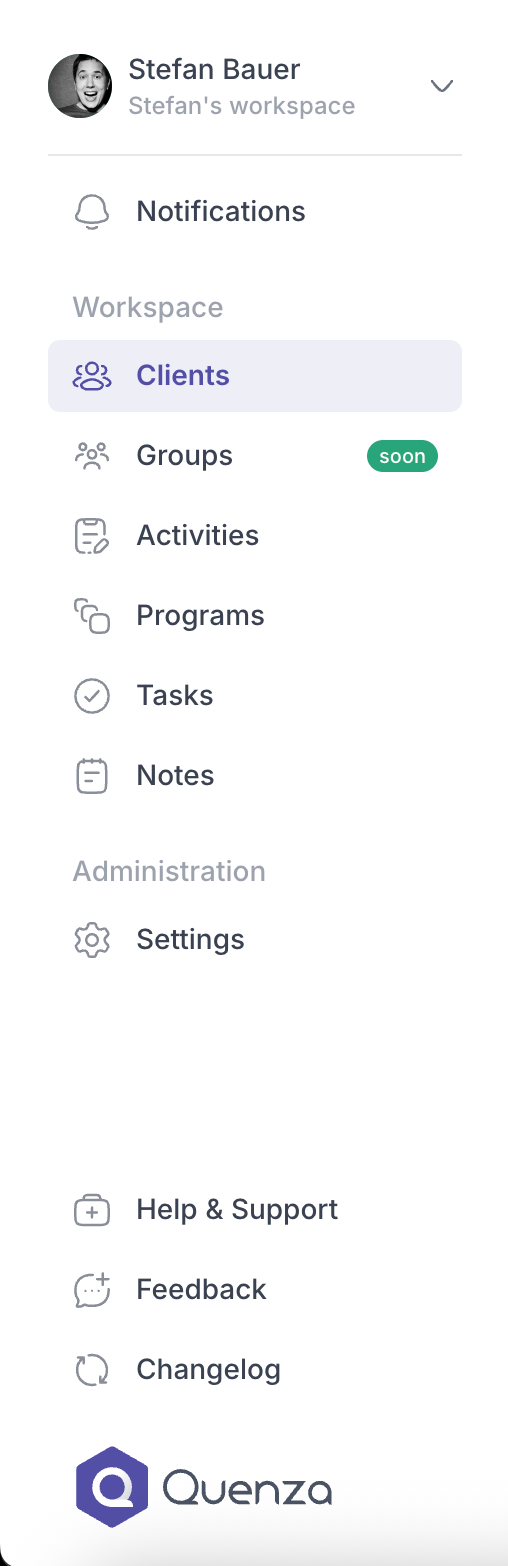
We've also added a new "[Changelog](https://quenza.com/help/whats-new/)" link to the sidebar. This is where we'll keep you updated on all our latest releases, improvements, and new features - basically what you're reading right now. We believe in being transparent about our development process, so you'll always know what's new.
The reorganization should make it easier to focus on your core workflow while keeping administrative functions readily available when you need them. It's a small change, but one that should make your daily experience a bit smoother.
## In the help center
- [Feedback and changelog](https://quenza.com/help/troubleshooting/feedback-and-changelog/)
---
# New File Upload Element for Activity Builder
> We've added a file upload element to the Activity Builder, giving you more flexibility in how you collect information from your clients.
Source: https://quenza.com/help/whats-new/new-file-upload-element-for-activity-builder/
We've added a file upload element to the Activity Builder, giving you more flexibility in how you collect information from your clients.
When building your activities, you can now add a file upload field with a custom description (full rich text editor support). Your clients will see this element when filling out the activity and can upload files directly through the interface.
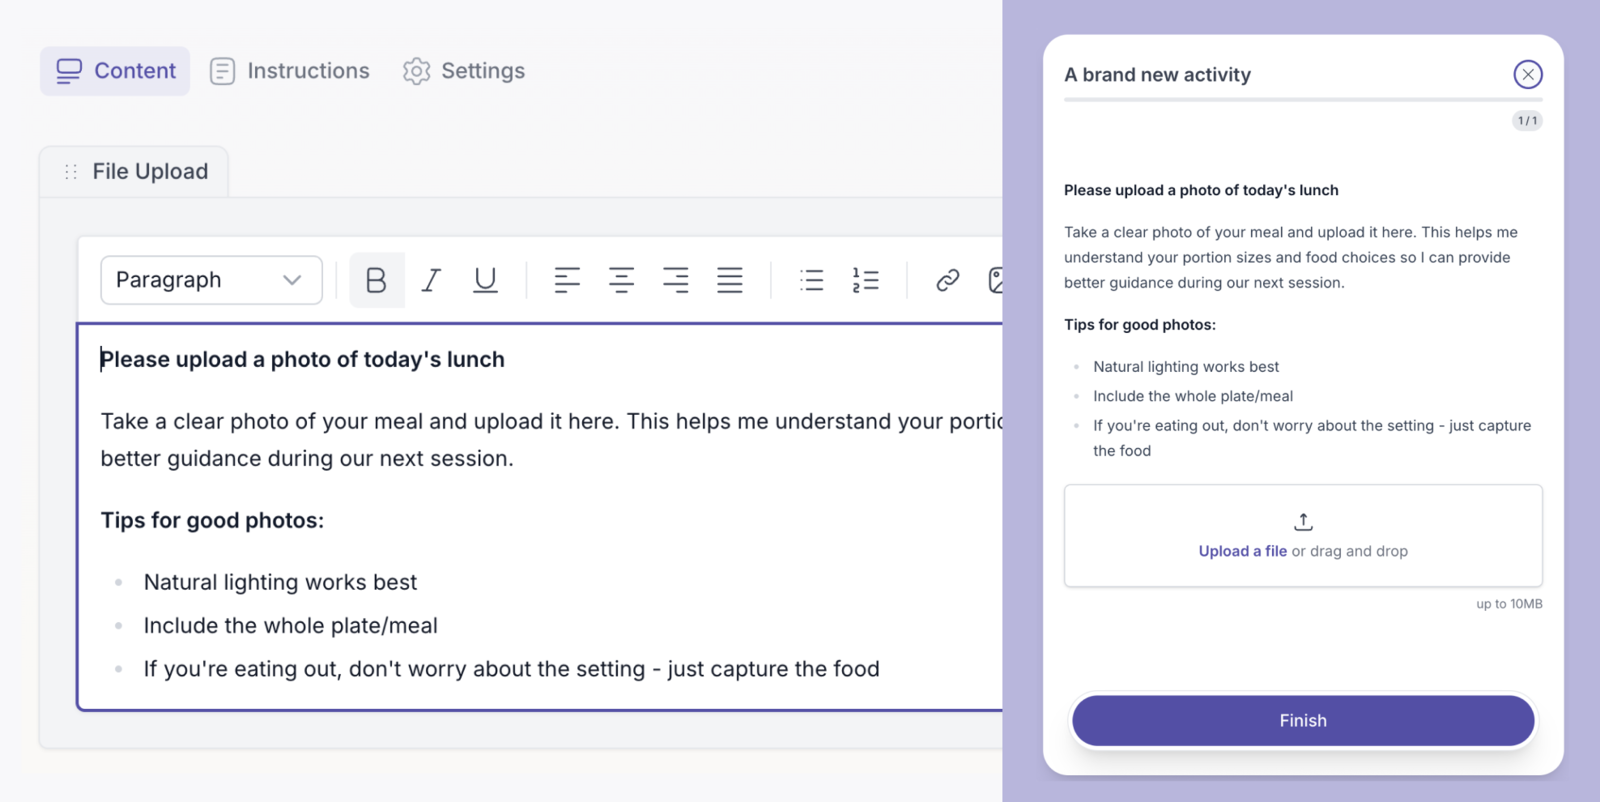
The element accepts all common file formats - PDFs, images, documents, and other supported file types. This opens up plenty of possibilities: food photos for nutrition tracking, scanned documents for compliance, progress pictures, signed forms, or whatever else fits your workflow.
Example uses cases can be
- Photo documentation (meals, progress pics, etc.)
- Document collection (contracts, forms, certificates)
- Creative submissions (designs, portfolios, samples)
- Evidence gathering (receipts, screenshots, reports)
The possibilities are really endless. You know your clients' needs better than anyone, so we've kept it flexible enough to support whatever use case you have in mind.
This addition makes activities much more comprehensive and should help streamline processes that previously required separate file sharing steps.
## In the help center
- [Question and element types](https://quenza.com/help/content/question-and-element-types/)
---
# A Fresh, Simpler Experience for the Activity Builder
> We’ve completely reimagined the Activity Builder to help you create and edit activities with more focus and less friction.
Source: https://quenza.com/help/whats-new/a-fresh-simpler-experience-for-the-activity-builder/
We’ve completely reimagined the Activity Builder to help you create and edit activities with more focus and less friction.
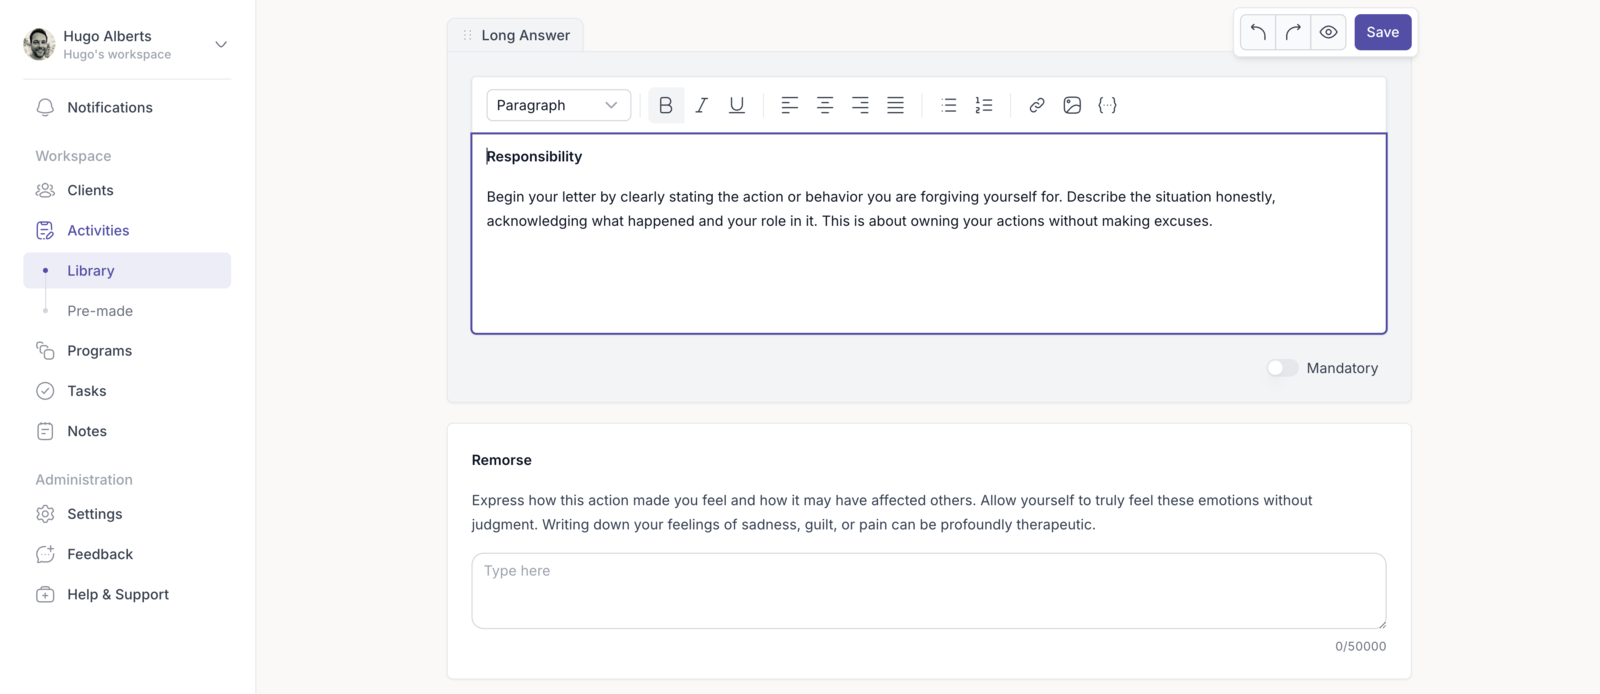
Here’s what’s new:
## Clickable Titles
You can now edit activity titles directly. No more digging through settings, just click the title and update it instantly.
## Streamlined Edit Mode
Editing activities used to feel a little overwhelming with all those visible elements. We’ve decluttered the space by collapsing every element by default. Want to make changes? Simply click an element to expand it, edit, and stay focused without distractions.
## Sticky Action Island
Tired of scrolling up to save your progress? We hear you. We’ve added a floating action island that stays with you as you scroll. Save your activity or perform other actions anytime, without losing your place.
## Improved Drag & Drop
Rearranging your activity just got easier, even on smaller screens. Plus, we fixed a long-standing issue where moving the last section of an activity wasn’t possible. Now, you have full control over every element.
We made these updates to give you a smoother, more intuitive experience, so you can focus on building meaningful activities for your clients without the hassle.
## In the help center
- [Build an activity](https://quenza.com/help/content/build-an-activity/)
---
# Say Hello to the Demo Client
> We’ve made it easier than ever to experience Quenza from your client’s perspective.
Source: https://quenza.com/help/whats-new/say-hello-to-the-demo-client/
We’ve made it easier than ever to experience Quenza from your client’s perspective.
Until now, if you wanted to test how activities, programs, tasks or notes looked for your clients, you had to create a separate demo account, use a different email address, and manually go through the registration process. Not exactly seamless.
That changes today. 🎉
## Meet the Demo Client
There’s now a ready-to-use demo client automatically added to your client list. No setup required. This demo account allows you to experience the client app exactly as your clients would.
## The best part?
Simply click “Open client app”, and a new window will open with the client app ready to go. You’re instantly logged in as your own demo client. No second email, no extra steps.

We built this so you can explore Quenza through your clients' eyes anytime: not just when you set up new clients, but also when new features drop.
Note that the demo client does not count as an active client. In other words, you are not billed for this client.
## In the help center
- [View as client](https://quenza.com/help/getting-started/view-as-client/)
---
# Profile Pictures for You and Your Clients Have Just Landed
> We've added the ability to upload custom profile pictures throughout the platform.
Source: https://quenza.com/help/whats-new/profile-pictures-for-you-and-your-clients-have-just-landed/
We've added the ability to upload custom profile pictures throughout the platform.
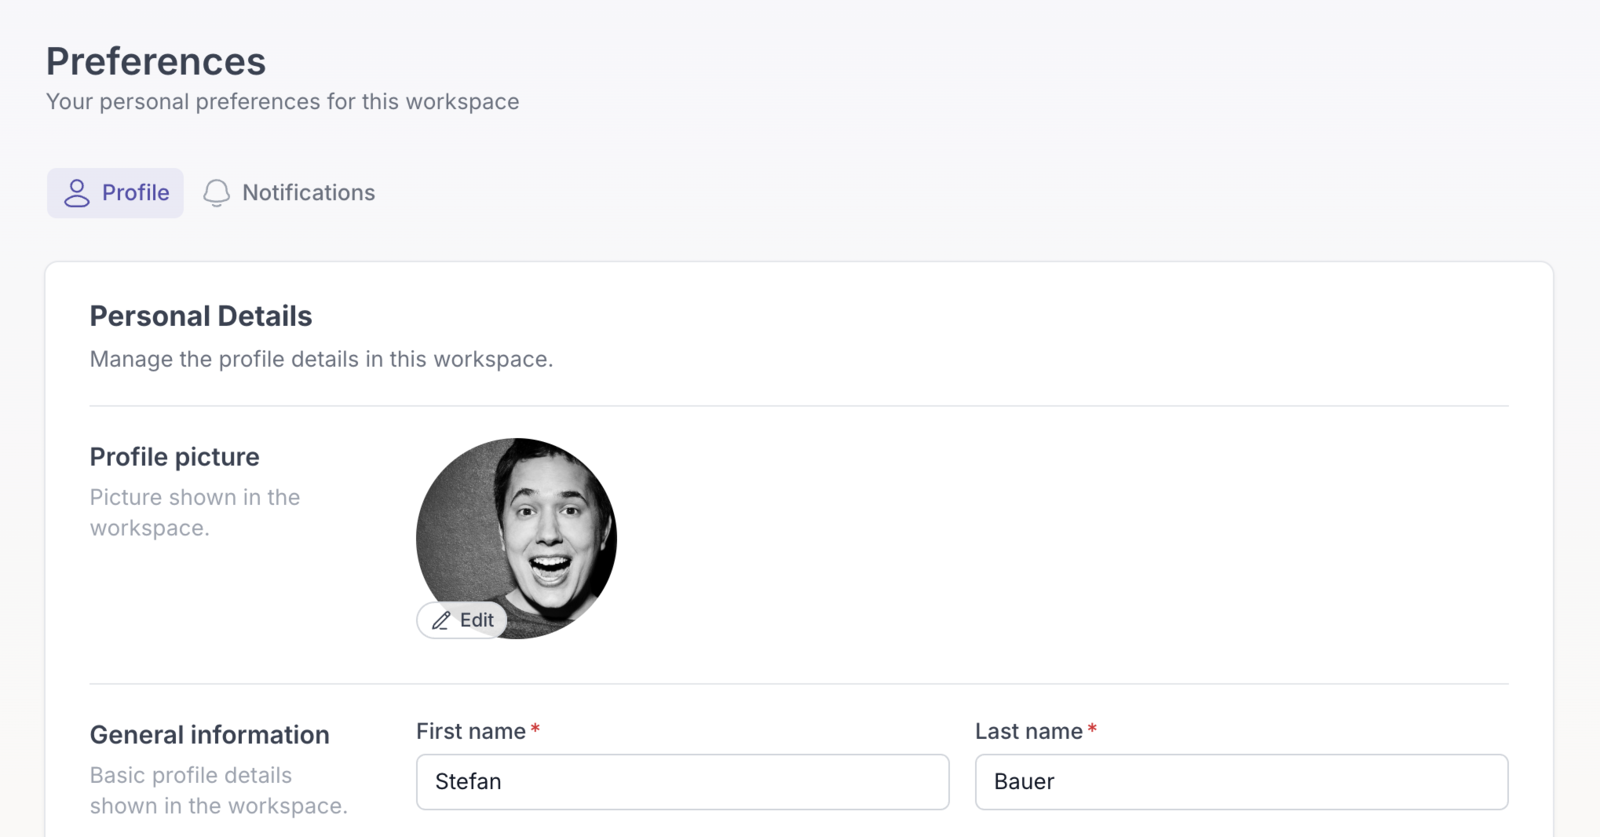
You can now add photos in three places:
- **Your own profile** - Head to your account preferences to upload a personal avatar that represents you across the platform.
- **Team member profiles** - When you're adding new team members or editing existing ones, you can now include their profile pictures to build a proper team directory.
- **Client profiles** - Add photos to your client contacts when creating or editing their information. It's a simple way to put faces to names and make client management more personal.
We know that seeing actual faces instead of generic avatars makes collaboration feel more natural and helps everyone stay organized, especially when you're working with larger teams or managing multiple client relationships.
The upload process is straightforward. Just look for the new profile picture option when you're in preferences, team member management, or client profile.
We're continuing to work on making the platform feel less like software and more like a natural part of how you work with your team and clients.
## In the help center
- [Edit your profile](https://quenza.com/help/getting-started/edit-your-profile/)
- [Add clients](https://quenza.com/help/clients/add-clients/)
---
# Introducing Our New Feedback Hub - Canny
> Suggest features, vote on ideas from other practitioners and report bugs on the new Quenza feedback site.
Source: https://quenza.com/help/whats-new/introducing-our-new-feedback-hub-canny/
We're thrilled to announce the launch of our brand new feedback platform! We've created a dedicated space where you can directly influence the future of our product.
- 🚀 [Feature Requests](https://feedback.quenza.com/feature-requests) - Got an idea that would make your workflow smoother? This is where game-changing features are born. Share your vision and vote on what matters most to you.
- 📋 [Pre-Made Content](https://feedback.quenza.com/premade-content) - Request content that would save you time and help you get started faster.
- 🔗 [Integrations](https://feedback.quenza.com/integrations) - Tell us which tools you use daily and which integrations would help you to become more efficient.
- 🐛 [Bugs](https://feedback.quenza.com/bugs) - Spotted something that's not working as expected? Help us squash those bugs quickly by reporting them here.
- 🌍 [Languages](https://feedback.quenza.com/languages) - Request support for new languages and regions that matter to your business.
- 💬 [Community](https://feedback.quenza.com/community) - Connect with fellow users, share insights, exchange tips, and learn from real-world experiences.
## Why we built this
We believe the best products are shaped by the people who use them every day. This platform gives you a direct line to our product team and creates a space where your voice truly matters. Whether you're sharing a brilliant feature idea, helping us prioritize our roadmap, or connecting with other users, every contribution helps us build something better together.
## Ready to Shape the Future?
Visit our feedback hub and start sharing your thoughts. Vote on existing ideas, submit new requests, or simply explore what other users are thinking.
**This is your chance to make our product truly yours**. We can't wait to see what we'll build together!
## In the help center
- [Feedback and changelog](https://quenza.com/help/troubleshooting/feedback-and-changelog/)