
Brand your practice
Custom sender email
Set up a custom sender so emails to your clients come from your own domain instead of Quenza's default address.
With a custom sender, emails Quenza sends to your clients, such as invitations, activity and program notifications and chat notifications, come from your own address, for example hello@yourpractice.com. Clients see your name and address instead of a generic sender.
That matters most for the first email. When Sarah Bennett invites a new client, the invitation comes from hello@brightpath.example.com, the same address the client already knows from booking their first session. They recognise it, open it, and it is less likely to end up in spam.
Custom senders are available on the Impact plan and higher. To set one up for the workspace, you need permission to edit workspace settings.
Before you start
Section titled “Before you start”Use an address on your own domain, and make sure you can receive email on it: Quenza sends a verification link there. Addresses from common email providers, such as Gmail, Outlook.com, Hotmail, Yahoo, iCloud or GMX, are not accepted.
- Accepted:
hello@yourpractice.com - Not accepted:
yourname@gmail.com
Setting up a sender takes three short stages: add the address, verify it, and activate it. Adding DNS records afterwards helps your emails reach the inbox.
Add your sender address
Section titled “Add your sender address”Go to Administration → Workspace → White Label and open the Custom Sender tab. Under Email address, enter the address you want to send from and click Create.
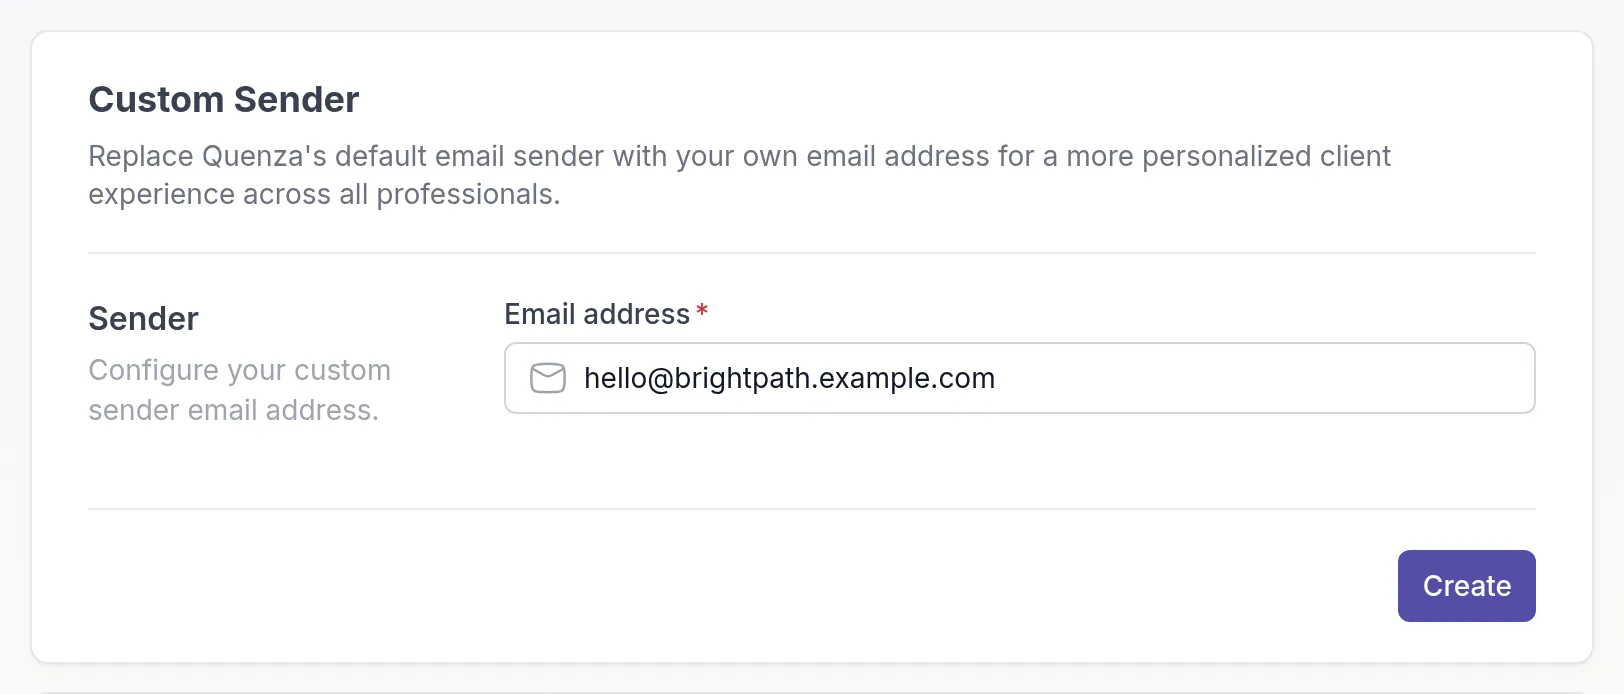
The status changes to Pending and Quenza sends a verification email to the address.
Verify the address
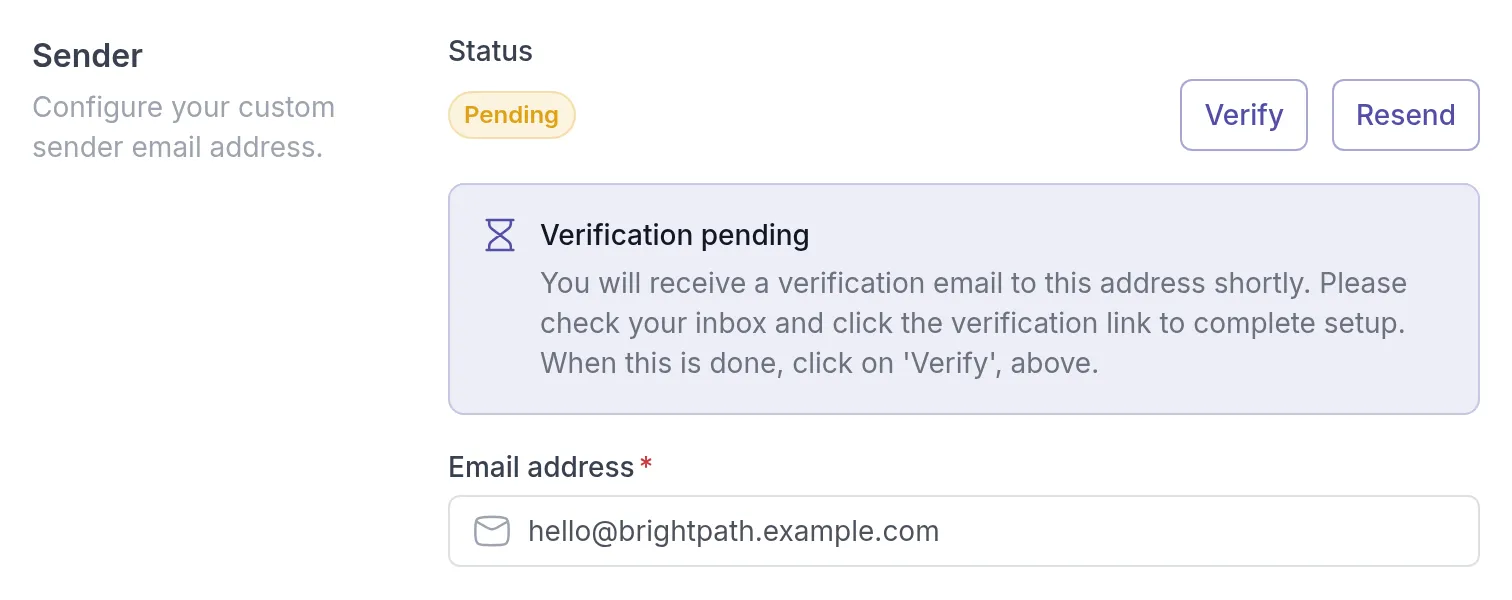
Section titled “Verify the address”Open the verification email and click the link in it. Check your spam folder if you can’t find it. Then go back to the Custom Sender tab and click Verify. The status changes to Verified. If the email did not arrive, click Resend.
Activate the sender
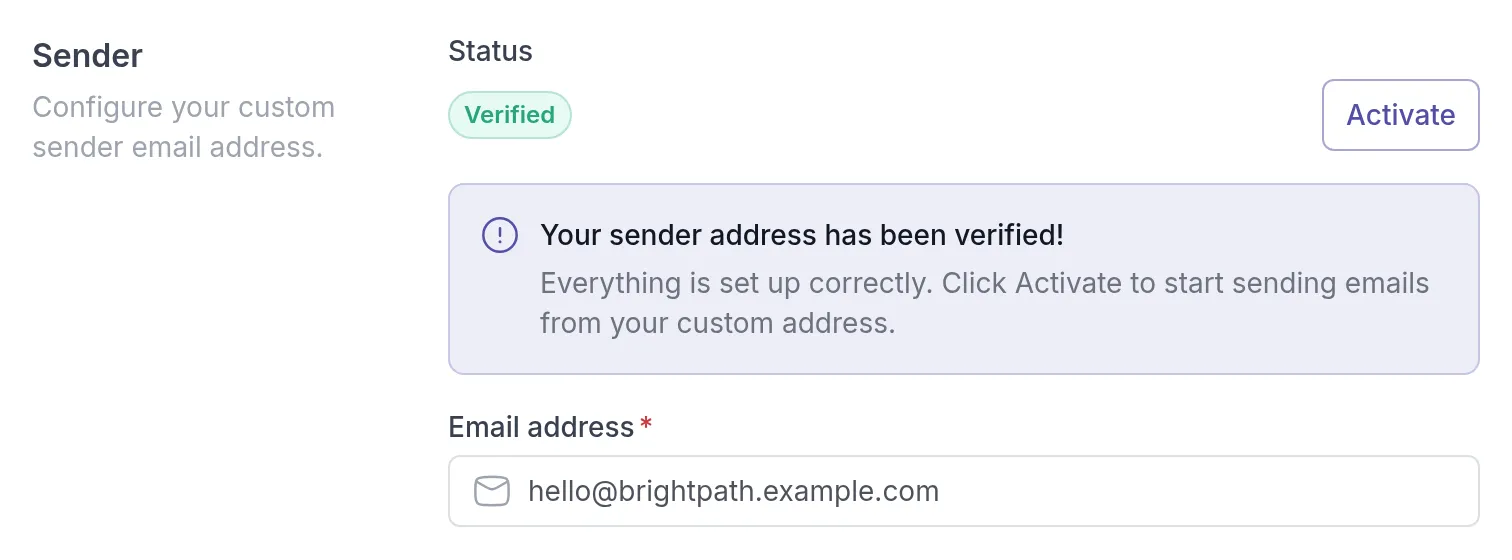
Section titled “Activate the sender”Click Activate. The status changes to Active, and emails from your workspace are now sent from your address.
Add the DNS records for your domain
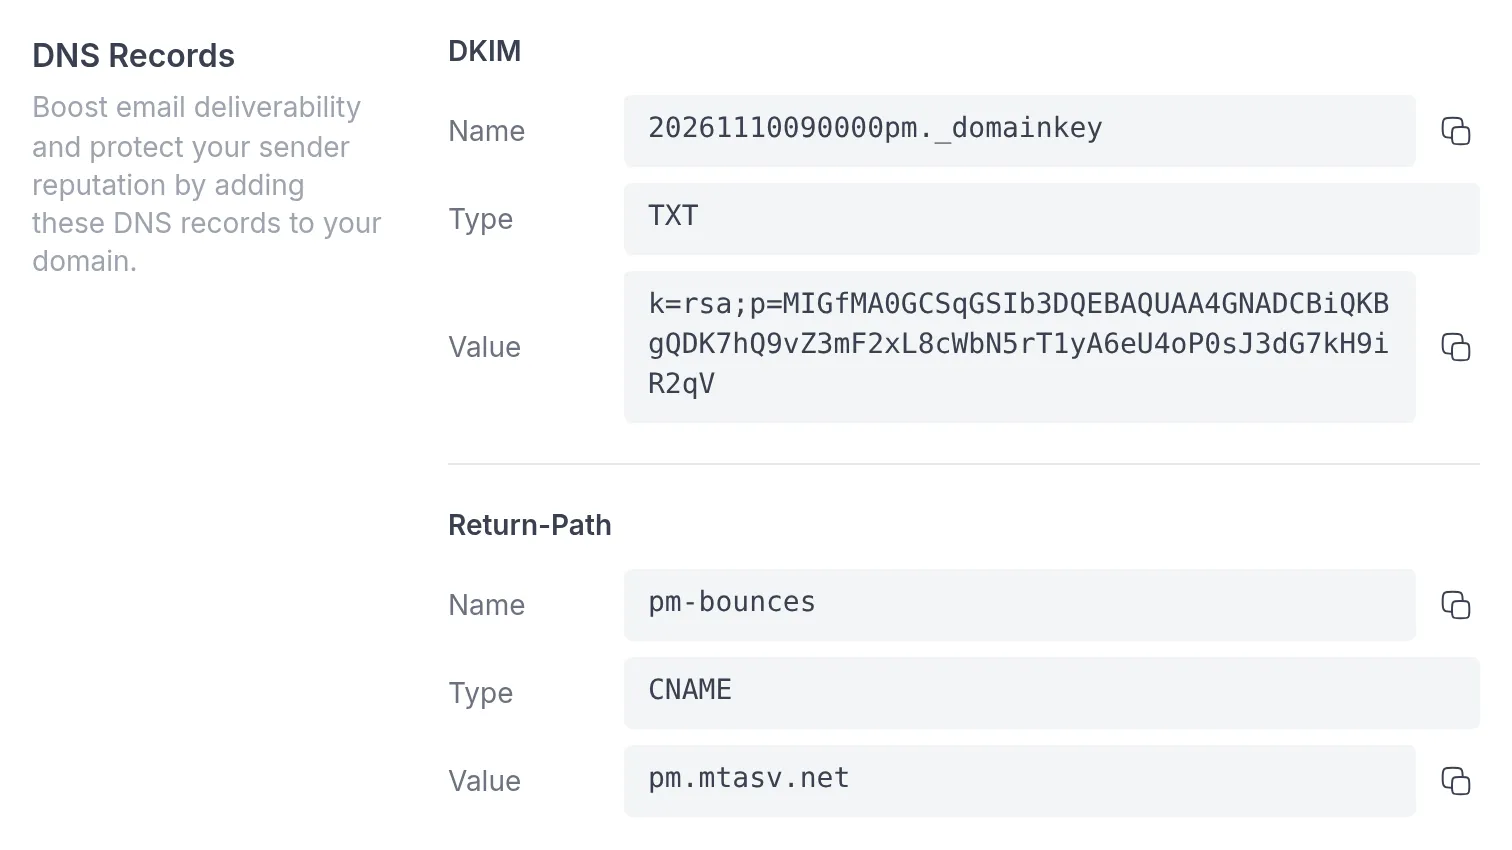
Section titled “Add the DNS records for your domain”To make sure your emails reach clients’ inboxes and do not land in spam, add the DNS records Quenza shows under DNS Records on the Custom Sender tab. Use the copy buttons to copy each value. If someone else manages your domain, send them the values.
- Sign in to your domain provider, such as GoDaddy, Namecheap or Cloudflare, and open the DNS settings.
- Add the DKIM record as a TXT record, with the Name and Value shown in Quenza. DKIM lets receiving servers confirm that the email really came from your domain.
- Add the Return-Path record as a CNAME record, with the Name and Value shown in Quenza. It aligns the bounce address with your domain.
- Save the records.
DNS changes can take up to 24 to 48 hours to take effect.
Let team members use their own sender
Section titled “Let team members use their own sender”By default, one sender address is used for the whole workspace. In a practice with several professionals, each can send from their own address instead, such as sarah@brightpath.example.com.
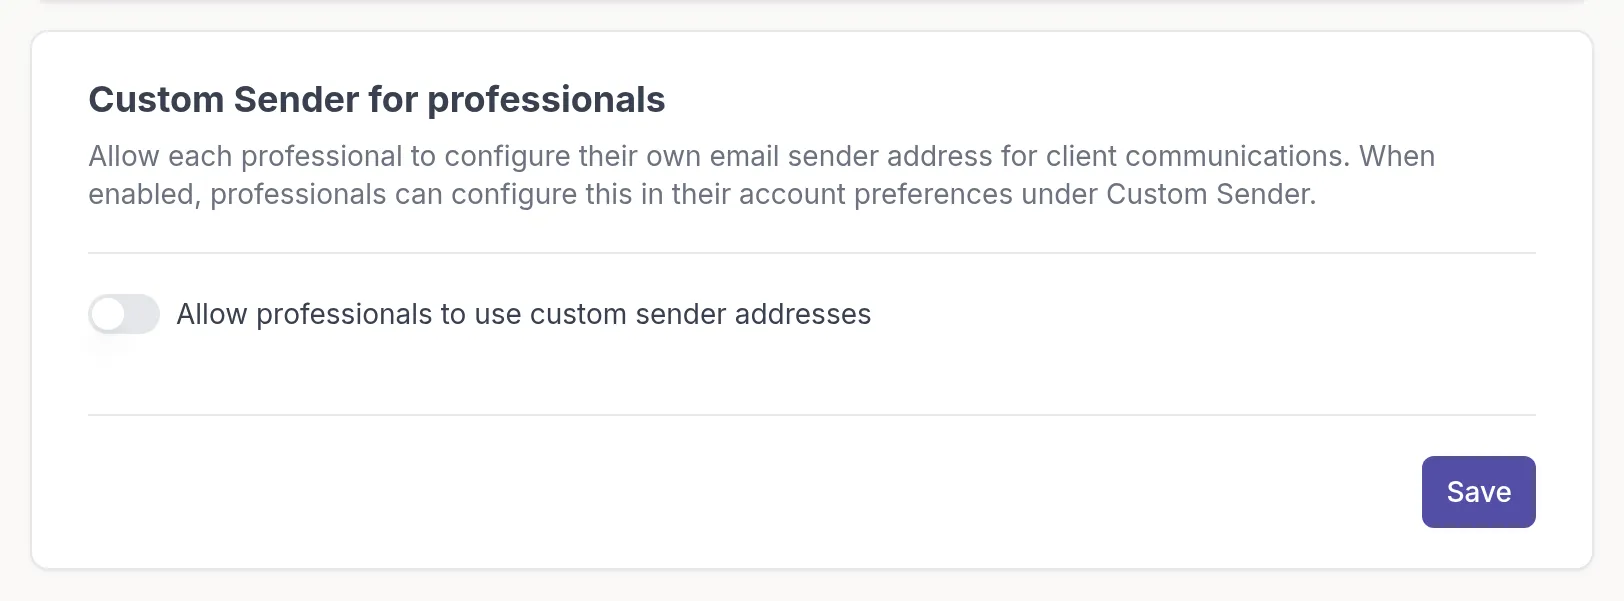
To allow this, turn on Allow professionals to use custom sender addresses under Custom Sender for professionals on the Custom Sender tab, and click Save.
Each professional then clicks the workspace name at the top of the left menu, chooses My settings, opens the Custom Sender tab and adds, verifies and activates their own address in the same way.
A professional’s own active sender is used for their emails. Otherwise the workspace sender is used.
Deactivate or delete a sender
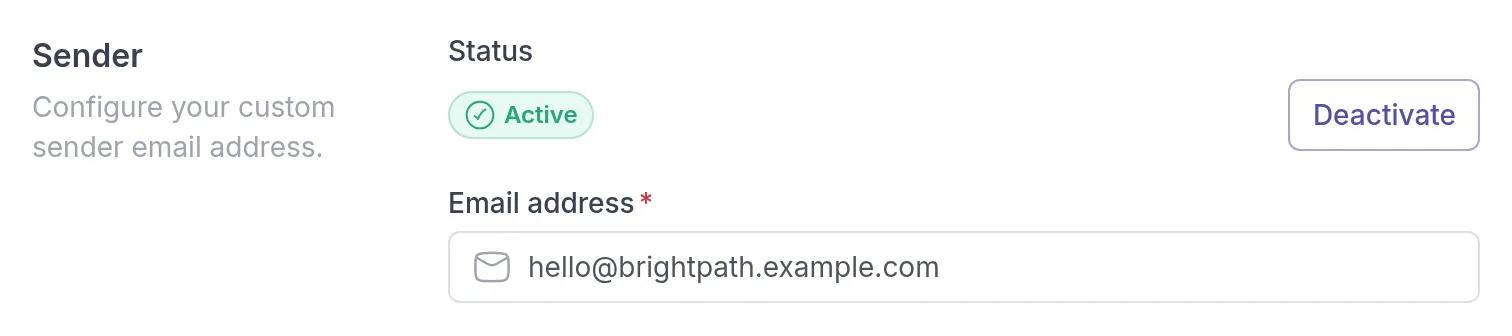
Section titled “Deactivate or delete a sender”- Click Deactivate to go back to the default Quenza sender for now. Your setup is kept, and you can click Activate again at any time.
- Click Delete to remove the sender, and confirm with Delete custom sender. Emails are sent from the default Quenza sender again.
Related
Section titled “Related”Was this article helpful?
Thanks for letting us know.
Thank you. We read every answer and use it to improve this article.