
Manage clients
Groups
Create a group, add clients to it, and send activities and programs to all members at once.
Use a group for group therapy, a workshop, a course or any other work with several clients at once. You send content to the whole group in one go and follow each member’s progress in one place. Groups are part of the Growth, Impact, Collective and Beyond plans and the free trial.
For example, Sarah Bennett runs an eight-week Mindfulness group. Every Monday she sends the group that week’s exercise, and before the session she checks who has done it. Members can talk to each other in the group chatGroup chatOne shared conversation for the members of a group and their professionals. You turn it on per group. between sessions.
Create a group
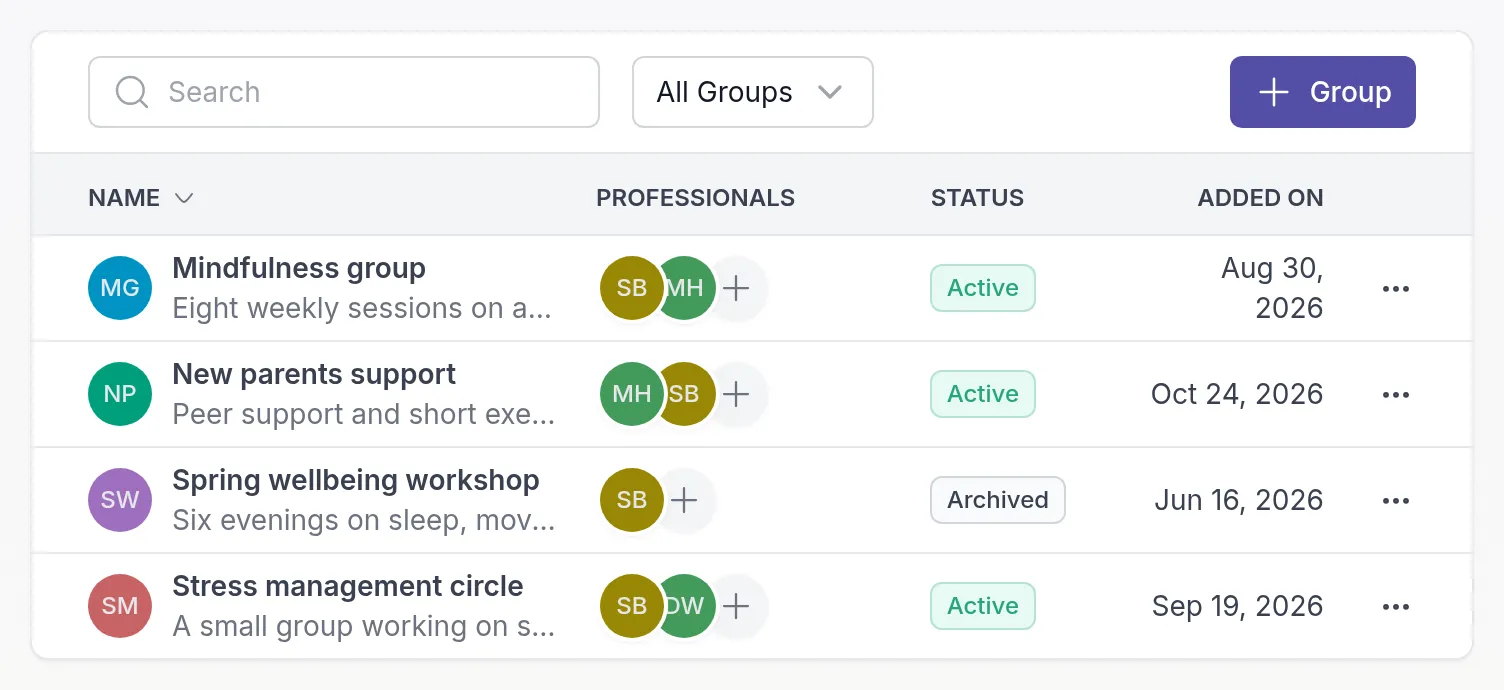
Section titled “Create a group”Go to Groups and click + Group. The list shows your groups with their assigned professionals and status.
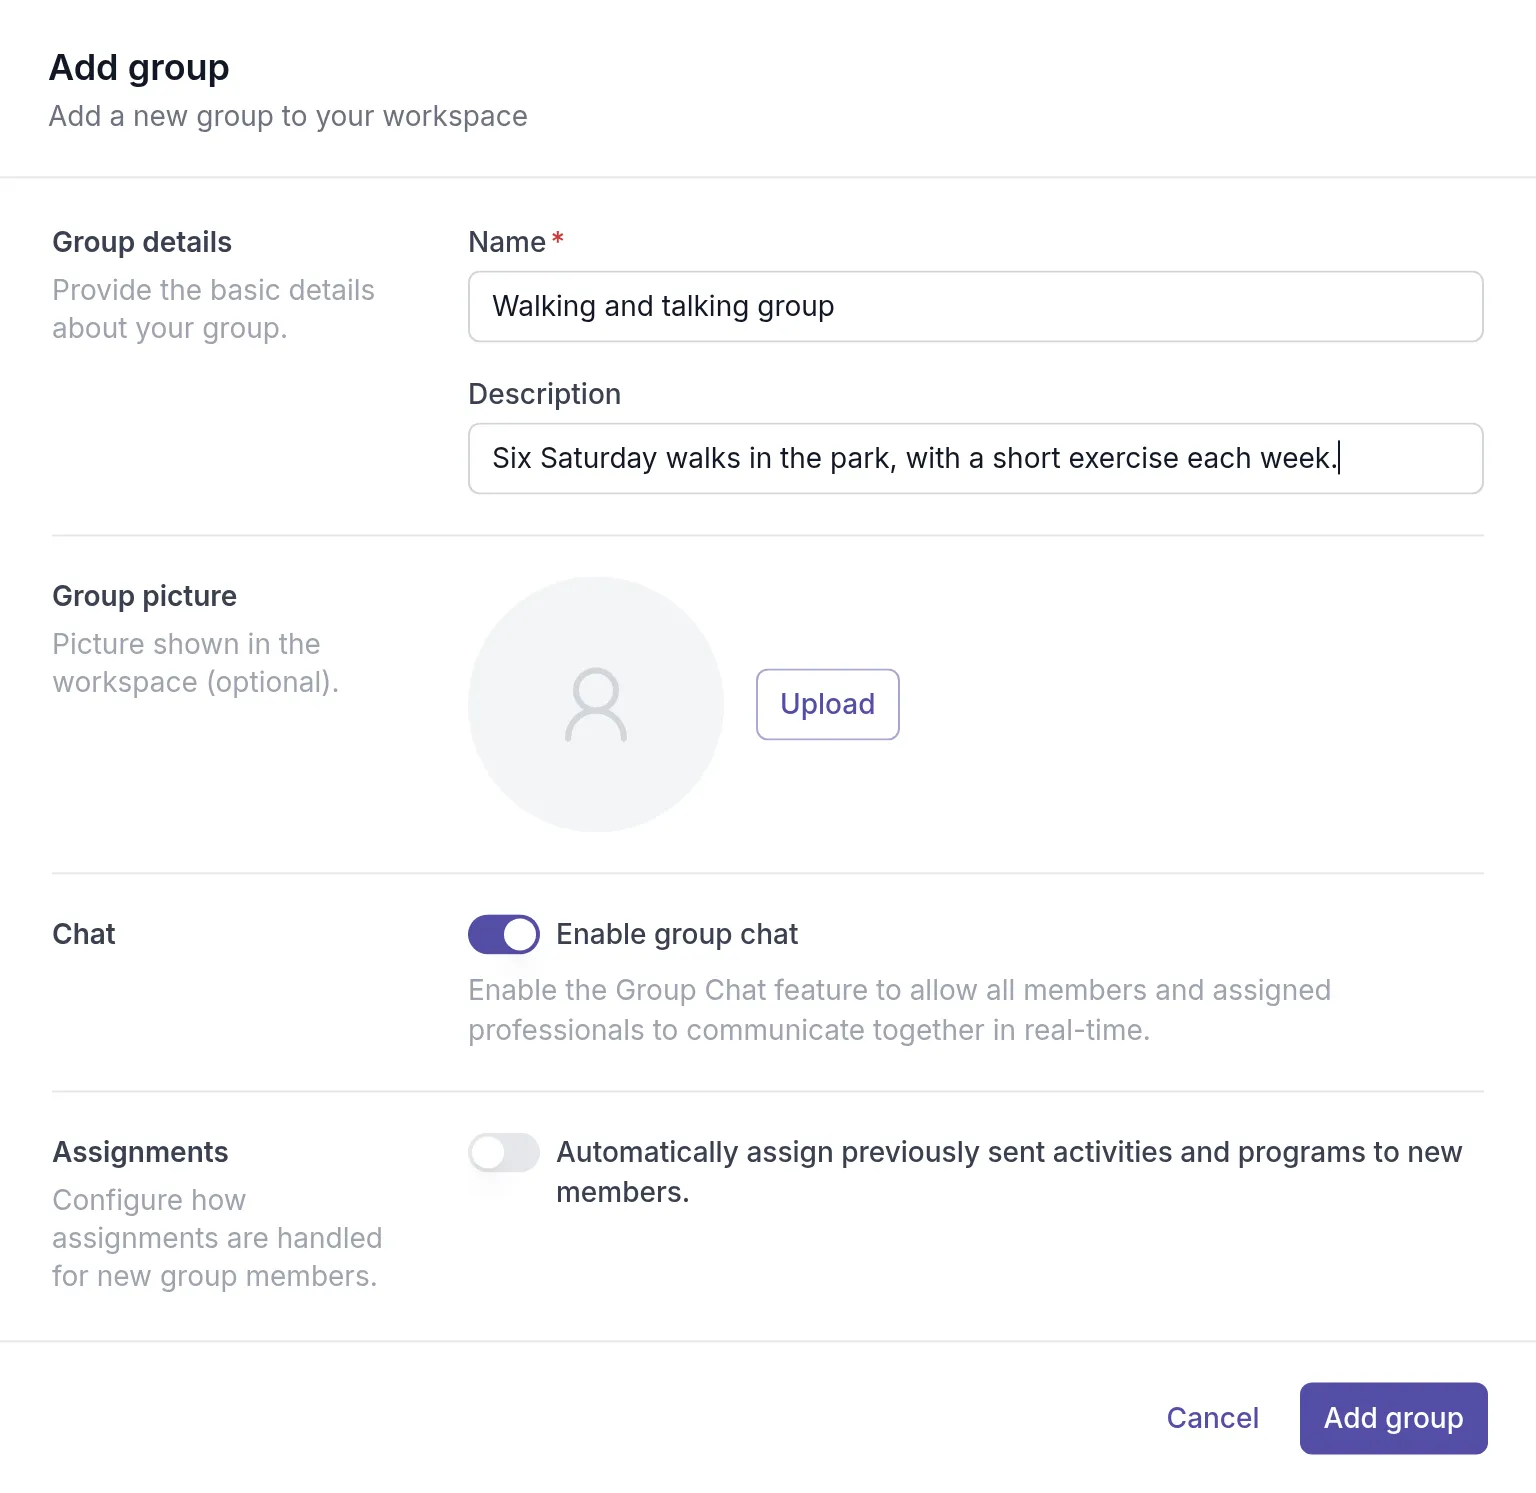
In the Add group dialog:
- Name and Description: what the group is called and what it is for. Members see the name.
- Group picture: optional; a picture or logo that makes the group easy to spot.
- Enable group chat: lets members and assigned professionals talk together. See Group chat.
- Assignments: whether people who join later automatically get what the group already received. See New group members.
Click Add group. The group opens on its Details tab, with the assigned professionals and a timeline of what happened in the group.
Add members
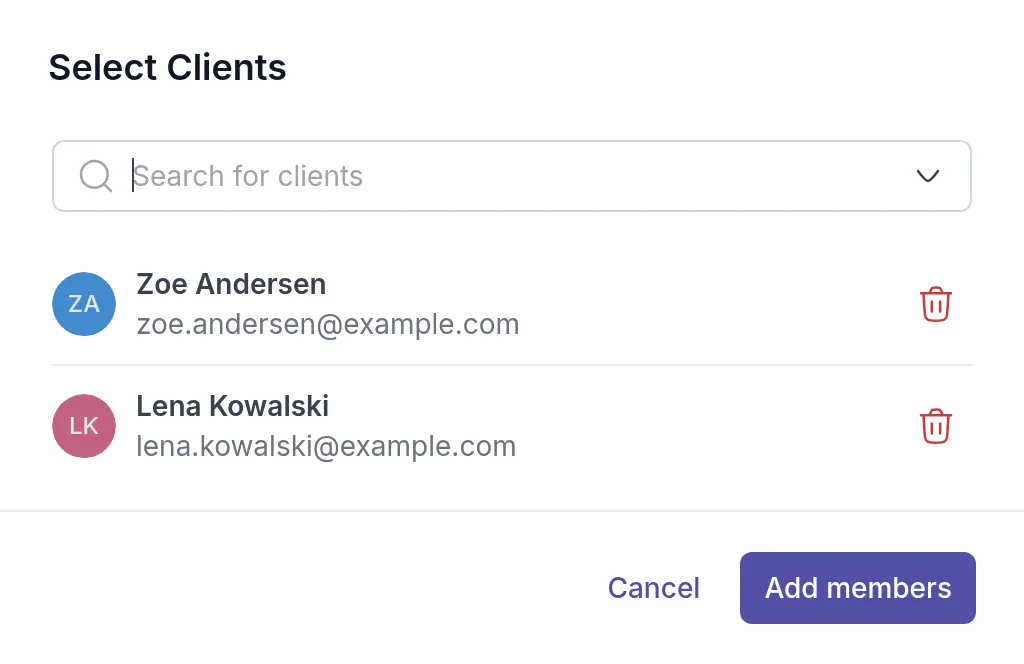
Section titled “Add members”Open the group’s Members tab and click + Members. Search for clients, select them and click Add members. Only clients already in your workspace can join; to add new people, first add them as clients.
There is no limit to the number of members in a group. To remove someone, click ⋯ in their row and choose Remove member. They stay a client in your workspace.
Send activities and programs
Section titled “Send activities and programs”Send from the group, or from your library:
- From the group: open its Activities or Programs tab and click Send activity or Send program. Or, in the group list, click ⋯ in the group’s row and choose Send.
- From your library: click ⋯ next to an activity or program and choose Send activity or Send program. Under Recipients, switch to Groups and select the group.
All current members receive the activity or program. For the other send options, see Send an activity and Send a program.
Follow the group’s progress
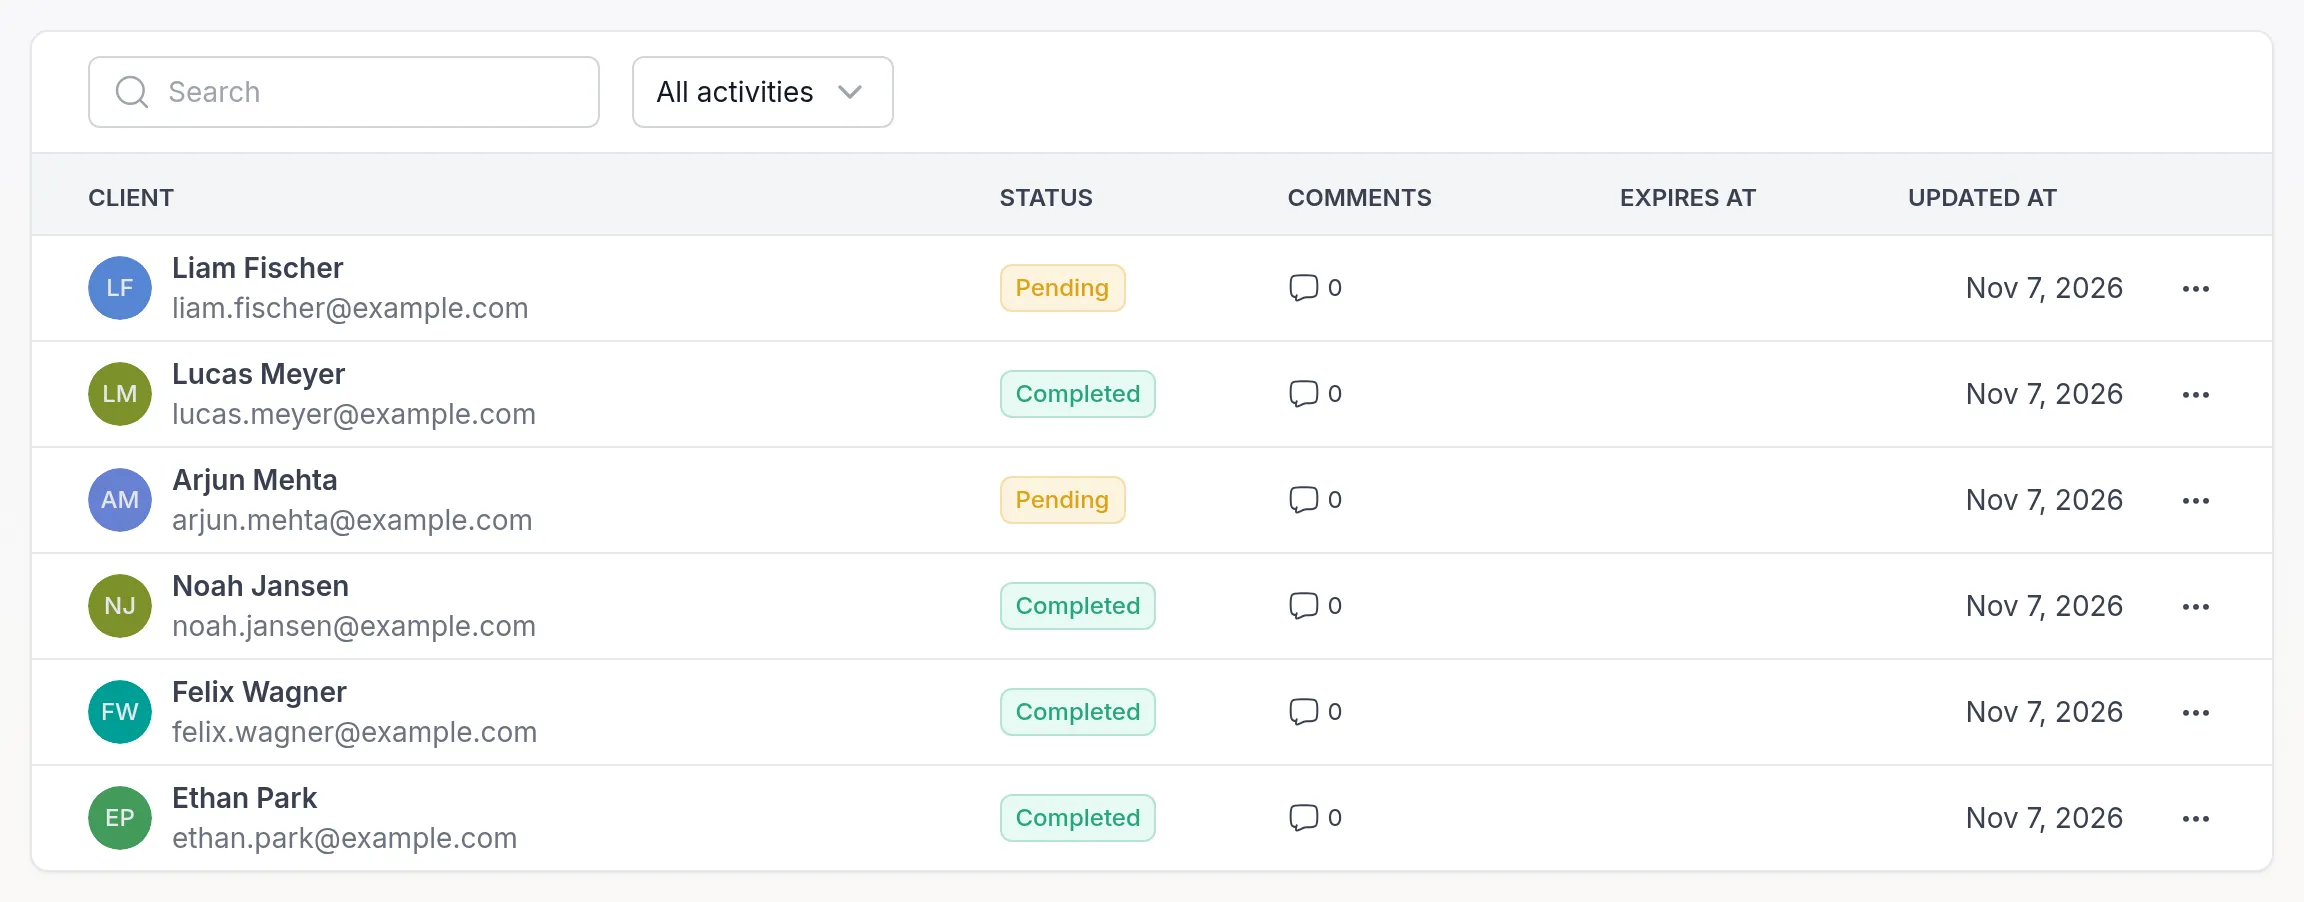
Section titled “Follow the group’s progress”The group’s Activities and Programs tabs list everything sent to the group, with its status. Click an item to see each member’s status, so you can see at a glance who has completed it and who might need a reminder.
Edit a group
Section titled “Edit a group”Open the group’s Settings tab to change its Name, Description or Group picture, or the Assignments setting. Click Save.
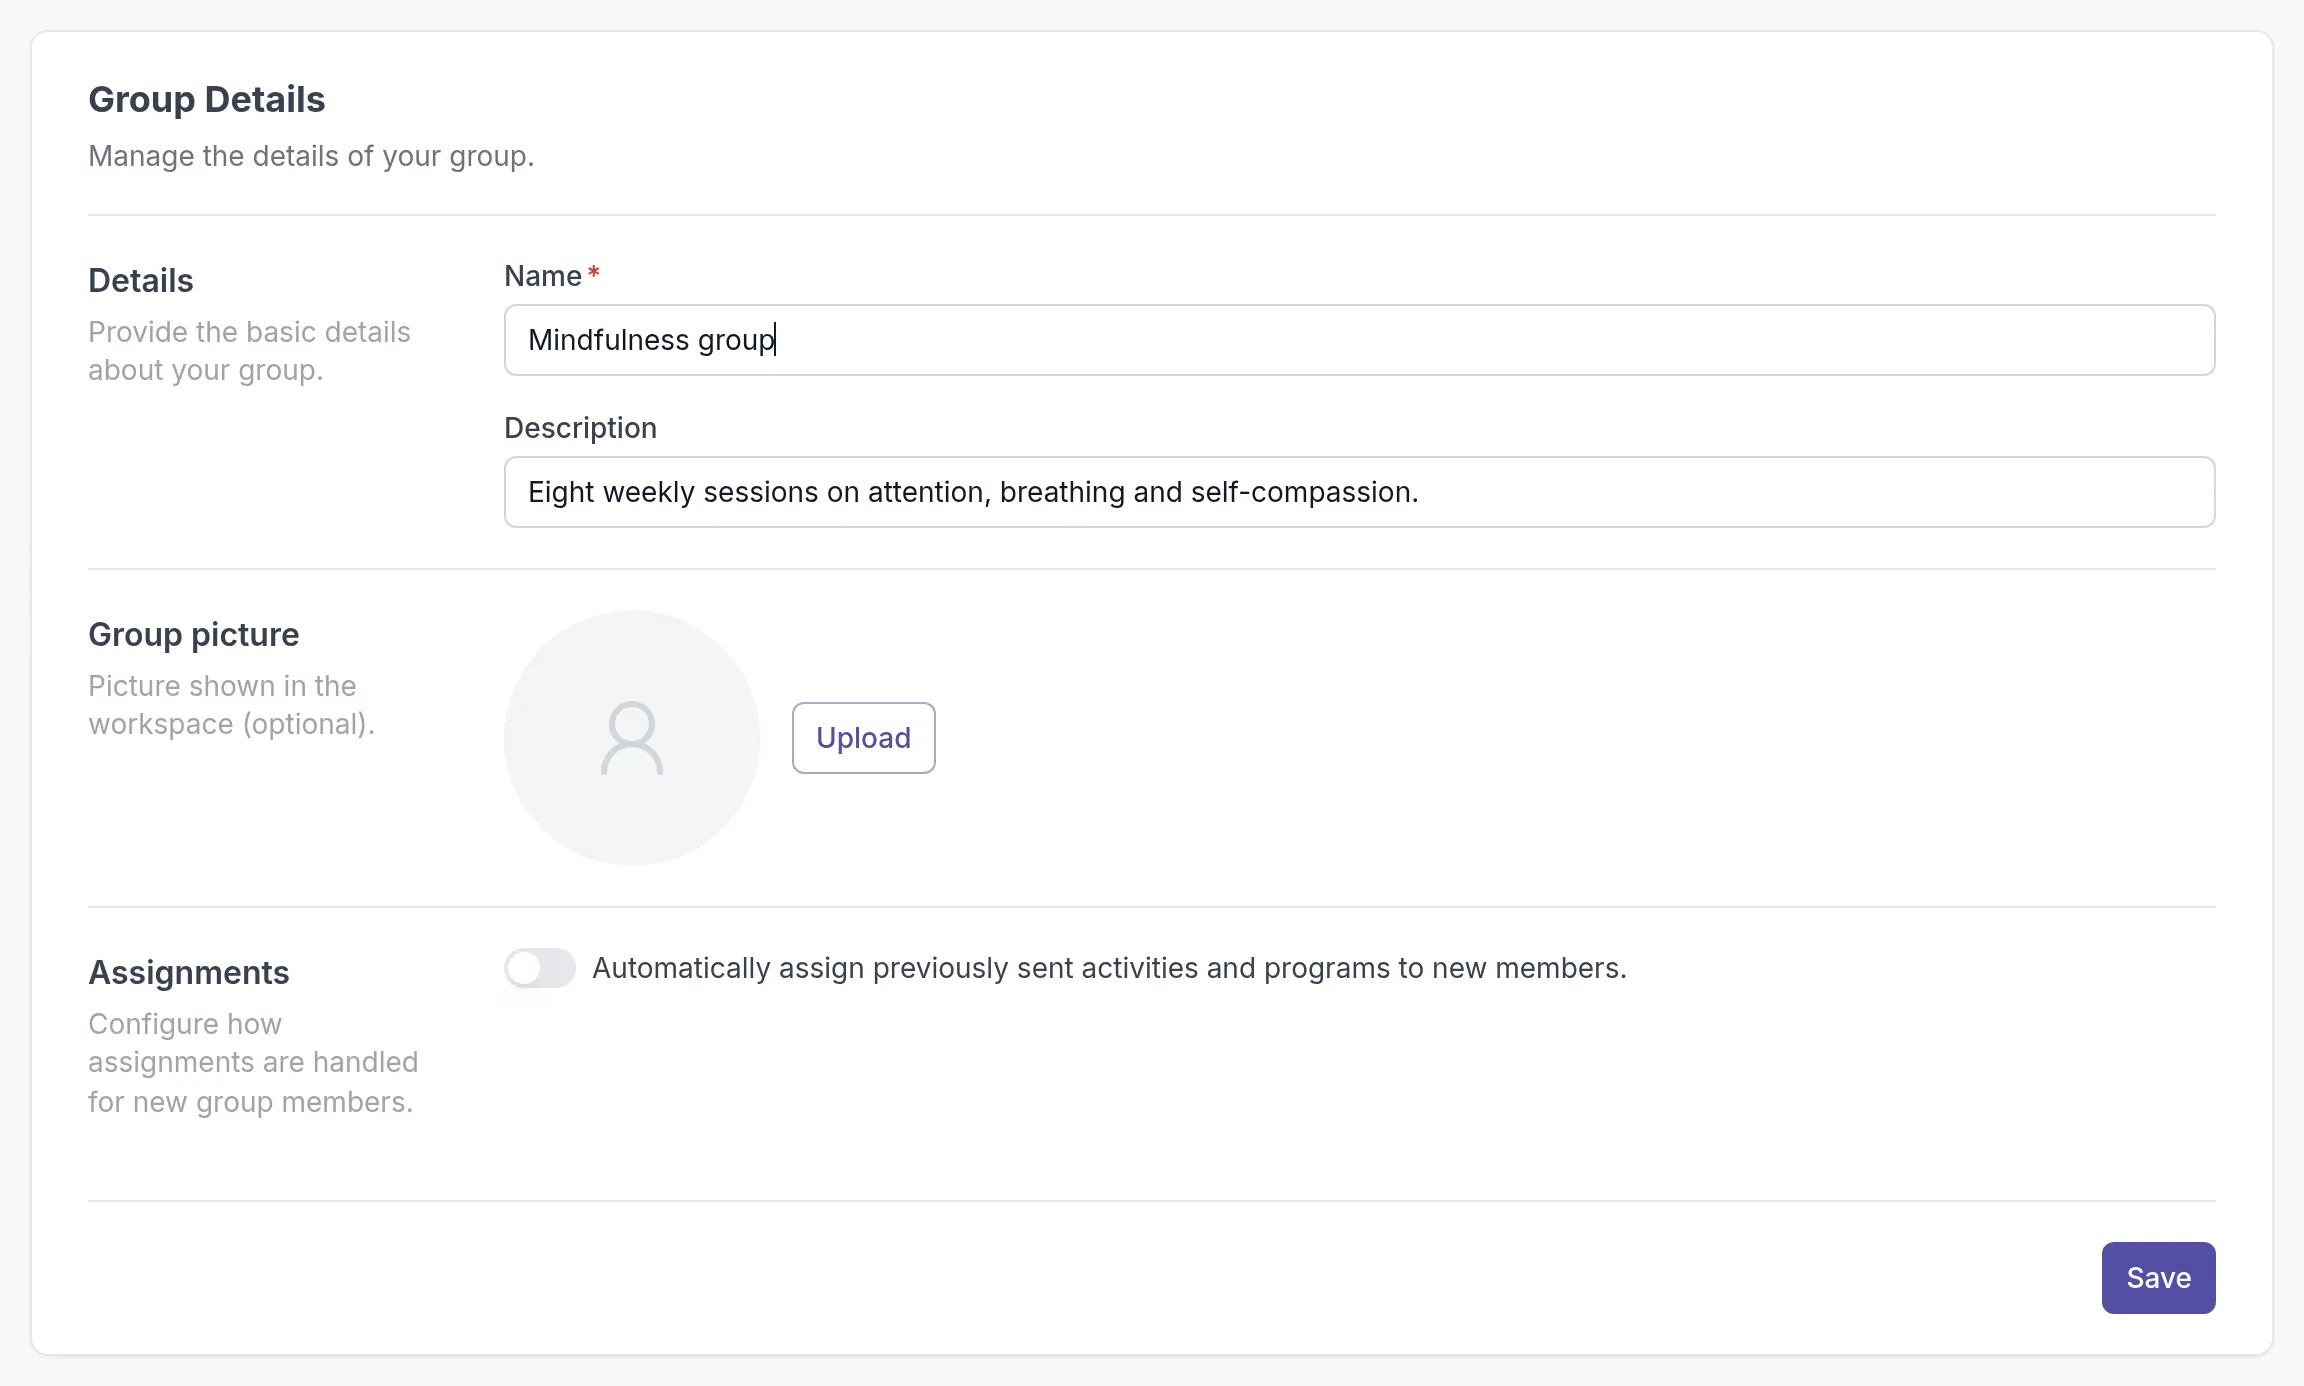
The group chat is turned on or off on the group’s Chat tab; see Group chat. To give a colleague access to the group, see Assign professionals.
When the group ends
Section titled “When the group ends”When a workshop or course is over, archive the group to keep its history read-only, or delete it if you need none of its records. See Archive or delete groups.
Was this article helpful?
Thanks for letting us know.
Thank you. We read every answer and use it to improve this article.