
For your clients
Edit your profile
Update your name, photo and other details in the client portal, change your login email or password, set a PIN, and download or delete your data.
Your profile holds the details the people you work with see about you, such as your name and phone number. You can keep them up to date yourself, choose how Quenza contacts you, and manage your login. Go to My Profile in the menu, or click your photo or initials at the top right.
Update your details
Section titled “Update your details”Under Personal Information you can change your photo (Upload or Remove), First name, Last name, Gender, Timezone, Date of birth and, if you see it, Language: the language the portal is shown in. If you choose Other under Gender, you can describe it in Gender identity.
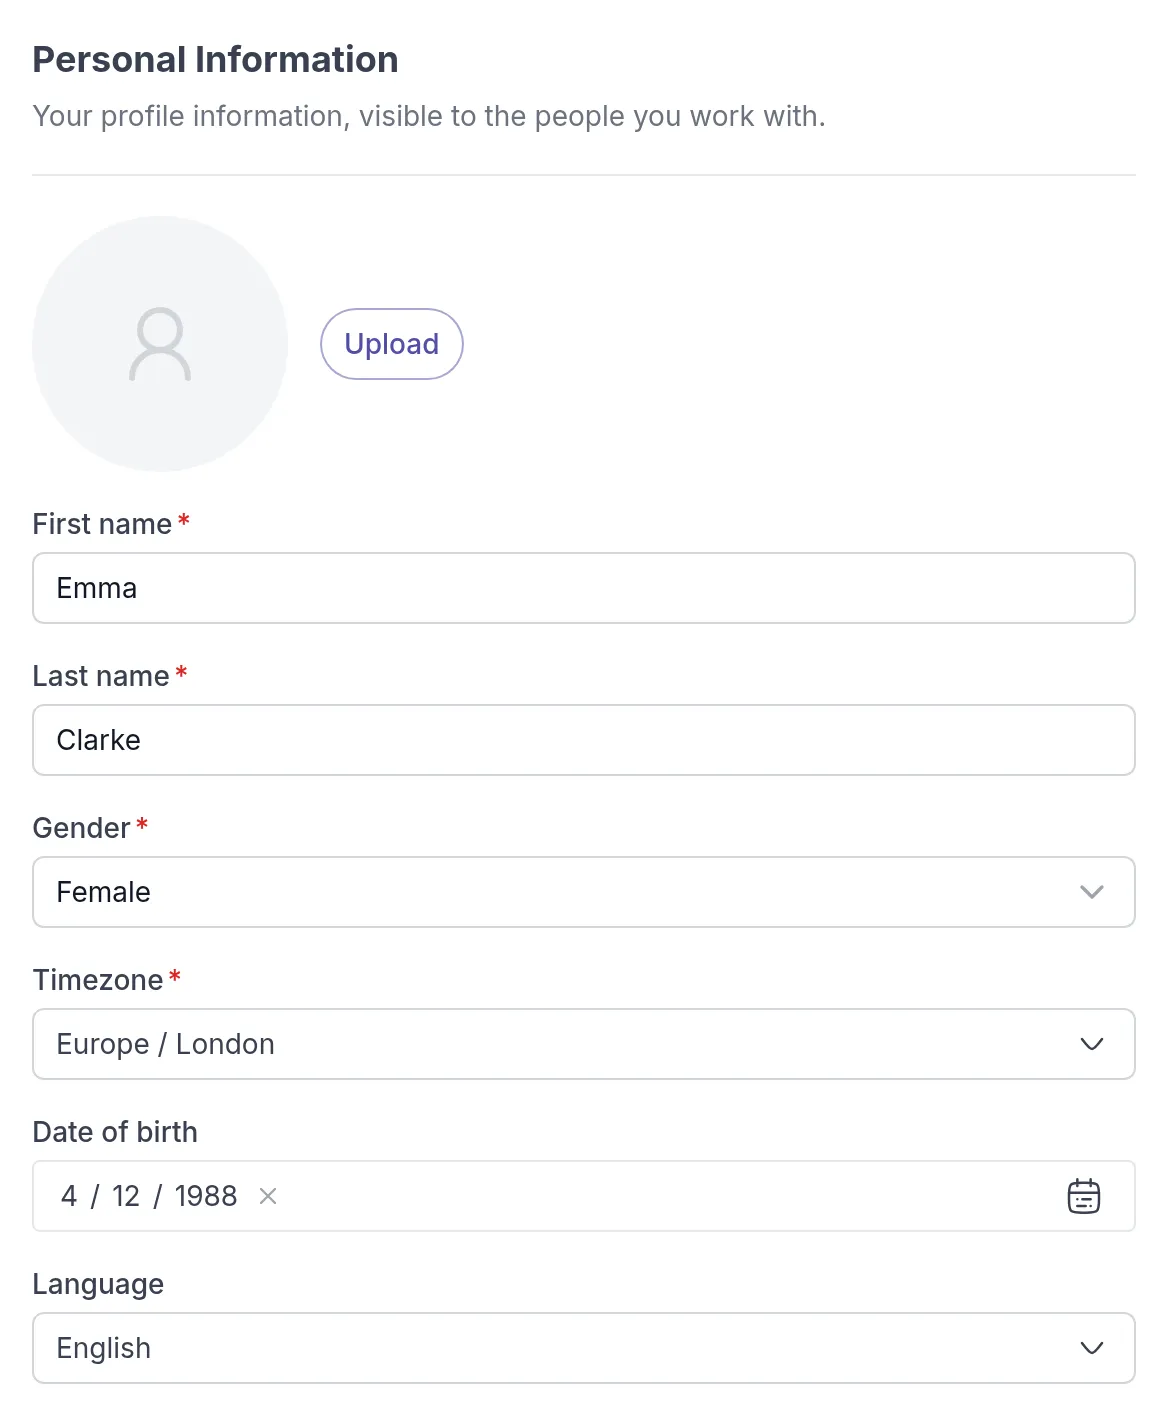
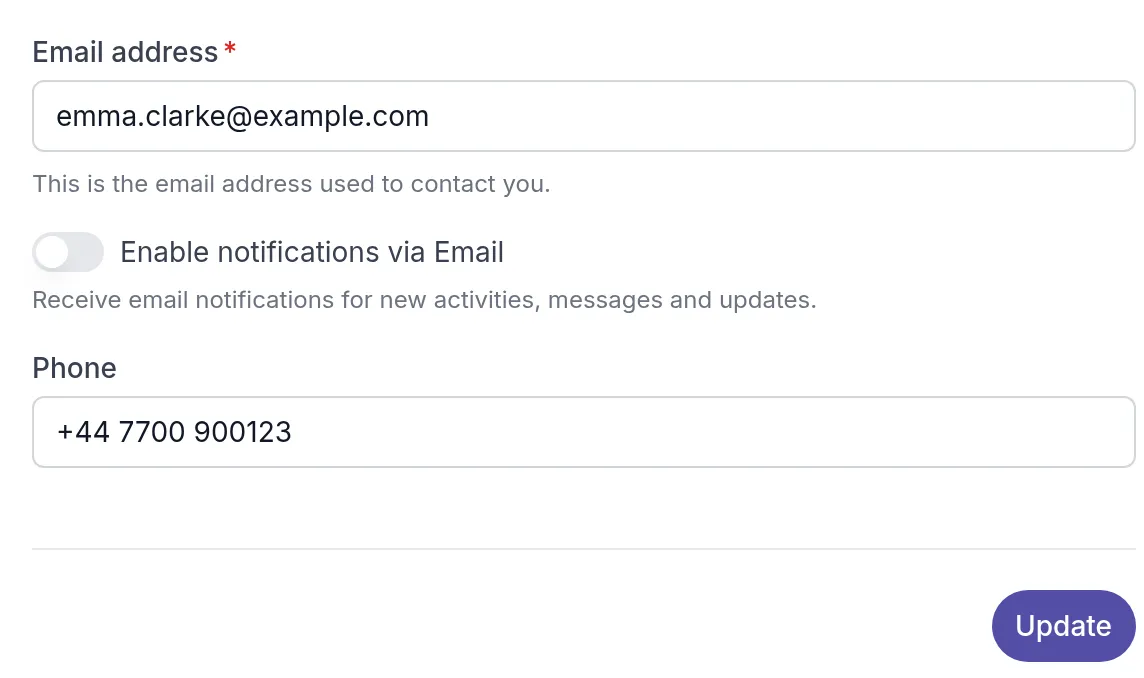
Further down are Email address and Phone: where your professional can reach you. Click Update to save. You see Your profile has been updated, and your professional sees the new details right away.
For example: Emma moves to Amsterdam for a few months. She changes her Timezone to Europe / Amsterdam so the due dates of her tasks match her new day.
Enable notifications via Email turns email updates on or off. See Notifications.
If you work with more than one practice, these details are saved separately for each workspace. Your language applies everywhere.
Change your login email or password
Section titled “Change your login email or password”Under Authentication & Security:
- To change the email you sign in with, edit Login email.
- To change your password, enter it in New Password and again in Password Confirmation. Leave both empty to keep your current password.
- Click Update.
- Enter your Current Password and click Submit.
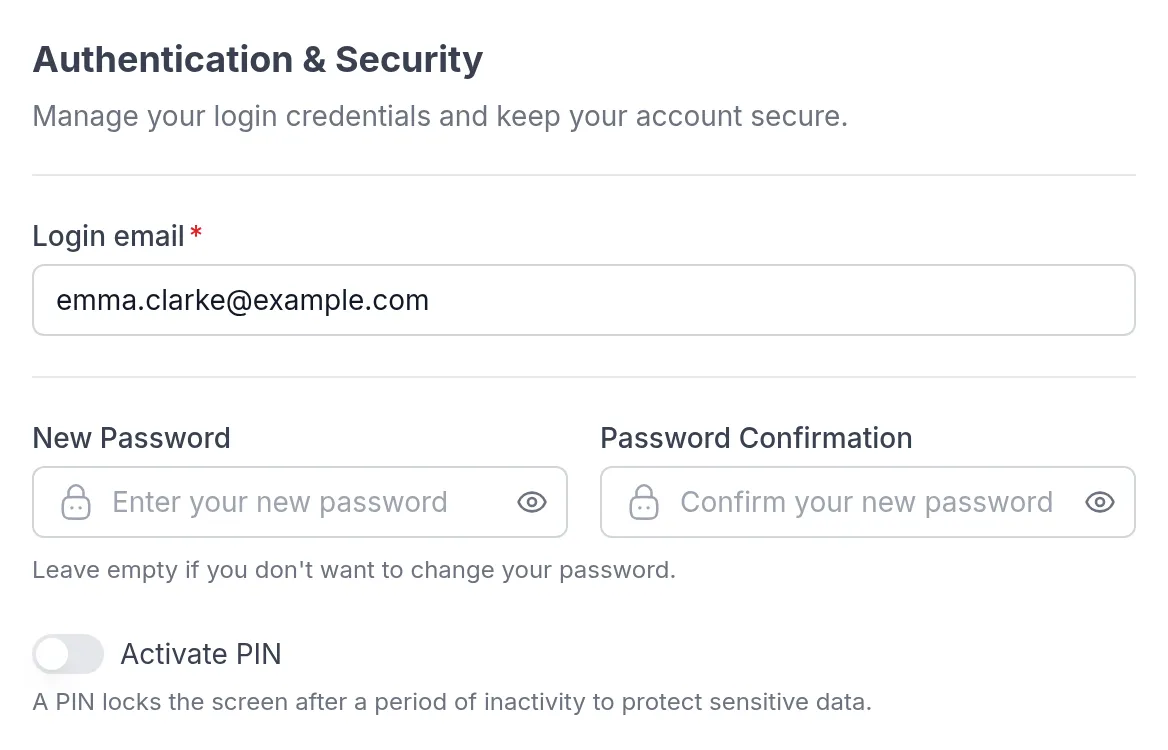
A new password needs at least 8 characters, with both letters and numbers.
Lock the app with a PIN
Section titled “Lock the app with a PIN”A PIN locks the screen when you have not used Quenza for a while. Your notes and answers are personal, so this is worth doing if someone else might pick up your phone or computer.
- Under Authentication & Security, turn on Activate PIN.
- Enter a 4-digit code in New PIN Code and again in PIN Confirmation.
- Click Update, then enter your Current Password and click Submit.
Download your data
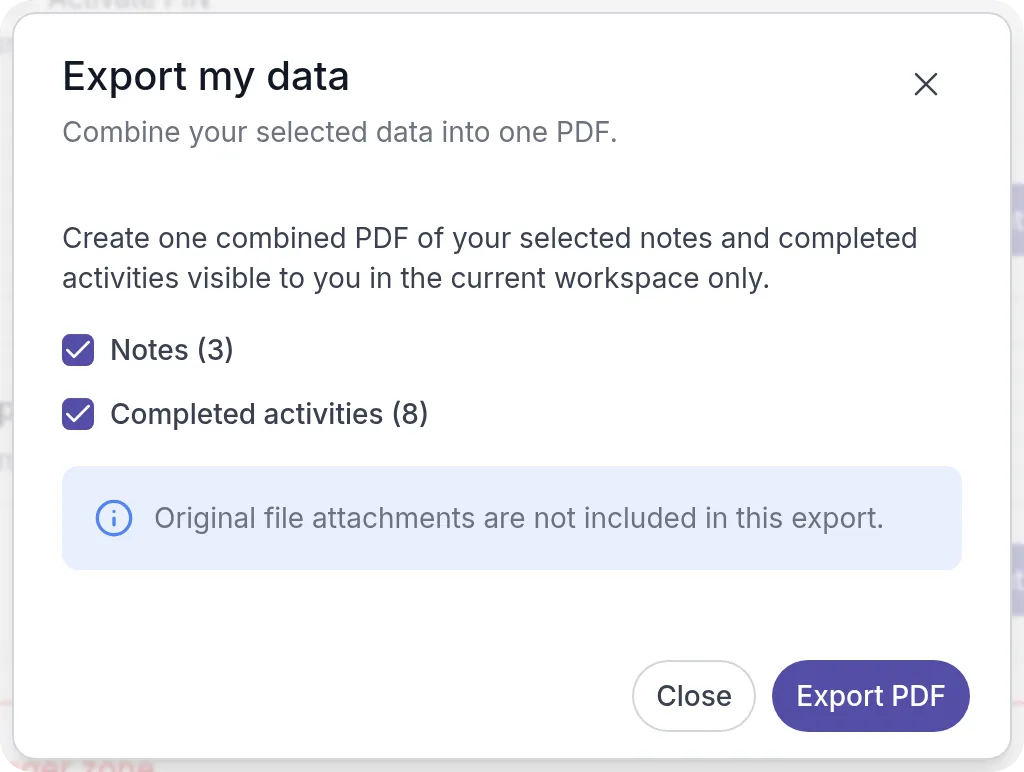
Section titled “Download your data”You can save your notes and completed activities from this workspace in one PDF, for example to keep a record when you finish working with your professional.
-
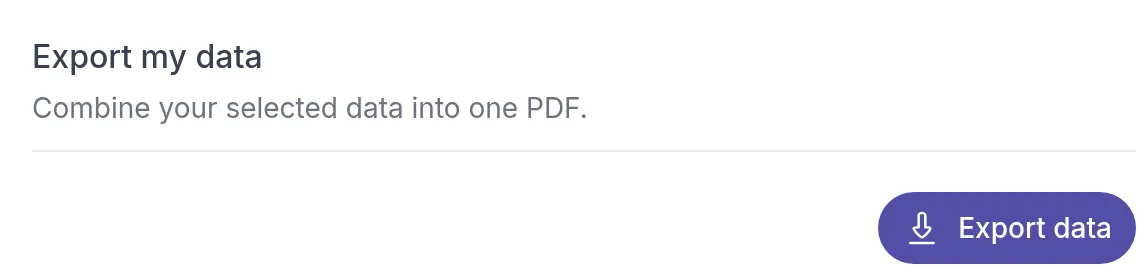
Under Export my data, click Export data.
-
Choose Notes, Completed activities or both, and click Export PDF.
-
When the PDF is ready, click Download PDF.
The download link stays valid for 30 minutes. Files you attached are not included.
Delete your account
Section titled “Delete your account”- Scroll to Danger zone and click Delete my account.
- Read what happens, type DELETE in the box and click Delete account.
- Enter your Current Password and click Submit.
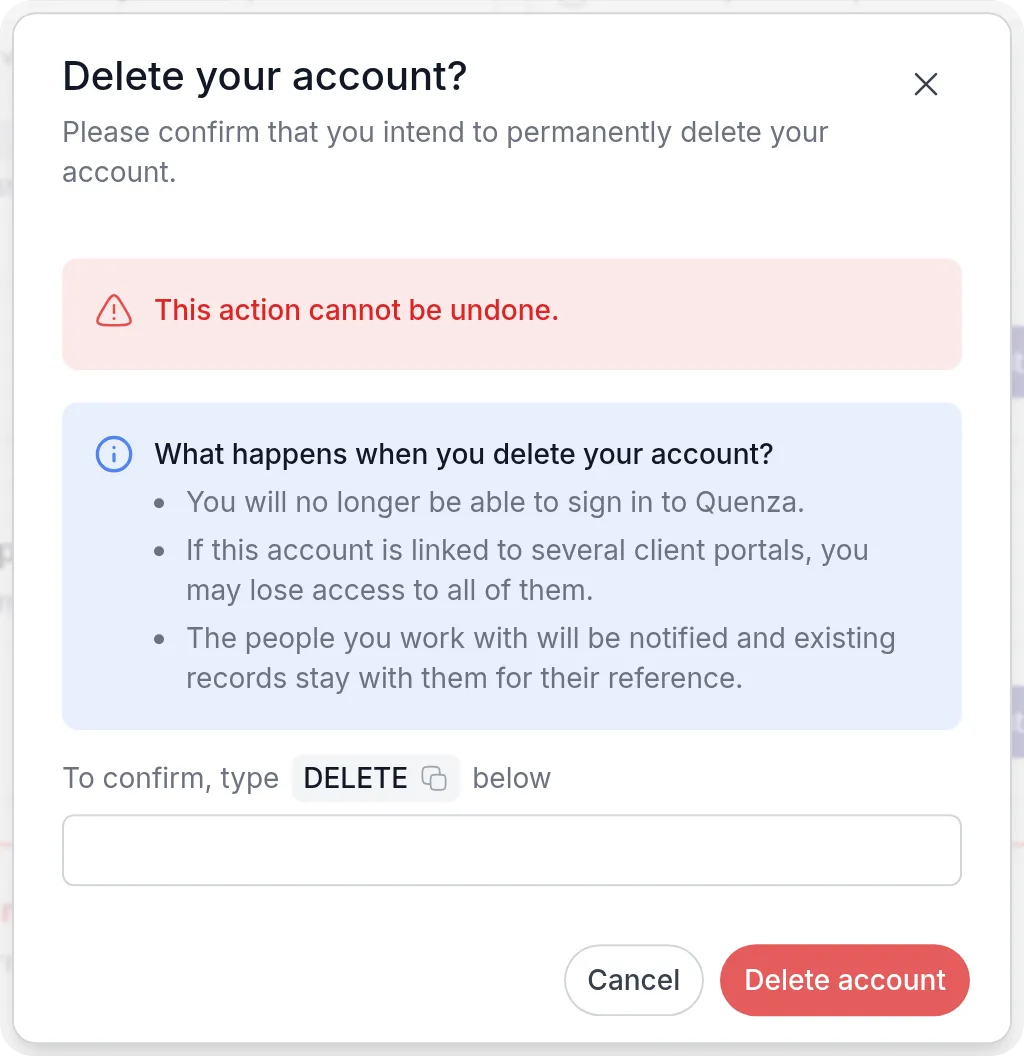
The people you work with are notified. The records they already have stay with them for their reference. If you only want to stop working with one practice, ask your professional instead.
Was this article helpful?
Thanks for letting us know.
Thank you. We read every answer and use it to improve this article.