
Activities and programs
Build an activity
Create an activity step by step in the activity builder, from adding elements to previewing and saving.
The activity builder is where you turn an exercise, worksheet, assessment or lesson into something your clients complete in Quenza. You put the activity together from elements, such as a short explanation, a few questions and a video, and you can change them at any time.
For example, Sarah Bennett asks her clients to end each day with a short gratitude journal. She builds it once: a sentence on why noticing good moments helps, one open question, and an extra question on what the client wants to remember. Then she sends it to every new coaching client.
Open the builder
Section titled “Open the builder”Go to Activities → Library and click + Activity to start a new activity, or click an existing activity to edit it. Click the title at the top to name the activity. Your clients see this name.
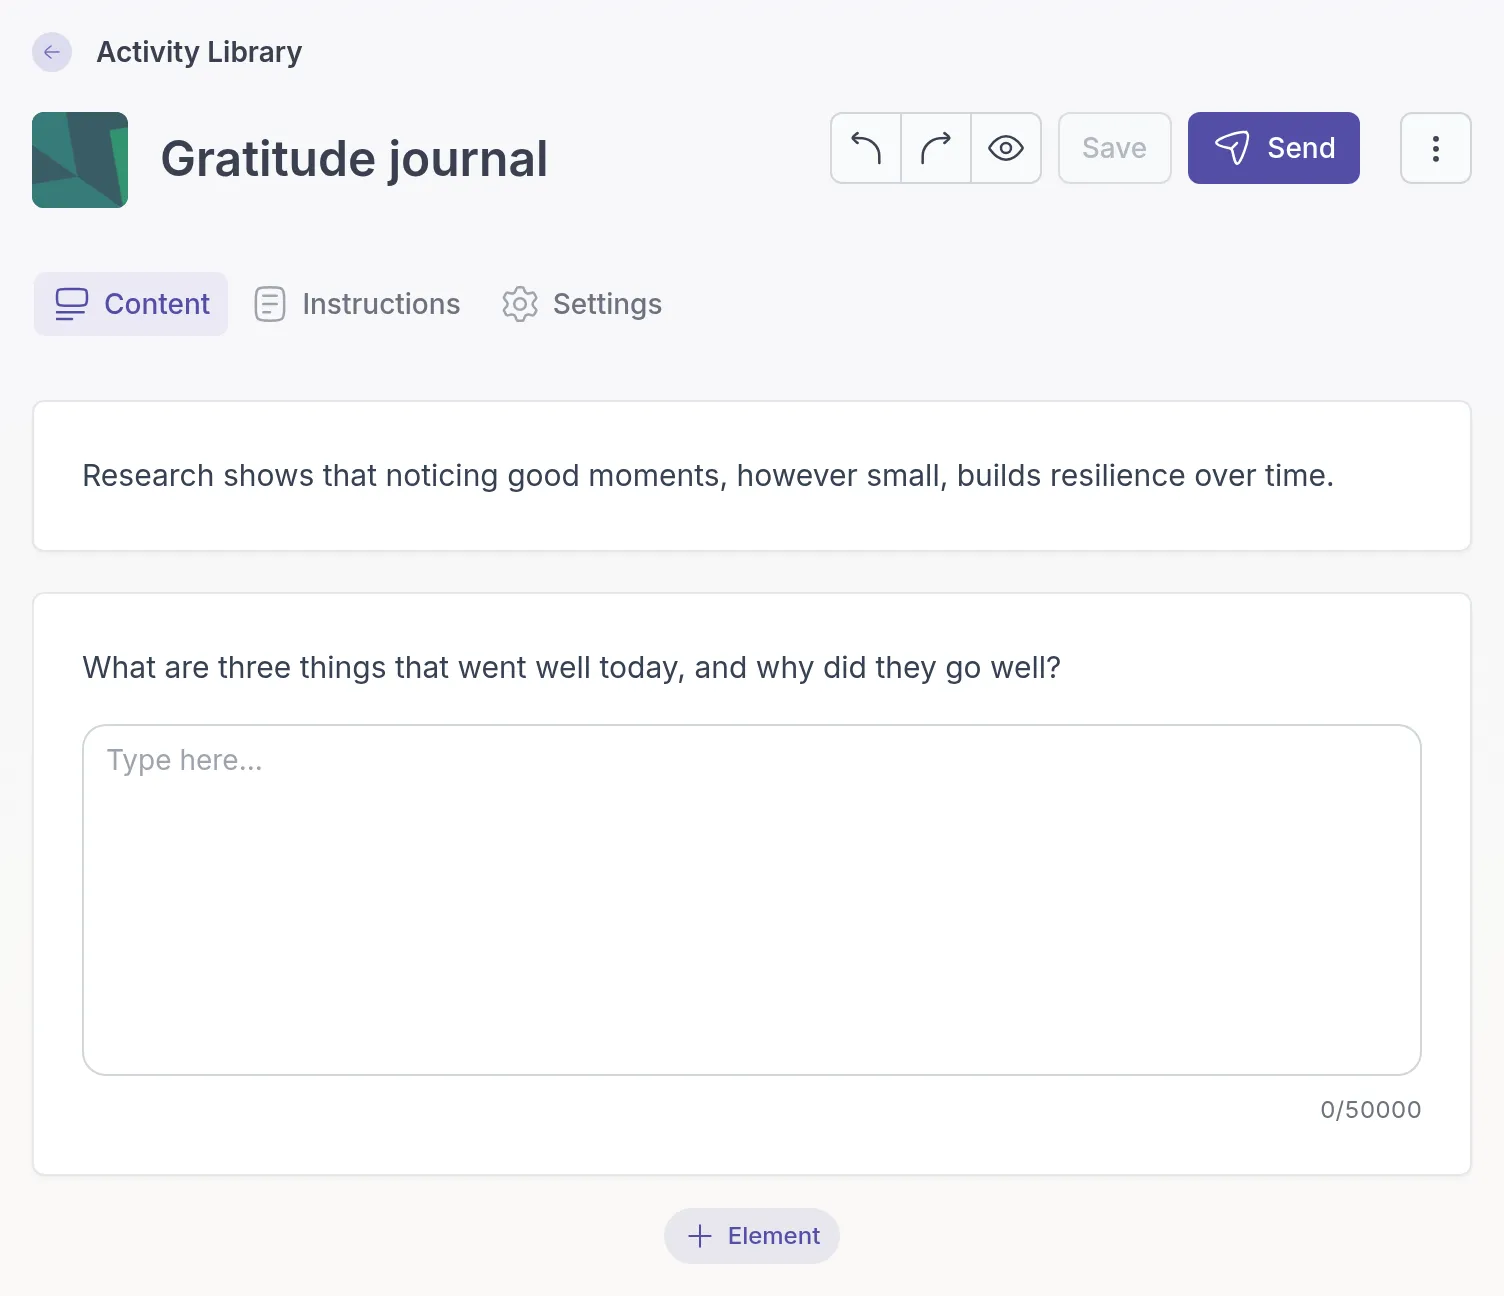
The builder has three tabs: Content for what the client works through, Instructions for your own notes, and Settings.
Add elements
Section titled “Add elements”Every part of an activity is an element. Click + Element, choose a type in the Add Element panel, and fill it in: the question, the answer options or the text. Use the search field in the panel if you know the name of the type.
You can add text, open questions, choice questions, scales, numbers, dates, tables, signatures, file uploads, images, audio and video. There is no limit to the number of elements. Question and element types explains each type and how to set up the more complex ones, such as the wheel and the table.
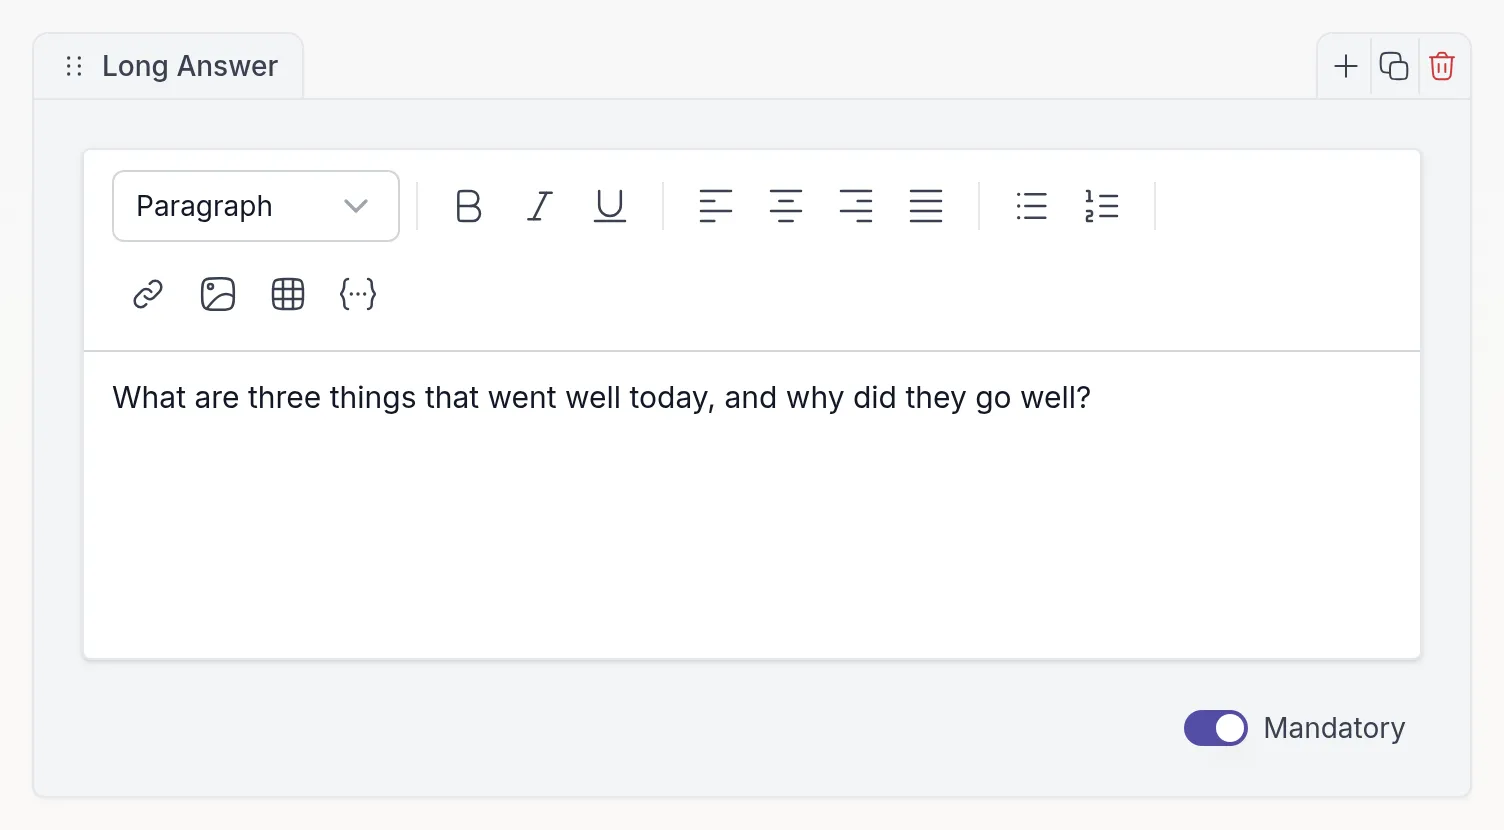
Click an element to edit it. Its toolbar lets you add an element below it, duplicate it or delete it.
Make an answer required
Section titled “Make an answer required”Questions have a Mandatory switch. Turn it on when the client must answer before moving on, for example the main reflection question. Leave it off for optional questions, so clients do not get stuck.
Group elements into sections
Section titled “Group elements into sections”Add a Section element to split a longer activity into named parts, such as “Introduction” and “Reflection”. Clients see the section title above the elements that belong to it. To show each section on its own page, see Activity layout.
Change the order
Section titled “Change the order”Drag an element by the handle on its left to move it. Changed your mind? Use the undo and redo buttons at the top right.
Add private instructions
Section titled “Add private instructions”The Instructions tab is for you and your team: what the activity is for, when to use it, background or references, and ideas to adapt it for different clients. Clients never see this tab. It helps colleagues who use the activity, and you when you come back to it months later.
Choose the settings
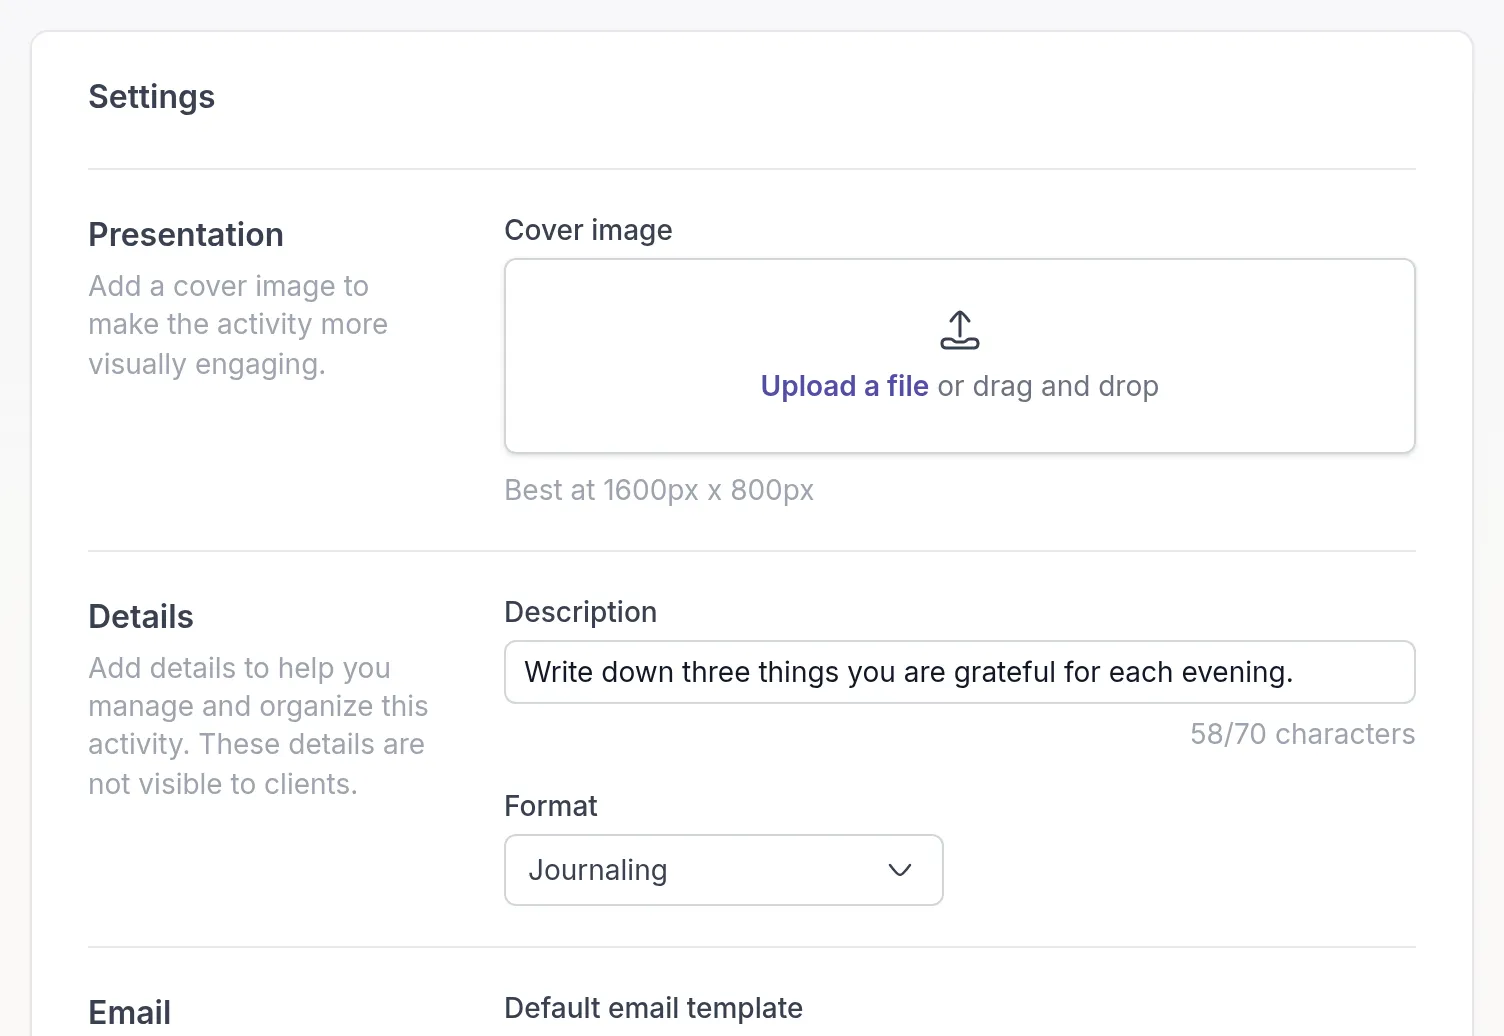
Section titled “Choose the settings”The Settings tab has four parts:
- Presentation: a Cover image, shown on the activity’s card. It works best at 1600 × 800 pixels.
- Details: a short Description (up to 70 characters) and a Format, such as Assessment, Exercise, Journaling or Worksheet. Both help you find the activity in your library; clients do not see them.
- Email: the Default email template used when you send this activity. See Email templates.
- Layout: how the activity is split into pages. See Activity layout.
Preview and save
Section titled “Preview and save”Click the eye icon next to Save to go through the activity as your client will. Check that the questions read well and that required questions make sense, then close the preview and click Save.
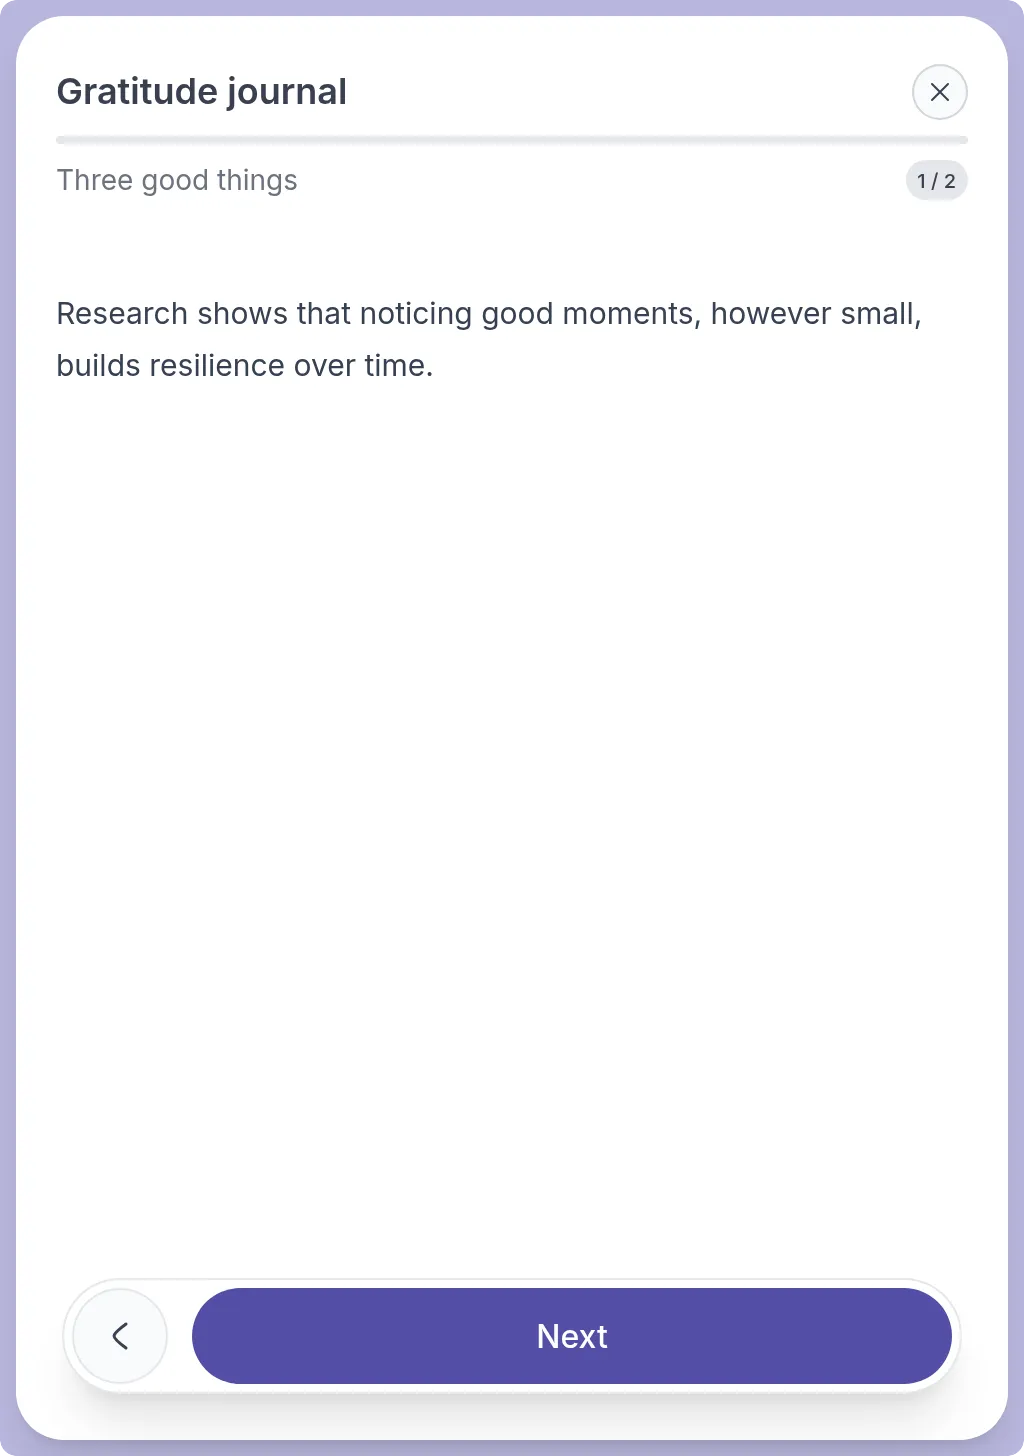
The activity is now in your library. To send it, click Send at the top of the builder, or see Send an activity.
Was this article helpful?
Thanks for letting us know.
Thank you. We read every answer and use it to improve this article.