
Get new clients
Signup form
Choose what the signup form on your landing page asks, how new signups are accepted, and review your waiting list.
The signup form is the part of a landing pageLanding pageA public web page about your practice with a signup form. Visitors who sign up arrive in your workspace as clients. that turns a visitor into a client. You choose which details it asks for, what it says, who the new client is assigned to, and whether people join straight away or wait for your approval.
How you set it up depends on the offer. For a free intro call, Sarah Bennett lets people become clients straight away, so they can book a time with her the same day. For the Mindfulness group, places are limited, so everyone who signs up joins her waiting list, and she accepts the people who fit the group.
You need a landing page to put the form on. See Landing pages.
Open the form settings
Section titled “Open the form settings”Open your page under Landing Pages and, on the Content tab, click the Signup form element. If the page has no form yet, click Add element and choose Signup form. The settings open in the element. Work through the sections below, then save and publish the page.
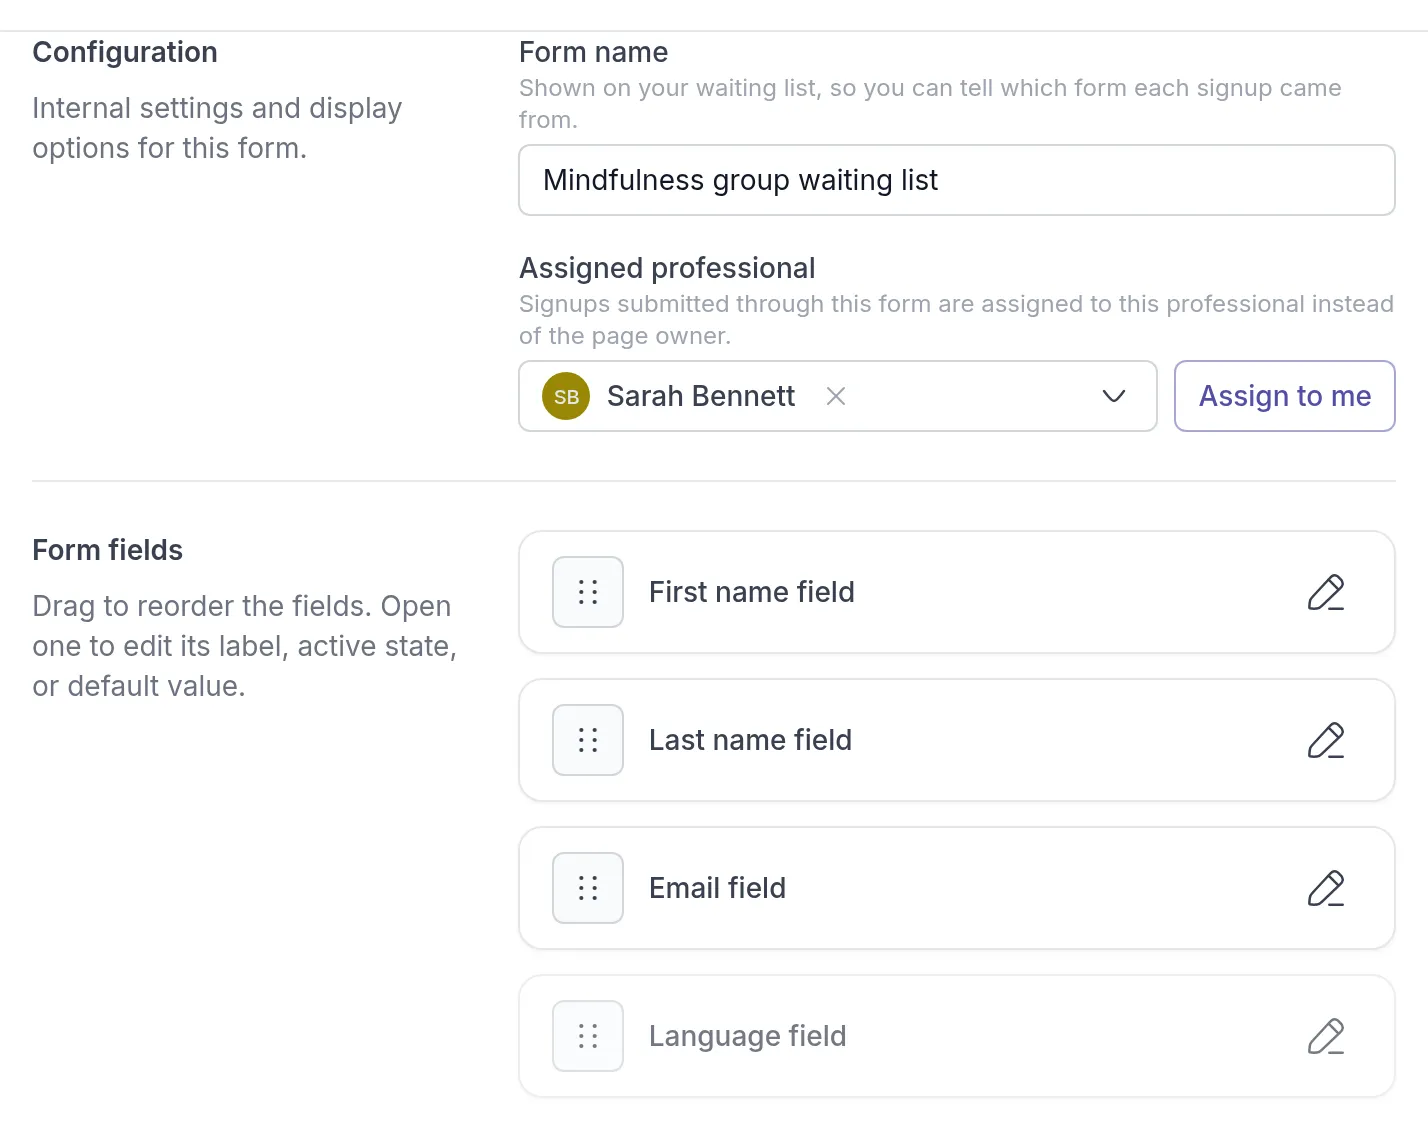
Configuration
Section titled “Configuration”- Form name is for you only. It is shown on your waiting list, so you can tell which form each signup came from. Visitors don’t see it.
- Assigned professional is the professional new clients from this form are assigned to. Search for a professional or click Assign to me. If you leave it empty, new clients go to the professional who created the landing page.
The assigned professional also receives the notifications about new signups from this form.
Form fields
Section titled “Form fields”The form has four fields: First name field, Last name field, Email field and Language field.
- To change the order, drag a field by its handle.
- To change a field, click it. You can change its Label and its Placeholder, the example text shown in the empty field.
- The language field is off by default. While it is off, new clients get the language you choose under Default language. To let visitors choose their own language, click the field and turn on the switch.
First name, last name and email are always part of the form.
Turn off Show field labels if you want the form to show only the placeholders, without labels above the fields.
Translations
Section titled “Translations”Change the wording on the form. Leave a field empty to use the standard text.
- Button is the text on the button visitors click to send the form. The standard text is “Send request”.
- Privacy note is the short text shown below the button.
Confirmation message
Section titled “Confirmation message”This is what people see after they click the confirmation link in their email. Fill in a Heading and a Message, or leave both empty to use the standard wording.
Signup mode
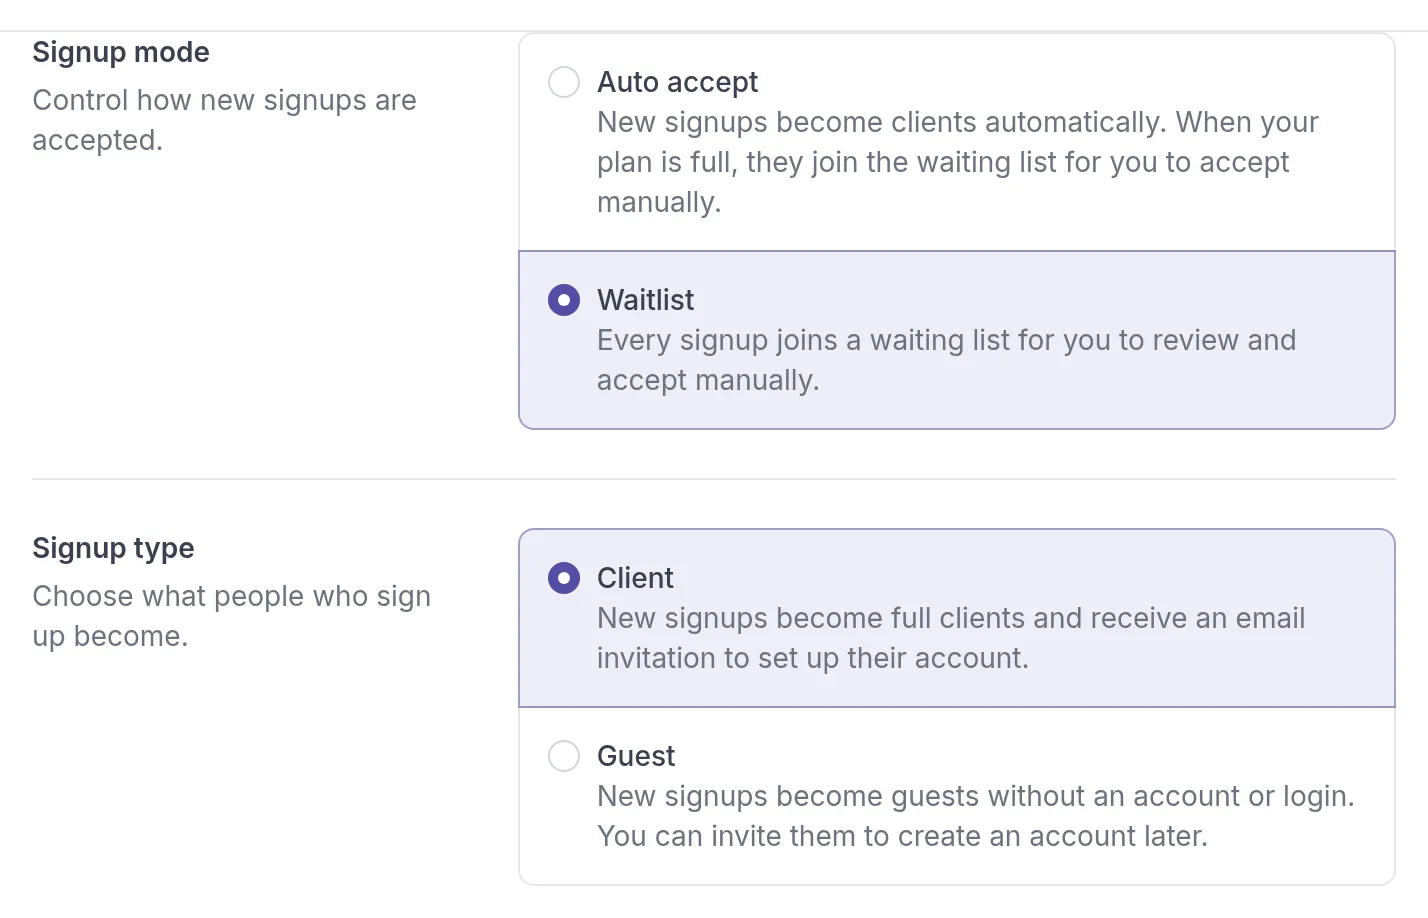
Section titled “Signup mode”Choose how new signups are accepted. A new form uses Auto accept.
- Auto accept: new signups become clients automatically. When your plan has no room for more clients, they join your waiting list instead.
- Waitlist: every signup joins your waiting list, and you accept each one yourself.
Signup type
Section titled “Signup type”Choose what people become when they are accepted.
- Client: a full client who receives an email invitation to set up their account.
- Guest: a client without an account or login. You can invite them to create an account later.
Automation
Section titled “Automation”Choose the activities, programs, groups and resourcesResourcesYour workspace's library of files and links, such as worksheets, handouts and audio exercises, which you link to clients and groups. new clients receive automatically. See Automations.
Save and publish
Section titled “Save and publish”Click Save (or Save changes if the page is already published), then Publish (or Publish changes) so visitors see the new form.
What happens when someone signs up
Section titled “What happens when someone signs up”When a visitor fills in the form and clicks the button, Quenza sends them an email with a Confirm request button. Nothing appears in your workspace until they click it. This keeps out typos and people who sign up someone else’s address.
When they confirm, they become a client or join your waiting list, depending on your signup mode and on whether your plan has room.
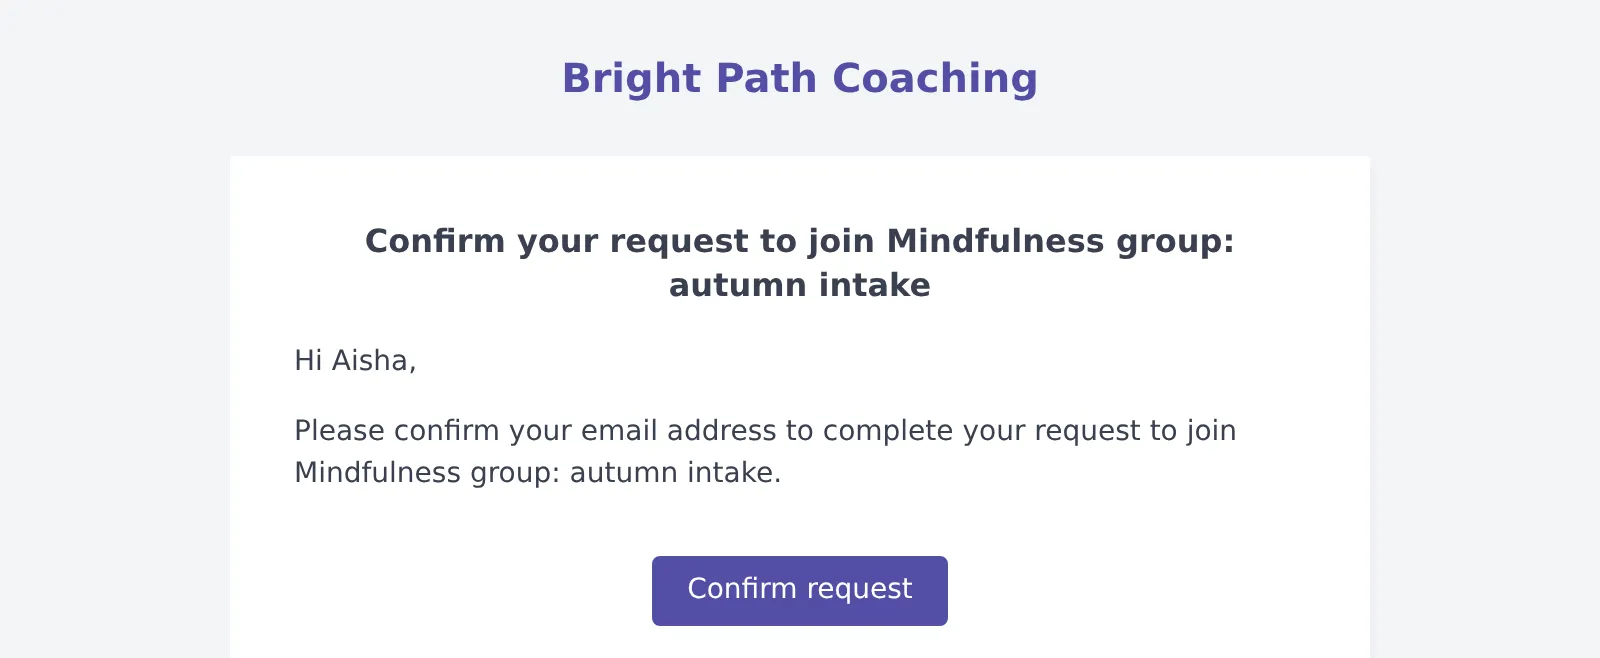
The confirmation link works for 24 hours. If it has expired, the visitor can fill in the form again to get a new one.
When someone becomes a client or joins your waiting list, the assigned professional gets a notification in Quenza, and an email if they receive email notifications. If you use webhooks, a new client also triggers the client.created event.
If the email address already belongs to a client in your workspace, or already has a request on that page, the visitor sees Request already received and nothing new is added.
Review your waiting list
Section titled “Review your waiting list”Your waiting list is on the Waiting List tab of the Clients page. The number on the tab shows how many people are waiting. For each person you see their name and email, the Landing Page and Form they used, the Type (Client or GuestGuestA client without a login. Guests get no invitation and cannot use the client portal or app, but Quenza emails them a direct link when you send an activity or share a note; you can convert them to an account later.) and when they signed up, with Accept and Decline buttons.
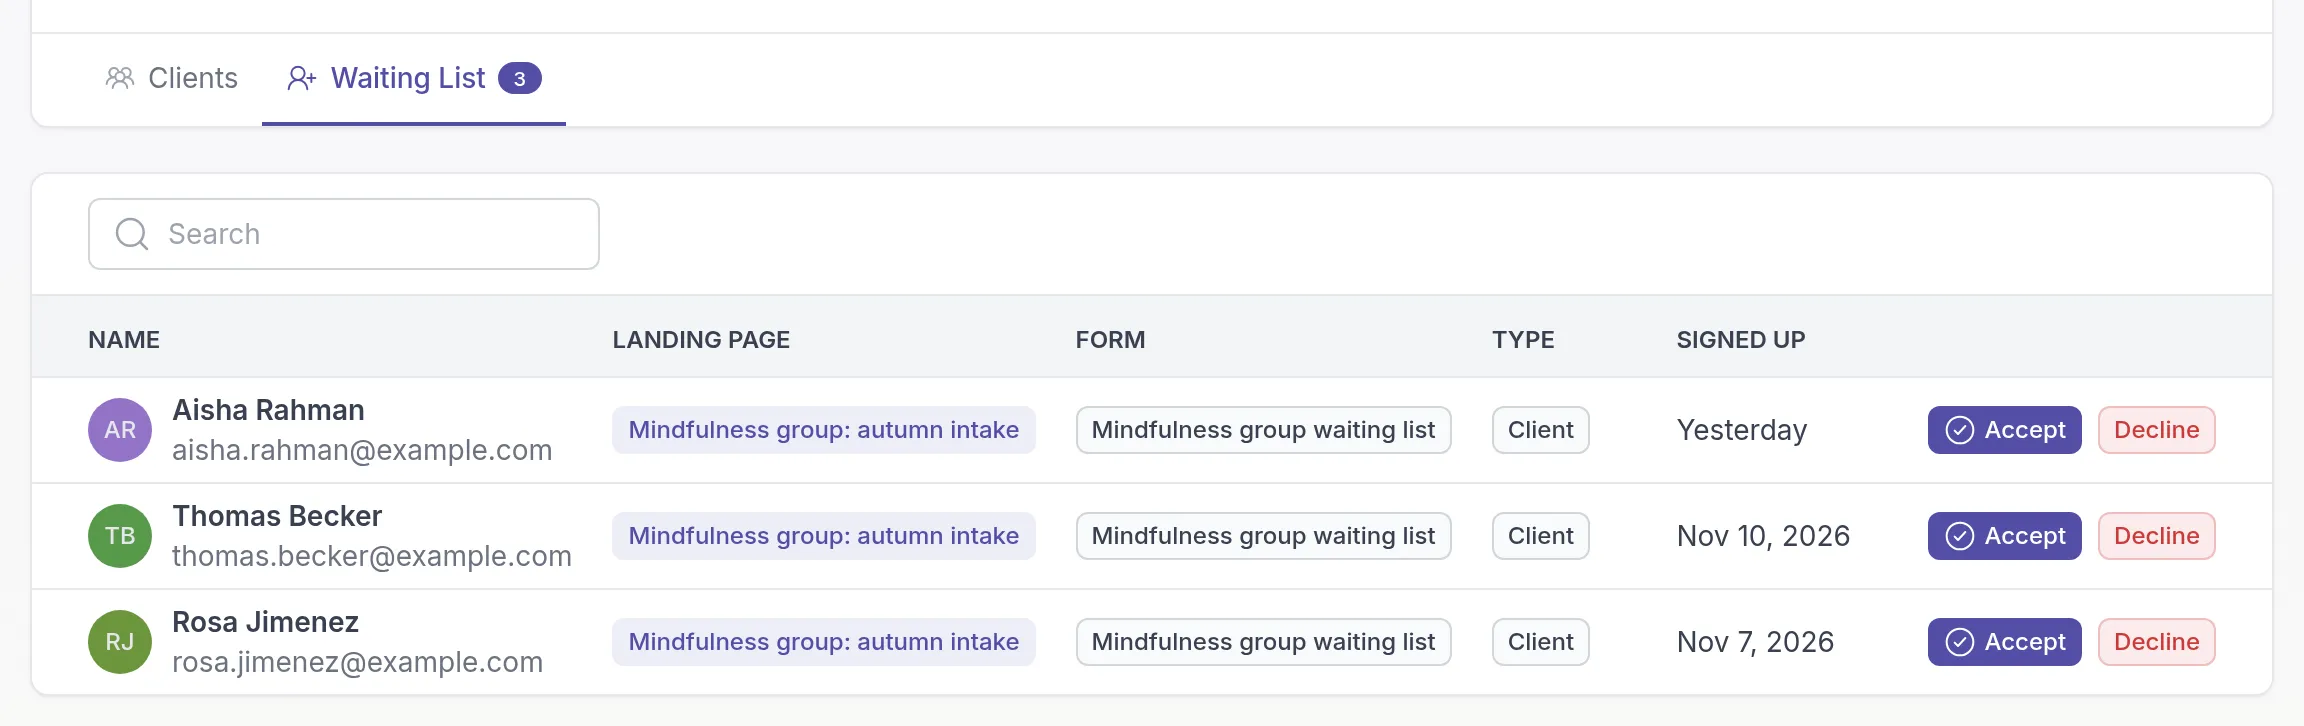
Accept asks you to confirm, then adds the person as a client or guest. A client receives an email invitation to set up their account. If your plan has no room for another client, Quenza tells you that you have reached your client limit, and the person stays on the list.
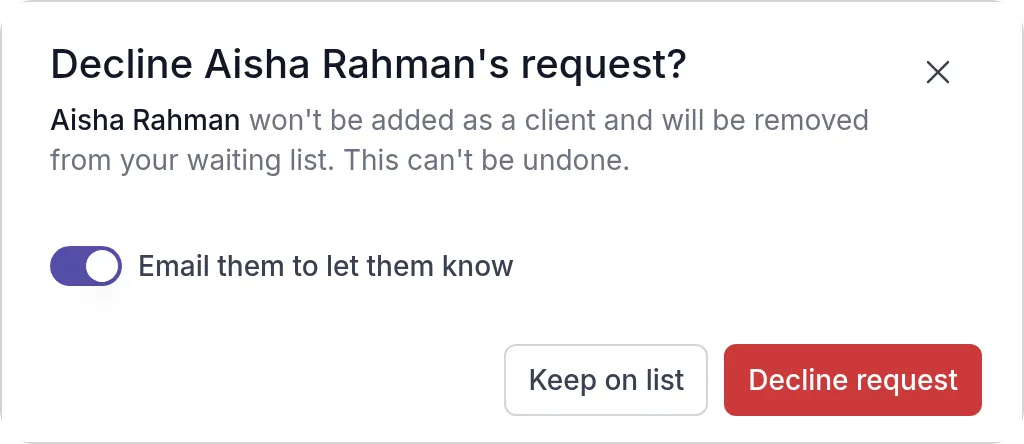
Decline removes the person from your waiting list without adding them, for example when the group is full. Email them to let them know is on, so Quenza sends them a short message; turn it off if you don’t want that. Then click Decline request.
Was this article helpful?
Thanks for letting us know.
Thank you. We read every answer and use it to improve this article.