
Get started
Edit your profile
Add a profile picture and update the name, contact details and biography your clients and colleagues see.
Your profile is what your clients and colleagues see of you in Quenza: your photo, name, biography and contact details. A complete profile helps clients feel they know who they are working with, especially before a first session. Every professional can edit their own profile.
Your profile belongs to the workspace you are in. If you work in more than one workspace, for example your own practice and a team, you can show different details in each one.
Open your profile
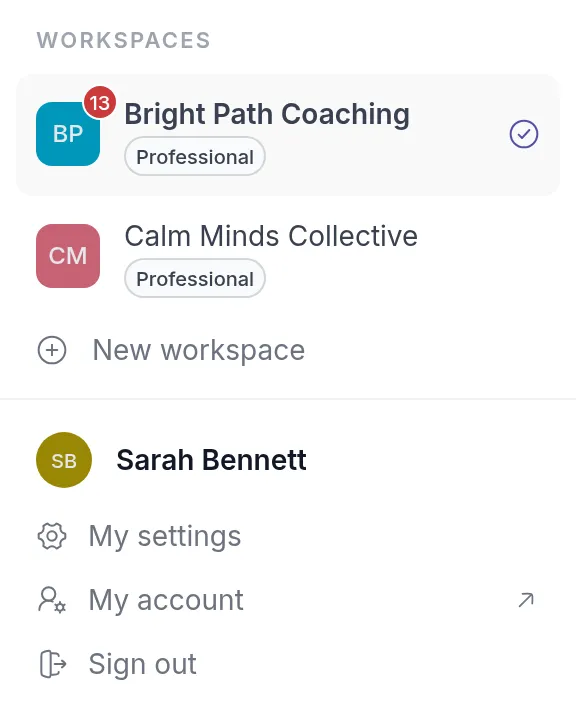
Section titled “Open your profile”Click your workspace name at the top left and choose My settings. The Profile tab opens.
Update your details
Section titled “Update your details”The profile has four parts. Change what you want and click Save at the bottom of the page.
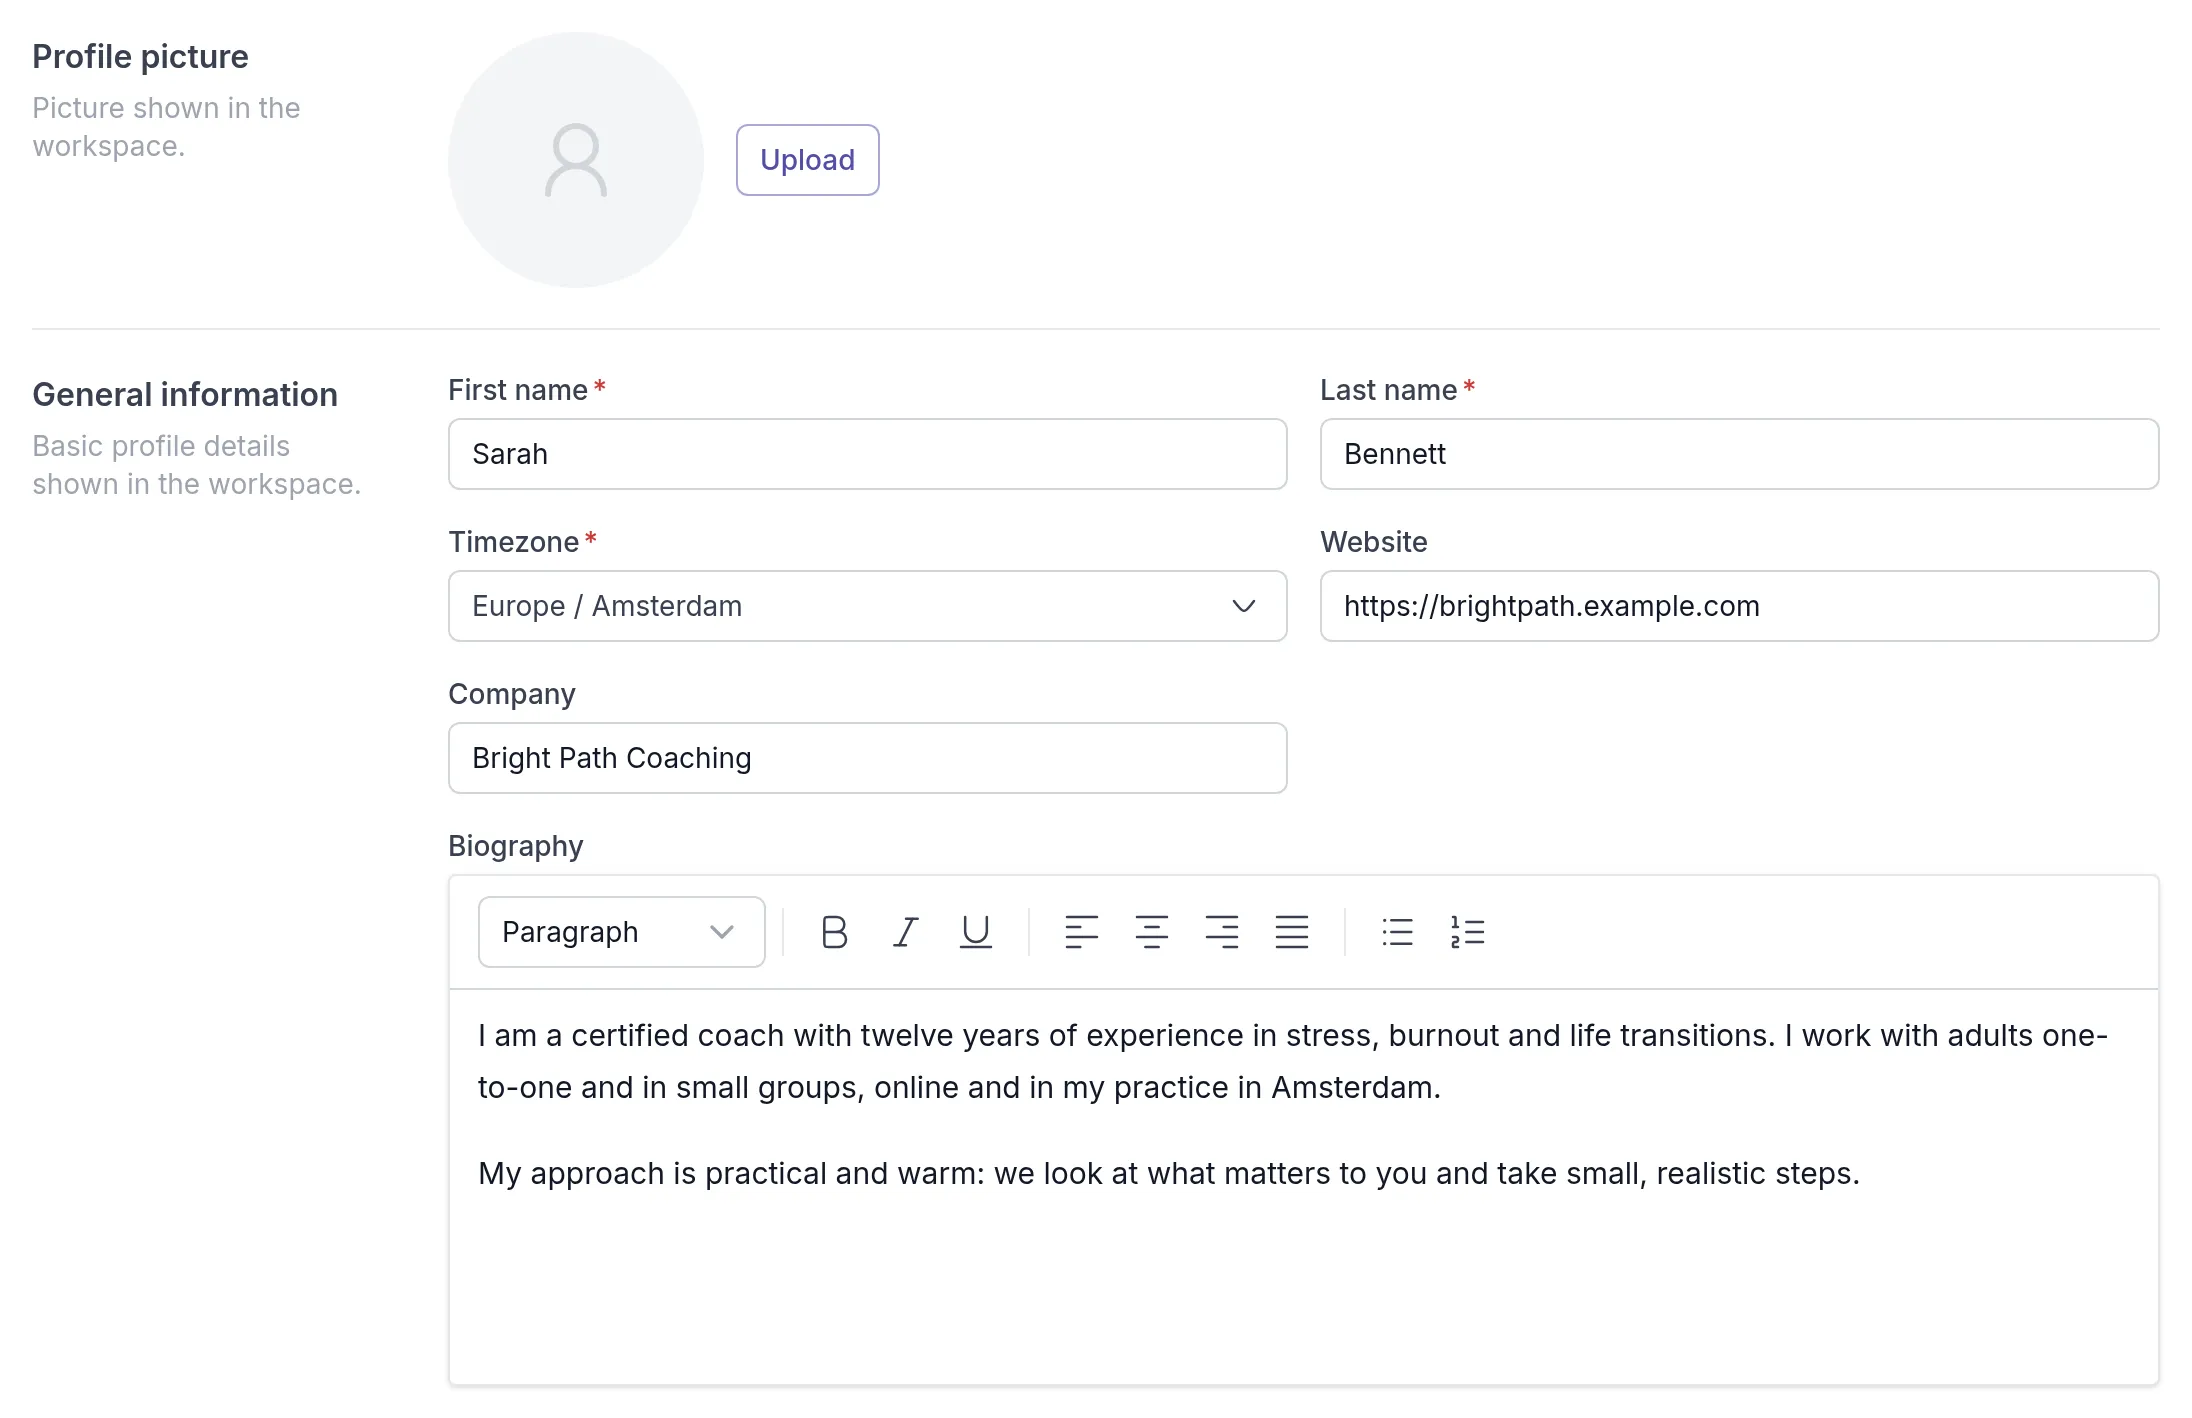
- General information: First name, Last name, Timezone, Website, Company and Biography. Set the right timezone, so due dates and reminders match your day.
- Biography: a few sentences about your background and approach. For example, Sarah Bennett writes about her twelve years in stress and burnout coaching and how she works, so new clients know what to expect.
- Communication: Workspace Email address and Phone. Clients can see these details.
- Address: your address, for your workspace’s internal use. It is not shared with clients.
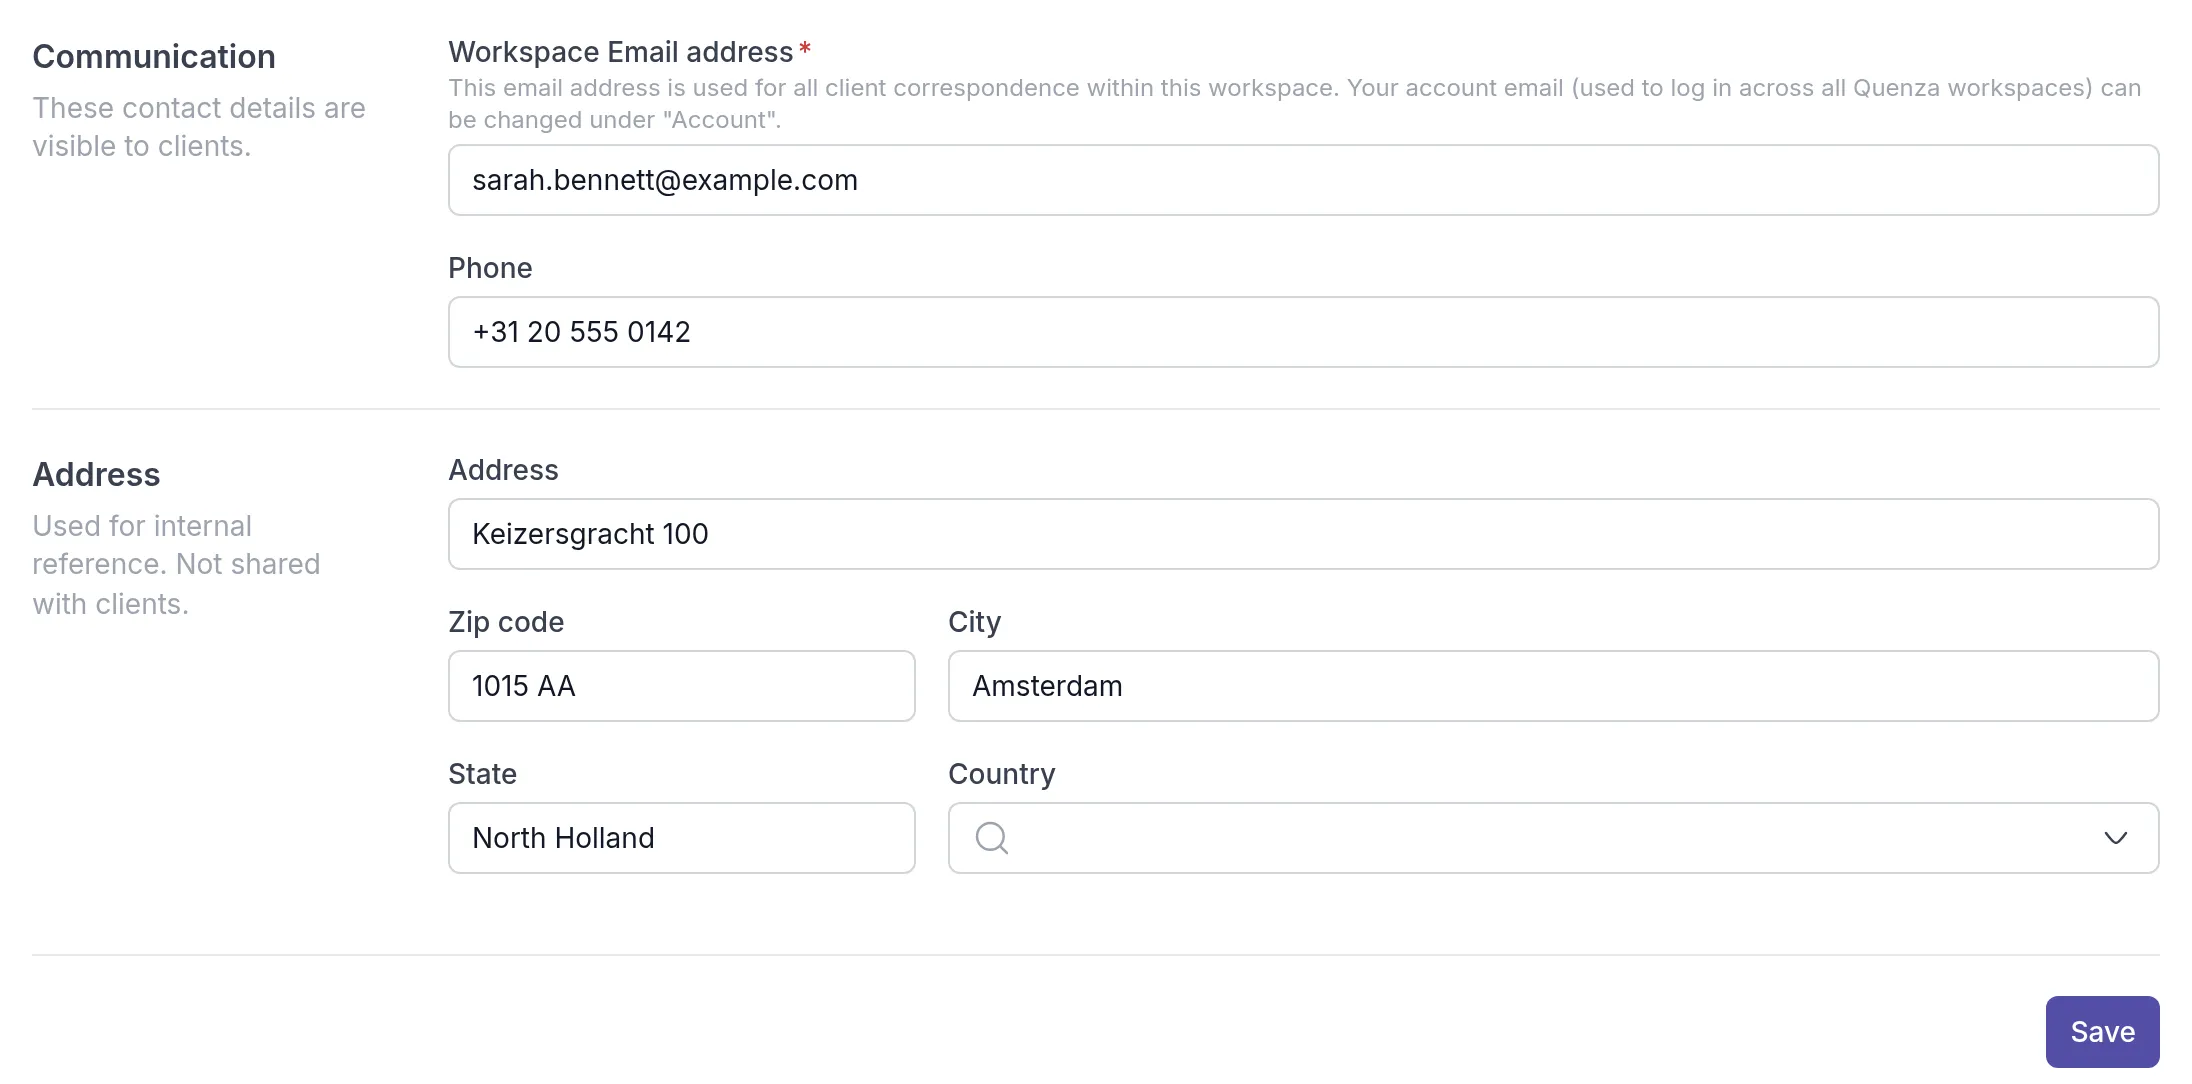
Your new details show everywhere in the workspace, including in your clients’ app under My professional.
Add or change your profile picture
Section titled “Add or change your profile picture”A photo makes chats and shared notes feel more personal for your clients. Without one, they see your initials.
- Under Profile picture, click Upload.
- Choose a JPG or PNG file.
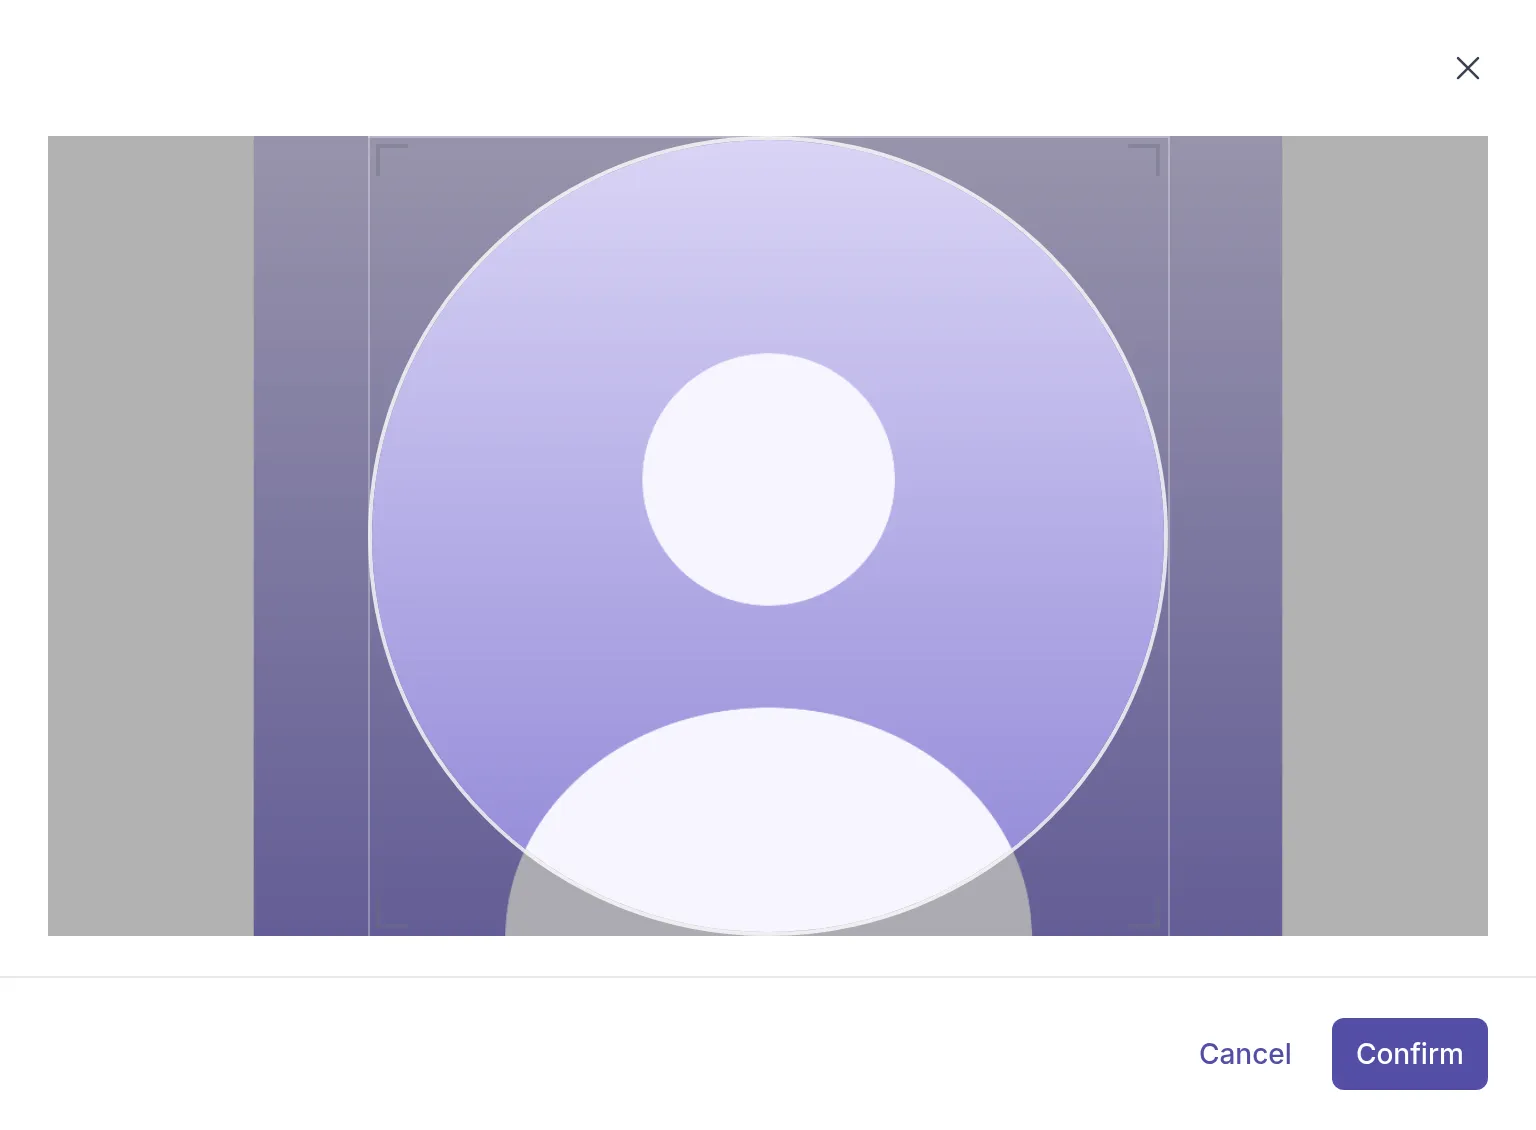
- Drag and resize the circle to choose the part of the photo you want to show, and click Confirm.
- Click Save at the bottom of the page.
To remove your picture, click Remove and then Save.
Pictures for clients
Section titled “Pictures for clients”You can also add a picture for a client, for example to recognise them faster in your client list. Click Upload under Profile picture when you add the client or edit their details. See Add clients.
Clients can also change or remove their own picture in the client app. See Edit your client profile.
Was this article helpful?
Thanks for letting us know.
Thank you. We read every answer and use it to improve this article.